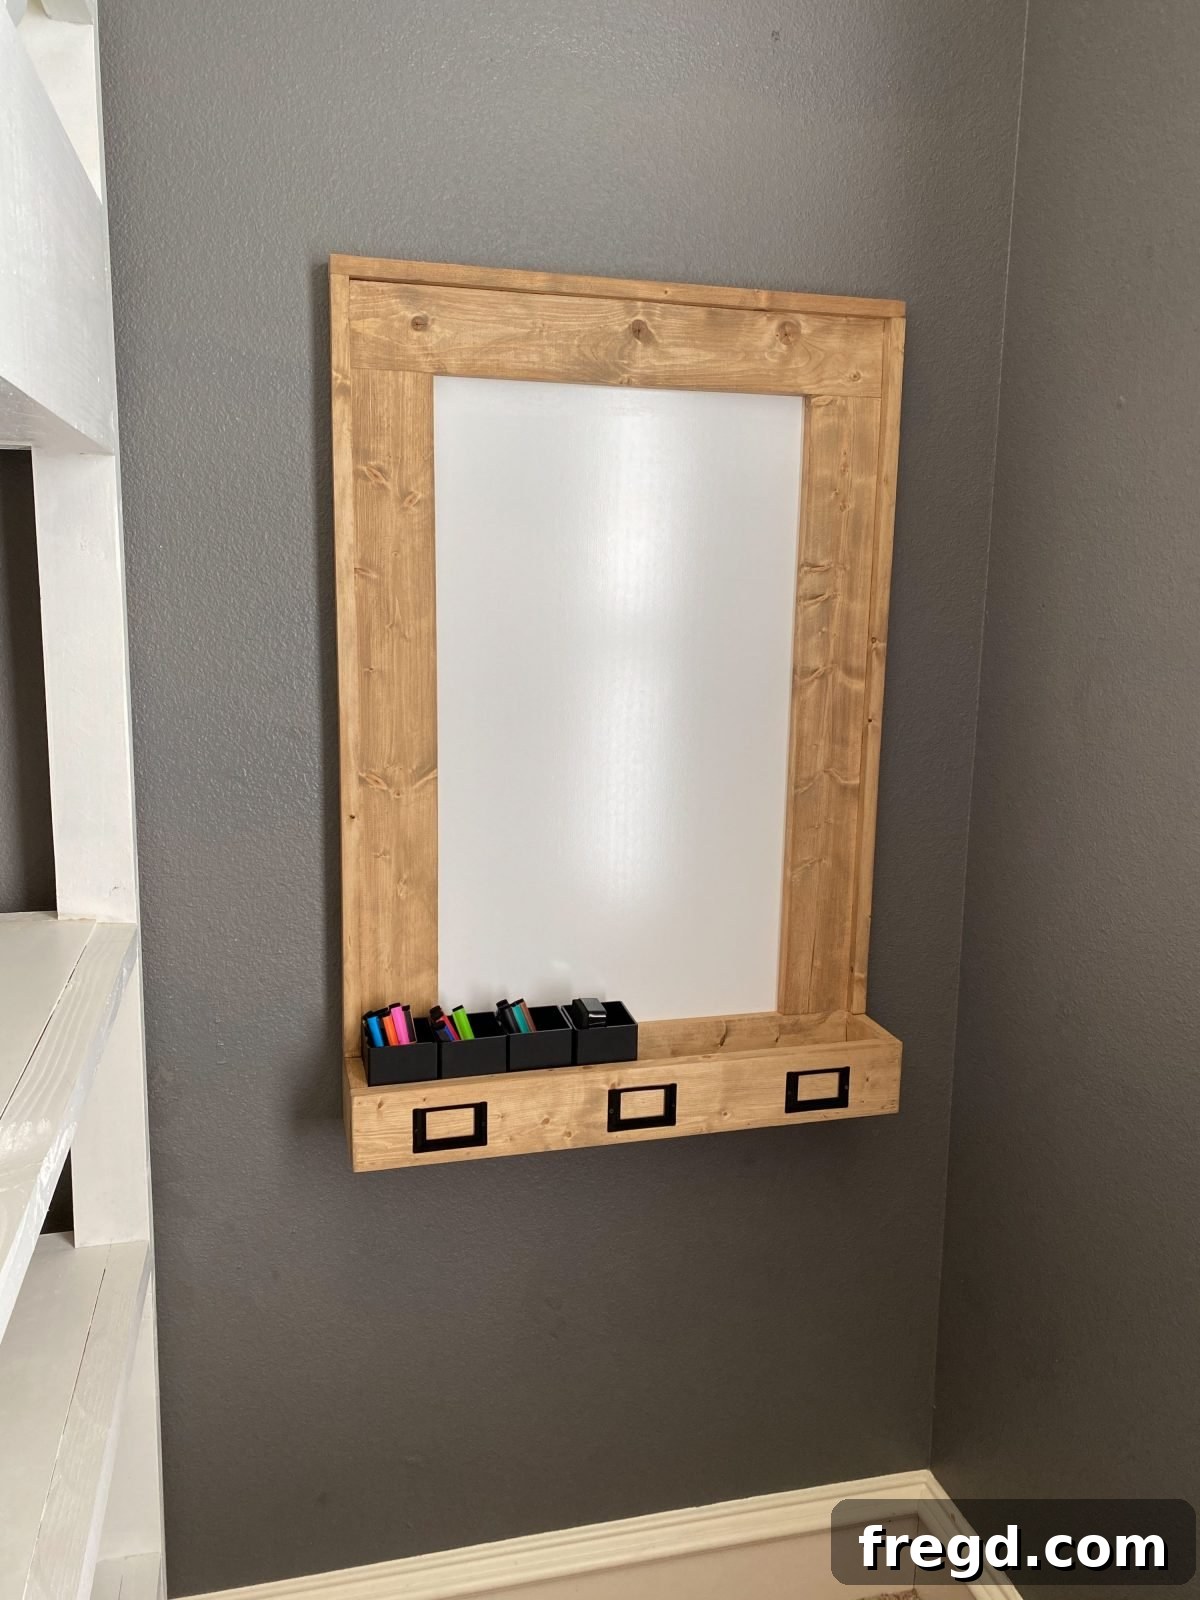
Welcome to a creative and practical DIY project that will transform your space! Learn how to construct this simple, charming, and highly functional DIY Dry Erase Board using our comprehensive guide and free plans provided by Shanty2Chic. Whether you’re setting up a dedicated remote learning zone, organizing your home office, or simply need a creative outlet, this custom whiteboard offers an affordable and stylish solution.
Like many families, we’ve fully embraced the world of remote learning. My daughter envisioned her bedroom as a dual-purpose haven—a comfortable space for rest and an inspiring classroom for her studies. To fuel her excitement for this new chapter, I’m committed to creating an environment that supports her learning journey. After building her a custom loft bed with an integrated desk (plans coming soon!), a dry erase board was next on her wishlist. Today, I’m thrilled to share how I built this 3-foot DIY Dry Erase Board for under $40, a project made even more enjoyable with Minwax Wood Finish stain, delivering incredible results with remarkable ease.
Why Build Your Own DIY Dry Erase Board?
In a world of mass-produced items, crafting your own dry erase board offers distinct advantages. Beyond the significant cost savings compared to store-bought alternatives, building it yourself allows for complete customization. You can choose the exact dimensions to fit your space, select the perfect wood finish to match your decor, and integrate practical features like a built-in pen holder. This project isn’t just about functionality; it’s about adding a personal touch to your home or learning environment, creating a piece that truly meets your unique needs and aesthetic preferences. It’s an empowering woodworking project that yields impressive results even for beginner DIYers.
Project Overview: Your Custom 3ft Dry Erase Board
This guide will walk you through building a 24″ x 36″ dry erase board, complete with a sturdy wooden frame and an integrated pen/accessory holder. We’ll cover everything from cutting the wood and assembling the components to applying a beautiful, durable finish. The goal is a high-quality, functional whiteboard that looks fantastic and costs less than $40 to make. Let’s gather our tools and materials and embark on this rewarding building journey!
Click here to download the Free Printable Plans
How to Build a DIY Dry Erase Board: Step-by-Step Guide
Essential Tools for Your Whiteboard Project
Having the right tools makes any DIY project smoother and more enjoyable. For this dry erase board, you’ll need a few common woodworking tools:
- Miter Saw: Essential for precise, accurate cuts on your frame and trim pieces.
- Drill: Needed for pre-drilling holes and driving screws, especially when working with pocket holes.
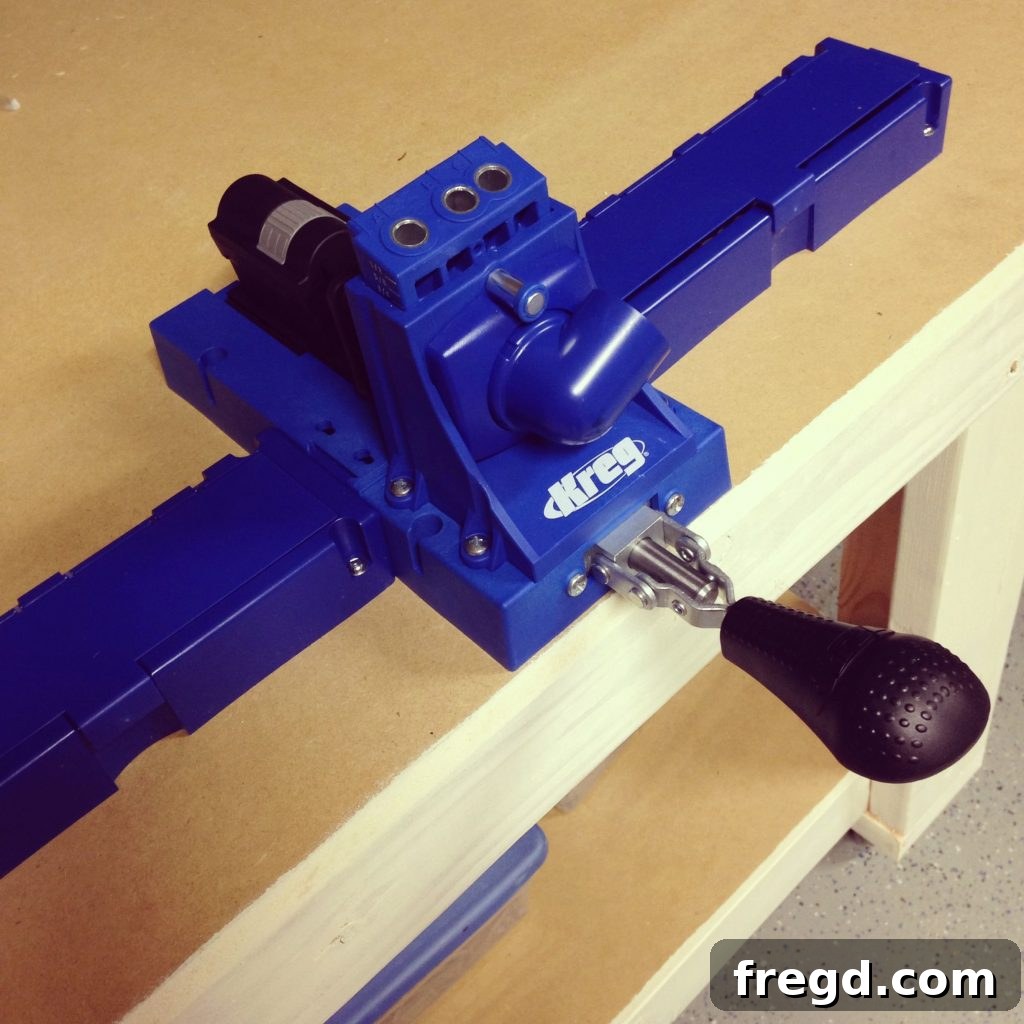
- Kreg Jig: A fantastic tool for creating strong, concealed pocket hole joints, giving your frame a clean finish.
- Brad Nailer: Perfect for quickly and securely attaching trim pieces and the dry erase board itself with minimal visible fasteners.
- Sander: Crucial for achieving a smooth, professional finish on your wood, preparing it perfectly for stain and sealant.
Materials & Supplies: Everything You Need to Get Started
The beauty of this project lies in its simplicity and affordability. Most of these materials are readily available at your local hardware store.
- 2 – 1x4x8 Common Boards (for the main frame)
- 1 – 1x2x8 Common Board (for the cup holder and trim)
- 1 – 24″ x 36″ Dry Erase Board (can be purchased at Lowe’s or a similar home improvement store)
- 1 1/4″ Pocket Hole Screws
- 5/8″ Brad Nails
- 1 1/4″ Brad Nails
- Wood Glue
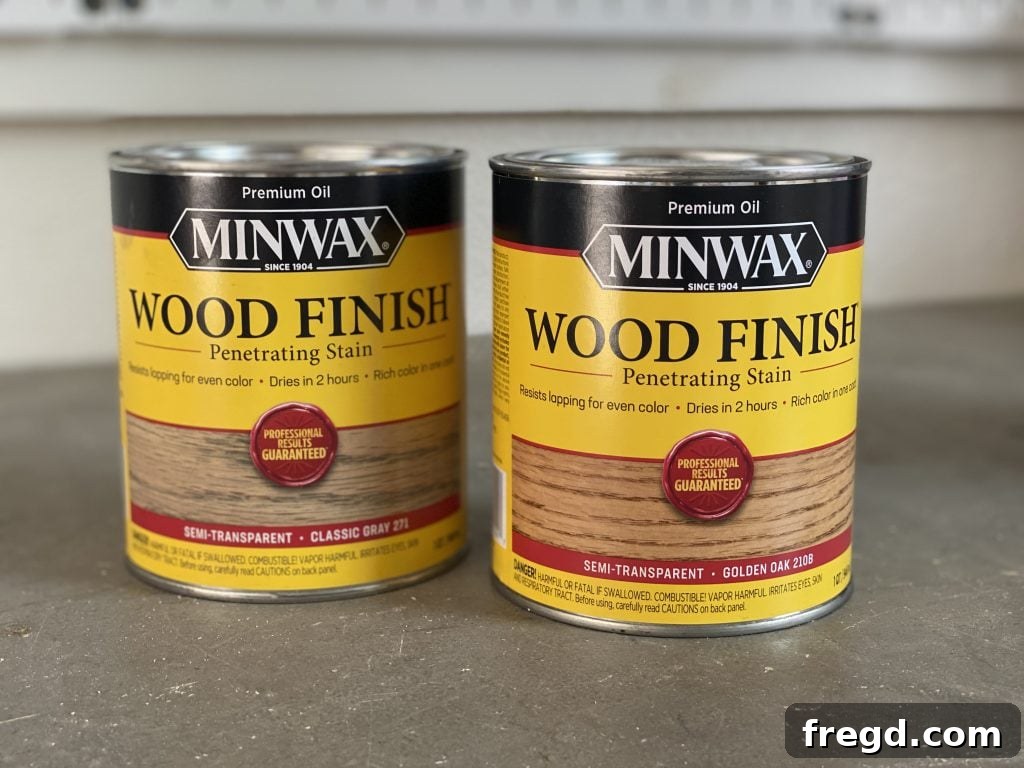
- Minwax Wood Finish Penetrating Stain in Golden Oak
- Minwax Wood Finish Penetrating Stain in Classic Gray
- Minwax Polycrylic Protective Finish (for durability and protection)
- 3 Label Holders (for decoration and organization)
- Pen Holders (optional, for added functionality)
Cut List: Preparing Your Wood Pieces
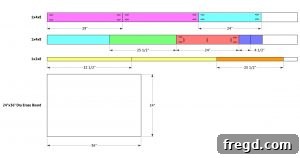
Before assembly, use your miter saw to cut all your common boards according to the dimensions specified in the free printable plans. Precision in this step ensures a clean and strong final product. Double-check your measurements before making any cuts.
Part 1: Building the Sturdy Frame
The frame is the backbone of your dry erase board, providing structural integrity and a clean border for the whiteboard surface. Using pocket holes ensures strong, hidden joints for a professional look.
Step 1: Cutting and Drilling Pocket Holes
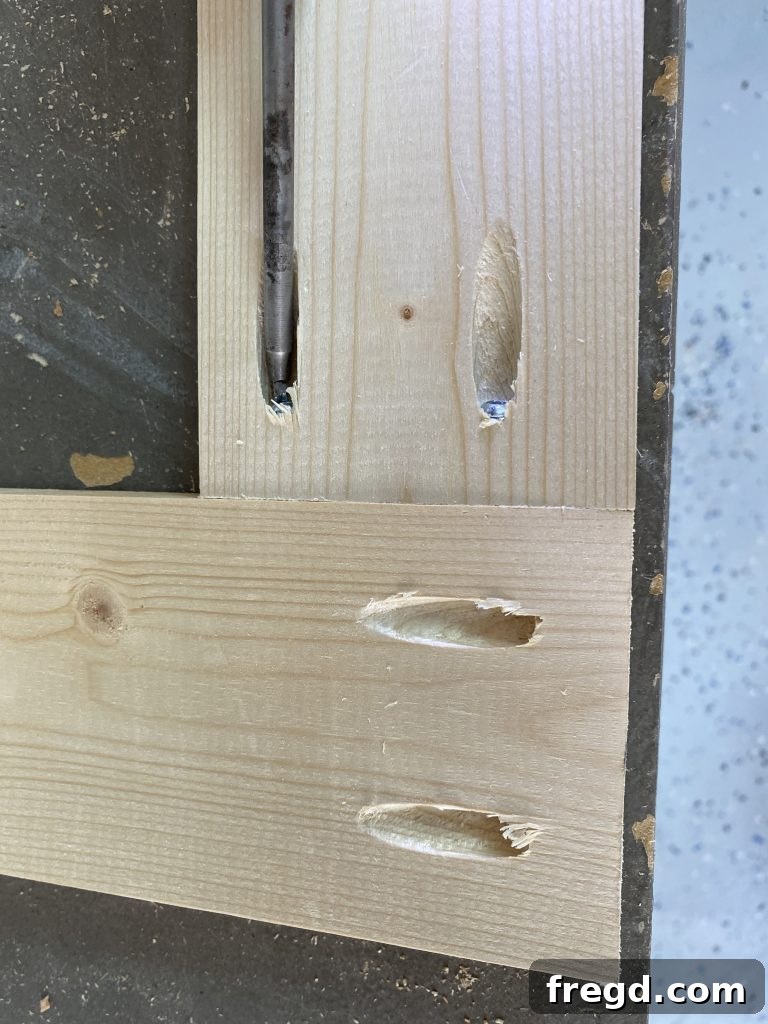
Begin by cutting your 1x4x8 common boards to the correct sizes for the main frame. With your Kreg Jig set to 3/4″ material thickness, drill pocket holes at both ends of the vertical frame boards and both ends of the bottom horizontal frame piece. These strategically placed holes will allow you to create robust and concealed connections.
Step 2: Assembling the Frame
Apply a small amount of wood glue to the joints before securing the frame pieces together. Use 1 1/4″ pocket hole screws to firmly attach the vertical and horizontal frame components. Ensure all corners are square and the frame is flush. Once assembled, the frame should form a strong, rectangular perimeter.
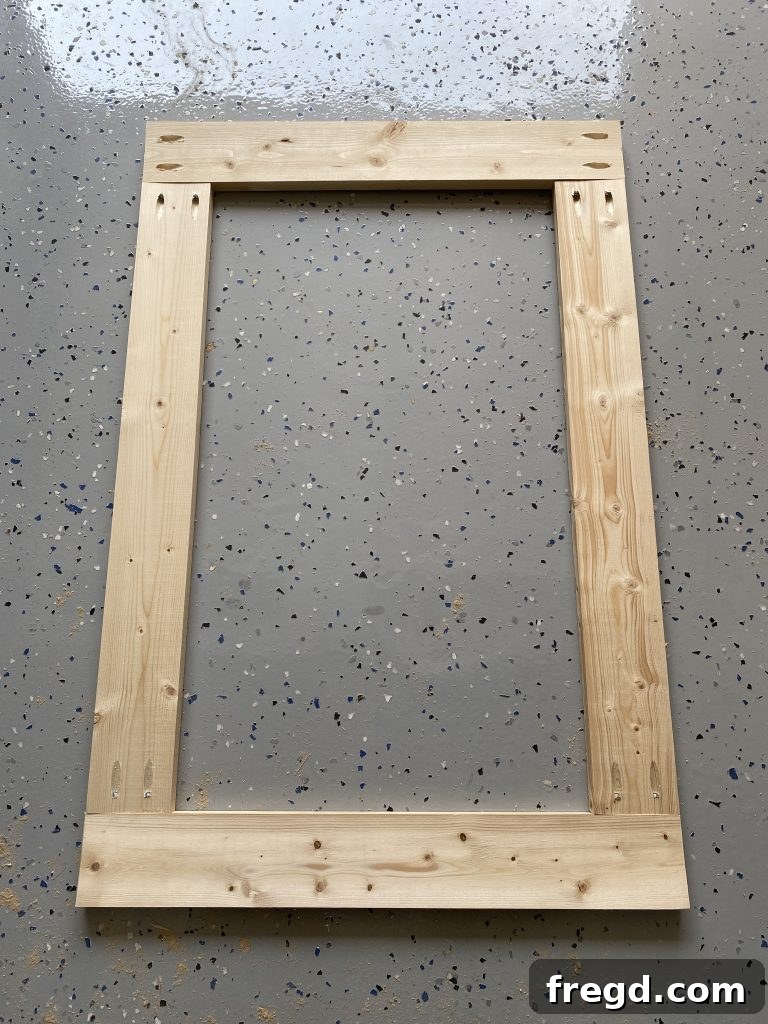
At this stage, your primary frame structure is complete and ready for the integrated cup holder. The clean lines of the pocket-holed frame will provide a sturdy base for the entire dry erase board.
Part 2: Crafting the Integrated Pen & Accessory Holder
A built-in cup holder adds immense functionality to your dry erase board, providing a convenient spot for markers, erasers, and other small accessories. This feature keeps your workspace tidy and supplies within easy reach.
Step 1: Attaching the Bottom Panel
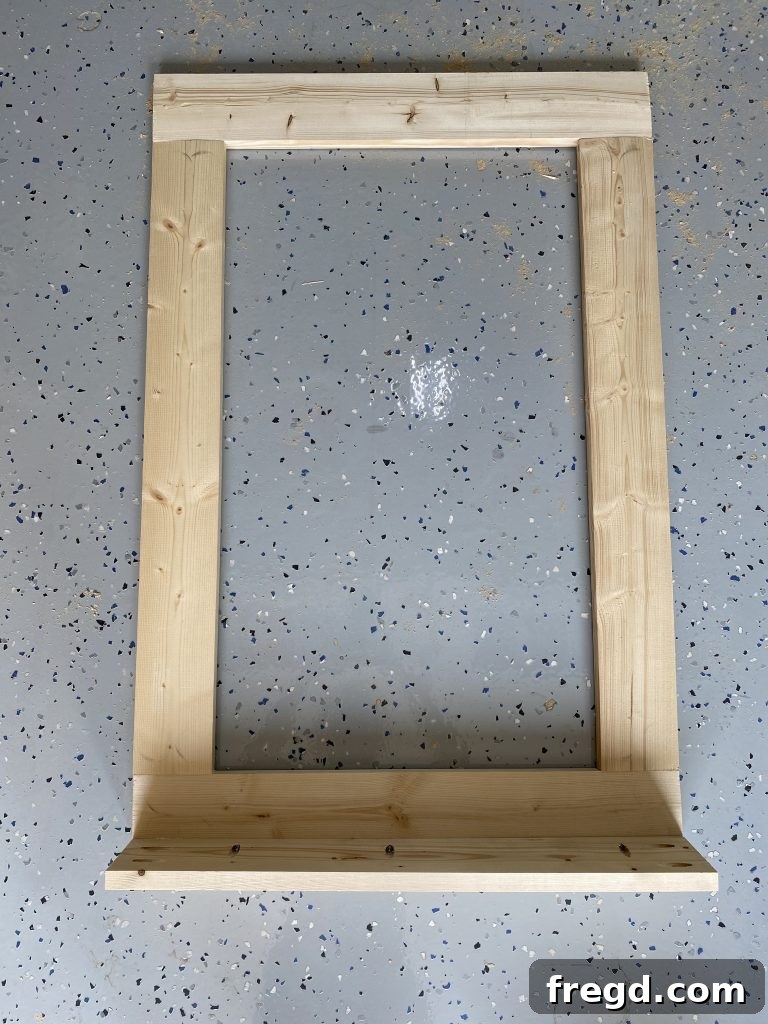
Cut the bottom board for the cup holder to size from your 1x2x8 common board. Drill 3/4″ pocket holes along one edge and at both ends of this piece. Apply wood glue and then attach it to the very bottom of your main frame using 3/4″ pocket hole screws. This piece will serve as the base for your cup holder tray.
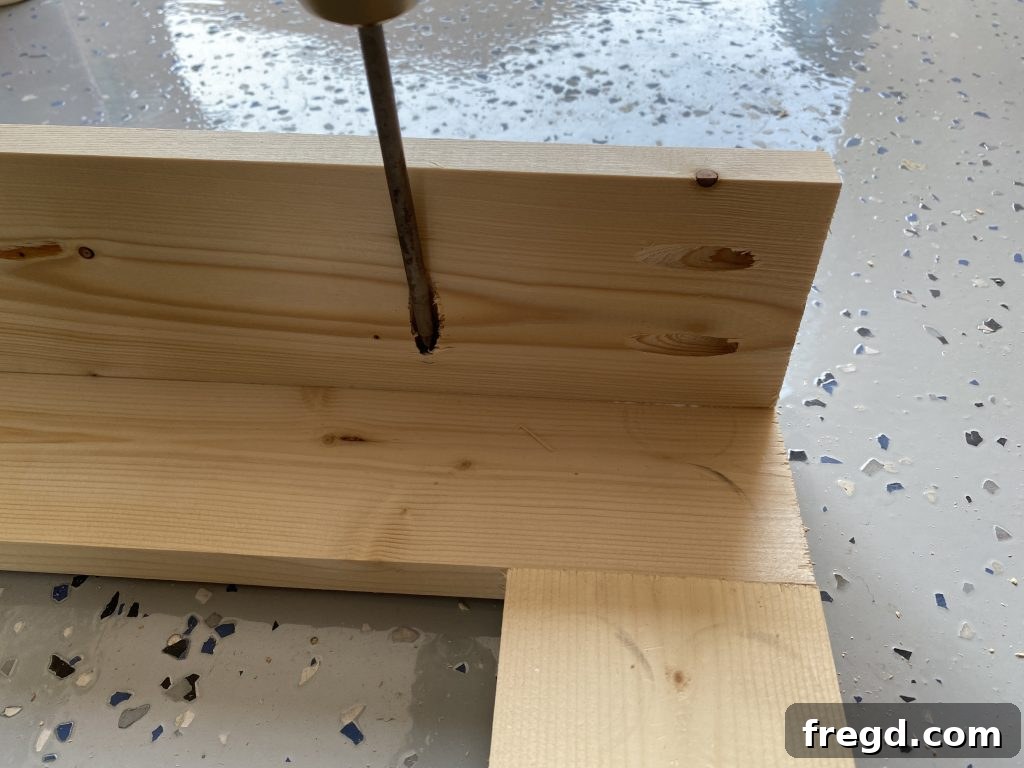
With the bottom panel in place, you’ll start to see the shape of your integrated accessory tray. This design ensures all your dry erase essentials are neatly organized.
Step 2: Securing the Side Supports
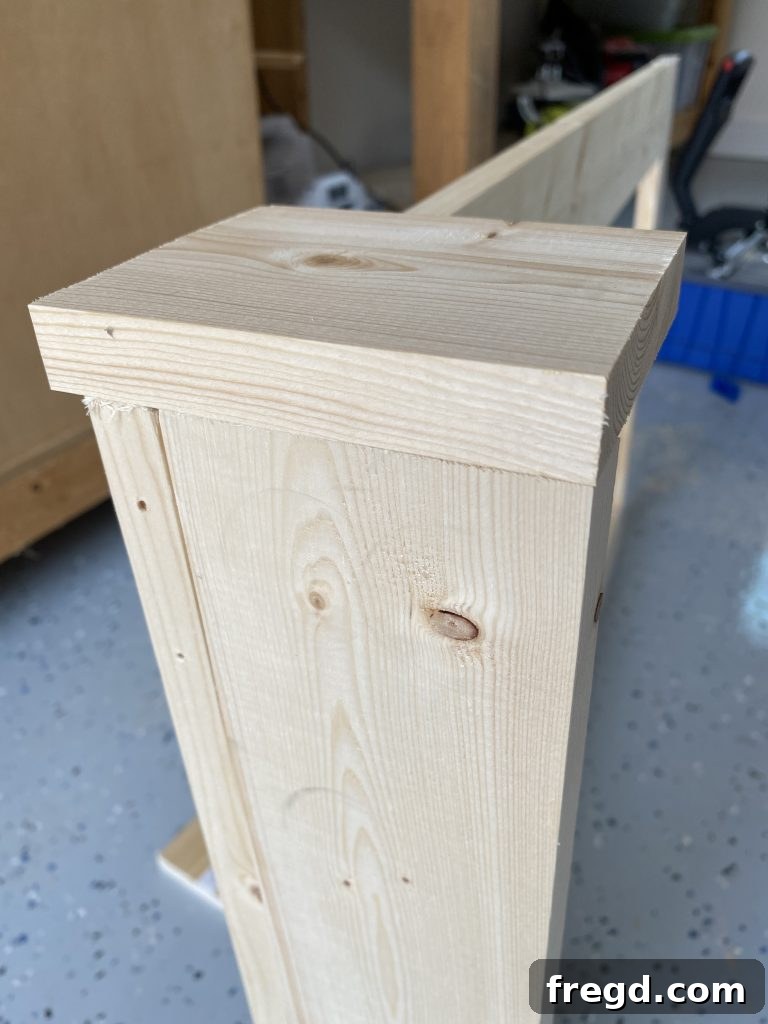
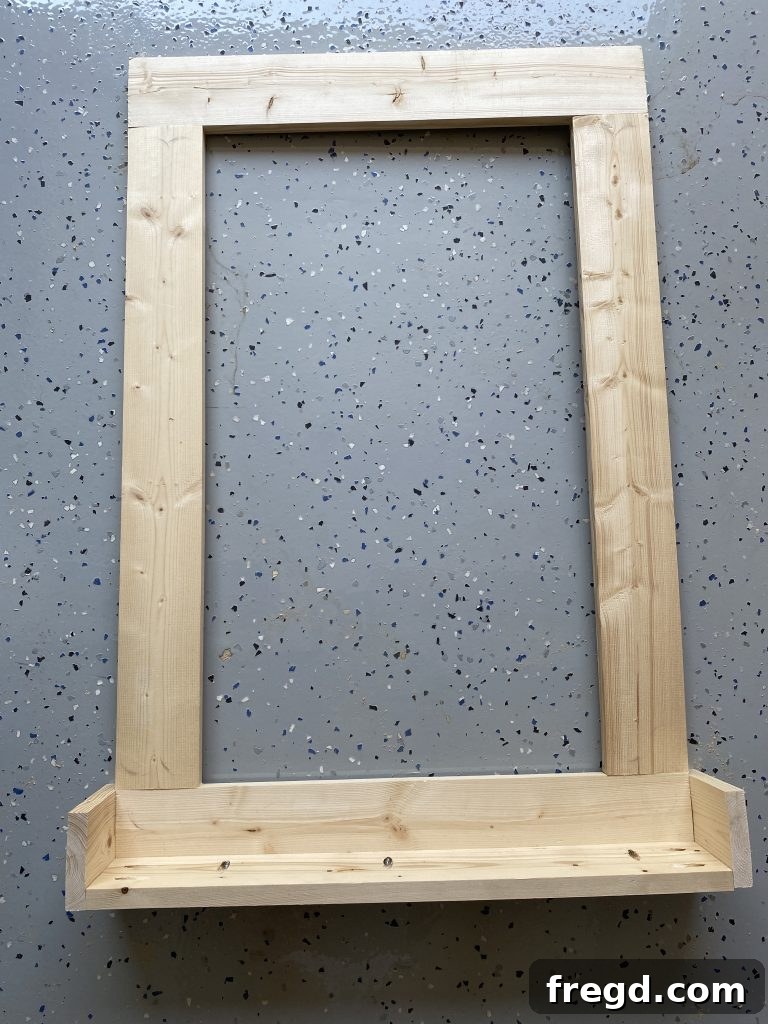
Next, cut the side pieces for the cup holder to their specified dimensions. Apply wood glue to the joining surfaces and attach these side pieces to both the bottom of the main frame and the bottom of the cup holder panel using 1 1/4″ pocket hole screws. It’s crucial that the back edges of these side pieces are flush with the back of where your dry erase board will sit. This alignment ensures a seamless fit for the whiteboard surface later on.
The structure of the cup holder is now taking clear form, adding both character and utility to your custom whiteboard.
Step 3: Completing the Front Panel
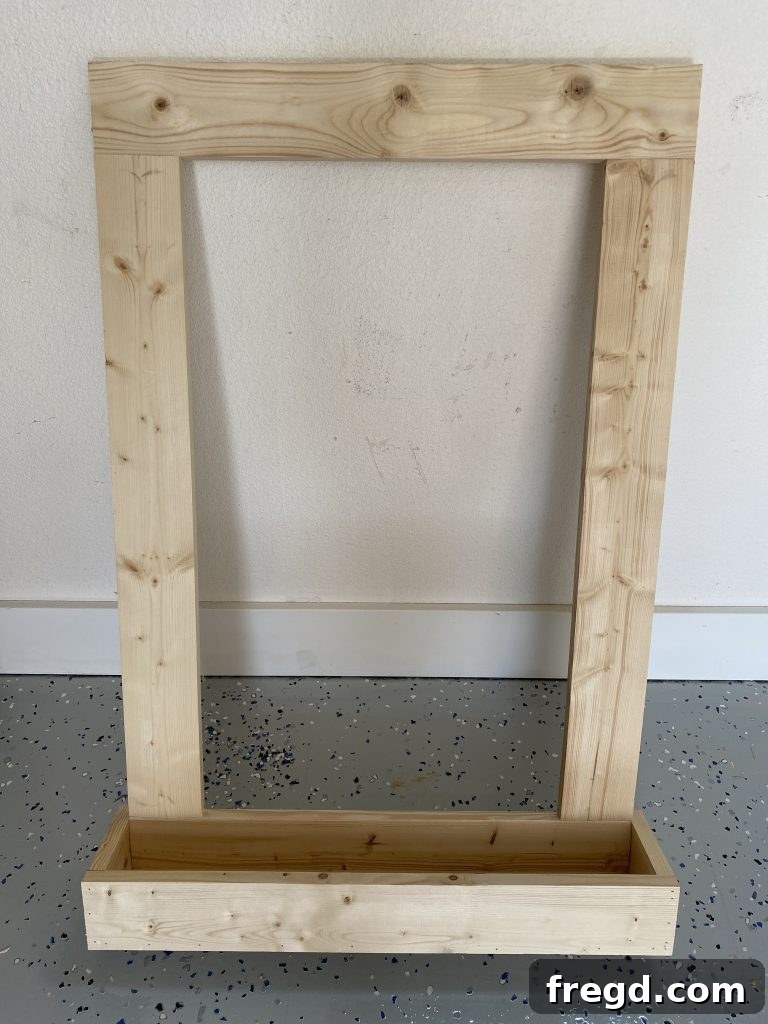
Finally, cut the front piece of the cup holder to size. Apply wood glue along the edges where it will meet the side cup holder pieces and the bottom cup holder piece. Secure it firmly in place using 1 1/4″ brad nails. This completes the enclosure for your integrated pen and accessory holder, giving it a neat and finished appearance.
Part 3: Adding the Decorative and Protective Trim
Adding trim pieces not only enhances the aesthetic appeal of your dry erase board but also helps to secure the whiteboard surface discreetly and professionally. These pieces provide a polished, finished edge.
Step 1: Positioning the Frame
Carefully lay your constructed wooden frame over the 24″ x 36″ dry erase board. At this point, do not attach the frame to the board. This step is for positioning only, ensuring proper alignment before you secure the trim pieces. The dry erase board should fit snugly within the perimeter of the frame.
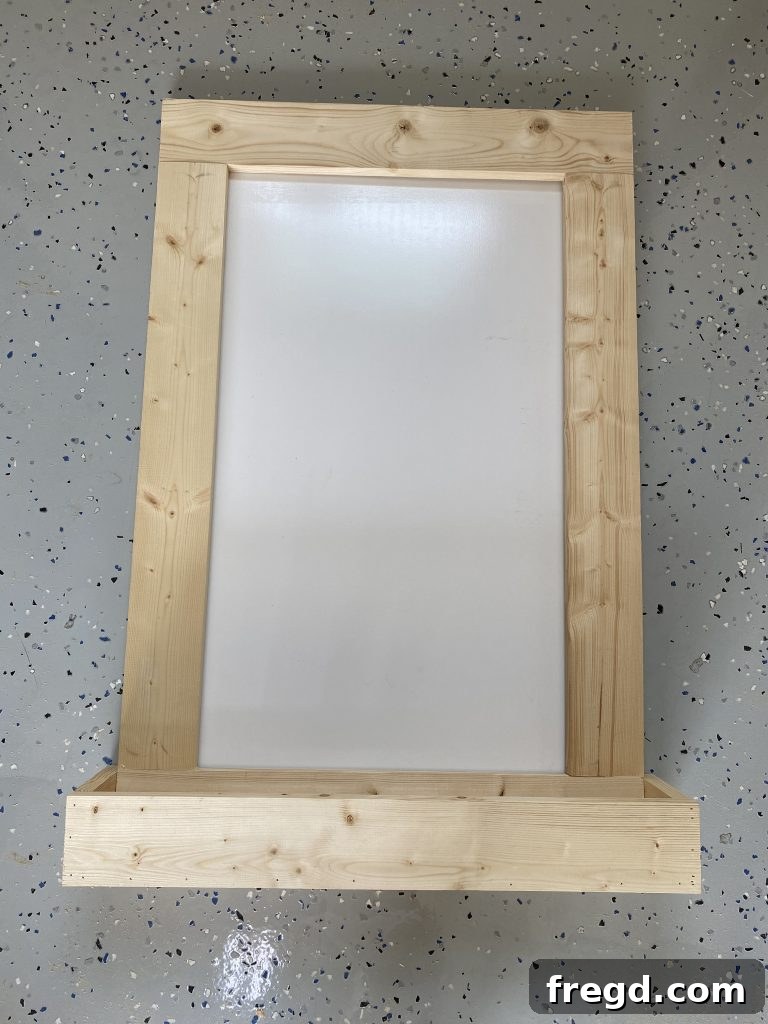
Step 2: Installing Side Trim Pieces
Cut the side trim pieces to the appropriate length. Apply wood glue to the back of the trim pieces where they will meet the side of the main frame. Then, use 1 1/4″ brad nails to securely attach them. Ensure that these side trim pieces are flush with the back edge of the dry erase board. This creates a clean, even surface for hanging the board later.
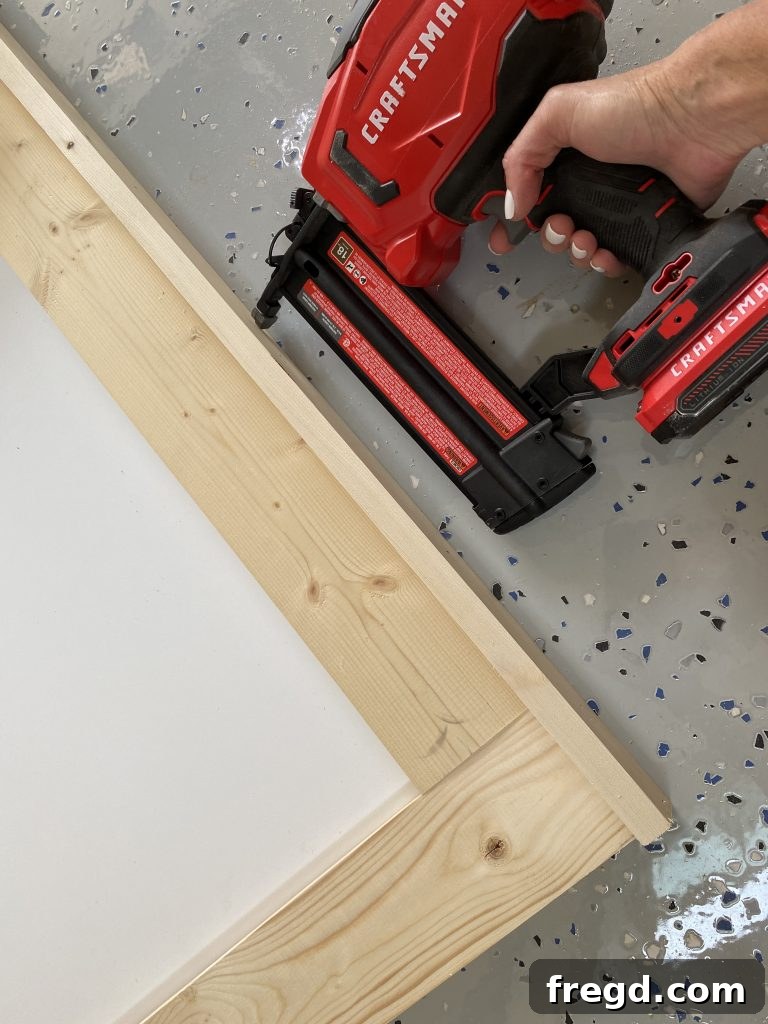
Step 3: Attaching the Top Trim Piece
Finally, cut the top trim piece to size. Apply wood glue and attach it to the top of the frame using 1 1/4″ brad nails. This completes the outer frame structure, creating a visually appealing border around your dry erase surface. At this point, the entire wooden structure is complete, awaiting its finish.
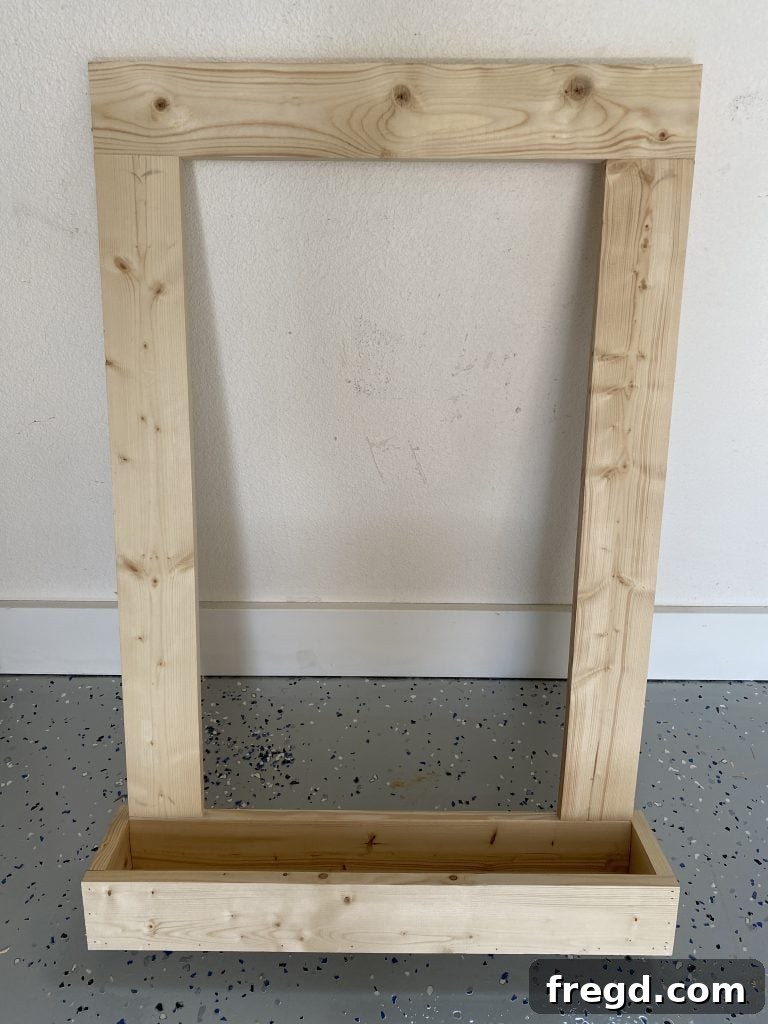
The Art of Finishing: Staining and Protection
The finish is what truly brings your DIY dry erase board to life, adding character, warmth, and durability. Minwax products were chosen for their ease of use and beautiful results, ensuring your project looks stunning and withstands daily use.
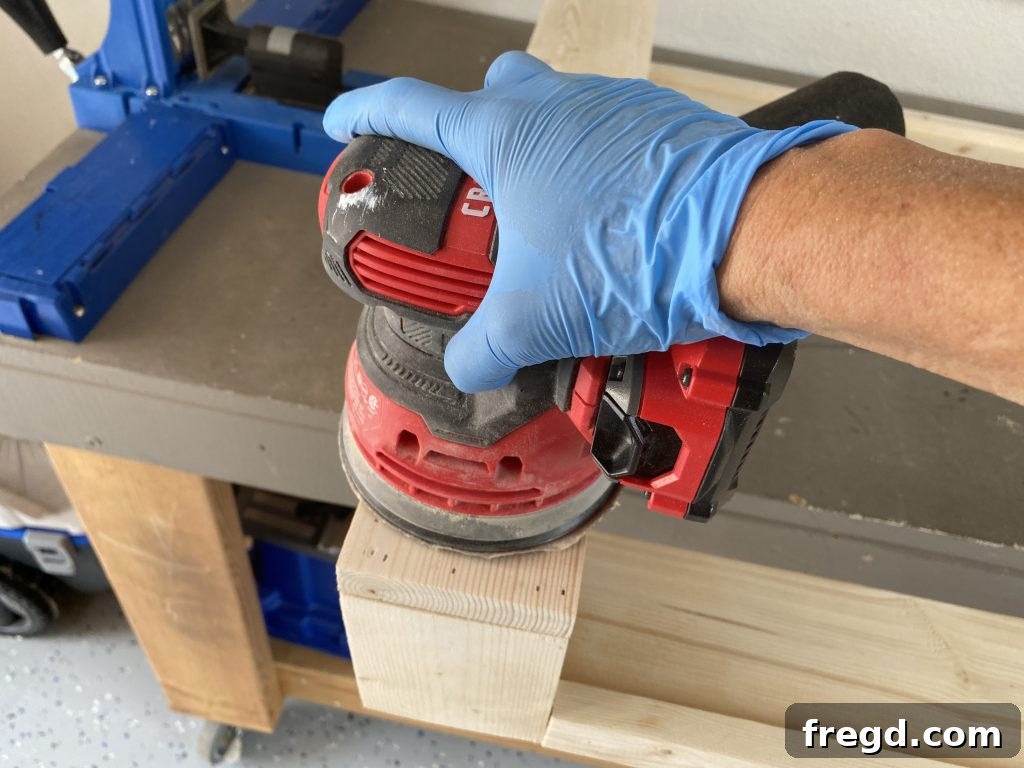
Step 1: Sanding for a Flawless Finish
Before applying any stain or protective coat, proper sanding is absolutely essential for a professional-looking finish. I sanded the entire wooden structure thoroughly, starting with an 80-grit sandpaper to remove any major imperfections or rough spots. I then moved to a 120-grit for a smoother surface, and finally, a 220-grit sandpaper for a silky-smooth finish, perfect for absorbing stain evenly. Always wipe down the wood with a tack cloth or a slightly damp cloth after sanding to remove all dust particles.
Step 2: Applying the Minwax Wood Finish Stain
For this project, I opted for Minwax Wood Finish Penetrating Stain, renowned for its rich color and easy application. You can explore their extensive palette of amazing color choices and find inspiration on the Minwax website HERE. To achieve a unique, custom shade that perfectly complemented the intended decor, I mixed two parts Golden Oak with one part Classic Gray in a small bowl. This combination creates a sophisticated, warm gray tone with underlying golden notes.
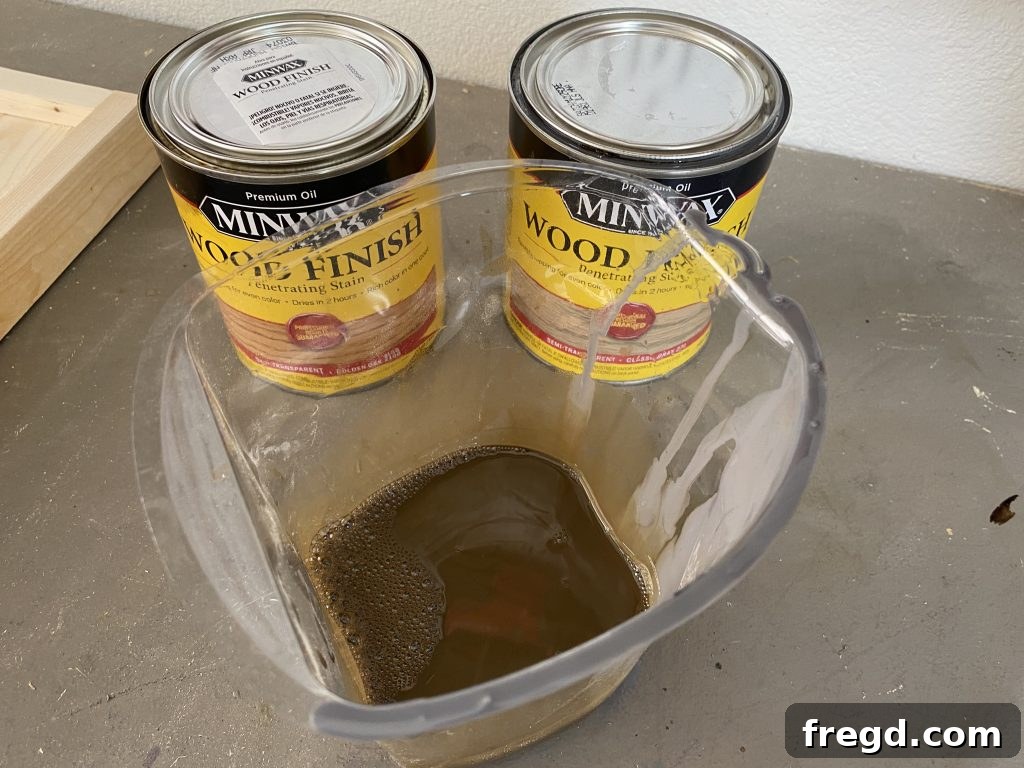
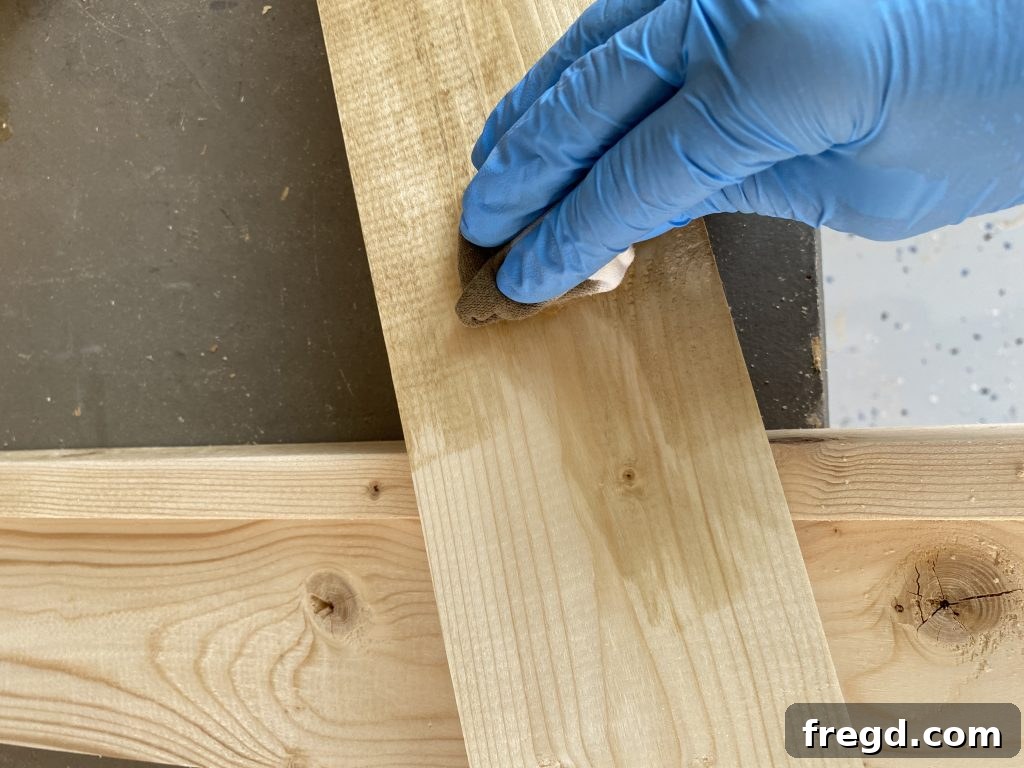
Before applying the stain to the entire piece, I always recommend testing the color on a scrap piece of the same pine wood used for the frame. This ensures you’re happy with the final hue. I was immediately delighted with the custom color, so I proceeded with staining the entire frame. I noticed the improved formula of Minwax Wood Finish during application; it goes on just as easily and richly as before, but it’s now a fantastic one-coat product! Achieving that deep, consistent color in a single, effortless coat was incredibly satisfying.
To apply the stain, I simply used a clean, lint-free cloth, wiping it evenly over all surfaces of the wooden frame. This method allows for good control and an even application. Once the stain was applied, I let the frame sit for approximately two hours to dry, which is remarkably fast and allowed me to tidy up my workshop in the meantime.
Step 3: Enhancing Durability with Minwax Polycrylic
After the stain was completely dry, the next crucial step was to apply a protective finish. I chose Minwax Polycrylic Protective Finish for its excellent durability and clear, non-yellowing coat. This provides an added layer of protection against daily wear and tear, ensuring your dry erase board remains beautiful for years to come. I applied one even coat of Polycrylic, allowing it to dry according to the manufacturer’s instructions.
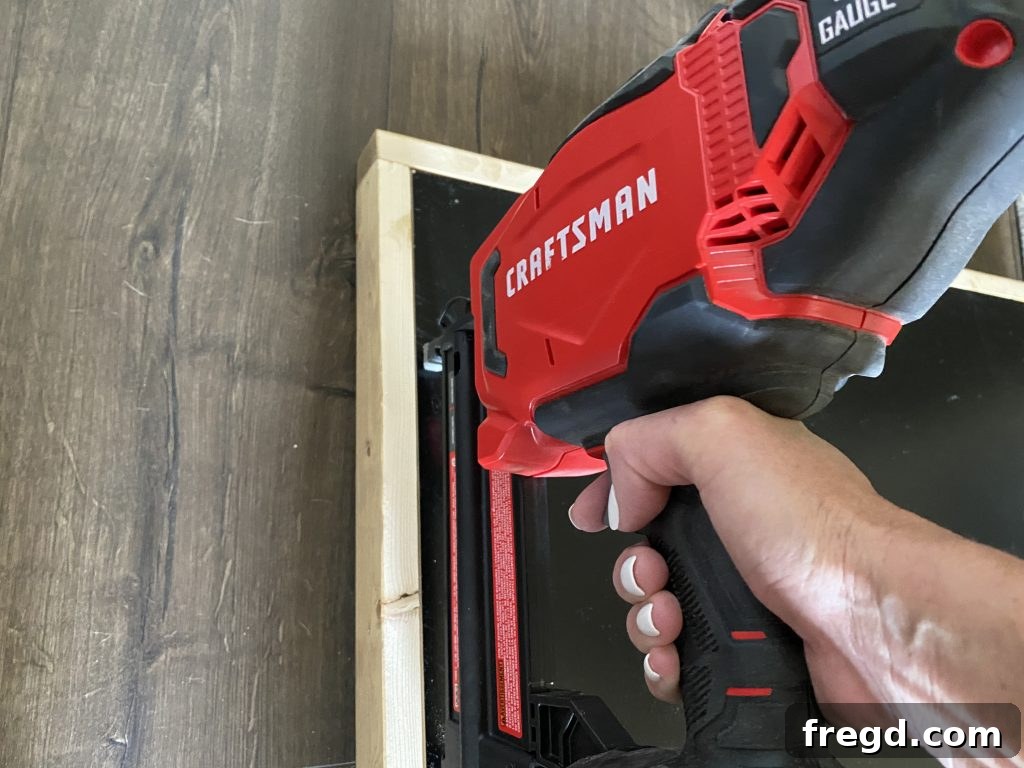
Finally, with the finish complete and dry, it was time to attach the dry erase board to the frame. I carefully positioned the dry erase board into the recess created by the frame and secured it from the back using 5/8″ brad nails, driving them into the wooden frame. This method keeps the fasteners hidden and provides a strong hold for the whiteboard surface.
Personalizing and Final Touches
With the dry erase board assembled and finished, the final steps involve installation and adding decorative elements that reflect your style and enhance functionality.
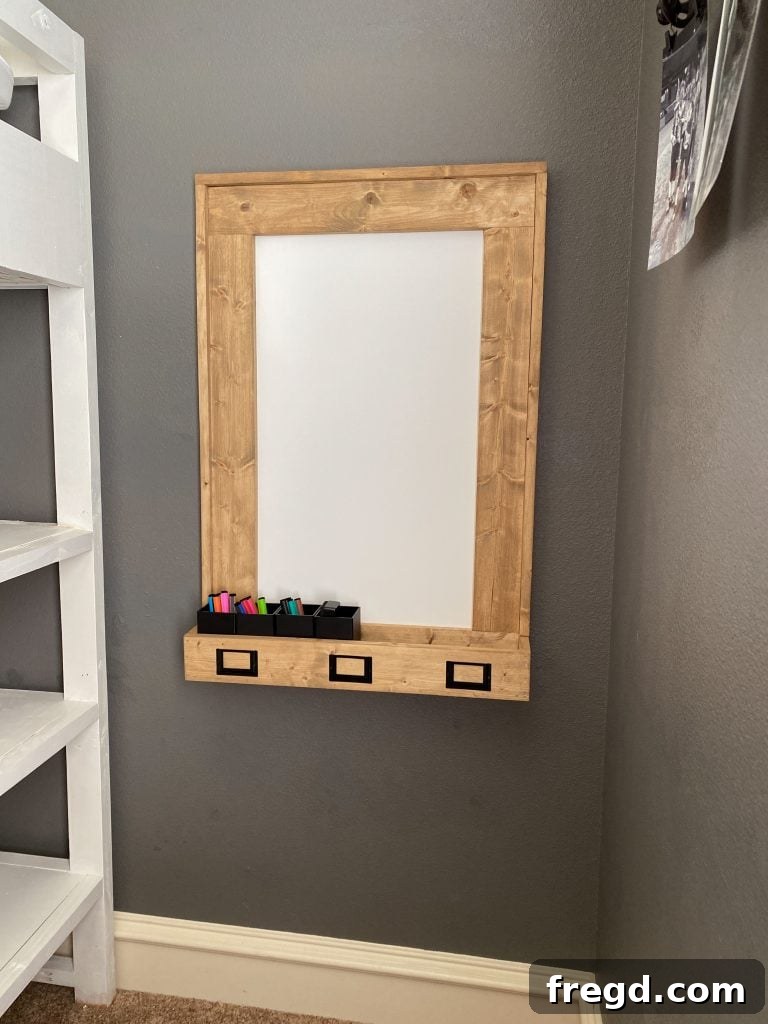
To hang the board securely on the wall, I used appropriate wall anchors and screws, ensuring it was level and stable. For a touch of charm and organization, I added three cute label holders to the front of the cup holder. These aren’t just decorative; they can be used to categorize markers, erasers, or even serve as small reminders for daily tasks. Consider adding optional pen holders to the sides or beneath the cup holder for even more dedicated storage.
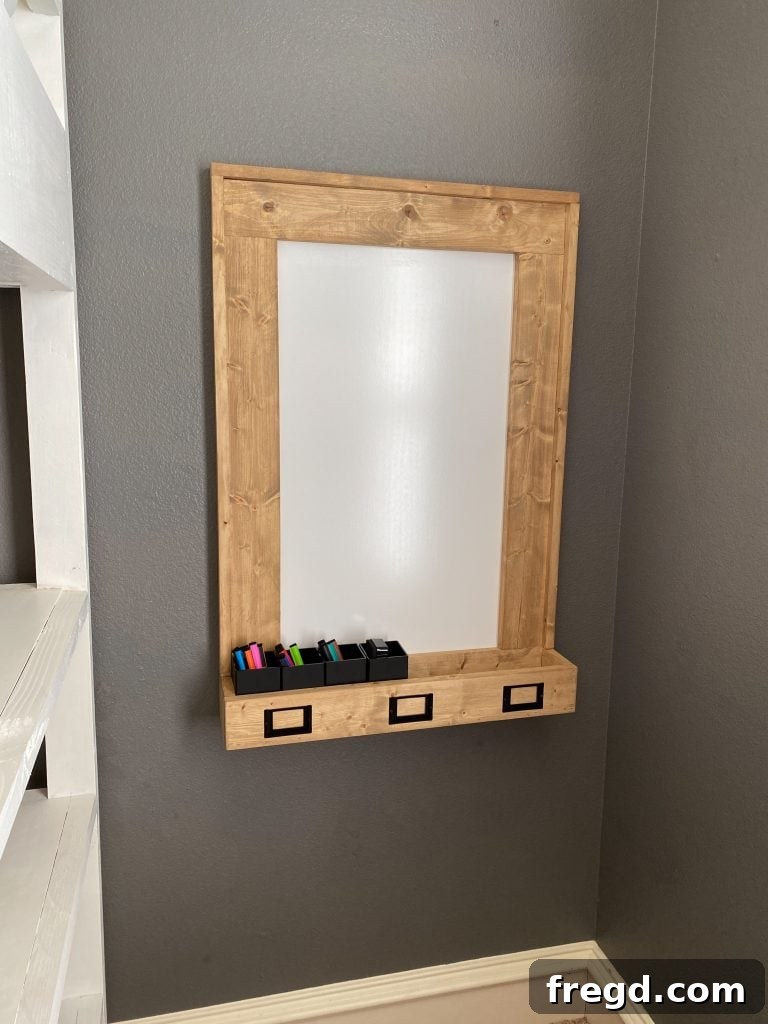
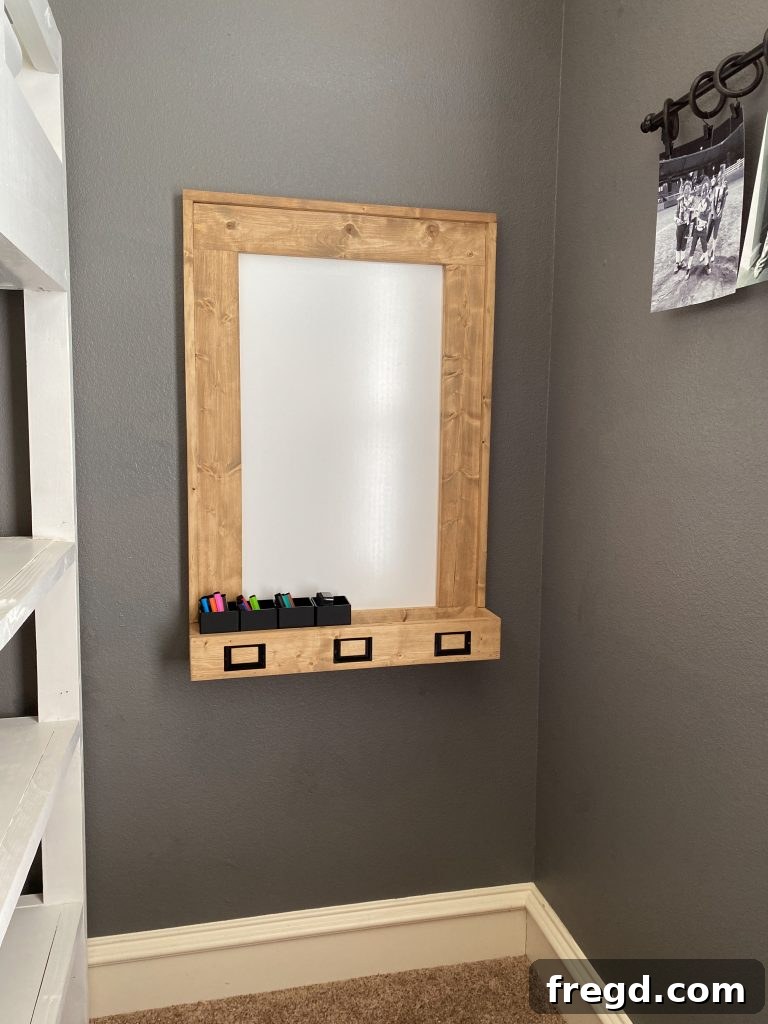
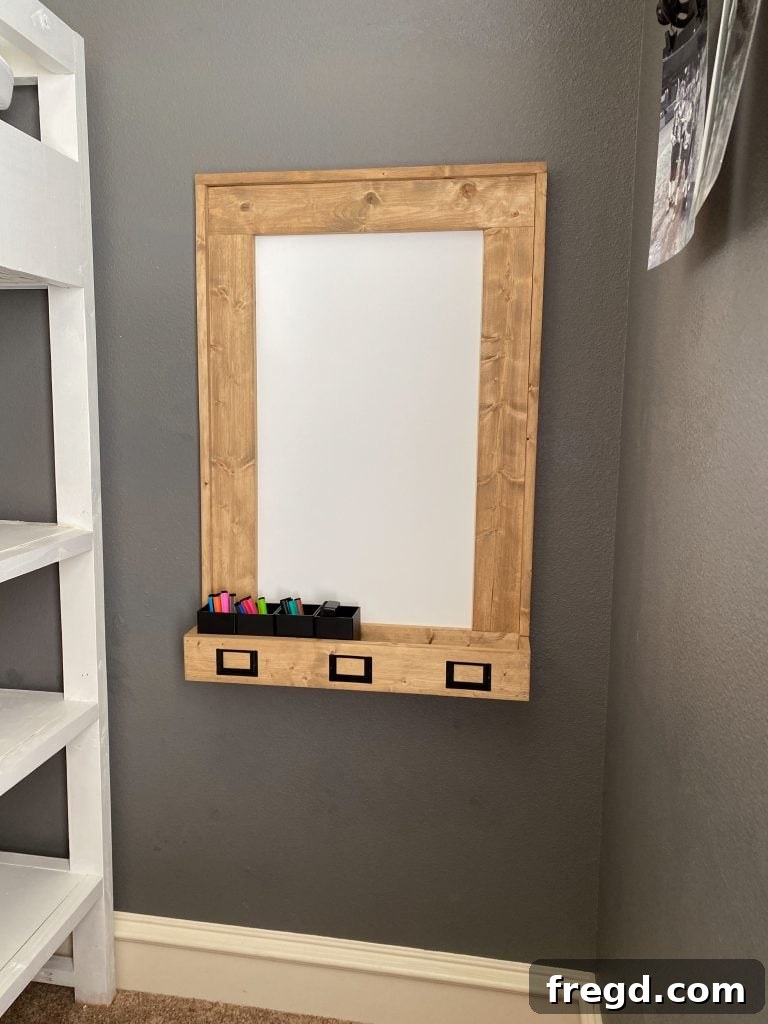
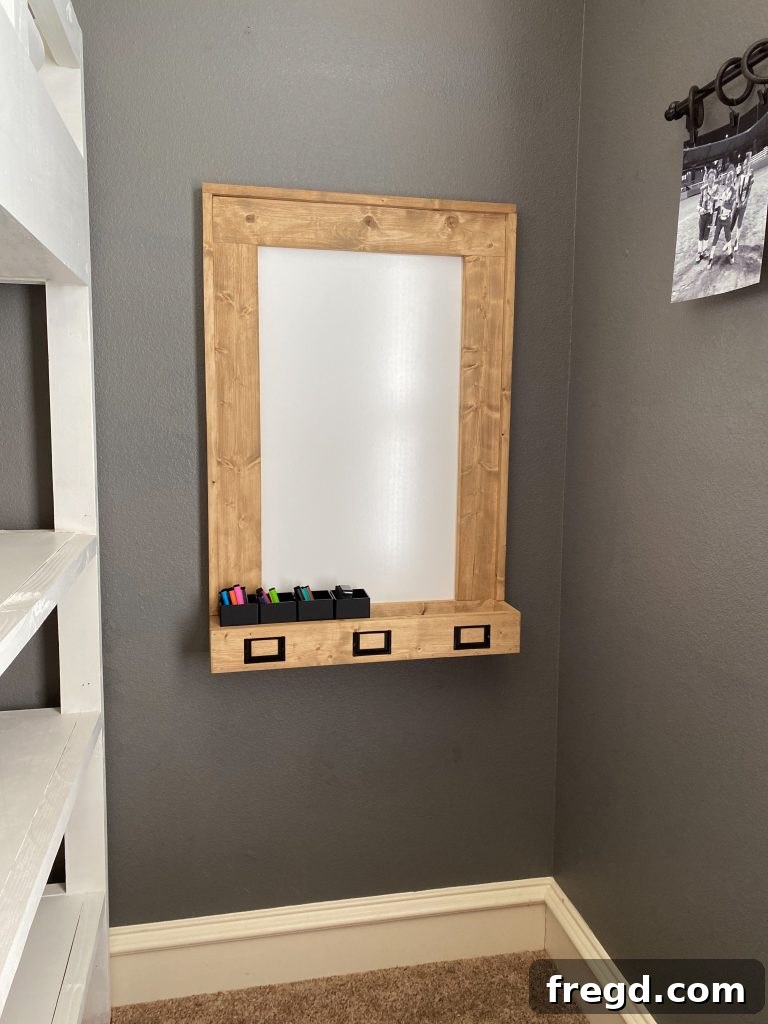
In just a few hours and for less than $40, my daughter now has a custom, adorable, and highly functional DIY Dry Erase Board. This project has not only equipped her remote learning “classroom” but also added a spark of excitement to her new academic setup. It’s a testament to how simple DIY projects can make a big impact on daily life and personal spaces.
Bring Your Vision to Life!
This DIY dry erase board project is an excellent way to create a personalized, practical, and aesthetically pleasing addition to any room. Whether it’s for remote learning, a home office, a kitchen command center, or a creative studio, the versatility and customizability of this project are endless. It’s a testament to how simple woodworking skills can result in meaningful and functional pieces for your home.
We encourage you to embark on this rewarding project and customize it to suit your own style. Experiment with different stain colors, consider painting the frame, or add unique hardware to truly make it your own. Don’t forget to share your creations with us on social media using the hashtag #shanty2chic so we can celebrate and share your amazing builds with our community!
Happy Building!
Get Started: Download Your Free Plans!
Ready to build your own custom dry erase board? Don’t miss out on the detailed, free printable plans. These plans provide precise measurements and further guidance to ensure your project is a success.
Click HERE to get the FREE Printable Plans with the complete supply list!
Additional Inspiration: DIY Dry Erase Board
This simple, cute, and functional DIY Dry Erase Board is the perfect addition to any remote learning setup, home office, or creative space. Its versatility makes it ideal for organizing thoughts, practicing handwriting, scheduling tasks, or simply doodling. This project is not only easy to build but also incredibly cost-effective, proving that you don’t need to spend a fortune to create a high-impact organizational tool.