
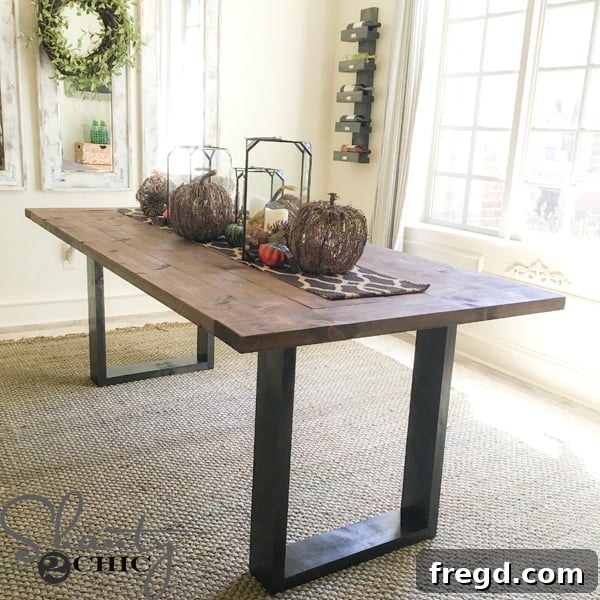
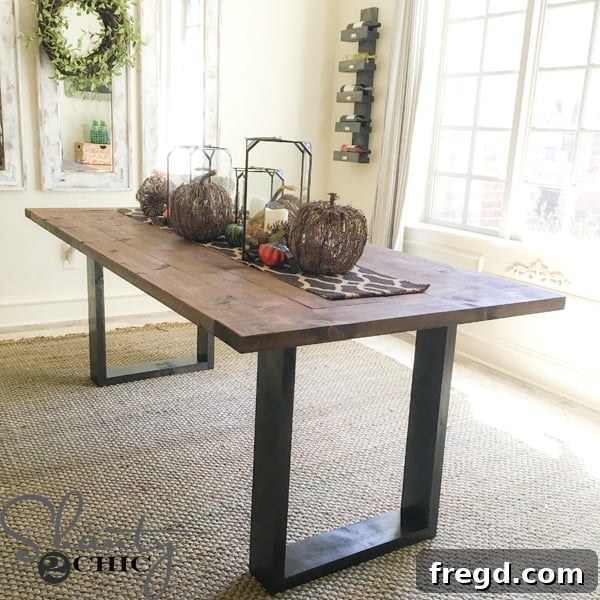
As the holiday season draws near, particularly Thanksgiving, thoughts naturally turn to gatherings, delicious meals, and the cherished moments shared around a beautifully set table. Instead of wondering what culinary delights to prepare, imagine the satisfaction of serving your feast on a dining table you built yourself! We are thrilled to share the plans for this stunning yet straightforward Rustic Modern Dining Table, a project so budget-friendly you can construct it using just 12 standard 2x6x8 lumber boards – equating to an incredibly affordable material cost of around $50! This isn’t just a piece of furniture; it’s a statement of personal craftsmanship and a testament to the joy of DIY.
For those who love visual guidance, we’ve put together a comprehensive step-by-step video that truly showcases the simplicity of this build. Watch below to see exactly how this magnificent piece comes together with ease!
Crafting your own dining table offers a unique blend of satisfaction and practicality. Not only do you get a custom piece perfectly suited to your space and style, but you also save a significant amount compared to retail prices. Our Rustic Modern Dining Table design marries the timeless appeal of rustic woodworking with clean, contemporary lines, making it a versatile addition to any home décor. It’s robust, stylish, and incredibly rewarding to build.
Getting Started: Your Free Plans and Materials
As always, we believe in empowering your DIY journey with accessible resources. That’s why we provide free, printable plans for this Rustic Modern Dining Table. These detailed blueprints are your essential guide, outlining every cut, measurement, and assembly step. To download and print them, simply click HERE. Once you have your plans in hand, you’re ready to follow along with our step-by-step instructions below and bring your dream dining table to life!
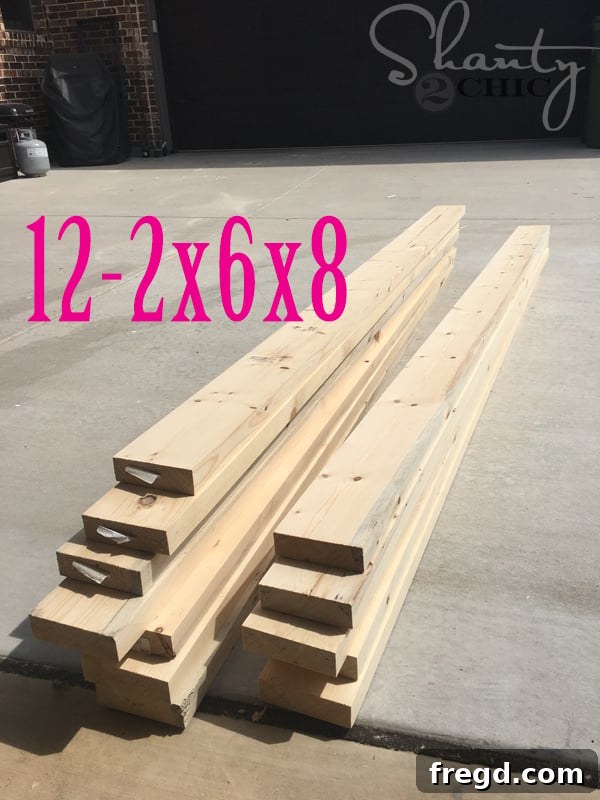
The Humble Beginnings: Just 12 Boards
The beauty of this project lies in its simplicity and cost-effectiveness. All you need for the core structure is a dozen 2x6x8 boards. That’s right, just twelve!
Preparation is Key: Achieving a Professional Finish
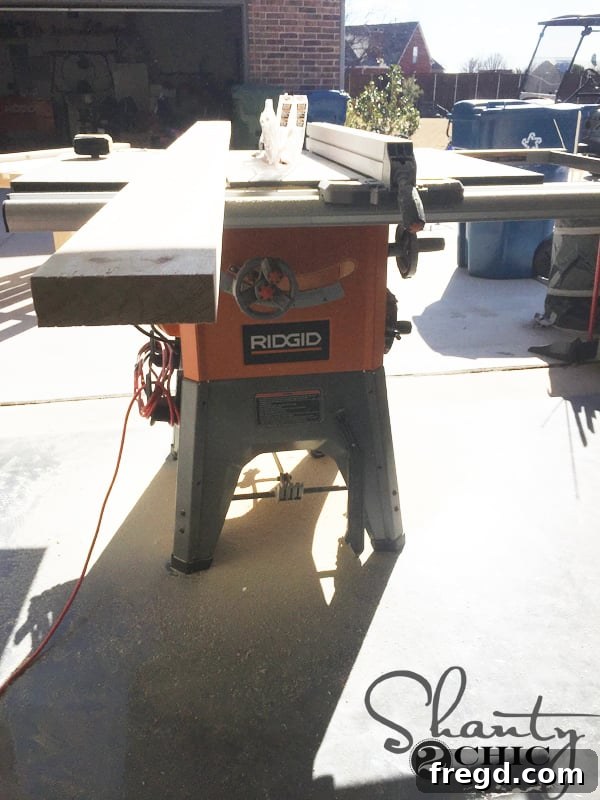
To achieve a truly smooth and gap-free tabletop, we opted to use our Ridgid Table Saw to rip off the rounded edges of each 2×6 board, standardizing their width to exactly 5 inches. While this step isn’t strictly necessary for the table’s structural integrity, it makes a remarkable difference in the final aesthetic, eliminating any slight ridges and creating a perfectly flat surface. If you don’t have a table saw or prefer to skip this step, simply adjust the base width by about 4 inches to accommodate the original dimensions of the boards. Always prioritize safety when using power tools, wearing appropriate protective gear.
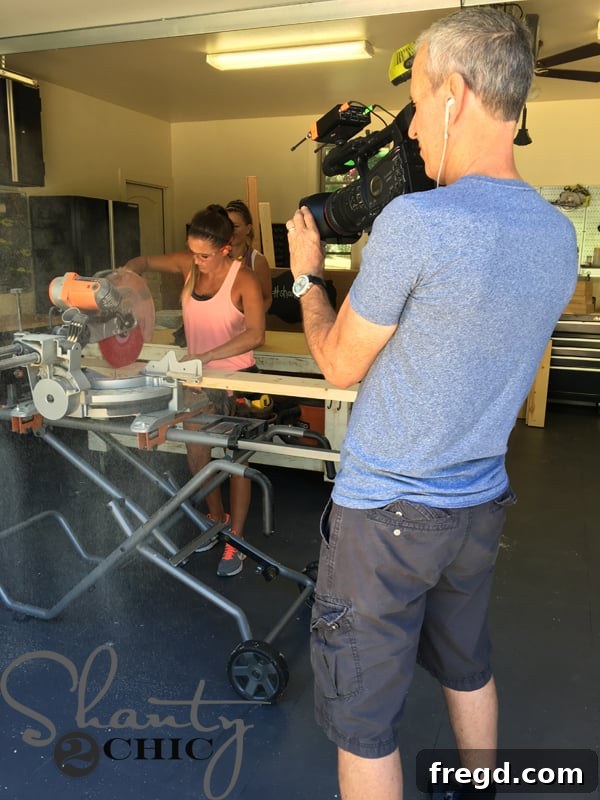
Precision Cuts: Bringing the Plans to Life
Once your boards are prepared (either ripped or left as is), it’s time to make all the necessary cuts according to the free printable plans. Accuracy here is crucial for a stable and aesthetically pleasing final product. Take your time, double-check measurements, and use a reliable saw for clean, straight cuts.
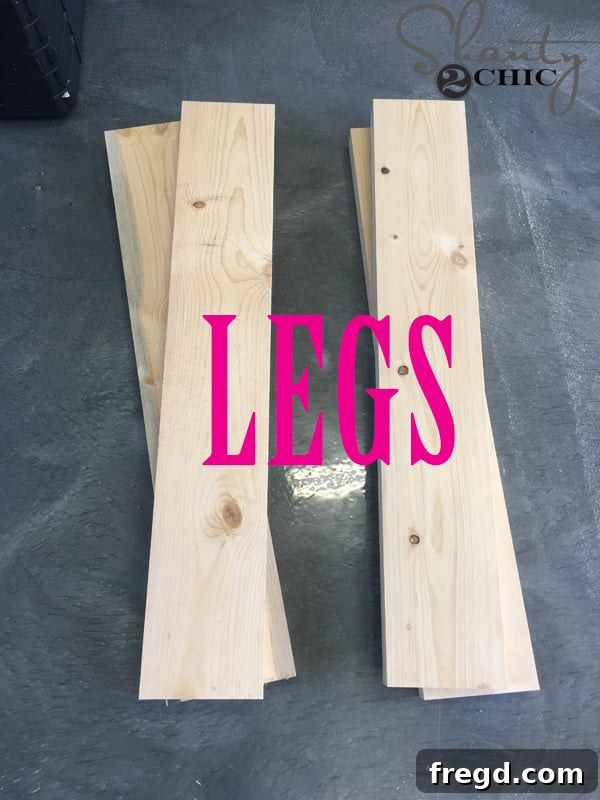
Here you can see the individual components for the table legs, precisely cut and ready for the next stage of assembly.
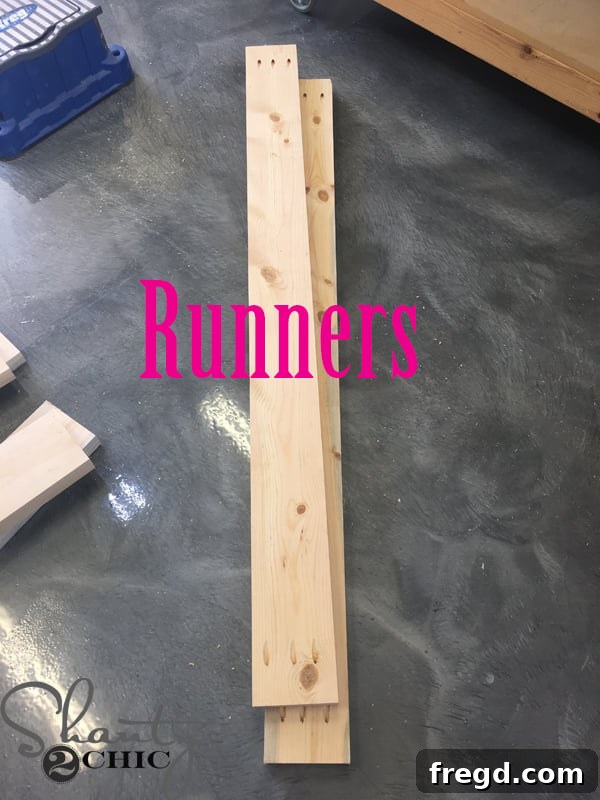
These are the table runners, which will connect the leg structures and provide crucial support for the tabletop.
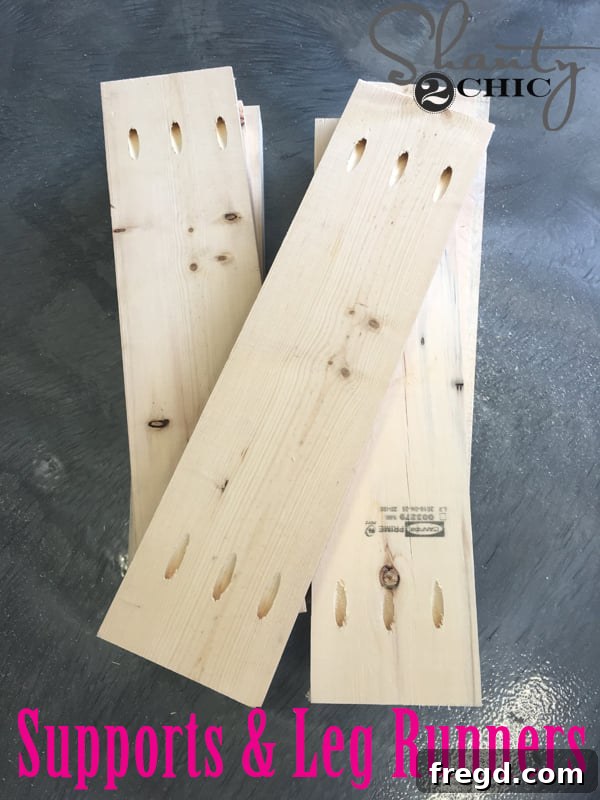
And finally, pictured here are the leg runners and the central supports, all vital pieces that form the robust foundation of your dining table.
The Power of Pocket Holes: Strong and Concealed Joinery
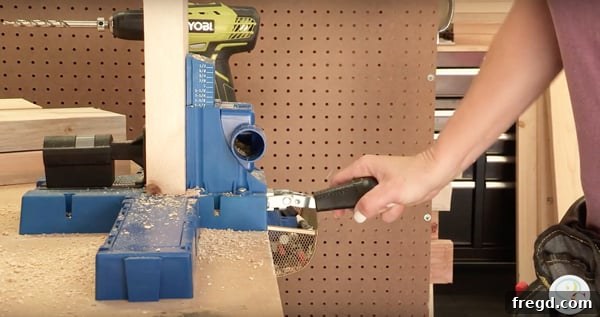
After all your cuts have been precisely made, the next step involves creating pocket holes – a fantastic method for strong, hidden joinery. We utilized our trusty Kreg Jig K5 to drill 1 1/2-inch pocket holes into the designated boards. Pocket holes are an excellent choice for DIY furniture projects as they create incredibly strong joints without visible screws, contributing to a cleaner, more professional finish.
When setting up your Kreg Jig, ensure it’s correctly adjusted for 1 1/2-inch material thickness, which corresponds to the actual thickness of 2×6 lumber. The exact placement of these pocket holes is critical for optimal strength and is clearly marked in our printable plans, so refer to them carefully for precise guidance. If you’re new to using a Kreg Jig, it’s a game-changer for woodworking projects. You can find the specific Kreg Jig model we recommend HERE on Amazon, and for a complete visual tutorial, watch our “How to use a Kreg Jig” video HERE.
Building the Foundation: Assembling the Legs
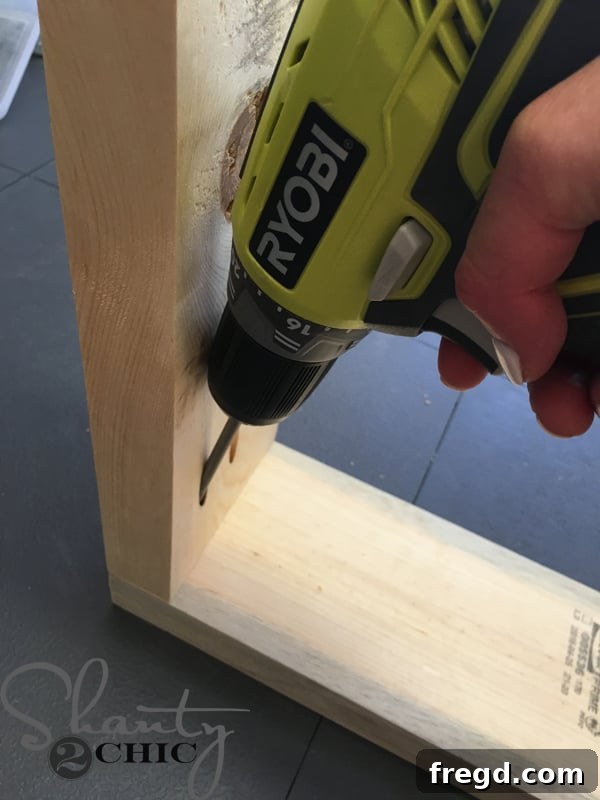
With your pocket holes drilled, it’s time to begin assembling the table’s foundation. We started by constructing both leg assemblies. For maximum durability and strength, we always recommend using a combination of wood glue and 2 1/2-inch pocket hole screws. The wood glue provides an initial bond and long-term joint integrity, while the screws pull the pieces tightly together as the glue dries.
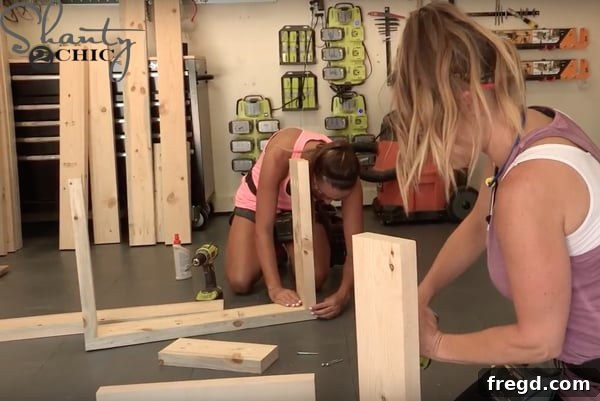
The leg runners are designed to attach to the main leg pieces, creating a flush surface with their edges. A crucial tip for a clean finish: ensure that your pocket holes face outwards on the inside of the leg assembly. This way, they will be completely concealed once the table is fully constructed and flipped upright, leaving you with a seamless and professional look.
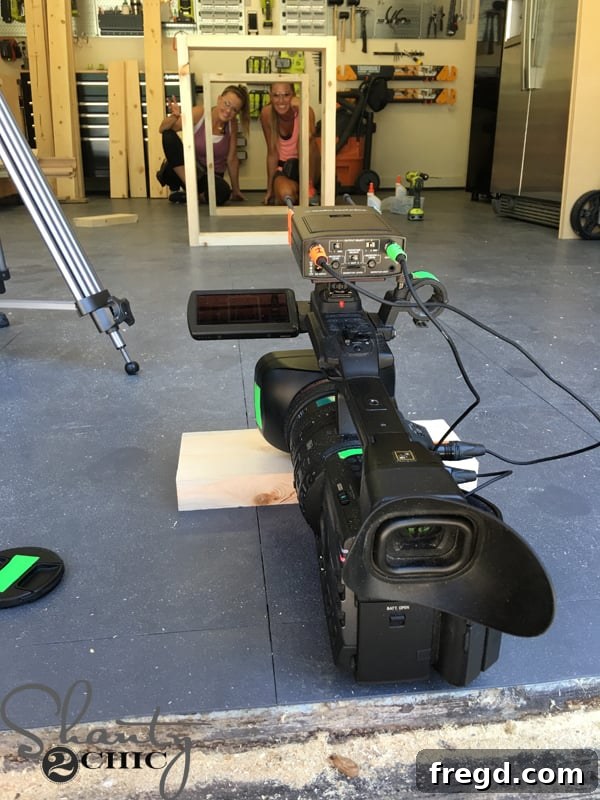
By following these steps, you should now have two identical leg assemblies that resemble sturdy boxes, forming the robust pillars of your dining table.
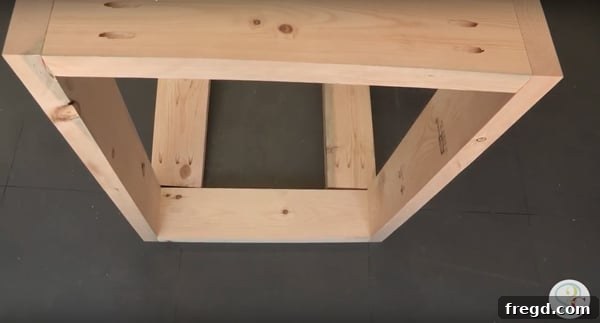
Connecting the Legs: Building the Table Base
Next, it’s time to connect these leg boxes by attaching the main runners. For easier access to the pocket holes and to ensure proper alignment, we recommend assembling this part while the table leg assemblies are upside down. Just like before, the runners should be flush with the outside edges of the leg boxes, and your pocket holes will face upwards, again, to be concealed later.
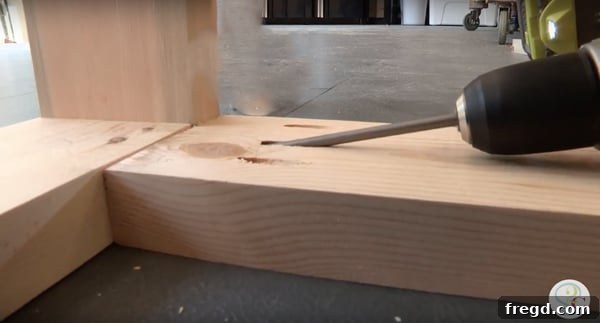
Secure these runners firmly in place using a combination of wood glue and 2 1/2-inch pocket hole screws. The glue provides added stability and prevents any potential movement over time, ensuring your table remains rock-solid for years to come.
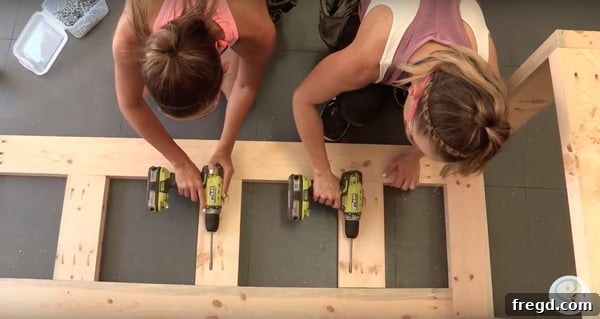
To further enhance the stability and rigidity of the table base, attach the central supports between the two main table runners. Again, use wood glue and 2 1/2-inch pocket hole screws for a durable connection. Refer to your printable plans for the precise placement of these supports to ensure even weight distribution and structural integrity.
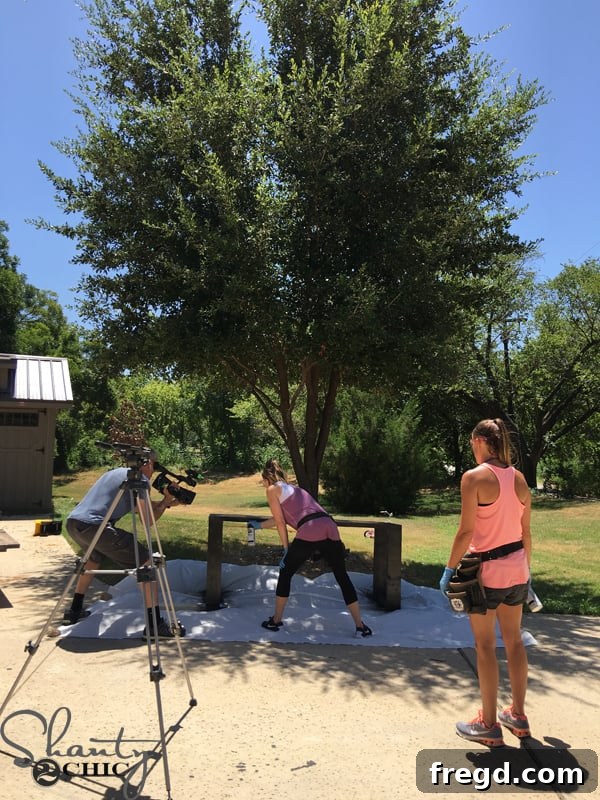
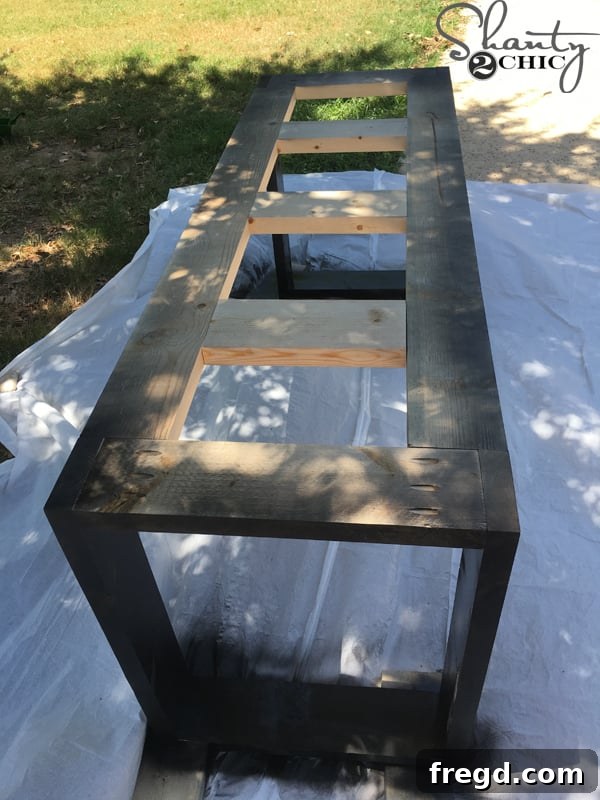
The Aesthetic Touch: Finishing the Table Base
To give our Rustic Modern Dining Table a distinctive look that beautifully blends industrial and farmhouse styles, we decided to finish the table base with a metallic effect. We applied two coats of Rust-Oleum Universal Metallic spray paint to the entire base, creating the illusion of a sleek metal structure. This adds a sophisticated contrast to the rustic wooden tabletop. Before painting, ensure your wood is clean and dry. Apply several thin, even coats, allowing sufficient drying time between each to prevent drips and ensure a smooth finish. You can find the exact spray paint we used HERE on Amazon to replicate this stunning metallic look.
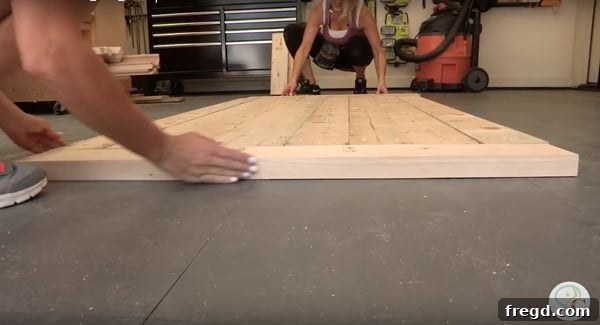
Crafting the Heart of the Table: The Planked Top
While the metallic paint on the base was drying, we turned our attention to assembling the beautiful planked tabletop. This involves joining all the individual wooden planks together to form a solid surface. Use 2 1/2-inch pocket hole screws and wood glue for each joint, creating a robust and seamless tabletop. Once the main planked section is assembled, measure and cut your “breadboards” to perfectly fit the ends of the planked top. Breadboards are not just decorative; they help to prevent the tabletop from warping over time due to changes in humidity, adding both aesthetic appeal and structural integrity.
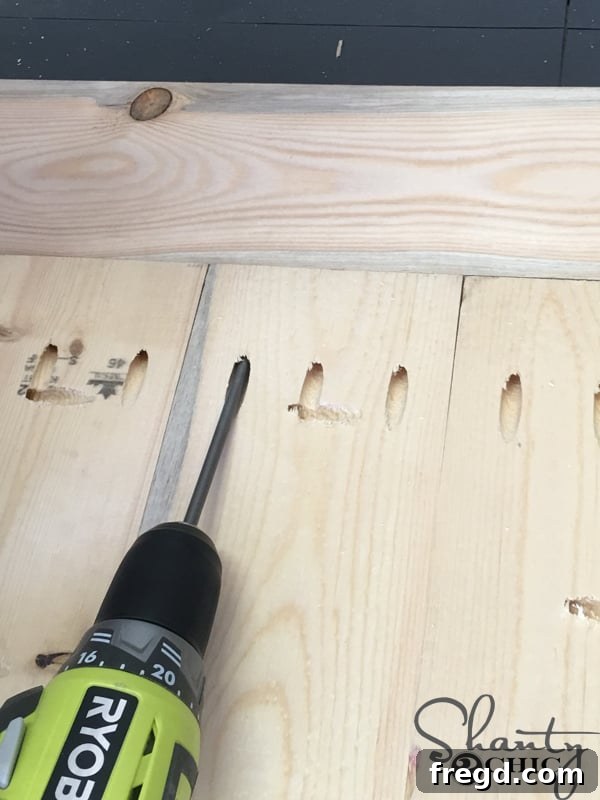
Attach the breadboards to the main tabletop planks using 2 1/2-inch pocket hole screws. Ensure they are flush and tightly secured, creating a unified and polished look for your dining surface.
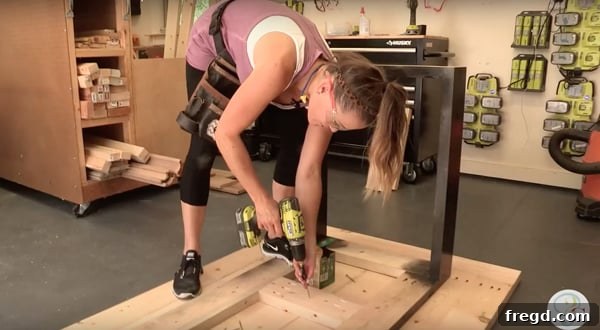
Uniting the Elements: Base to Top Connection
Now comes the exciting moment of bringing the two main components together! Carefully flip your dry, painted table base upside down. Then, center it precisely on top of the assembled tabletop. Take your time to ensure perfect alignment, as this will affect the overall balance and appearance of your finished table.
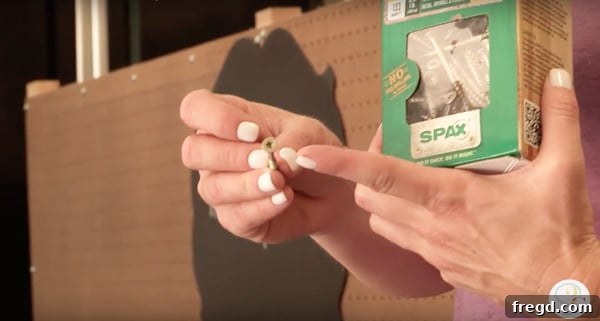
Securely attach the base to the tabletop using 2 1/2-inch Spax screws. We highly recommend Spax T-Star screws because of their superior performance: their unique threading often eliminates the need for pre-drilling (saving you time!), and the star head design provides excellent grip, significantly reducing cam-out. This ensures a strong, reliable connection that will withstand years of use. You can easily find these quality Spax T-Star screws HERE on Amazon.
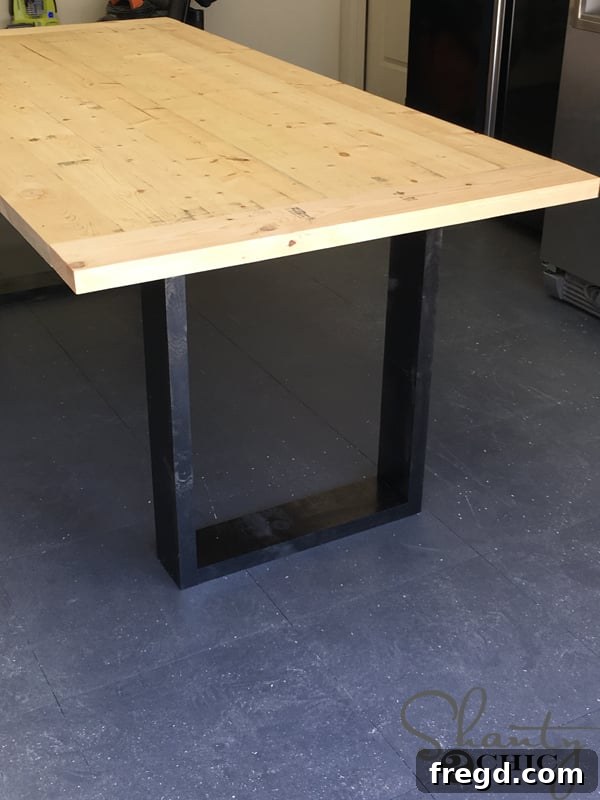
The Final Flourish: Staining the Tabletop
With the base securely attached, carefully flip your newly constructed table right-side-up. Congratulations, your Rustic Modern Dining Table is now structurally complete and ready for its finishing touches! For the tabletop, we chose a single coat of Dark Walnut stain. This classic stain brings out the natural beauty of the wood grain, adding a rich, deep hue that perfectly complements the metallic base and enhances the rustic aesthetic. Before applying the stain, ensure the tabletop is clean, dust-free, and lightly sanded for optimal absorption. Apply the stain evenly, wiping off any excess after a few minutes to achieve your desired depth of color. For long-lasting durability and protection against spills and wear, we also recommend applying a protective topcoat, such as polyurethane, after the stain has fully dried. You can find the Dark Walnut stain we used HERE on Amazon.
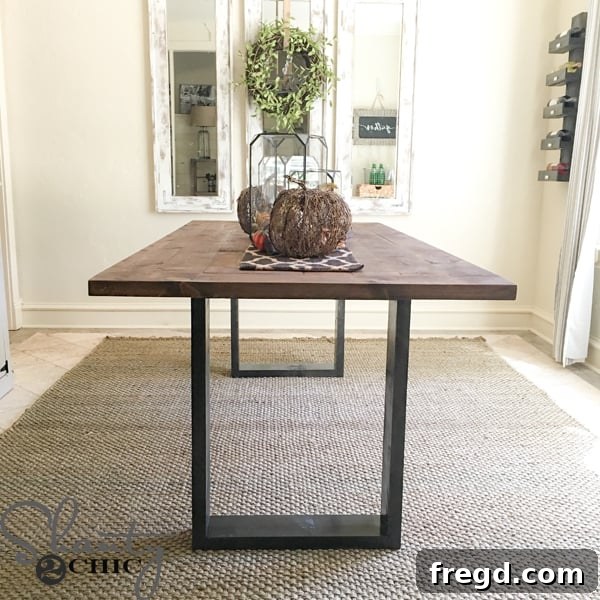
The Grand Reveal: Your Impressive DIY Creation!
And there you have it! A magnificent, handmade Rustic Modern Dining Table, ready to become the centerpiece of your home. With some festive fall decor and a beautiful table runner, like the ones we found at AtHome, you’ll have a dining space that’s not only functional but also incredibly inviting and stylish. Prepare to impress your guests with your incredible craftsmanship, especially during special occasions like Thanksgiving!
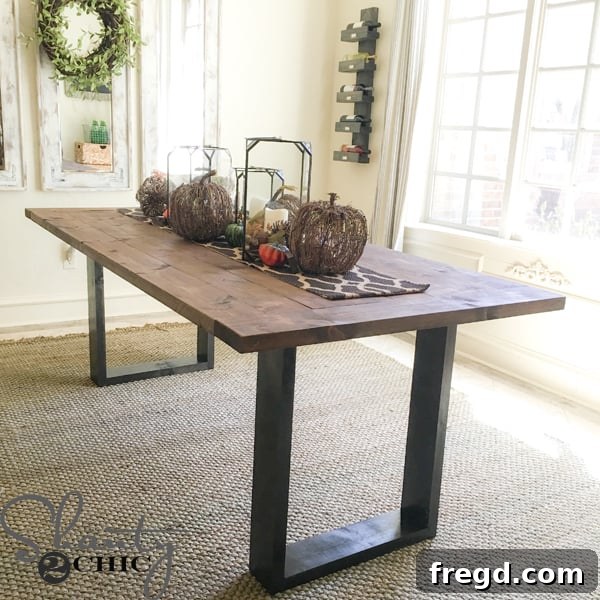
Our DIY Rustic Modern Dining table, built with just 12 2×6 boards and a few essential tools, was completed in a single afternoon. It’s a testament to how achievable beautiful, high-quality furniture can be, even on a budget and with limited time. We are now absolutely ready to entertain for Thanksgiving in style, knowing that every meal shared around this table will be extra special because of the effort and love put into its creation. If you decide to build one of these fantastic tables for yourself, we would absolutely love to see your finished projects! Make sure to tag us @shanty2chic on your favorite social channels or upload a photo to the Reader’s Projects section of our website. Your creations inspire us!
For those who love to see the action unfold, don’t forget to check out our detailed how-to video below for an even closer look at each step:
Happy Building and Happy Entertaining!
Shop the Look & Explore More DIY!
Many of the decorative elements that complete this look can be sourced easily:
- You can find the rug featured in our decor HERE!
- Looking for similar mirrors to enhance your dining space? Discover how to create your own DIY full-length mirrors HERE!
- The charming Table Runner and the delightful Fall Centerpiece Decor were both found at AtHome, a great resource for seasonal accents.
Don’t stop here! We encourage you to explore our extensive collection of free DIY dining table designs. With over 25 free tutorials available, you’re sure to find a project that perfectly matches your personal style, skill level, and the specific needs of your space. Happy crafting!