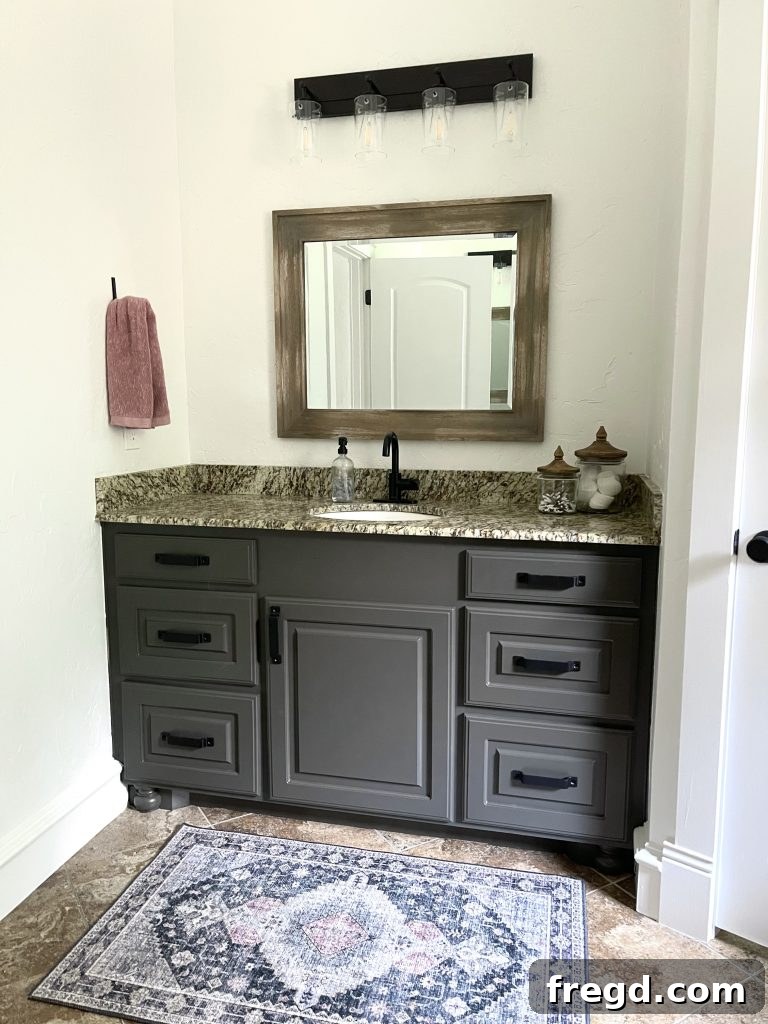
Master Bathroom Makeover: The Ultimate No-Prime Cabinet Painting Transformation
Embarking on a significant home renovation project can often feel daunting, especially when budget constraints dictate a more creative approach. For years, the idea of transforming my master bathroom lingered as a dream, constantly pushed aside by the reality of perfectly functional, albeit outdated, countertops and tiles. The existing color palette and style felt like a cage, locking me into a space that no longer reflected my taste. I had resigned myself to living with it, believing a full overhaul was the only path to a fresh look.
However, a serendipitous chain of events unfolded a couple of months ago, setting the stage for an unexpected and truly remarkable transformation. My daughters, inspired by their own desire for an updated space, pleaded with me to paint their bathroom cabinets. With only a double vanity to tackle, I finally caved, agreeing to take on the project. This seemingly small task led me directly to Lowe’s, searching for a specific paint I had used years prior. To my dismay, it had been discontinued.
It was then that a helpful associate at Lowe’s introduced me to Valspar Cabinet Enamel, a product I had never encountered. He passionately described its benefits, and frankly, it sounded almost too good to be true. Despite my skepticism, I decided to trust his recommendation. Having painted cabinets multiple times over the years, I can confidently say this Valspar paint is, without a doubt, the best cabinet paint I have ever used. And the most astonishing feature? No priming required! This revelation was a game-changer.
Witnessing the dramatic makeover in my girls’ bathroom ignited a spark of possibility for my own master bathroom. While a much larger undertaking, with separate vanities and soaring 16-foot ceilings, the success of the first project gave me the confidence to dive in. The entire master bathroom renovation took a few days to complete, but the results were beyond my wildest expectations. Before we delve into the intricate details, take a moment to watch the incredible before-and-after video below to truly grasp the scale of this DIY cabinet painting triumph!
How to Paint Cabinets with NO Sanding or Priming!
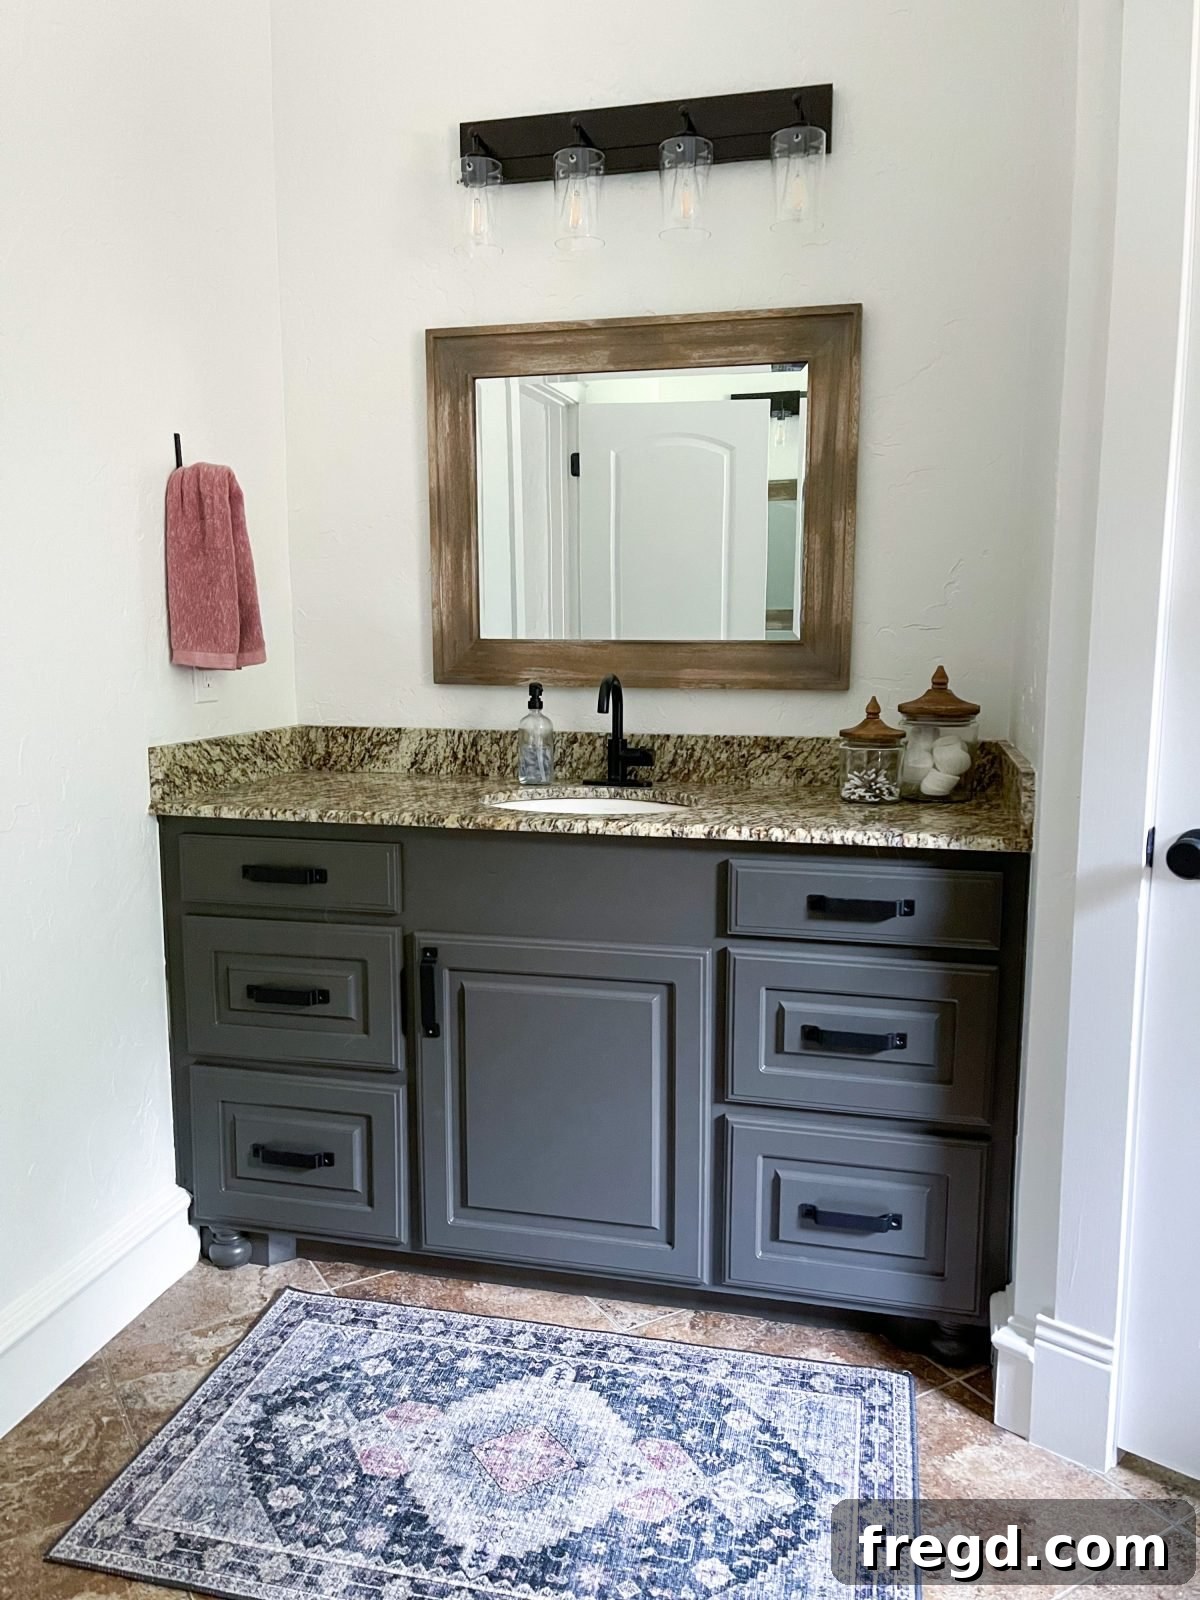
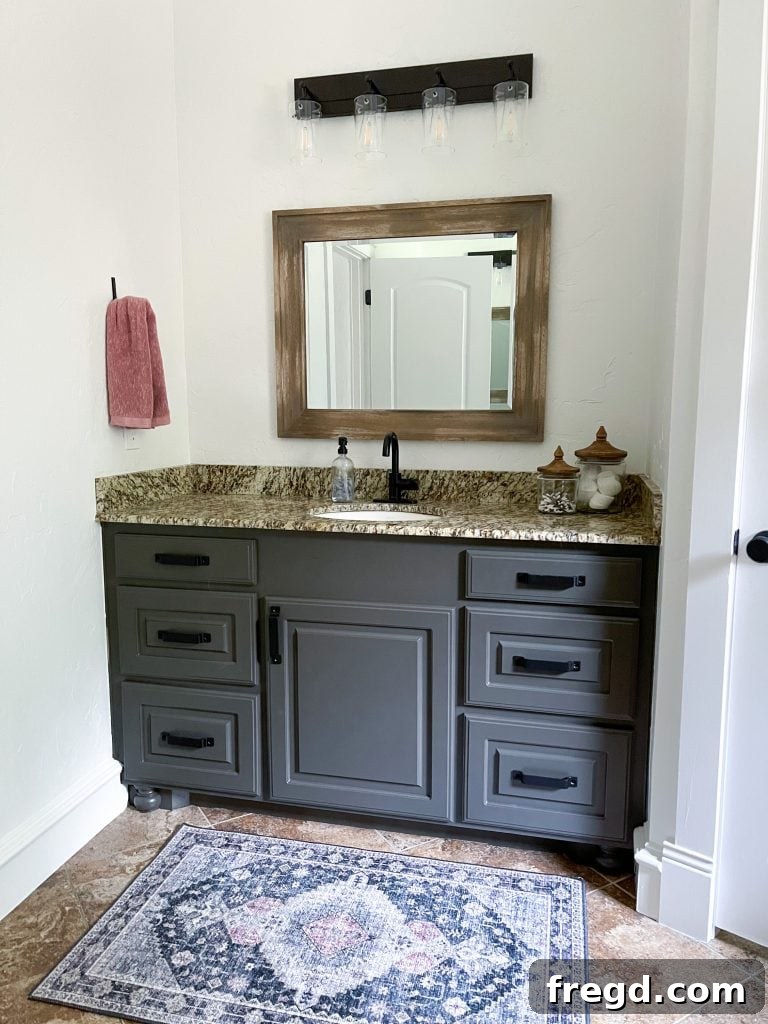
I am absolutely thrilled with the final outcome. The space is now immeasurably brighter, exuding a fresh, clean, and much happier ambiance. It truly feels like a brand-new bathroom, all thanks to the power of paint and a willingness to try something different.
The Starting Point: A Dated Master Bathroom
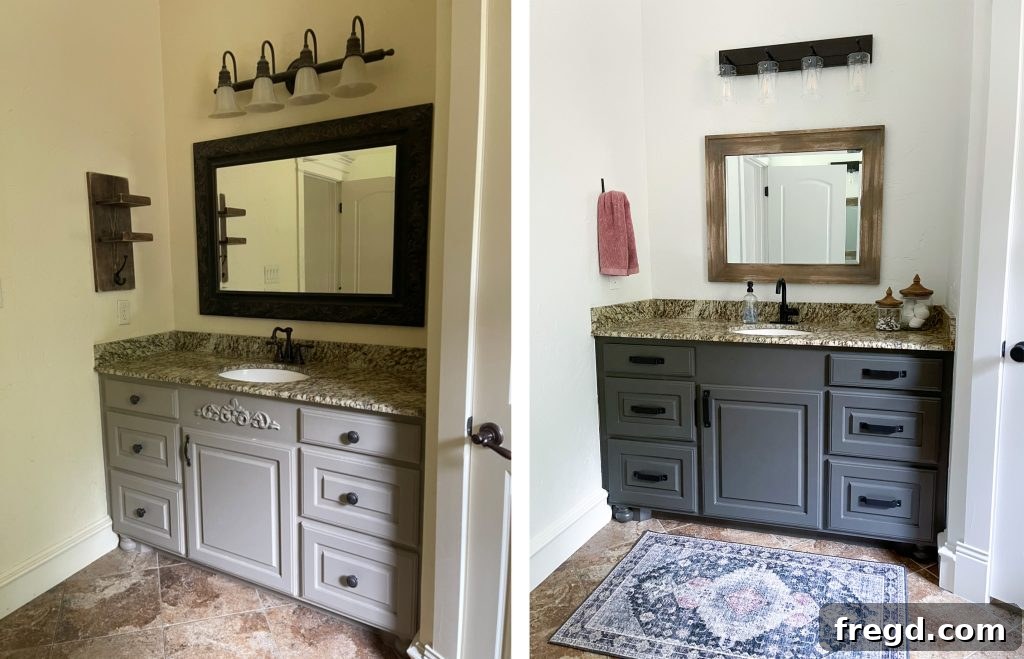
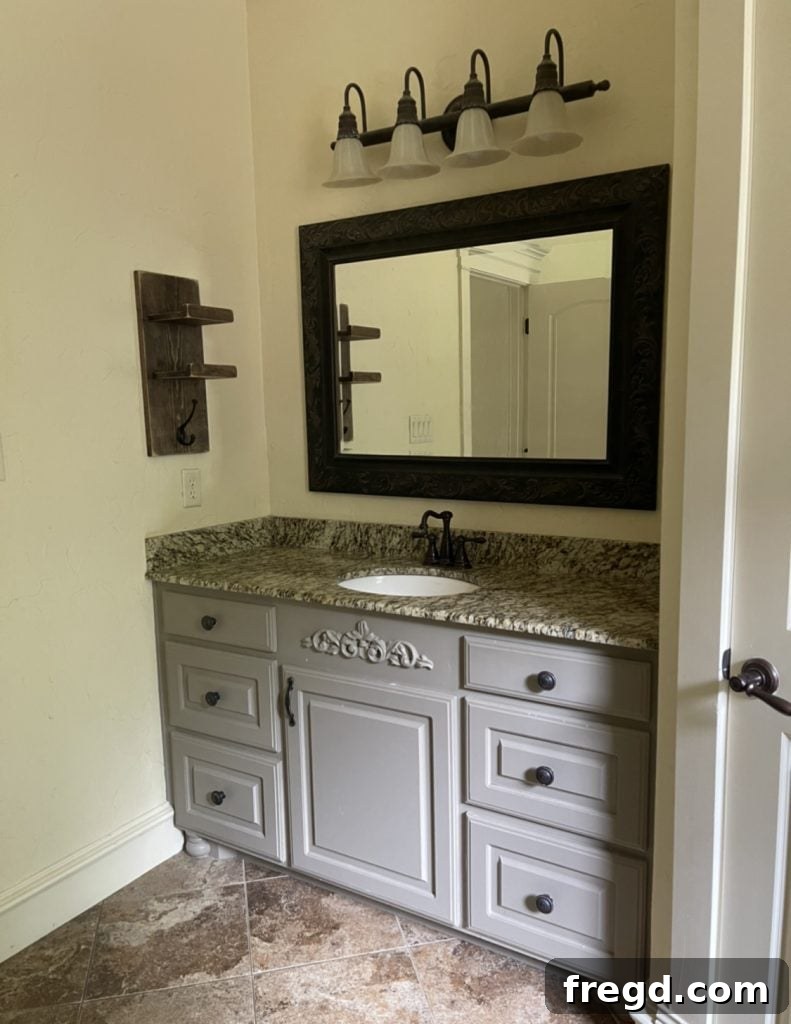
Let’s rewind to the “before” state of my master bathroom. About 14 years ago, I had an inexplicable aversion to white paint and chose a distinct butter yellow for all the walls. This color, while perhaps lovely in a different context, unfortunately made the entire space feel perpetually dark and closed off. Every element, from the cabinets to the walls, screamed for a revitalization. My biggest dilemma was how to achieve a modern aesthetic while being constrained by the existing tile and granite, which were still in perfect condition and not justifiable to replace.
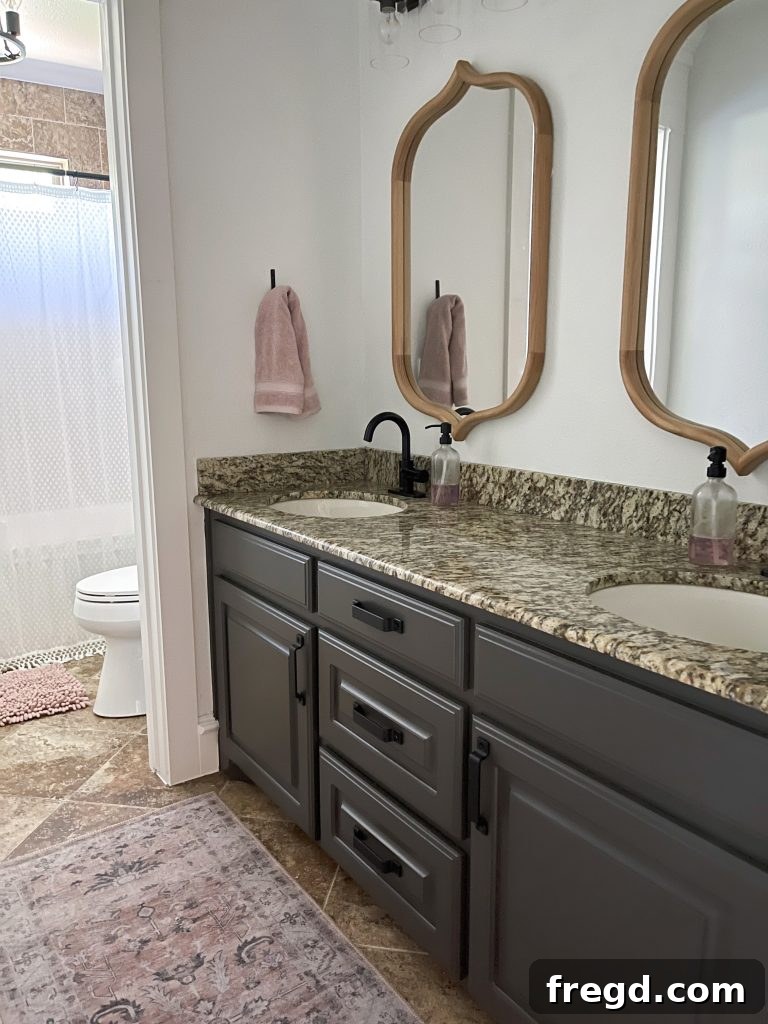
Here’s a glimpse of my girls’ bathroom after its stunning transformation. It’s truly remarkable how a fresh coat of paint can instantly brighten and expand a space. You can also observe the exceptionally smooth finish of the paint application, a testament to the quality of the Valspar Cabinet Enamel.
The Secret Weapon: Valspar Cabinet Enamel – No Sanding, No Priming!
In both my girls’ bathroom and my master bathroom, I achieved flawless, full coverage with just two coats of paint – and yes, absolutely NO priming was involved! This is an astounding feat for any cabinet paint, making the process significantly less laborious and time-consuming than traditional methods. Let’s delve deeper into this incredible paint.
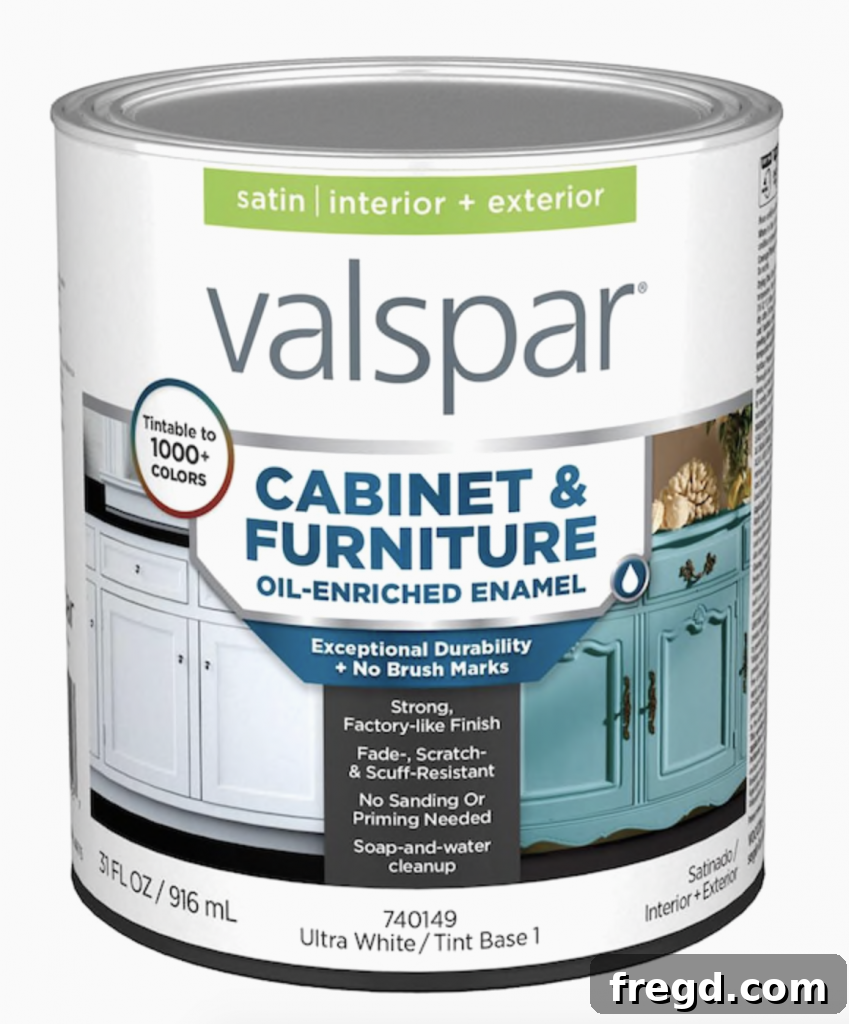
While I don’t claim to be a professional painting expert, my successful experiences in two different spaces speak volumes. I’ll share what the knowledgeable associate at Lowe’s told me about this particular product. He referred to it as a “hybrid” paint, a masterful blend that offers the exceptional durability typically associated with oil-based paints, combined with the unparalleled ease of application and cleanup characteristic of latex paints. He confidently assured me that priming was entirely unnecessary, regardless of the previous finish on my cabinets. My master bathroom cabinets, for instance, had originally been sprayed with lacquer, yet the Valspar enamel adhered perfectly without any primer.
For the cabinets in my master bathroom, I chose the sophisticated Urbane Bronze by Sherwin-Williams (SW-7048), a rich, warm gray that adds depth and modernity. To create a striking contrast and brighten the overall space, I opted for Pure White by Sherwin-Williams (SW-7005) for the walls, doors, and trim. This combination instantly elevated the bathroom’s aesthetic, transforming it from dated to decidedly chic.
Key Learnings for Painting Cabinets with Valspar Cabinet Enamel:
- Addressing Drips with Self-Leveling Paint: You might come across some negative reviews online mentioning drips. The Valspar Cabinet Enamel is designed with an amazing self-leveling feature, which is fantastic for minimizing brush strokes and achieving an incredibly smooth, factory-like finish. However, if applied too thickly, drips can occur. My solution was to apply two thin, even coats. After each application, I would diligently watch the painted surfaces for a few minutes. If I noticed any potential drips forming, a quick, gentle brush-over would blend them seamlessly, eliminating any issues. This technique ensured a flawless result without any visible drips.
- Understanding Drying Times: While this hybrid paint felt dry to the touch almost as quickly as typical latex paint, it remained slightly tacky for several hours. Patience is key here. I made sure to avoid touching the newly painted surfaces for at least a full day, sometimes longer, to allow for proper curing and to prevent any imperfections. This extra drying time is a small trade-off for the superior durability and finish it provides.
Essential Preparation: Degreasing, No Sanding
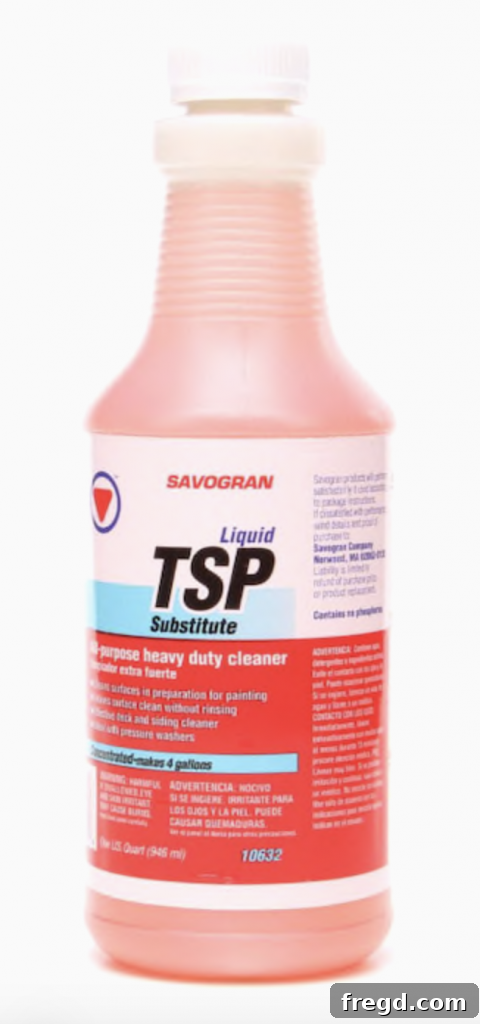
One of the most appealing aspects of this project was the minimal preparation required. Before painting, my only step was to thoroughly degrease the cabinet surfaces using a TSP substitute. There was no laborious sanding, and certainly no priming! The degreasing step is crucial to ensure optimal paint adhesion and a clean finish.
This is the TSP substitute I used, and I cannot recommend it enough. Its effectiveness made the cleaning process incredibly simple. I simply poured a small amount onto an old rag and wiped down all the cabinet doors, cabinet bases, trim, and even the actual doors that were also slated for a fresh coat of paint. This quick and easy cleaning step was all that was needed to prepare the surfaces for painting, saving immense time and effort.
My Go-To Painting Tools for a Seamless Finish
Having the right tools can make all the difference in a painting project, especially when striving for a professional-looking finish. These are some of my absolute favorite tools that made this master bathroom cabinet painting project much smoother:
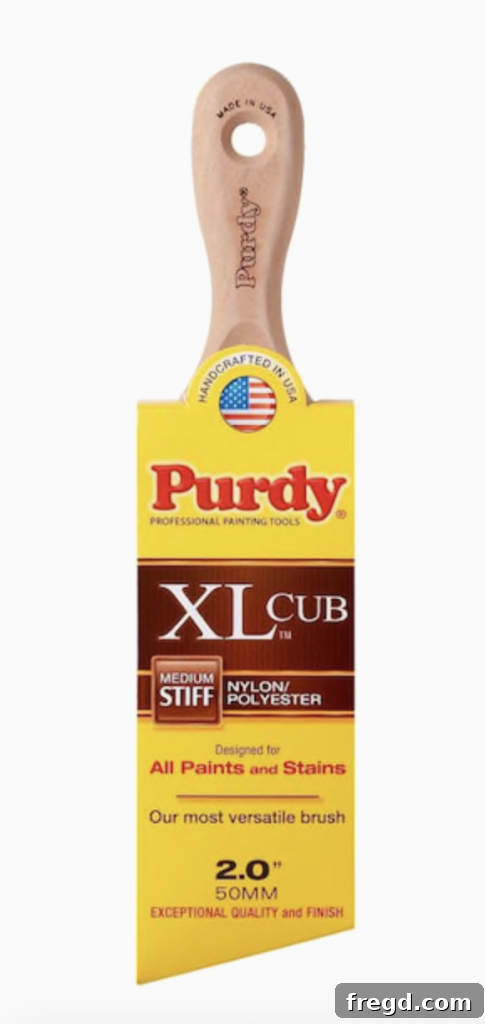
Purdy XL Cub Nylon/Polyester Blend Angle 2-inch Paint Brush: These brushes are my top choice for painting cabinets and trim. The shorter handle design makes them incredibly comfortable and easy to maneuver, preventing hand fatigue, which is a huge advantage, especially for those with smaller hands like mine. Their blend ensures smooth application and excellent control, making crisp lines and even coverage effortless. Cleanup was also a breeze; this paint is 100% washable with water only after it’s dry!
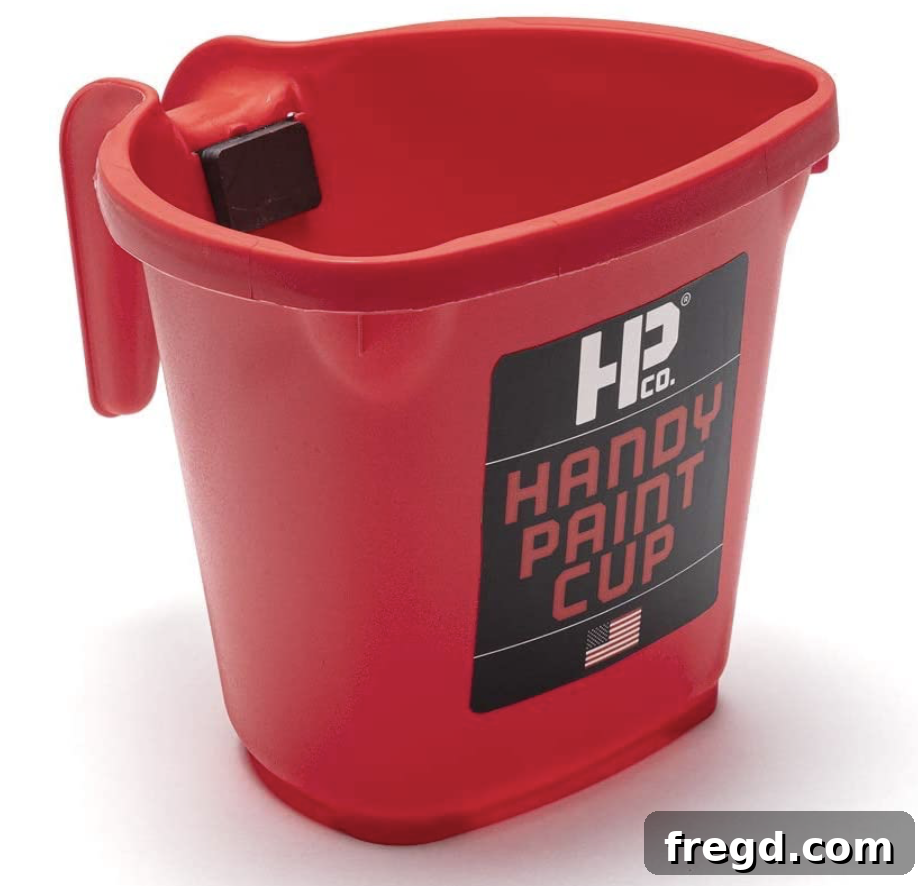
Magnetic Paint Cups: These paint cups are truly a game-changer! I absolutely adore them. The built-in magnet on the side is incredibly handy, allowing you to attach the cup to any metallic surface (like a ladder or tool belt) while you’re painting, keeping your paint easily accessible and reducing spills. They are also very affordable. Sometimes I dispose of them after a project, but often I wash them out and save them for future use.
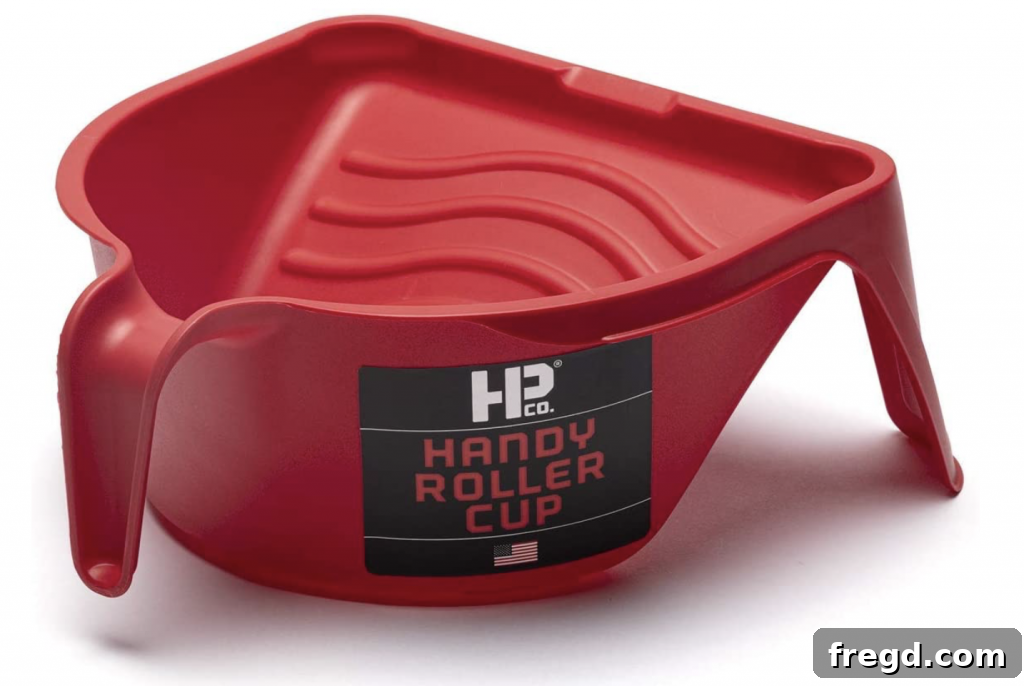
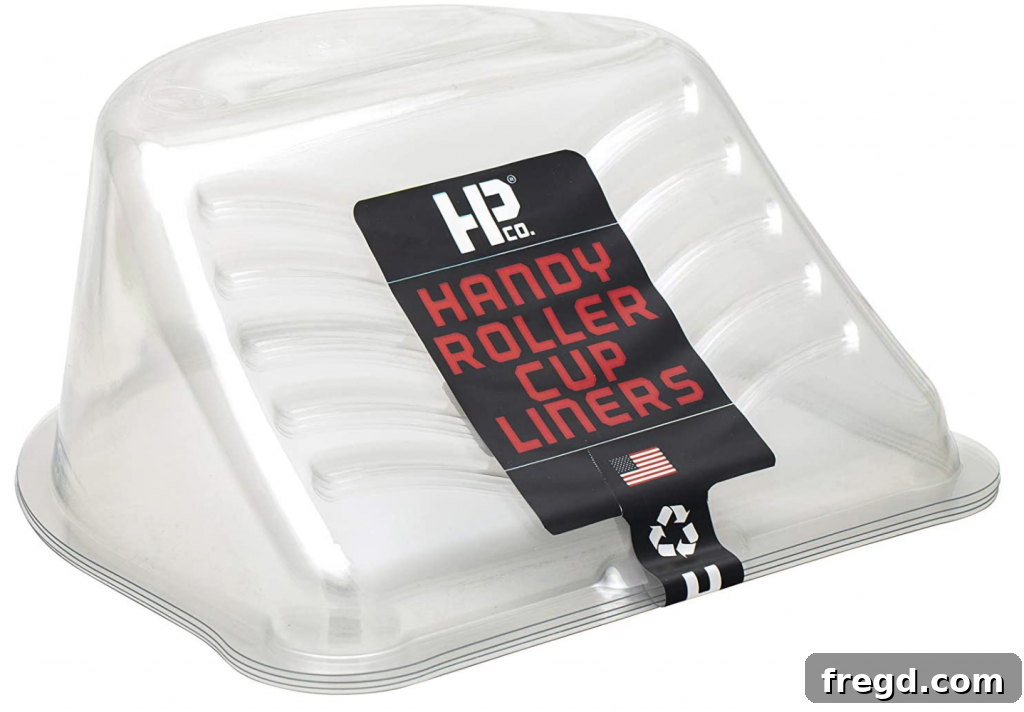
Large Paint Cup for 6-inch Rollers: For painting the walls, this larger cup designed for 6-inch rollers was invaluable. It holds a good amount of paint, minimizing refills. Even better, you can purchase disposable liners for these cups, making cleanup incredibly simple – just toss the liner when you’re done!
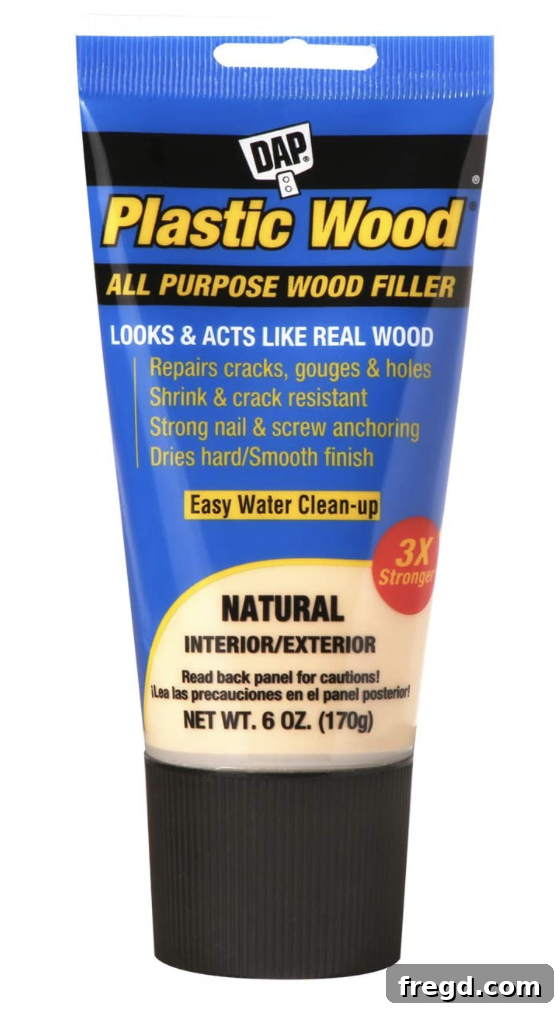
Plastic Wood Wood Filler: To achieve a seamless look with the new cabinet pulls, I filled the existing hardware holes using Plastic Wood Wood Filler. This product is fantastic because it dries quickly and sands down beautifully, creating a perfectly smooth surface for drilling new holes or applying paint.
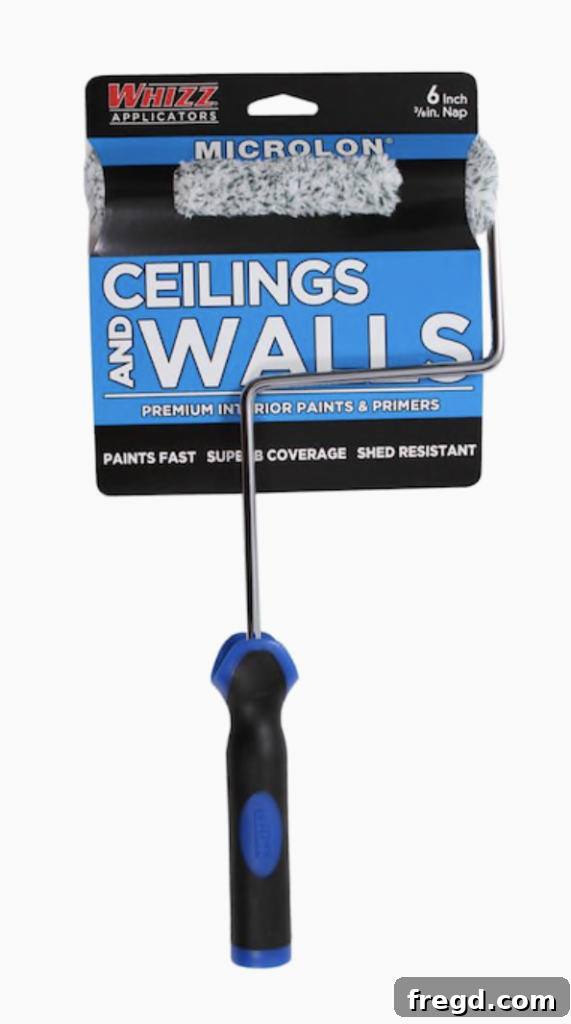
WHIZZ 6-inch MICROLON Synthetic Blend Mini Paint Roller: For the walls, this 6-inch roller was incredibly versatile. I also utilized a larger 9-inch roller for the expansive, open wall and ceiling areas. However, this smaller roller proved invaluable for tackling tighter spaces, corners, and for cutting in around trim and fixtures, ensuring comprehensive and even coverage.
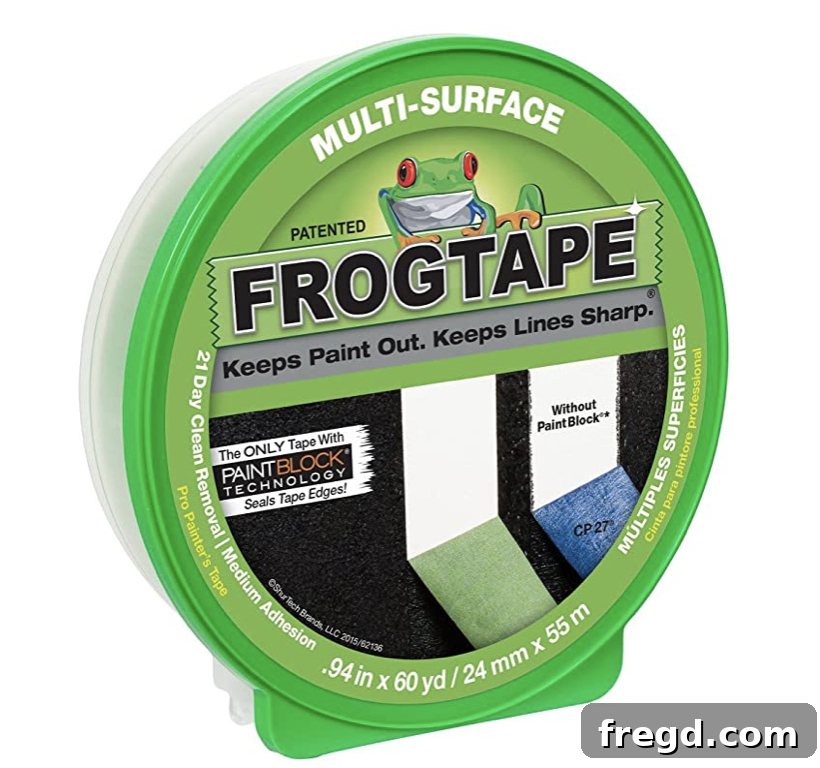
Frog Tape: When it comes to masking for painting projects, Frog Tape is always my unequivocal go-to. Its unique PaintBlock® Technology seals the tape’s edges, preventing paint bleed and ensuring crisp, clean lines every single time. It truly never disappoints and is an essential item for any painting enthusiast.
Adding the Finishing Touches: Decor and Hardware
Once the paint dried and the core transformation was complete, it was time for the “pretty stuff” – the decorative elements and hardware that truly tie the space together and reflect a personal style. These carefully selected items helped complete the master bathroom renovation:
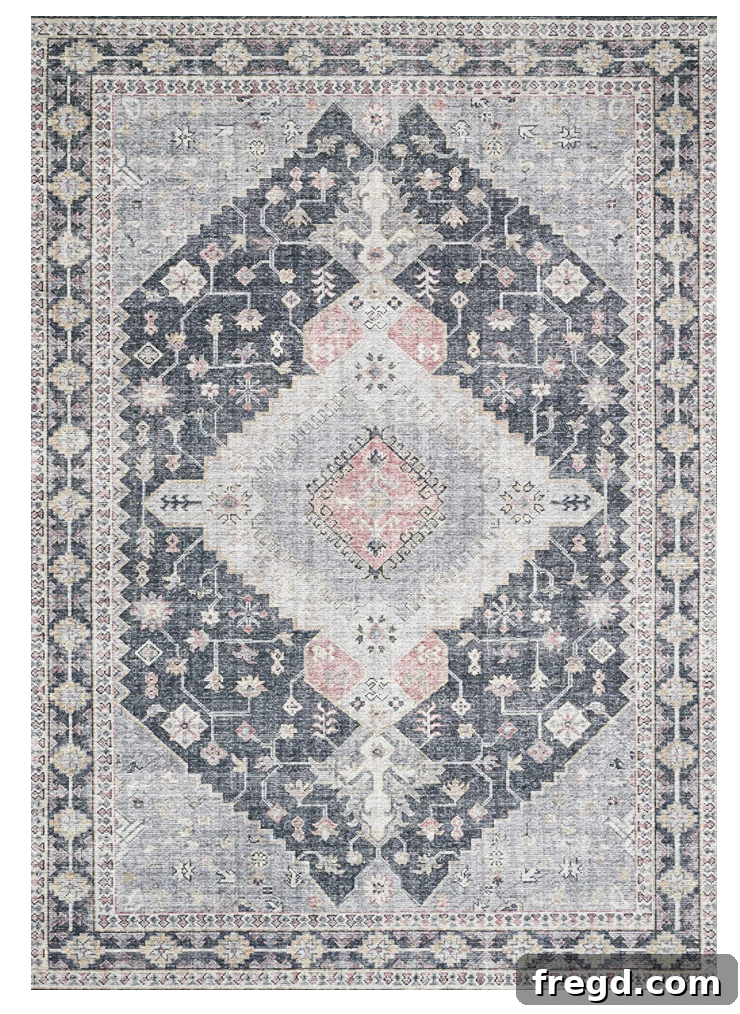
Area Rugs from Amazon: I discovered these stunning rugs on Amazon and they instantly captured my heart. Their thin profile ensures they lay exceptionally flat on the floor, preventing trip hazards and creating a streamlined look. I also appreciate their practicality; I anticipate they will be very easy to clean, although thankfully I haven’t had to test that theory yet! They come in a wide array of fun patterns, and this particular grey and rose design perfectly complements the new color scheme.
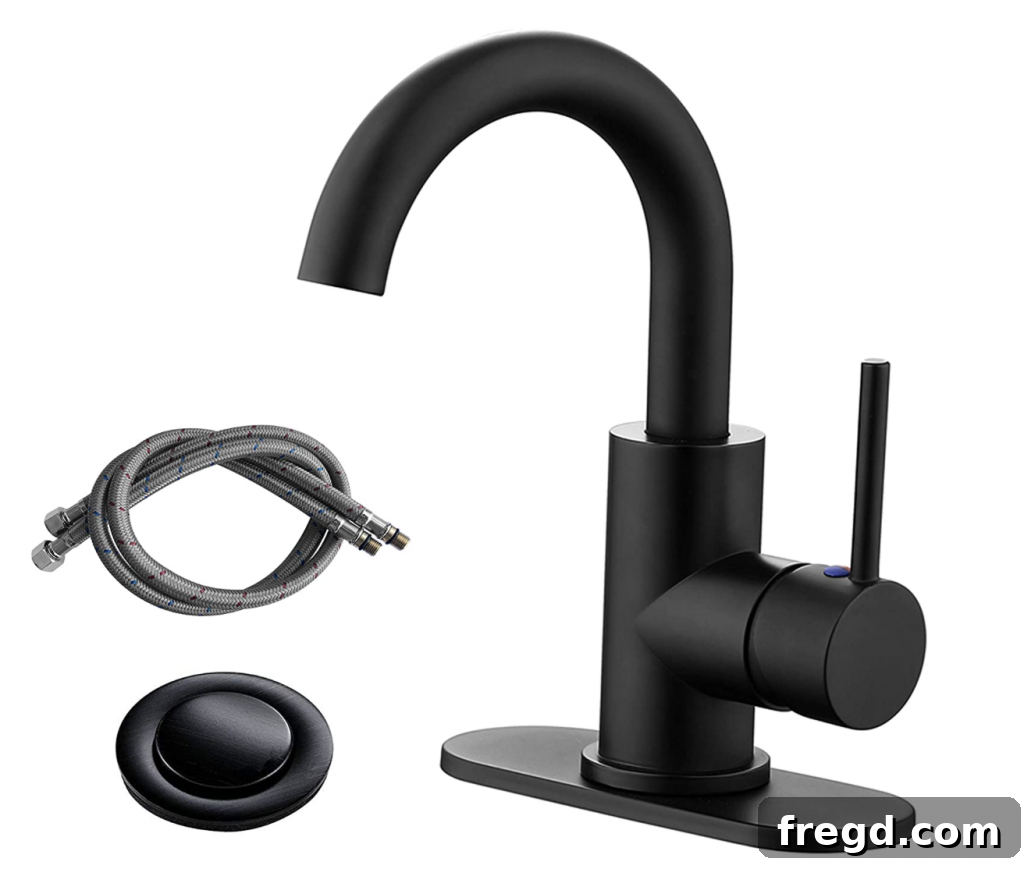
Bathroom Faucets from Amazon: These elegant faucets, also an Amazon find, offered exceptional value without compromising on style. They were surprisingly inexpensive and, with the help of my amazing stepdad, remarkably easy to install. They instantly updated the vanity areas, contributing significantly to the modern aesthetic.
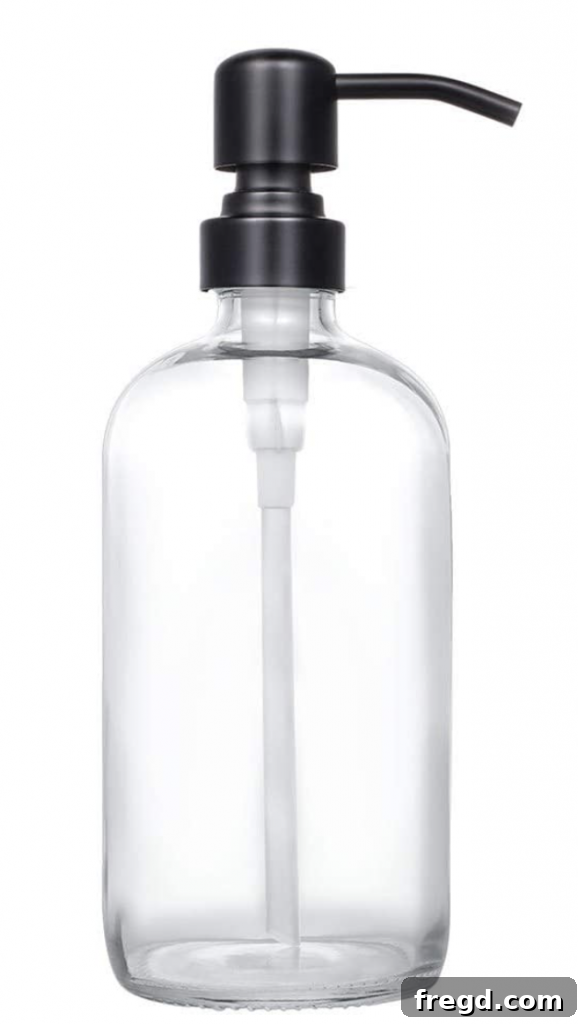
Soap Dispensers from Amazon: Consistency in design creates a cohesive look, which is why I’ve placed these fantastic soap dispensers in each of our bathrooms and even in the kitchen. Also sourced from Amazon, they are highly functional, dispensing soap smoothly, and boast a robust finish that ensures long-lasting durability, even with daily use.
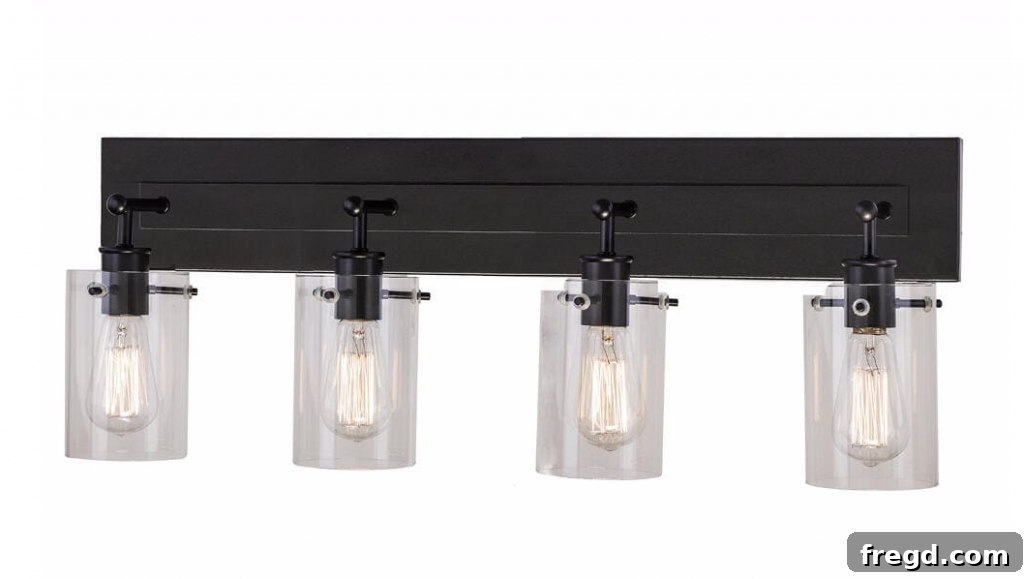
Light Fixtures from Home Depot: The choice of lighting can dramatically impact a room’s ambiance. These light fixtures, purchased from Home Depot, were not only incredibly easy to install but also perfectly complement the updated aesthetic of the master bathroom. Their sleek design adds a touch of modern elegance.
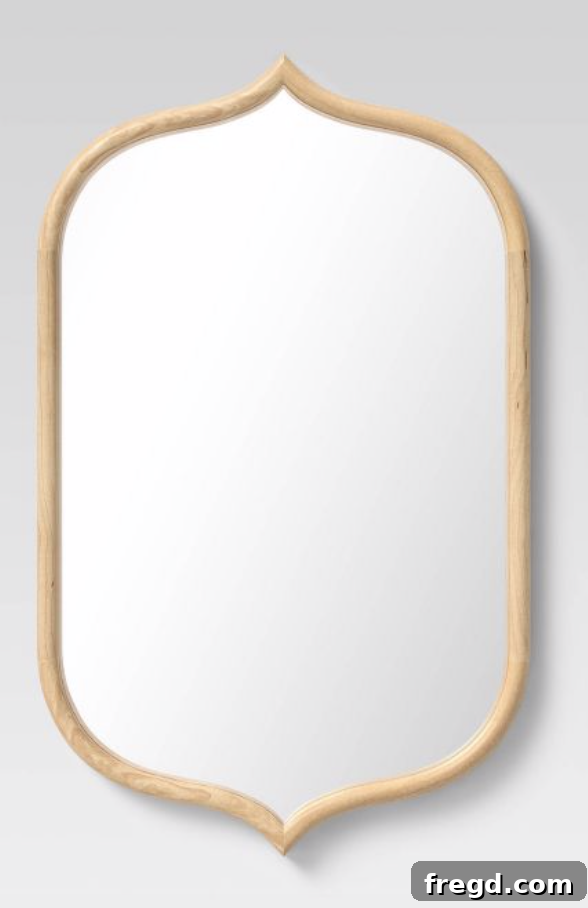
Mirrors from Hobby Lobby & Target: For the master bathroom, I sourced the mirrors from Hobby Lobby. While I initially sought slightly larger mirrors, these offered an ideal tone and fit well within the space. For the girls’ bathroom, I found lovely mirrors at Target, which you can find HERE! Both choices effectively enhanced their respective spaces.
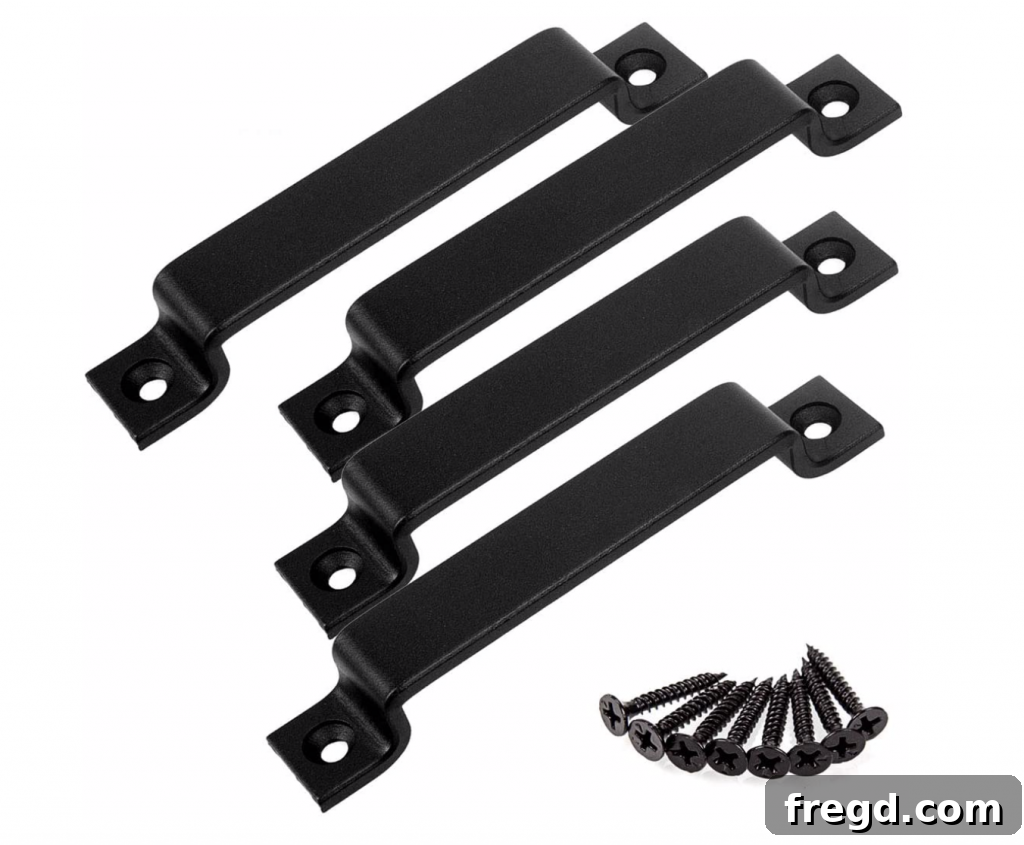
Cabinet Pulls from Amazon: These cabinet pulls are a consistent favorite of mine, gracing numerous projects throughout my home. Found on Amazon at an incredibly affordable price, their simple yet elegant design offers universal appeal and instantly elevates the look of any cabinetry.
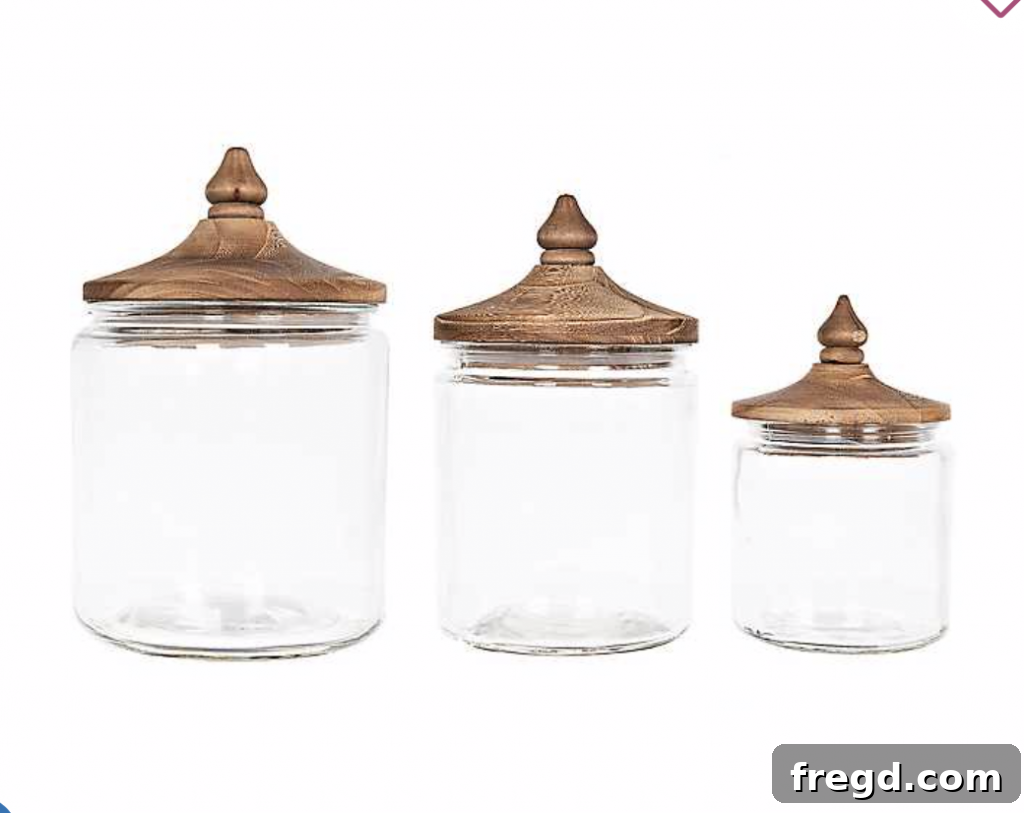
Canisters from Kirkland’s: To add a touch of charming organization, I discovered these adorable canisters at Kirkland’s. This set of three, featuring real wood tops, is not only super cute but also practical for storing various bathroom essentials, contributing to a tidy and stylish vanity.
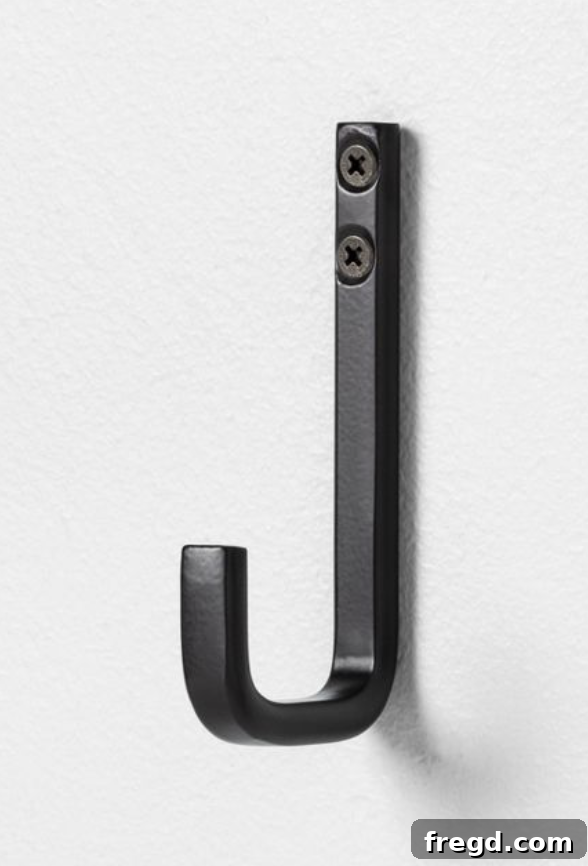
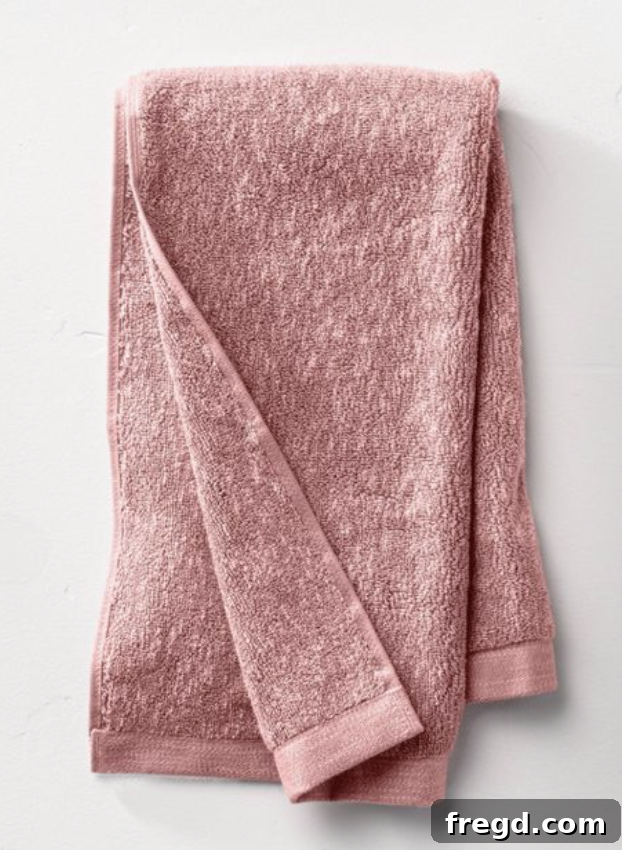
Towels and Towel Hook from Target: The final functional and aesthetic touches were the towels and a stylish towel hook, both delightful finds from Target. The hook, available HERE, is a personal favorite; I’ve even installed them in my hallway for a consistent look. The plush and absorbent towels, found HERE, complete the fresh and inviting atmosphere of the renovated bathroom.
A Brand New Space: Making Lemonade from Lemons
This comprehensive DIY master bathroom makeover truly exceeded all expectations. By embracing the challenge and utilizing innovative products like Valspar Cabinet Enamel, I managed to create a space that feels entirely brand new, without the expense or disruption of a full demolition. It’s a testament to the power of creative problem-solving and the incredible impact a well-executed paint job can have. I took what felt like “lemons” – existing fixtures I couldn’t change – and transformed them into “lemonade,” a master bathroom that is now a bright, fresh, and much-loved sanctuary. I am incredibly pleased with every aspect of this renovation and hope it inspires you to tackle your own home projects!