
Ultimate Laundry Room Makeover: DIY Board & Batten Mudroom with Durable Laminate Flooring
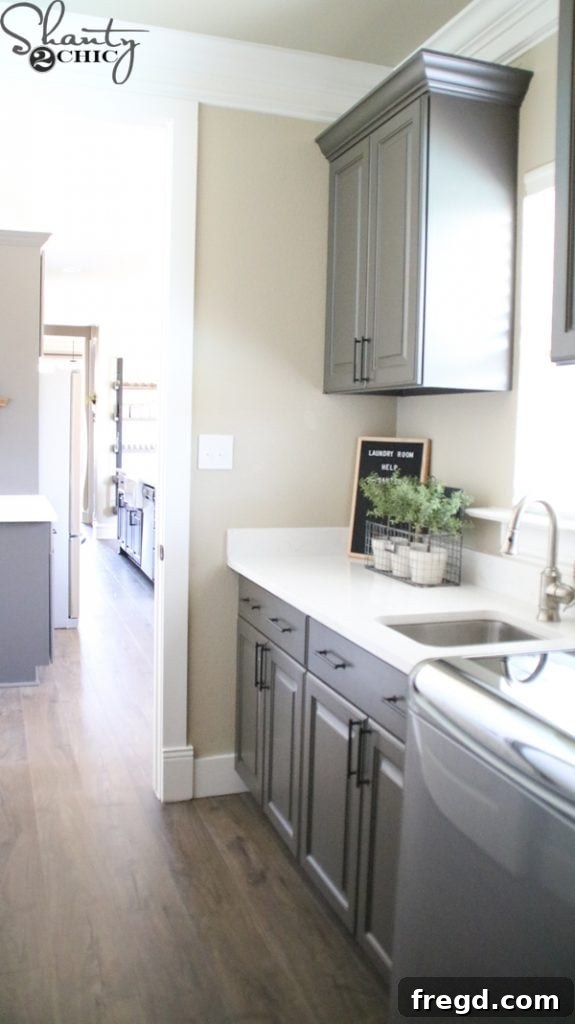
For three years, our laundry room remained a neglected space, far from the functional hub we envisioned when we moved into our home. Our small entryway simply didn’t allow for a traditional mudroom setup, but the laundry room, with its ample wall space, presented the perfect opportunity to create a much-needed organizational zone. Today, we’re thrilled to share the complete transformation of our laundry room into a stylish and highly functional mudroom alternative!
Revitalizing the Foundation: Choosing the Right Flooring for a Busy Space
Life in a new home often means prioritizing projects, and for a long time, our laundry room found itself on the back burner. The reality was, my kids’ backpacks, jackets, and shoes frequently ended up strewn across the kitchen floor – a persistent source of clutter for three years. This past fall, while renovating our kitchen, I decided it was high time to extend the much-needed upgrade to our adjacent laundry room, starting with the flooring.
I had previously fallen in love with Quick•Step’s Envique™ laminate flooring a couple of years prior when it was installed in our living and dining rooms. The desire to see this beautiful and highly practical flooring continue seamlessly through the kitchen and into the laundry space was immense. For a laundry room, durability and water resistance are paramount. While the idea of laminate in a wet area might raise an eyebrow, Quick-Step’s Envique™ collection is engineered to defy expectations. It boasts a robust Scratch Guard finish protection, essential for high-traffic areas, and an exclusive HydroSeal™ technology that actively repels water from both the plank surface and, crucially, the joints. To further instill confidence, Quick-Step offers an incredible 24-hour spill-proof guarantee, making it an ideal choice for any area prone to spills or moisture. We were thrilled when our friends at Quick•Step were happy to partner with us again on this exciting project!
The Spark of Inspiration: Flooring Install Ignites the Full Makeover
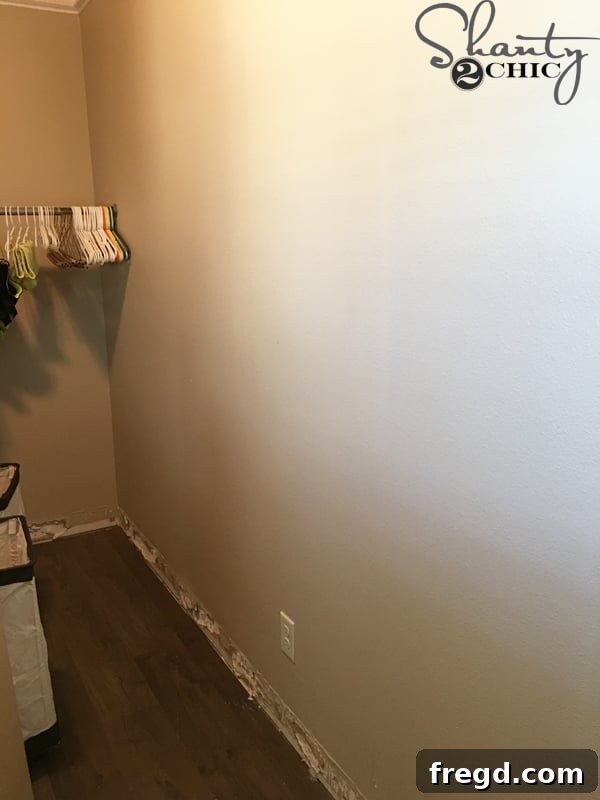
Here’s a glimpse of the room immediately after the stunning new flooring was installed. We opted for the elegant Maison Oak color, which truly transformed the space (you can delve deeper into its details HERE). Seeing the beautiful laminate in place provided the ultimate motivation to tackle the entire room. Prior to this, our laundry room featured travertine flooring, and even the baseboards were made from travertine. Removing the old tile from the wall left quite a significant mess, including adhesive residue and uneven surfaces. However, I wasn’t deterred; in fact, this clean slate was exactly what I needed to implement my long-held dream: a functional and aesthetically pleasing board and batten wall complete with hooks for ultimate organization!
Crafting Functional Elegance: A DIY Board & Batten Mudroom Wall
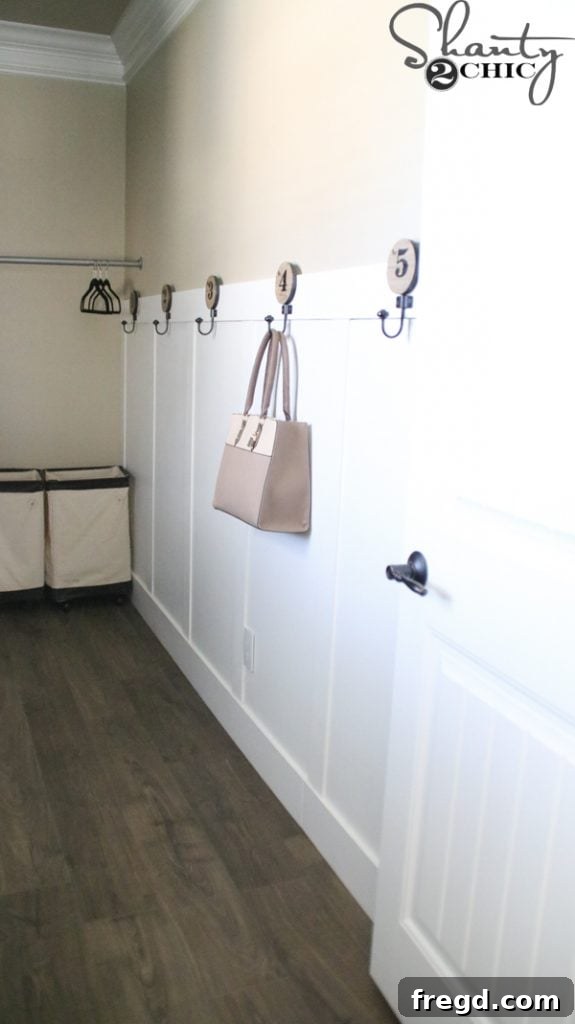
The decision to install a board and batten wall was driven by both aesthetics and functionality. Not only does this classic architectural feature add significant character and charm, but it also provides a sturdy base for hooks, shelves, and other organizational elements, effectively turning a simple wall into a practical mudroom area. It’s an excellent way to conceal imperfections from the old flooring removal and offers a sophisticated backdrop for our newly organized space.
Step 1: Establishing the Foundation with New Baseboards
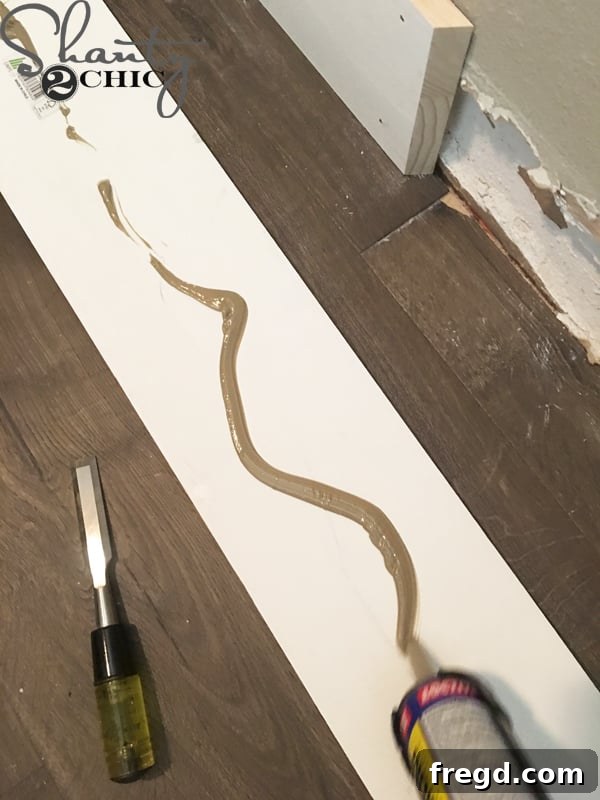
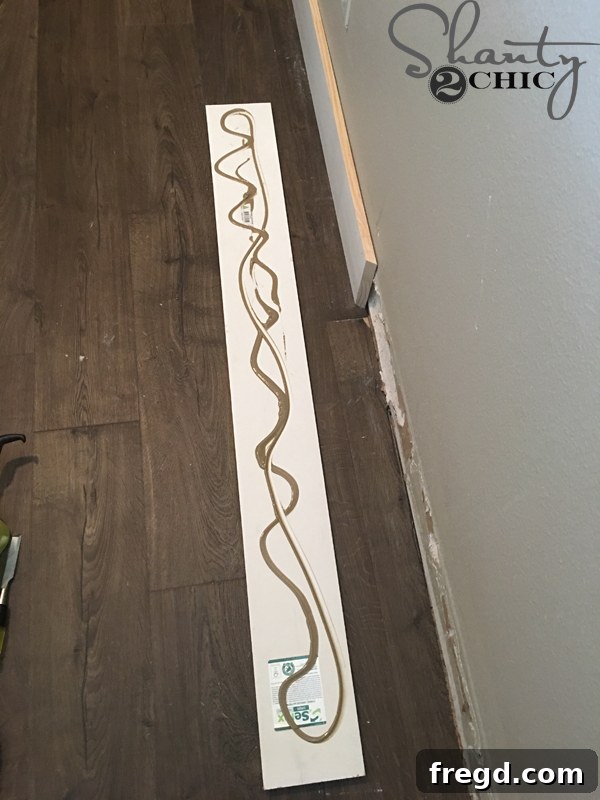
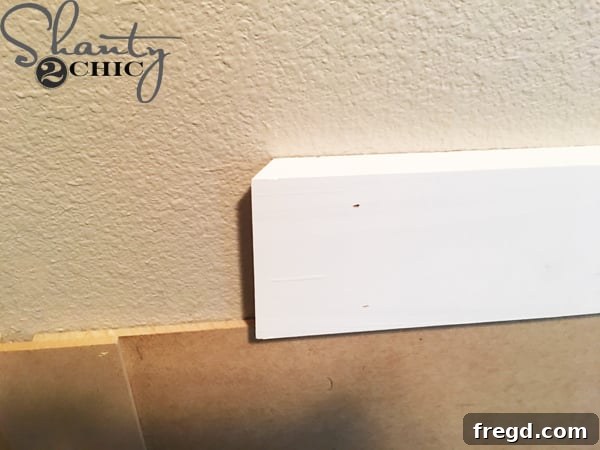
Our first task was to install the new baseboards. I chose 1×6 primed MDF boards for their smooth finish and ease of painting. The installation process began by applying a generous amount of construction adhesive to the back of each board. This adhesive provides a strong, long-lasting bond to the wall, complementing the mechanical fasteners. It’s crucial to use a level during this step, as floors are rarely perfectly straight, and even slight inaccuracies will be amplified as you build up the wall treatment. I secured the boards to the wall using my reliable 16-gauge finish nailer. For longer walls, like ours, you’ll inevitably need to join multiple boards. To achieve a nearly invisible seam, cut the ends of the boards at opposing 45-degree angles. This allows them to overlap and interlock smoothly, creating a much cleaner transition than a simple butt joint.
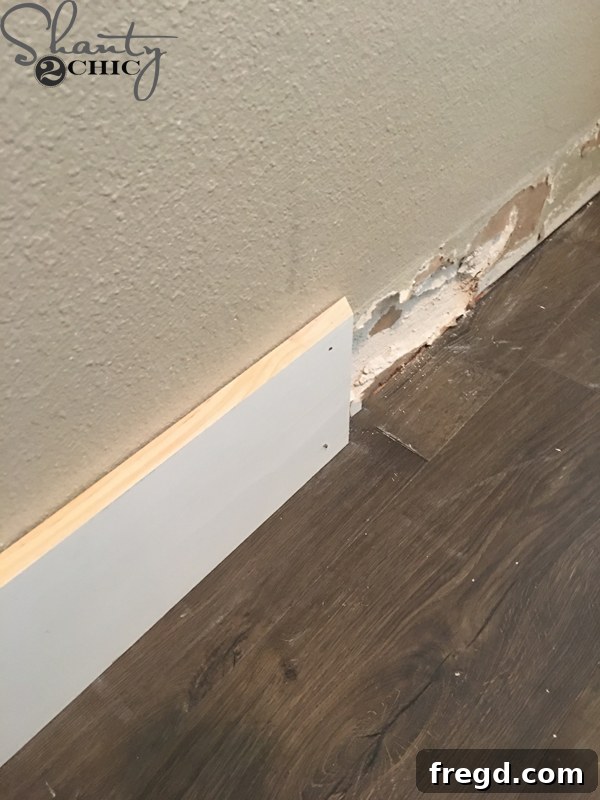
This technique ensures that the next board, also miter-cut in the opposite direction, slides perfectly over the end of the previous one, minimizing the appearance of any joints and giving a professional, custom-built look.
Step 2: Installing the MDF Panels for the Batten Effect
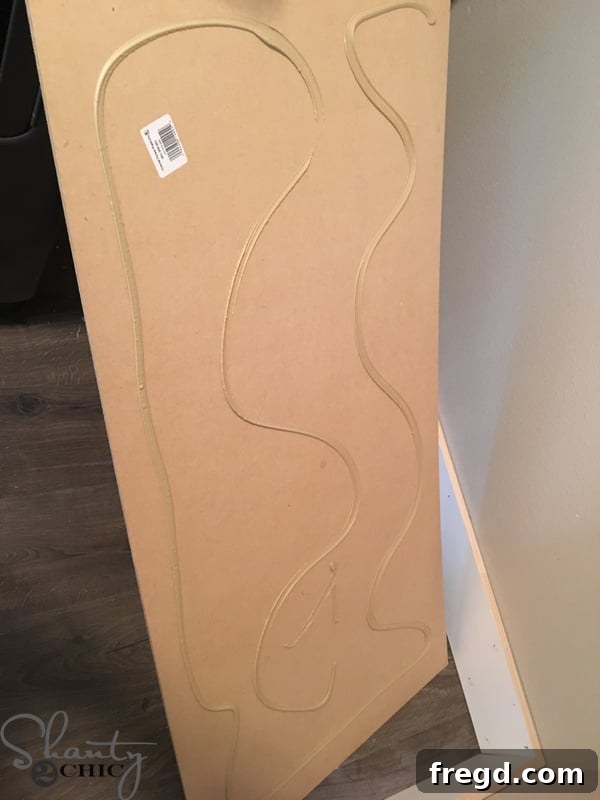
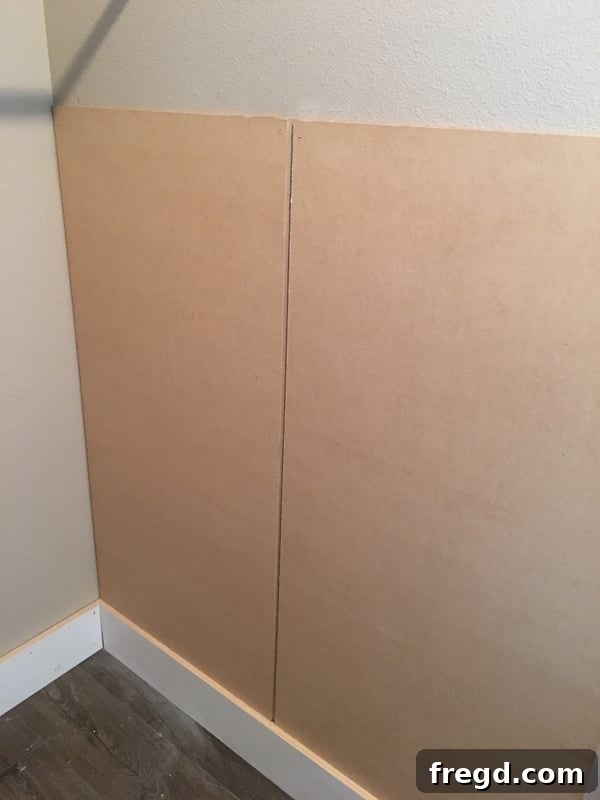
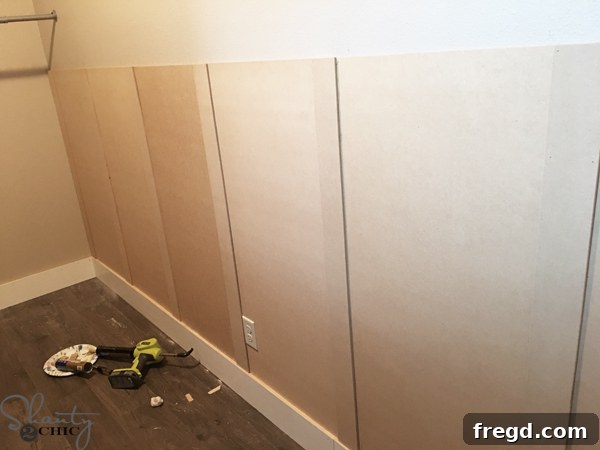
With the baseboards securely in place, it was time to move on to the vertical panels, which create the “batten” effect. I purchased 1/4″ MDF panels from Home Depot. Before attaching them permanently, I carefully lined them up against the wall to determine the optimal spacing. This pre-alignment step is critical to ensure a visually balanced and symmetrical design. It’s also important that the ends of the panels are flush with the ends of the wall, creating a clean, finished edge. I made sure to leave at least an 1/8″ gap between each panel; this gap will be covered later, adding dimension and easing the installation process. Just like with the baseboards, a generous amount of construction adhesive was applied to the back of each panel before it was pressed firmly onto the wall.
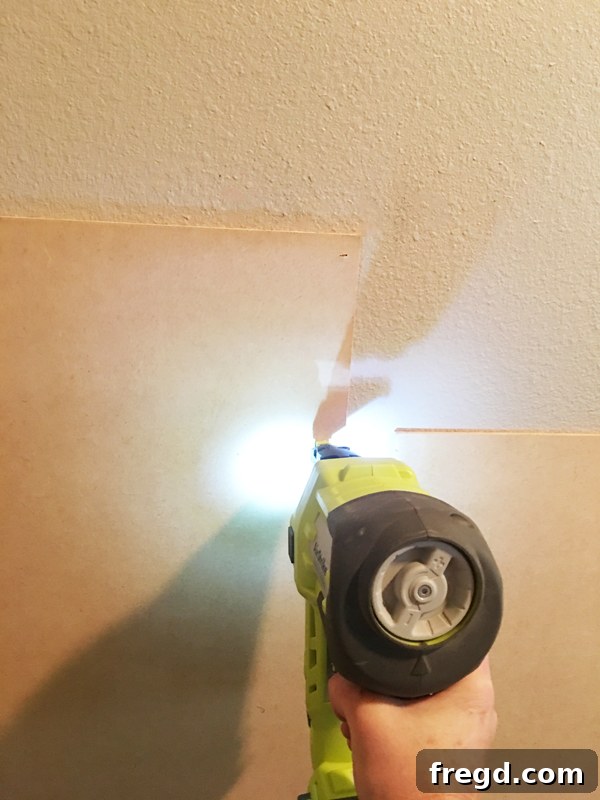
To secure the panels, I used my Ryobi 18Volt crown stapler. This tool is fantastic for quickly and securely attaching lighter trim and panels without causing excessive damage to the material. I worked my way down the wall, ensuring each panel was plumb and evenly spaced. This methodical approach ensures a consistent and professional look across the entire feature wall.
Step 3: Concealing Seams with Decorative Bender Boards
To beautifully cover the seams between the newly installed panels and add depth to the design, I incorporated MDF bender boards, also sourced from Home Depot. These boards are typically flexible, but for our straight batten application, their consistent dimensions and smooth finish were perfect. I cut them to 4-foot lengths to match the height of our panels and attached them directly over the gaps using my stapler. This step not only creates a polished look by hiding the panel joints but also enhances the overall board and batten aesthetic, giving it a more substantial and finished appearance.
Step 4: Finishing the Top with a Sturdy Trim Piece
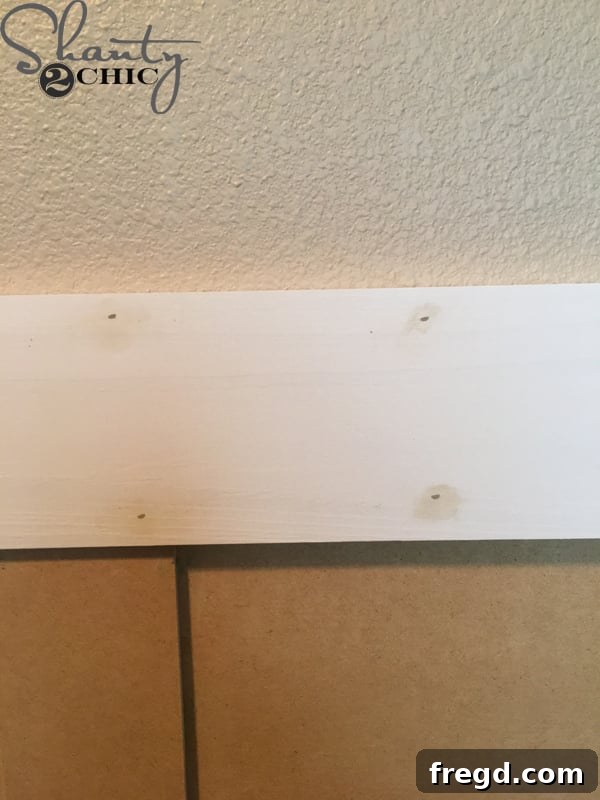
Once the bender boards were securely in place, the next step was to add the crucial top trim piece, which visually caps off the board and batten structure and provides a solid surface for our future hooks. For this, I used 1×4 primed MDF boards. Consistency in technique is key for a professional result, so I applied the same miter-cut method used for the baseboards to join these trim pieces seamlessly. This ensures a clean, continuous line across the top of the wall, unifying the entire design and preparing it for the final finishes.
Step 5: The Essential Finishing Touches – Filling, Sanding, and Painting
With all the components of the board and batten wall securely attached, the project moved into the critical finishing phase. The first step was to meticulously fill all the nail holes with wood filler. This ensures a perfectly smooth surface, free of any visible fasteners. Once the wood filler was completely dry, I carefully sanded it with fine-grit sandpaper until it was perfectly flush with the surrounding MDF. This attention to detail is paramount for achieving a high-quality, professional finish. Finally, I applied two coats of paint, precisely matched to our existing trim color, to create a cohesive and crisp look that brightens the entire laundry room.
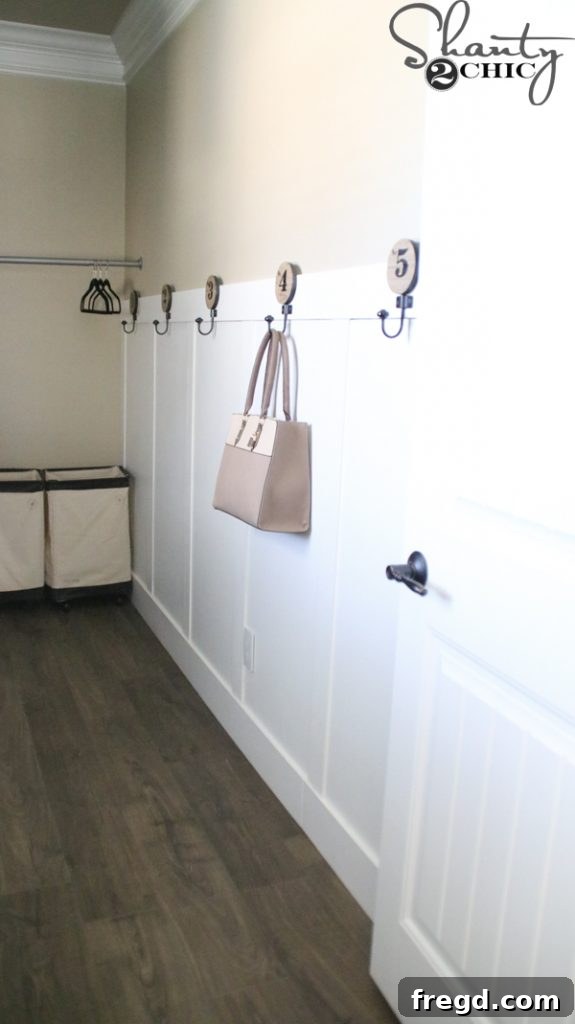
The Grand Reveal: A Functional & Beautiful Laundry Space Unveiled
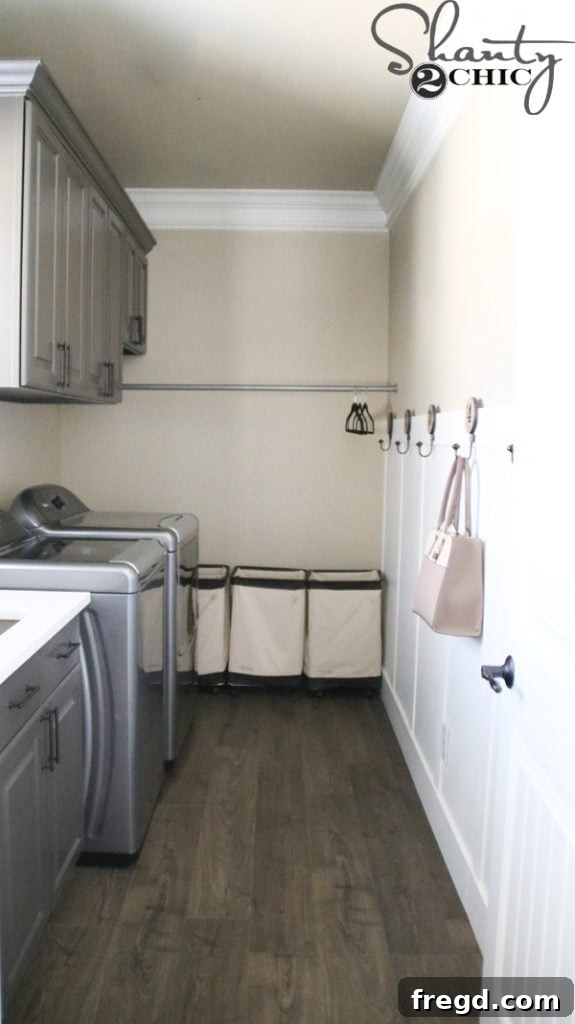
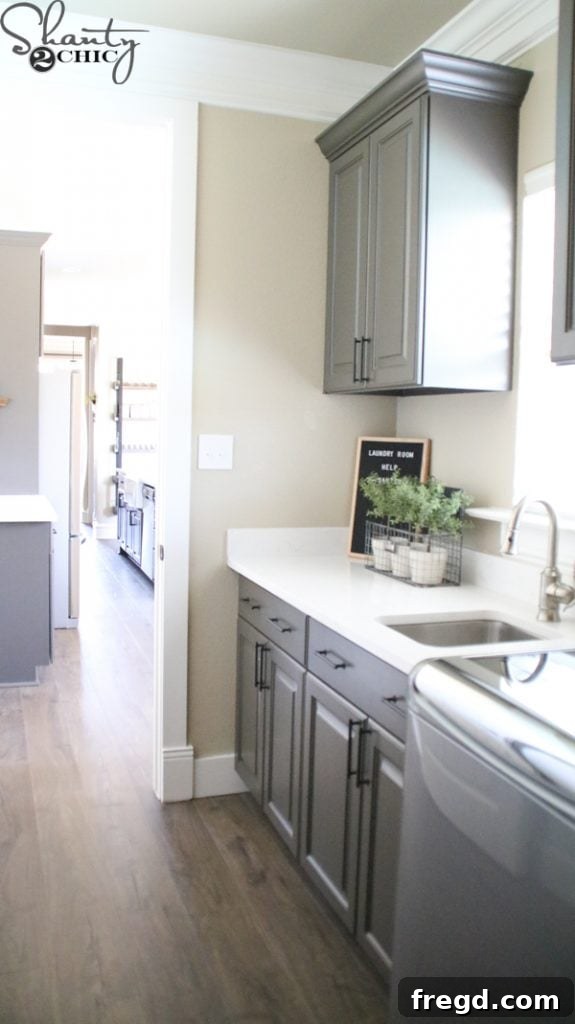
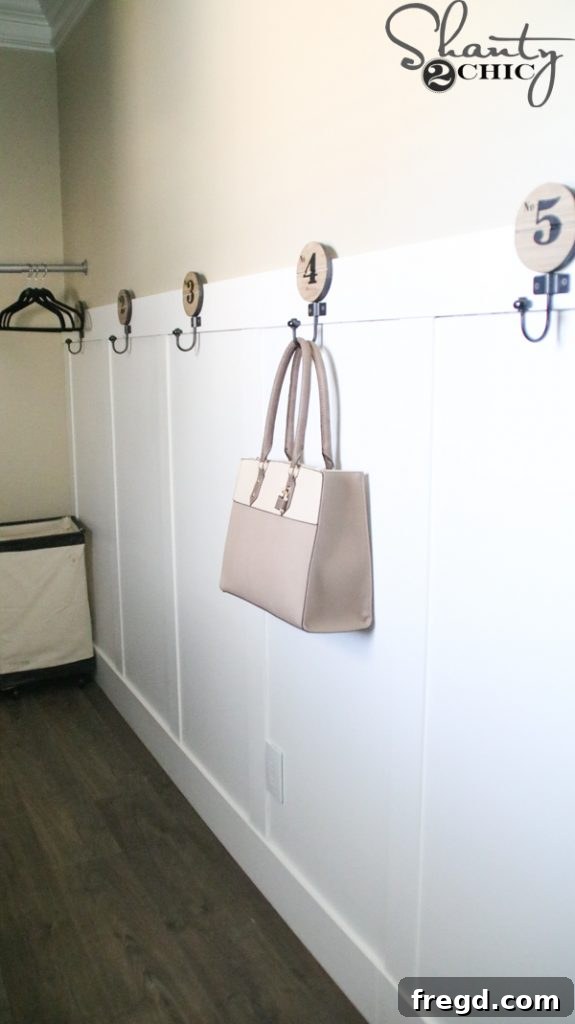
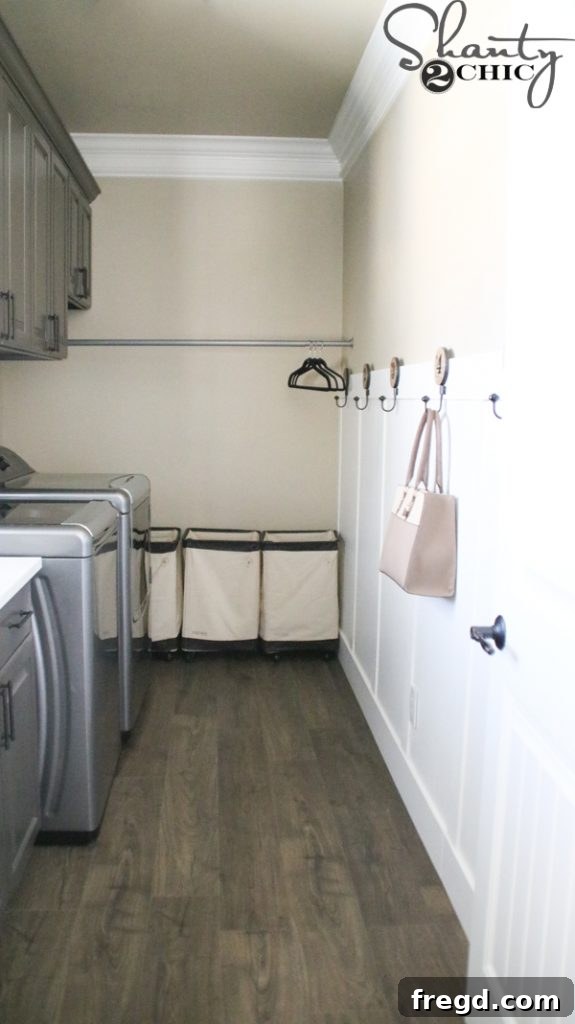
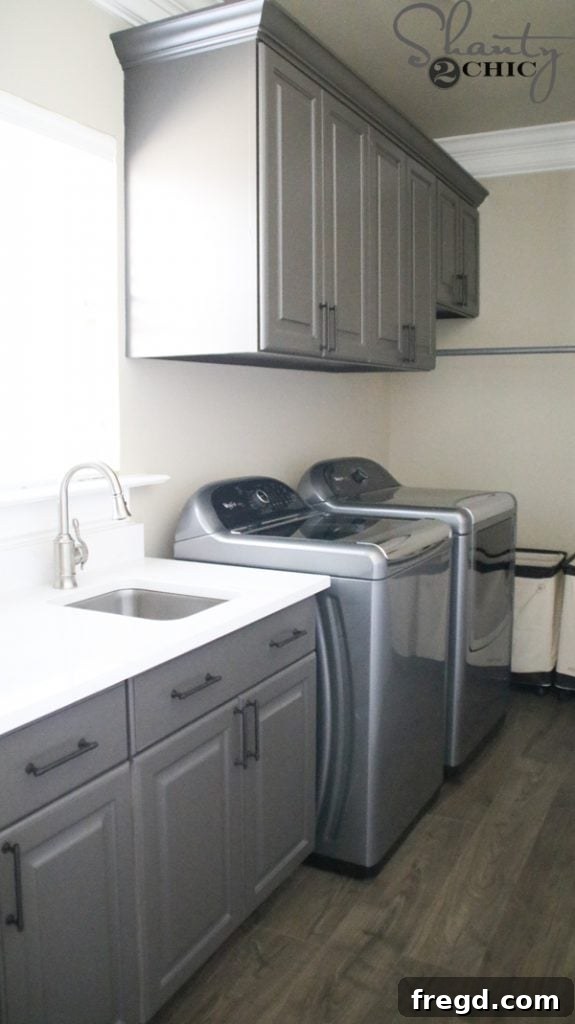
With the paint dry and the wall prepped, the final touch was to add some substantial hooks. These large hooks are not just decorative; they are incredibly practical, providing ample storage for backpacks, coats, and laundry bags, effectively solving our long-standing clutter problem. Given that our laundry room is quite narrow, this board and batten treatment is absolutely perfect. It doesn’t protrude too far from the wall, yet it adds an incredible amount of storage and functionality without compromising precious floor space. This design cleverly combines aesthetic appeal with practical utility, maximizing every inch of our compact room.
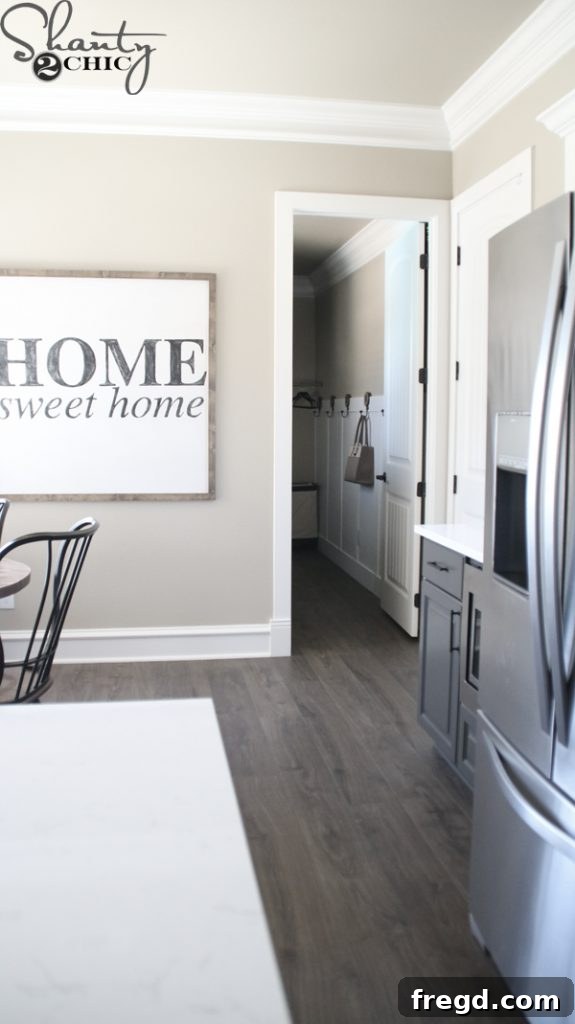
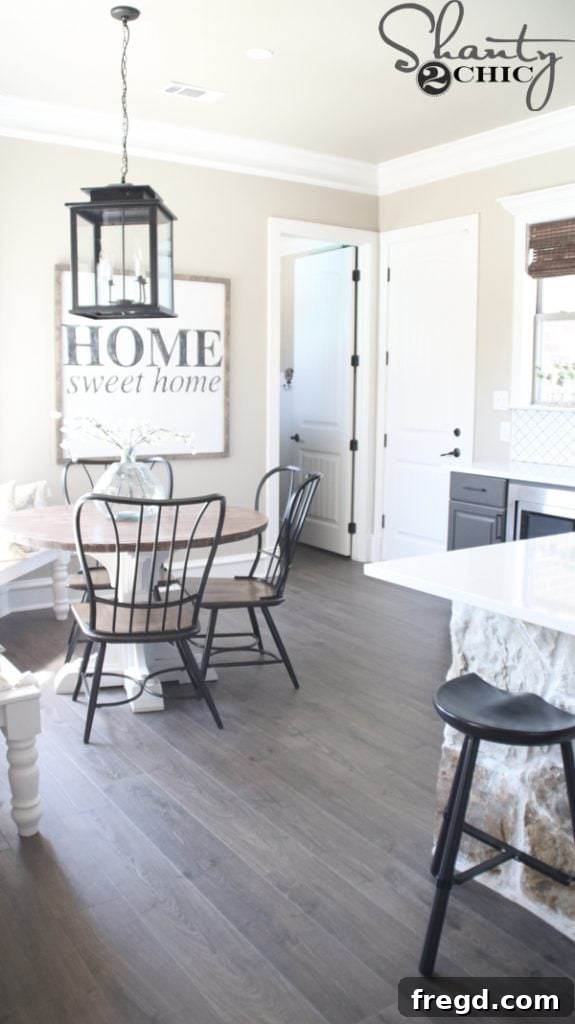
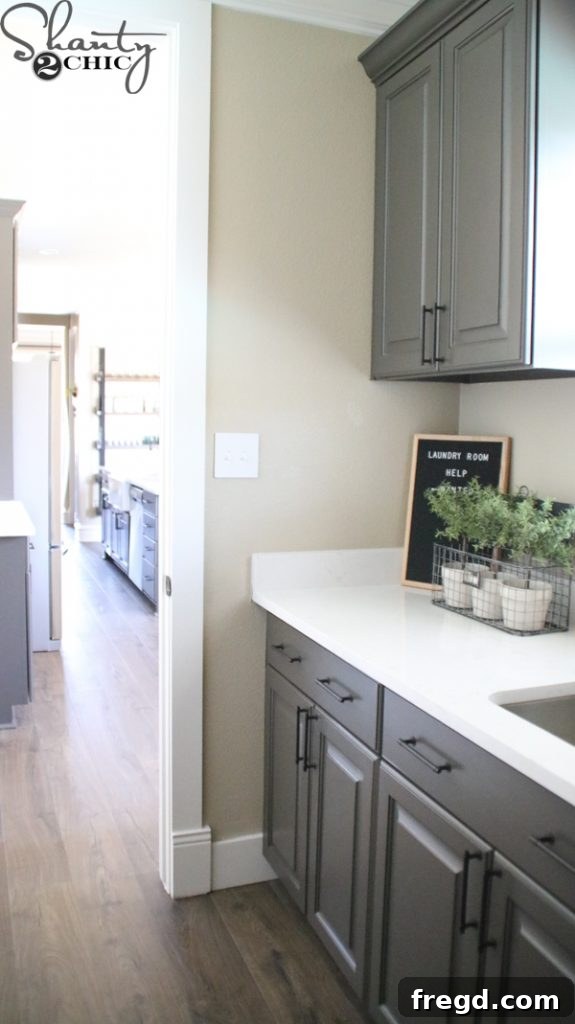
And, oh, how I adore the seamless transition of my new Quick-Step Envique™ flooring from the kitchen right into the laundry room! The continuity creates an expansive feel and truly elevates the entire open-concept area of our home. It’s a testament to how thoughtful design choices can transform not just individual rooms, but the overall flow and aesthetic of a living space. Now, let’s take a comprehensive tour of the finished space and admire every detail!
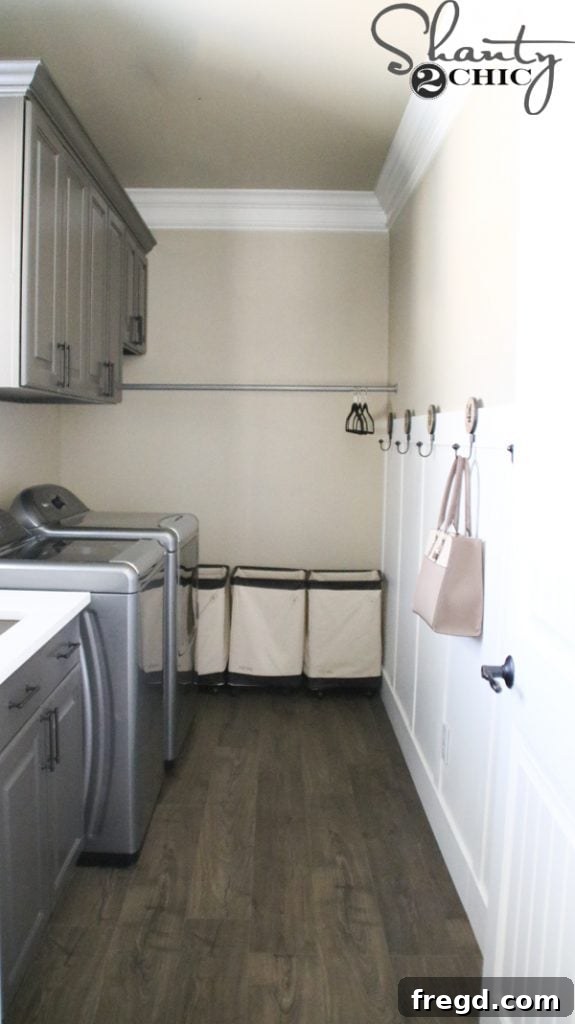
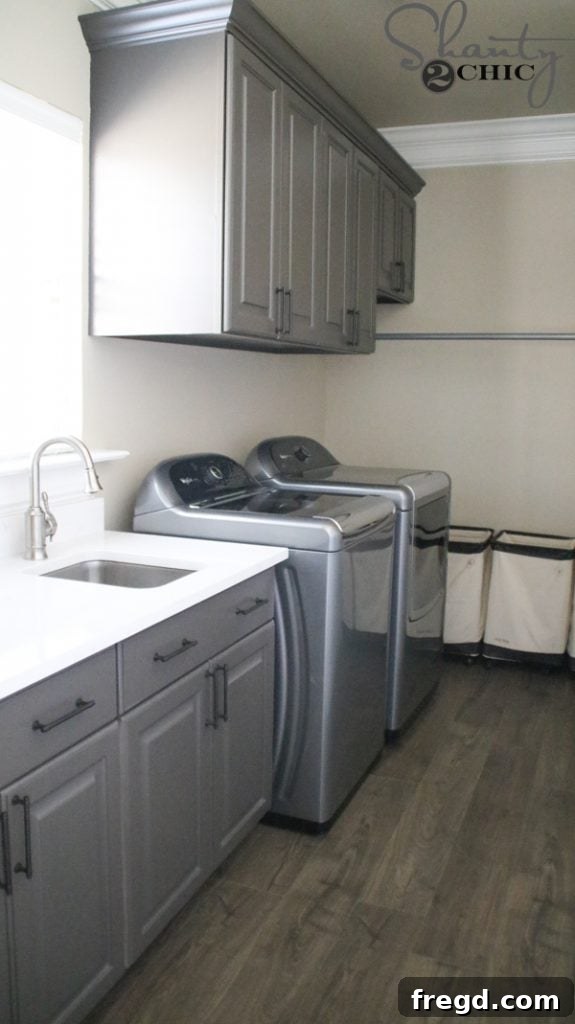
Beyond the Laundry Room: The Enduring Appeal of Quick-Step Laminate
I am absolutely beyond pleased with the remarkable durability and sophisticated look of these laminate floors. They genuinely emulate the aesthetic of beautiful hardwood, offering that desirable natural warmth and elegance, but with significantly easier care and maintenance. The peace of mind that comes with their water-repelling technology and scratch resistance is invaluable, especially in a busy home with children and pets. This flooring choice has proven to be a perfect blend of style and practicality, effortlessly handling the demands of daily life.
If you’re considering Quick-Step laminate for your next home improvement project, I highly encourage you to explore how beautifully these floors integrate into other areas of our home. You can witness their versatility and charm in our:
Kitchen Reveal
Dining, Living, and Office Reveal
Thank you so much for joining us on this journey as we transformed our laundry room into a dream space. We hope this inspires you to tackle your own home renovation projects and create functional, beautiful areas that truly enhance your daily living!
Happy DIYing!
Ashley