
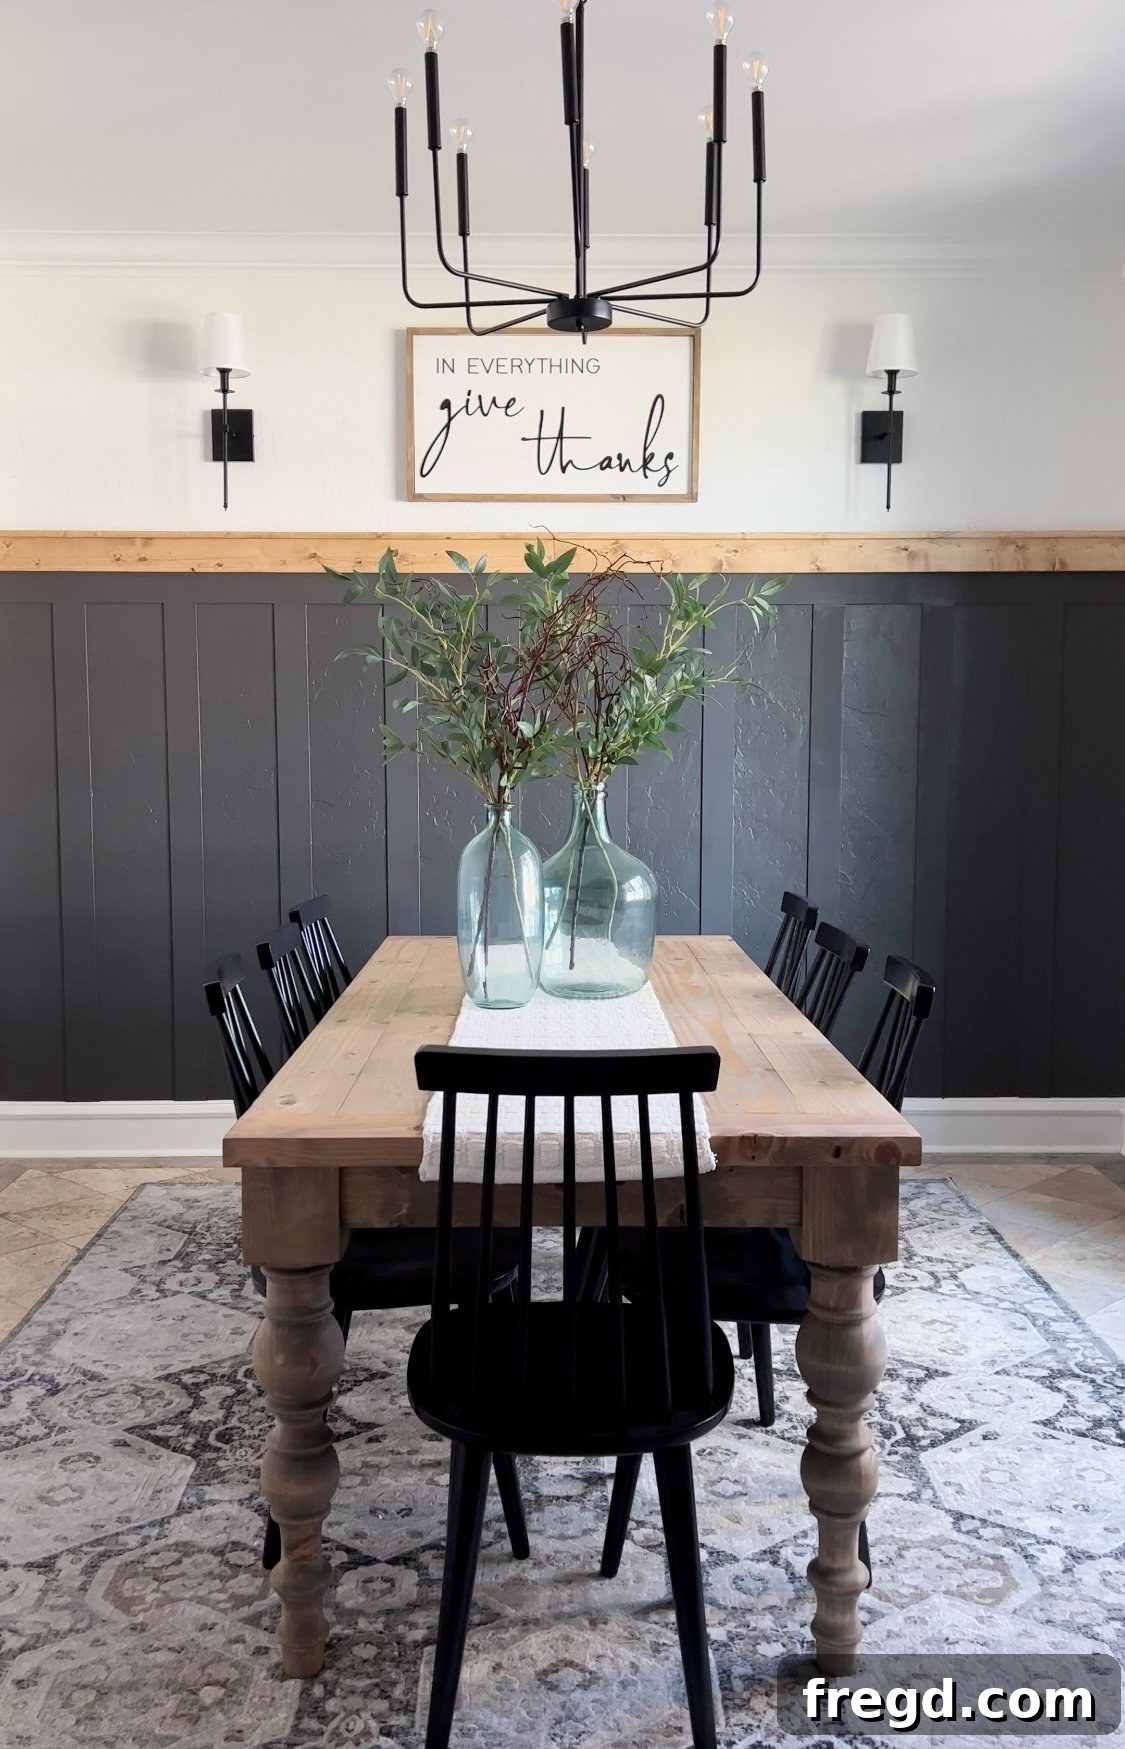
Transform Your Dining Room: An Easy & Affordable DIY Board and Batten Wall Makeover
Dreaming of a quick, budget-friendly room makeover that delivers high impact? Look no further than a DIY Board and Batten Wall! This timeless architectural detail can elevate any space, adding charm, character, and a touch of custom elegance. Whether you’re looking to enhance your dining room, bedroom, or entryway, this project is surprisingly simple and incredibly affordable. We successfully transformed our dining room wall for less than $80, proving that you don’t need a massive budget or extensive carpentry skills to achieve a stunning home decor upgrade.
In this detailed guide, we’ll walk you through every step of creating your own beautiful board and batten accent wall. We’ll share our secrets for selecting cost-effective materials, precise installation techniques, and essential finishing touches that guarantee a professional look. Get ready to personalize your living space with a sophisticated wall treatment that will impress friends and family, all while staying well within your financial comfort zone. Let’s make your DIY dreams a reality!
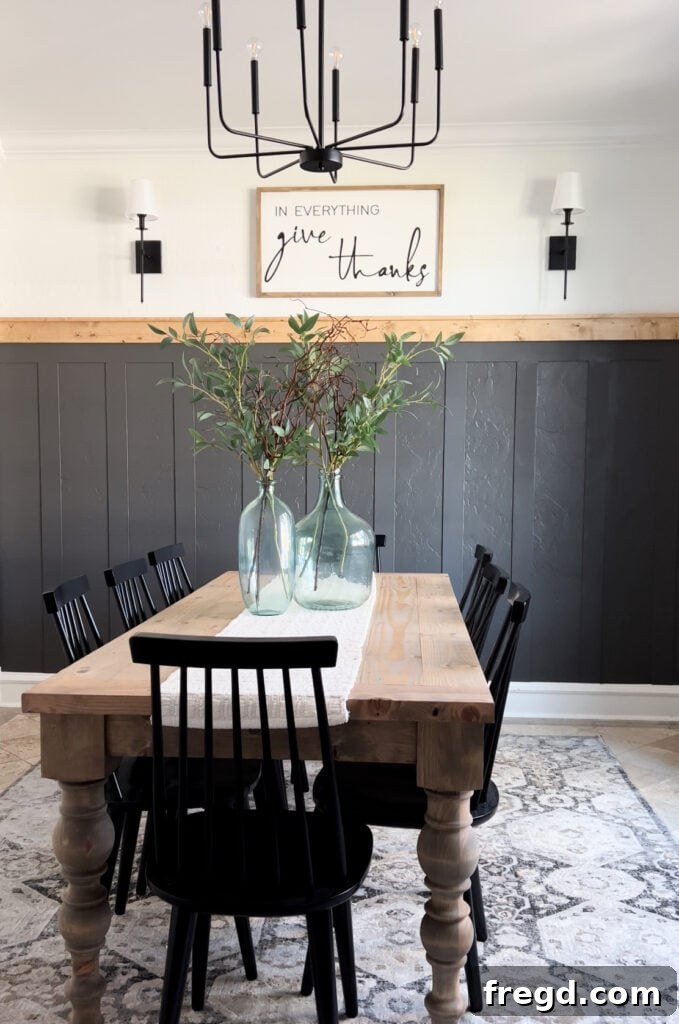
Table of Contents
Planning Your Project & Essential Materials
Every successful DIY project starts with meticulous planning, and a board and batten wall is no exception. When envisioning this accent wall for my dining room, budget considerations were paramount. Having adorned nearly every other room in my home with a board and batten treatment, I was eager to extend this favorite style to the dining area. However, the recent surge in wood prices had put a temporary halt on the idea. Our innovative approach involves utilizing the existing wall as the “board,” making the battens the primary new material, which significantly cuts down on cost without compromising on aesthetic appeal. Once painted, this method creates a seamless and sophisticated look.
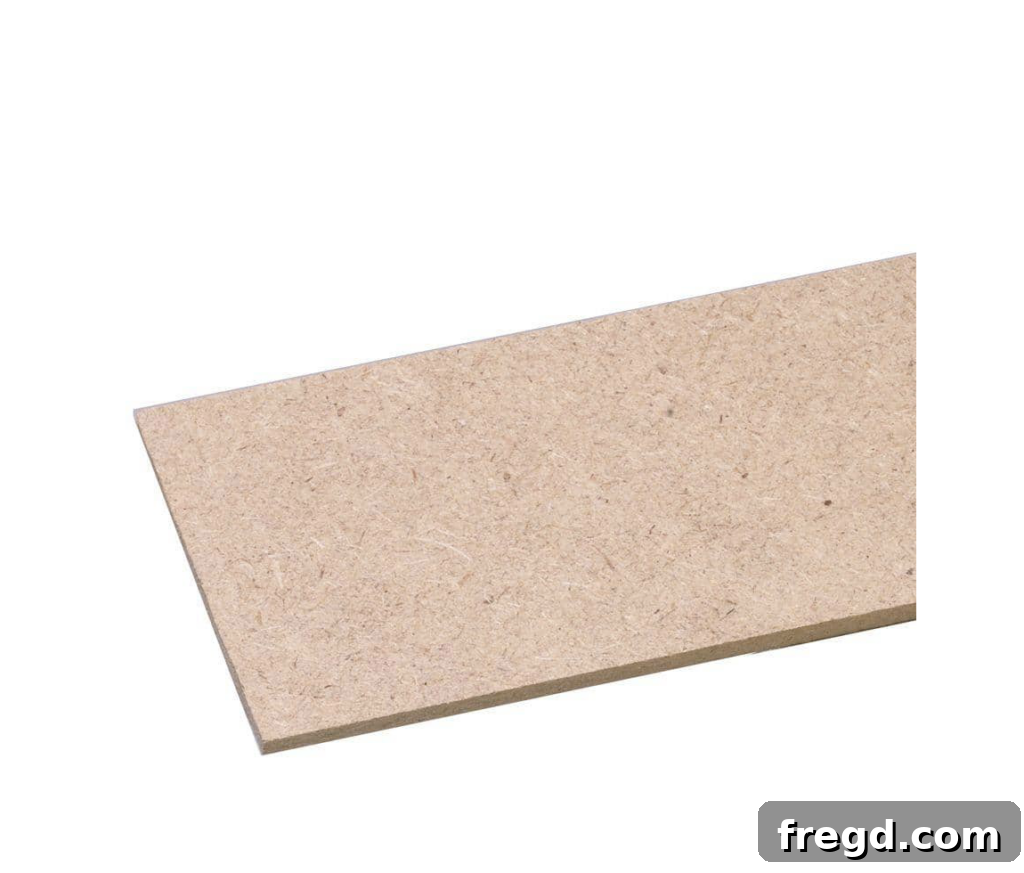
For the battens, a truly ingenious and budget-friendly solution emerged: landscaping bender boards. These versatile 1/4-inch MDF (Medium-Density Fiberboard) boards can be found at Home Depot for approximately $3.74 each. Their slim profile is perfect for a refined look, and MDF accepts paint beautifully, ensuring a smooth, high-quality finish. Their thinness also allows them to sit flush against existing baseboards, making them appear as a cohesive part of the trim once caulked and painted. In addition to the bender boards, I purchased two 1x4x6 boards and two 1x2x6 boards, which will be used for the decorative stained wood trim that elegantly caps the design.
Tools You’ll Need:
- Tape Measure
- Level (a 4-foot level is highly recommended for accuracy)
- Brad Nailer (electric or pneumatic)
- Air Compressor (if using a pneumatic nailer)
- Miter Saw or Hand Saw with Miter Box (for precise, clean cuts)
- Caulk Gun
- Putty Knife (optional, but helpful for filling nail holes)
- Fine-Grit Sanding Pad or Sandpaper
- Paint Roller (a 6-inch roller is ideal for battens and wall surfaces) and Paint Tray
- Small Angled Trim Paint Brush (for cutting in and tight spots)
- Stud Finder (essential for securely attaching the top trim pieces)
- Pencil (for marking measurements)
- Safety Glasses (always protect your eyes!)
Materials List:
- Landscaping Bender Boards (calculate quantity based on your wall’s width and desired spacing – find them HERE)
- Two 1x4x6 boards (for the stained top trim)
- Two 1x2x6 boards (for the stained top trim detail)
- 2-inch Brad Nails
- Paintable Caulk (choose a fast-drying, high-quality formula like THIS option)
- Spackling Paste or Wood Filler (for nail holes – THIS is a great choice)
- Paint (Sherwin-Williams Urbane Bronze, flat finish recommended, using your preferred trim paint brand from Lowe’s)
- Wood Stain (Varathane Golden Oak mixed with a small amount of Willow Gray, or your desired custom blend)
- Wood Glue (for added security on the top trim)
- Scrap wood (to create a custom spacing block)
Calculating and Marking Batten Spacing
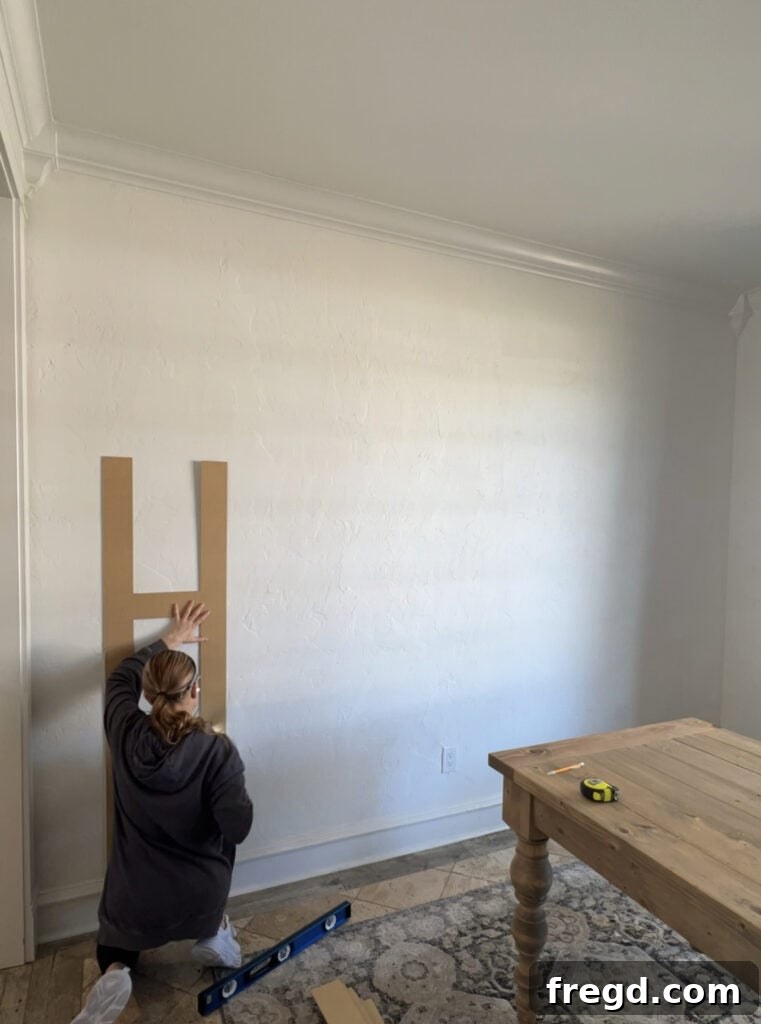
The key to a visually balanced and professional-looking board and batten wall lies in accurate spacing. My dining room wall spans just over 11 feet wide. Knowing that each bender board batten measures 3 1/2 inches in width, I aimed for a specific aesthetic. I personally favor a slightly closer batten arrangement, which led me to choose a consistent spacing of 9 1/4 inches between each vertical board. To ensure a symmetrical starting point, I began by measuring and marking 9 inches inward from both side edges of the wall for my initial and final battens.
To determine the ideal spacing for your own wall, consider its total width and the width of your chosen battens. A helpful formula is: (Total Wall Width – (Number of Battens × Batten Width)) / (Number of Battens + 1) = Gap Width. This calculation ensures that all the gaps between your battens are perfectly even. Before cutting or attaching anything, I strongly recommend marking out your entire wall with light pencil lines. This allows you to visualize the pattern and make any necessary adjustments to the spacing before committing. Use a long level or even a laser level to ensure these guide marks are perfectly plumb.
Since I had existing baseboards, a common scenario in many homes, I simply placed the bender boards flush with the top edge of these baseboards. The slender profile of the bender boards is a significant advantage here; once the caulking step is complete, they will appear seamlessly integrated with the existing baseboard, creating a continuous, built-in look without any complex cuts or modifications to your existing trim. This detail not only simplifies installation but also contributes to the high-end finish.
Attaching the Vertical Battens Securely
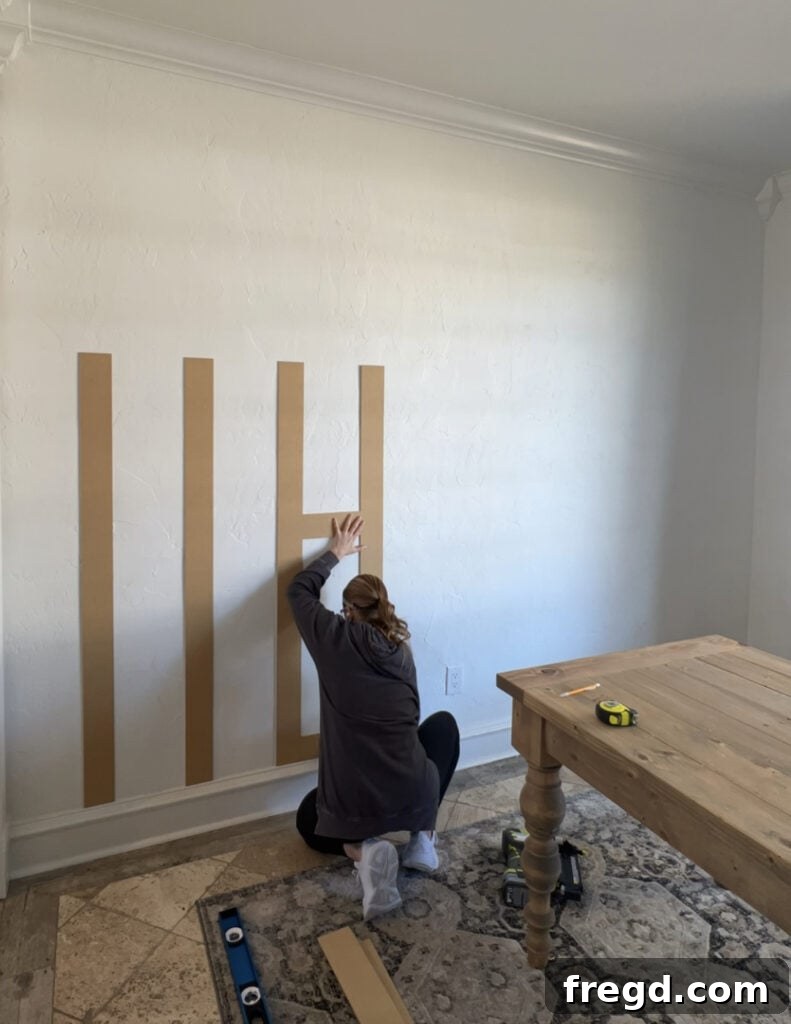
With your spacing meticulously planned and marked on the wall, it’s time to install the vertical battens – the backbone of your board and batten design. Given the lightweight and slender nature of the bender boards, I made a conscious decision to avoid using any strong adhesives, such as liquid nails. This approach offers significant practical benefits. Firstly, it saves a considerable amount of time and mess during installation. More importantly, should you decide to change your wall treatment in the future, removing these battens will leave only small nail holes, resulting in minimal damage to your wall surface and making future renovations much simpler.
Start by attaching your first batten. This piece is crucial, as it sets the precedent for all subsequent vertical boards. Use a reliable level to ensure this first batten is perfectly plumb before you nail it into place. Accuracy here will save you considerable effort later. Once your first board is secure and perfectly straight, you can significantly accelerate the installation process. I crafted a simple 9.25-inch spacer from scrap wood – an indispensable tool for maintaining consistent gaps. For each subsequent batten, I would place this spacer against the previously installed board, then position the new bender board flush against the spacer before nailing. This clever technique eliminated the need to re-check the level for every single board, allowing for quick and precise installation.
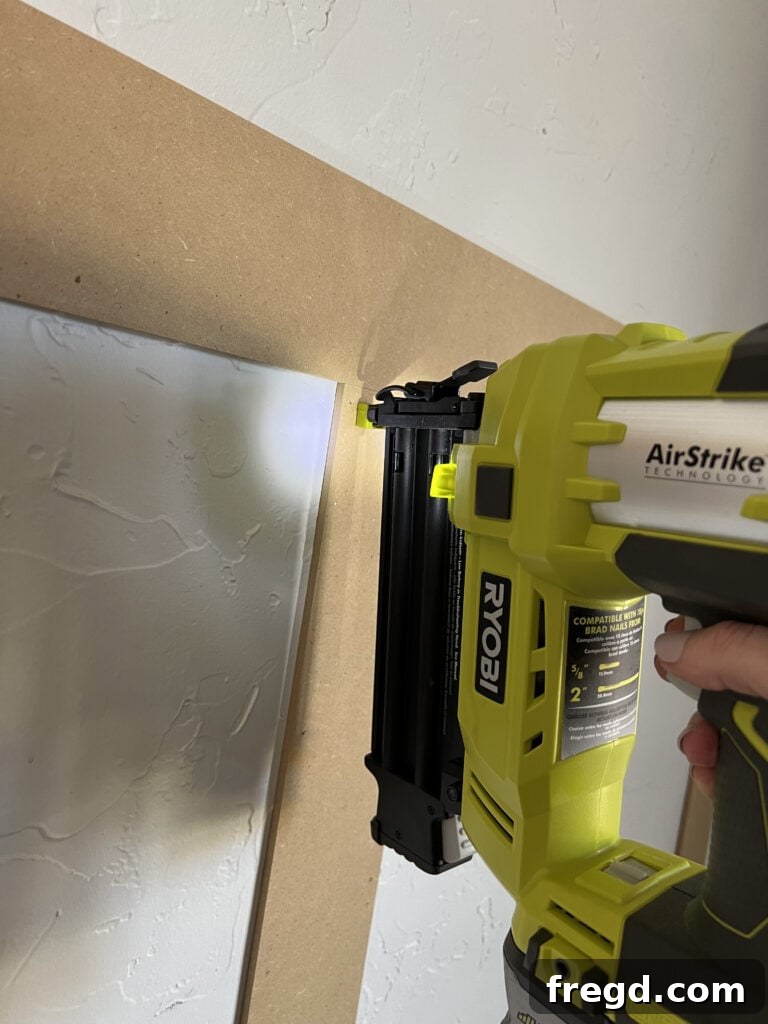
Each bender board was firmly secured using 2-inch brad nails. For optimal hold and to prevent any warping or bowing over time, aim to place nails approximately every 12-18 inches along the length of the board. While the bender boards are light, ensuring they are adequately fastened creates a durable and stable foundation for your accent wall. For added security, especially in high-traffic areas, you might consider locating wall studs, but for these lightweight battens, proper nailing into drywall is typically sufficient.
Installing the Horizontal Boards
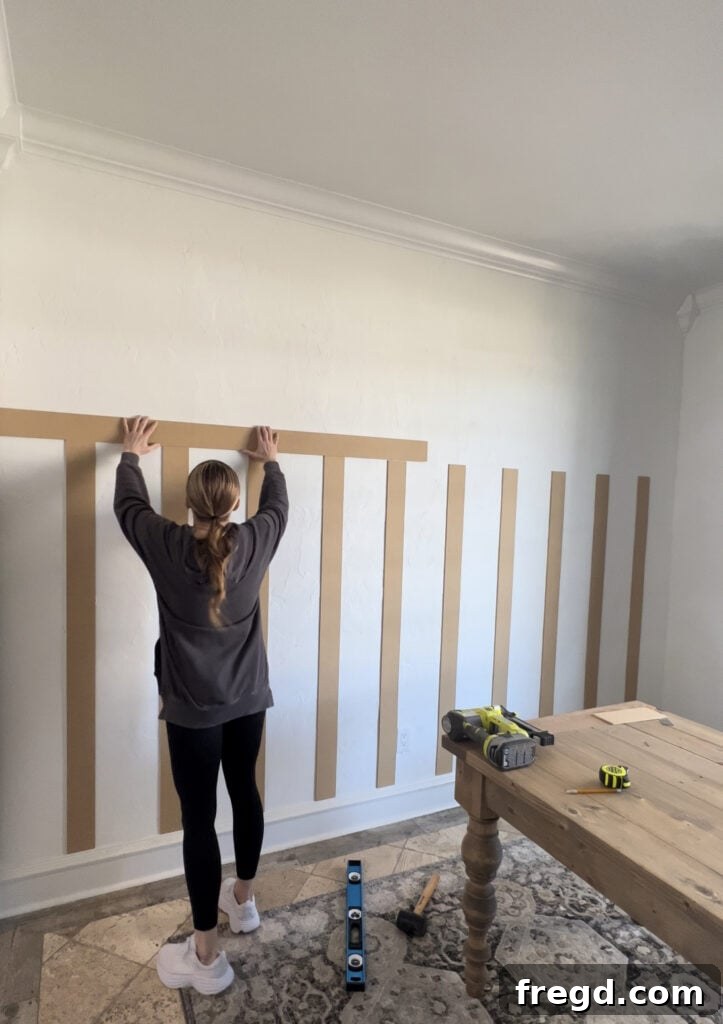
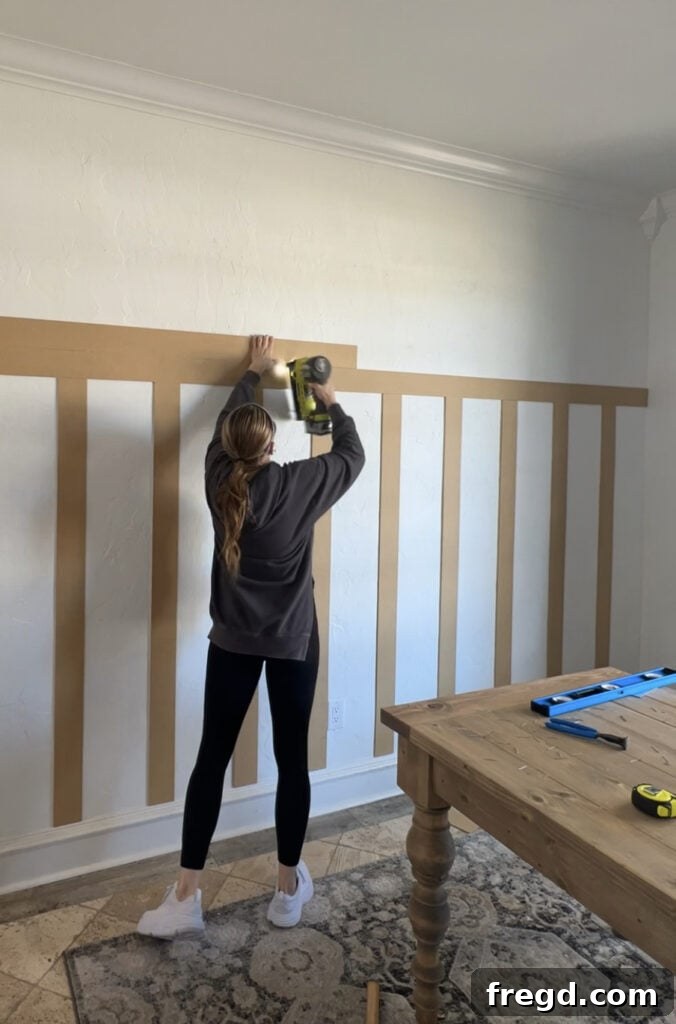
Once all your vertical battens are securely in place, the next step is to introduce the horizontal elements that complete the classic board and batten pattern. For this crucial part of the design, I continued to utilize the versatile bender boards. To create a more substantial and visually impactful horizontal trim, I opted for a stacked design, using two bender boards directly on top of each other. This layering technique adds depth and a custom, more robust appearance to the accent wall.
Before cutting, carefully measure the exact distance between the outermost vertical battens where your horizontal boards will span. Precision here ensures a seamless fit. For the placement of these horizontal boards, I chose to install them directly in the center of the wall, creating a balanced mid-height division that often enhances the room’s proportions. However, you have the flexibility to adjust this height to best suit your room’s existing decor, window lines, or furniture placement. Always use a level to ensure your first horizontal board is perfectly straight before nailing it. Once it’s secure, stack the second bender board directly above or below it, making sure they align flawlessly to create a single, thicker-looking trim piece.
Similar to the vertical battens, these horizontal boards were attached using 2-inch brad nails. Apply nails every 12-18 inches along their length, paying particular attention to where the horizontal boards intersect with the vertical ones. This overlapping attachment point requires strong connections to ensure the entire structure remains stable and visually cohesive. Taking your time during this installation phase, double-checking alignment and levelness, will significantly contribute to the overall quality and professional finish of your board and batten wall.
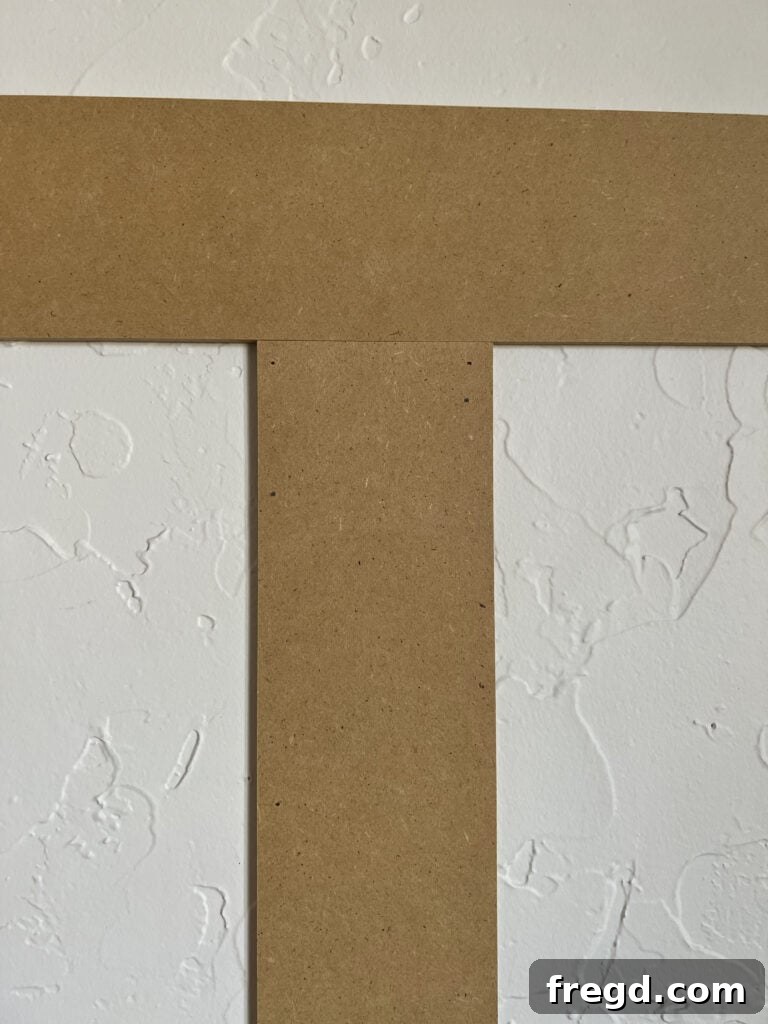
Perfecting the Finish: Caulking All Joints and Seams
With all the bender boards securely in place, the true magic of transformation begins with a step that, while often overlooked, is absolutely critical for achieving a flawless, professional finish: caulking. This process effectively seals any gaps between the boards and the wall, as well as where individual boards meet, creating a smooth, monolithic surface that will look like custom millwork once painted.
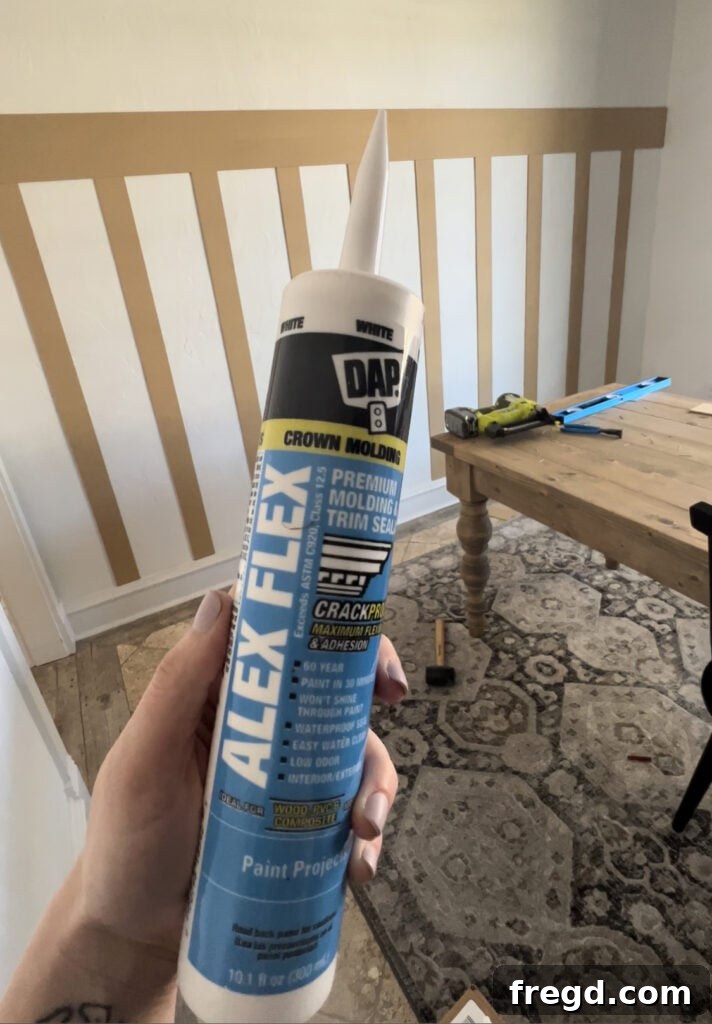
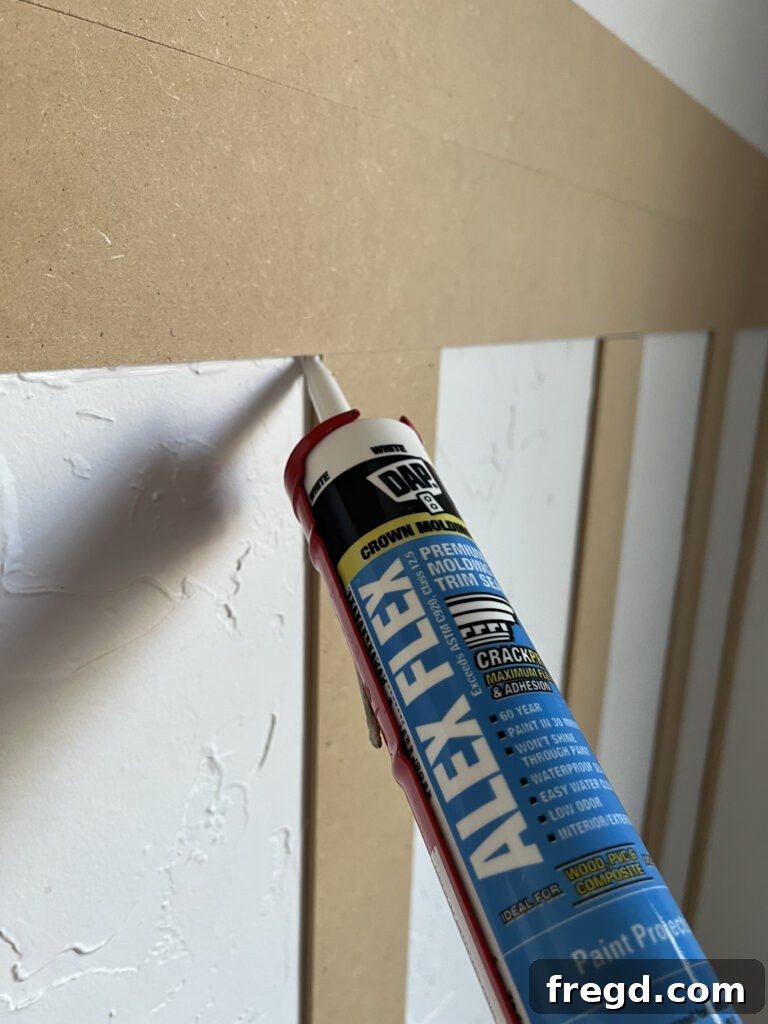
It is paramount to caulk every single seam and joint, especially the edges where each bender board touches the existing wall surface. This not only fills unsightly gaps but also helps to visually integrate the thin bender boards with the wall, giving the impression of robust, built-in paneling rather than applied trim. For the best results, I highly recommend using a premium paintable caulk that boasts quick drying times and excellent paint adhesion. I personally used THIS particular brand of caulk, and it performed exceptionally well, drying fast and providing a perfect base for paint.
To apply the caulk, load your caulk gun and run a continuous, even bead along each joint. Don’t be shy; ensure the caulk thoroughly fills the gap. Immediately after applying a section, use a wet finger or a dedicated caulk smoothing tool to carefully smooth out the bead. This step is vital: it pushes the caulk firmly into the seam, removes any excess, and creates a clean, feathered edge. Skipping this smoothing process can leave rough, uneven lines that paint will only highlight, detracting from your otherwise meticulous work. Dedicate ample time to this stage; well-executed caulking will dramatically elevate the perceived quality and sophistication of your finished board and batten wall.
Concealing Nail Holes for a Flawless Surface
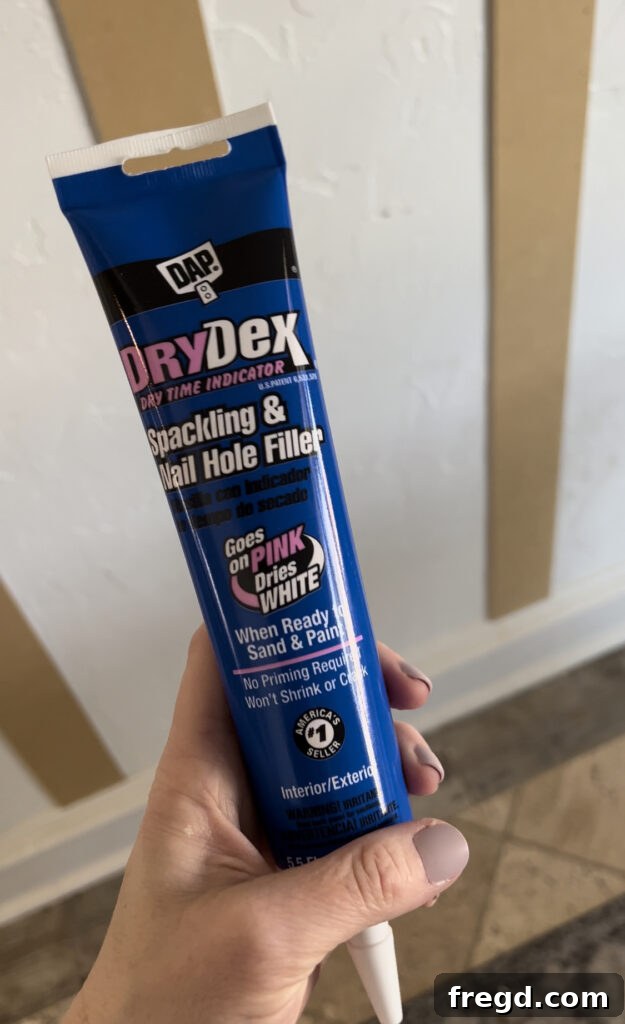
Once the caulk has completely cured, the next essential step in perfecting your board and batten wall is to address all the small nail holes left by the brad nailer. While these holes are tiny, they can become quite noticeable once paint is applied if not properly filled and smoothed. For this task, I favor using THIS spackling paste due to its ease of application and smooth sanding properties. Alternatively, wood filler is also an excellent choice, and many DIYers prefer it for its durability. Choose the product you feel most comfortable working with.
The application process is straightforward. Take a very small amount of filler – enough to cover just one nail hole – and apply it directly over the indentation. While a putty knife can offer precision, I’ve found that using my fingertip is often the most efficient and effective method. Simply dab a tiny bit of filler onto your finger and gently rub it into each nail hole, ensuring it’s completely filled and flush with the surrounding surface of the board. The warmth from your finger can also help to smooth the filler more evenly.
Allow the filler to dry thoroughly, strictly adhering to the manufacturer’s recommended drying times. Once completely dry, it’s crucial to lightly sand over each filled area. Use a fine-grit sanding pad or sandpaper (around 180-220 grit) and gently smooth away any excess filler that may be slightly raised. The objective is to create a perfectly flat and even surface, ensuring that no bumps, ridges, or depressions will be visible through the paint. This meticulous attention to detail at this stage is what truly distinguishes a professional-looking DIY project from a rushed one, paving the way for a truly impeccable finish.
Painting Your Board and Batten Masterpiece
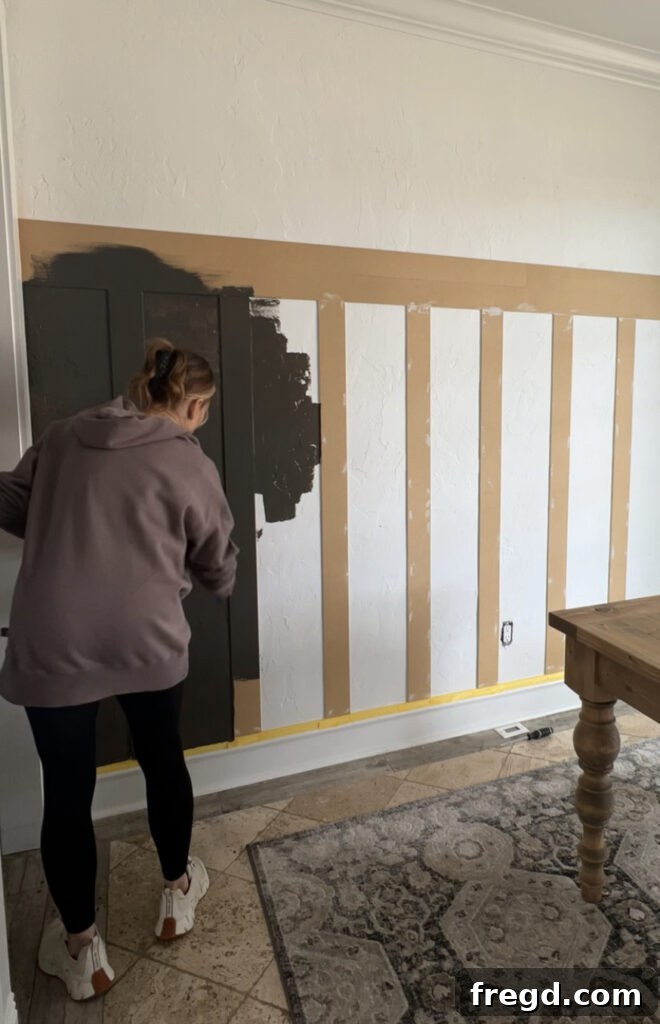
After all the structural work, caulking, and filling are complete, it’s time for the most transformative step: painting! This is where your board and batten wall truly comes to life, integrating seamlessly into your room’s design and reflecting your personal style. I painted the entire wall, including all the bender boards, in situ. A key detail to remember: I intentionally stopped painting just below the very top edge of the uppermost horizontal bender board. This was because I knew this section would later be covered by the distinct stained wood trim, making it unnecessary to paint that specific area.
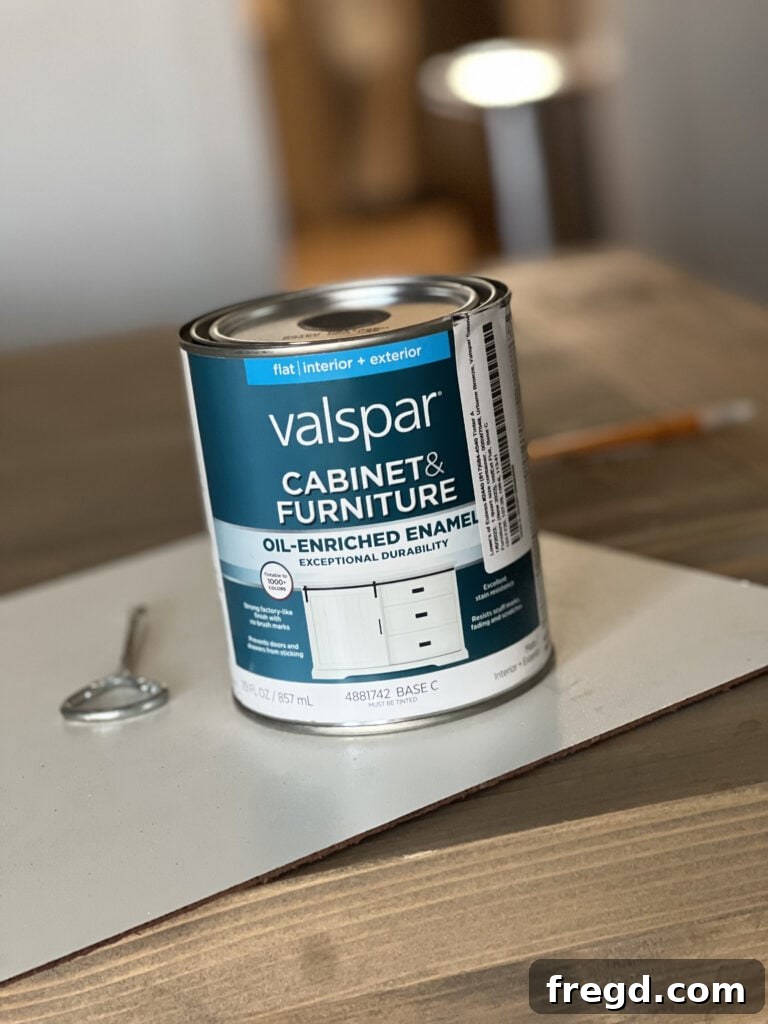
For this project, I turned to my absolute favorite trim paint, which is conveniently available at Lowe’s. This particular paint is a fantastic choice for DIYers as it often negates the need for a separate primer, saving both time and an additional step. I’ve personally used it on numerous projects, including a recent makeover of my bathroom cabinets HERE, always with outstanding results. For the color, I selected Sherwin-Williams Urbane Bronze – a sophisticated and earthy tone that adds incredible depth and warmth. When you visit the paint counter, simply request this specific brand of paint to be mixed with the Urbane Bronze color code.
I opted for a flat finish for this board and batten application. While I typically prefer a completely matte look, I did observe that this particular flat formula from my chosen brand possessed a slightly higher sheen than other flat paints I’ve used in the past. Despite this minor difference, I was still exceptionally pleased with the final outcome; the color is rich, inviting, and adds a cozy yet chic ambiance to the dining room. To apply the paint, I primarily used a 6-inch roller, which I find perfect for covering both the flat wall surfaces and the battens efficiently. For cutting in along edges, corners, and any tight spaces the roller couldn’t reach, a small angled trim brush was indispensable. I applied two thorough coats of paint, allowing ample drying time between each coat as per the manufacturer’s recommendations. This ensures even coverage, a durable finish, and the full, vibrant expression of your chosen color.
Adding the Elegant Stained Wood Trim
While the rich Urbane Bronze paint was diligently drying on the board and batten wall, I shifted my focus to preparing the final, elegant touch: the stained wood trim. This top trim piece, crafted from the 1×4 and 1×2 boards, serves as a sophisticated cap to the design, providing a beautiful contrasting element that truly elevates the entire accent wall.
First, I precisely cut both the 1×4 and 1×2 boards to the exact length of the wall, ensuring they would fit snugly from edge to edge. To achieve a unique and complementary aesthetic, I created a custom stain blend by mixing Varathane Golden Oak with a small amount of Willow Gray stain. This combination produced a warm, nuanced tone that perfectly complements the rich wall color. After applying the stain to both sets of boards, I allowed them to dry completely according to the stain manufacturer’s guidelines, ensuring they were fully cured and ready for installation once the wall paint was dry.
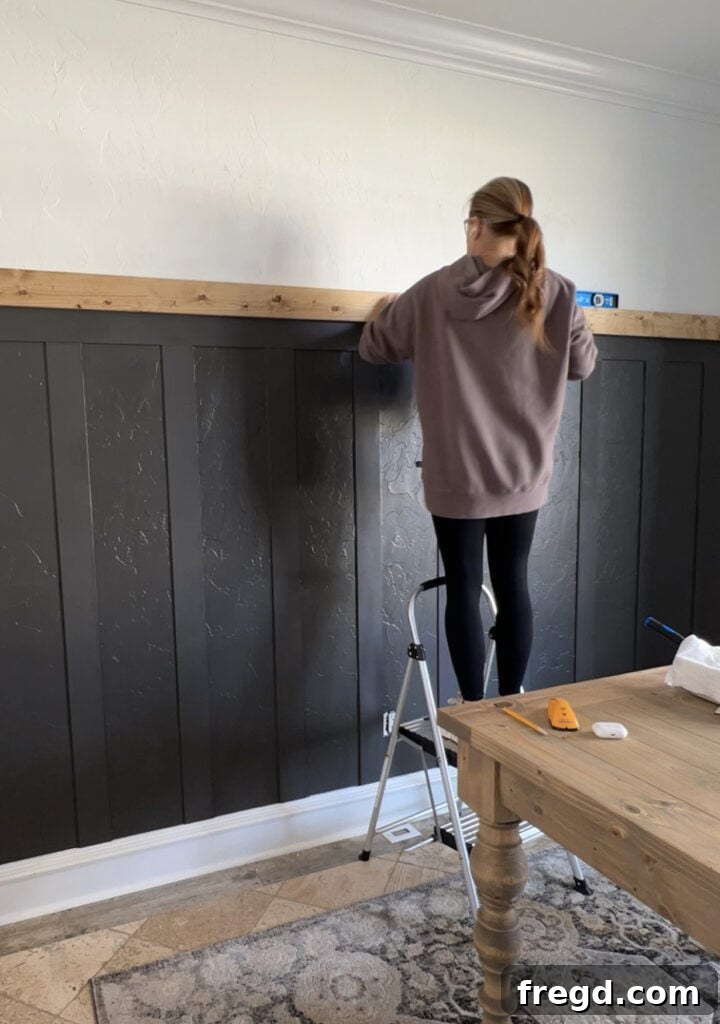
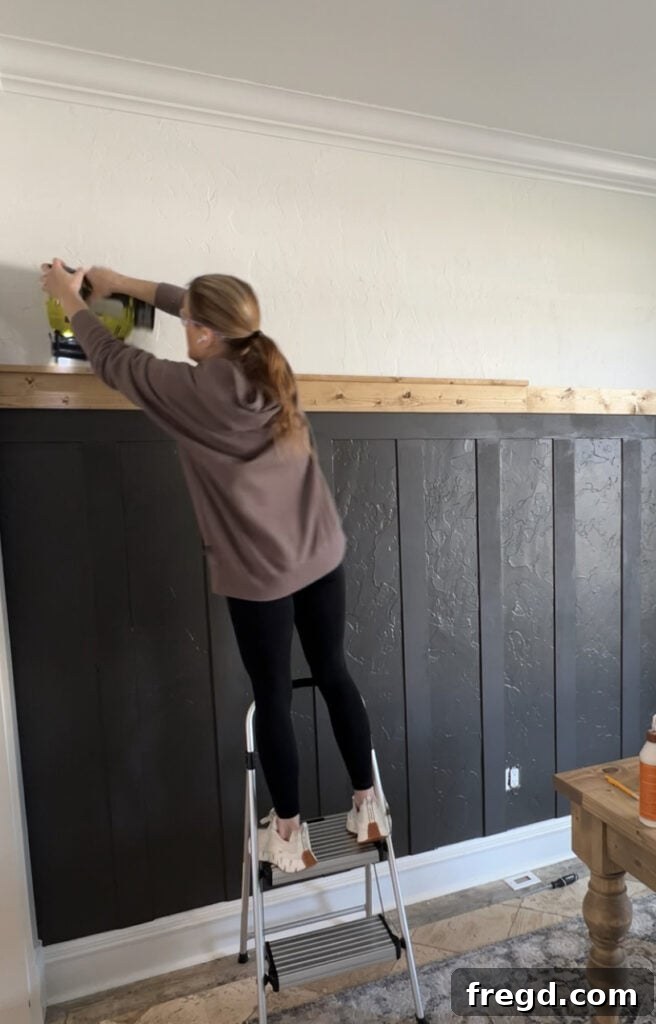
Once the wall paint was thoroughly dry and no longer tacky, I began by attaching the 1×4 boards. It is absolutely critical that the top edge of this stained 1×4 board aligns perfectly flush with the top edge of the uppermost bender boards. Use your level extensively during this step; any deviation from perfectly straight will be noticeable. Given that these boards are more substantial than the bender boards, secure attachment is paramount. I utilized a stud finder to locate and mark the wall studs just above the top bender board. Nailing into studs provides the strongest and most reliable anchor for these heavier trim pieces.
To attach the 1×4 boards, I applied a bead of wood glue to the back of the board for enhanced adhesion, then carefully positioned it and secured it using 2-inch finish nails, ensuring the nails penetrated the marked stud locations. Once the 1×4 was firmly in place, I then attached the 1×2 board directly on top of the 1×4, aligning it flush with its top edge, also using wood glue and finish nails. This layered approach creates a classic, substantial crown molding effect, adding a refined architectural detail that completes the custom, high-end look of your board and batten wall. This intricate trim work truly makes all the difference in the final aesthetic.
The Stunning Finished Result!
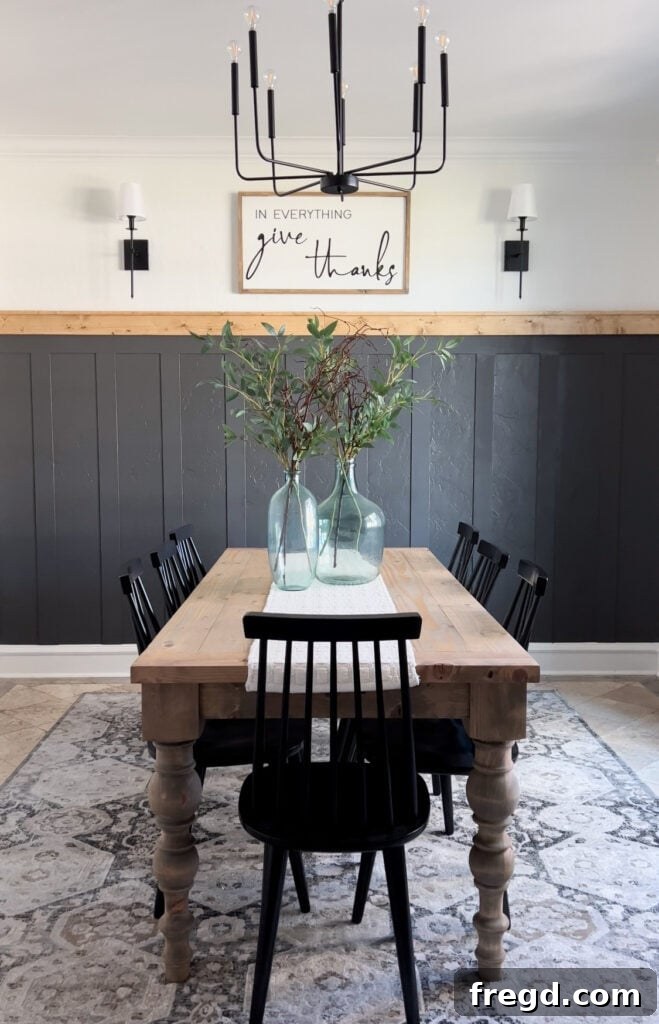
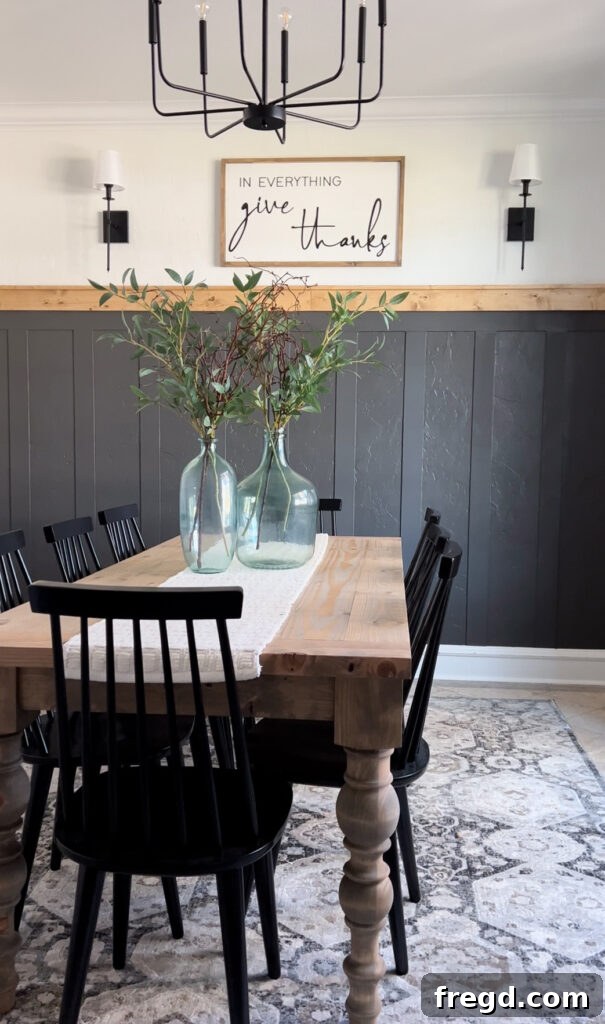
And there you have it – the breathtakingly beautiful, fully finished DIY board and batten accent wall! I am absolutely delighted with how this quick, straightforward, and incredibly inexpensive project has transformed my dining room. The subtle elegance, architectural depth, and custom feel it adds are truly remarkable, instantly creating a warm and sophisticated focal point in the space. What makes this transformation even more gratifying is the knowledge that this high-impact home improvement was achieved for an astonishingly low cost – under $80!
This project stands as a testament to the power of thoughtful design, clever material choices, and a willingness to embrace DIY. It conclusively proves that you don’t need to splurge on expensive contractors or premium-priced lumber to infuse your home with high-end, custom style. The rich, inviting hue of Sherwin-Williams Urbane Bronze, beautifully contrasted by the warmth of the stained wood trim, brings a cozy yet chic ambiance to the dining area, making it an ideal setting for both intimate family meals and lively gatherings with friends. If you’ve been contemplating adding character and visual interest to a room in your home, a DIY board and batten wall is a highly rewarding, accessible, and truly impactful project. Don’t hesitate to give it a try – you’ll be amazed at the stunning results you can achieve on a budget!
Explore More Board and Batten Ideas!
Loved this project and eager for more inspiration? Dive into our collection of other fantastic DIY board and batten accent wall makeovers. There’s a world of creative possibilities waiting to transform various spaces in your home!
- Our Sister’s Wall Makeover
- Ashley’s Sons Wall
- Bedroom Wall Makeover
- Hallway Makeover