
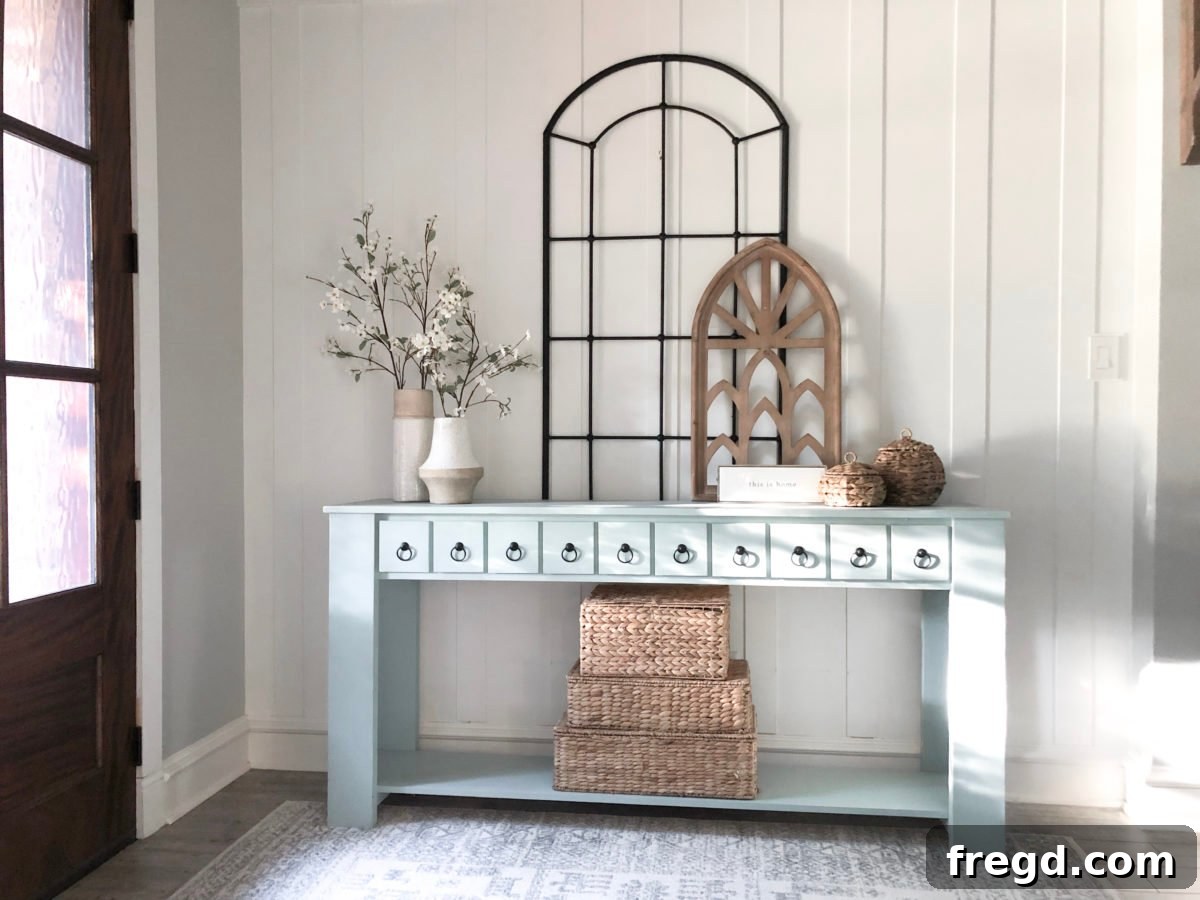
Transforming your home with custom furniture doesn’t have to be a daunting or expensive task. Discover how we created this adorable and highly functional **DIY Faux Drawer Console Table** for under $100! This project is not only budget-friendly but also surprisingly easy to build, making it perfect for both novice and experienced DIYers looking to add a touch of charm to their entryway or living space. Beyond the build, we’ll dive deep into the secrets of achieving a professional-grade paint finish that truly elevates your handmade pieces. Get ready to learn how to paint furniture like a pro and turn a simple build into a showstopper!
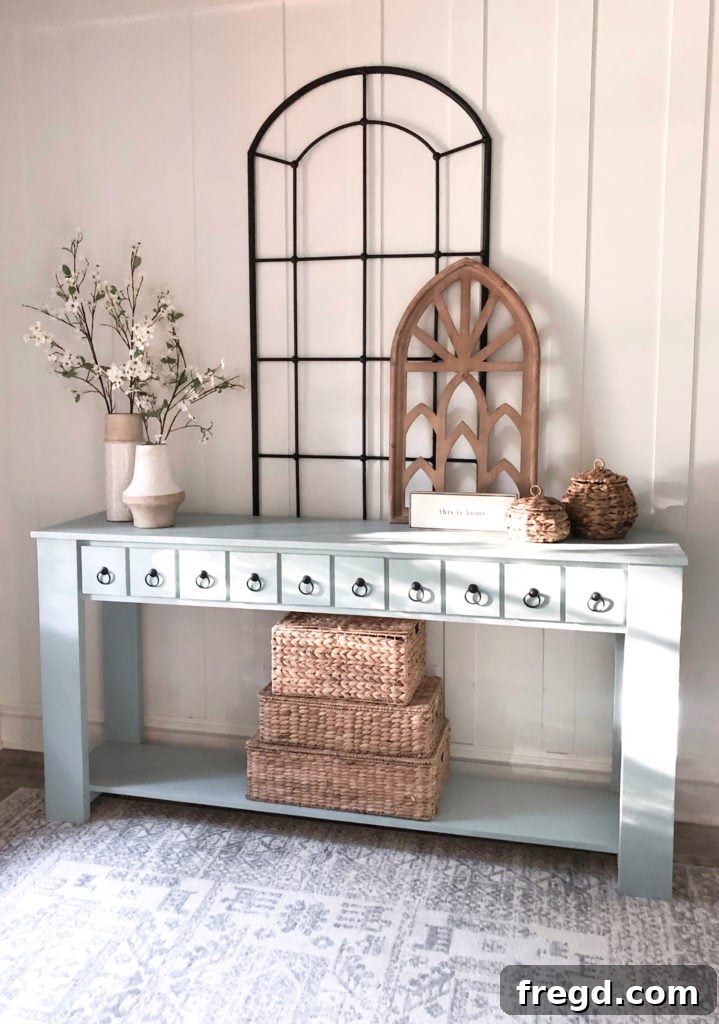
One of the most frequent questions we receive is about our furniture painting techniques. While building a piece is certainly rewarding, it’s often the meticulous finishing work that transforms it from a garage project into a high-end, store-bought look. We believe that with the right products and a few simple tips, anyone can achieve a flawless, durable finish that makes their DIY furniture truly shine. This comprehensive guide will walk you through every step of our proven painting process, ensuring your next project looks like it came straight from a designer showroom.
Achieving a Flawless Finish with Ace Hardware Paint
To demonstrate just how accessible and easy professional-quality finishing can be, we partnered with our trusted friends at Ace Hardware. Our experience with their paints, particularly the Clark + Kensington line, left us genuinely impressed. We were particularly struck by the remarkable thickness and exceptional coverage achieved even on raw wood with just the first coat. This premium quality not only saves time but also ensures a vibrant, long-lasting finish that stands up to daily use. Throughout this article, we’ll share our step-by-step process, illustrating how these high-quality materials from Ace Hardware made all the difference in achieving the stunning result for our faux drawer console table.

Beyond this detailed guide, we encourage you to watch our exclusive video tutorial for a visual walkthrough of the entire furniture painting process. Sometimes seeing the techniques in action can provide that extra layer of understanding and confidence you need to tackle your own projects. You’ll find a link to the video below, offering even more tips and tricks to help you master the art of furniture finishing.
Video Tutorial: Learn How We Paint Furniture!
Our journey began with what is often the most challenging, yet exciting, first step: selecting the perfect paint color. With an overwhelming array of choices, narrowing it down can feel like a task in itself! Fortunately, Ace Hardware offers an incredible resource called The Paint Studio. This interactive online platform makes exploring different hues and visualizing them in various settings a fun and effortless experience, simplifying the decision-making process significantly.
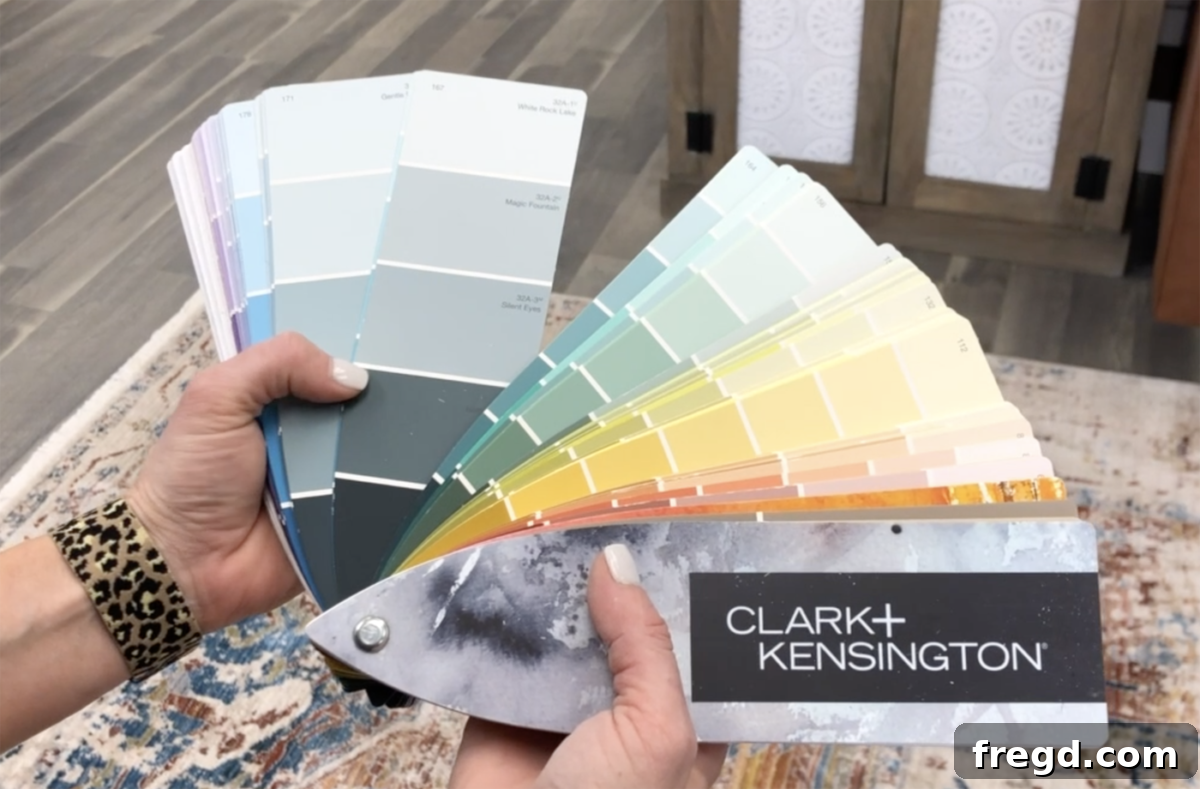
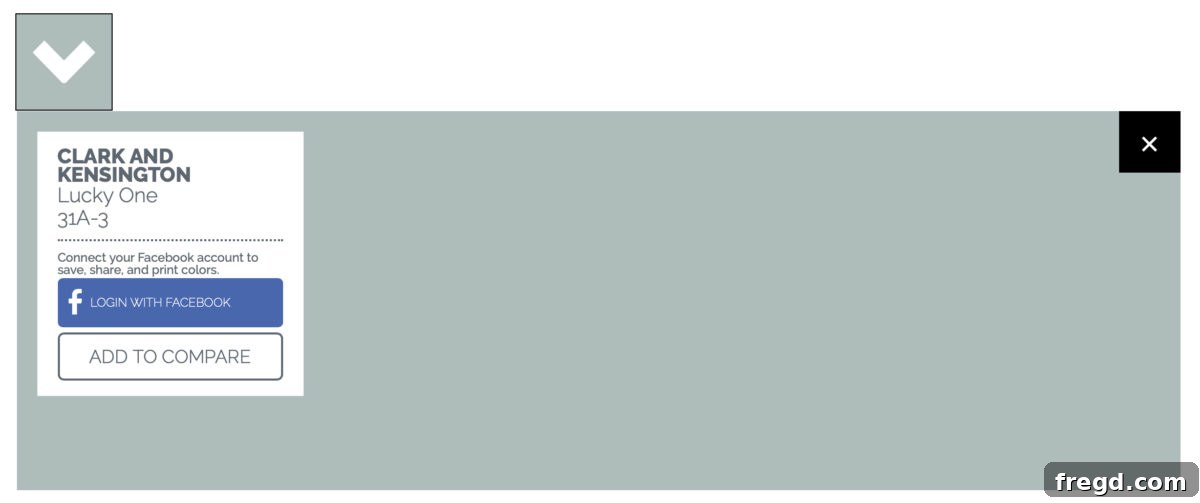
With a little help from Clark + Kensington’s extensive paint deck, we finally settled on a truly exquisite shade of blue called “Lucky One.” This color immediately captured our attention with its perfect balance of vibrancy and sophistication, promising to add a fresh yet timeless appeal to our console table. Choosing the right color is paramount, as it sets the mood and character of your piece, influencing its entire aesthetic.
Your Local Ace Hardware: A Hub for DIY Success
Once our color was chosen, our next stop was our local Ace Hardware store to gather all the necessary supplies. The experience at Ace Hardware is always exceptional, largely due to their incredibly helpful and knowledgeable staff. In the paint section, an Ace employee provided invaluable assistance, ensuring we had everything needed for our project. Their expertise not only helped us confirm our paint choice but also guided us in selecting the right tools and accessories for the job. Finding an Ace Hardware location near you is easy – simply use their convenient store locator HERE!

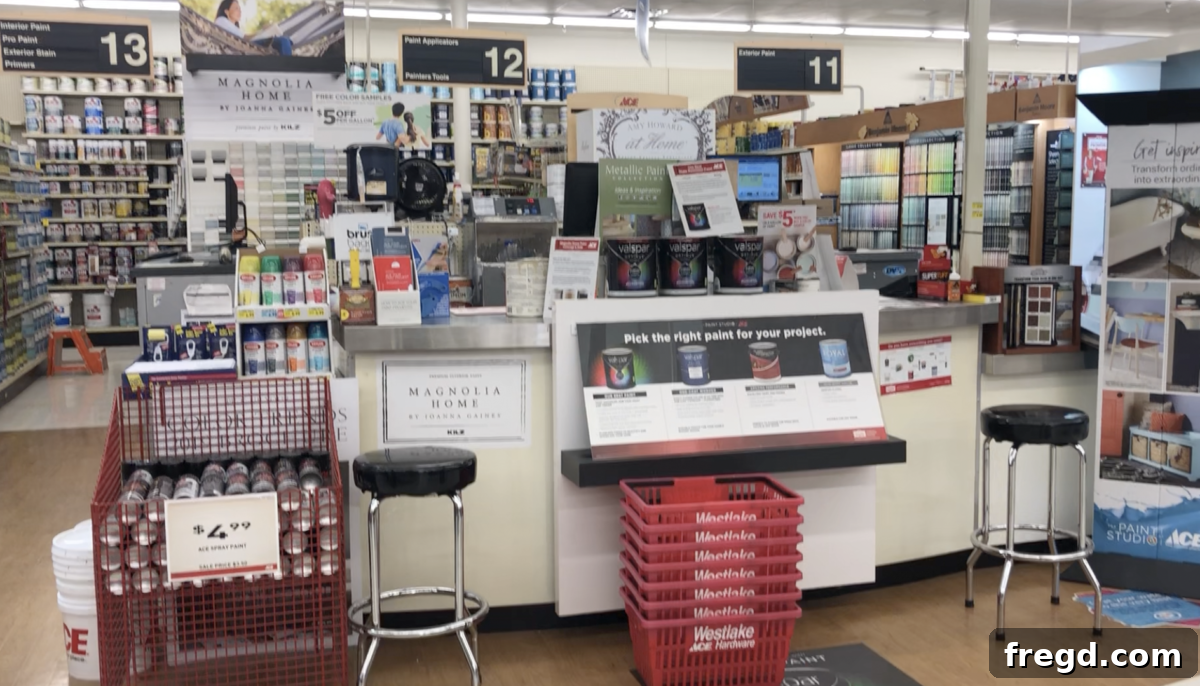
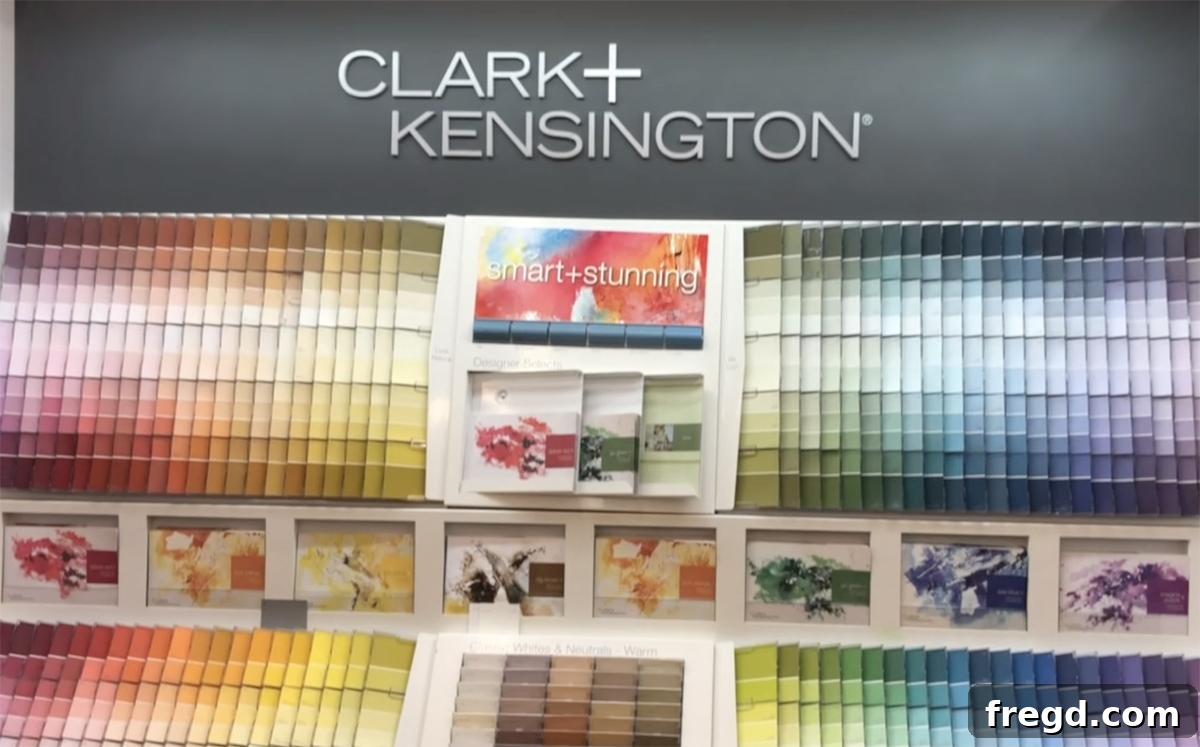
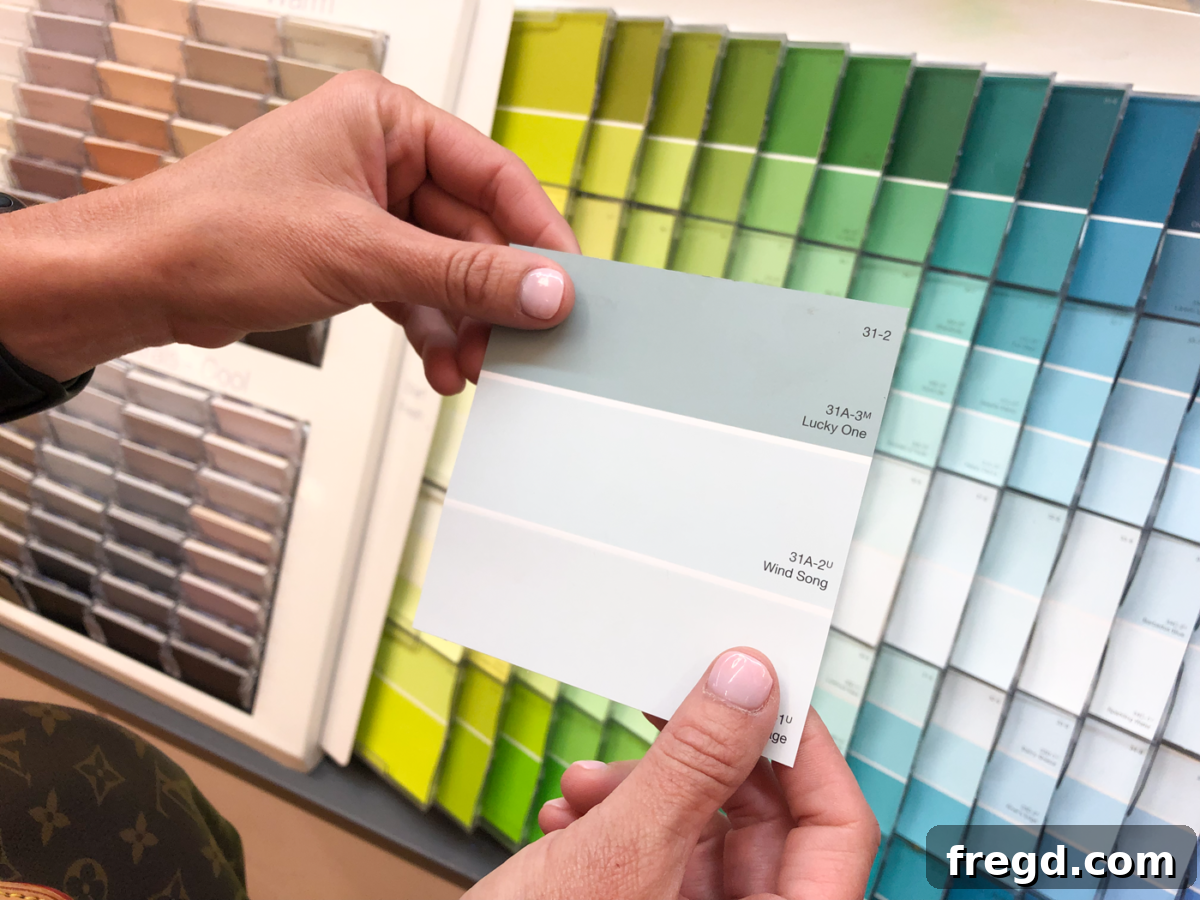
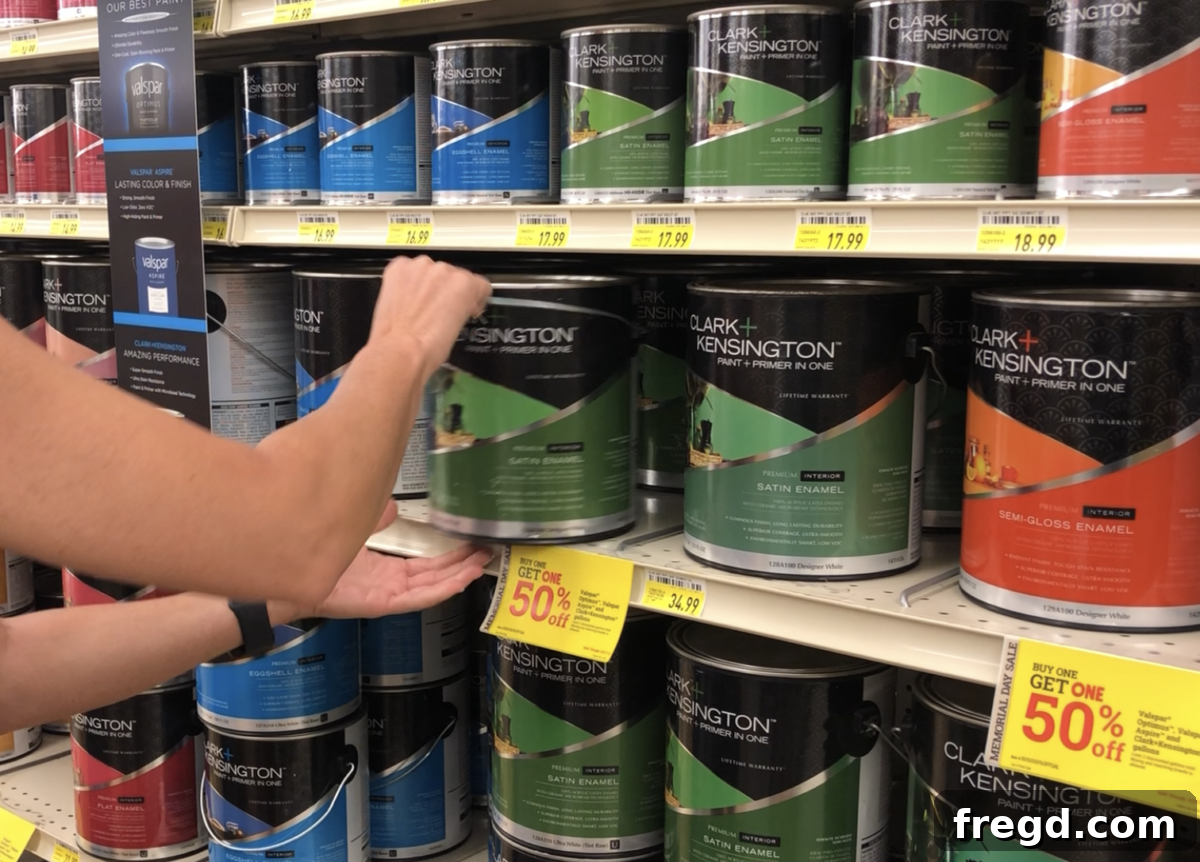
While our chosen “Lucky One” paint was being expertly mixed, we efficiently gathered the rest of our essential painting supplies. Within minutes, our cart was full of everything needed to begin our project.
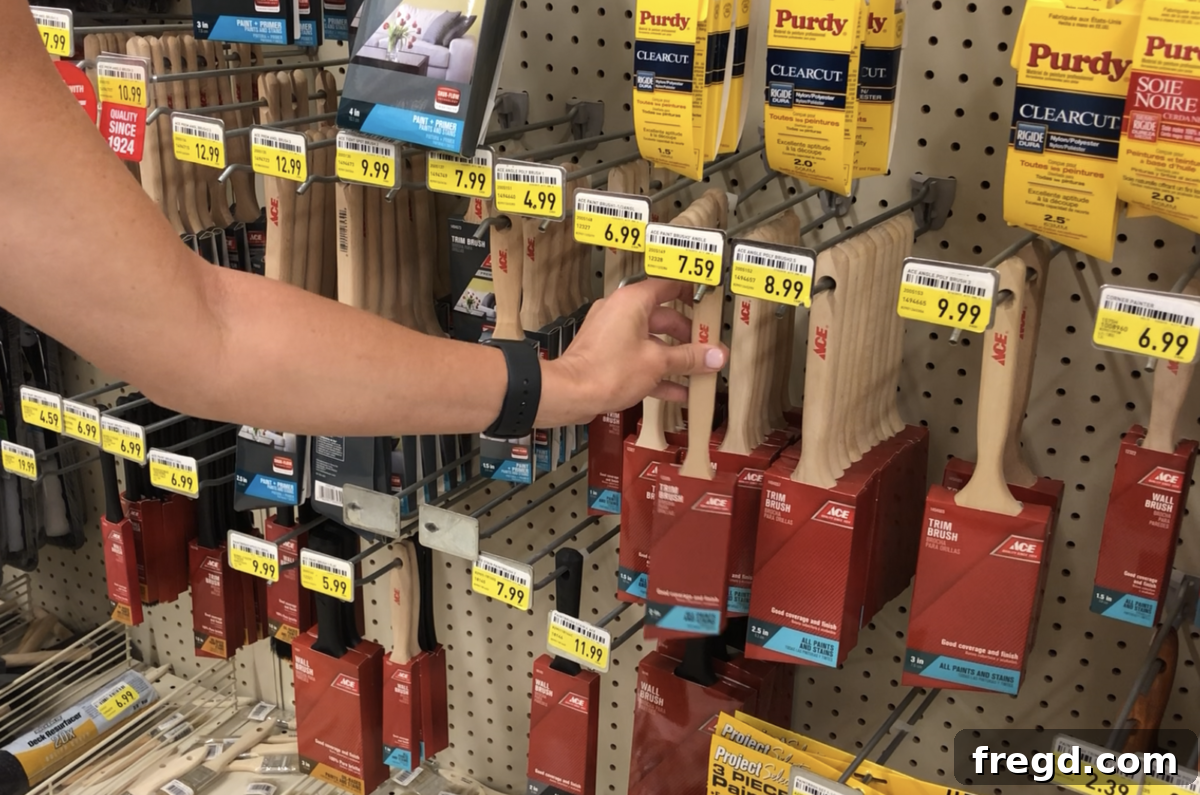
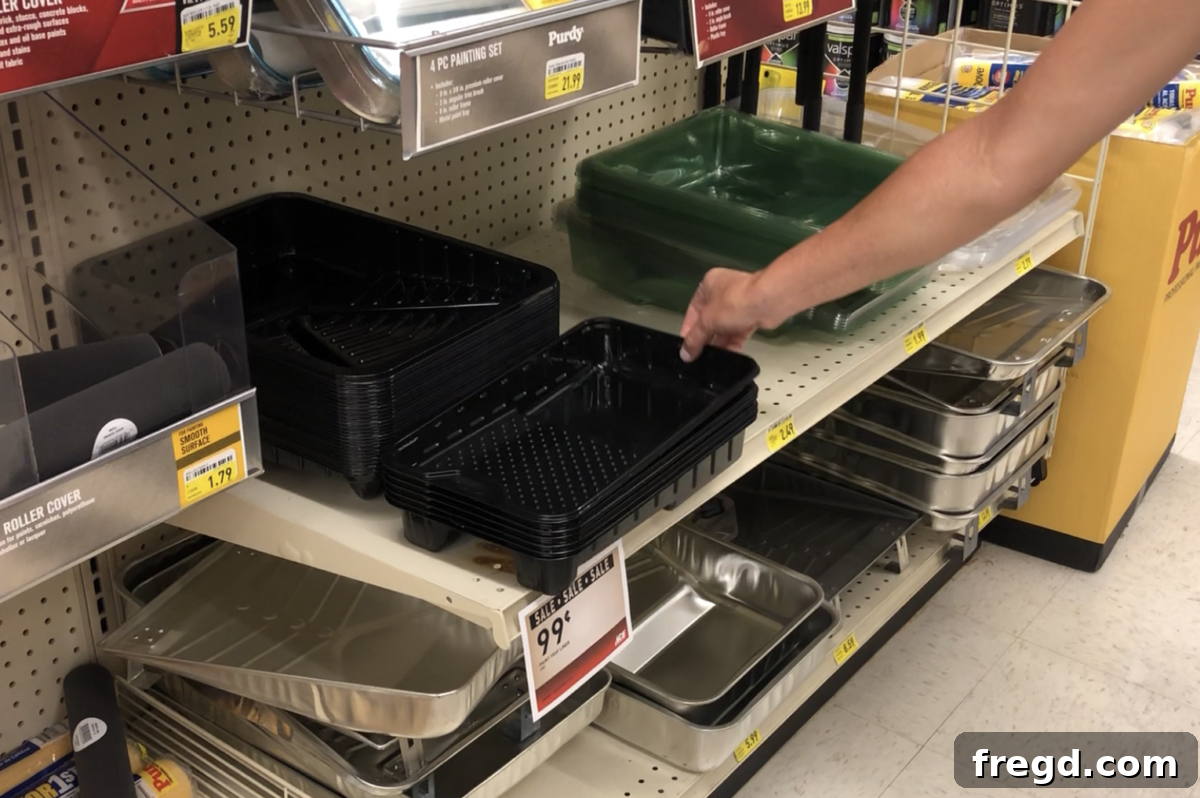
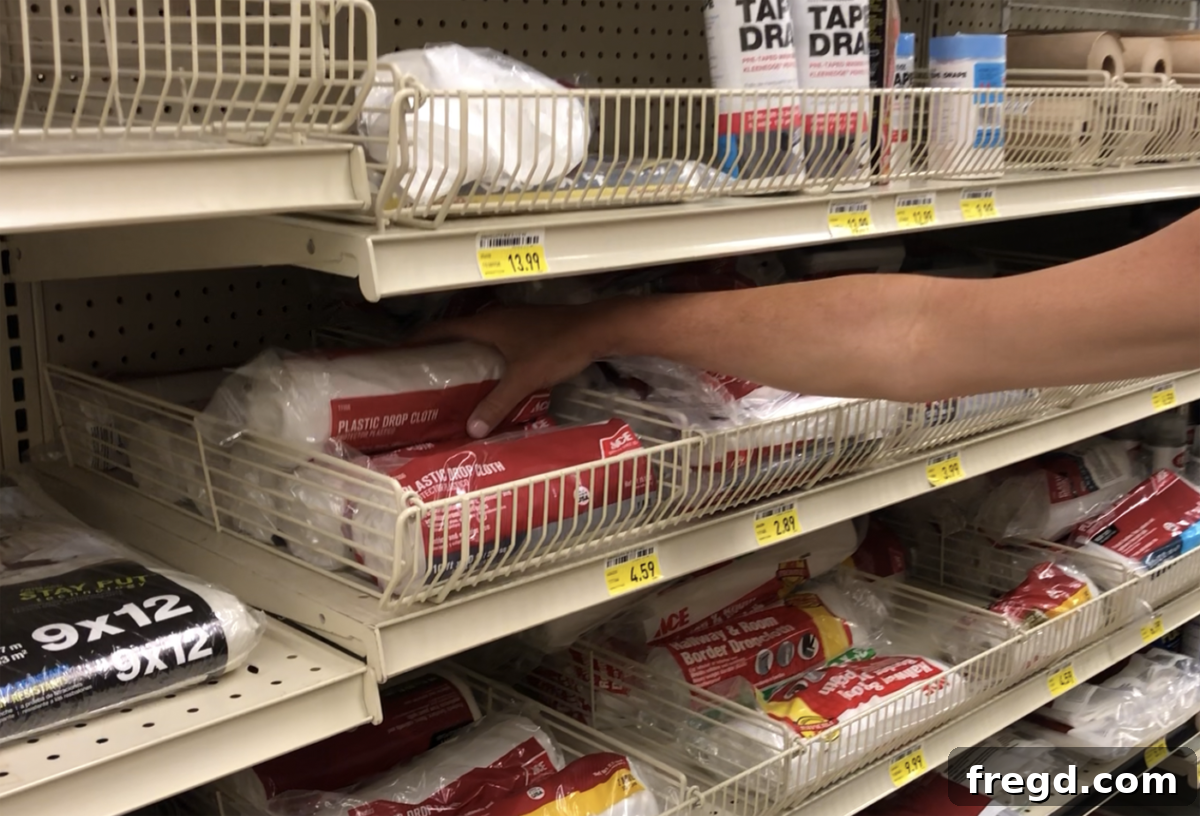
Among our favorite discoveries from Ace Hardware were their sanding sponges. These ingenious tools truly simplify the often-confusing process of selecting the correct grit for your sanding needs. Designed for comfort and efficiency, they eliminate all the guesswork, making surface preparation a breeze for any project.
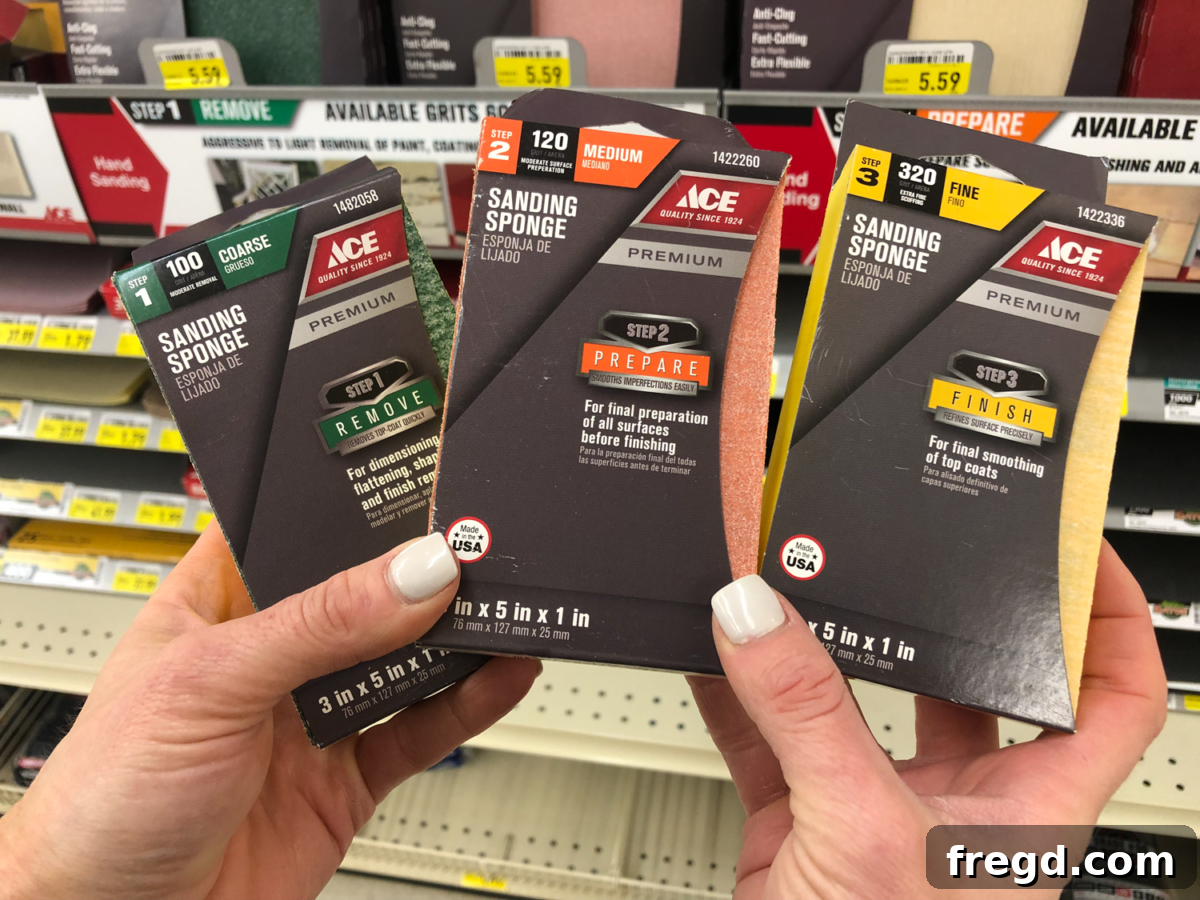
Preparing Your Furniture for a Flawless Paint Finish
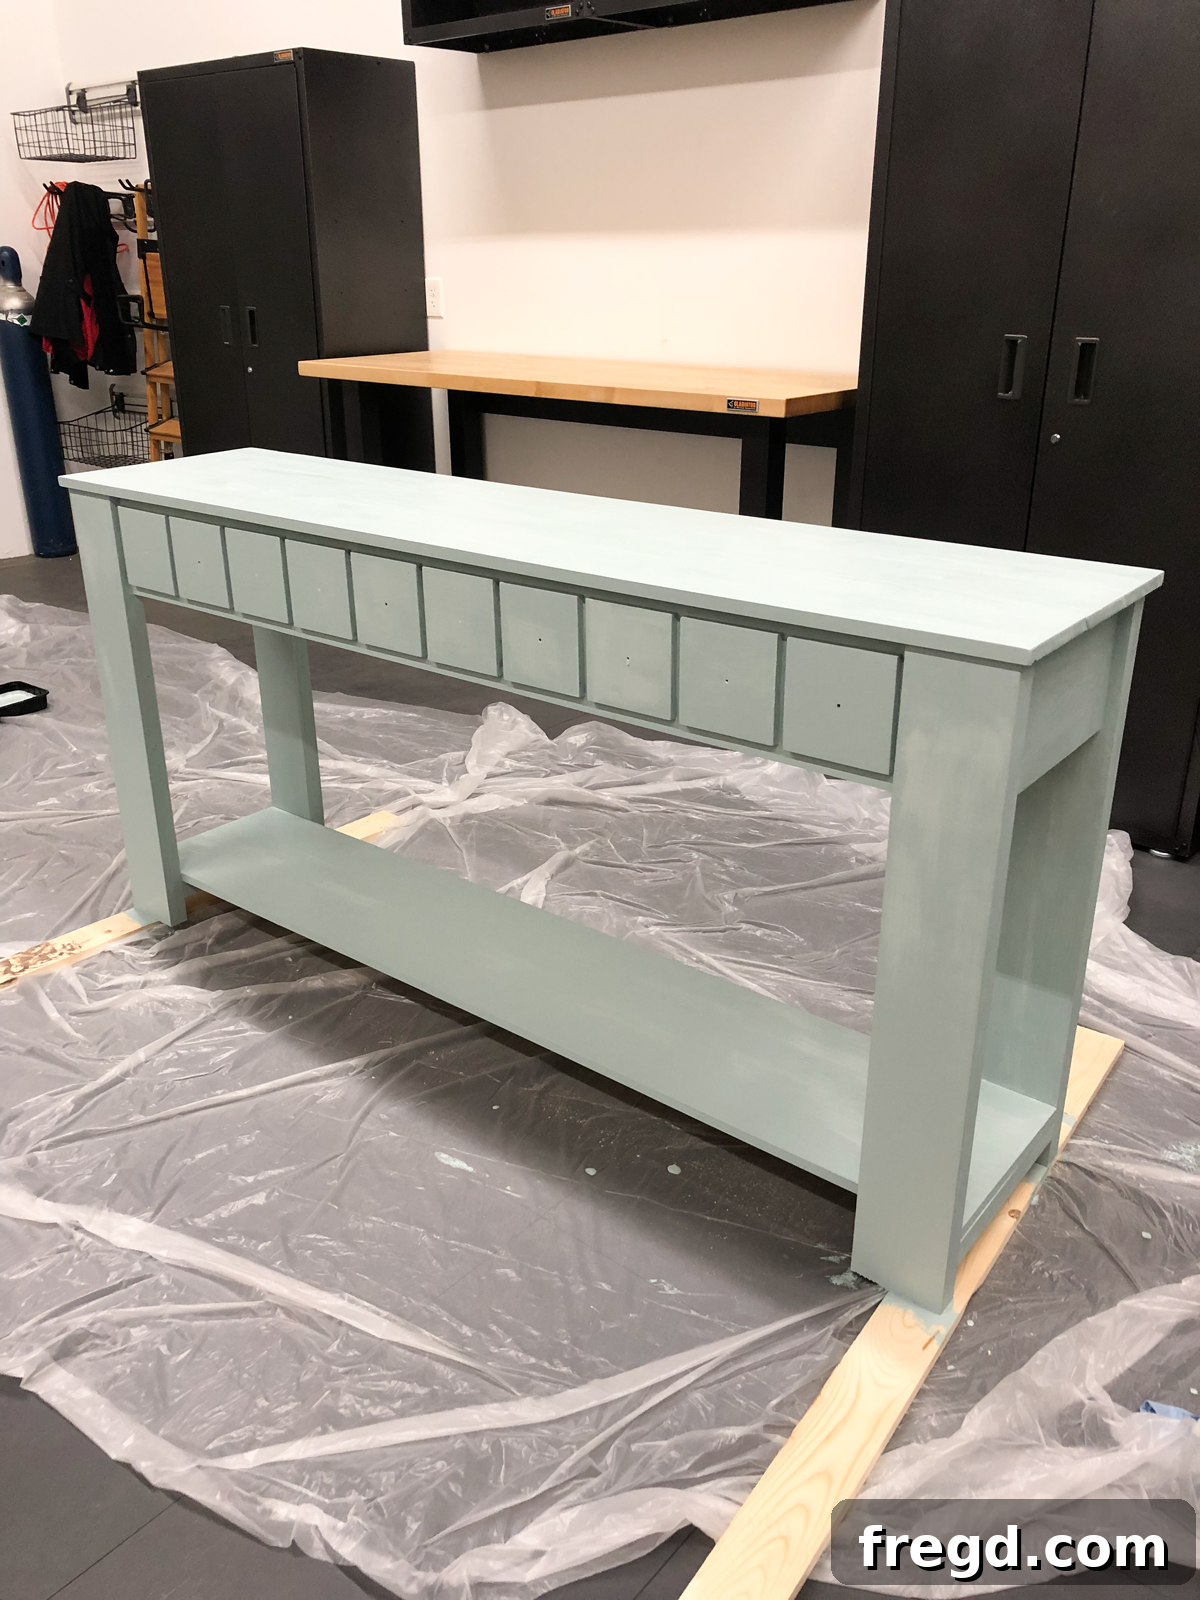
Now, with all our supplies gathered, it’s time for the truly fun part: bringing our DIY Faux Drawer Console Table to life with paint! This is where all the planning and building culminate into a beautiful, finished piece. Below, you’ll find a picture of our console table, freshly built and ready for its transformation. If you missed our detailed building plans, don’t worry – a link to the free plans will be provided at the very end of this post, so you can build your own stunning table from scratch.
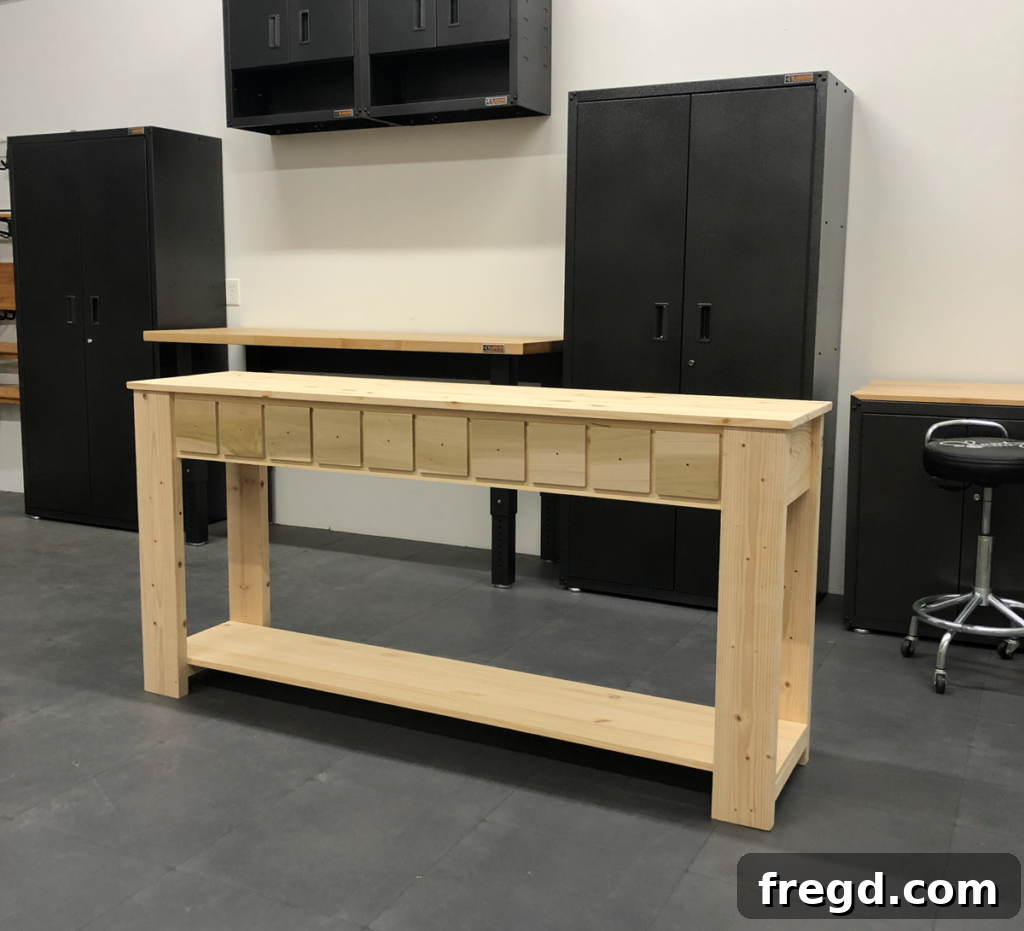
Our painting process always begins with proper preparation of the workspace. We start by laying down a protective drop cloth. For convenience and easy cleanup, we prefer using large, inexpensive plastic drop cloths that can simply be tossed after each project. This simple step ensures that any paint drips or spills are contained, keeping your work area clean and protected.
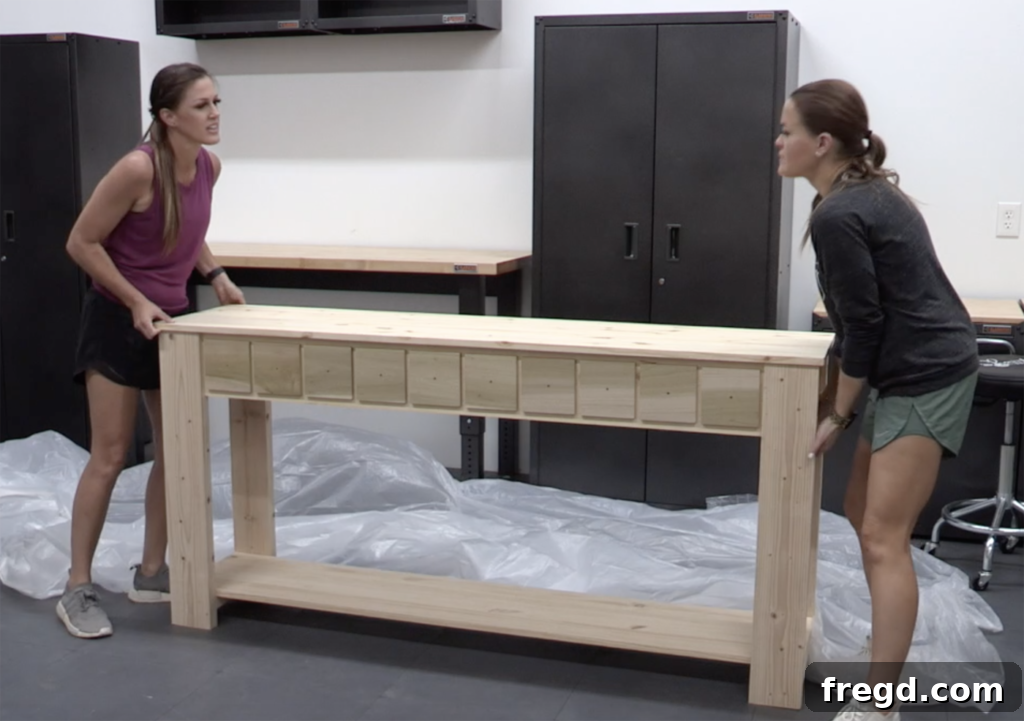
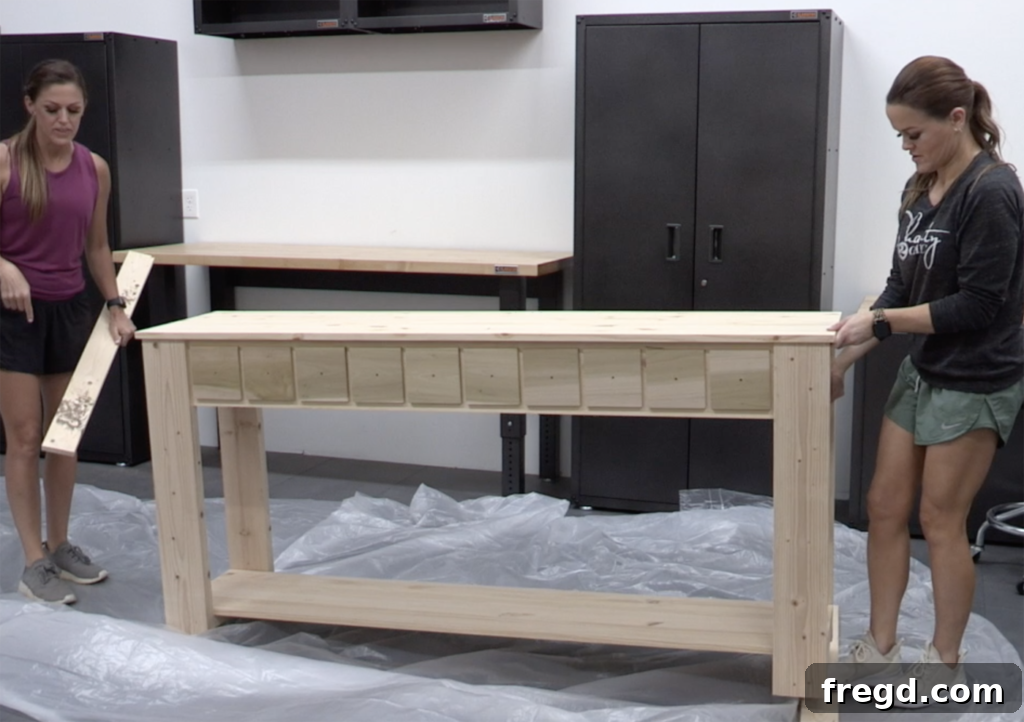
Here’s one of our favorite pro tips for painting furniture: elevate your piece! Instead of placing the furniture directly on the drop cloth, we position several scrap boards underneath. This clever trick lifts the piece off the actual floor, making it significantly easier to paint the lowest sections, edges, and underside without straining or bending awkwardly. An added benefit is that it prevents your newly painted furniture from sticking to the drop cloth as it dries, ensuring a smooth, undamaged finish from every angle.
The Essential Three-Step Sanding Process
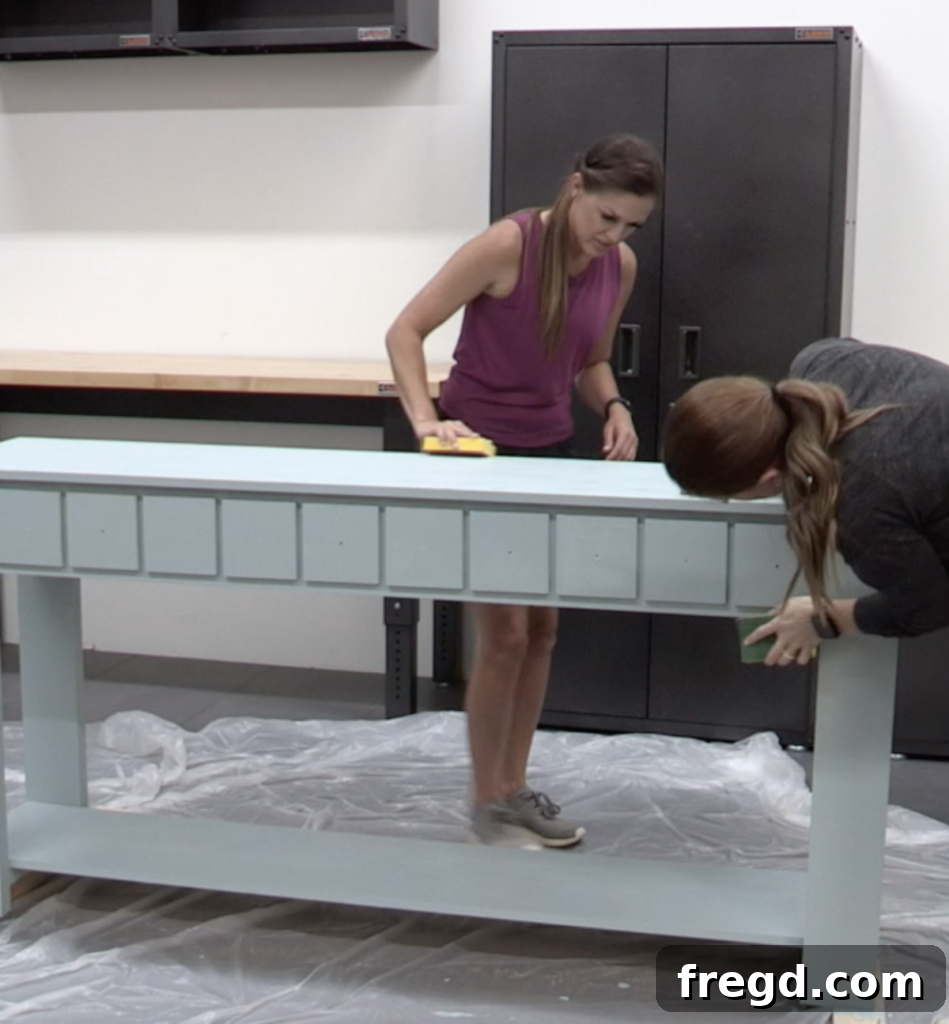
Now, it’s time for crucial surface preparation: sanding. To achieve the smoothest, most professional finish possible, we always employ a three-step sanding process. This method not only creates a perfectly smooth surface for paint adhesion but is also vital if you ever plan to stain wood, as it helps achieve the most consistent and vibrant color. We begin with a coarse-grit sanding sponge, move to a medium-grit, and finally finish with a fine-grit sponge. Each step builds upon the last, progressively refining the wood’s surface.
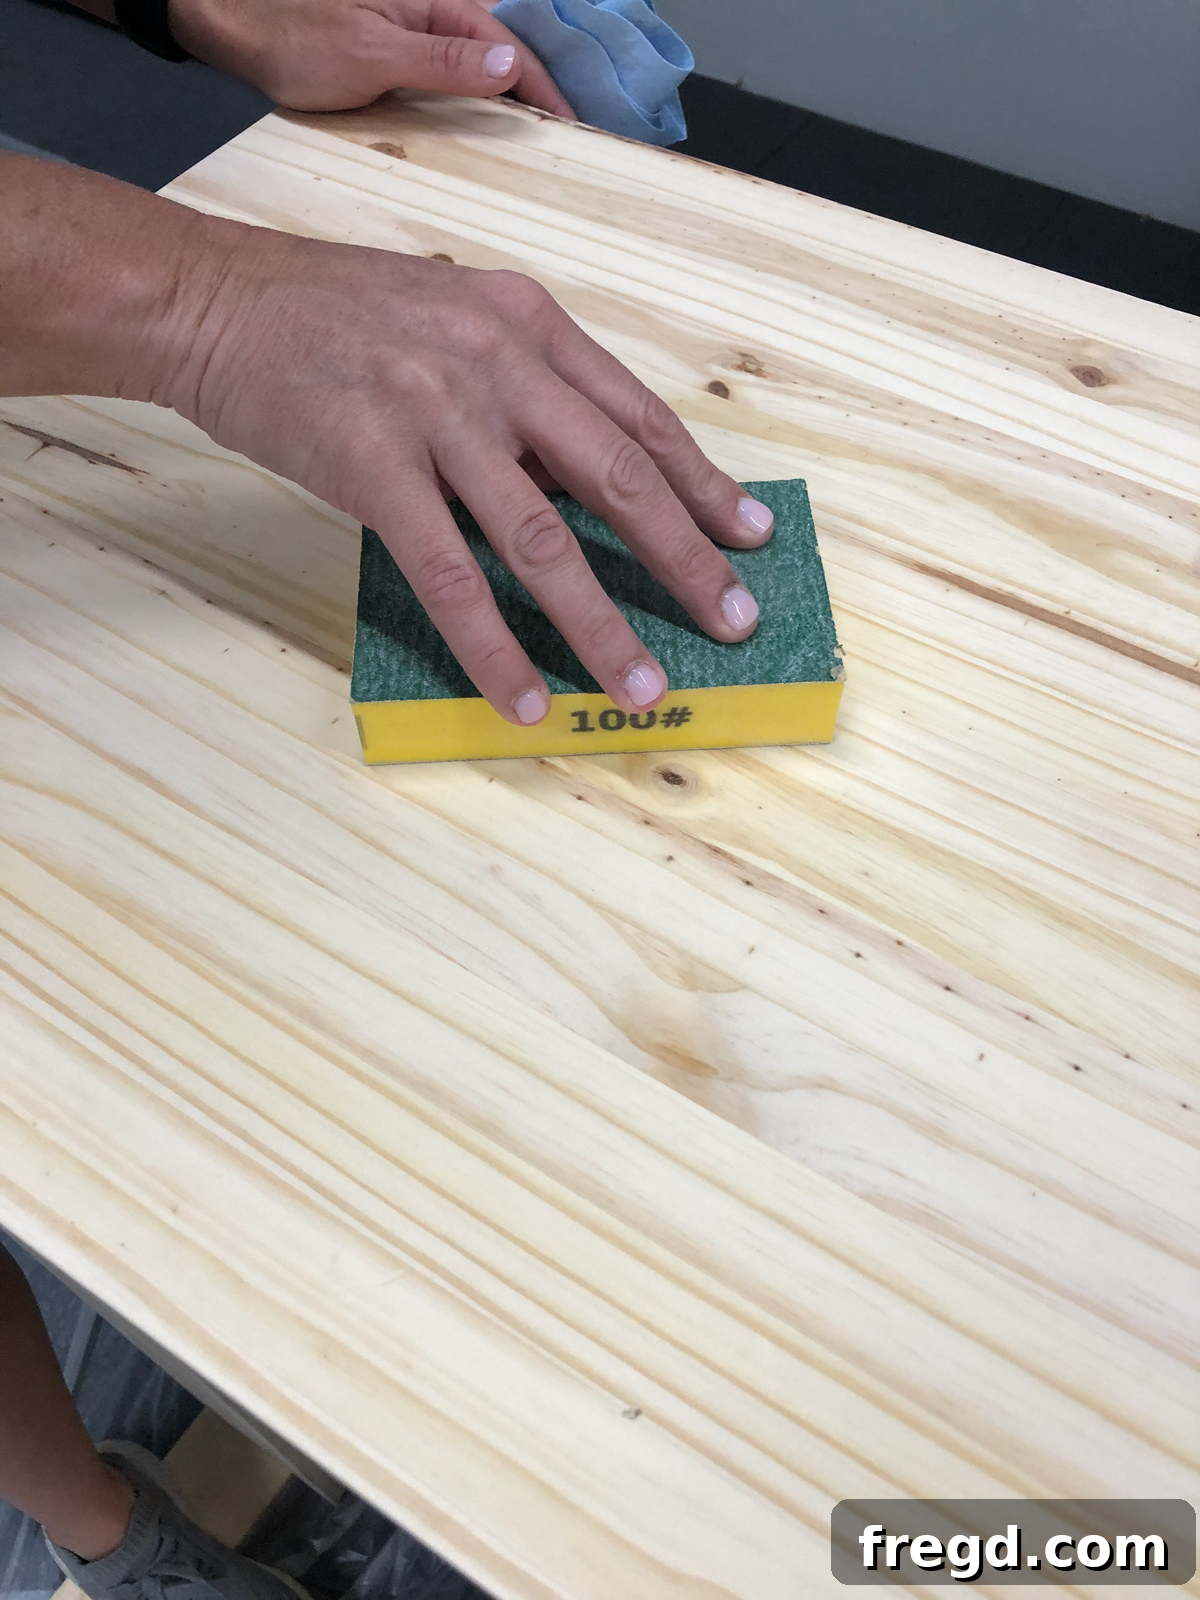
Starting with a **coarse-grit sanding sponge** (typically around 60-80 grit) helps to quickly smooth out any major imperfections, remove rough spots from the raw wood, and prepare the surface for better paint adhesion. This initial pass is about establishing a uniform foundation.
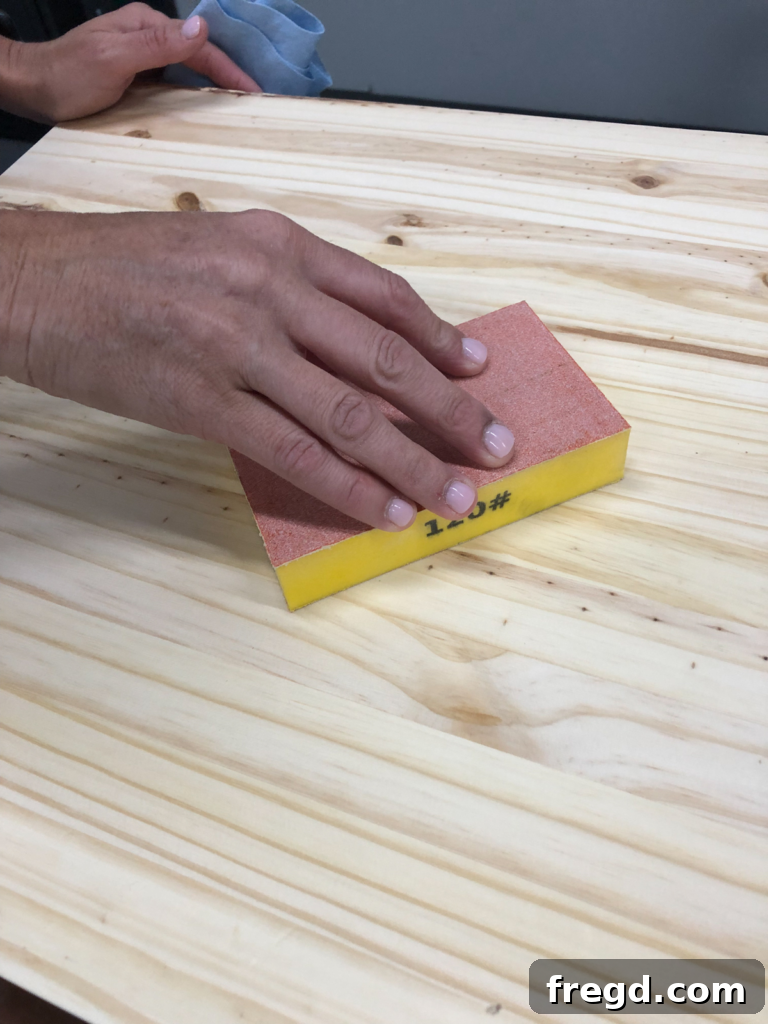
Next, we transition to a **medium-grit sanding sponge** (around 100-150 grit). This step refines the surface further, removing the deeper scratches left by the coarse grit and creating a smoother, more even texture. It’s a critical bridge between the initial heavy sanding and the final polishing.
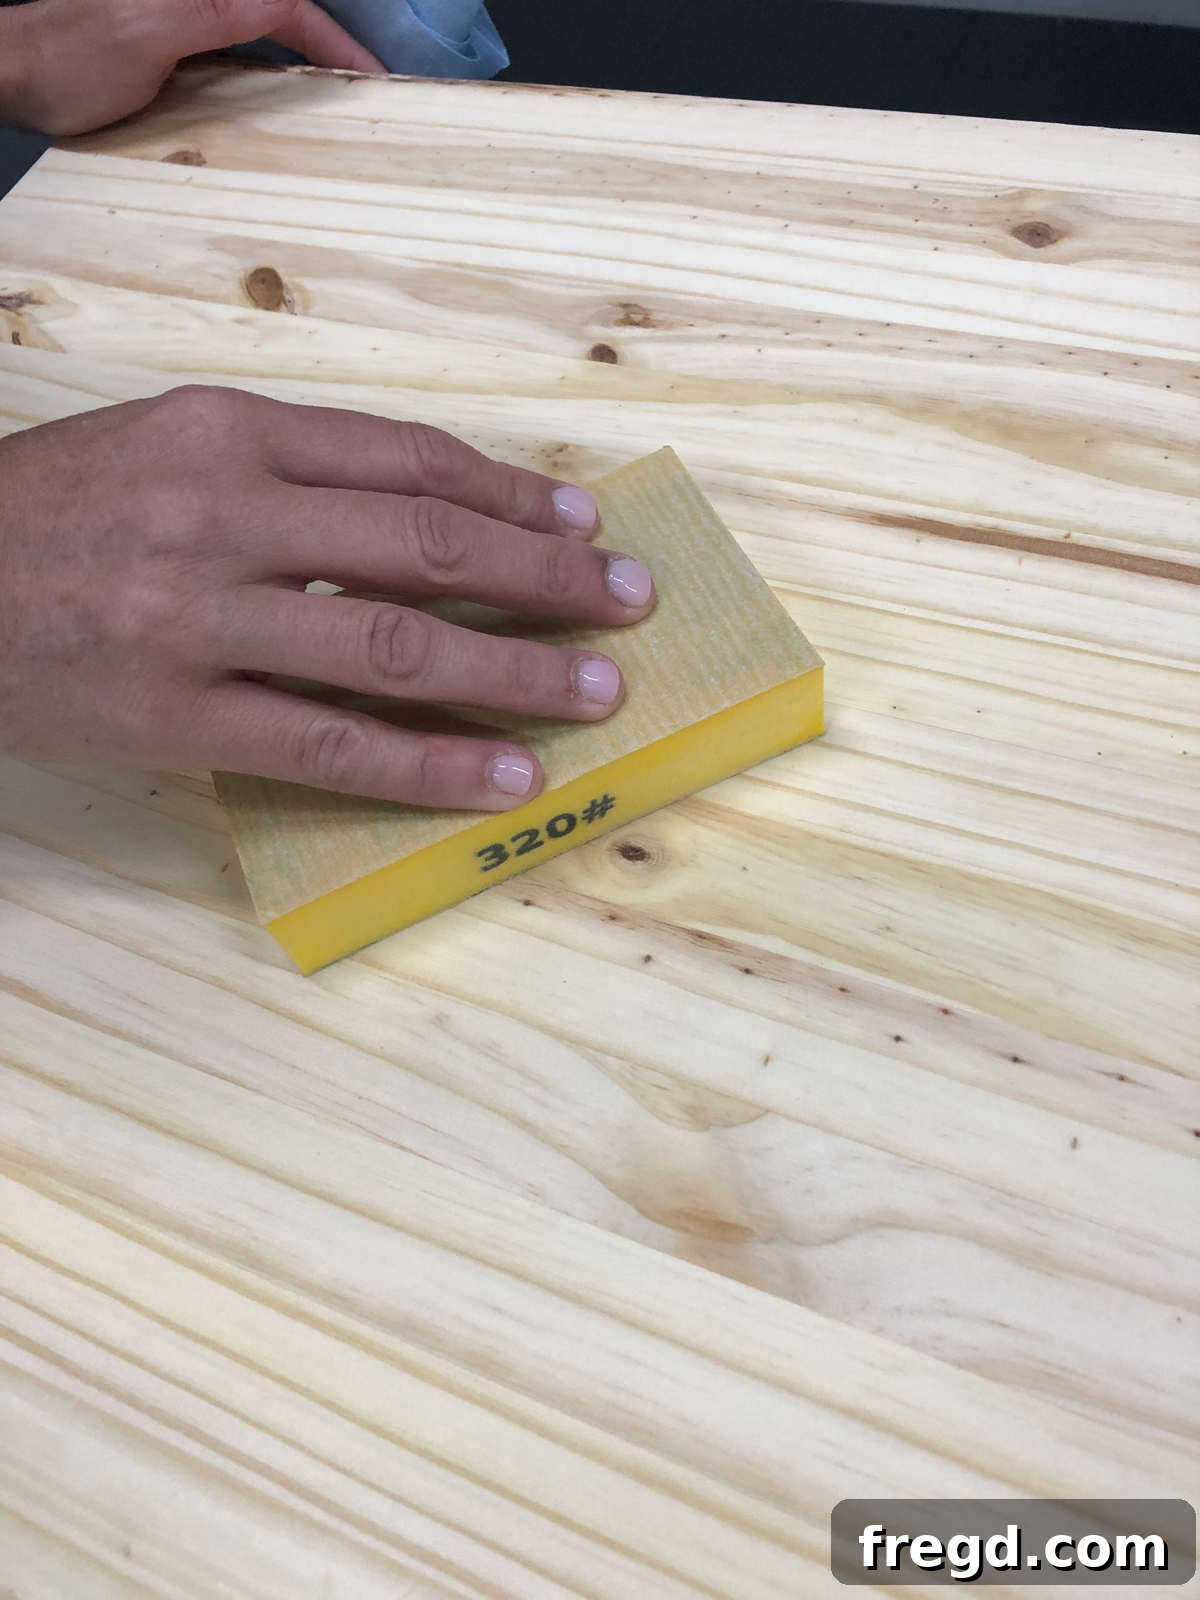
Finally, we use a **fine-grit sanding sponge** (around 180-220 grit) to achieve that silky-smooth finish. This final pass ensures that the surface is perfectly prepped, allowing the paint to glide on effortlessly and adhere beautifully, resulting in a finish that feels as good as it looks.
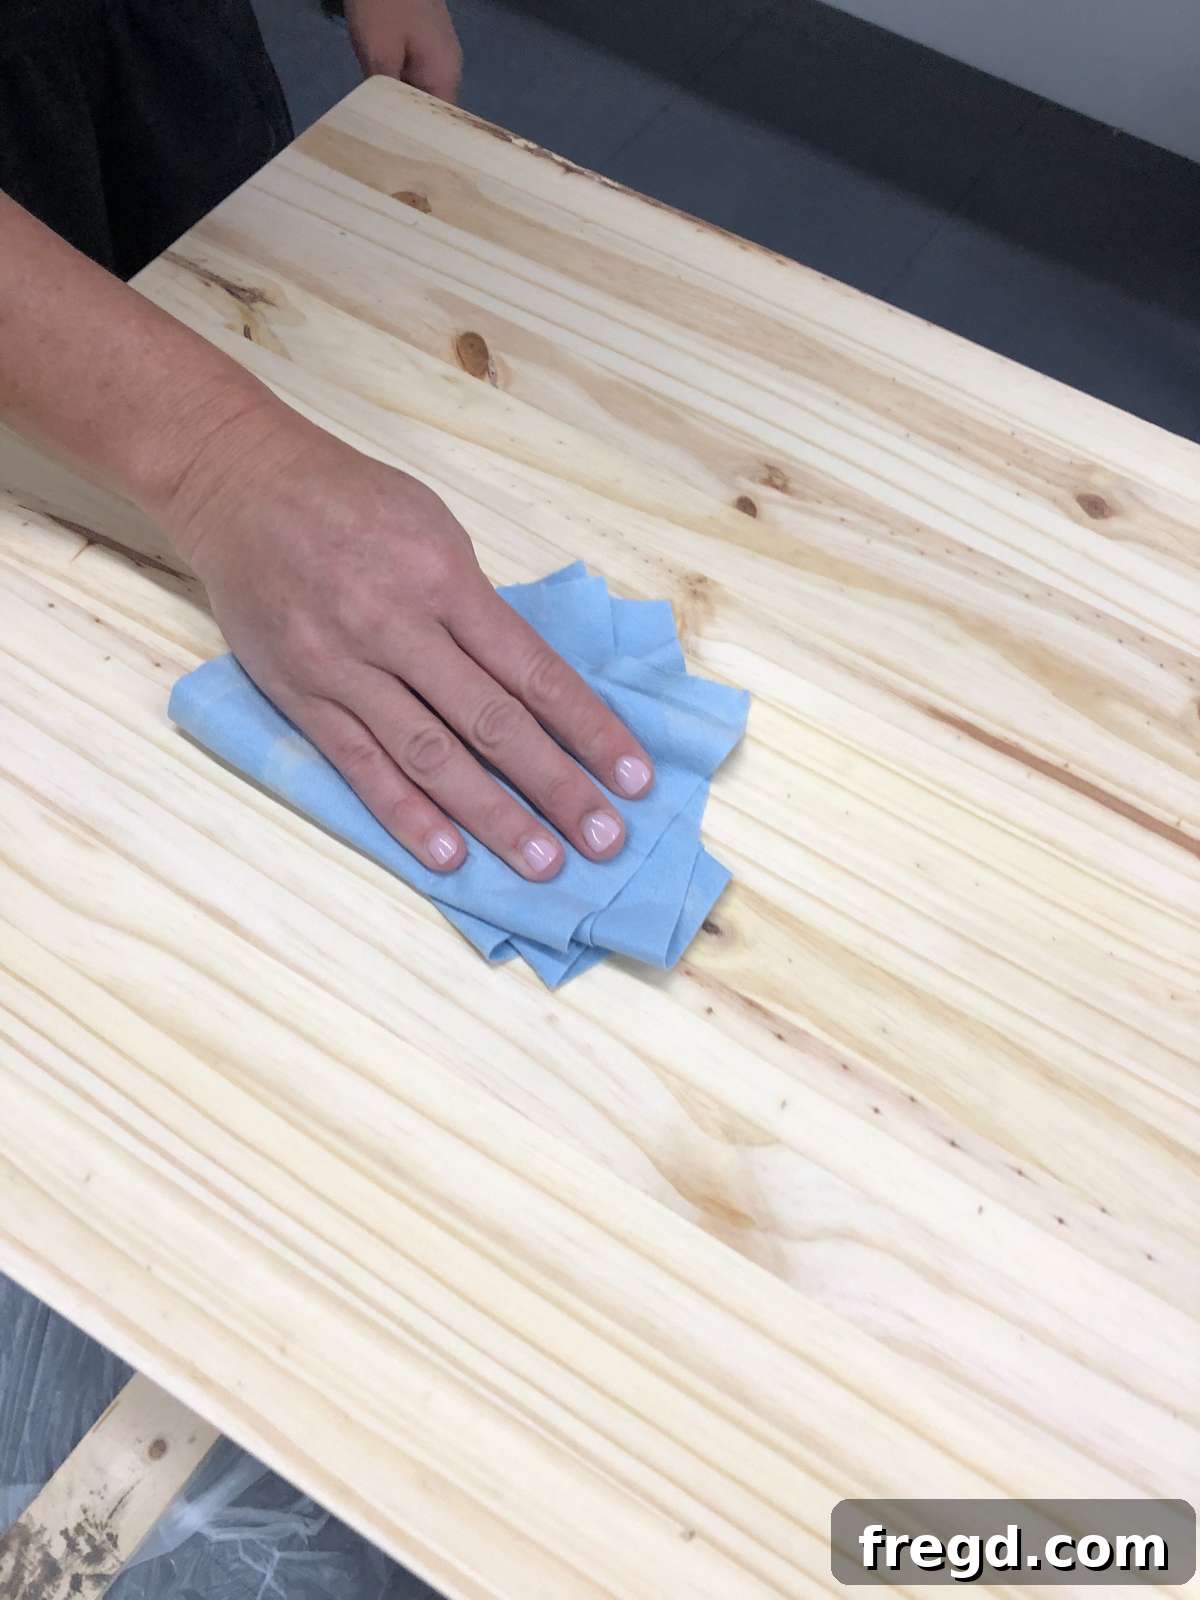
Once all the sanding is complete, the next vital step is to thoroughly wipe away all residual dust. This is an absolutely critical stage, as any dust left on the surface will mix into your paint, creating an undesirable gritty texture and compromising the smoothness of your finish. While tack cloth is an excellent choice for this, you can also use any clean, lint-free wipe or even simple shop towels, as we did. The key is to ensure the surface is pristine before any paint touches it.
The Art of Applying Paint: Coats and Coverage
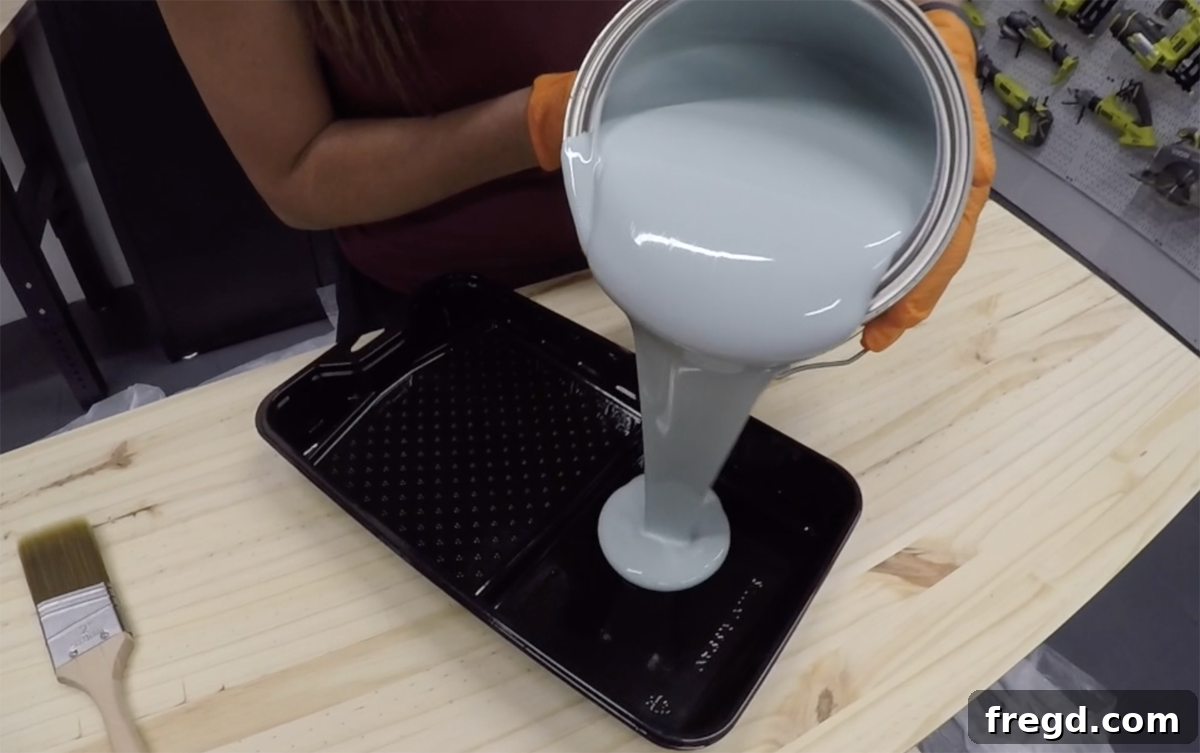
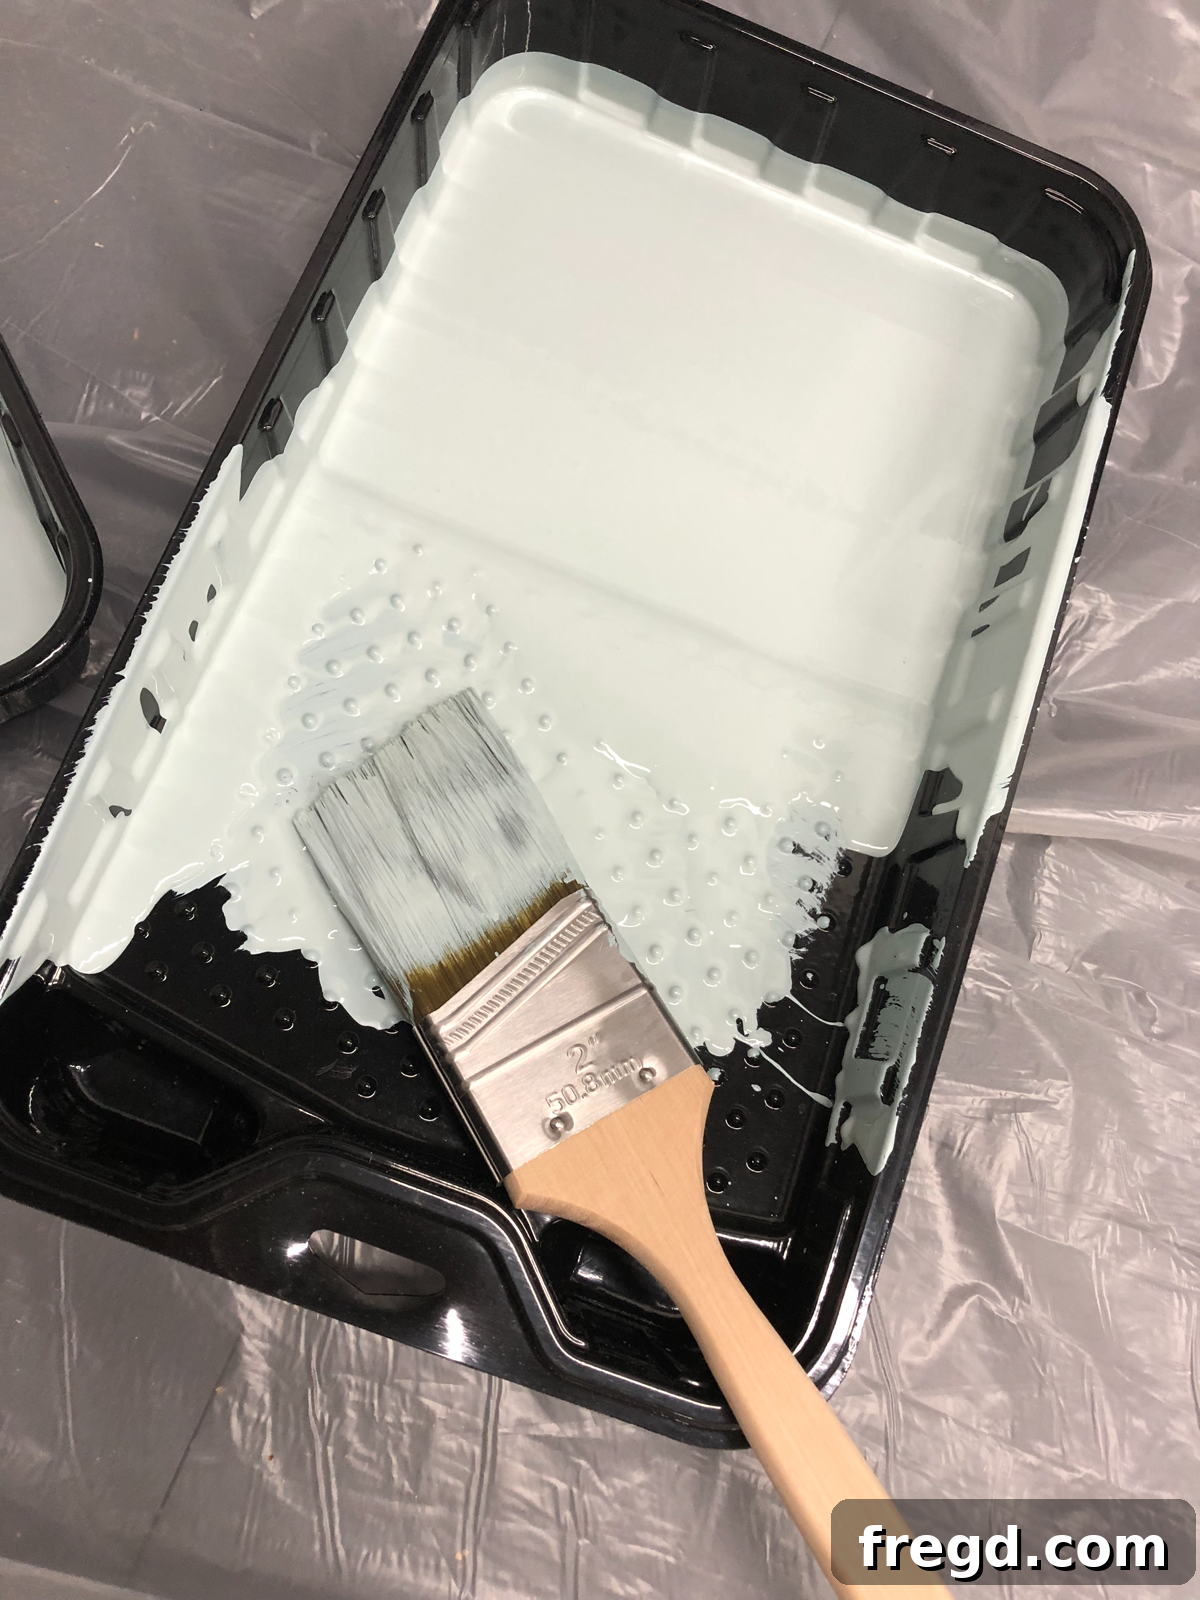
With our faux drawer console table perfectly prepped, it’s time for the exciting part: applying the paint! We prefer using inexpensive plastic paint trays, as they make cleanup a breeze – once the excess paint dries, they can simply be tossed. This practical approach allows us to focus on the painting process itself without worrying about messy cleanups. Pouring the paint into the tray is always a satisfying moment, marking the true beginning of the transformation.
Equipped with our brushes, we enthusiastically began applying the first coat. We find that smaller angled brushes are invaluable for reaching tight spaces, such as in between the faux drawer faces and along detailed edges, ensuring complete and even coverage. For broader surfaces, a straight brush allows for efficient and consistent application across larger areas. This combination of brush types ensures that every part of the console table receives meticulous attention.
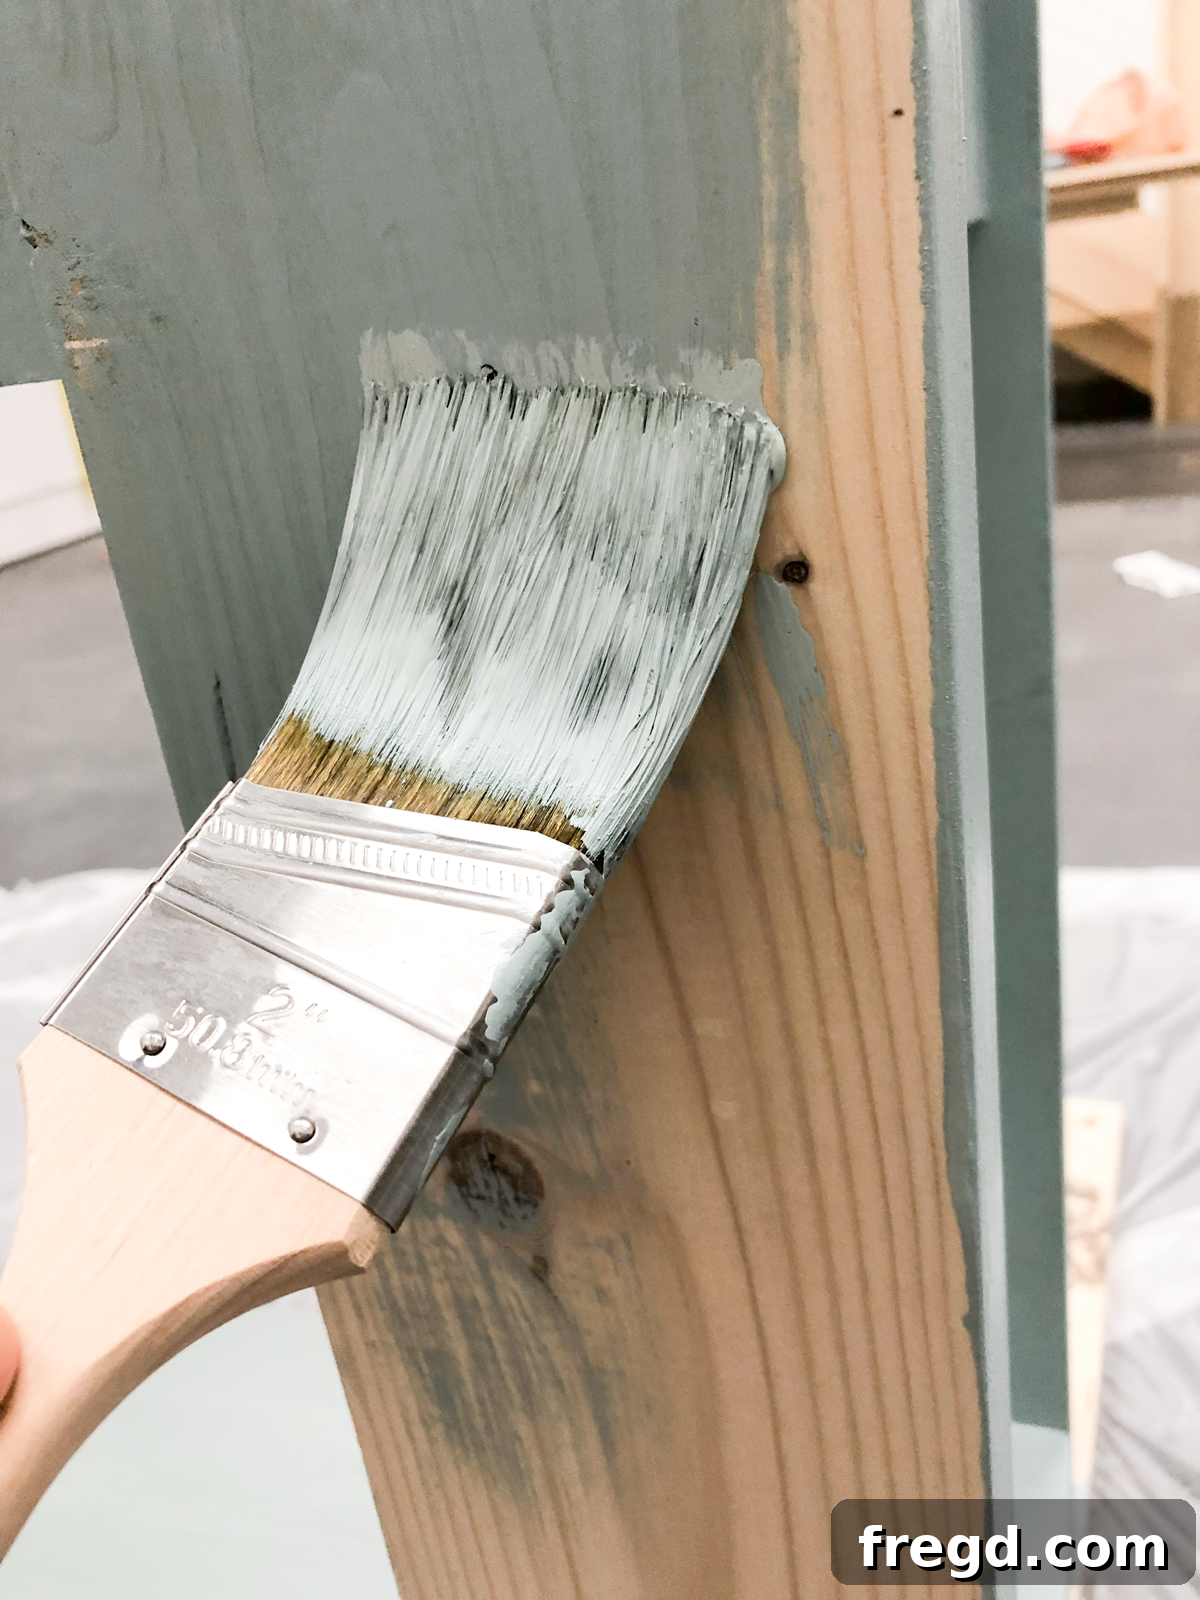
The beauty of painting lies in systematically working your way around the piece. As we applied the first coat, we were genuinely astonished by the incredible coverage provided by the Clark + Kensington paint from Ace Hardware. As previously mentioned, this paint is remarkably thick and spreads with exceptional smoothness, requiring less product and fewer coats than many other brands we’ve used. And, it’s worth noting, the price point was fantastic for such high quality!
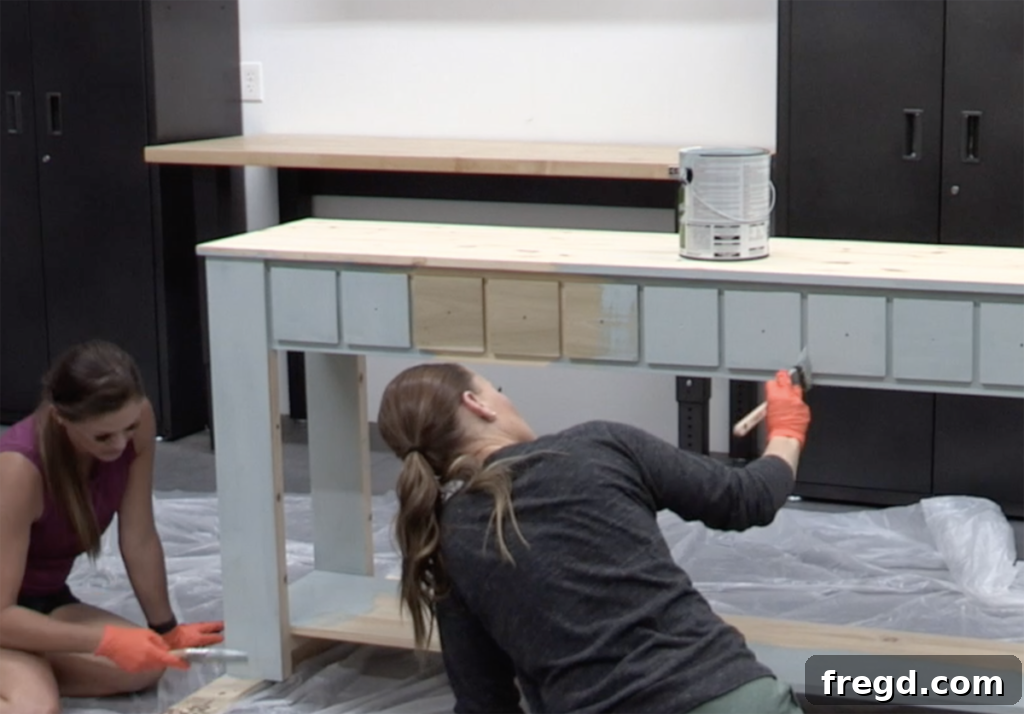
After completing the first coat, patience is key. We waited several minutes for the paint to become dry to the touch before proceeding with the second coat. While the initial coat might already look impressive, we always strongly recommend applying a second coat. This not only deepens the color and ensures a truly uniform hue across the entire piece but also provides an even sheen, enhancing the overall durability and professional appearance of your finish. Two coats create a richer, more resilient surface that truly stands out.
Adding Character: Distressing and Hardware
To infuse our faux drawer console table with a unique, handcrafted charm, we opted to add a subtle touch of distressing. This technique creates a beautiful worn look that we find particularly complements the rustic elegance of this specific table design. Using the coarse-grit sanding sponge once more, we carefully sanded along the edges and corners, strategically revealing the raw wood beneath the vibrant blue paint. Our approach is always to start with minimal distressing and then gradually add more if desired, as it’s much easier to remove less than to add more later. This personalized touch truly injects character and a sense of history into your furniture piece.
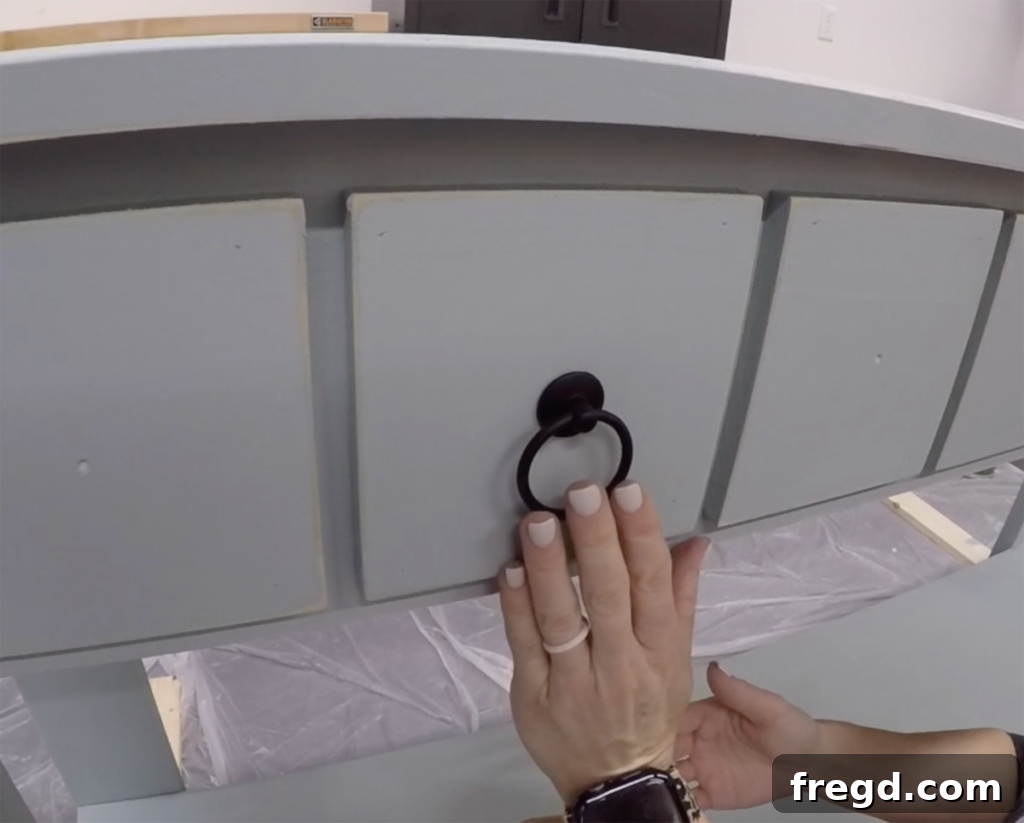
Finally, with the painting and distressing complete, it was time to add the “jewelry” to our console table: the hardware. Choosing the right pulls can dramatically enhance the aesthetic of any piece, acting as the perfect finishing touch. We selected these charming ring pulls, and aren’t they just adorable? They perfectly complement the table’s design, adding a touch of elegance and functionality that completes the transformation.
The Grand Reveal: Your Stunning DIY Faux Drawer Console Table
Are you ready to see the magnificent transformation? We certainly are! The anticipation of seeing a project completed, especially one that turns out even better than imagined, is incredibly rewarding. Behold, our fully finished DIY Faux Drawer Console Table!
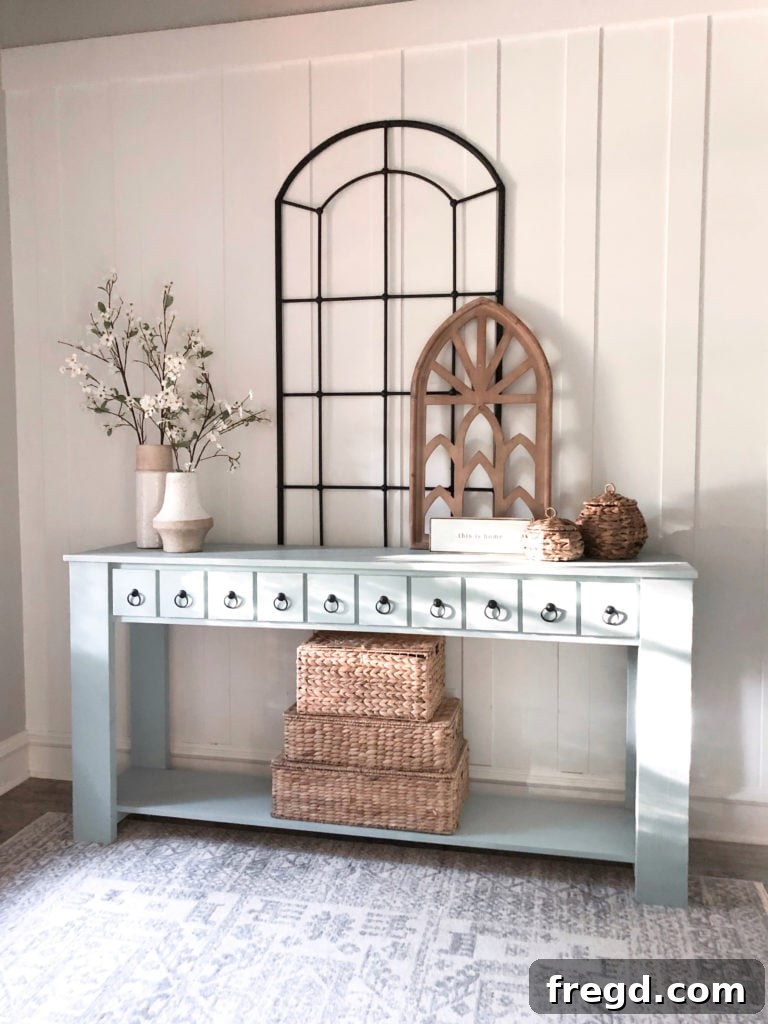
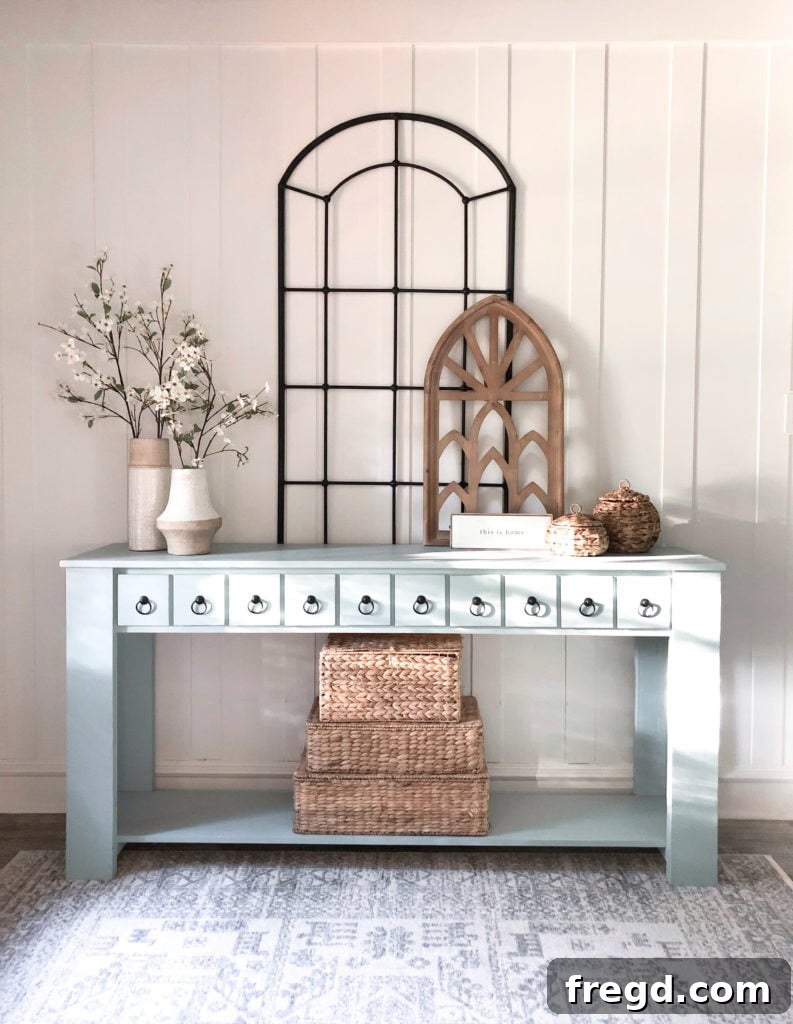
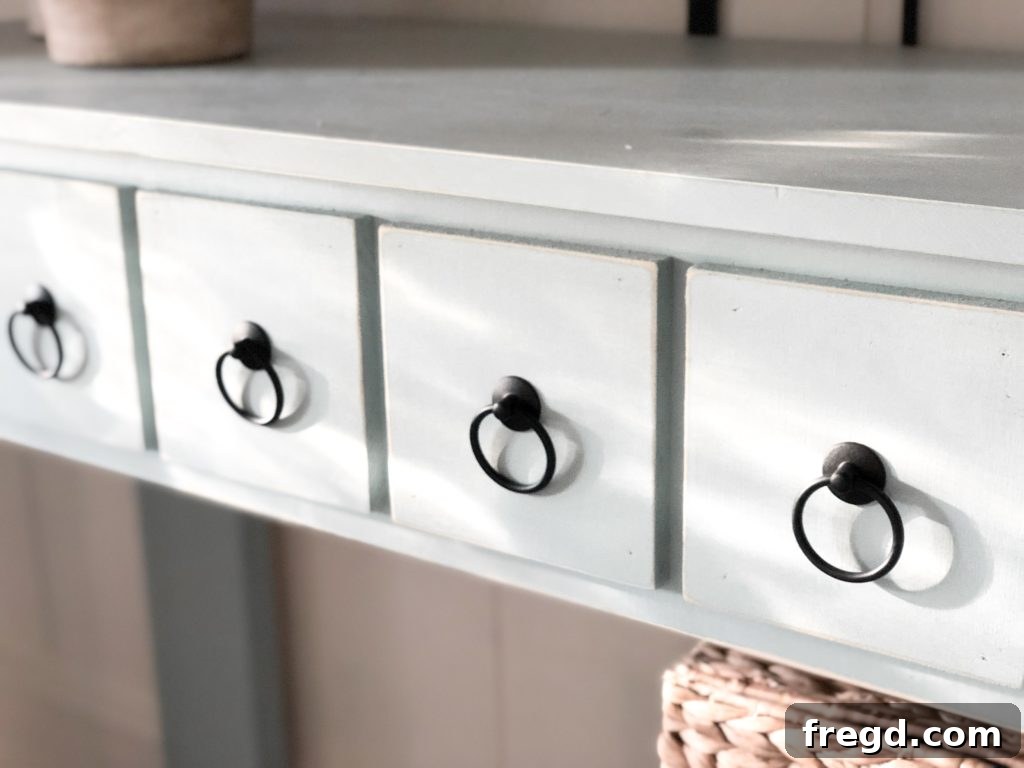
We absolutely adore how charming and elegant this table turned out. It’s a testament to how crucial the paint and finish are in elevating a simple piece of furniture built in the garage into a true showstopper. The “Lucky One” blue, combined with the subtle distressing and stylish hardware, created a piece that feels both custom-made and effortlessly chic. A huge thank you to Ace Hardware for collaborating with us on this project. We had an incredible time visiting your store, and we were genuinely impressed by the exceptional quality of your paints and products, as well as the invaluable helpfulness of your staff. These opinions and experiences are 100% our own, reflecting our complete satisfaction.
Thank you so much for stopping by and following along on this DIY adventure! We hope this detailed guide inspires you to embark on your own furniture painting projects. Don’t forget to send us pictures of your next completed piece and share your creations on social media using the hashtag #shanty2chic. We can’t wait to see what you create!