
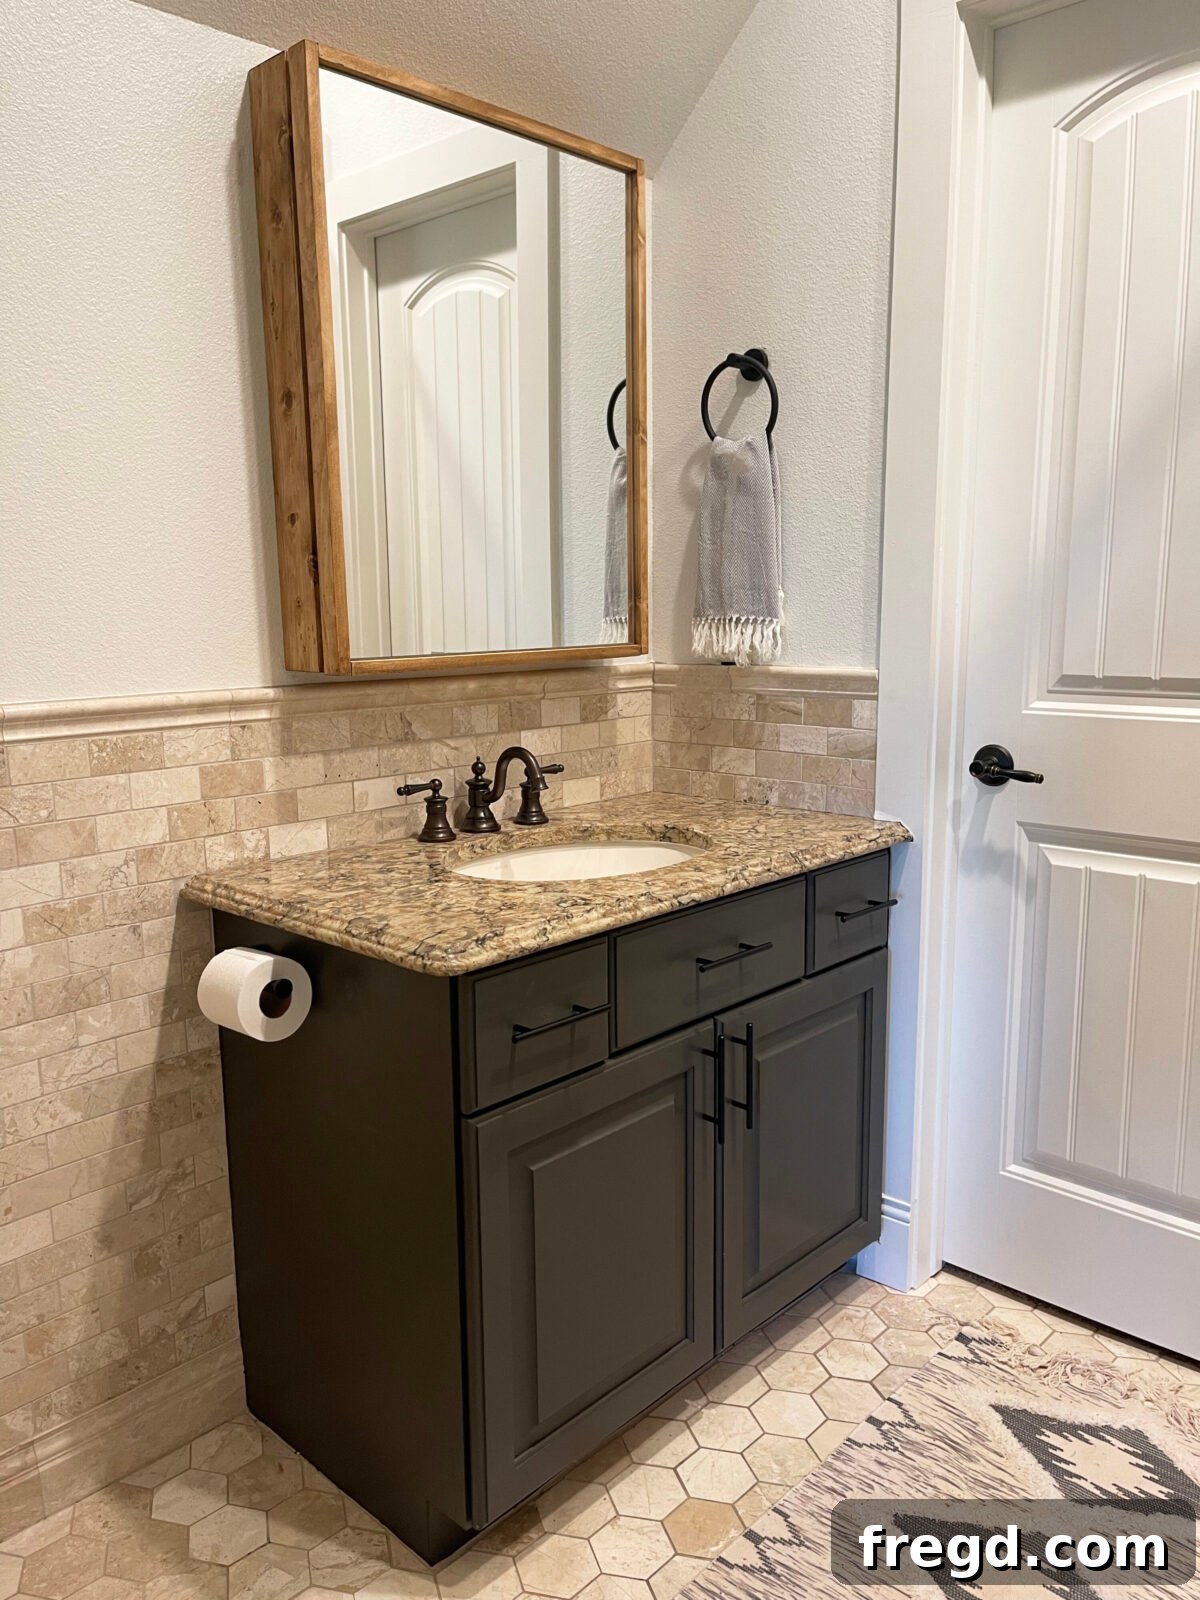
Transforming your bathroom doesn’t have to break the bank. With a little creativity and the right approach, you can achieve a stunning update for your bathroom vanity and cabinets that looks professionally done without the hefty price tag. This guide will show you exactly how to paint a bathroom cabinet easily and affordably, giving your space a fresh, modern appeal.
I’ve been on a mission to refresh the bathrooms in my home, starting with my boys’ bathroom (you can find that complete renovation guide here). Now, it’s my daughter’s turn. With new countertops and tile outside this year’s budget, I focused on high-impact, low-cost changes: painting her vanity and building a custom mirror (check out the sliding vanity mirror plans here!). A recent discovery, Valspar’s Cabinet and Furniture Paint, has been an absolute game-changer, simplifying the process and delivering incredible results. Get ready to see the amazing transformation!
Witness the stunning before-and-after in this quick video right here! The difference is truly remarkable, proving that a little paint can go a long way. Here’s the detailed breakdown of how I gave her bathroom this inexpensive yet impactful makeover.
Let’s dive into the steps to revitalize your bathroom vanity cabinet with a fresh coat of paint!
Table of Contents
How to Paint Cabinets Effectively
Painting your bathroom cabinets is one of the most impactful and budget-friendly ways to refresh your bathroom’s aesthetic. It allows you to dramatically change the mood and style of the space without the extensive costs and disruption of a full renovation. Whether your cabinets are dated, discolored, or simply don’t match your evolving taste, a fresh coat of paint can instantly modernize them. This guide will walk you through a streamlined process designed for efficiency and durability, ensuring your painted cabinets not only look fantastic but also withstand the demands of a busy bathroom environment.
Essential Tools for Cabinet Painting
Having the right tools is crucial for a smooth and successful cabinet painting project. These items will help you disassemble, prepare, and reassemble your vanity with precision.
- Drill or Screwdriver: Essential for quickly and safely removing old hardware and reattaching new ones.
- Kreg Project Blocks: These handy blocks lift your cabinet doors or drawers off your work surface, allowing you to paint edges and sides without waiting for one side to dry before flipping. They are a game-changer for efficiency.
- Kreg Hardware Jig: For perfectly aligned cabinet pulls and knobs every time, this jig eliminates guesswork and common installation errors, ensuring a professional finish.
Key Supplies for Your Project
Beyond the tools, selecting quality supplies ensures a durable and beautiful finish. These are the specific products I recommend for achieving excellent results on your bathroom cabinet painting project.
- Painter’s Tape: High-quality tape, like Frog Tape Multi-Painters Tape, creates crisp lines and protects surrounding surfaces from paint splatters.
- Degreasing Wipes: Crucial for removing grime, grease, and residue without the need for harsh chemicals or extensive scrubbing, especially important for kitchens and bathrooms.
- Paint Brush: A natural-bristle brush is ideal for reaching into intricate areas, corners, and detailed trim, ensuring even coverage where rollers can’t reach.
- Paint Roller: A high-density foam roller provides a smooth, even finish on flat surfaces, minimizing brush strokes for a professional look.
- Paint Tray: Essential for holding paint and loading your roller evenly, reducing drips and waste.
- Wood Filler: Perfect for patching old hardware holes, dents, or minor imperfections, creating a smooth canvas for your paint.
- Valspar Cabinet and Furniture Paint: This revolutionary paint eliminates the need for sanding and priming, offering self-leveling properties and exceptional durability—a true game-changer for cabinet makeovers.
- Cabinet Pulls: New hardware instantly upgrades the look and functionality of your cabinet doors and drawers, tying your new paint job together beautifully.
Prepping Your Bathroom Cabinets for a Flawless Finish
Proper preparation is the cornerstone of any successful painting project, especially when tackling bathroom cabinets. While Valspar paint minimizes some traditional prep steps, a thorough clean and removal of hardware are still vital for optimal adhesion and a sleek finish.
Step 1: Removing the Old Cabinet Hardware
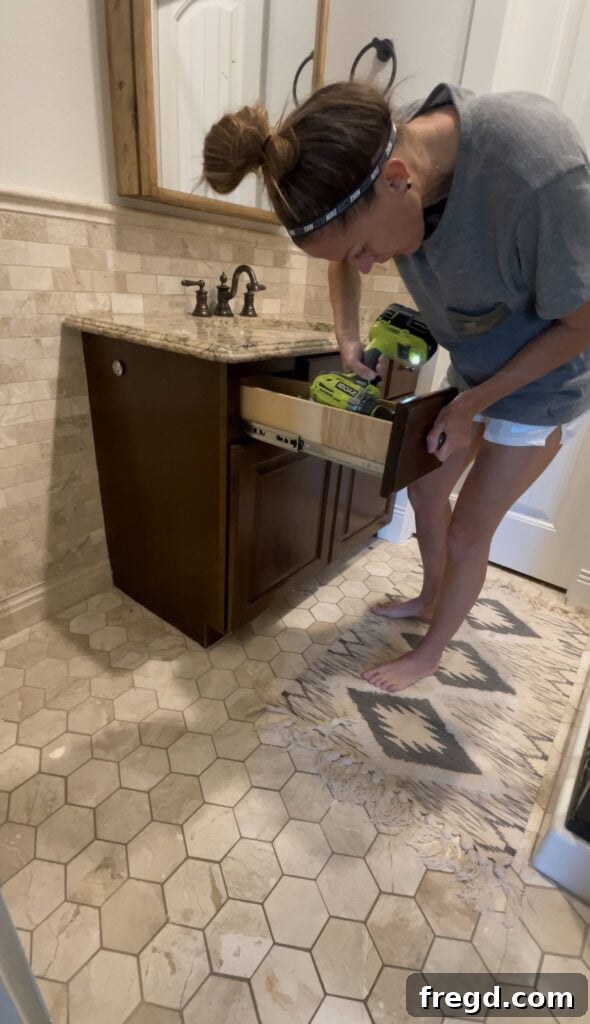
The very first step to prepare your bathroom vanity for its new look is to meticulously remove all existing hardware—knobs, pulls, and hinges. This is a straightforward task that typically only requires a drill or a screwdriver. Take care to keep all screws and small parts organized, perhaps by placing them in labeled plastic bags. This ensures no pieces are lost and makes reassembly or filling old holes much simpler, especially if you plan to install new hardware with different hole spacing.
Step 2: Taping Off Adjacent Surfaces
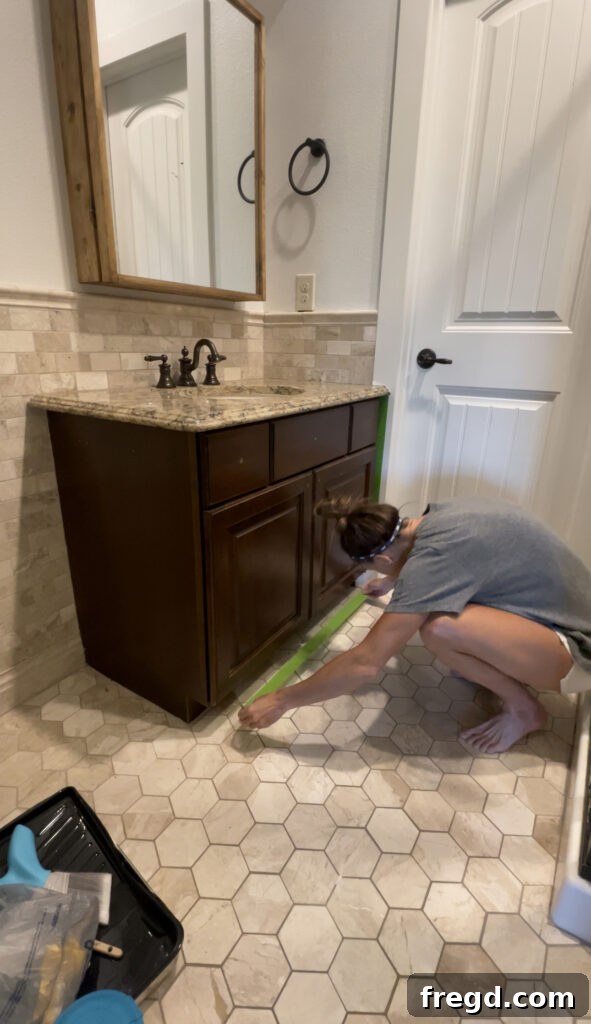
To achieve clean lines and protect your surrounding surfaces, use high-quality painter’s tape, like Frog Tape Multi-Painters Tape. Carefully tape off the vanity where it meets the tile, walls, and any other surfaces you don’t want painted. While I opted not to use a drop cloth in this specific instance because of the paint’s easy cleanup properties on tile (and my meticulous care), it’s generally a wise practice. For larger areas, especially over carpet or sensitive flooring, always lay down a drop cloth for comprehensive protection against drips and splatters. Investing a little time in thorough taping and covering now will save you significant cleanup time later.
Step 3: Degreasing the Cabinets and Filling Holes
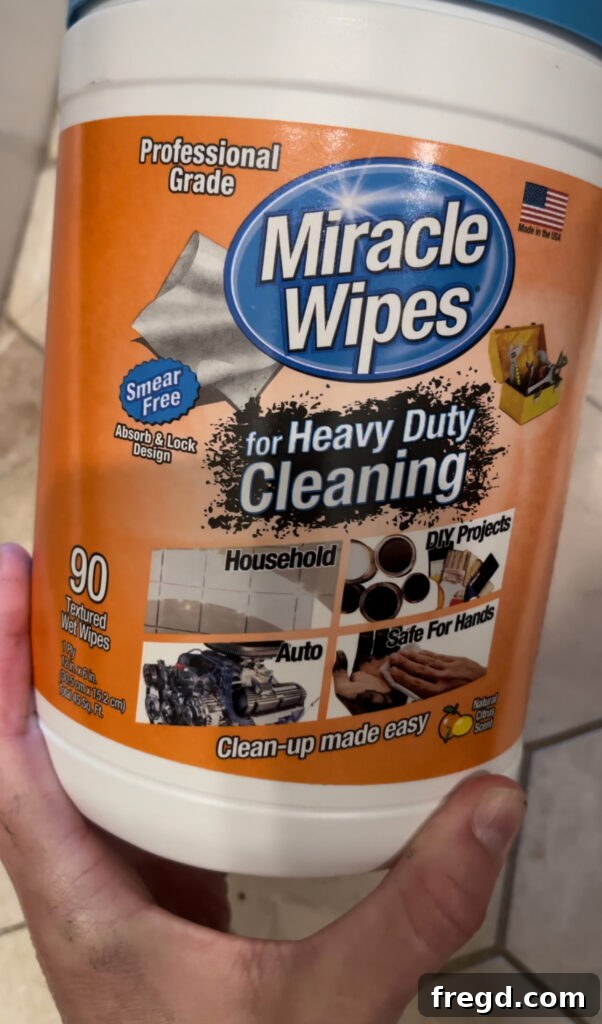
This is where Valspar Cabinet and Furniture Paint truly shines: there’s no need for extensive sanding or priming! However, a crucial step remains: degreasing. Bathroom cabinets accumulate soap scum, grime, and oils over time, which can prevent paint from adhering properly. I used a few of these incredible degreasing wipes to thoroughly clean the cabinets before painting. These aren’t just any wipes—they are remarkably effective at cutting through grease, dust, and general muck. Their power extends beyond basic cleaning; they can even clean paint smears off the inside of cabinets (even dried ones!) and tile floors, making them perfect for various household cleaning tasks. I’ve even used them successfully on my cooktop!
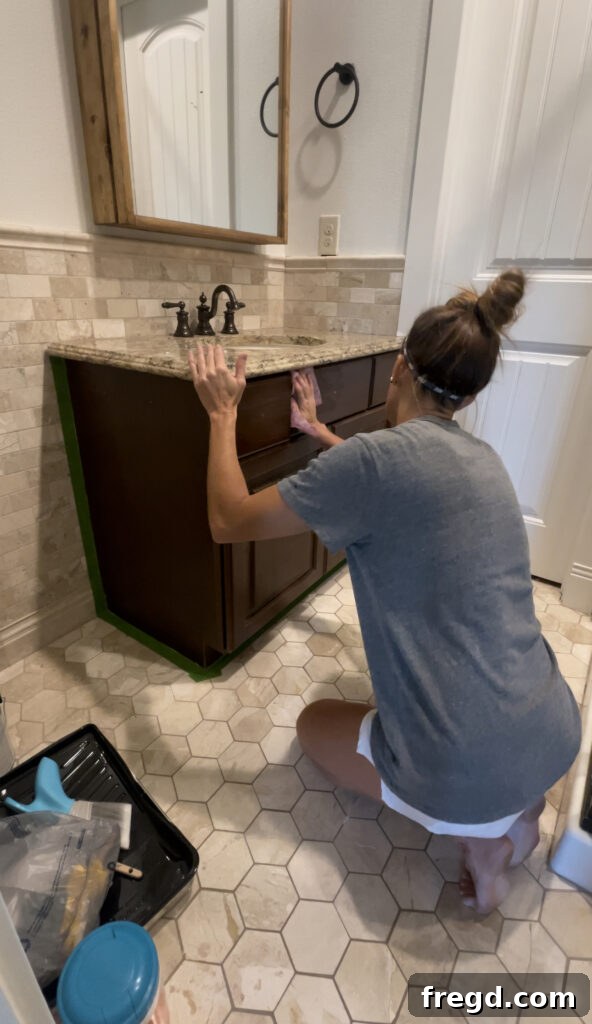
For an optimal paint finish, ensure your cabinet surfaces are not just degreased but also completely free of any loose dirt or dust. After a thorough cleaning, allow the cabinets to dry completely. Once the cabinets were pristine and dry, I used a putty knife and wood filler to fill any old cabinet knob holes. This step is essential if you’re changing the style or placement of your new hardware, ensuring a smooth, uniform surface that looks brand new once painted.
- You can find the amazing degreasing wipes here.
Remember, even with a paint that requires minimal prep, a clean, smooth surface is key to a long-lasting, beautiful result. Take your time with this step; it truly makes a difference.
Painting Your Bathroom Cabinet Like a Pro
With your cabinets prepped and ready, it’s time for the exciting part: applying the paint! The quality of your paint and your application technique will determine the overall success and durability of your bathroom cabinet makeover.
Step 1: Painting the Vanity Frame and Cabinet Doors
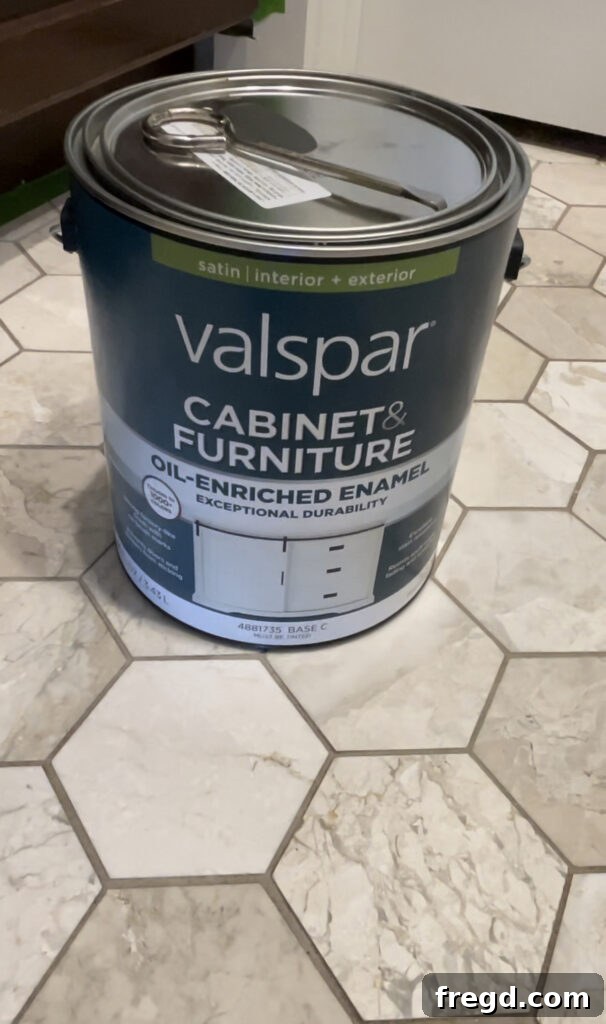
As mentioned, Valspar Cabinet and Furniture Paint is a true game-changer. Its formulation eliminates the need for traditional priming and sanding, allowing you to paint directly over existing oil-based paints. A standout feature is its self-leveling property, which helps to minimize brushstrokes, leaving you with an incredibly smooth, professional-looking finish. This paint is specifically designed for high-traffic areas, ensuring a very durable coating that stands up to daily wear and tear. I chose the sophisticated Urbane Bronze color with a satin sheen for this project, but a semi-gloss finish is also an excellent, durable option for cabinets, providing a slightly more reflective surface that’s easy to clean.
- You can find the Valspar Cabinet and Furniture Paint I used here.
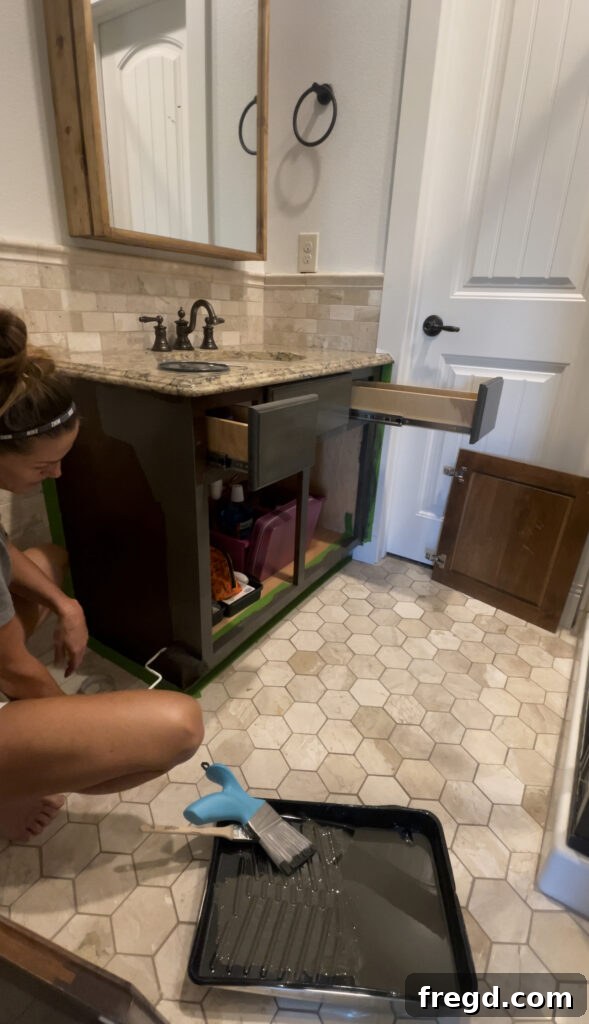
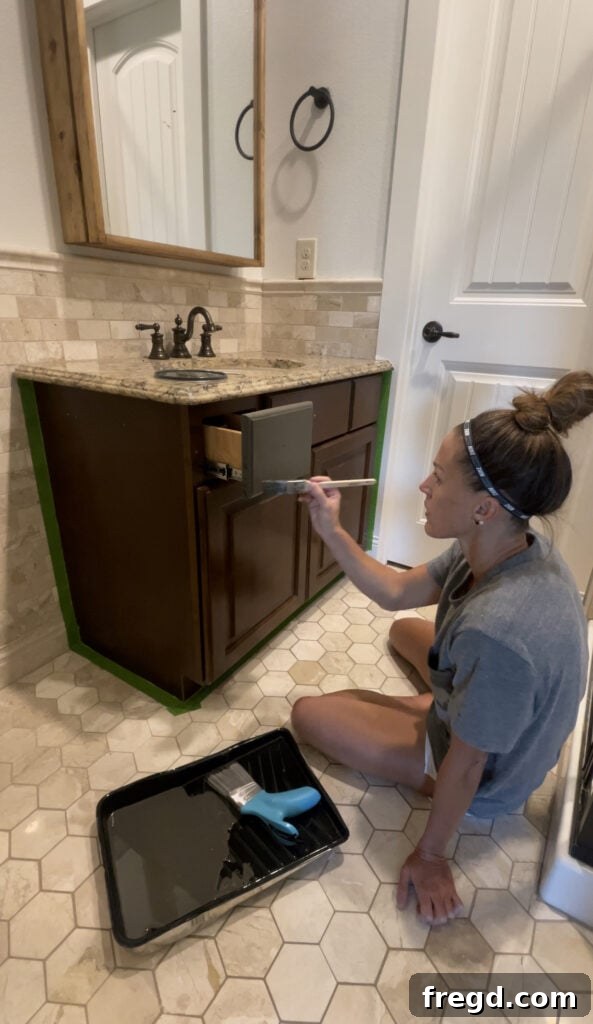
For the application process, I carefully removed the cabinet doors and their hinges to paint them separately for complete coverage. However, for the drawers, I found it easiest to simply pull them out slightly. This allowed me to easily paint the drawer fronts and the fixed cabinet frame without full disassembly. I utilized a natural-bristle brush to get into all the nooks, crannies, and detailed edges of the vanity. For the larger, flat surfaces, a paint roller was perfect for achieving that smooth, streak-free finish. Apply paint in thin, even coats, allowing sufficient drying time between each application to prevent drips and ensure proper adhesion.
Step 2: Painting the Cabinet Doors Efficiently
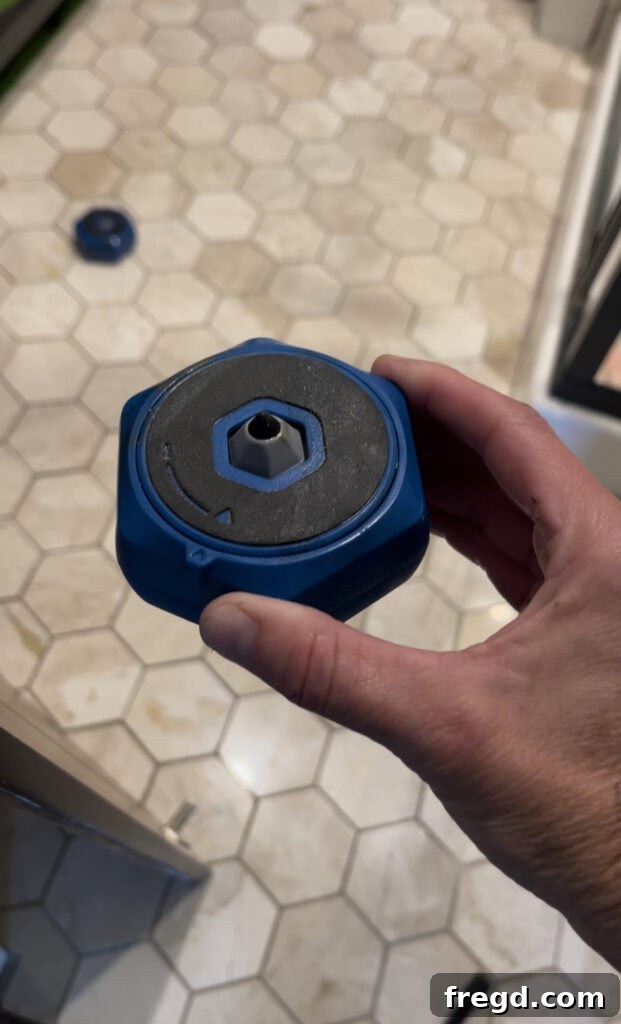
After applying the first coat of paint to the main cabinet frame and drawer fronts, I moved on to the detached cabinet doors. This is where Kreg Project Blocks truly shine as my new go-to finishing accessory! These innovative blocks feature an adjustable, non-marring tip that elevates your workpiece off the floor or workbench. This crucial elevation allows you to paint all sides and edges of a cabinet door in a single session without having to wait for one side to dry before flipping it over, significantly speeding up the drying and painting process.
- You can find the Kreg Project Blocks here
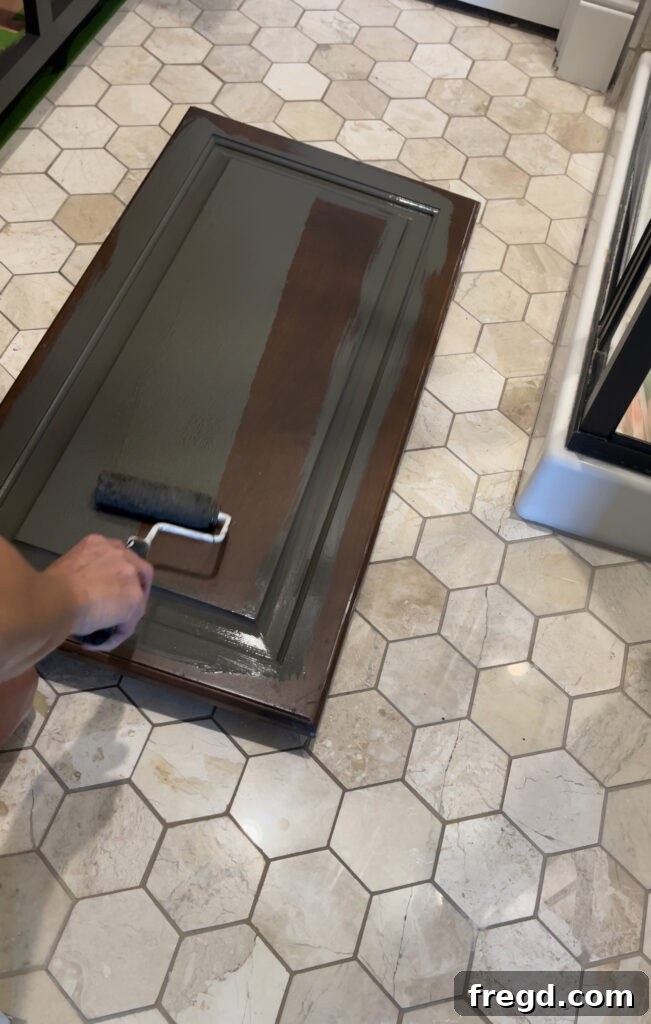
Similar to the vanity frame, I used a combination of a quality paint brush for the door’s recessed panels and edges, and a dense foam roller for the flat surfaces to achieve a smooth, even finish. After completing the first coat on all doors, I allowed everything to dry for the recommended time. Then, I applied a second thin coat of paint to all surfaces, ensuring complete, rich color saturation and enhanced durability. Patience is key here; letting the paint cure overnight ensures a hard, resilient finish before moving on to hardware installation.
Installing Stylish New Cabinet Hardware
Once your beautifully painted cabinets are completely dry and cured, the final touch that elevates the entire look is the installation of new cabinet hardware. This step can dramatically change the feel of your bathroom, and with the right tool, it’s surprisingly simple to achieve professional precision.
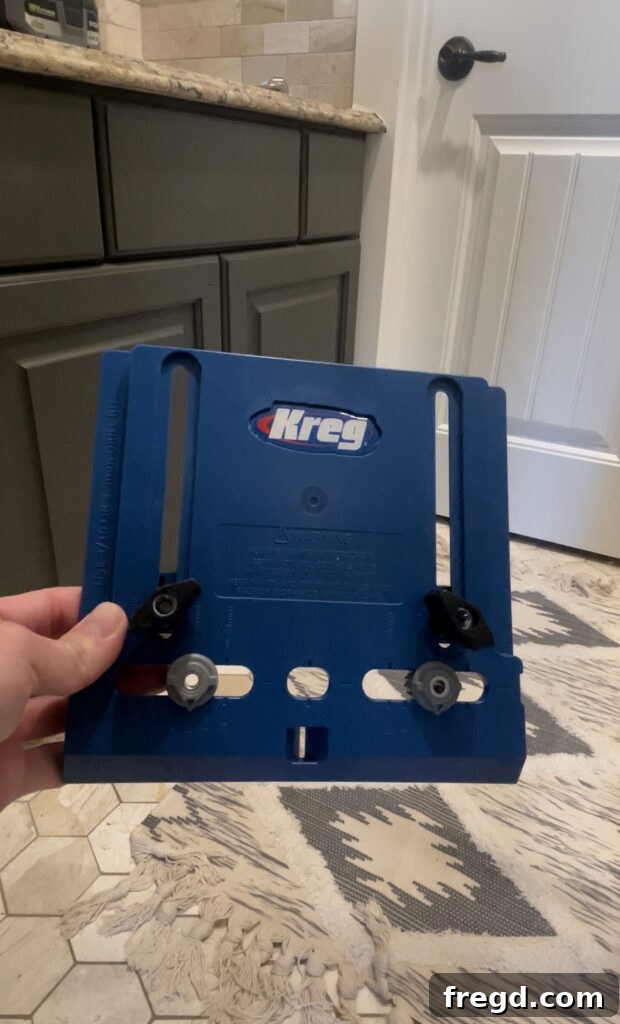
To install the cabinet hardware with perfect alignment and ease, I highly recommend using the Kreg Hardware Jig. This tool is a true favorite because it simplifies what can often be a frustrating, error-prone task. It takes all the guesswork out of drilling holes for pulls and knobs, making the process virtually foolproof and ensuring every piece of hardware is perfectly straight and evenly spaced.
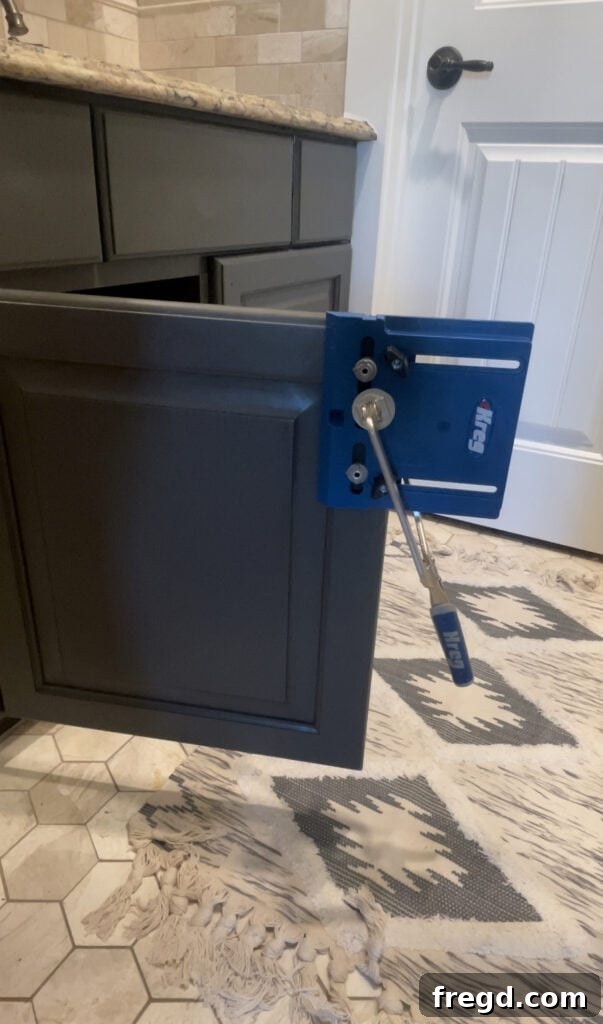
The process is incredibly straightforward: first, adjust the jig to the exact width of the holes on your chosen cabinet pulls. Then, securely clamp the jig to your cabinet door or drawer front. The jig’s robust design ensures it stays firmly in place, providing a stable guide for drilling.
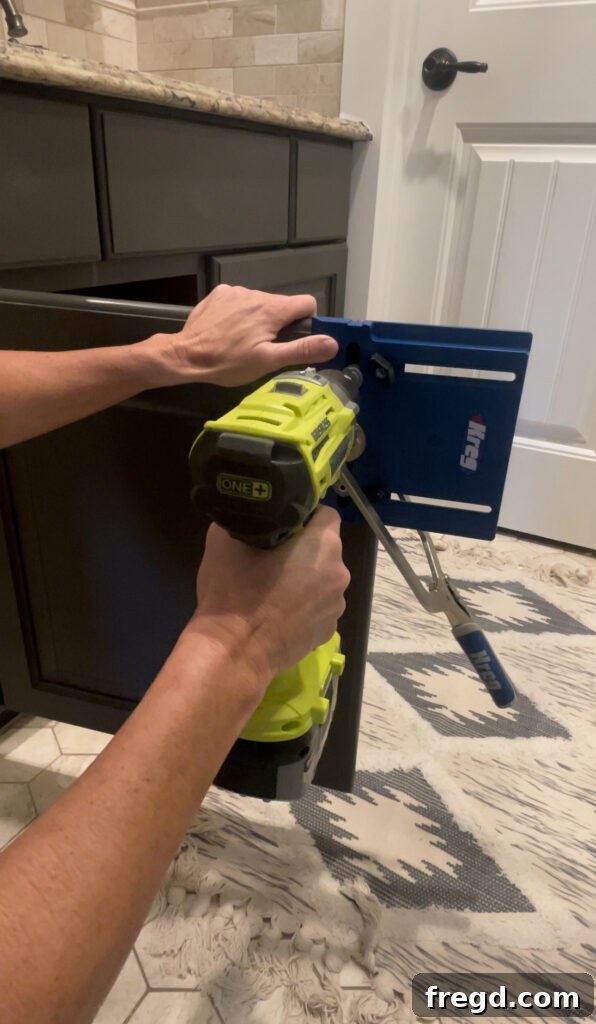
Next, select a drill bit that matches the diameter of the screws for your new hardware. Carefully drill through the designated holes on the jig. The guide prevents the drill bit from wandering, guaranteeing clean, precisely positioned holes every time. This precision is key to a polished, professional finish that makes your new hardware pop.
- You can find the Kreg Hardware Jig here
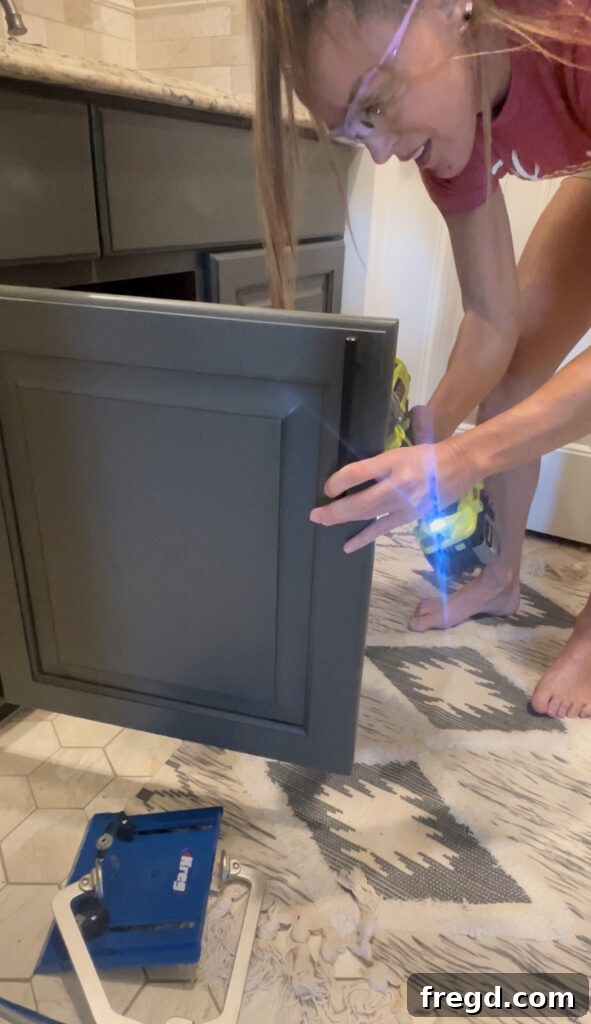
Once the holes are drilled, simply remove the jig and install your new hardware. It’s incredibly simple, and the transformation is immediate and dramatic! New cabinet pulls or knobs add a touch of personality and polish that perfectly complements your freshly painted vanity.
- You can find the elegant cabinet pulls I used here
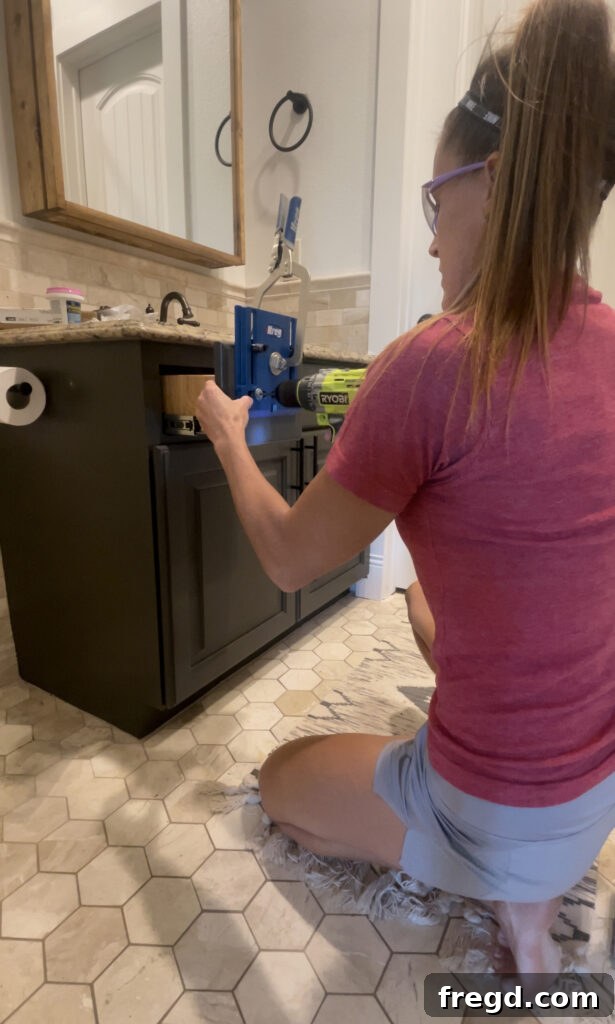
I followed this exact same, precise process for all the drawer fronts, cabinet doors, and even the center faux drawer panel. The uniformity achieved across all pieces is what truly gives the bathroom vanity a high-end, custom-built appearance. Reattach the cabinet doors to the vanity frame, step back, and admire your handiwork!
The Stunning Bathroom Reveal
The moment of truth is here! Seeing the transformation after all the hard work is incredibly rewarding. A picture is worth a thousand words, and these before-and-after shots truly capture the incredible impact of a painted cabinet makeover.
Before:
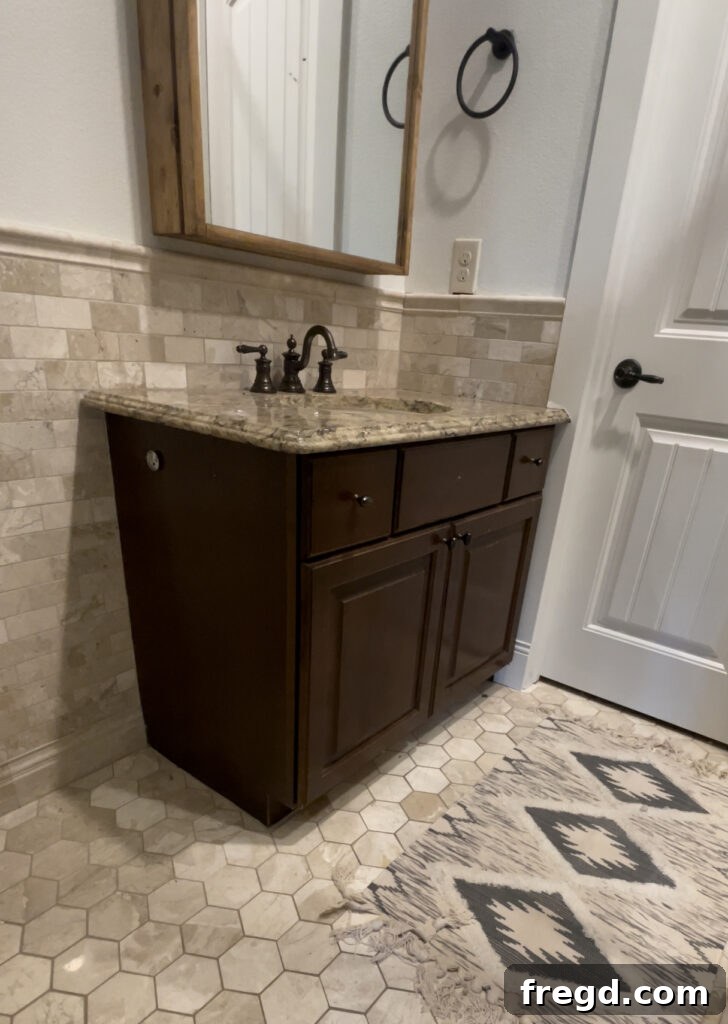
After:
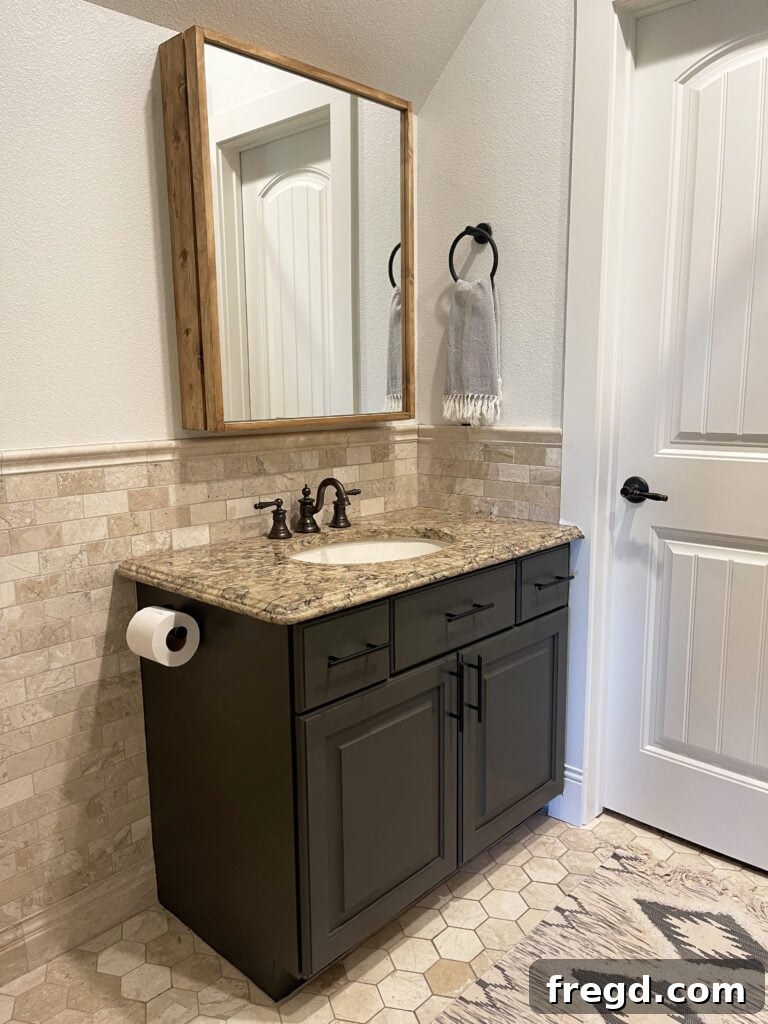
I absolutely adore this inexpensive bathroom glow-up! While a full budget might allow for new countertops and tile, the impact of a well-executed paint job on your cabinetry offers incredible value for your money. This specific Valspar paint has truly opened my eyes to the potential of transforming entire spaces with just a can of paint—it makes me want to refresh every cabinet in my home! The rich, elegant hue and durable finish have completely revitalized the bathroom, making it feel brighter, more modern, and incredibly inviting.
Thank you so much for joining me on this DIY journey. Don’t forget to share your own amazing DIY projects and budget-friendly bathroom makeovers with us on social media! Use the hashtag #shanty2chic so we can celebrate and share your creativity with our community too!
Happy Building!