
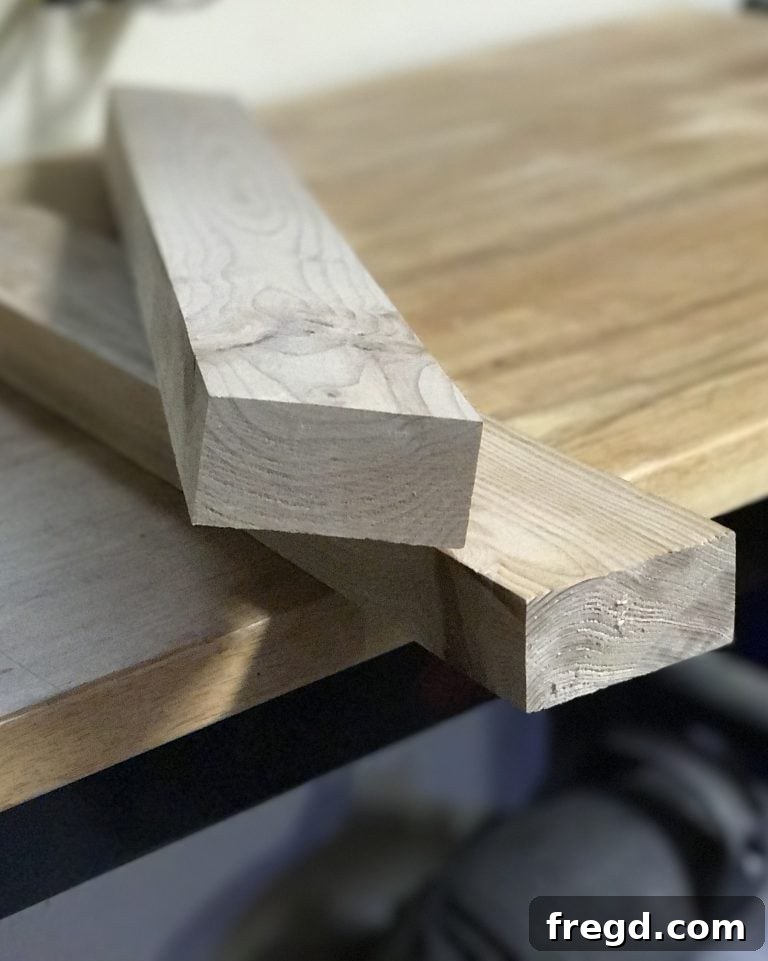
Mastering Straight Edges: The Essential Guide to Perfect Framing Lumber
Welcome, fellow builders and DIY enthusiasts! One of the most common challenges we encounter in woodworking, especially when working with dimensional lumber like 2x framing material, is achieving perfectly straight edges. Warped, bowed, or twisted boards are a fact of life in the lumberyard, and they can wreak havoc on the precision and integrity of your projects. If you’ve ever struggled with gaps, misaligned joints, or simply a less-than-professional finish, you know the frustration. This comprehensive guide will reveal our tried-and-true methods for transforming imperfect lumber into perfectly straight pieces, ensuring your builds are strong, accurate, and beautiful.
Whether you’re framing a wall, building a sturdy workbench, or crafting a piece of furniture, starting with straight lumber is non-negotiable. It’s a foundational skill that elevates the quality of all your woodworking endeavors. We’re often asked about our secret to consistently straight edges, and today, we’re pulling back the curtain to show you exactly how we do it. Get ready to say goodbye to wonky joints and embrace the precision that comes with expertly prepared wood!
Why Straight Edges are Absolutely Critical for Your Projects
You might wonder, “Does it really matter if my 2×4 is a little bit bowed?” The answer is a resounding yes! The seemingly small imperfection of a non-straight edge can have a ripple effect throughout your entire project. Here’s why investing the time to create perfectly straight edges is so crucial:
- Structural Integrity: In framing or any load-bearing application, straight edges ensure tight, strong joints. Gaps caused by warped lumber weaken the connection points, potentially compromising the overall stability and safety of your structure.
- Aesthetic Appeal: For visible projects like furniture, shelves, or decorative elements, straight edges are paramount for a clean, professional finish. No one wants to see unsightly gaps or uneven lines.
- Ease of Assembly: When every piece of lumber has a straight edge, components fit together effortlessly. This saves you significant time, reduces frustration, and minimizes the need for shims or excessive force during assembly.
- Accuracy and Precision: Many woodworking techniques rely on squaring stock to exact dimensions. A straight reference edge is the starting point for all subsequent cuts, ensuring your project dimensions are spot-on.
- Material Efficiency: By properly jointing and ripping your lumber, you can often salvage pieces that might otherwise be considered too warped to use, leading to less waste and more efficient use of your materials.
Understanding these benefits makes it clear that mastering the art of creating straight edges isn’t just a nicety; it’s a fundamental skill that underpins quality craftsmanship.
Understanding Dimensional Lumber and Its Imperfections
Before we dive into the “how-to,” it’s helpful to understand why dimensional lumber like 2x framing often comes with imperfections. Lumber is a natural product, and its journey from tree to lumberyard involves processes that can introduce variations:
- Milling Process: Initial milling at the sawmill isn’t always perfectly precise, leading to slight inconsistencies in thickness and straightness.
- Drying and Seasoning: As wood dries, it loses moisture, which can cause it to shrink, twist, cup, or bow. This is a natural characteristic of wood and is often unavoidable.
- Storage Conditions: Improper storage at the lumberyard or on a job site can exacerbate warping. Exposure to humidity changes, uneven stacking, or being stored flat on a surface without proper air circulation can all contribute to imperfections.
Because of these factors, it’s rare to find a perfectly straight piece of framing lumber right off the shelf. This is where your skill in preparing the material comes in. Our goal is to take a piece of lumber with one or more imperfect edges and, using a strategic approach, create a single, perfectly straight reference edge from which all other cuts can be made.
The Core Technique: Achieving That First Perfect Edge
The secret to getting straight edges on any piece of lumber, especially those notorious 2x framing boards, lies in creating one perfectly straight reference edge first. Once you have that, you can use it to make all other edges parallel and perfectly square. While there are several methods, the most common and accessible for DIYers and small shops involves a table saw and a reliable straight edge guide.
Method 1: Using Your Table Saw with a Jointing Jig or Straight Edge Guide
This is the method we often employ and find incredibly effective. It allows you to use your table saw, which you likely already own, to effectively “joint” one edge of a bowed board. The principle is simple: attach the warped board to a known straight edge, then run this assembly through the table saw to cut a perfectly straight line along the original warped edge.
Check out our latest video to see this technique in action! It demonstrates precisely how we transform those less-than-perfect boards into perfectly usable straight-edged lumber:
As shown in the video, here’s a brief rundown of the steps:
- Identify the “Best” Edge: Look at your board and determine which edge is least warped or which curve will allow you to remove the least material to achieve straightness.
- Attach a Straight Edge: Secure a known straight edge (like a factory edge of a piece of plywood, a long level, or a dedicated jointing sled) to your warped board. You can use clamps, screws from the “waste” side, or double-sided tape. The key is that the straight edge guide is positioned such that the blade will cut along the desired line, effectively removing the bow.
- First Cut (Jointing): With the straight edge guide against your table saw’s fence, make your first cut. This cut will be perfectly straight, yielding your new reference edge.
- Second Cut (Ripping to Width): Now, remove your straight edge guide from the board. Flip the board so your newly jointed straight edge is against the table saw fence. Set your fence to the desired final width, and make your second cut. This will create a second edge that is perfectly parallel to your first, resulting in a board with two parallel, straight edges.
Method 2: Dedicated Jointer (For Advanced Woodworkers)
While the table saw method is excellent for many, a dedicated jointer is the ultimate tool for achieving straight edges and flat faces. A jointer works by passing a board over a set of spinning blades, shaving off material until one edge (or face) is perfectly flat and straight. If you do a lot of woodworking, especially with rough lumber, a jointer is an invaluable investment.
Method 3: Circular Saw with a Straight Edge Guide
For those without a table saw or needing to joint very long or wide boards that are unwieldy on a table saw, a circular saw paired with a reliable straight edge guide can also work. The principle is similar to the table saw method: clamp a straight edge (like a long level or a piece of plywood with a factory edge) to your lumber, then run your circular saw base plate along that guide to make a straight cut.
Essential Tools for Precision Straight Edges
Having the right tools is half the battle. Here are the key pieces of equipment that will help you achieve perfectly straight edges consistently:
The Table Saw: Your Primary Workhorse
A good quality table saw is indispensable for accurately ripping lumber. Look for a saw with a stable, flat table and a precise, easy-to-adjust fence. The fence is critical because it guides your material through the blade, directly influencing the straightness of your cuts. Here are two excellent table saw options, catering to different budgets and needs:
For serious DIYers and aspiring professionals, this RIDGID 13-Amp 10-inch Professional Cast Iron Table Saw (R4512) is an outstanding choice. Its cast iron top provides excellent stability and vibration dampening, crucial for precise cuts. The robust fence system ensures accuracy, and its overall build quality is designed for consistent performance on demanding projects.
If you’re looking for a more budget-friendly and portable option, the Ryobi 10-inch Portable Table Saw with Quick Stand (RTS21G) is a fantastic starting point. It offers great value, includes a stand for easy setup, and is suitable for most home workshop projects. While perhaps not as robust as a professional cabinet saw, it’s perfectly capable of delivering accurate cuts with proper technique and care.
Other Crucial Tools and Accessories:
- Sharp Table Saw Blade: A dull blade can lead to burning, tear-out, and inaccurate cuts. Use a blade designed for ripping (fewer teeth, larger gullets) for optimal performance when cutting along the grain.
- Measuring Tape and Combination Square: For accurate measurements and verifying squareness.
- Clamps: Essential for securing your straight edge guide to the warped lumber.
- Safety Glasses and Hearing Protection: Non-negotiable for any power tool operation.
- Push Sticks and Push Blocks: Keep your hands safely away from the blade, especially when cutting narrower pieces.
- Featherboards: These hold the workpiece firmly against the fence, preventing wandering and kickback, resulting in cleaner, safer cuts.
- Outfeed Support: Crucial for safely and accurately cutting long boards on a table saw. Rollers or a dedicated outfeed table help support the material as it exits the blade.
Step-by-Step Guide: Making Your Lumber Perfectly Straight
Let’s walk through the process using the table saw method, which is the most common and versatile for framing lumber:
- Inspect Your Lumber: Hold the board up at eye level and sight down all its edges and faces. Identify the “worst” warp or bow. Your goal is to make a single cut that removes the most pronounced curve, creating a straight reference edge. Sometimes, you might need to sacrifice a small amount of width to achieve straightness.
- Prepare Your Straight Edge Guide: For 2x framing lumber, a piece of ½” or ¾” plywood with a factory edge, a long aluminum level, or a dedicated rip-cut jig will work. Ensure this guide itself is perfectly straight.
- Attach the Guide to the Board: Lay your warped board flat. Position your straight edge guide along one edge of the warped board. Align the guide such that the blade, when run along it, will cut off the maximum amount of warp while leaving you with the widest possible straight piece. Clamp the guide securely to the board. Ensure the clamps are clear of the blade path.
- Set Up Your Table Saw for the First Cut: Adjust your table saw fence so that your straight edge guide (which is clamped to your warped board) rides firmly against it. The saw blade should be set to cut just inside the warped edge, removing only the necessary material to create a straight line. Raise the blade just high enough to clear the material.
- Execute the First (Jointing) Cut: With appropriate safety gear on, turn on your table saw. Slowly and steadily feed the clamped assembly through the saw. Keep the straight edge guide pressed firmly against the fence. Use push sticks for the end of the cut. This cut creates your first perfectly straight edge.
- Prepare for the Second (Ripping) Cut: Remove the straight edge guide from your board. Now you have one perfectly straight edge. This edge will become your new reference edge.
- Set the Table Saw Fence for Final Width: Place your newly jointed straight edge against the table saw fence. Measure from this fence to the outside of the blade to set your desired final width for the board. Lock the fence securely.
- Execute the Second (Ripping) Cut: Feed the board through the table saw again, this time with your new straight edge against the fence. This cut will create a second edge that is perfectly parallel to the first, resulting in a piece of lumber with two perfectly straight and parallel edges.
Tips for Success and Preventing Future Warping
- Sharp Blades are Key: Always use a sharp, clean blade. A dull blade will lead to burning, excessive strain on your saw, and a poor-quality cut.
- Support Your Material: Especially with long boards, ensure you have adequate infeed and outfeed support. This prevents the board from tipping, ensures consistent contact with the fence, and greatly reduces the risk of kickback.
- Take Your Time: Rushing cuts can lead to mistakes, injuries, and poor results. Maintain a consistent, moderate feed rate.
- Understand the “Spring” in Wood: Sometimes, after you make a cut, the wood may “spring” open or close slightly due to internal stresses. Account for this if cutting to very precise dimensions.
- Store Lumber Properly: To minimize future warping, store your lumber flat on a level surface, elevated off the ground with evenly spaced “stickers” (small strips of wood) to allow for air circulation. This helps prevent moisture imbalances.
- Safety First: Never compromise on safety. Always wear eye and hearing protection, use push sticks, and understand your saw’s safety features.
Common Mistakes to Avoid
- Forcing Warped Wood Against the Fence: Never try to force a bowed board against your table saw fence without a proper jointing jig. The board will follow its curve, resulting in an inaccurate cut and a high risk of kickback.
- Cutting Freehand: Avoid cutting lumber freehand on a table saw without the fence or a guide. This is extremely dangerous and will never yield a straight cut.
- Ignoring Kickback: Kickback is when the workpiece is violently thrown back towards the operator. It’s often caused by pinching the blade, improper fence alignment, or dull blades. Always be aware of kickback risks and use safety devices like featherboards and splitters.
Elevate Your Craftsmanship
Achieving straight edges on your 2x framing lumber is a fundamental skill that will significantly enhance the quality and ease of your building projects. It transforms rough, inconsistent material into precise, workable stock, laying the groundwork for stronger joints, cleaner finishes, and ultimately, more satisfying results.
Don’t let slightly warped lumber deter you from pursuing your next build. With the techniques and tools outlined above, you now have the knowledge to tackle this common challenge head-on. Practice makes perfect, so grab some lumber and give it a try!
If you have any questions at all, or perhaps another trick up your sleeve for getting perfectly straight edges, please don’t hesitate to let us know in the comments below!