
Welcome, fellow DIY enthusiasts and home decor lovers!
Transform Your Kitchen: A DIY Rustic Wood Plate Rack You Can Build This Weekend
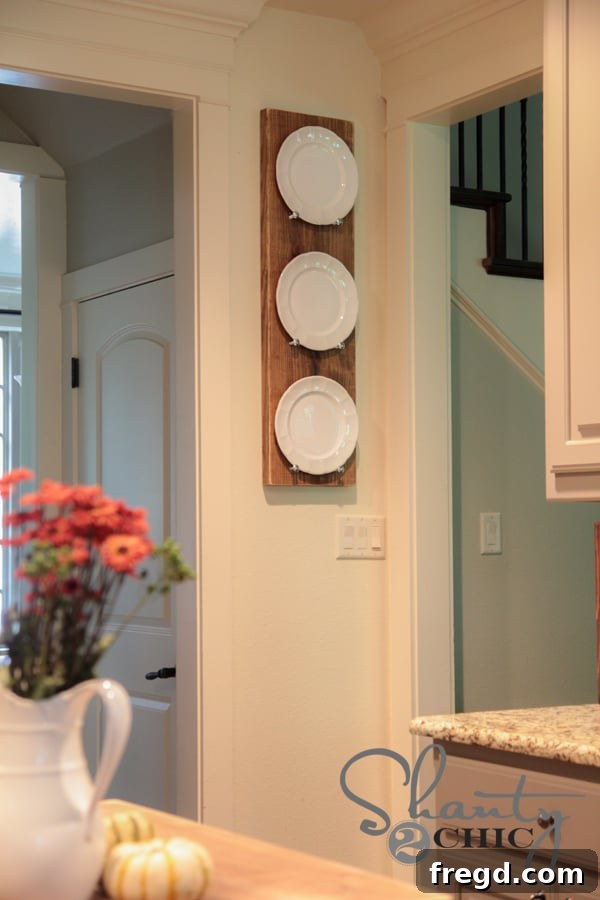
Happy Monday! We hope you had a fantastic weekend, perhaps filled with inspiration for your next home project. If you follow us on Instagram, you might have caught a sneak peek of what we’re unveiling today: a stunningly simple yet incredibly chic plate rack, designed to bring both style and functionality to your kitchen. We all have those awkward wall spaces that just beg for a touch of personality, and this project is the perfect solution. Say goodbye to cluttered cabinets and hello to beautifully displayed dishes with this easy-to-follow guide!
Why a DIY Plate Rack is Your Kitchen’s Next Must-Have
In the heart of every home, the kitchen serves as a hub of activity, creativity, and connection. Yet, it’s often the place where clutter accumulates the fastest. Overstuffed cabinets, precarious stacks of plates, and a general lack of organization can quickly turn a dream kitchen into a source of frustration. This is where a DIY wood plate rack truly shines, offering an elegant solution to common kitchen dilemmas.
Beyond its primary function of organizing your dinnerware, a custom-built plate rack adds immense character and warmth to your space. Imagine your favorite white dishes, perhaps with a subtle pattern or unique shape, proudly showcased against the rich texture of distressed wood. This combination creates a visual feast, turning everyday items into decorative elements. It elevates your kitchen’s aesthetic, seamlessly blending rustic charm with practical design. Whether your home leans towards farmhouse, industrial, modern, or eclectic styles, a thoughtfully chosen stain or paint color can ensure this plate rack becomes a cohesive and beloved part of your decor.
Moreover, embracing vertical storage like a plate rack is a smart way to maximize space, especially in smaller kitchens where every square inch counts. It frees up valuable cabinet real estate for other essentials, making your kitchen feel more open, organized, and inviting. This project isn’t just about building something; it’s about reclaiming your kitchen, infusing it with personal style, and simplifying your daily routine. And the best part? It’s incredibly budget-friendly, proving that high-end style doesn’t have to come with a hefty price tag.
Gather Your Essentials: What You’ll Need for This Project
One of the most appealing aspects of this DIY plate rack is its simplicity, not just in design but also in the materials required. You won’t need an overwhelming list of expensive tools or obscure supplies. We’ve streamlined the essentials to make this project accessible and affordable for almost everyone. Here’s what you’ll gather:
- 1 – 2x12x8′ Board from Home Depot: This robust piece of lumber will be the foundation of your plate rack. Opt for a straight, knot-free board for the best results. The beauty of starting with an 8-foot board is that you can often get two plate racks out of it, making it an excellent value – perfect for gifting or making a pair!
- 6 Small Carriage Bolts: We found ours for a mere $.39 a piece at Home Depot, proving that essential hardware doesn’t have to break the bank. These bolts are crucial for holding your plates securely. You can choose different lengths based on how much tilt you want for your plates, but even short ones work wonderfully.
- Gorilla Super Glue Gel: This powerful adhesive is key to firmly embedding the carriage bolts into the wood. Its gel consistency prevents drips and ensures a strong, lasting bond.
- Varathane Stain in Early American: For this project, we absolutely adore the rich, warm tones of Varathane’s Early American wood stain, a Rust-Oleum brand widely available at The Home Depot. This stain brings out the natural beauty of the wood, adding depth and character. However, feel free to choose any stain or paint color that complements your kitchen’s existing palette.
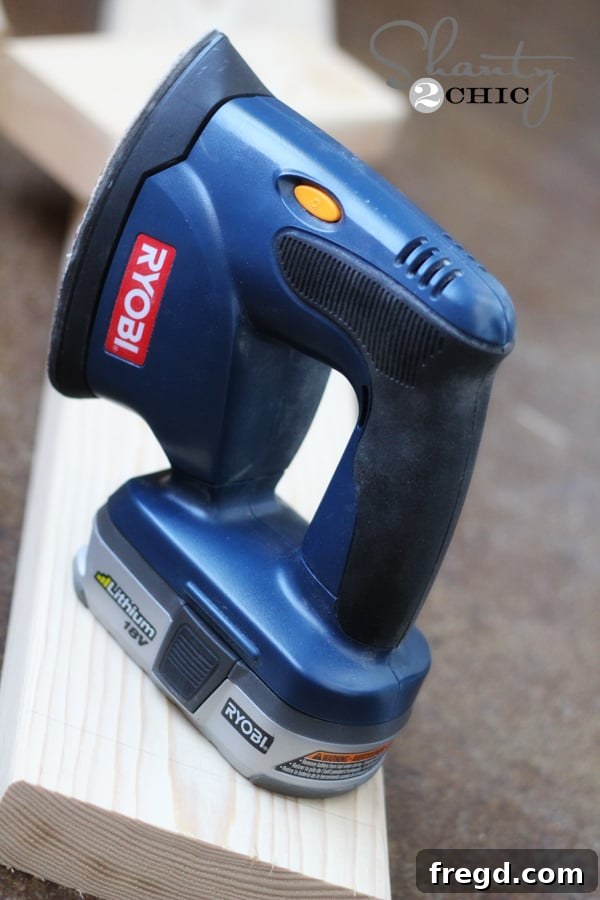
- Ryobi Corner Cat Sander (or similar detail sander): This compact and mighty tool is a game-changer for distressing edges and corners, giving your wood that coveted worn, rustic look. Its lightweight design and powerful performance make it a joy to use.
- Ryobi 18V Drill (or any cordless drill): Essential for drilling the holes for your carriage bolts. A reliable drill with variable speed settings will make this step quick and accurate.
- 3/8″ Drill Bit: This specific size is ideal for creating holes just slightly larger than your carriage bolts, allowing for a snug fit with the glue.
- Measuring Tape & Pencil: For precise marking and cutting.
- Safety Glasses & Gloves: Always prioritize safety when working with tools and chemicals.
- Clean Rags: For applying stain and wiping excess.
With a total material cost under $10 per rack (if you make two from one board!), this project is incredibly economical, offering maximum impact for minimal investment. And remember, if you don’t have a saw to cut the 2×12 board, most Home Depot locations offer complimentary cutting services, making this DIY even easier to tackle!
Let’s Get Started: Your Step-by-Step DIY Plate Rack Journey
Step 1: Preparing Your Wood – The Foundation of Style
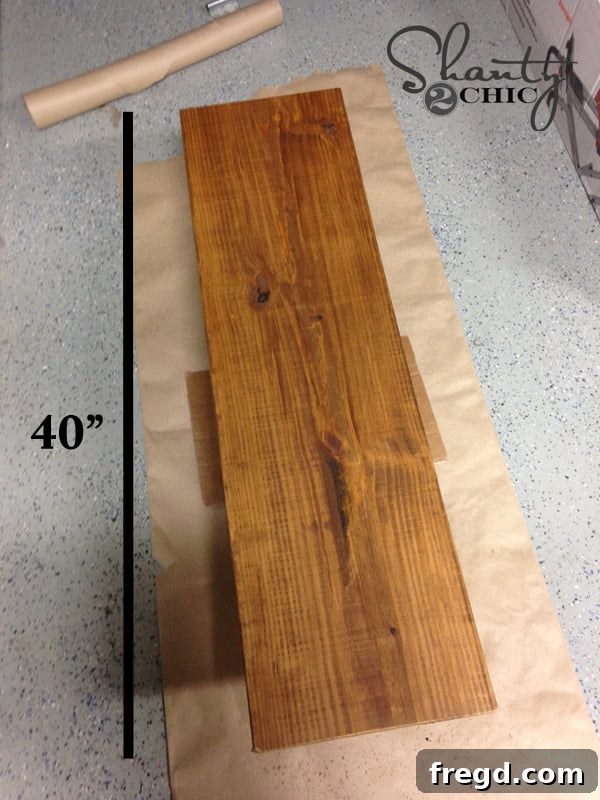
The first crucial step is to prepare your 2x12x8′ board. For a rack designed to hold standard 10-inch dinner plates, we recommend cutting your board to a length of 40 inches. This dimension offers ample space for multiple plates while maintaining a balanced visual presence on your wall. If you plan to display larger platters or smaller decorative plates, you can easily adjust this length to suit your specific needs. Don’t own a saw capable of cutting such a thick piece of lumber? No problem! Many hardware stores, including Home Depot, offer free cutting services. Simply ask them to cut your 8-foot board into two 40-inch sections, instantly yielding two potential plate racks for gifts or another spot in your home.
Step 2: Staining for Character – Adding Depth to Your Design
Once your wood is cut to size, it’s time to imbue it with character through staining. For this project, we chose Varathane Stain in Early American. This particular shade, a Rust-Oleum brand found at Home Depot, provides a beautiful, classic warmth that complements a wide range of decor styles, from rustic farmhouse to traditional. Apply the stain evenly with a clean rag or brush, working with the grain of the wood. Allow it to penetrate for a few minutes, then wipe off any excess. For a deeper color, you can apply a second coat after the first has dried according to the manufacturer’s instructions. Remember to protect your work surface and wear gloves to avoid staining your hands.
Allow your stained wood ample time to dry thoroughly. This step is crucial for achieving a long-lasting finish and preventing any sticky residue. Depending on humidity and temperature, drying can take several hours. Patience here pays off!
Step 3: Distressing for a Worn Look – Achieving Rustic Charm
After your stain has completely dried, it’s time to add that beloved worn, rustic appeal. We used our trusty Ryobi Corner Cat sander for this step, and we can’t recommend it enough! This compact yet powerful tool is perfect for reaching into corners and gently distressing edges. Lightly sand the edges and corners of your board, focusing on areas that would naturally show wear and tear over time. This technique subtly reveals the lighter wood beneath the stain, creating beautiful contrast and an authentic vintage feel. The Ryobi Corner Cat’s ergonomic design makes it easy to control, allowing you to achieve just the right amount of distress without overdoing it. A slightly worn look adds character and makes your new plate rack feel like a cherished antique.
Step 4: Precision Drilling – Creating the Plate Supports
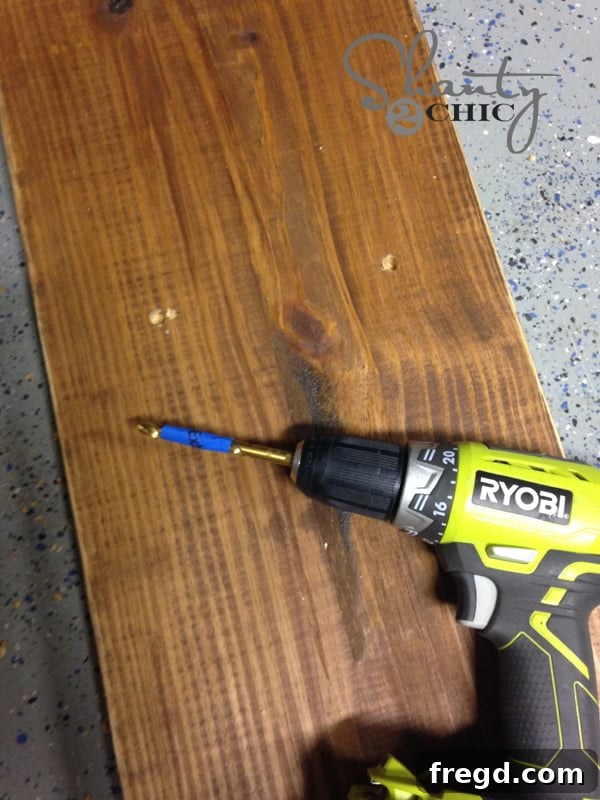
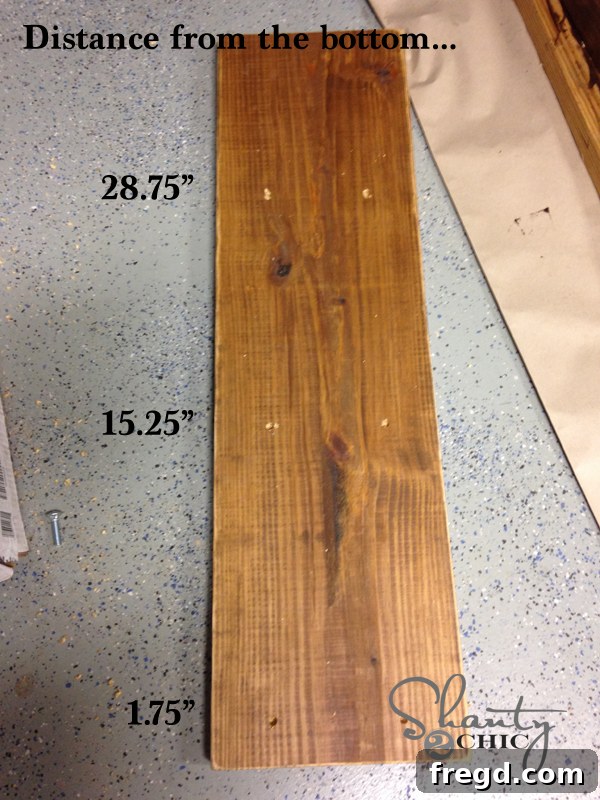
Now, let’s create the essential supports for your plates. Using your Ryobi 18V drill and a 3/8-inch drill bit (which is just slightly larger than the width of your carriage bolts), you’ll make a series of holes. Precision is key here to ensure your plates sit evenly. We measured our holes to be 5.5 inches apart, with the first hole positioned 5.5 inches from the bottom edge of the board. This spacing works perfectly for standard 10-inch dinner plates. To ensure all your holes are drilled to the same depth – preventing your bolts from sticking out unevenly – wrap a small piece of painter’s tape around your drill bit at the desired stopping point. This simple trick acts as an excellent depth guide, ensuring consistency across all your holes. Drill carefully and straight, applying steady pressure.
Here’s a visual of where to place your holes. The measurements indicate their distance from the bottom of the board, with each hole separated by 5.5 inches vertically:
Step 5: Securing the Supports – The Glue & Bolt Method
Once your holes are drilled, it’s time to insert the carriage bolts that will cradle your plates. These bolts, as pictured below, are simple yet highly effective. The length of the bolts can subtly influence how much your plates tilt when displayed; longer bolts allow for a slightly more angled presentation. For this project, we used standard-length carriage bolts, which work perfectly.
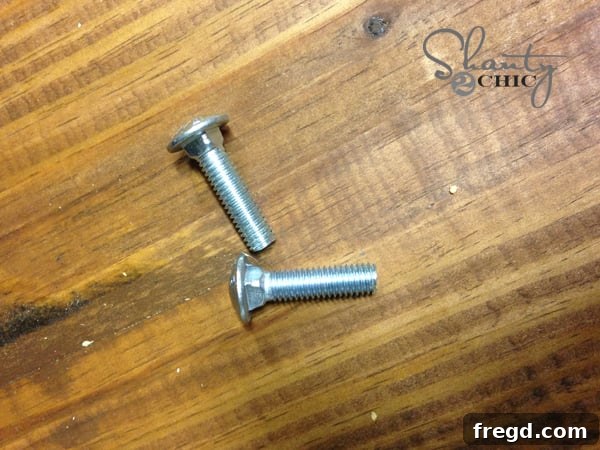
To ensure a rock-solid hold, squeeze a generous amount of Gorilla Super Glue Gel into each drilled hole. This specific adhesive is excellent for its strong bond and quick setting time, crucial for keeping your bolts firmly in place.
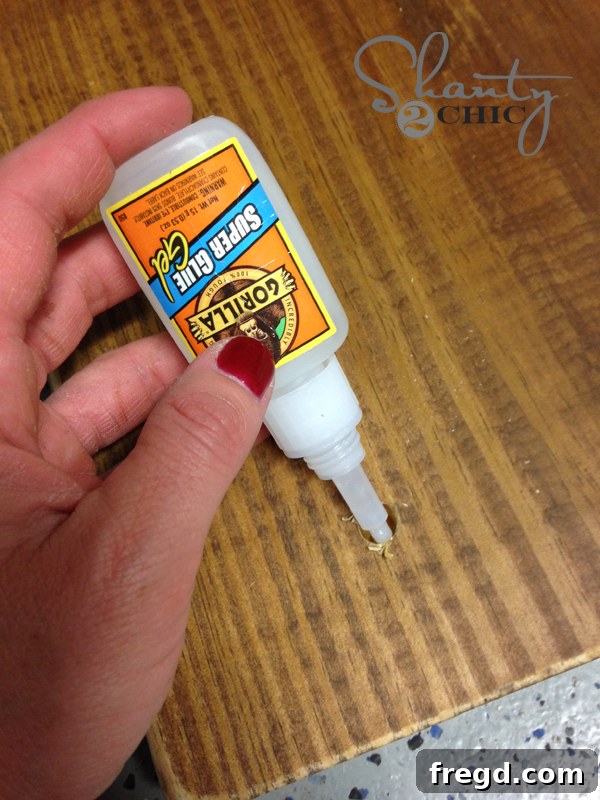
Immediately after applying the glue, firmly push each carriage bolt into its respective hole. Ensure the flat, rounded head of the bolt is flush against the wood surface. The glue will create a secure anchor, preventing the bolts from wiggling or pulling out over time.
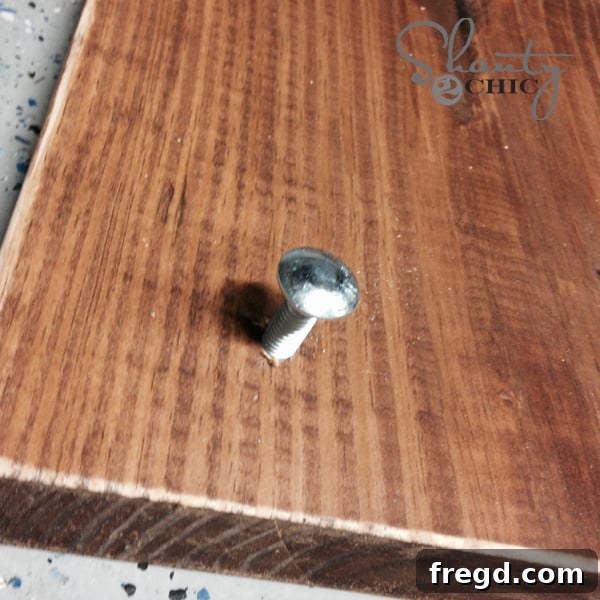
Allow the glue to dry and cure for several hours, or even overnight, before proceeding to the next step. This curing time ensures maximum strength and stability for your plate rack.
Step 6: Safe Installation – Hanging Your Masterpiece
The final and perhaps most critical step is safely hanging your new wood plate rack. Given the weight of the board itself, plus the weight of the plates it will hold, robust installation is paramount. We highly recommend drilling wood screws directly through the board and into the wall studs. Wall studs provide the strongest anchor point, ensuring your rack remains securely in place. You can use a stud finder to locate them accurately.
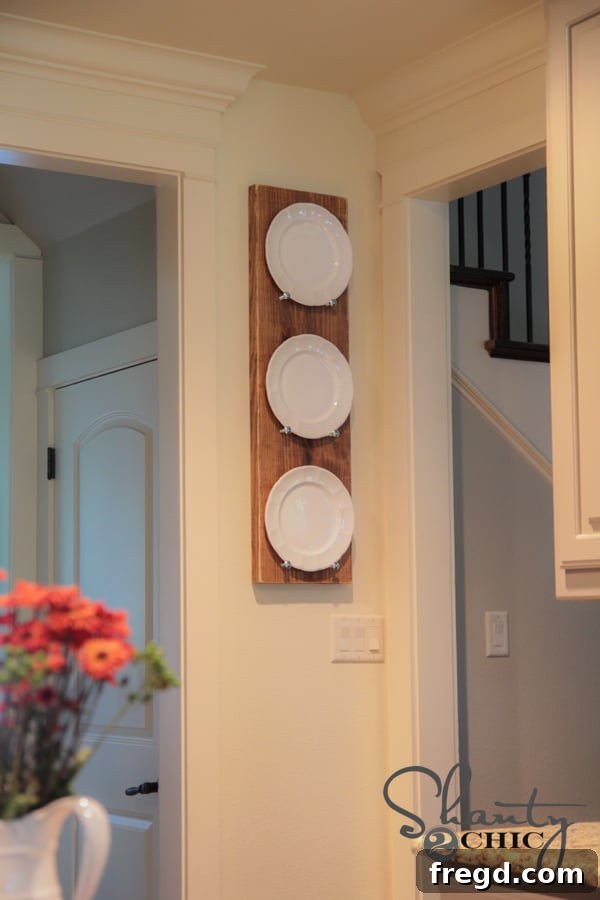
For our rack, we used four screws for ample support. We didn’t worry about covering the screw heads, as our plates cleverly concealed them once hung – a “shanty-chic” shortcut we adore! While heavy-duty picture frame hardware or toggle anchors might work for lighter decorative items, for something as substantial as a loaded plate rack, direct attachment to studs offers unparalleled peace of mind. Every wall is unique, so always assess your wall’s construction and choose the most secure hanging method available to you. Safety first!
Your Customized Kitchen Showcase: Final Touches and Inspiration
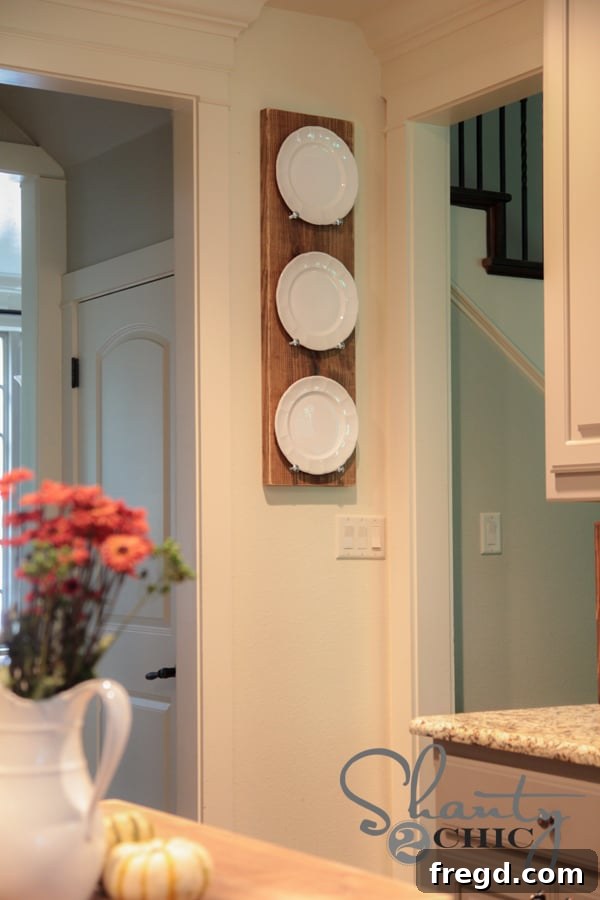
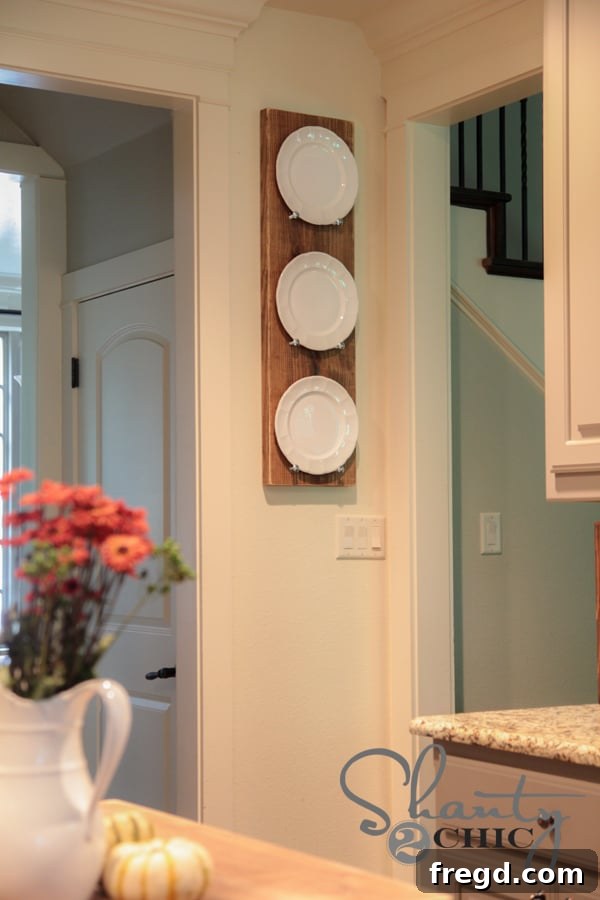
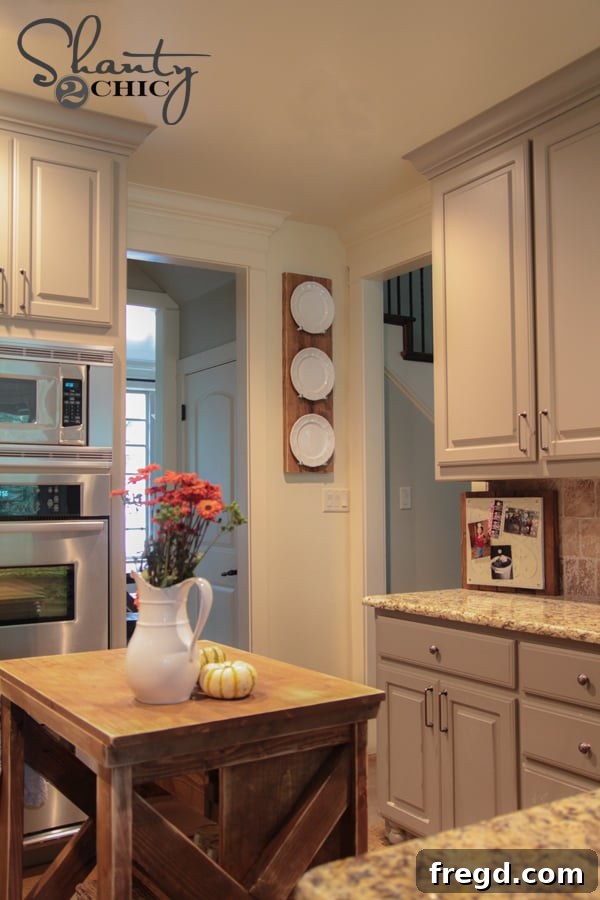
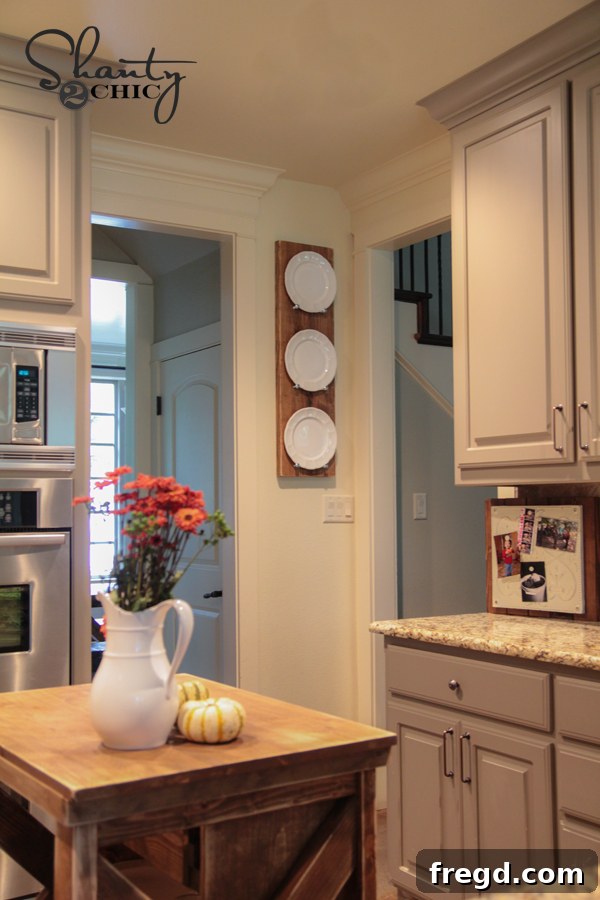
Congratulations, you’ve built your very own stunning plate rack! This project is not just about utility; it’s an opportunity to inject personal style into your kitchen. Once your rack is securely mounted and the glue fully cured, it’s time for the most rewarding part: styling it with your beautiful dishes. Whether you have a collection of pristine white stoneware, vintage floral patterns, or vibrant modern designs, this rack will transform them into an artful display. The combination of worn wood and crisp white dishes, as seen in our kitchen, creates a timeless aesthetic that feels both fresh and inviting.
But don’t stop there! Consider these ideas to make your plate rack truly unique:
- Vary Your Finishes: Experiment with different stain colors, from deep walnuts to light oaks, or even bold paint colors like matte black or a cheerful teal to match your kitchen accents. A distressed white finish could offer a charming farmhouse feel, while a sleek, dark stain might lend a more modern edge.
- Add Hooks: Attach small hooks to the bottom edge of your plate rack to hang mugs, tea towels, or even cooking utensils, maximizing its functionality.
- Incorporate Greenery: Drape a faux ivy garland or small string lights around the top for an extra touch of warmth and charm.
- Mix and Match: Don’t feel limited to just plates! Use one or two slots to display small cutting boards, framed recipe cards, or thin decorative plaques for added visual interest.
This plate rack is more than just storage; it’s a statement piece, a testament to your creativity, and a practical addition that elevates your kitchen’s design. We hope you love the result as much as we do!
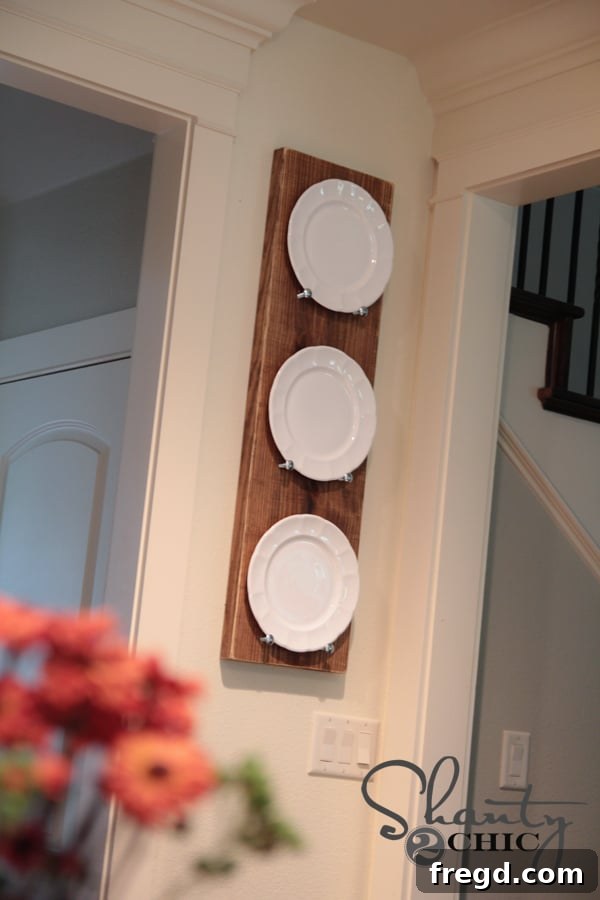
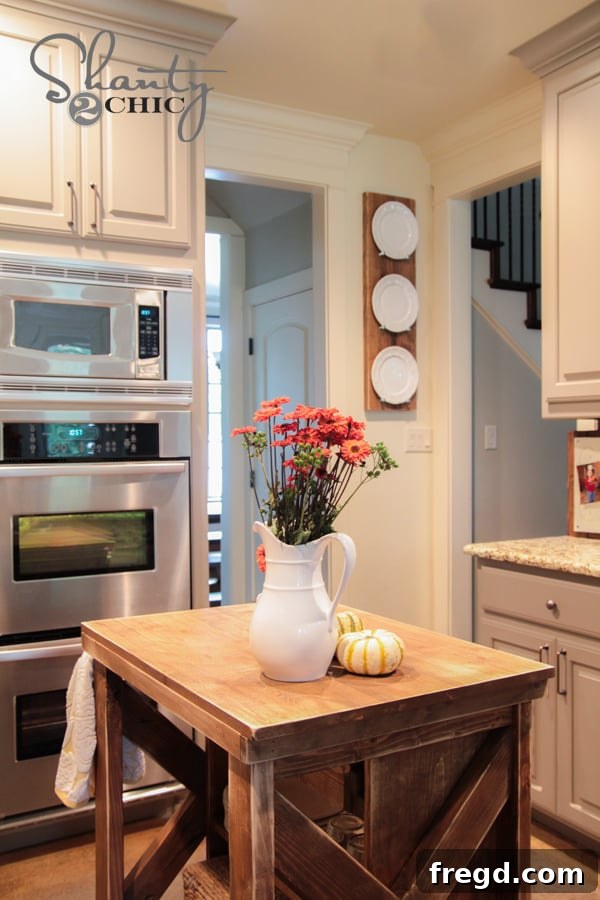
We hope you’re inspired to tackle this project and bring a touch of rustic charm and organized bliss to your own kitchen. This DIY wood plate rack is a testament to how simple tools and materials can create a big impact, both aesthetically and functionally. If you embark on this creative journey, we would absolutely LOVE to see your finished masterpieces! Please feel free to pin this idea, share it with your friends and family, and don’t hesitate to reach out if you have any questions along the way. Your enthusiasm and creativity are what make this community so special!
Thanks so much for joining us on this DIY adventure!
~Whitney