
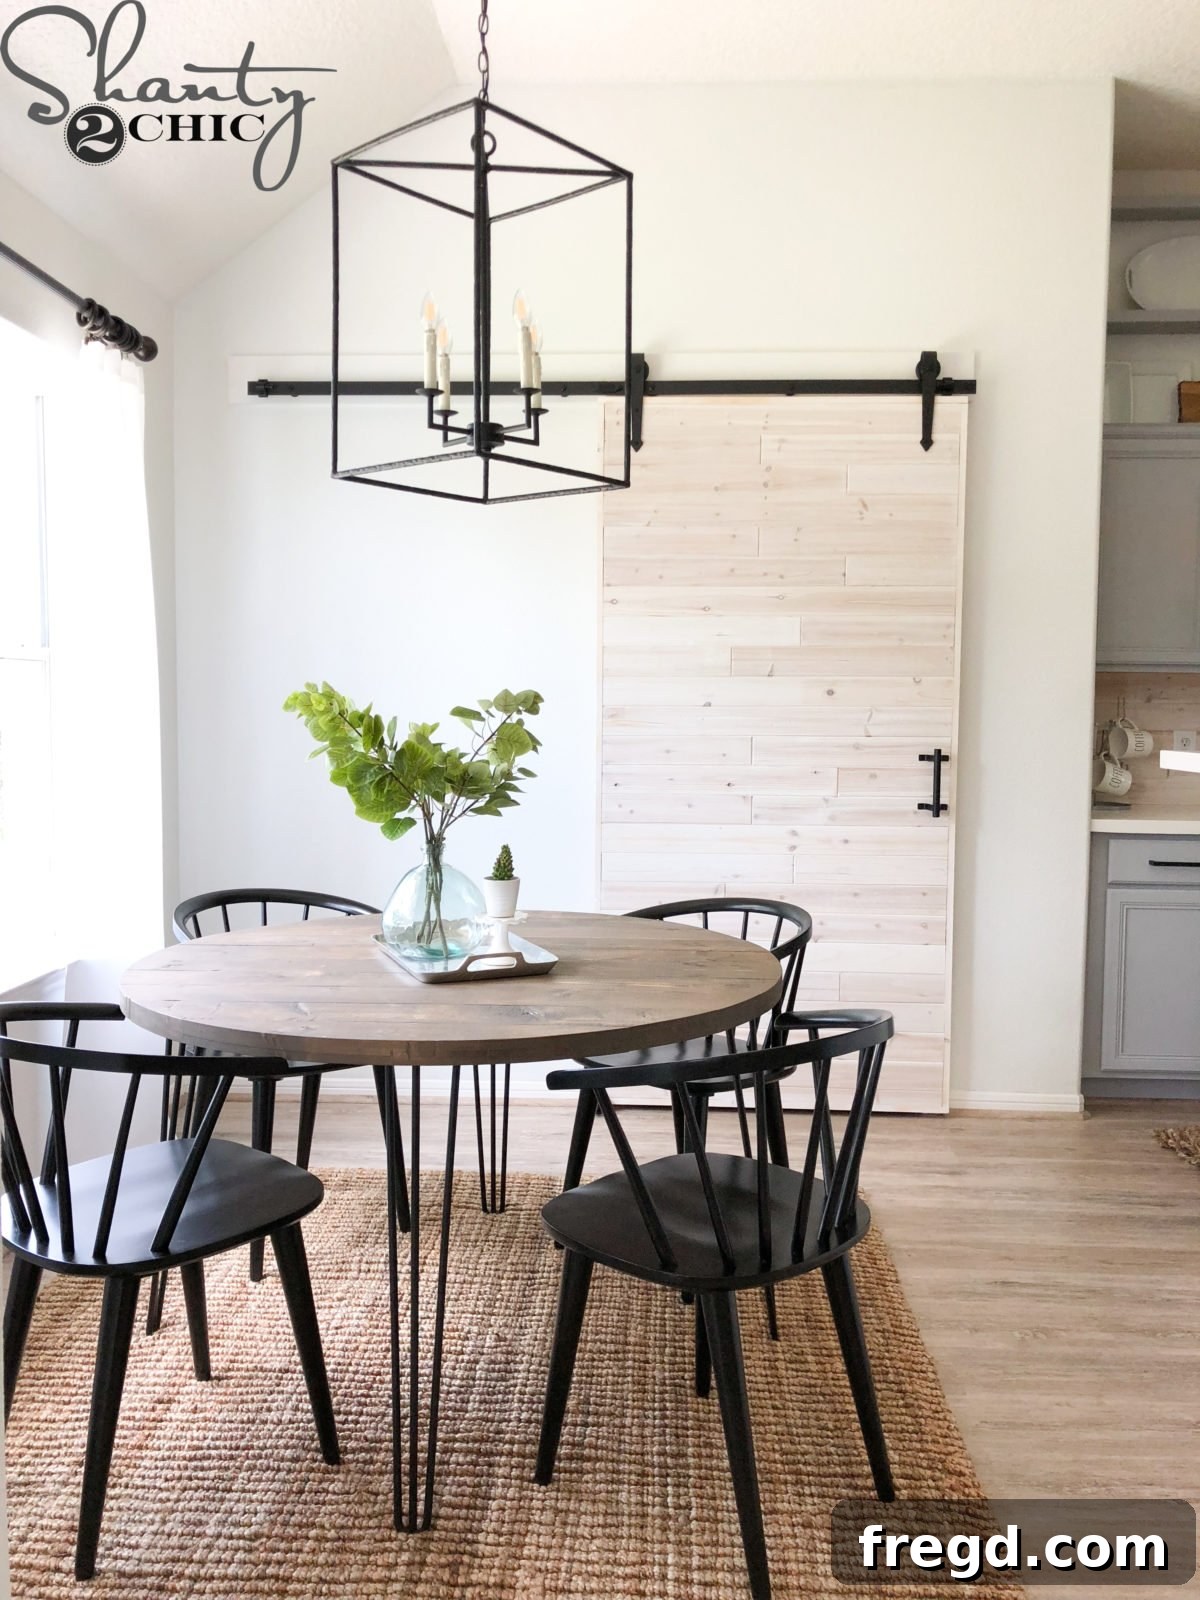
DIY Sliding Barn Door: Replace Any Doorway with Custom Style & Save Space
Are you dreaming of a home transformation that combines modern functionality with classic farmhouse charm? Look no further! This comprehensive guide will teach you exactly how to replace an existing swinging door with a stylish, space-saving sliding barn door. Whether it’s for your pantry, bedroom, or bathroom, this DIY project is surprisingly straightforward and incredibly rewarding. We provide easy-to-follow steps, free printable plans, and a detailed how-to video, ensuring you have all the resources you need for success. You’ll discover how simple it is to customize your barn door to fit any opening, adding a unique architectural element to your home. The best part? Our method allows you to complete this stunning upgrade without the hassle of removing your existing door trim!
Watch the Full Step-by-Step Video Tutorial!
Click the play button to see every detail of building and installing your custom sliding barn door. Our video makes the process even easier to visualize!
Why a Sliding Barn Door is the Perfect Home Upgrade
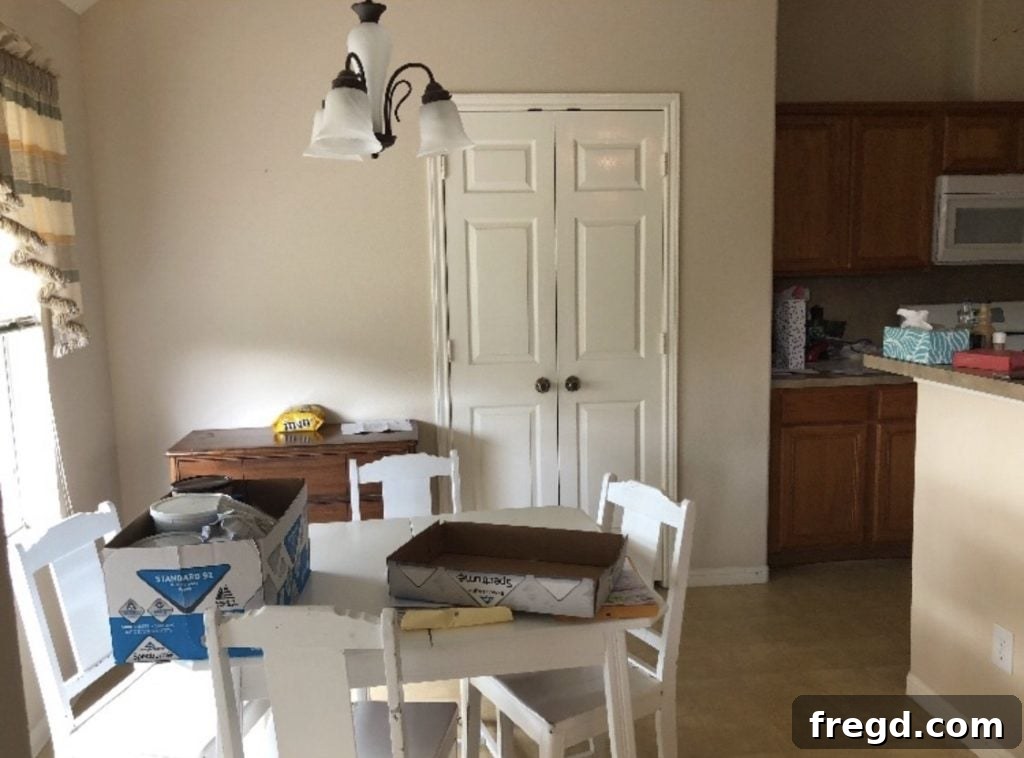
The appeal of a sliding barn door isn’t just about its charming aesthetic; it’s a highly functional solution for modern living. Traditional swinging doors demand a significant amount of clear floor space to operate, often dictating furniture placement or making smaller rooms feel even more constricted. This is particularly challenging in areas like pantries, laundry rooms, closets, or compact bathrooms, where every square inch matters.
Our recent project, part of the Shanty House Crash series, highlighted this perfectly. We aimed to tackle our sister’s pantry doors. Situated prominently, these doors were visible from multiple rooms in the house, making their appearance and efficient operation incredibly important. By replacing her standard doors with a custom sliding barn door, we achieved a multitude of benefits:
- Optimized Space: Sliding barn doors glide smoothly along the wall, eliminating the need for a door swing. This instantly frees up valuable floor space and offers more flexibility in furniture arrangement.
- Enhanced Aesthetics: A well-designed barn door becomes a decorative statement piece, injecting character and a custom feel into your home’s interior. It elevates the space from merely functional to beautifully curated.
- Personalized Design: Unlike mass-produced doors, a DIY barn door can be crafted to your exact specifications, ensuring a perfect fit and a unique design that reflects your personal style.
- DIY Satisfaction & Affordability: Building your own door is not only a rewarding experience but also significantly more cost-effective than investing in a custom-made, professionally installed alternative.
- Seamless Integration: Our proven method allows you to install your new sliding barn door without the tedious and often messy process of removing your existing door trim, simplifying the entire project.
This project directly answers one of our most frequently asked questions: “How do I replace an existing door with a sliding door?” We’re thrilled to show you that it’s an accessible and affordable DIY endeavor, suitable for homeowners looking to add significant value and style to their living spaces. Let’s get building!
Download Your FREE Printable Barn Door Plans!
To make your project as smooth as possible, we’ve prepared detailed, FREE Printable Plans that you can download right HERE. These plans include precise measurements and diagrams, allowing you to easily customize the door’s dimensions to perfectly fit your doorway. Follow along with these plans, our step-by-step written guide, and the accompanying video tutorial to ensure a successful and satisfying build!
Tools & Materials You’ll Need for Your Custom Barn Door
Before you embark on your barn door build, it’s crucial to gather all the necessary tools and materials. Having everything organized and ready will streamline the process and allow you to focus on each step efficiently.
Essential Tools for Construction and Installation:
- 18-gauge Brad Nailer: An invaluable tool for quickly and precisely attaching trim pieces and other lighter wood components. Its fine nails leave minimal holes.
- 18-gauge Stapler (Optional but Recommended): Perfect for securing plywood panels to the door frame with strong, fast bonds. If unavailable, your brad nailer can serve as an alternative.
- 23-gauge Pin Nailer (Optional, for Delicate Finishes): For attaching delicate planks or trim where you want almost invisible fasteners, a pin nailer is ideal, leaving virtually no holes to fill.
- Drill: Essential for pre-drilling holes to prevent wood splitting and for driving screws efficiently.
- Kreg Jig: Your best friend for creating strong, concealed pocket-hole joints, which are critical for building a sturdy and clean-looking door frame.
- Miter Saw: For achieving accurate, straight, and angled cuts on all your wood pieces, ensuring tight-fitting joints.
- Stud Finder: Absolutely crucial for locating wall studs, guaranteeing that your barn door track and header board are securely anchored into structural elements of your wall.
- Level: To ensure your door frame is square during assembly and, most importantly, that your header board and track are perfectly horizontal for smooth door operation.
- Tape Measure & Pencil: For accurate marking and measuring.
- Safety Glasses & Hearing Protection: Always prioritize safety when working with power tools.
Materials List for Your Custom Barn Door Project:
- Wood for the Door Frame: (e.g., 1×2 and 1×4 pine boards – specific dimensions will be detailed in the free plans)
- 1/4″ Plywood Boards: For the front and back panels of the door.
- Wood Glue: For reinforcing all joints and securing panels and planks.
- 1 1/4″ Pocket Hole Screws: To assemble the door frame.
- 3/4″ Staples: (If using a stapler for plywood attachment)
- 1 1/4″ Brad Nails: For attaching side and bottom trim.
- 1″ Pin Nails: (If using a pin nailer for decorative planks)
- Driftwood Tongue and Groove Wall Plank Kit: (Approximately 2.5 boxes, or your preferred decorative cladding material)
- Protective Wood Finish: Such as a polyurethane or clear coat to seal and protect your door’s surface.
- Paint for Trim: To match or complement your existing decor and the decorative planks.
- Barn Door Hardware Kit: Including track, rollers, and stoppers.
- Barn Door Pull/Handle: Choose a style that complements your door and home.
- 1×6 Pine Board: (Pre-primed is recommended for ease of painting, used as a header board for track mounting)
- 3″ Wood Screws: For securely attaching the header board to wall studs.
- Wood Putty / Filler: For patching holes and imperfections.
- Sandpaper: Various grits for smoothing surfaces before finishing.
Step-by-Step Guide: Building Your Custom Barn Door
Now that you have all your tools and materials, let’s dive into the construction of your beautiful new barn door. Remember to always refer to your free printable plans for precise measurements and detailed diagrams specific to your door opening.
Step 1: Cut and Drill the Door Frame Pieces
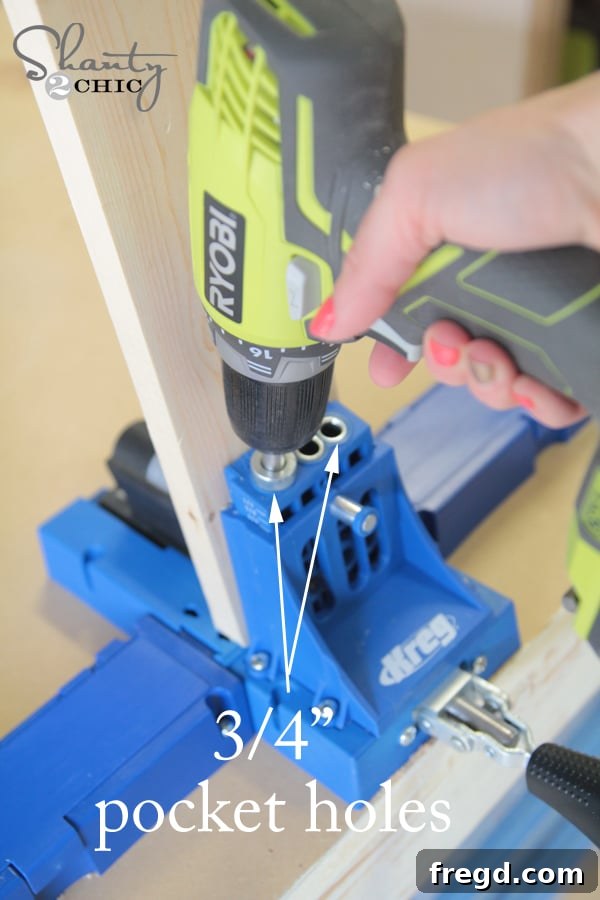
Begin by carefully cutting your 1×2 and 1×4 wood pieces according to the dimensions provided in your plans. Accuracy in this step is paramount for a square and stable door. Once all pieces are cut, use your Kreg Jig to drill 3/4″ pocket holes into each end of the 1×2 pieces. Pocket holes are renowned for creating incredibly strong, hidden joints, perfect for constructing a durable door frame. If you’re new to using a Kreg Jig, it’s always a good idea to practice on a scrap piece of wood to ensure you have the correct depth settings and technique.
Step 2: Assemble the Inner Door Frame
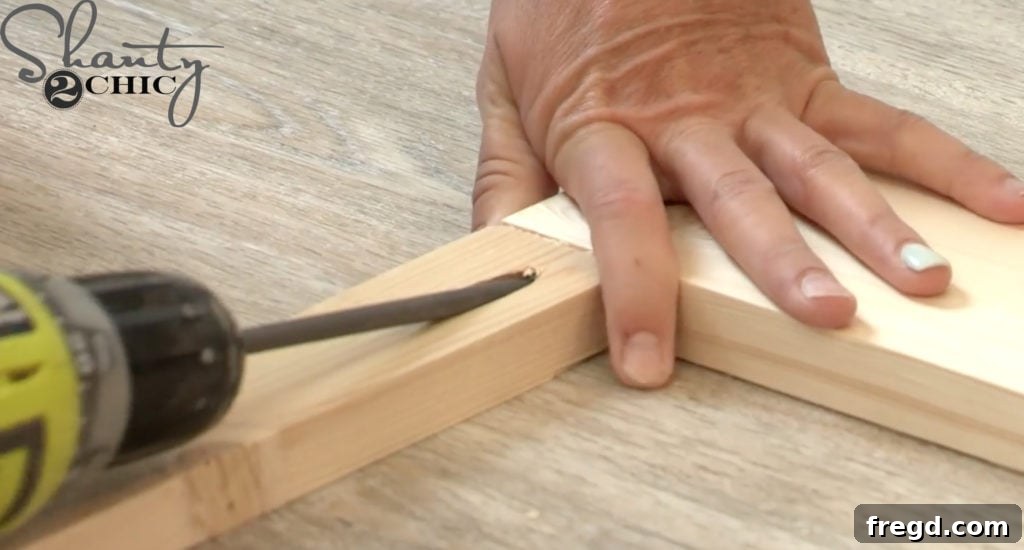
With your pocket holes ready, it’s time to assemble the core frame of your barn door. Apply a generous, even layer of wood glue to the ends of the 1x2s where they will meet the 1x4s. Then, securely attach the 1x2s to the 1x4s using 1 1/4″ pocket hole screws. As you tighten the screws, ensure that all corners are perfectly square before the wood glue has a chance to set. This initial frame forms the foundational skeleton of your door, providing the necessary rigidity and structural integrity.
Step 3: Attach Plywood Panels to the Frame
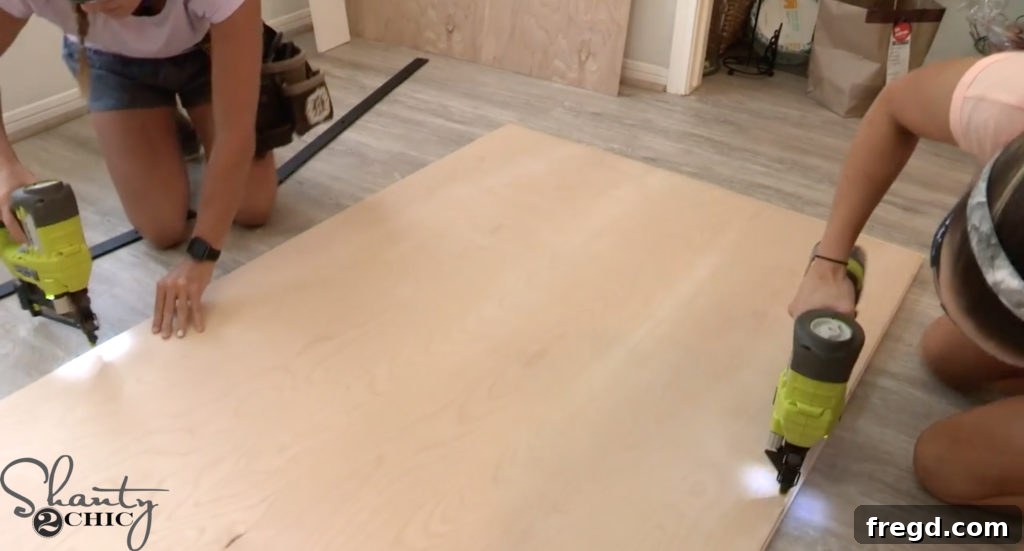
Next, cut your 1/4″ plywood boards to the precise dimensions needed to cover the front and back of your assembled frame. These panels provide a solid, flat surface upon which your decorative cladding will be attached. Apply wood glue to the frame, then carefully align and attach the plywood to both faces of the door. We used 3/4″ staples with our 18-gauge Narrow Crown Stapler for rapid and secure fastening. If you don’t have a stapler, an 18-gauge brad nailer will also work effectively. Ensure the plywood is flush with all edges of the frame for a clean finish.
Step 4: Add Side Trim Pieces
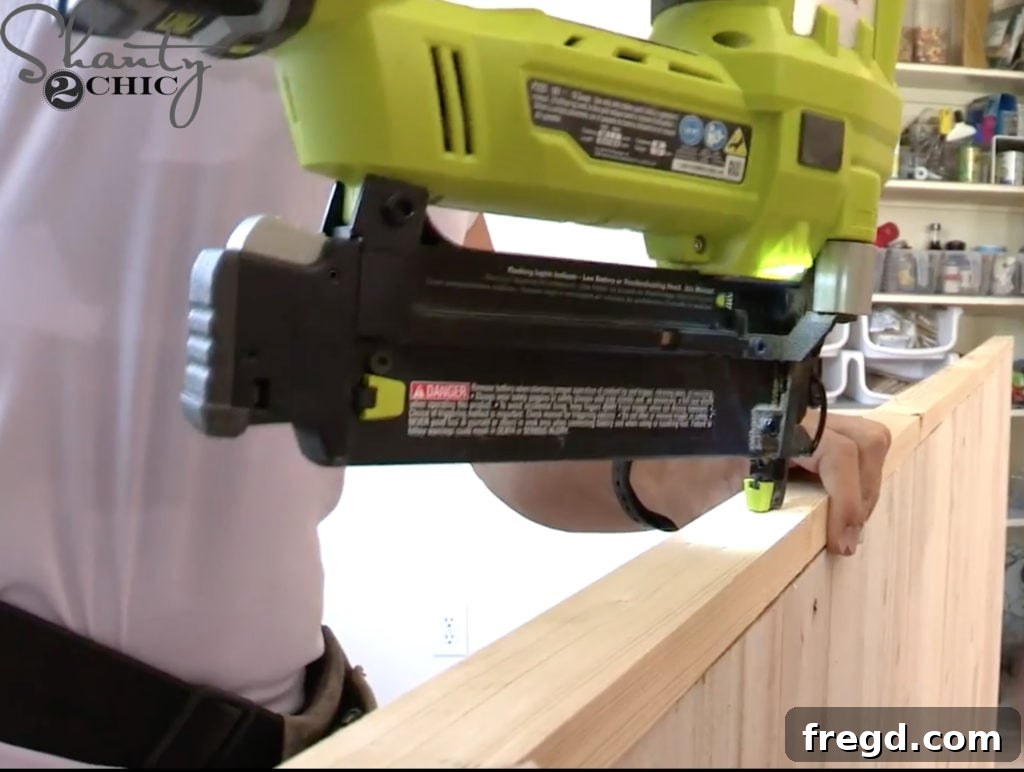
Now it’s time to begin adding the decorative trim that gives your barn door its finished edge. Measure and cut your side trim pieces to the correct length, matching the exact height of your door. Apply wood glue to the back of each trim piece, then carefully align and attach them to the sides of the barn door using 1 1/4″ brad nails. The brad nailer makes this step quick and precise, leaving minimal holes that will be easy to fill later, creating a clean and professional edge.
Step 5: Install the Bottom Trim Piece
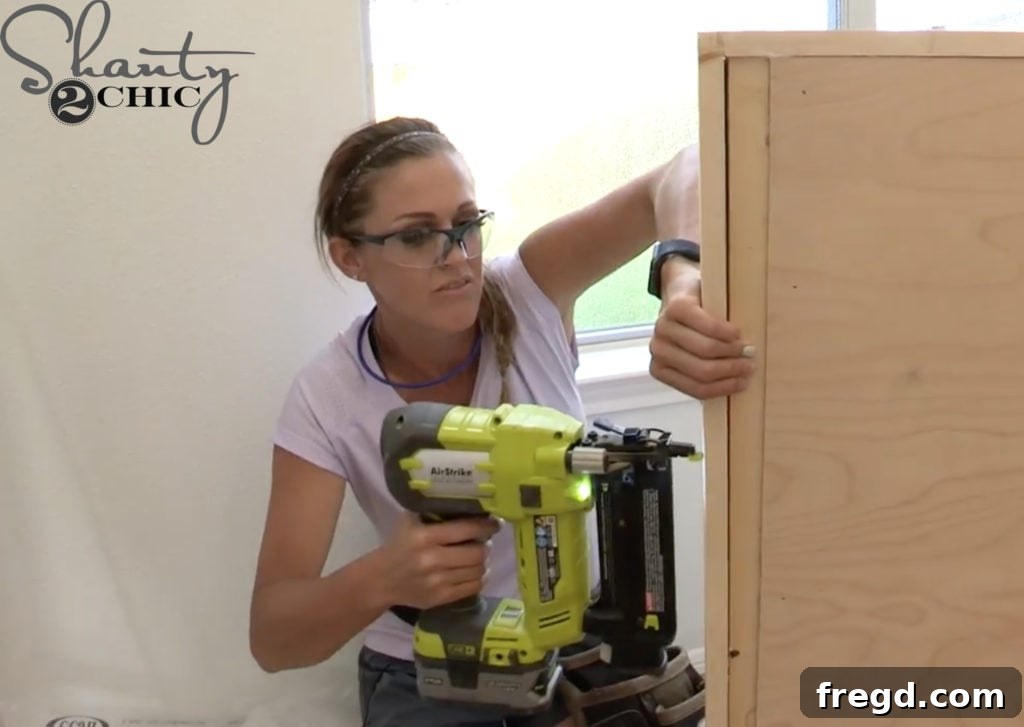
Once the side trim is firmly in place, measure and cut the bottom trim piece to size. It should fit snugly between the two installed side trim pieces. Apply wood glue along the edge and then attach it with 1 1/4″ brad nails, just as you did with the side trim. This step completes the basic outer frame of your barn door, creating a clean border that is now ready for your chosen decorative planks.
Step 6: Apply Decorative Wall Planks (Driftwood)
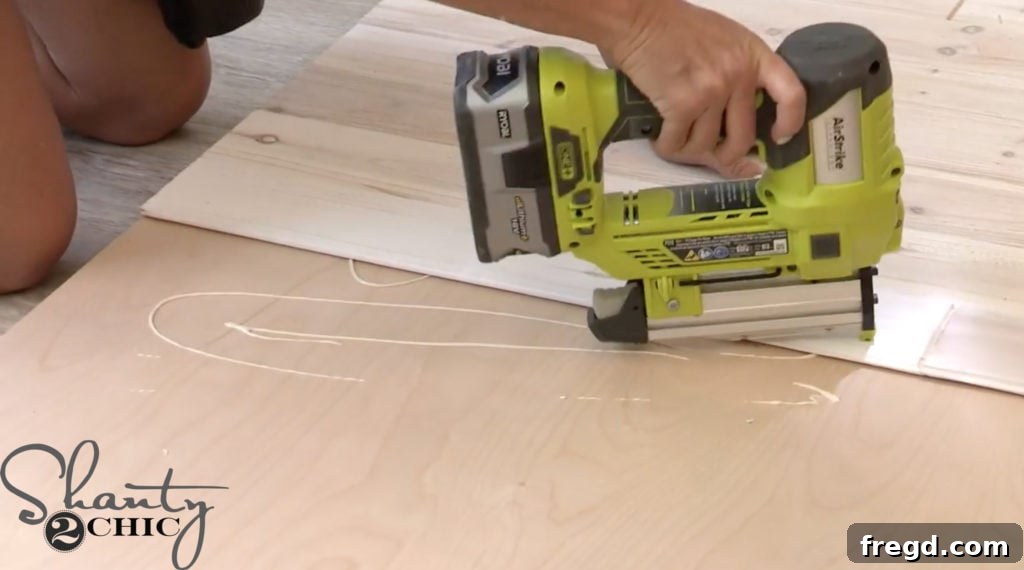
This is where your barn door truly comes alive and gains its unique character! For our project, we chose a stunning Driftwood tongue and groove wall plank kit, using approximately 2.5 boxes to cover the front of the door. Start by cutting off the tongue and groove edge of your very first plank to ensure it sits perfectly flush with the side trim. Begin applying the planks from the top left corner of the door, working your way across and down. To achieve a professional and visually appealing finish, remember to stagger the seams between each row of planks, just as you would with flooring. Use wood glue for a strong, lasting bond, and then secure the planks with 1″ nails from your 23-gauge Pin Nailer. The pin nailer is ideal here because its tiny nails create almost invisible holes, preserving the natural beauty of the driftwood.
Step 7: Apply Protective Finish & Paint Trim Details
After all your decorative planks are securely installed, it’s crucial to protect them from daily wear and tear. We applied a durable protective finish to the driftwood planks, which not only guards them but also enhances their natural beauty and depth. You can find the type of protective finish we used HERE. Additionally, to perfectly complement the rustic charm of the driftwood, we lightly dry-brushed a bit of matching paint onto the 1×2 trim pieces around the door’s perimeter. This subtle detail helps to unify the entire door’s aesthetic, creating a cohesive and polished look. The specific paint we used is linked HERE.
Installing Your Sliding Barn Door Hardware & Hanging the Door
With your beautiful custom barn door built and finished, the final stage is installation. This involves careful preparation of the doorway, precise attachment of the track system, and finally, hanging your stunning new door. Precision and patience in these steps will ensure smooth operation and a truly professional finish.
Step 8: Attach Wheels and Handle to the Door
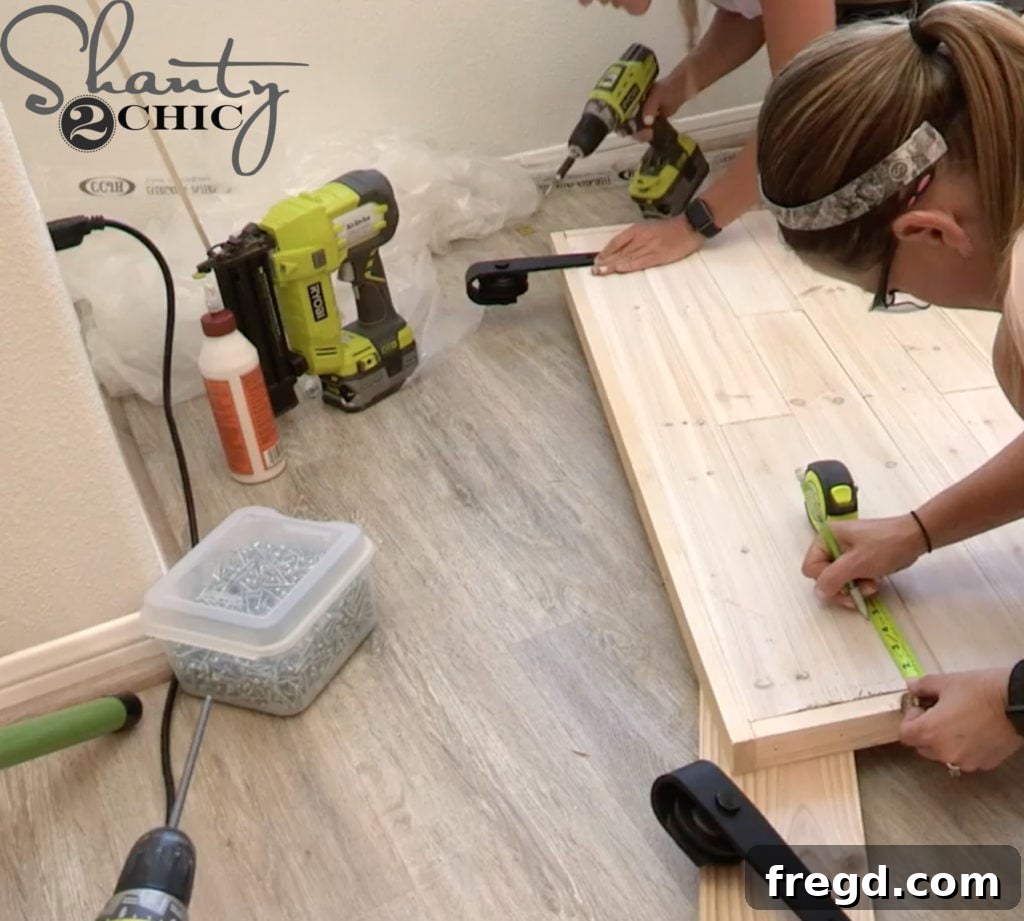
Before moving the door to the doorway, attach the barn door wheels (hangers) to the top edge of your newly constructed door. Always follow the specific instructions provided with your barn door hardware kit for proper placement and secure fastening. Additionally, install your chosen barn door handle at a comfortable and ergonomic height on the front face of the door. Ensure all hardware is securely tightened for safety and long-term durability.
Step 9: Prepare the Doorway Opening
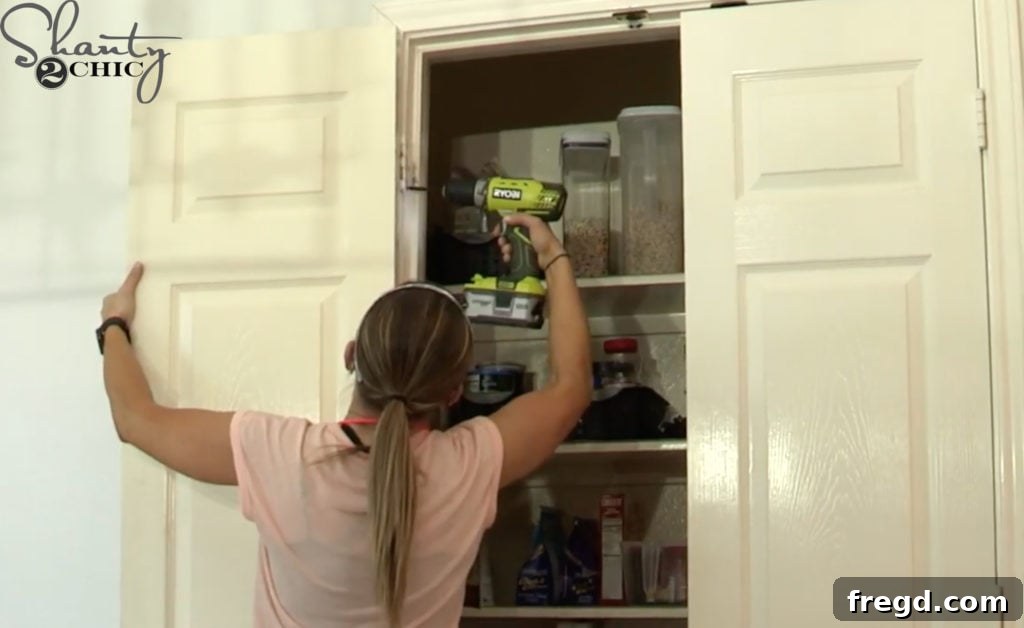
Carefully remove your existing swinging doors from their hinges. Fill any visible screw holes, hinge mortises (the recessed areas where hinges sat), or other imperfections in the door frame with high-quality wood putty. Allow the putty to dry completely according to the manufacturer’s instructions, then sand it smooth until it’s flush with the surrounding surface. Finally, touch up the repaired areas with paint that matches your existing door trim to create a clean, seamless canvas for your new barn door installation.
Step 10: Install the Header Board (Crucial for Existing Trim)
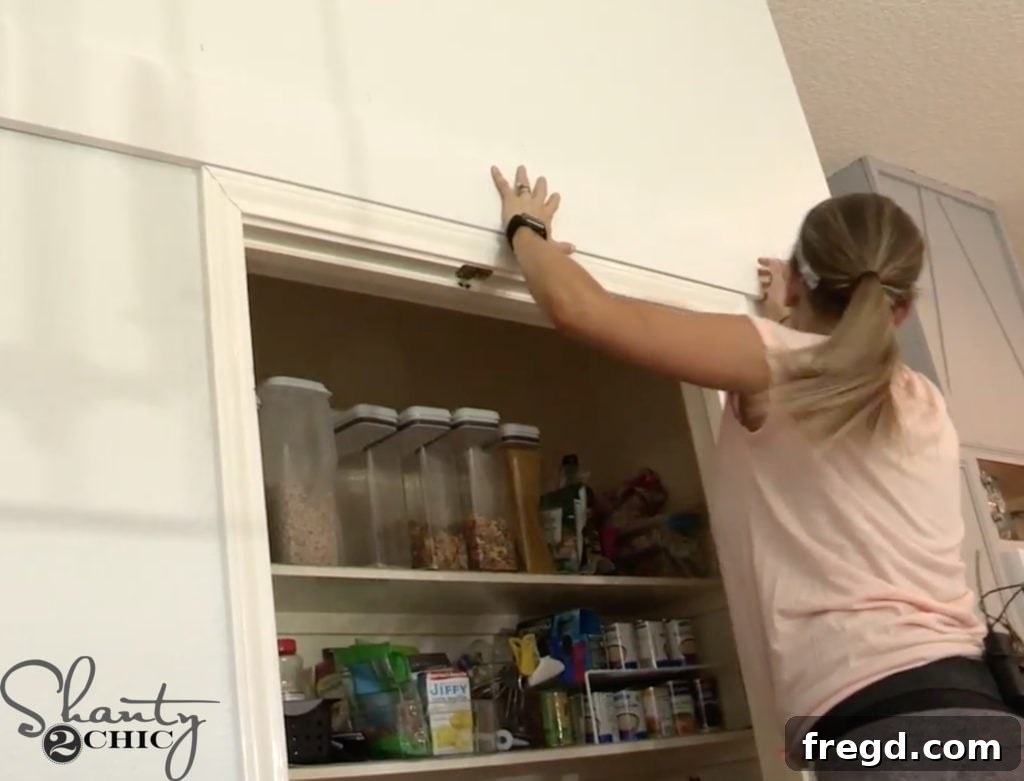
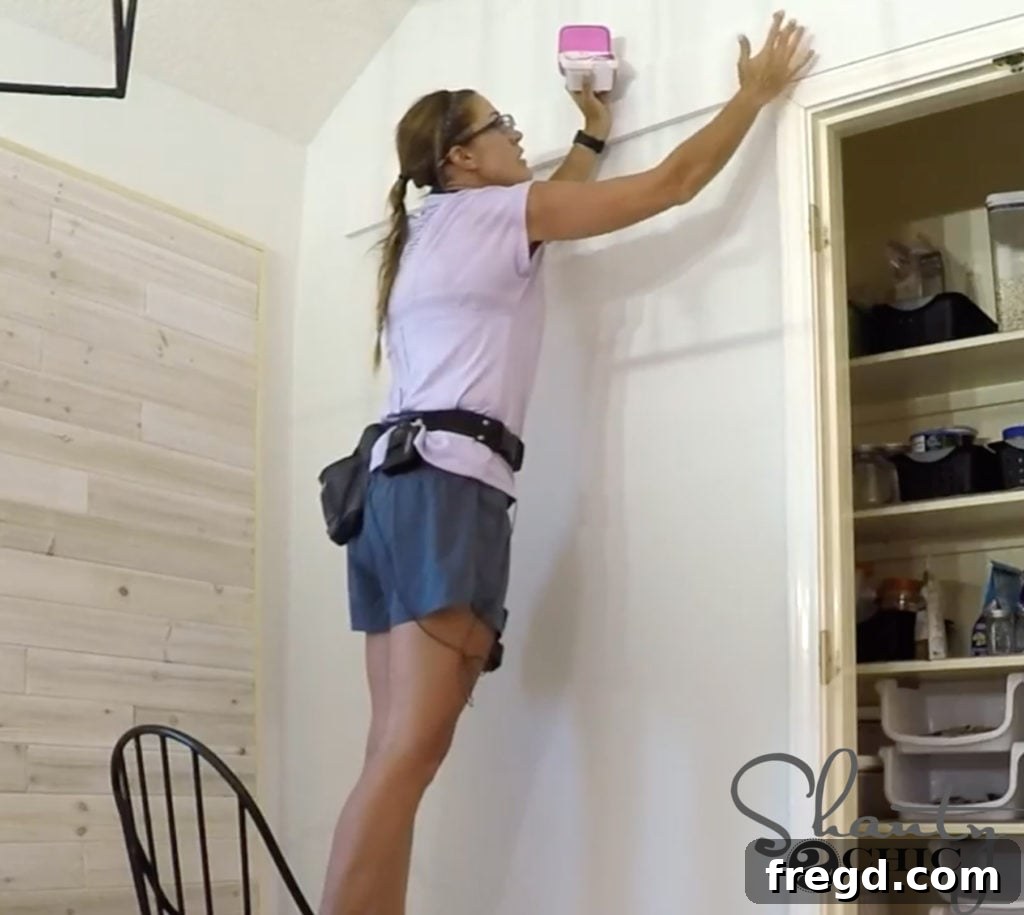
One of the significant advantages of our method is that it eliminates the need to remove your existing door trim. To achieve this, you’ll install a sturdy header board directly above the doorway. We highly recommend using a pre-primed 1×6 pine board for this purpose, as it provides an excellent, stable surface for attaching your barn door track. Use your stud finder to meticulously locate and mark the wall studs above your doorway. These studs are vital for providing a secure anchoring point for the heavy barn door system.
Step 11: Secure and Finish the Header Board
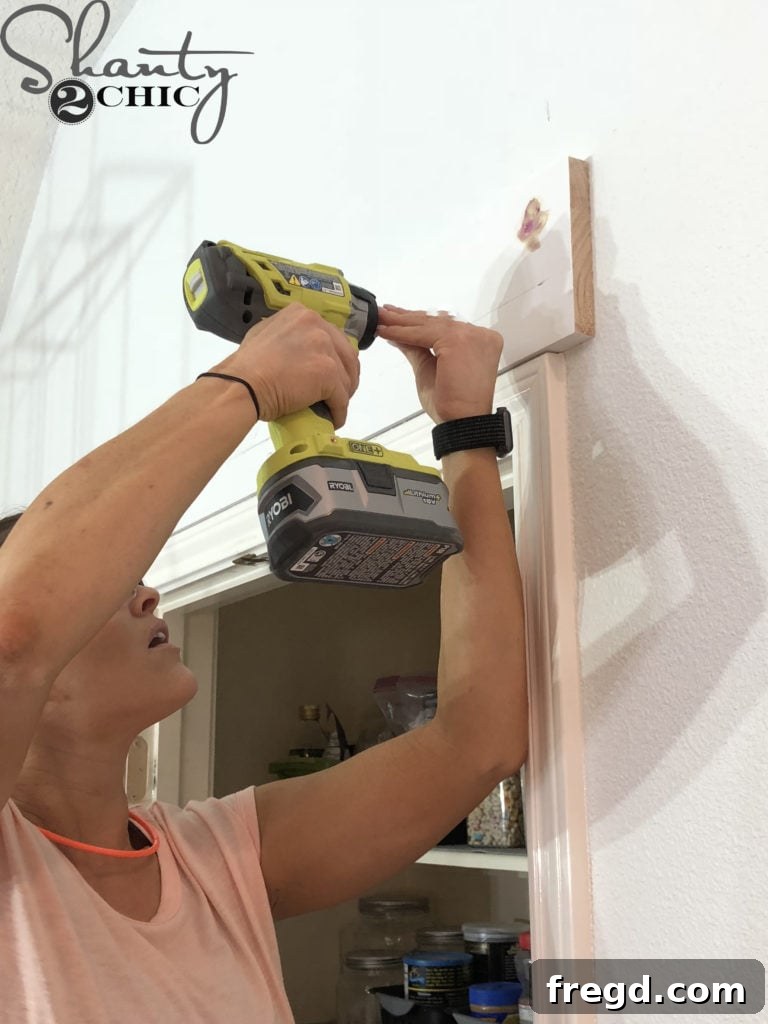
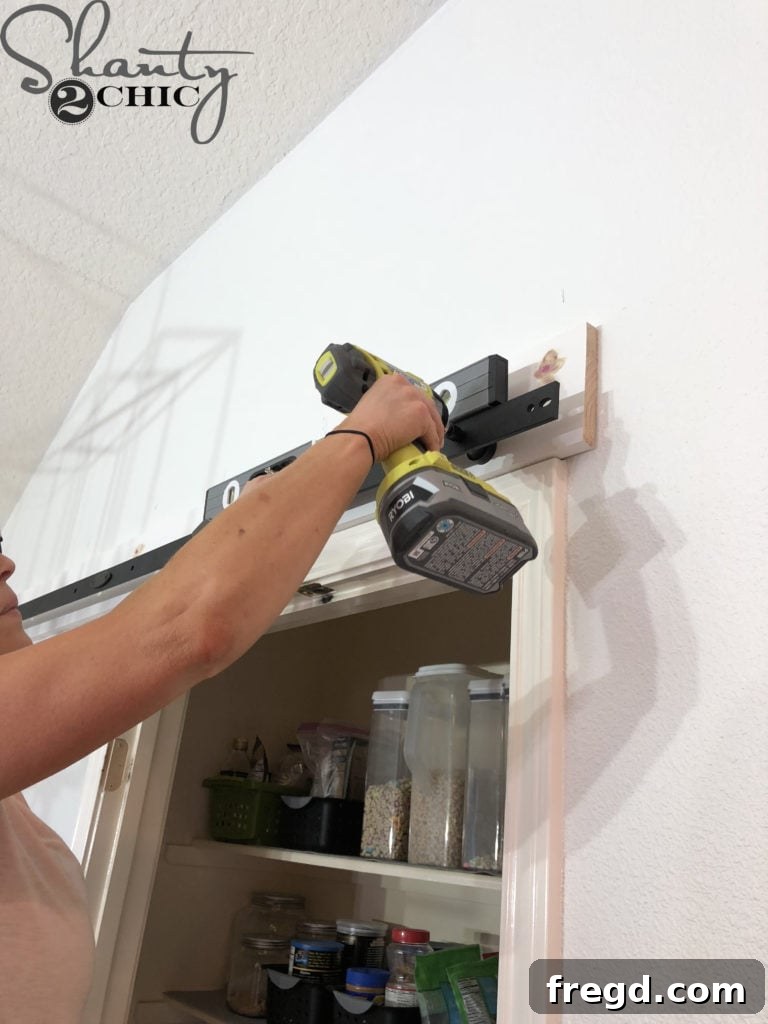
Attach the 1×6 header board to the wall using strong 3″ wood screws, making sure each screw penetrates directly into the wall studs you marked. Crucially, use your level to ensure the board is perfectly horizontal across its entire length. Any slight deviation here will result in a door that doesn’t slide smoothly or sits unevenly. Once the board is securely mounted, fill all screw holes with wood filler, allow it to dry completely, and then sand the surface smooth. Finally, paint the header board to seamlessly match your existing door trim, creating a cohesive and integrated look that hides its functional purpose.
Step 12: Attach the Barn Door Track to the Header Board
Following the precise instructions provided with your barn door hardware kit, carefully attach the track directly to the newly installed and painted header board. Ensure that all mounting points are securely fastened and that the track remains perfectly level throughout its entire length. This track is the fundamental pathway your door will glide along, so absolute precision in its installation is paramount for optimal functionality and longevity.
Step 13: Hang Your Custom Barn Door
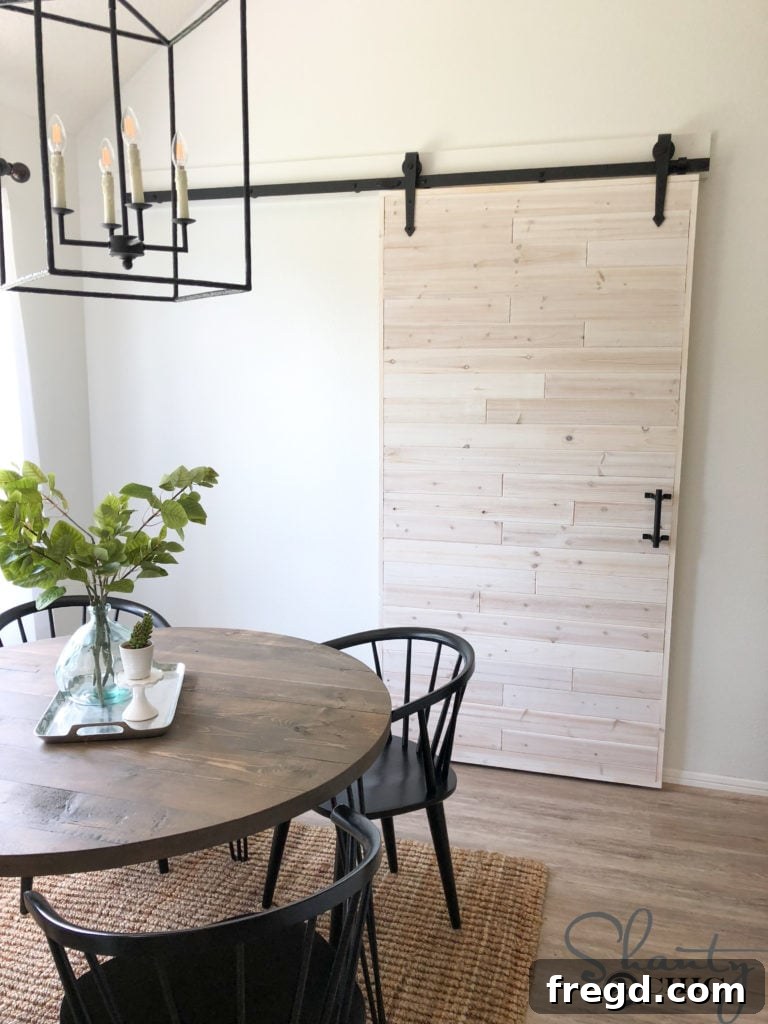
This is the exciting moment! Carefully lift your assembled barn door and gently slide the attached wheels onto the track. If possible, having a partner assist you with this step will make it much easier and safer, especially with heavier doors. Once the door is successfully on the track, test its movement to ensure it glides smoothly and freely. Adjust any stoppers or floor guides according to your hardware kit’s instructions to prevent the door from sliding off the track or contacting the wall too forcefully. Step back and admire your handiwork!
Before & After: A Stunning Home Transformation
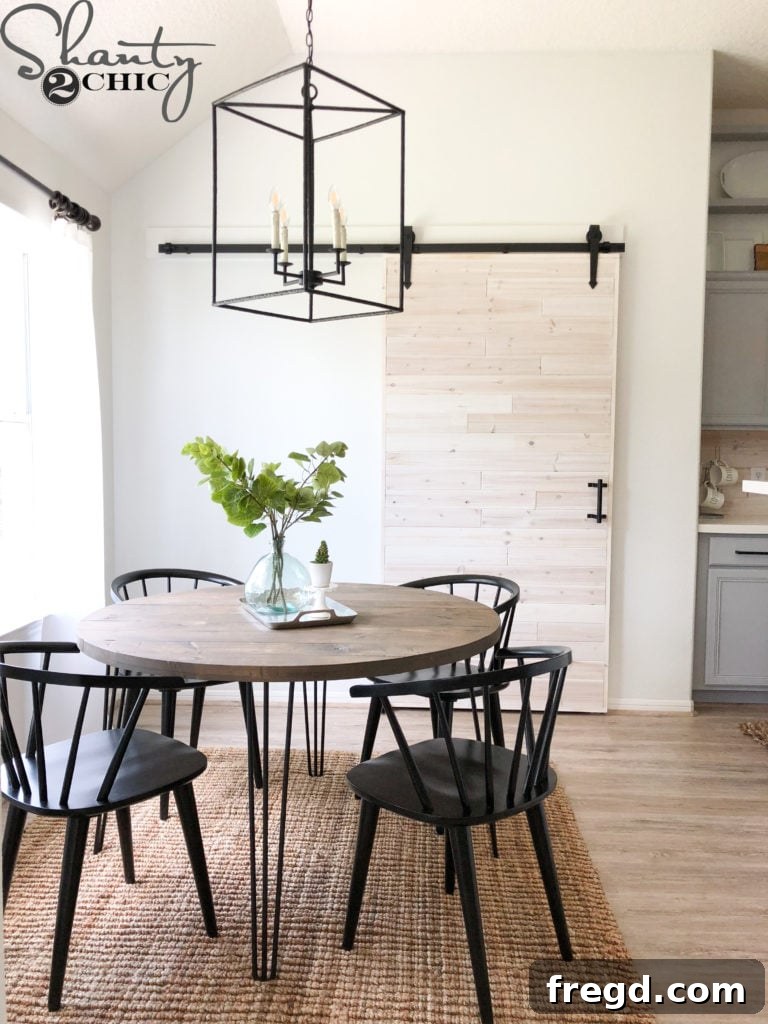
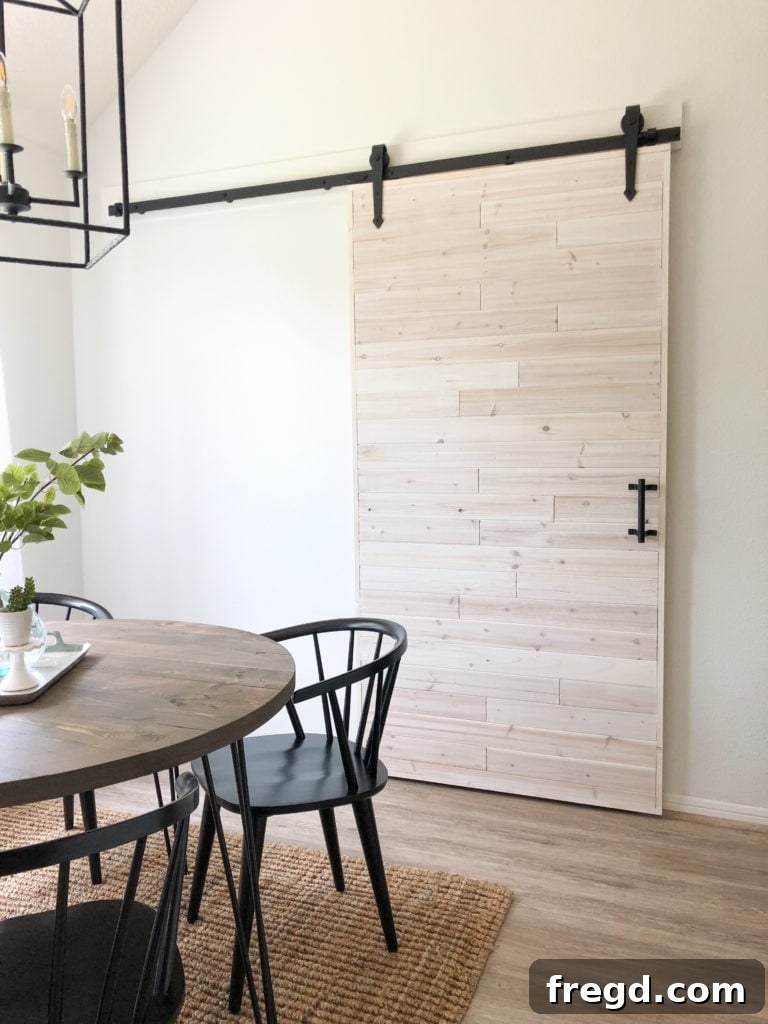
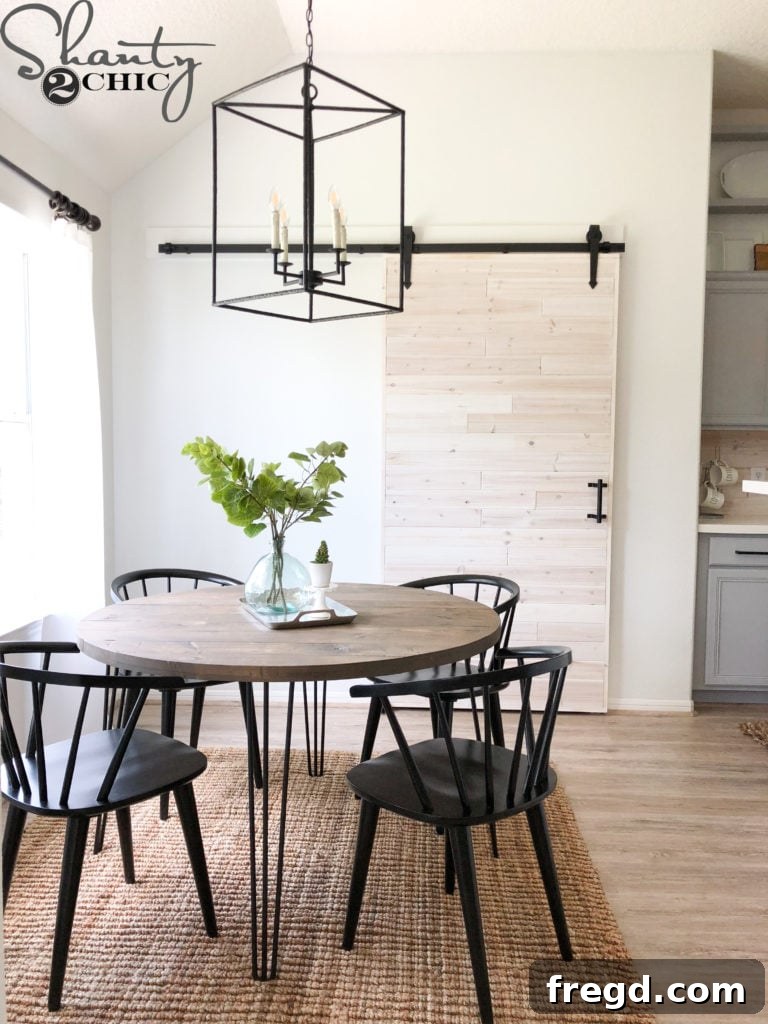
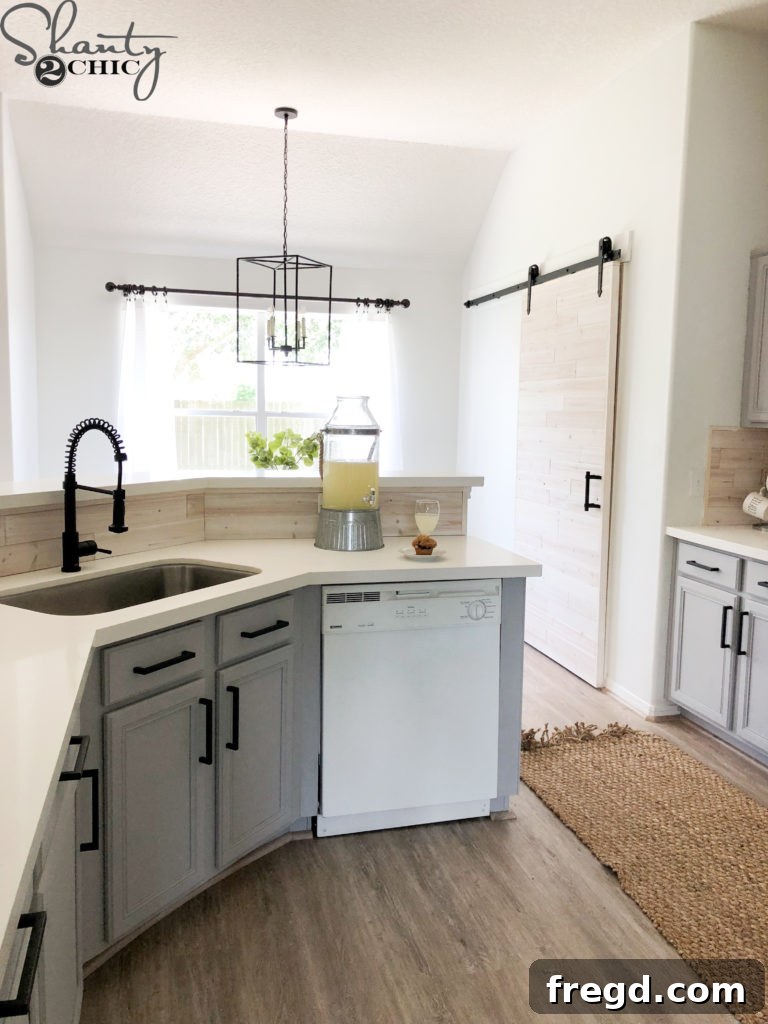
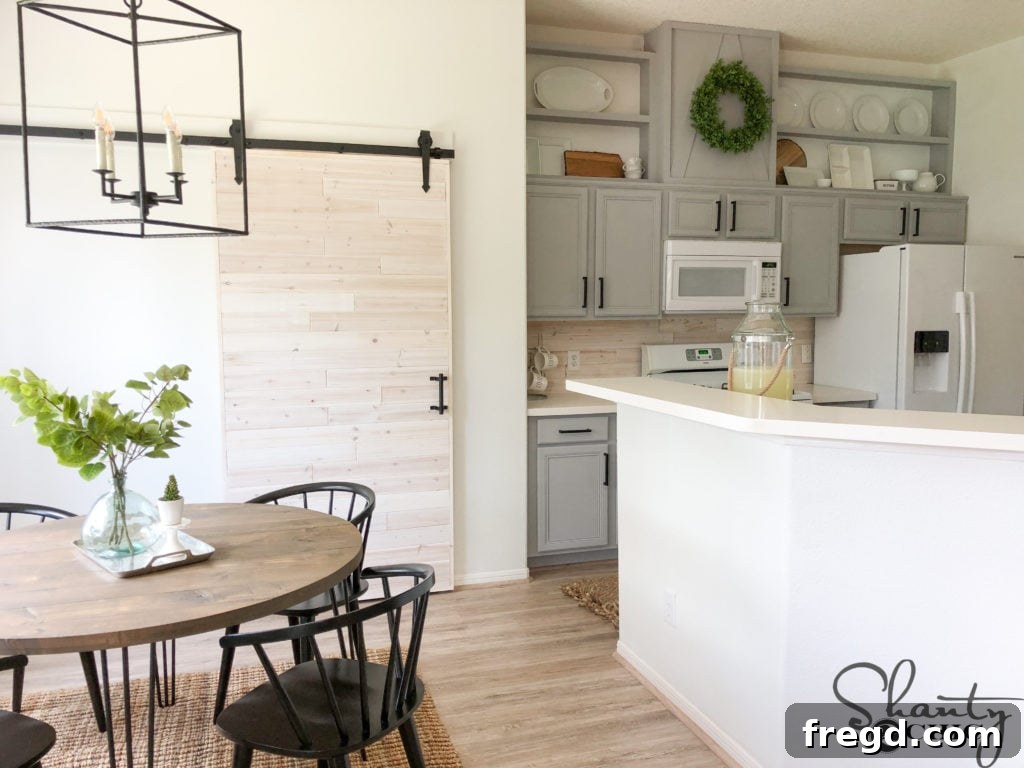
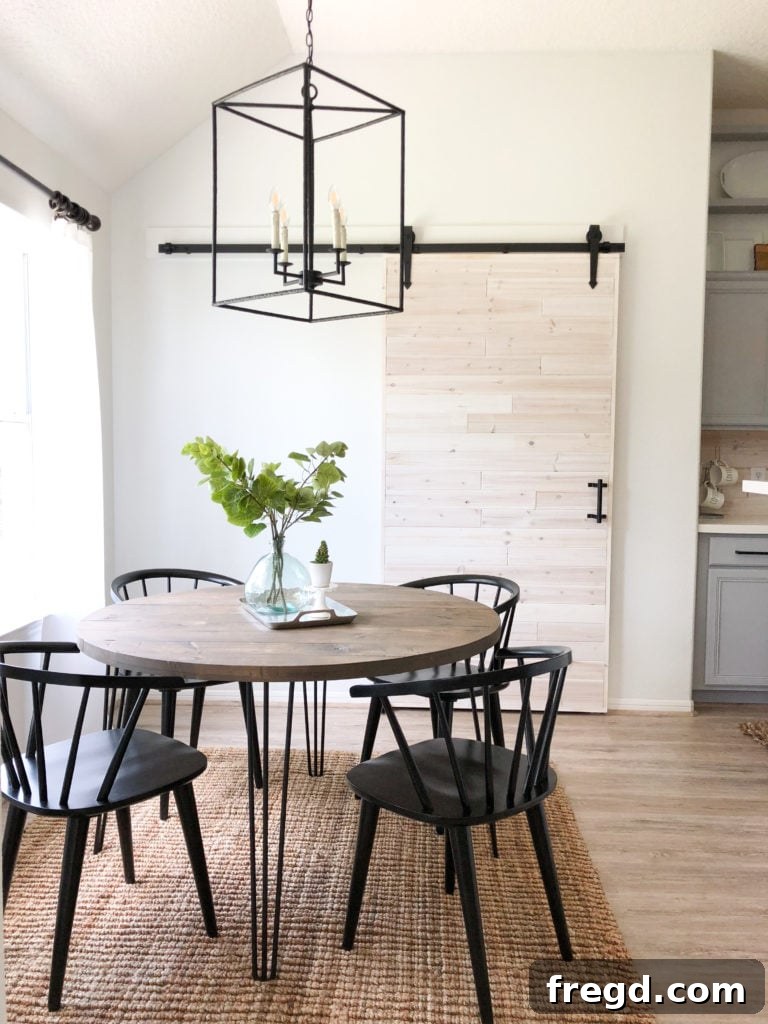
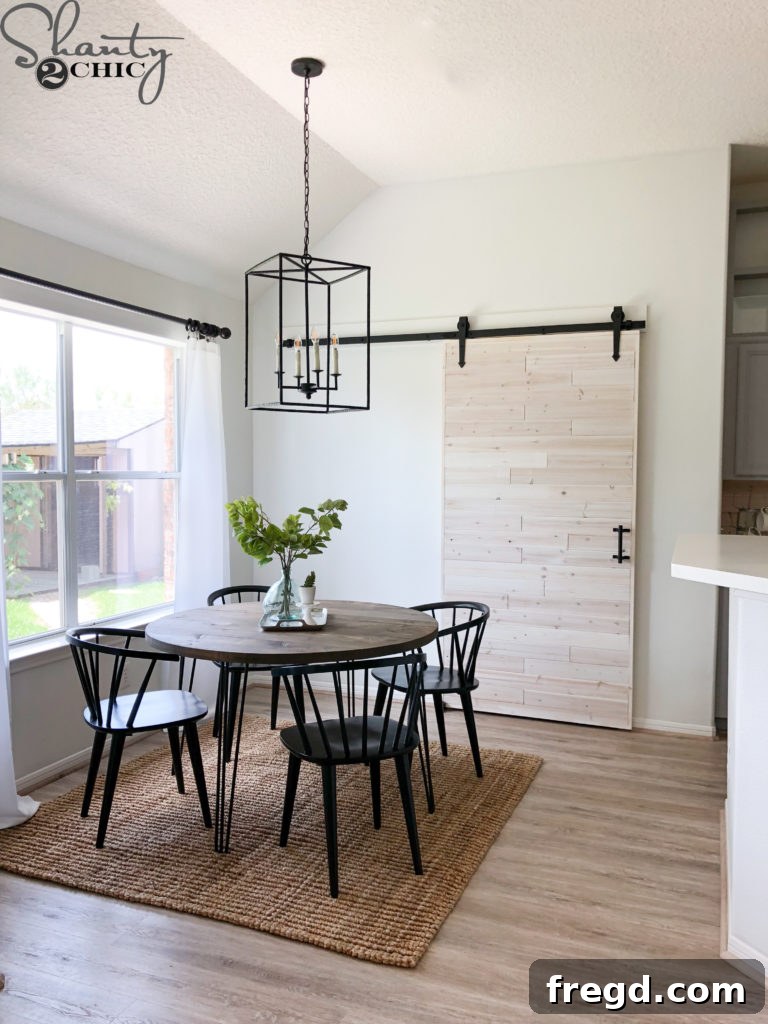
Witness the incredible impact a custom sliding barn door can have on a space. The transformation from a standard, often restrictive, doorway to a functional work of art is truly remarkable. Our sister’s pantry, once an ordinary opening, is now a stylish focal point that catches the eye from multiple rooms.
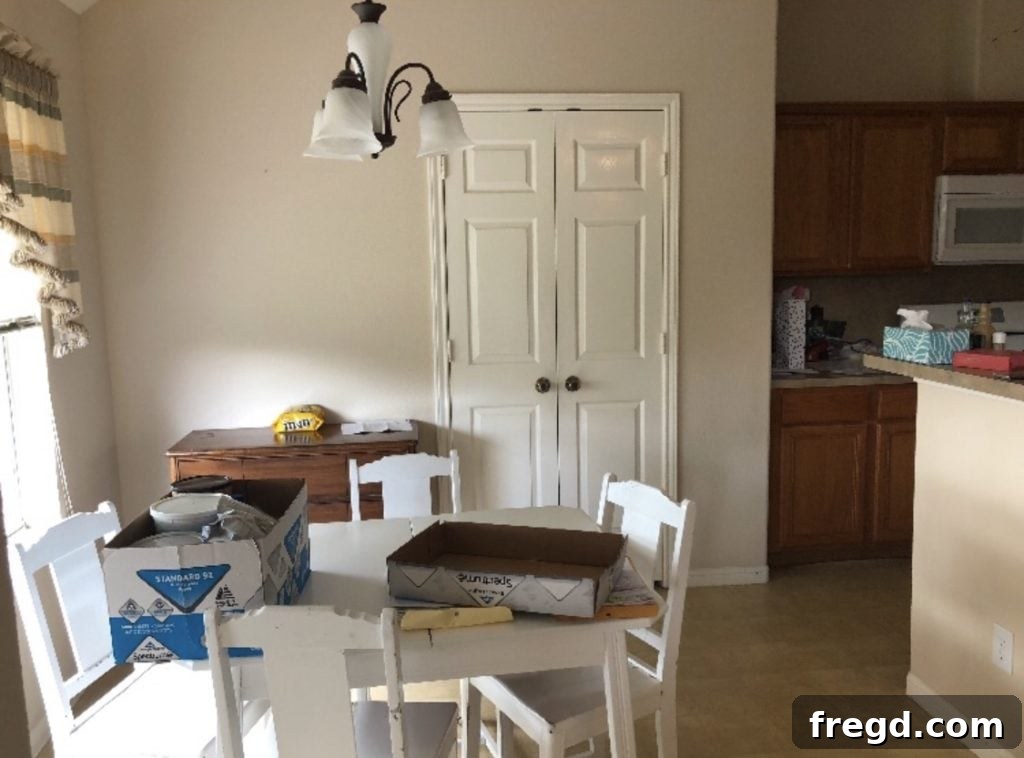
Here’s a closer look at the “before” state to fully appreciate the dramatic change:
More Than Just a Door: A Home Decor Statement Piece
The completed sliding barn door is truly a highlight of the home renovation. Not only does it provide a highly functional and incredibly space-saving solution for the pantry, but its custom design, featuring the rich texture of the driftwood planks and perfectly matched trim, elevates it far beyond a simple utility. It’s now a prominent piece of art and a visible design element from many angles in the home, offering both undeniable practicality and profound aesthetic appeal. This project proves that even a functional item like a door can become a central part of your home’s personality and charm.
Unleash Your Creativity: Tips for Customizing Your Own Barn Door
The true beauty of a DIY barn door project lies in its immense customizability. While we opted for a specific rustic-chic style in this guide, you can effortlessly adapt these plans to perfectly match your home’s unique aesthetic and your personal taste. Don’t be afraid to experiment and make this project truly your own!
- Explore Different Wood Species: The choice of wood can dramatically alter the look and feel of your door. While pine is affordable and easy to work with, consider oak, maple, or even reclaimed barn wood for different textures, grain patterns, and character.
- Experiment with Finishes: Beyond driftwood planks, imagine the possibilities! You could paint the entire door a bold, contrasting color, stain it to enhance the natural wood grain, or even apply a distressed finish for a charming, vintage appeal.
- Select Unique Hardware: Barn door hardware is available in an astonishing array of styles, from sleek modern matte black to rugged, oil-rubbed bronze, and everything in between. Choose a hardware kit that perfectly complements your desired aesthetic. Handles also offer a wide range of choices, from minimalist pulls to ornate, decorative designs.
- Incorporate Panel Inserts: Instead of solid planks, consider incorporating other materials into the door’s design. Glass panels can add elegance and light, chalkboard inserts offer a fun, interactive element, or metal grate designs can provide an industrial touch.
- Adjust Size to Fit Any Opening: Our free plans are designed to be fully adaptable. Simply adjust the dimensions of the frame pieces, plywood, and cladding materials to precisely fit your specific doorway opening, no matter how unique its size.
This project is a fantastic opportunity to infuse your personal style and creativity into your home decor. Let your imagination guide you!
Products Featured in This Inspiring Project
For your convenience, we’ve compiled a list of the specific products we used and highly recommend for this barn door project. Additionally, we’ve included links to other decorative elements visible in the room, should you wish to recreate the entire look:
- Paint on Door Trim
- Polyurethane Protective Finish
- Barn Door Hardware Kit
- Barn Door Pull (Our exact pull is currently out of stock, but this is a fantastic alternative we’ve used for other projects.)
- Wall Planks (Driftwood Tongue and Groove)
- Area Rug
- Dining Chairs
- Chandelier
- Decorative Vase
- Stems for Vase
Explore More Inspiring Shanty House Crash Projects!
This sliding barn door was just one of many exciting and transformative projects from our popular Shanty House Crash series. If you’ve enjoyed this DIY tutorial and are hungry for more home improvement ideas, be sure to explore the other incredible renovations and free plans from this series:
- DIY Modern Farmhouse Dining Table – Free plans and how-to video available!
- DIY Driftwood Backsplash – Free plans and how-to video available!
- How to Add Height to Kitchen Cabinets – Free Plans and how-to video available!
- Custom Cabinet Trim Hack – Free Plans and how-to video available!
- How We Paint Cabinets – Free Plans and how-to video available!
- How to Frame and Cover a Crescent Window – Free Plans and how-to video available!
- DIY Round Kitchen Table – Free plans and how-to video available!
- DIY Pipe Shelves – Free plans and how-to video available!
Thanks so much for stopping by and joining us on this exciting DIY journey. We hope you’re inspired to create something beautiful for your home!
Happy Building!