
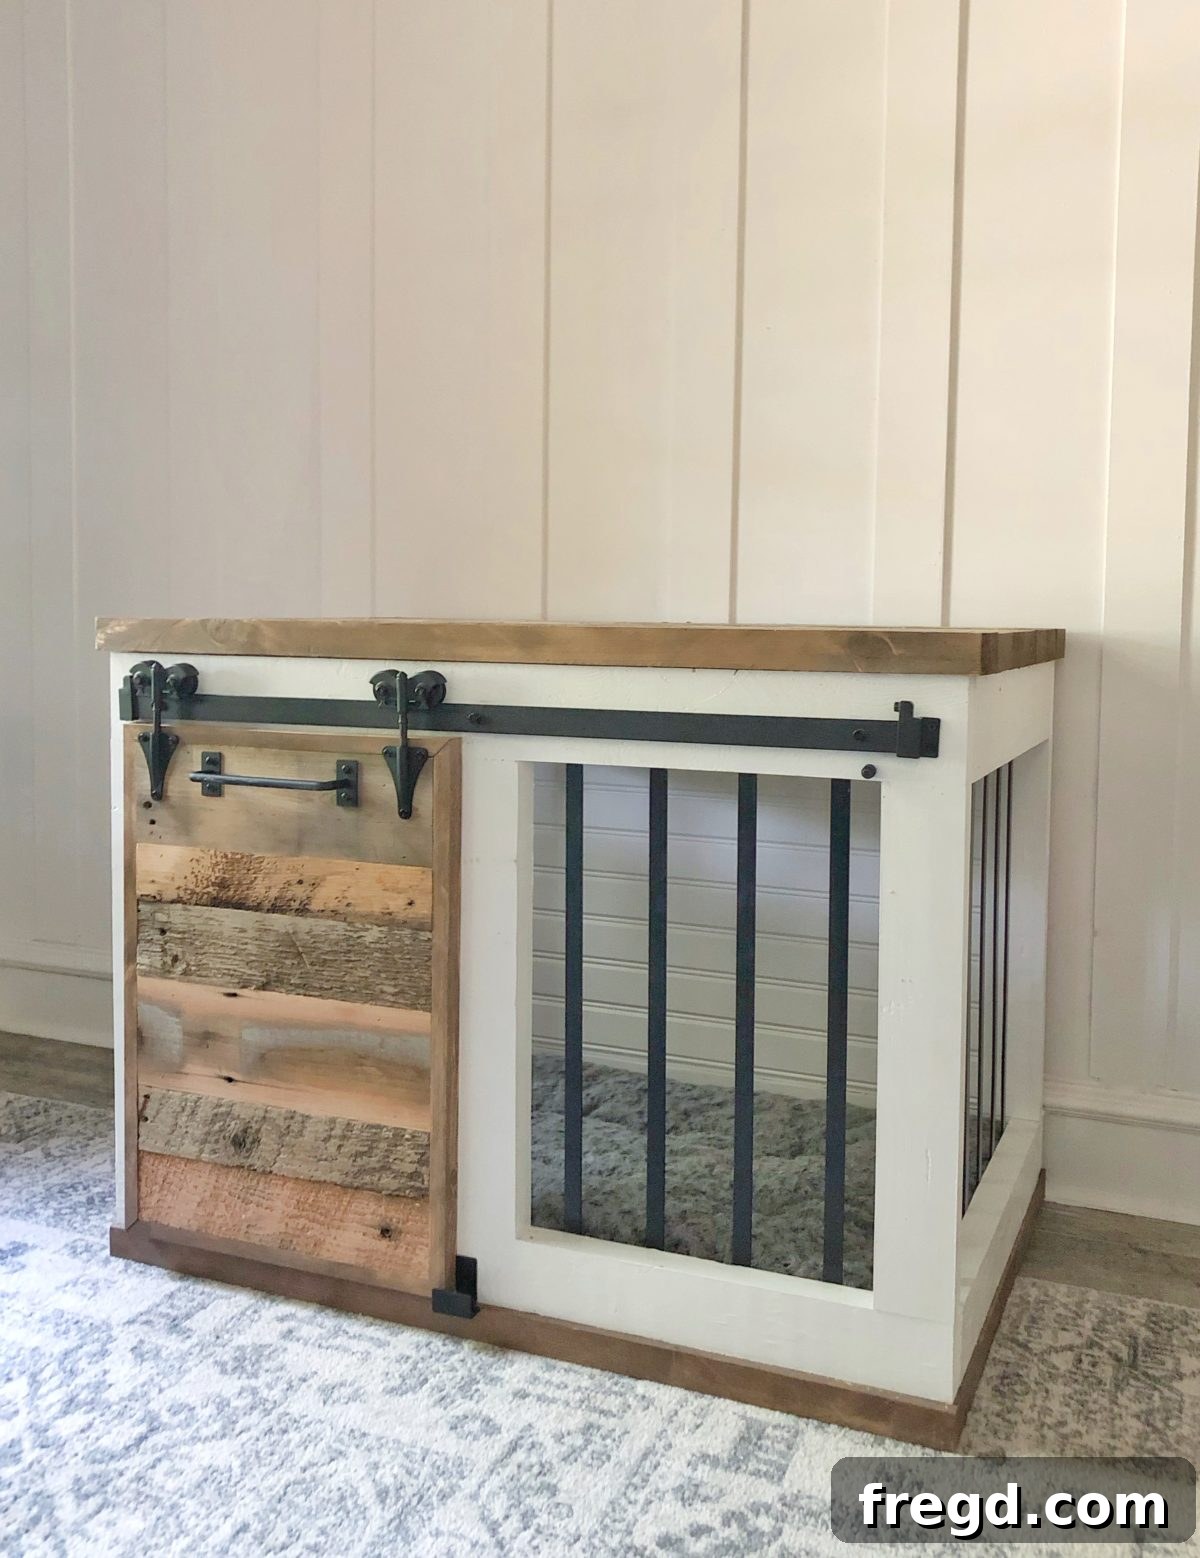
Crafting the Ultimate Farmhouse Barn Door Dog Crate: A DIY Guide for Your Beloved Pet
The anticipation is building! With a new furry family member arriving at the end of this month, our home is buzzing with excitement. Every pet deserves a sanctuary, a comfortable space they can call their own, and what better way to welcome a new companion than with a custom-built, king-worthy kennel? We embarked on a journey to create a stylish, functional, and durable farmhouse barn door dog crate, and we couldn’t be happier with the results. This isn’t just a dog crate; it’s a piece of bespoke pet furniture that seamlessly blends with your home decor, offering both comfort for your canine and a touch of rustic elegance for your living space.
If you’re ready to provide your beloved pet with a truly special retreat and add a charming farmhouse touch to your home, you’ve come to the right place. This comprehensive guide will walk you through every step of building your very own barn door dog crate, from selecting materials to the final touches. We’ve included detailed instructions, essential tips, and links to all the resources you’ll need, including free printable plans, the perfect universal cushion, and the unique barn door hardware that gives this crate its distinctive appeal.
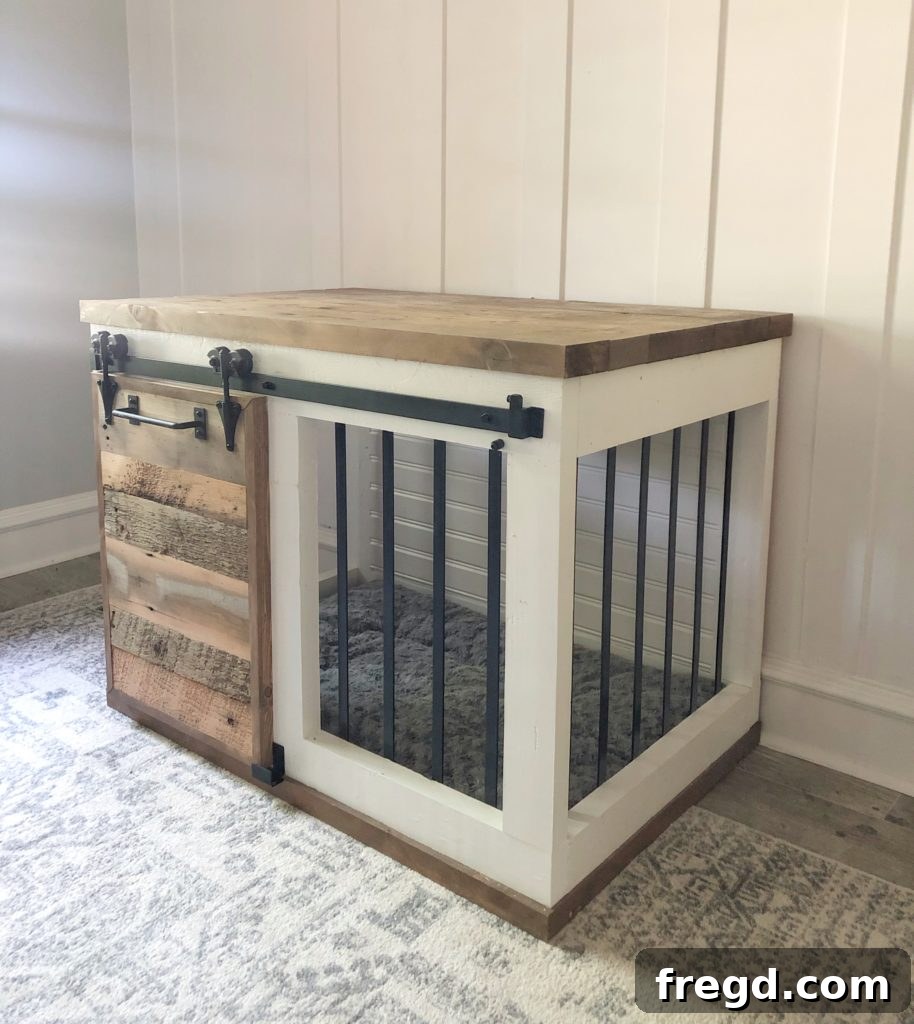
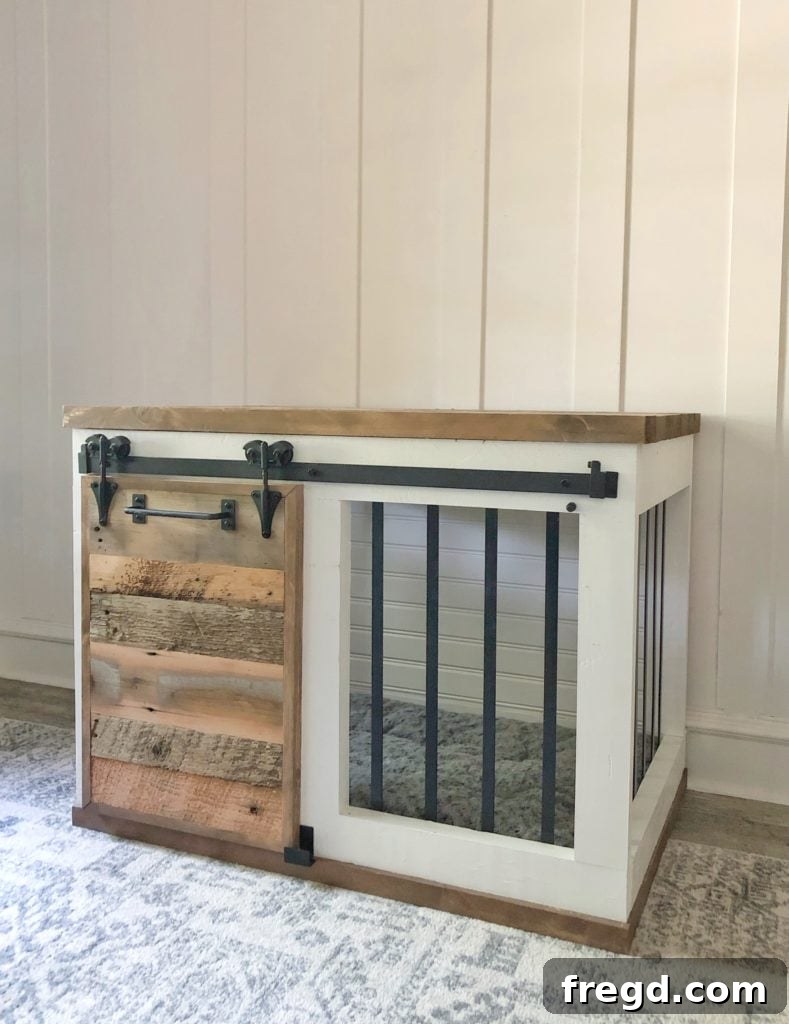
Why Build a DIY Farmhouse Dog Crate?
While there are countless dog crates available on the market, building your own offers unparalleled advantages. Firstly, it allows for complete customization, ensuring the crate perfectly fits your dog’s size and your home’s aesthetic. Mass-produced crates often lack character, but a DIY project like this farmhouse barn door kennel becomes a statement piece, blending functionality with high-end design. It’s an opportunity to create a secure, cozy haven for your pet that you’ll be proud to display.
Beyond aesthetics, the satisfaction of crafting something with your own hands for a cherished family member is incredibly rewarding. You control the quality of materials, ensuring a sturdy and safe environment. This project, while requiring some woodworking skills, is designed to be approachable for intermediate DIYers, and the end result is a durable, long-lasting piece of furniture that will serve your pet for years to come. Plus, it’s often more cost-effective than purchasing a comparable high-quality, stylish dog crate.
Essential Tools and Materials for Your Custom Pet Kennel
Before you dive into construction, gathering all your tools and materials is crucial for a smooth and efficient building process. This project primarily uses common woodworking tools and readily available lumber. Being prepared will save you time and frustration.
Key Tools You’ll Need:
- Table Saw: Essential for ripping lumber to specific widths (e.g., 2x4s to 3″ and 2x6s to 4″). Precision is key here.
- Miter Saw (or Circular Saw with a Guide): For making accurate crosscuts and 45-degree angle cuts.
- Pocket Hole Jig System (e.g., Kreg Jig): Indispensable for creating strong, concealed joints. You’ll use this extensively.
- Drill/Driver: For drilling pocket holes, pilot holes, and driving screws.
- Jigsaw with Metal Cutting Blade: Specifically for cutting the aluminum flat bars for the side and front panels.
- Cobalt Drill Bit: For drilling holes in the metal bars quickly and cleanly.
- Measuring Tape, Pencil, Speed Square: For accurate marking and measuring.
- Wood Glue: For reinforcing joints and ensuring maximum stability.
- Clamps: Various sizes will be helpful for holding pieces in place during assembly and while glue dries.
- Sanding Supplies: Sandpaper (various grits) or an orbital sander for smooth finishes.
- Paint Brushes/Rollers or Sprayer: For applying paint or stain.
- Safety Glasses and Hearing Protection: Always prioritize safety when working with power tools.
Primary Materials List:
- Lumber: 2x4s, 2x6s (for frame components and top planks), 1x2s (for door trim). Refer to the detailed plans for exact lengths and quantities.
- Plywood: 3/4″ thick for the base and back panel, 1/2″ thick for the barn door.
- Pocket Hole Screws: 1.25″, 2″, and 2.5″ lengths (coarse thread for softwoods).
- Wood Screws: 2.5″ for securing the base to the crate assembly.
- Brad Nails (1.25″) or Finish Nails (2″): For attaching door trim and the crate top.
- Aluminum Flat Bar: 3/4″ x 48″ pieces (you’ll need several, as you’ll cut 14 bars at 23″ long each).
- 1″ Self-Tapping Black Screws: For attaching metal bars to wood.
- Wood Glue: High-quality wood adhesive.
- Paint or Stain: Your choice of finish to match your home decor.
- Black Satin Spray Paint: For the metal bars.
- Barn Door Hardware Kit: Specific sliding hardware for the door.
- Universal Pet Cushion: For your dog’s comfort inside the crate.
- Metal Door Guide: To keep the barn door aligned.
- Barn Door Pull: A handle for easy opening and closing.
- Optional: Barn wood planks or decorative trim for the door.
Don’t forget to grab the FREE printable plans at the bottom of this post for precise measurements and a cut list!
Step-by-Step Construction: Building Your Farmhouse Dog Crate
1. Constructing the Crate Base
The foundation of your dog crate needs to be solid and precisely built. Start by preparing the exterior frame pieces. We used 2×4 lumber, which we ripped down to 3 inches wide for a sleeker profile. Cut these pieces to their exact lengths, ensuring the ends are precisely cut at 45-degree angles. This will create clean, mitered corners for the base frame.
Next, drill two 1.5-inch pocket holes into each end of the two shorter frame pieces. These pocket holes will be crucial for connecting the corners securely, providing a robust frame for the base of your kennel. Accuracy in these cuts and hole placements is paramount for a professional finish.
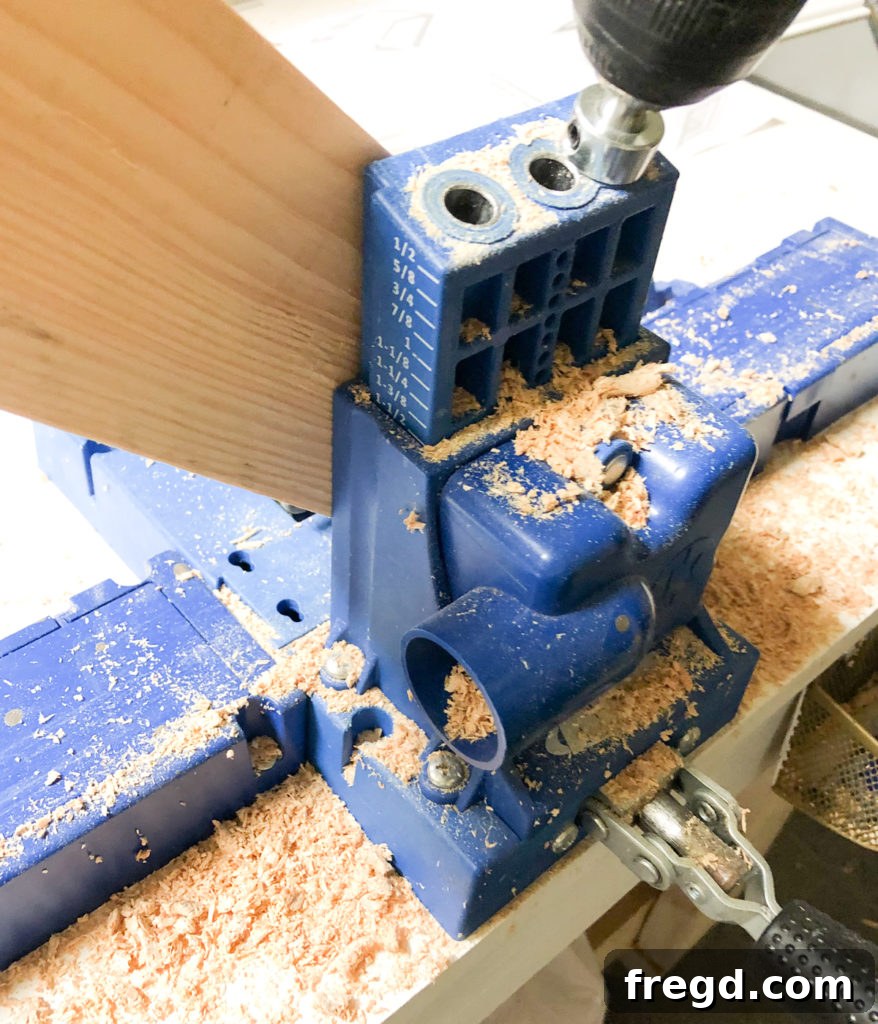
Once the frame pieces are ready, cut your plywood base piece to size according to the plans. To prepare it for attachment, drill 3/4-inch pocket holes around all four sides of this plywood piece. These holes will allow you to securely fasten the plywood to the surrounding wooden frame, creating a strong and stable bottom for the crate.
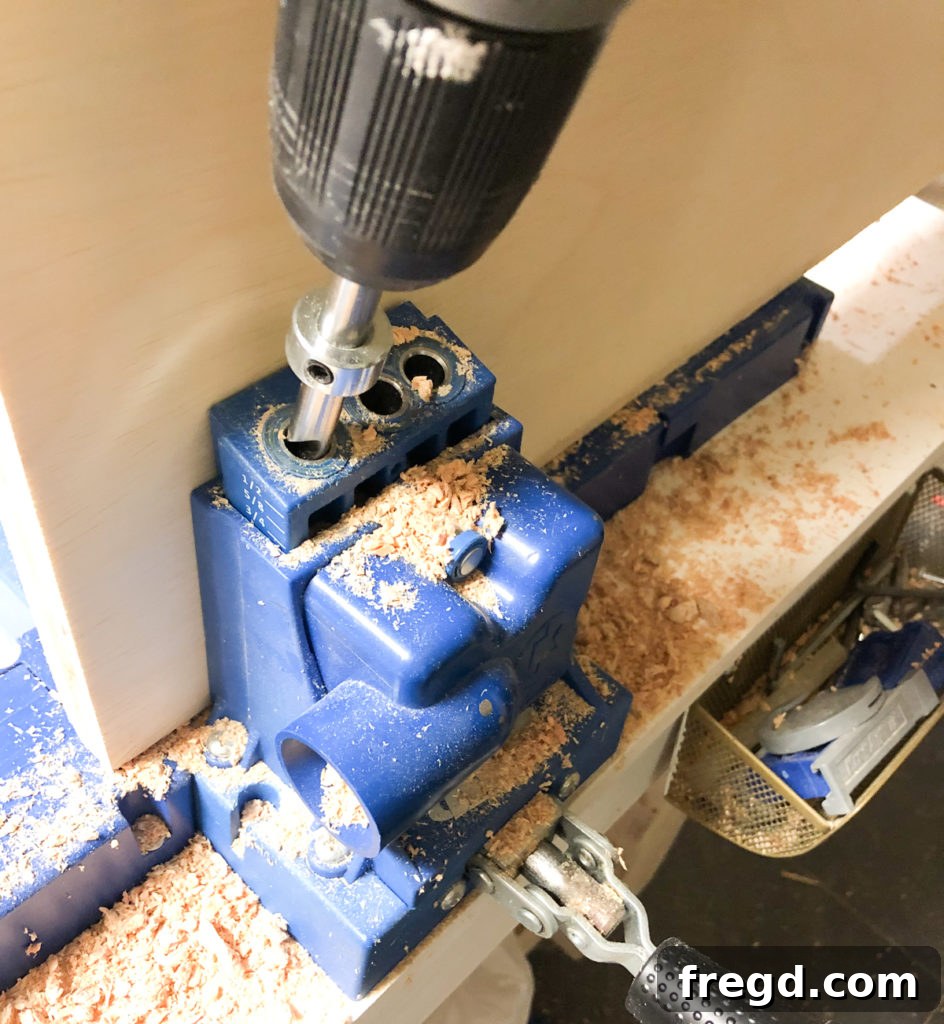
Begin assembling the base by attaching the shorter frame sides to the plywood first. Apply a generous line of wood glue along the edge of the plywood where the frame piece will sit. Then, use 1.25-inch pocket hole screws to fasten the side pieces through the pocket holes in the plywood and into the frame. Follow this by attaching the longer frame sides using the same method – wood glue and 1.25-inch pocket hole screws. Ensure the top surface of the plywood is perfectly flush with the top edges of your surrounding wooden frame. This flush alignment is critical for the structural integrity and aesthetic appeal of the base.
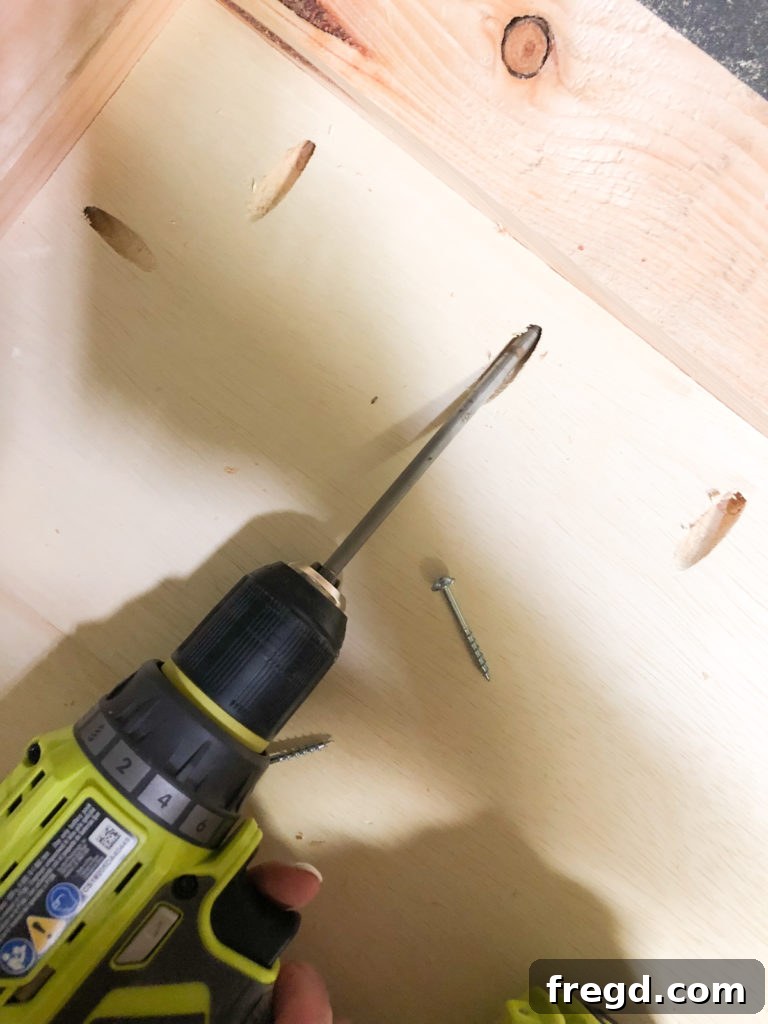
With the plywood secured to the frame, it’s time to join the mitered corners of the frame. Apply wood glue to the angled ends of the frame pieces. Then, use 2-inch pocket hole screws through the angled pocket holes you drilled earlier, fastening them into the adjoining corners. This creates a robust and seamless connection for the entire base frame. Set this completed base aside; it will be attached later in the process.
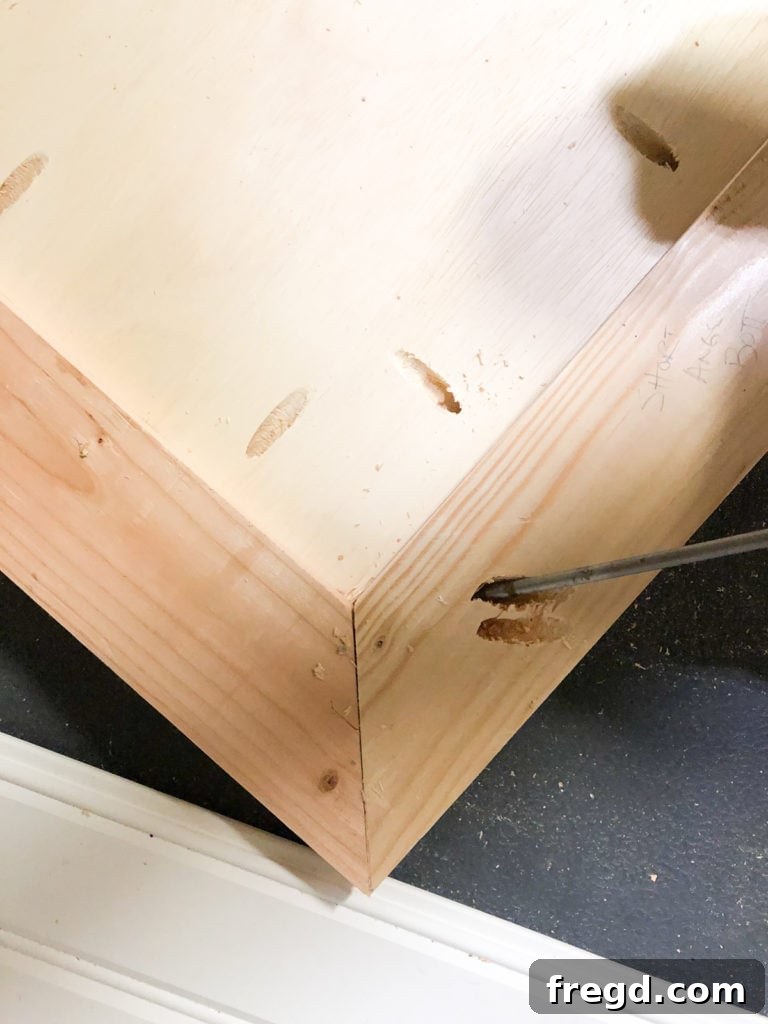
2. Building the Back Frame Assembly
Now, shift your focus to the main structure of the crate. Begin by constructing the back frame. The base and vertical side pieces of this frame are made from 2×4 lumber, again ripped down to 3 inches wide. The top board of the back frame will be a 2×6, ripped to a 4-inch width, providing a slightly wider and more substantial top edge. Cut all these components to their specified sizes.
Drill 1.5-inch pocket holes into each end of both your vertical (leg) pieces. These holes will facilitate strong, hidden joints when assembling the frame. Precision in these steps ensures a square and stable back panel.
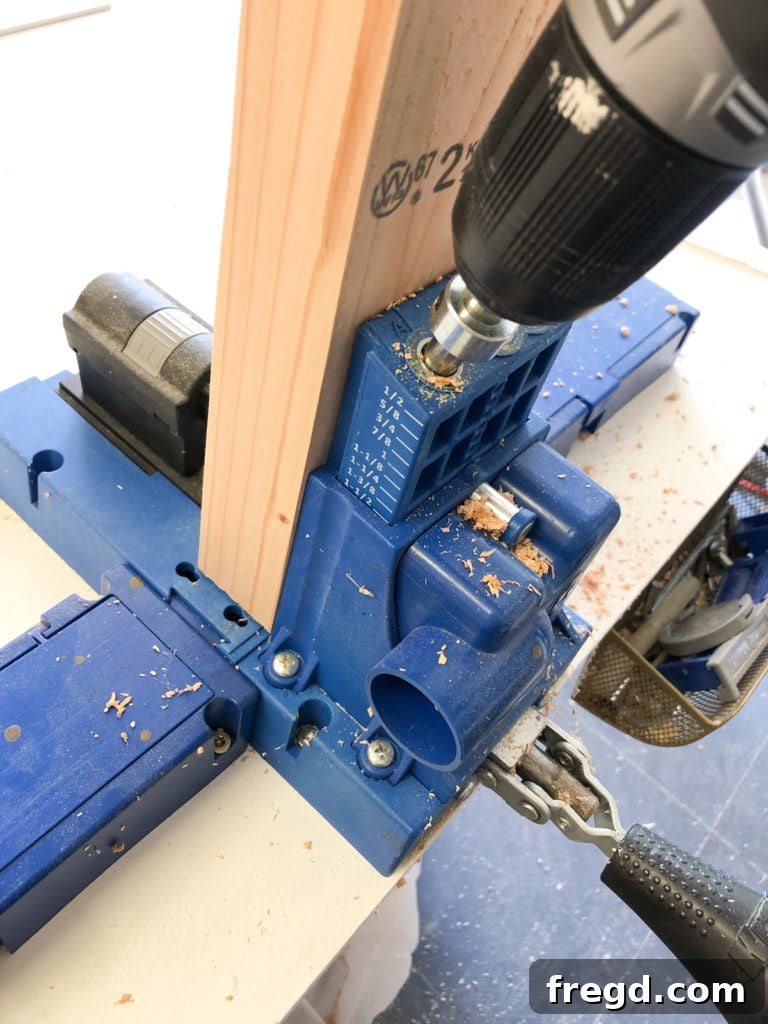
Next, cut the back plywood piece to its correct dimensions. Similar to the base plywood, drill 3/4-inch pocket holes around every edge of this back plywood panel. These will be used to secure it firmly within the wooden frame.
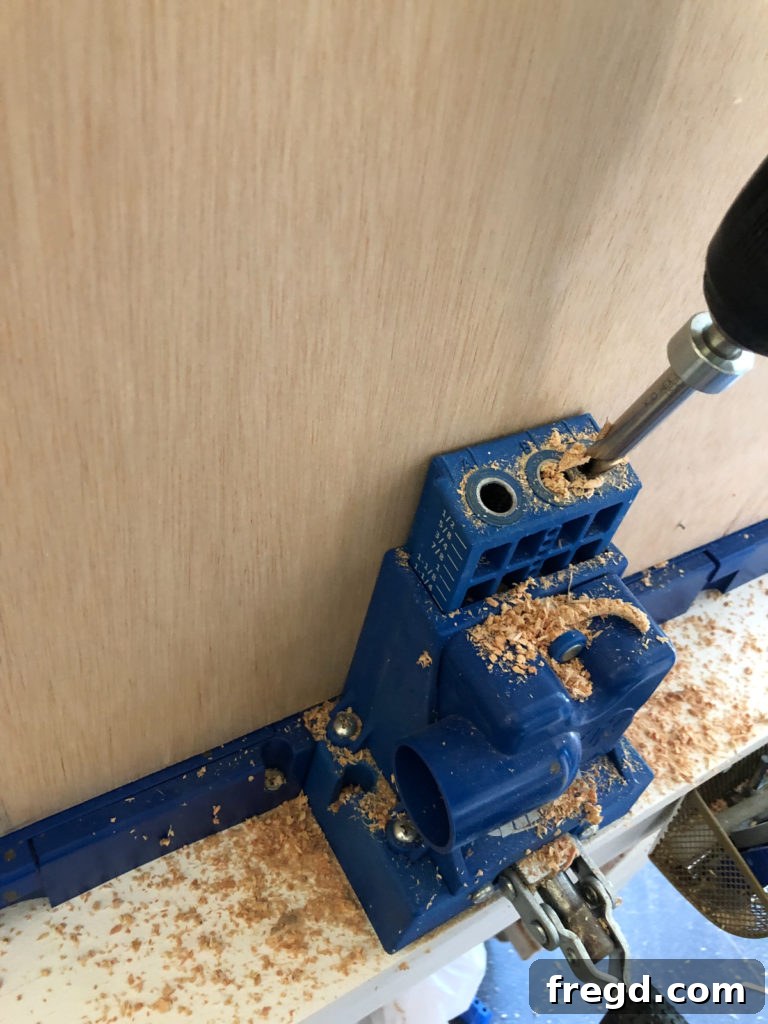
Start assembling the back frame by attaching the smaller vertical frame boards to the plywood. Apply a line of wood glue to the edges of the plywood where these boards will meet. Then, secure them using 1.25-inch pocket hole screws, driving them through the pocket holes in the plywood and into the vertical boards. This method creates a very strong and flush connection.
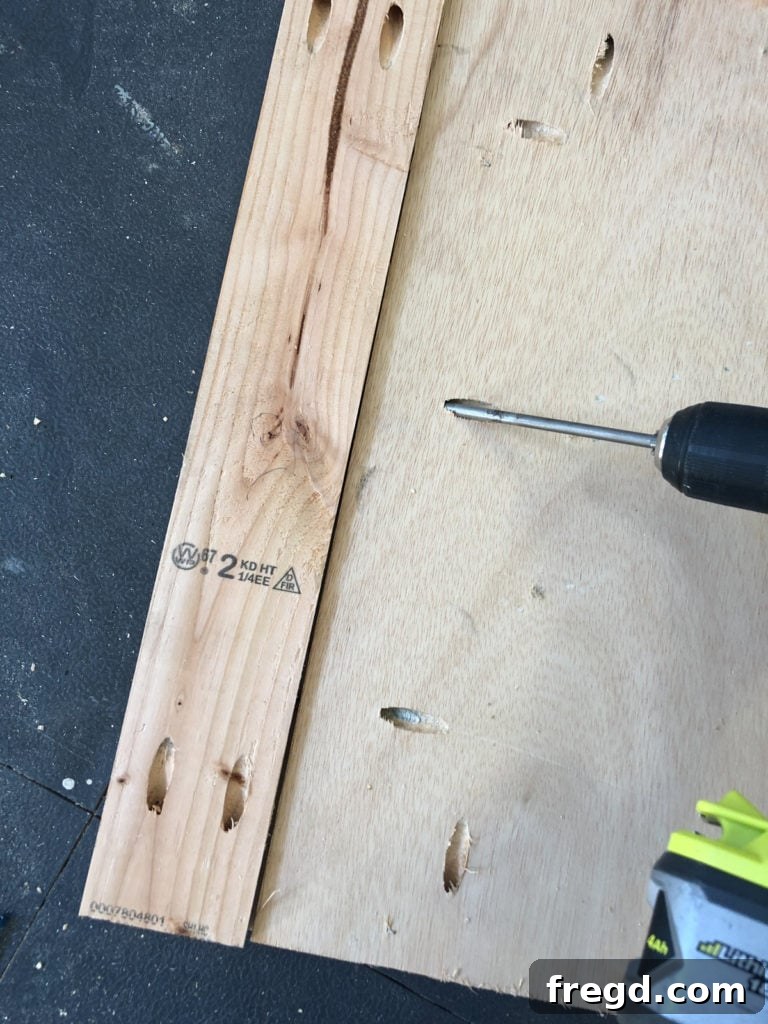
Continue by attaching the top and bottom horizontal pieces of the back frame in the same manner. Apply wood glue between the plywood and the frame pieces, then fasten them with 1.25-inch pocket hole screws. Once these are securely attached, reinforce the frame by adding 2.5-inch pocket hole screws through the vertical frame pieces and into the top and bottom horizontal frame pieces. This combination of glue and screws ensures the back frame is exceptionally sturdy and ready to support the rest of the crate structure.
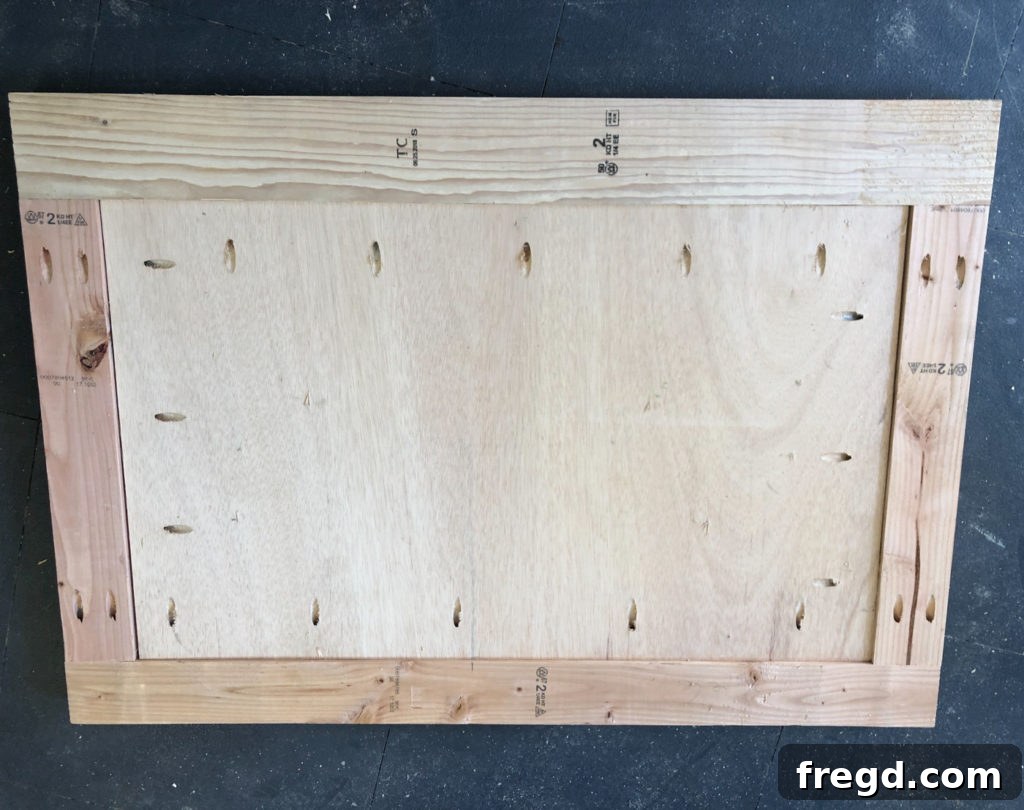
3. Assembling the Front Frame
The front frame is a critical component, defining the entrance of your dog crate. Similar to the back frame, the bottom and vertical boards of this frame are 2x4s ripped to 3 inches, and the top board is a 2×6 ripped to 4 inches. These consistent dimensions ensure uniformity and a cohesive look throughout the crate.
Drill 1.5-inch pocket holes into each end of all three vertical boards that will form the front frame. These pocket holes will facilitate the attachment of the vertical supports to the horizontal top and bottom pieces. Apply wood glue to each end of these vertical boards before assembly to create an even stronger bond.
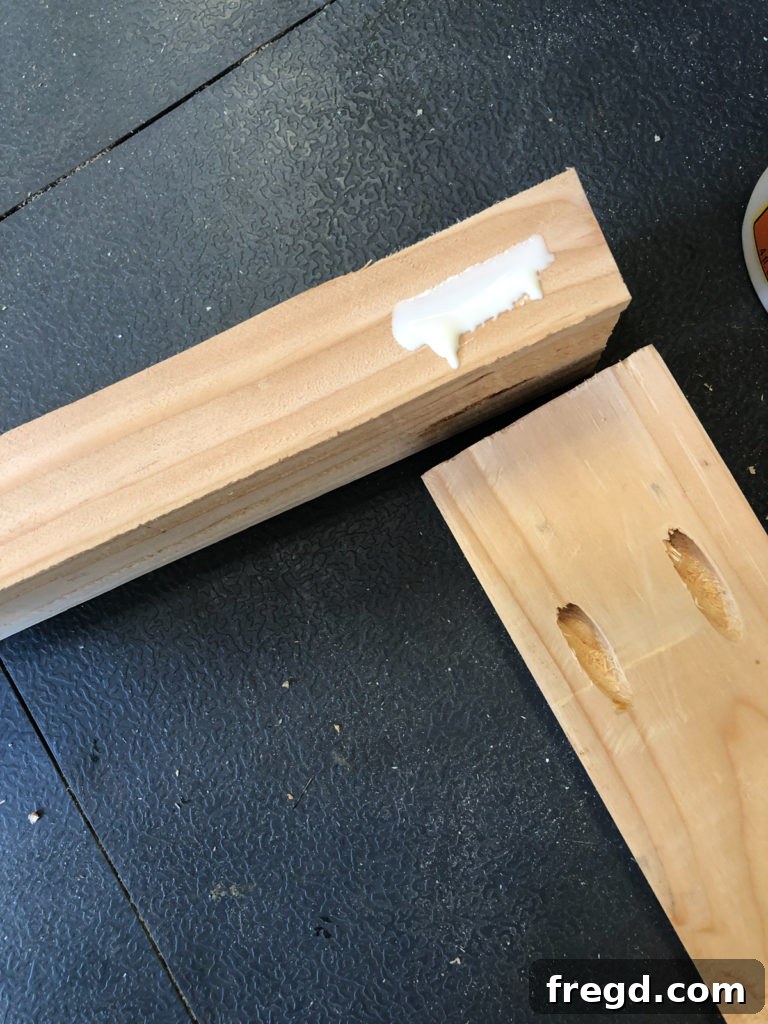
Attach the vertical boards to the bottom horizontal frame board using 2.5-inch pocket hole screws. The outermost vertical boards should align flush with the ends of the horizontal board, creating clean corners. The middle vertical board will be centered between these two, forming the dividing structure for the barn door opening. Ensure all connections are square and secure.
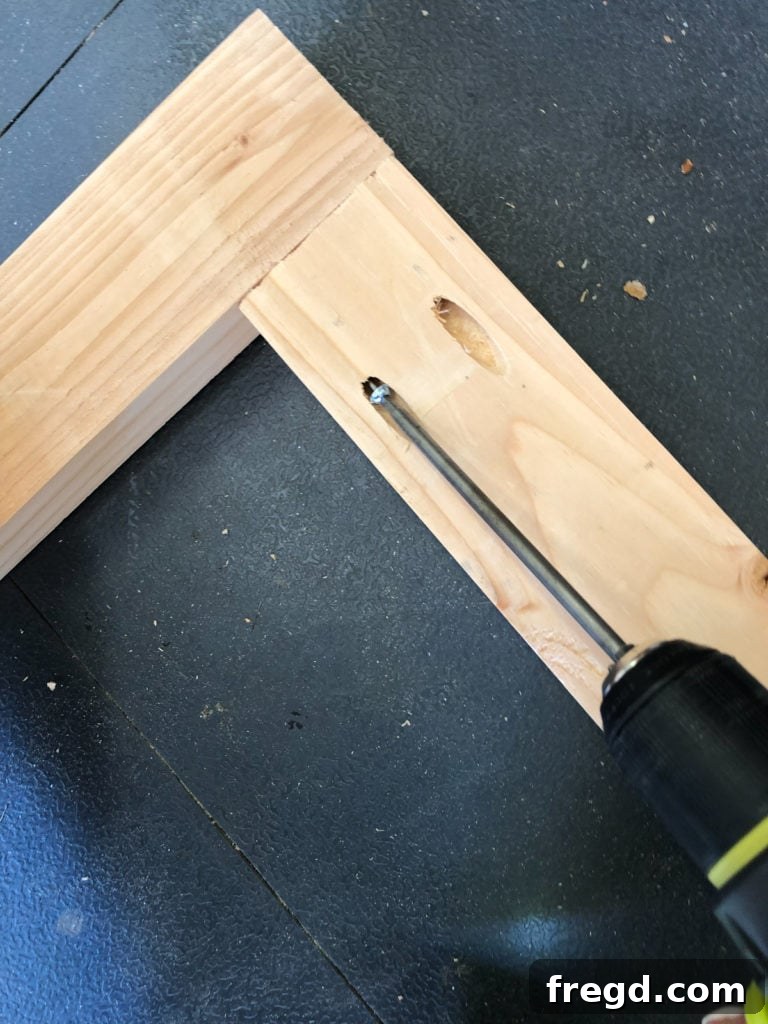
For the side pieces of the crate, cut four boards to 23 inches in length. These pieces will be used to create the side assemblies, but they will not be attached to anything at this stage. Prepare them by drilling 1.5-inch pocket holes into the very top of the two wider (4-inch) boards and into the very bottom of the two narrower (3-inch) boards. These specific pocket hole placements are essential for later assembly when attaching the side panels to the main crate body.
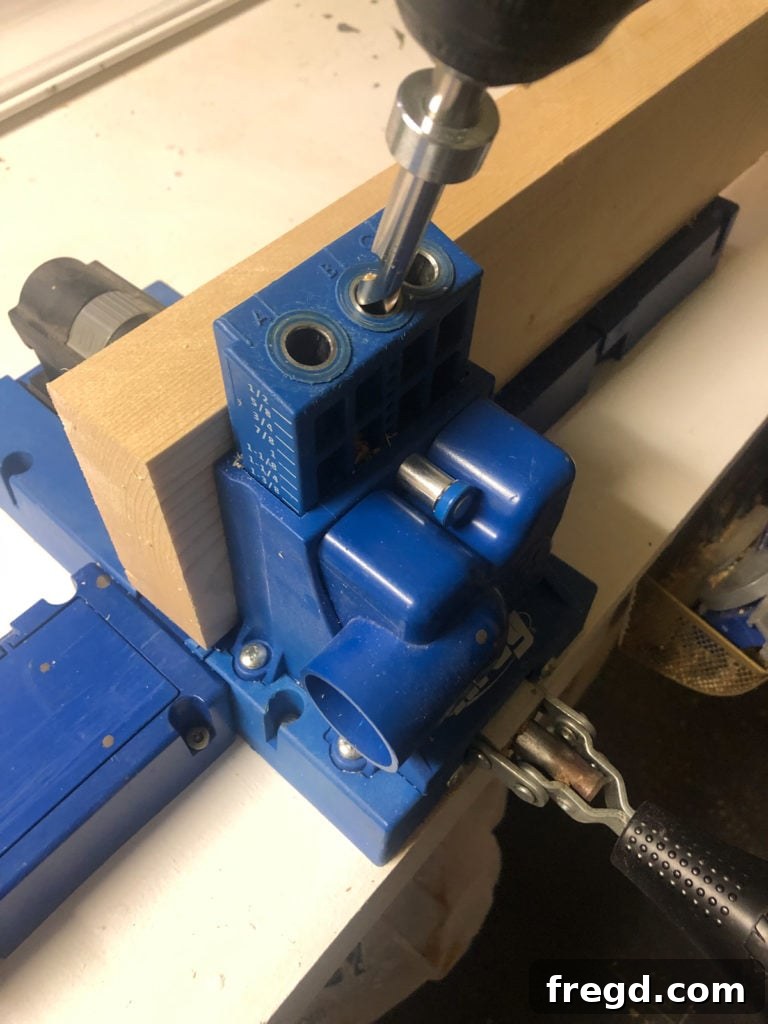
4. Finishing the Wood and Preparing Metal Bars
At this crucial juncture, it’s time to apply your chosen finish to all your assembled wood components and the individual 23-inch side pieces. Whether you opt for a classic stain to highlight the wood grain or a durable paint for a specific aesthetic, applying it now, before final assembly, ensures thorough coverage and a professional look. Allow all painted or stained pieces to dry completely according to the manufacturer’s instructions.
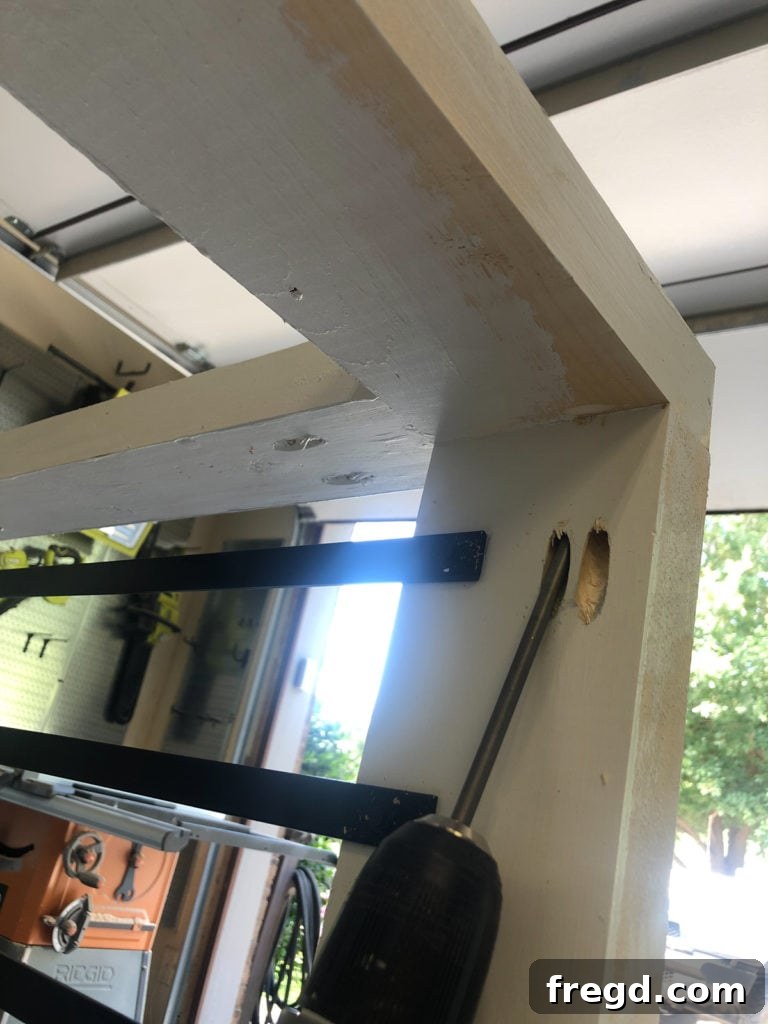
While the wood is drying, you can begin preparing the metal bars that will form the enclosures on the sides and front of the crate. We used 3/4-inch aluminum flat bars, which typically come in 48-inch lengths. Using a jigsaw fitted with a metal cutting blade, cut 14 bars, each precisely 23 inches long. Aluminum cuts smoothly and quickly, making this step efficient.
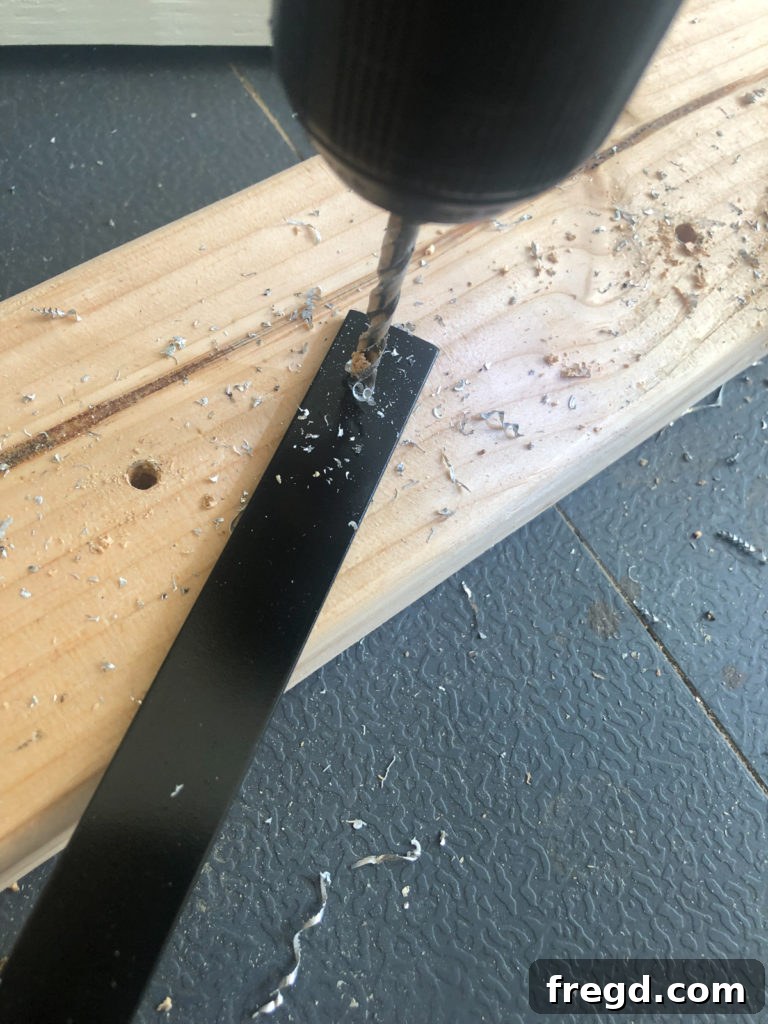
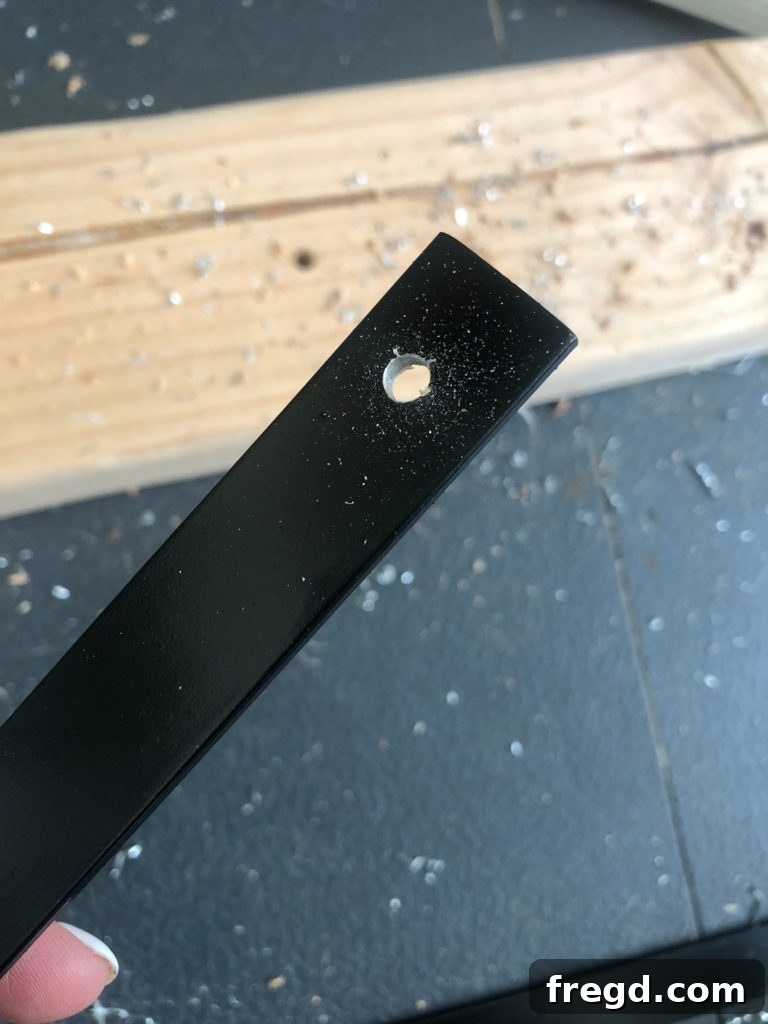
Once cut, spray these metal bars with black satin spray paint. This not only enhances their aesthetic appeal, providing a striking contrast to the wood, but also protects them. After the paint has dried, drill holes in both ends of each bar. For the fastest and cleanest holes, use a cobalt drill bit. These holes will be used to secure the bars to the wooden frame components.
5. Assembling the Side Panels with Metal Bars
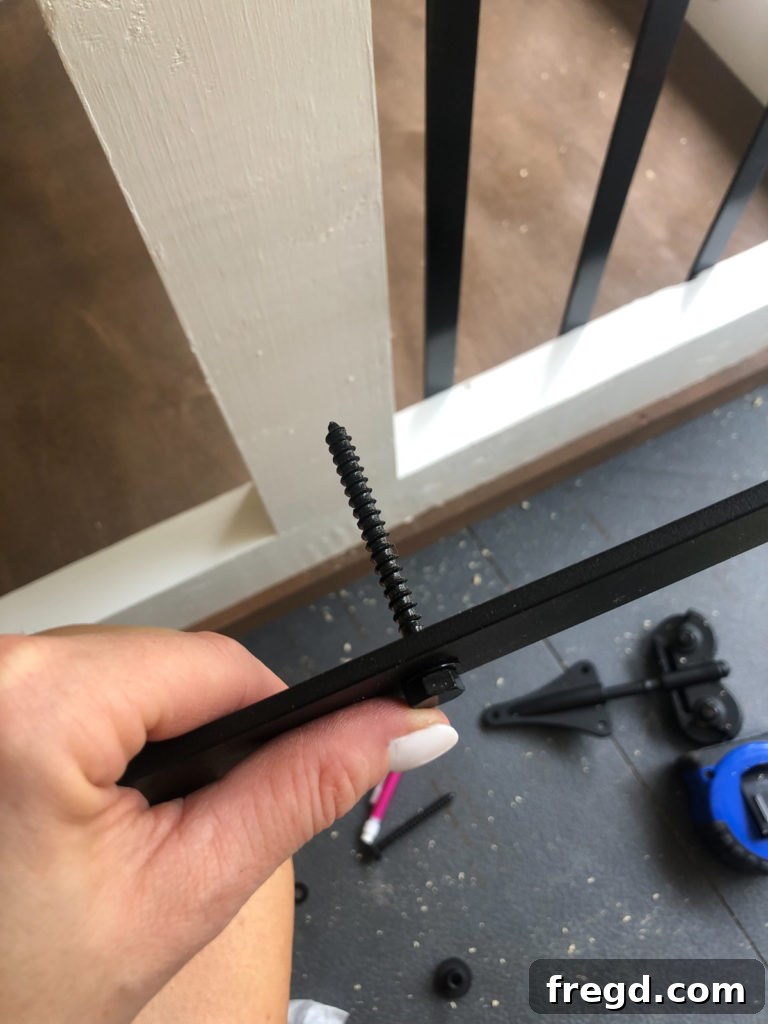
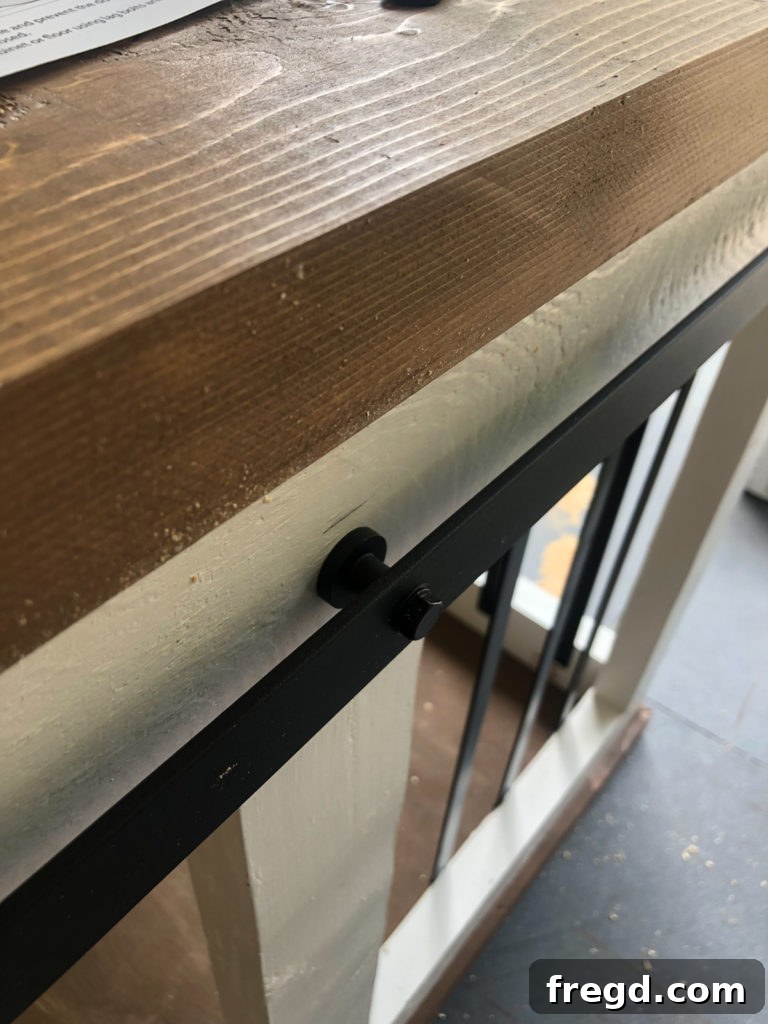
Once all your wood pieces are completely dry and cured, you can create the two side assemblies of the crate. Take your pre-cut 23-inch wood side pieces and the prepared metal bars. We attached the metal bars to the wood pieces using 1-inch self-tapping black screws. These screws provide a strong hold and blend seamlessly with the black-painted bars.
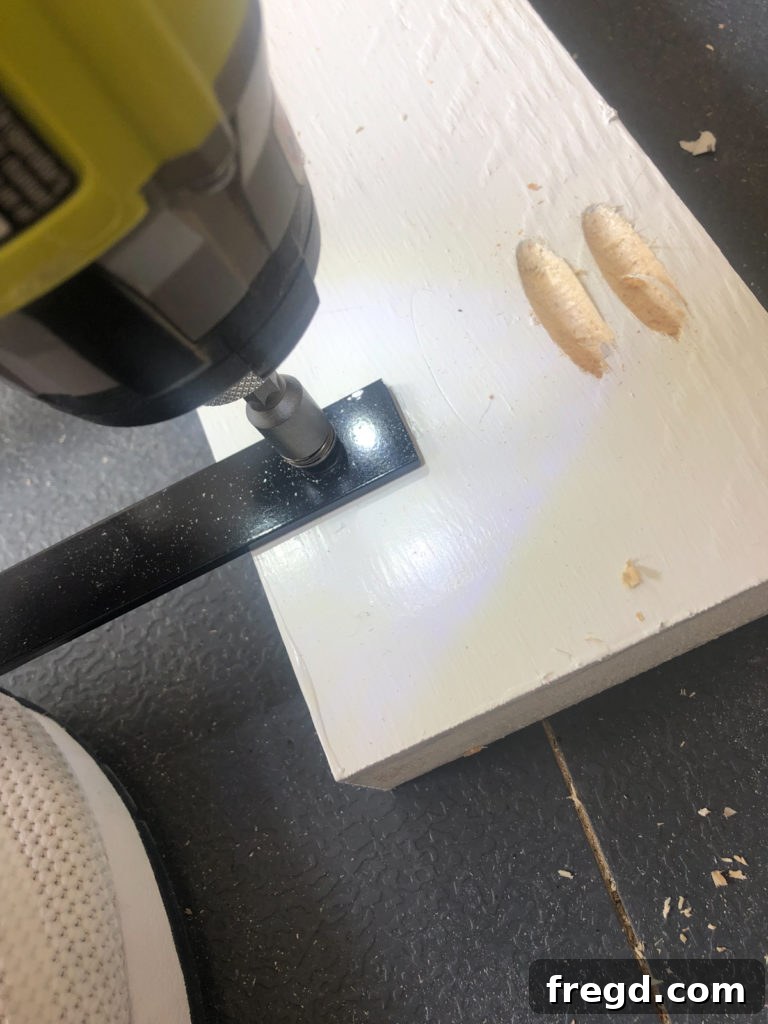
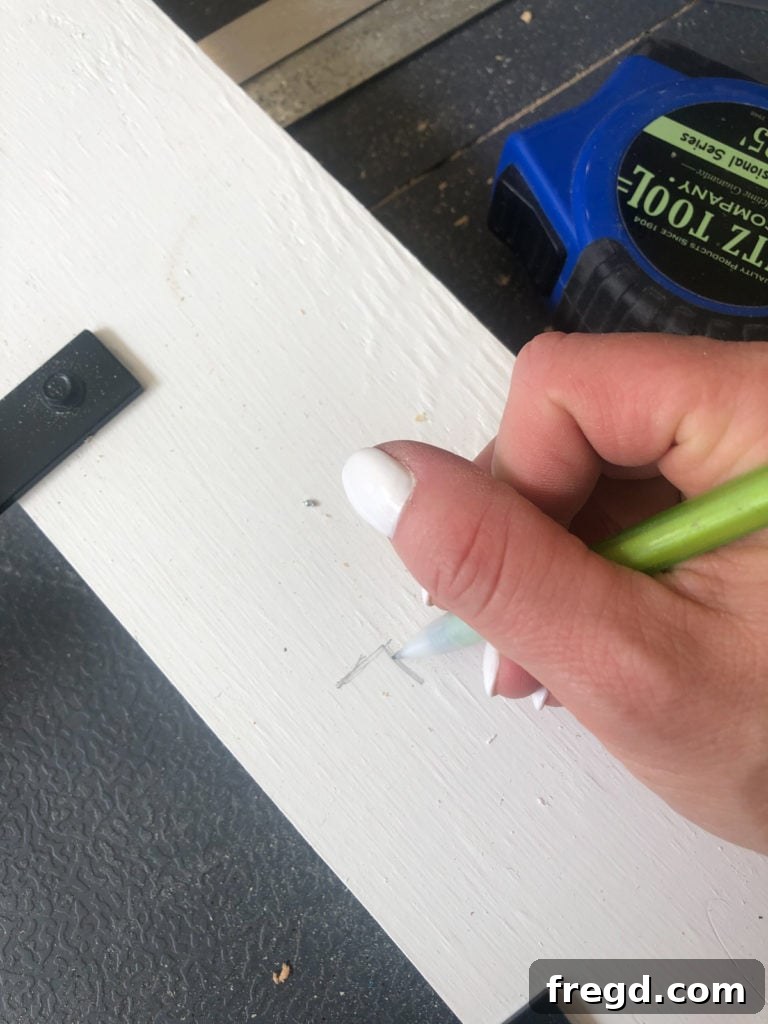
For consistent and visually appealing spacing, we spaced the metal bars for the sides of the crate 3 inches apart from each other. Begin by placing the first bar 1.75 inches from the ends of each top and bottom wood board. This ensures even spacing across the panel. If you have a smaller dog or specific safety concerns, you can adjust the bar spacing to better suit your needs. Marking out the lines with a pencil beforehand can help ensure perfect alignment.
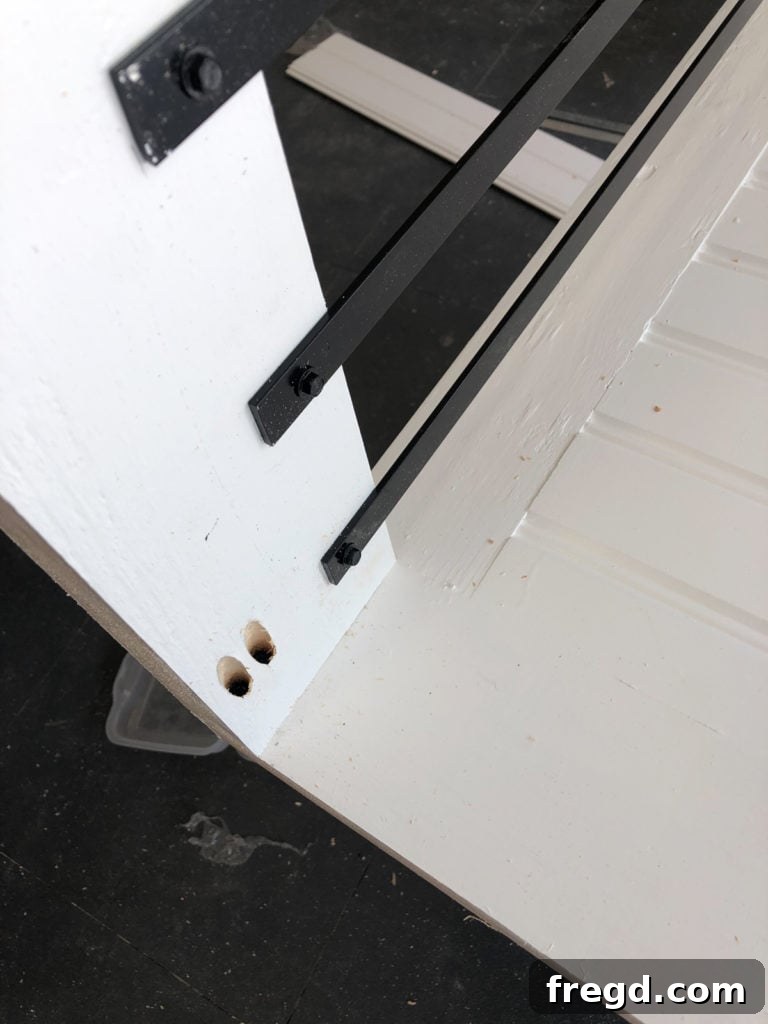
After both side assemblies are complete, it’s time to attach them to the back of the crate. Apply a line of wood glue to the edges where the side panels will meet the back frame. Then, using 2.5-inch pocket hole screws, fasten the sides to the back. Ensure that everything lines up perfectly flush on both the sides and the top and bottom edges. This precise alignment is key to a professional and sturdy crate structure.
Next, incorporate the remaining flat bars into the front crate assembly. These bars will attach only to one half of the front section, defining the fixed side of the barn door opening. Again, we spaced these bars 3 inches apart. Position the outside bars 1.5 inches from the interior edges of the wood frame, creating a balanced and secure enclosure. Use the same 1-inch self-tapping black screws for attachment.
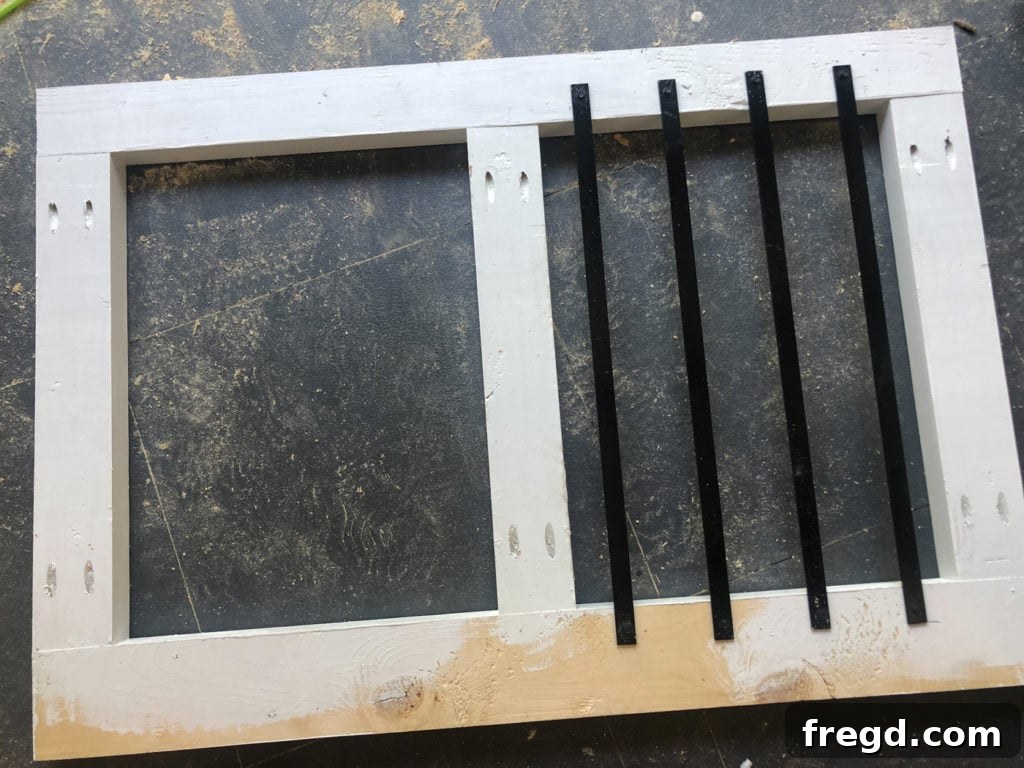
Finally, attach the completed front assembly to the rest of the crate. Apply wood glue to the joining edges and use 2.5-inch pocket hole screws, driving them through the pocket holes in the side assemblies and into the front frame. This step brings the main structure of your dog crate together, forming a robust and integrated unit.
6. Securing the Base and Building the Top
With the main body of the crate assembled, it’s time to attach the base you prepared earlier. Carefully flip the entire crate assembly upside down. Apply a continuous line of wood glue around the bottom edges of the crate assembly. Then, position the prepared base, also upside down, directly on top of the glue-coated edges. Ensure the base is perfectly aligned with the crate body.
Secure the base by driving 2.5-inch wood screws through the base and into the crate assembly all around its perimeter. This method creates an incredibly strong connection, ensuring the base can withstand the weight of your pet and provide lasting stability.
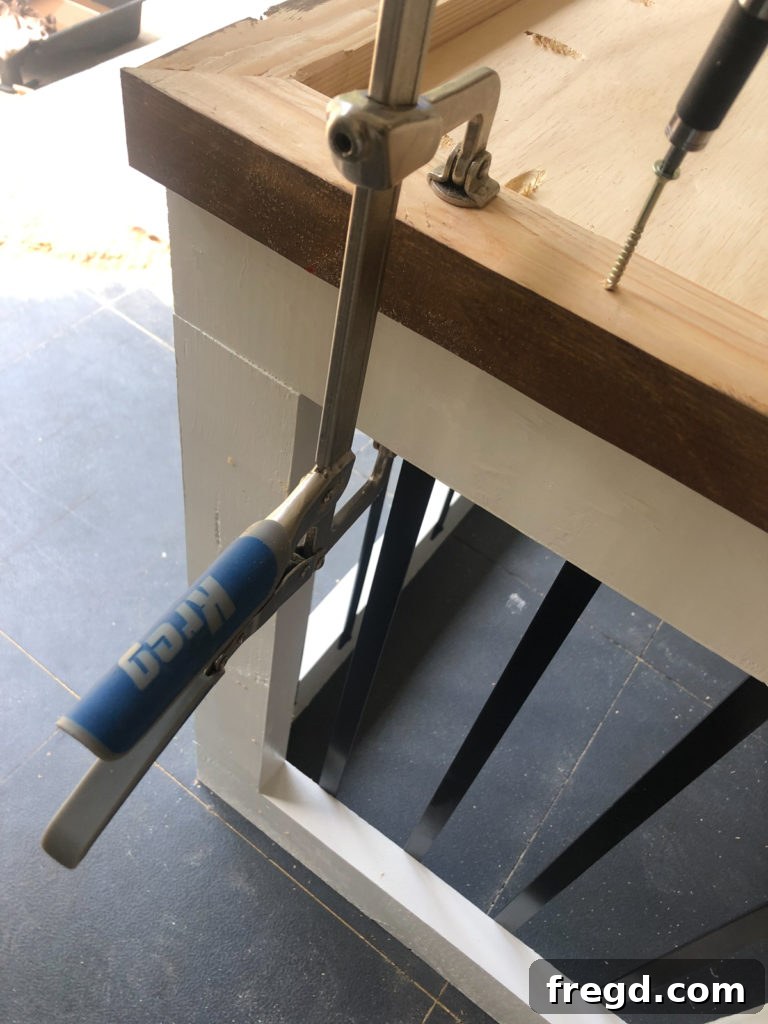
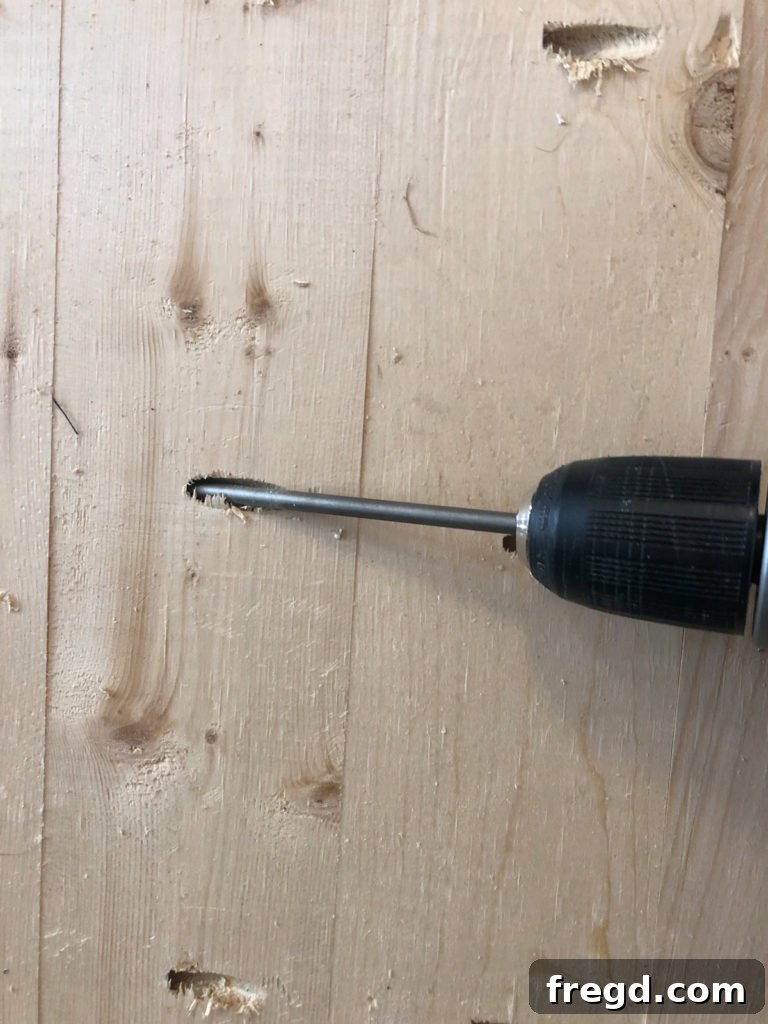
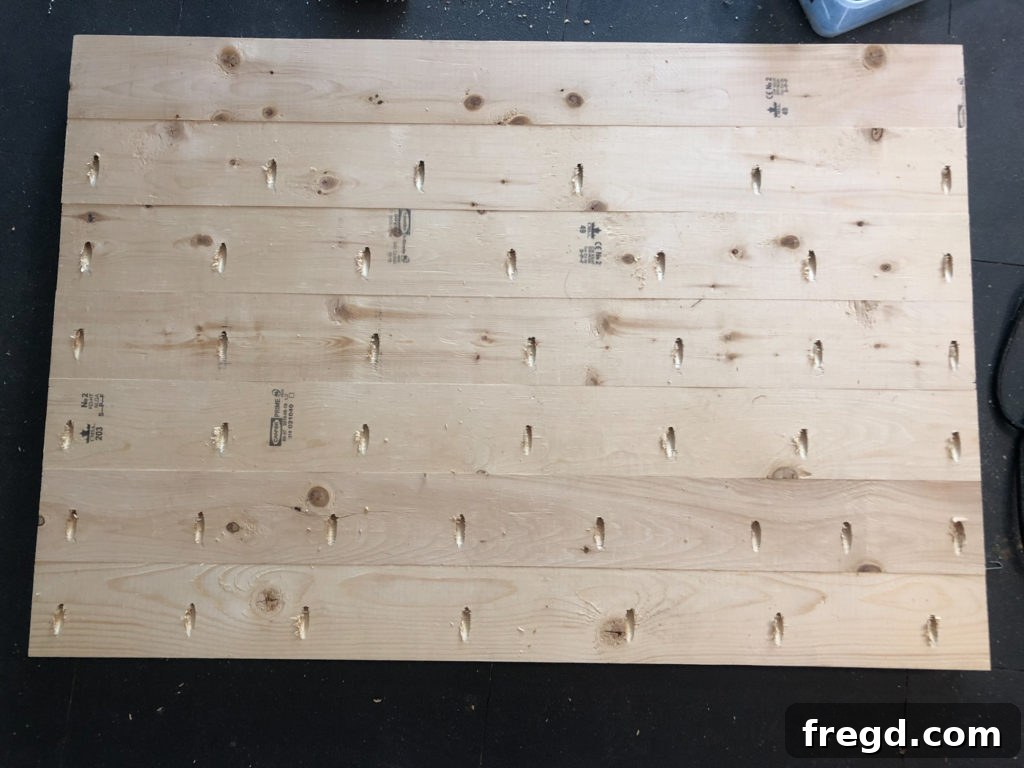
Now, let’s create the top surface of the crate, which will double as a functional tabletop. The planks for the top are made from 2×6 boards, ripped down to 3 7/8 inches wide. Cut seven of these planks to the required length. Drill 1.5-inch pocket holes down one side of six of the seven boards. One edge of one board will remain without pocket holes, as it will be the outermost edge of the top.
Lay the planks side by side and attach them together using 2.5-inch pocket hole screws. This creates a solid, uniform top panel. Once all the planks are securely attached, this is an excellent opportunity to stain or paint the entire top assembly before attaching it to the crate. Finishing it now allows for easier access and a cleaner result.
To attach the top, apply wood glue to the top edges of the crate assembly. Carefully place the finished top onto the crate, ensuring it’s equally spaced and flush all around. Secure it in place using 2-inch finish nails, spaced evenly along the perimeter. These nails will provide a strong, discreet hold, completing the main structure of your farmhouse dog crate.
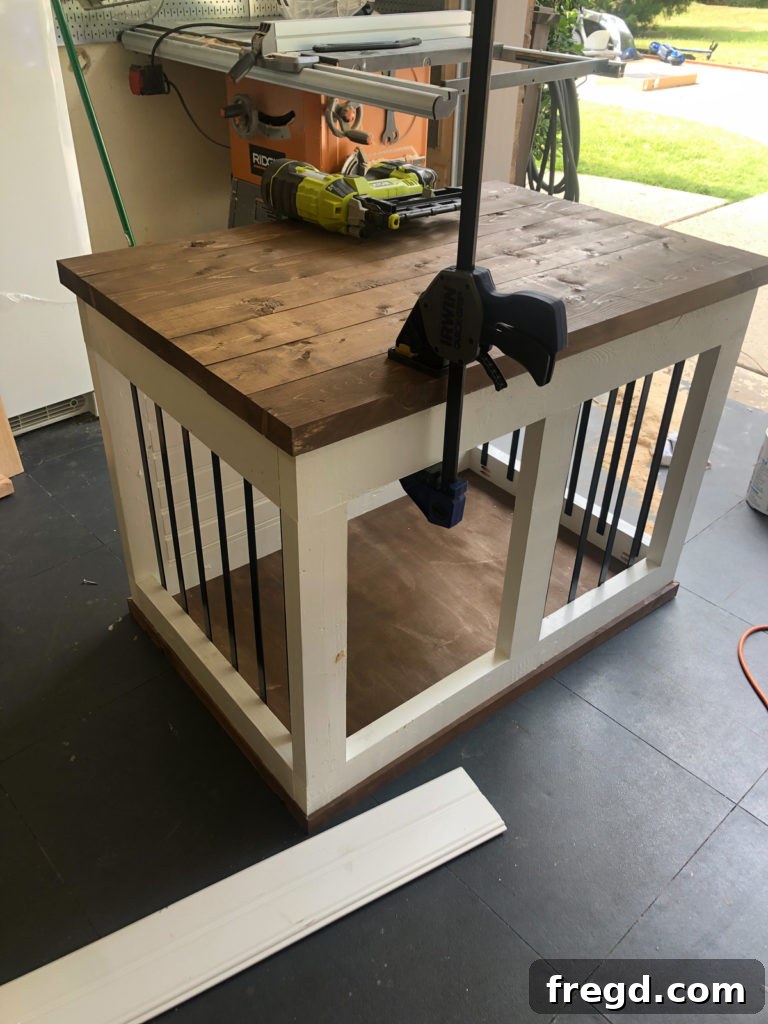
7. Crafting the Barn Door and Installing Hardware
The final and most distinctive step is creating and attaching the barn door. This is where you can truly personalize your crate! Start with a piece of 1/2-inch plywood, cut to 15 inches by 22 inches. This will serve as the core of your door.
For a true farmhouse aesthetic, we used leftover barn wood planks from a previous project. We glued and nailed these planks to cover the plywood, creating a rustic and textured surface. However, feel free to get creative! You could use decorative trim, different wood species, paint it a contrasting color, or apply any style you like. The key is to ensure the front surface of your finished door remains flush to properly accommodate the barn door hardware.
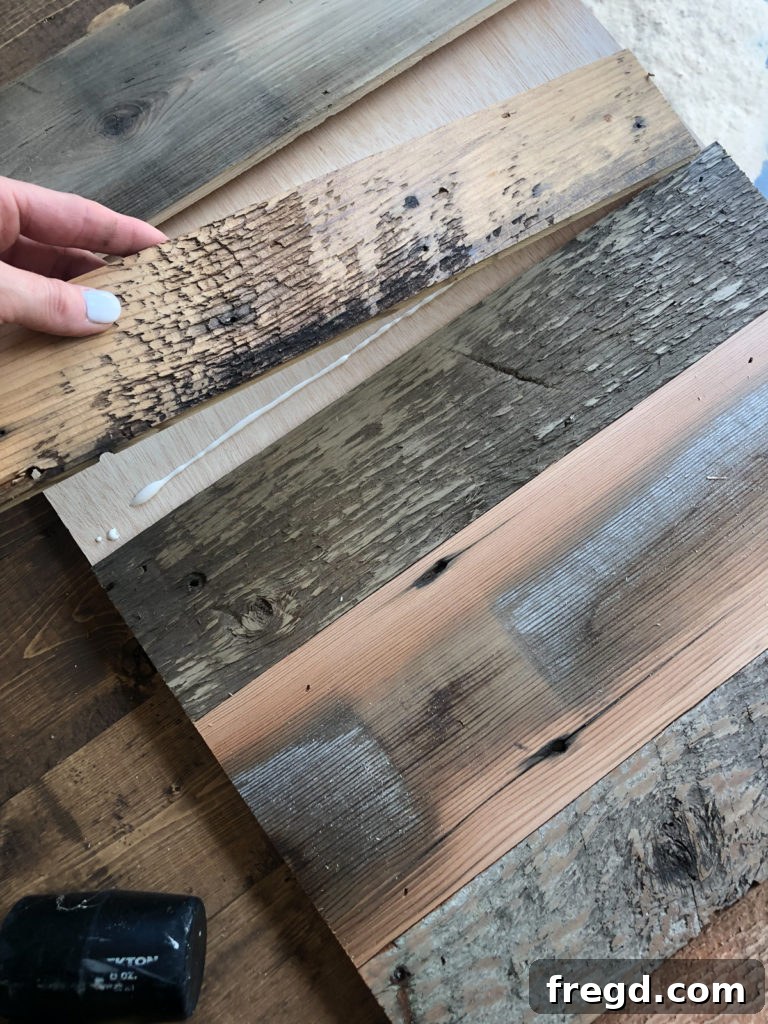
To give the door a finished edge and facilitate hardware attachment, rip 1×2 boards down to 1 inch thick each. These dimensions are important because standard barn door hardware typically works best with doors up to 1 1/8 inches thick. Miter the edges of these trim pieces to 45 degrees for clean corners. Attach them to the perimeter of your barn door using wood glue and 1.25-inch brad nails. Crucially, ensure the front of the planked door is perfectly flush with the front of these 1×2 trim boards. This flush surface is vital for the smooth operation of the sliding hardware.
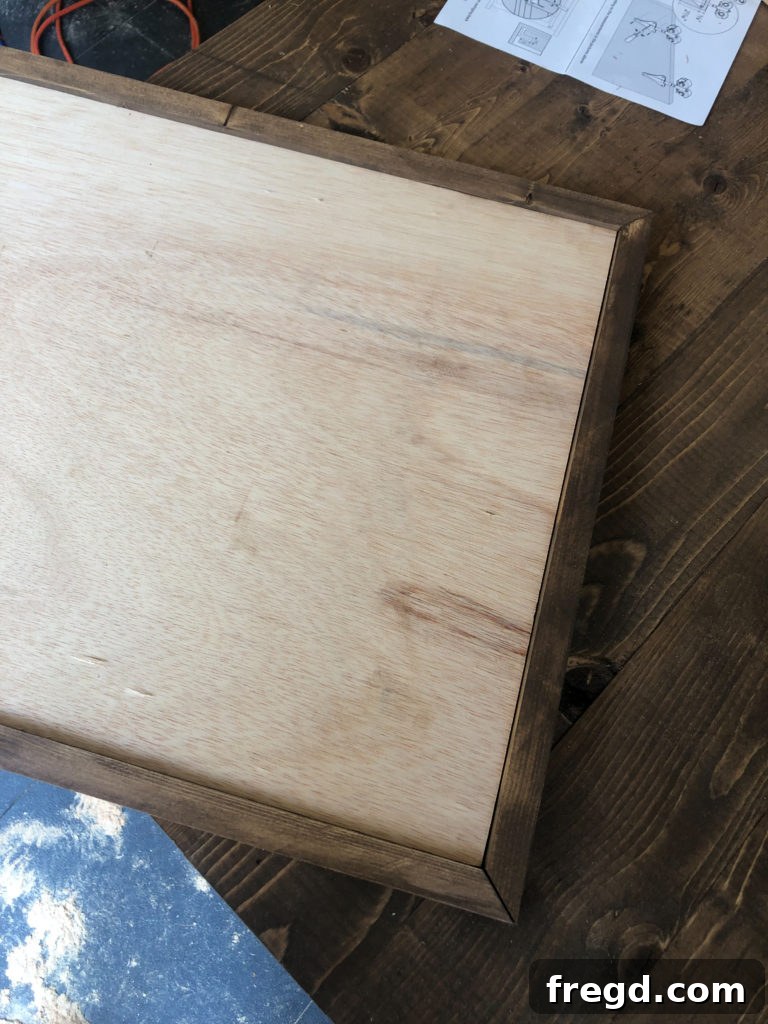
Installing the barn door hardware is surprisingly straightforward. The kit typically includes a long track, rollers, and spacers. You’ll run the long screw through the roller mechanism, then place a spacer after that, and finally secure it to the top edge of your door. We attached our hardware to allow approximately a 1/2-inch gap between the base of the door and the top of the adjacent trim piece. This small gap ensures the door slides freely without catching.
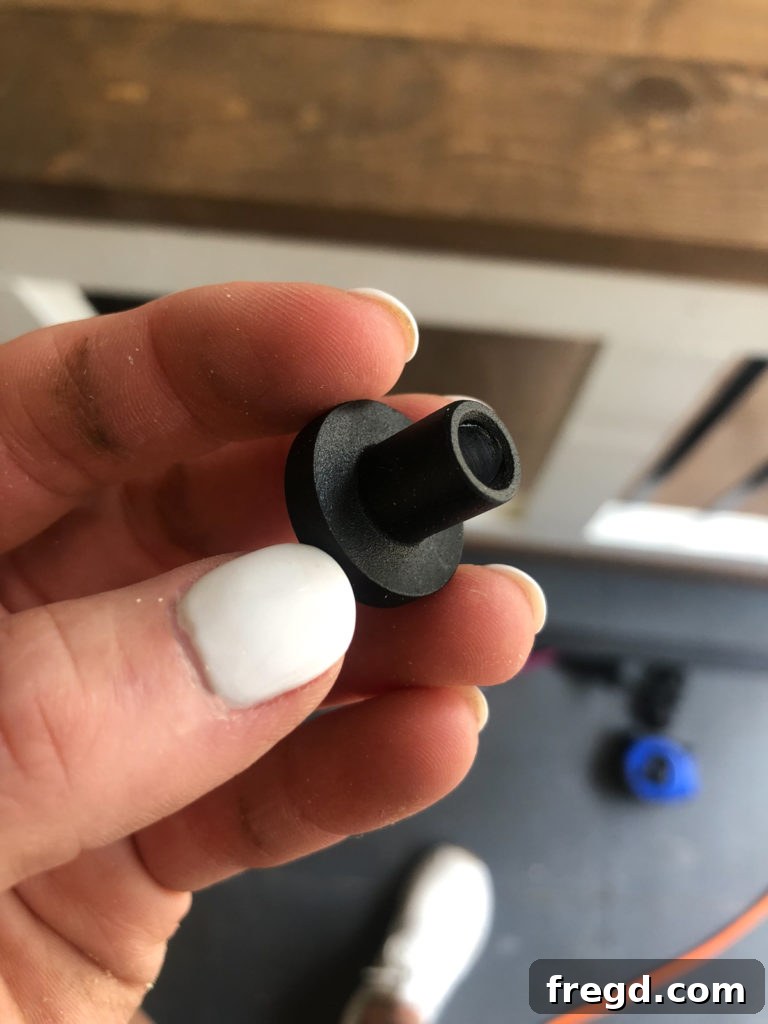
Once the door is hung, install the metal door guide on the base of the crate, directly beneath the door’s path. This guide prevents the door from swinging outward and keeps it aligned along its track. Finally, attach the barn door pull to complete the functional and aesthetic elements of your custom dog crate.
CLICK HERE for the barn door hardware!
Finishing Touches and Pet Comfort
With your farmhouse barn door dog crate built, you’re almost ready to introduce your new fur baby to their luxurious new home! The final, yet crucial, element is comfort. A high-quality cushion will transform the crate into a truly inviting sanctuary for your pet. Choose a universal cushion that fits the dimensions of your crate’s interior, providing soft support for resting and sleeping.
CLICK HERE for the universal cushion!
CLICK HERE for the metal door guide!
CLICK HERE for the barn door pull!
Conclusion: A Royal Residence for Your Furry Friend
Building this farmhouse barn door dog crate has been a truly rewarding project, culminating in a beautiful and practical piece of furniture that our entire family adores. More importantly, it provides a safe, comfortable, and stylish retreat for our newest family member, a true “crate built for a king.” This DIY project combines rustic charm with modern functionality, proving that pet furniture can be both highly practical and aesthetically pleasing, seamlessly integrating into your home’s decor.
We hope this detailed guide empowers you to create your own custom dog crate. The process, while requiring attention to detail, is incredibly fulfilling, and the result is a lasting testament to your love for your pet. Happy building, and may your furry friend enjoy their new royal residence for years to come!
CLICK HERE for the free printable plans to build the dog crate!