
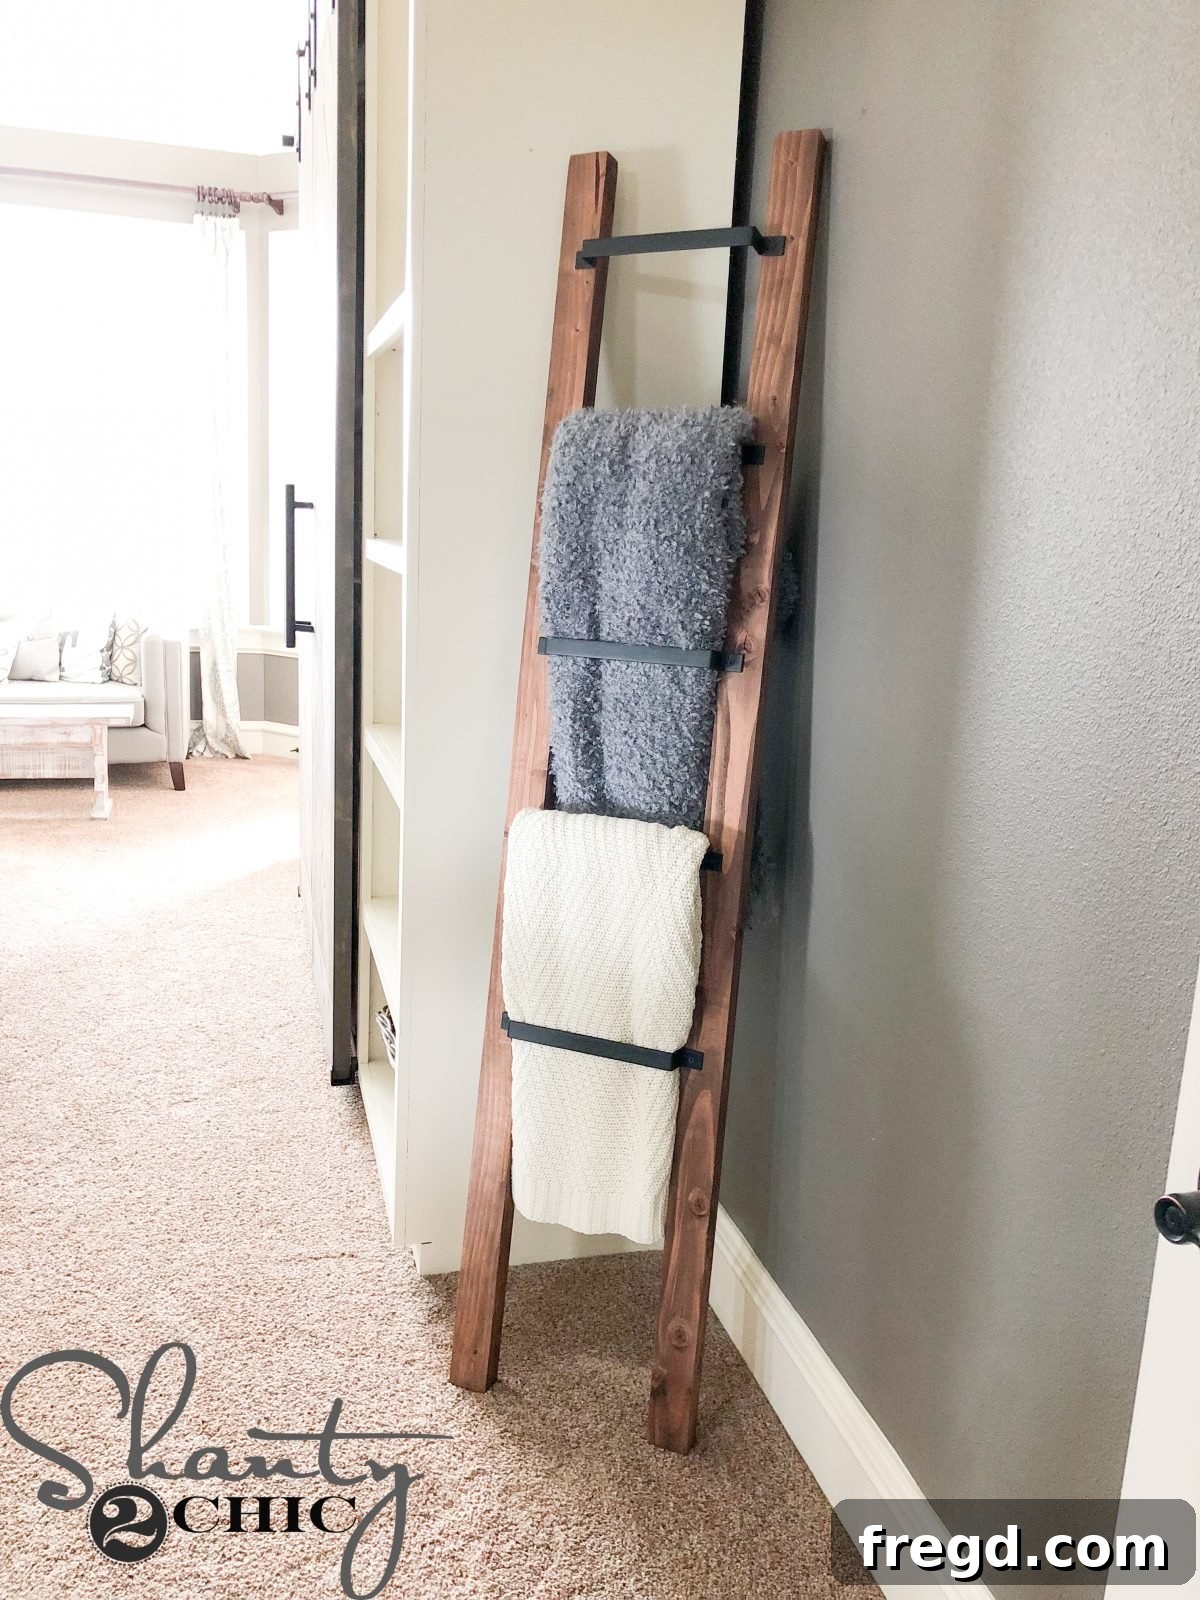
Build Your Own Modern Barn Door Pull Blanket Ladder: A Beginner-Friendly DIY Project
Welcome to our latest DIY adventure! Over the years, we’ve crafted countless blanket ladders, each one bringing unique charm and functionality to our homes. But today, we’re thrilled to introduce a fresh, modern twist on this beloved home decor staple: the Barn Door Pull Blanket Ladder. This innovative design perfectly marries rustic farmhouse appeal with sleek, industrial aesthetics, creating a piece that’s not just practical but also a stunning focal point in any room. If you’re searching for a simple, impactful project to elevate your living space, look no further. This project is incredibly straightforward, making it an ideal choice for DIY enthusiasts of all skill levels, especially beginners eager to dive into woodworking. The striking contrast between the sturdy 2×4 wood and the elegant metal barn door pulls creates a truly unique piece that you’ll be proud to display. Join us as we walk you through every step of building this magnificent blanket ladder in Whit’s workshop!
Why a Blanket Ladder? More Than Just Storage
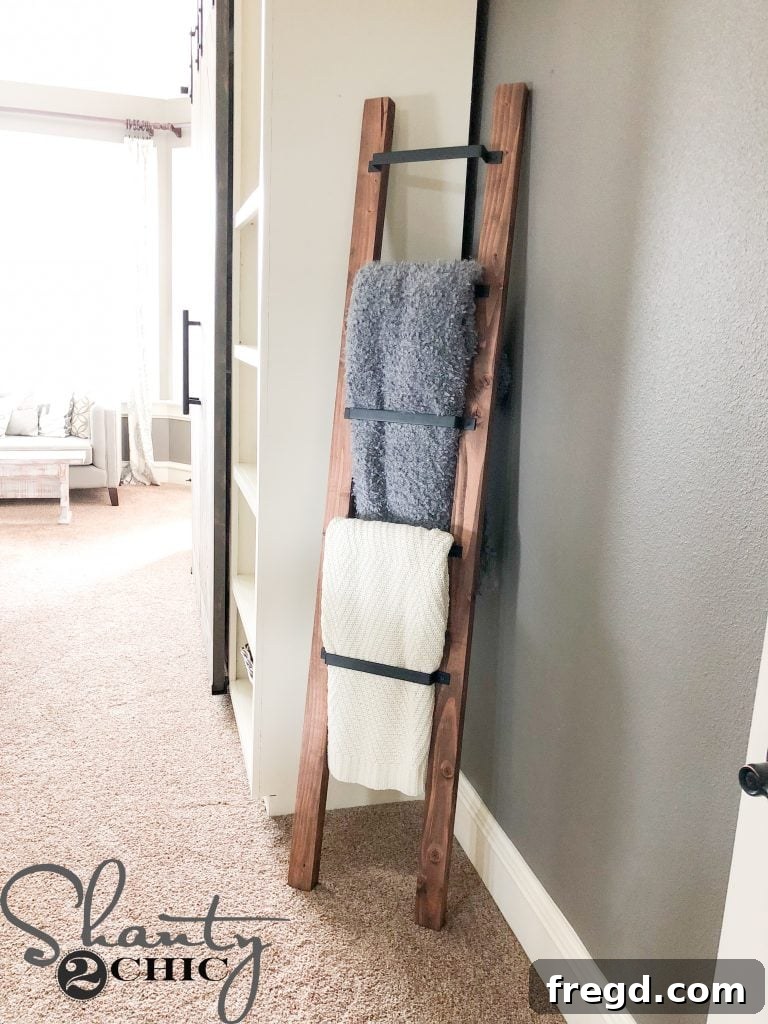
Blanket ladders have transcended their original purpose of simply holding blankets. They have become a versatile and stylish decor element that can transform any room. Imagine a cozy living room, where a beautifully crafted ladder artfully displays your favorite throws, adding texture and warmth. In the bedroom, it can serve as an elegant valet for decorative quilts or even your next day’s outfit. But the utility doesn’t stop there! A blanket ladder can be a creative storage solution in a bathroom for neatly rolled towels, or a unique way to display magazines and newspapers in a reading nook. Their vertical design makes them perfect for smaller spaces, providing storage without occupying precious floor real estate. Our Barn Door Pull Blanket Ladder takes this versatility a step further, offering a distinctive industrial-chic look that complements a wide range of interior styles, from modern farmhouse to contemporary minimalist. It’s truly a functional piece of art that invites creativity in its use and placement.
Watch the Full Tutorial: Your Visual Guide to Success!
Seeing is believing, and for this project, a visual guide can make all the difference! We’ve put together a comprehensive video tutorial that walks you through each step of building your Barn Door Pull Blanket Ladder. From preparing the wood to attaching the final hardware, you’ll get a real-time demonstration of the entire process. This video is perfect for beginners, offering clear instructions and helpful tips to ensure your project is a resounding success. So, grab a cup of coffee, sit back, and get ready to be inspired!
Just click HERE or the image below to watch the full step-by-step video tutorial.
As you can see from the video, this project is super simple, right? It’s genuinely the perfect project for anyone new to DIY or looking for a quick and rewarding build. With just a few basic materials and tools, you can create a custom piece that adds character and functionality to your home.
Gather Your Essentials: What You’ll Need to Build This Ladder
Before you begin, gathering all your materials and tools is crucial for a smooth and efficient building process. One of the best aspects of this Barn Door Pull Blanket Ladder is its minimalist material list, which keeps the project accessible and budget-friendly. Here’s everything you’ll need to transform simple lumber into a stylish home accent:
Materials:
- 1 set of FREE printable plans: Download them HERE! These detailed plans provide all the precise measurements and cuts you’ll need, taking the guesswork out of the project.
- 5 Barn Door Pulls: These distinctive pulls are the star of our ladder, providing both the functional rungs and the signature aesthetic. We sourced ours here, and recommend choosing a finish that complements your existing decor, such as matte black, oil-rubbed bronze, or brushed nickel.
- 2 x 2×4 boards: These standard lumber pieces will form the robust side rails of your ladder. Opt for good quality, straight boards to ensure the stability and clean lines of your finished project.
- 1 finish of your choice: This is where you can truly personalize your ladder! We used a rich stain, found here, to enhance the natural beauty of the wood grain. However, you could also choose paint for a bolder look or a clear coat to simply protect the raw wood.
Tools You Might Need:
- Miter Saw or Circular Saw: For precise cuts on your 2x4s.
- Table Saw (optional): If you choose to rip the edges of your 2x4s for a cleaner profile.
- Power Sander (e.g., Ryobi 18-volt Corner Cat Sander or Orbital Sander): Essential for achieving a smooth, professional finish.
- 120-grit sanding pads: For initial smoothing of the wood.
- Drill/Driver: To attach the barn door pulls securely.
- Measuring Tape and Pencil: For accurate measurements and marking cut lines.
- Safety Glasses: Always protect your eyes when working with power tools!
- Dust Mask: Especially important during sanding to avoid inhaling wood dust.
- Foam Brush or Lint-Free Cloth: For applying pre-stain and stain.
- Clean Cloths: For wiping off excess stain and pre-stain.
- Wood Screws: To attach the pulls (often included with the pulls, but good to have extras).
With your materials and tools at the ready, it’s time to transform these components into your stunning new Barn Door Pull Blanket Ladder!
Let’s Build! Your Step-by-Step Guide to Crafting Your Ladder
Step 1: Preparing the Wood for a Modern Aesthetic
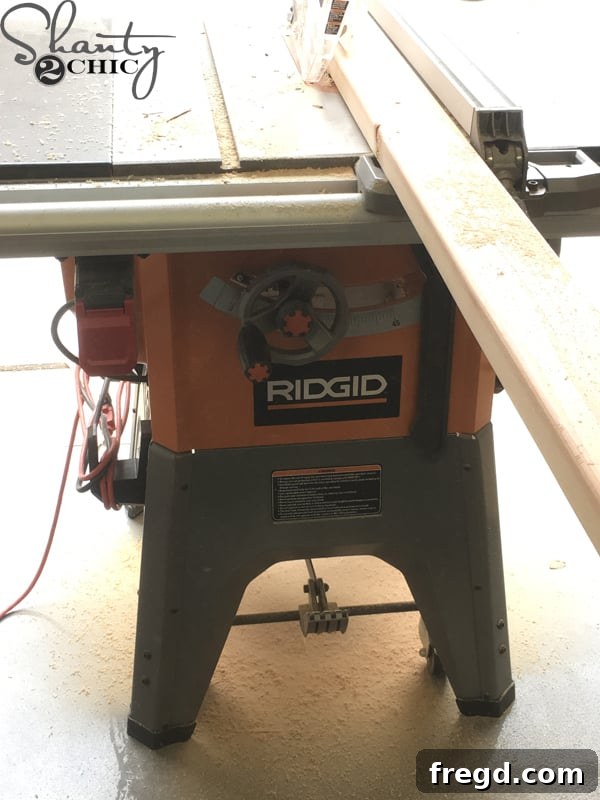
The foundation of any great woodworking project is meticulously prepared lumber. For this blanket ladder, we began by taking our standard 2x4s and giving them a refined, modern edge. This step is entirely optional but significantly elevates the finished look of the ladder. We used a table saw to “rip” the edges off the 2x4s, effectively reducing their width to 3 inches. This process eliminates the rounded edges typical of construction lumber, resulting in crisp, clean lines that lend a contemporary feel to the traditional ladder design. If you don’t have a table saw or prefer the look of the standard rounded edges, you can certainly skip this part. However, if you’re aiming for that sleek, modern farmhouse or industrial aesthetic, we highly recommend this extra step. Remember to consult your free printable plans for the precise length measurements needed for your side rails. Always prioritize safety when using power tools; wear appropriate eye and ear protection.
Step 2: Sanding for a Silky Smooth Finish
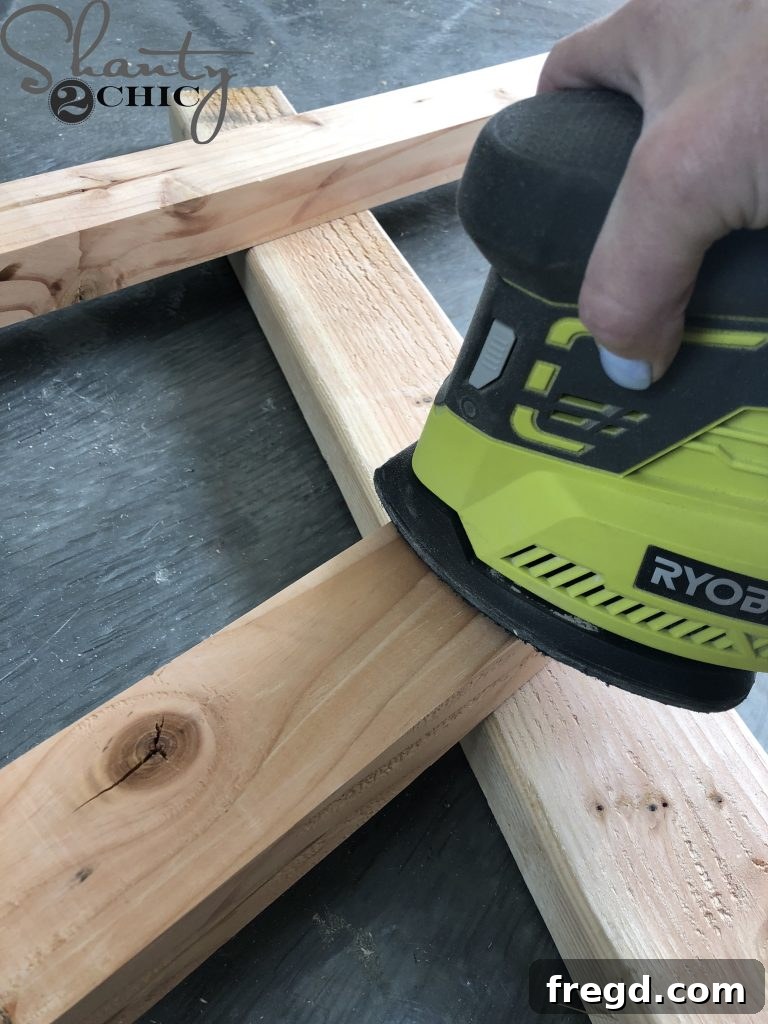
Once your 2×4 sides are cut to their desired dimensions and any optional ripping is complete, it’s time for sanding. This seemingly simple step is absolutely critical for achieving a professional, smooth finish that feels great to the touch and allows for optimal stain absorption. We started by giving our 2×4 sides a thorough sanding. For this, we utilized a Ryobi 18-volt Corner Cat Sander fitted with a 120-grit sanding pad. A 120-grit sandpaper is perfect for removing any minor imperfections, rough spots, or splintered areas from the cutting process, creating a uniform surface. Ensure you sand all surfaces and edges until they are smooth and free from any roughness. Pay particular attention to the cut ends, as these tend to be the roughest. A well-sanded surface isn’t just about aesthetics; it also prepares the wood perfectly for the subsequent finishing steps, ensuring a beautiful, even application of pre-stain and stain. Don’t forget to wear a dust mask during this step to protect your lungs from fine wood particles.
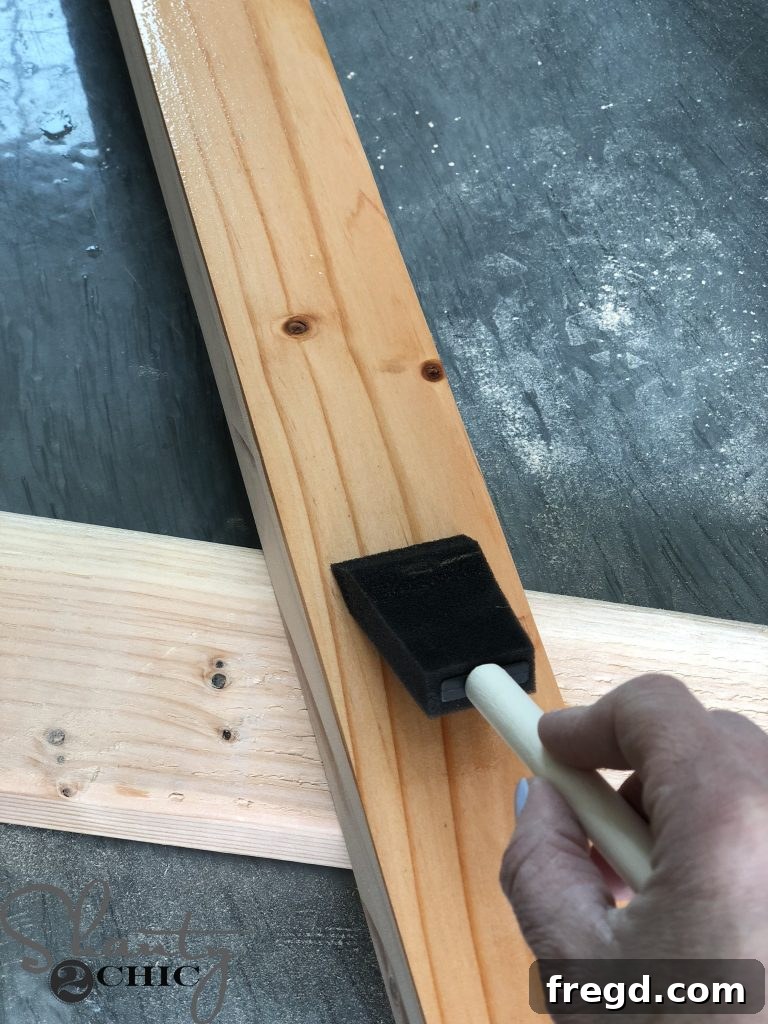
Step 3: The Secret to Even Color – Pre-Stain Application
With your wood expertly sanded, the next crucial step is applying a pre-stain conditioner. This step is often overlooked by beginners but is a game-changer, especially when working with woods like pine (which 2x4s typically are) that can absorb stain unevenly, leading to blotchy results. The pre-stain conditioner helps to seal the wood pores, ensuring that the subsequent stain penetrates uniformly, creating a beautiful, consistent color. You can find the Pre-Stain we used HERE. Applying pre-stain is incredibly simple: just wipe one generous coat onto both boards using a foam brush or a clean, lint-free cloth. Allow it to sit for a few minutes, giving the wood time to absorb the conditioner. After the recommended time (check the product’s instructions, usually 5-15 minutes), wipe away any excess with a clean cloth. This simple step will make a significant difference in the final appearance of your stained ladder, giving it a professional, flawless finish.
Let it sit for a bit and then wipe the excess away with a clean cloth, ensuring an even base for your chosen stain. Proper ventilation is always recommended when working with stains and pre-stains.
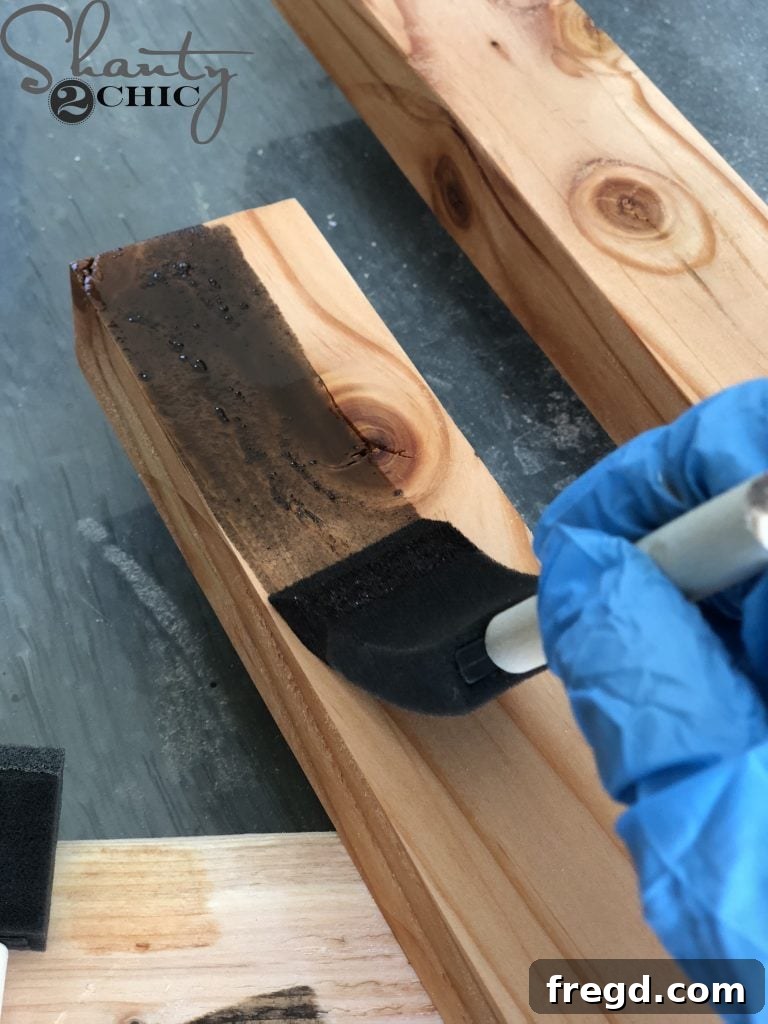
Step 4: Bringing the Wood to Life with Stain
Once the pre-stain conditioner has thoroughly dried – usually within 15-30 minutes, but always refer to the product’s instructions – it’s time for the exciting part: applying your chosen stain! This step allows you to infuse the wood with rich color and character, truly bringing your blanket ladder to life. We applied one coat of our preferred stain, which you can find HERE. Using a clean foam brush or a lint-free rag, apply the stain evenly along the grain of the wood. Don’t be shy; ensure good coverage. After application, let the stain soak into the wood for a few minutes. The longer you let it sit, the deeper and richer the color will be. However, be careful not to let it dry completely before wiping. After the desired soaking time, use a clean, dry cloth to wipe away any excess stain, revealing the beautiful wood grain beneath. This technique allows you to control the depth of color. For a deeper hue, you can apply a second coat after the first has dried completely. Ensure you’re working in a well-ventilated area.
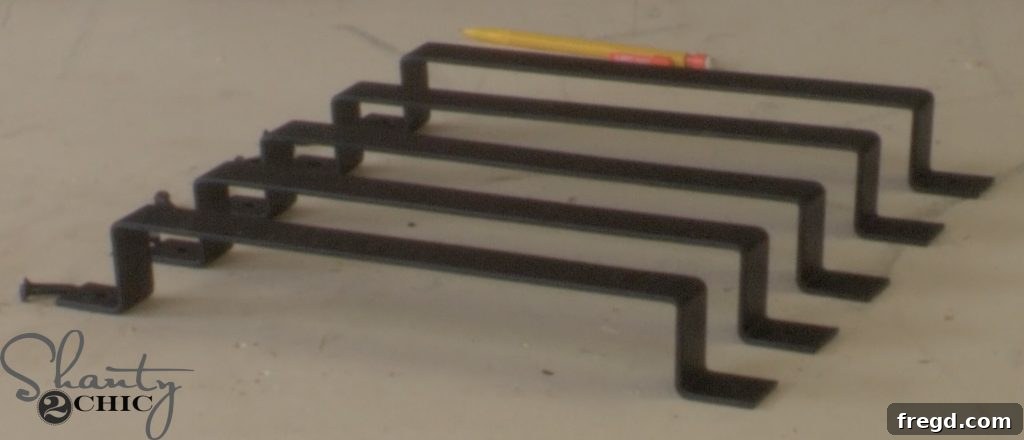
Step 5: Securing the Barn Door Pulls – The Signature Touch
With your beautifully stained wood now dry and ready, it’s time to add the defining feature of this project: the barn door pulls. These pulls not only serve as the sturdy rungs of your blanket ladder but also contribute significantly to its unique industrial-chic aesthetic. You can find the barn door pulls that we used HERE. This step requires precision, so make sure to refer back to your printable plans for the exact measurements and spacing of each pull. Mark the screw hole locations accurately on your stained 2x4s. To prevent the wood from splitting, especially at the ends, it’s highly recommended to pre-drill pilot holes for each screw using a drill bit slightly smaller than your wood screws. Then, using your drill and appropriate wood screws (which often come with the pulls), attach each barn door pull firmly to the side rails. Ensure that each pull is level and securely fastened. With all five pulls attached, your Barn Door Pull Blanket Ladder is complete!
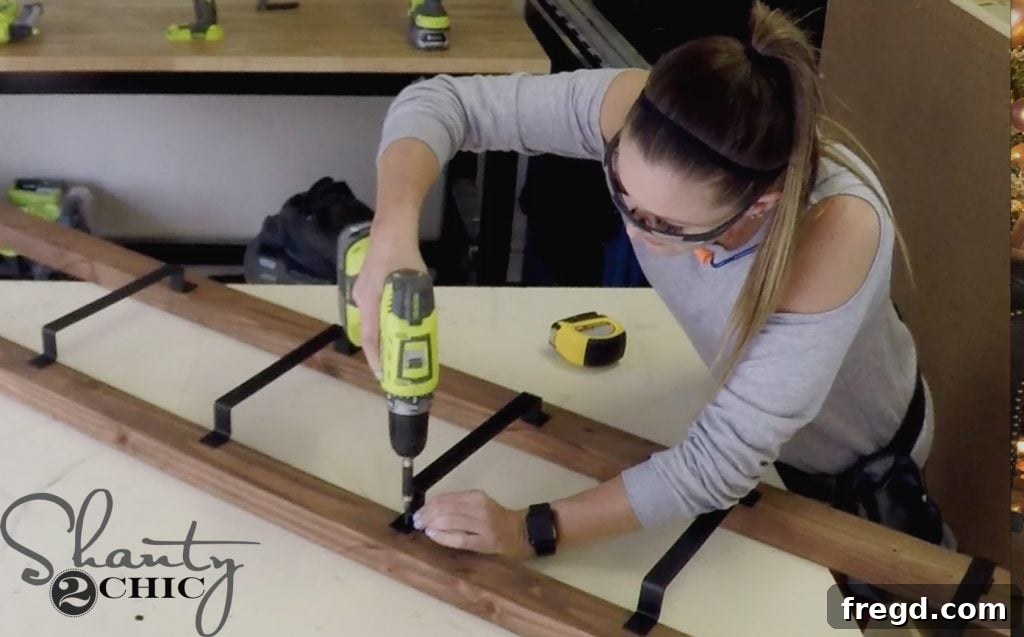
We attached each pull with wood screws and our drill. Make sure to refer to the printable plans for the measurements to ensure perfect spacing and alignment.
Your Stylish New Home Accent Awaits!
That was IT! As promised, this project is super easy, incredibly functional, and undeniably CUTE! You’ve successfully created a unique piece of home decor that blends utility with a distinctive style. The blend of rugged wood and sleek metal makes this blanket ladder a versatile addition to any room, offering both practical storage and a significant aesthetic upgrade. It’s a testament to how simple DIY projects can yield impressive, high-impact results.
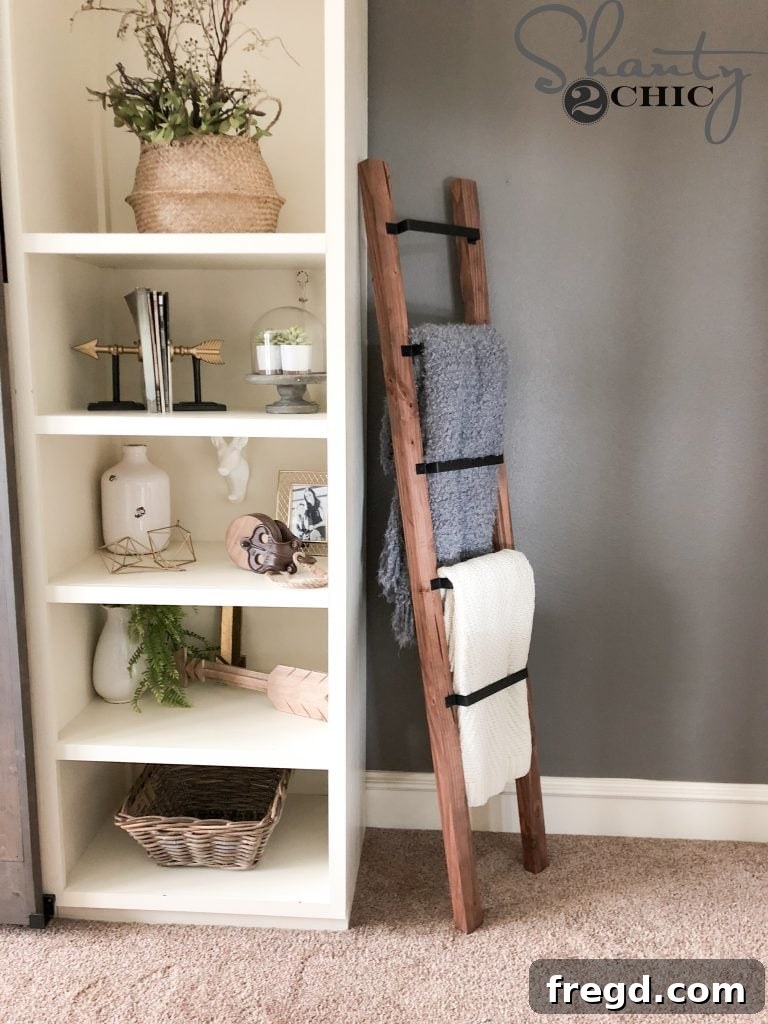
We absolutely adore having blanket ladders placed strategically throughout our home. Their utility extends far beyond just blankets. Imagine it in your living room, elegantly draped with your favorite throws, adding texture and warmth. In the bedroom, it can hold decorative quilts or serve as a stylish valet for tomorrow’s outfit. But don’t stop there! Consider its potential in the bathroom for neatly hanging towels, or in a study to display magazines and newspapers with a chic flourish. The possibilities for customization are endless. Feel free to experiment with different wood stains or paints to match your existing decor, or even choose barn door pulls with a unique finish to truly make it your own. Get creative and infuse your personality into this project!
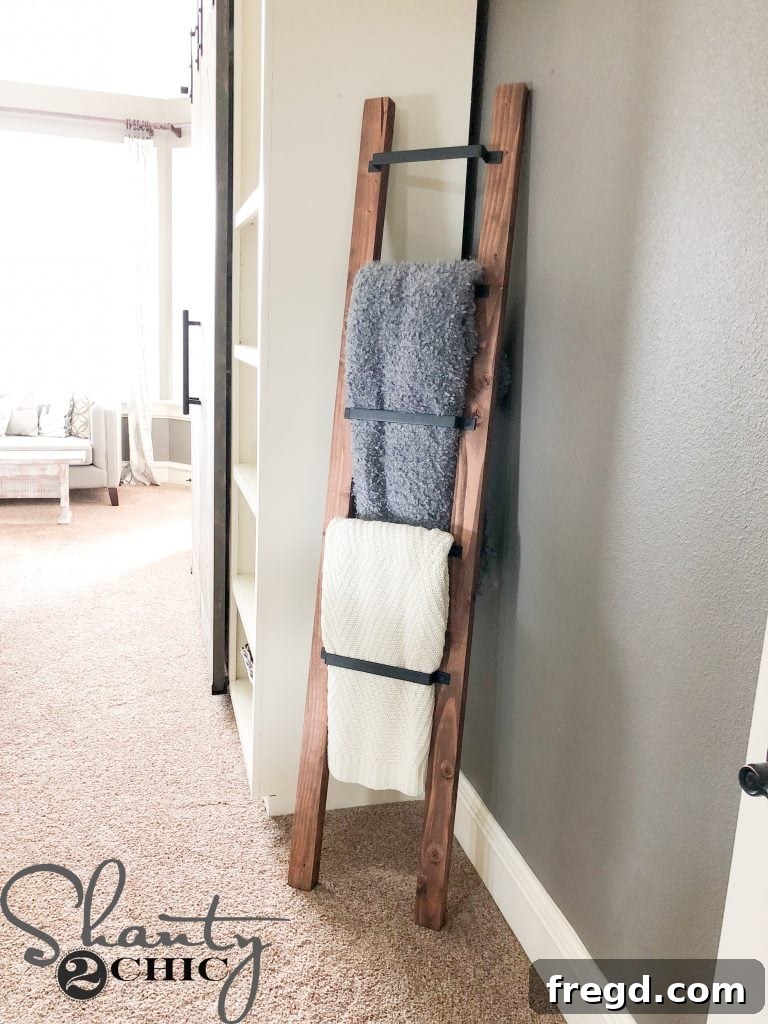
We love seeing your DIY creations! Once you’ve built your very own Barn Door Pull Blanket Ladder, be sure to share it with us on social media. Use the hashtag #shanty2chic so we can easily find and share your stunning projects with our community. Your creativity is our inspiration, and we can’t wait to see how you personalize this fantastic piece!
Happy Building!