
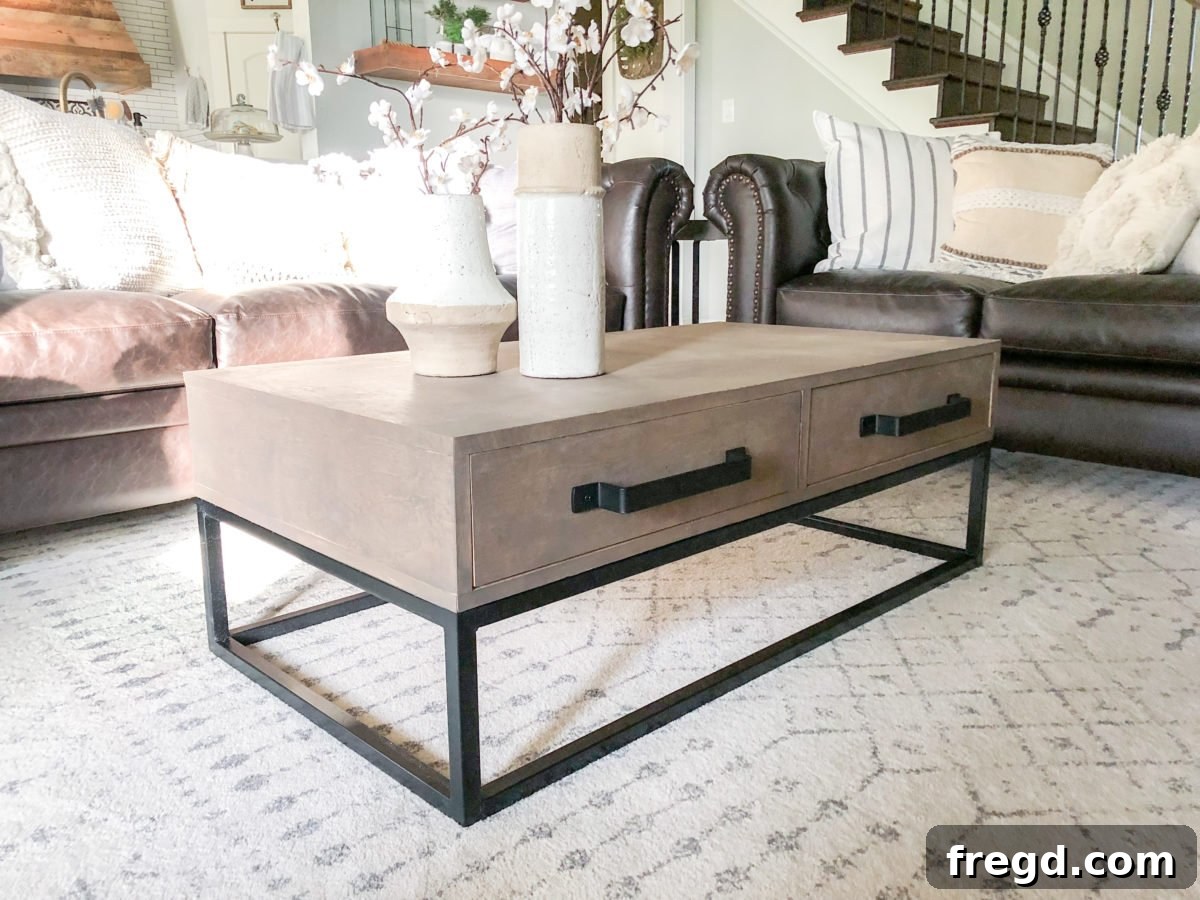
Our passion for crafting beautiful furniture from wood is no secret. For years, we’ve envisioned elevating our designs by seamlessly integrating the strength and elegance of metal. This dream recently became a reality when we welcomed our incredibly talented friend, Jen Woodhouse from The House of Wood, into our workshop. Jen, a self-taught welding expert, generously offered to share her invaluable tips and tricks for TIG welding – a skill that opens up a world of possibilities for intricate and durable metalwork.
To embark on this exciting new journey, we were thrilled to team up with Lincoln Electric, a leader in welding technology. They provided us with their innovative 140 MP Multi-Process Welding Machine, a versatile tool designed to empower both beginners and experienced welders. We meticulously captured every step of this hands-on lesson on camera, from initial setup to striking our first arc. So, settle in with your favorite beverage and prepare to be inspired as we delve into the art of TIG welding with Jen. The video tutorial, a comprehensive guide to our learning experience, is available for you to watch below!
Click to watch our TIG Welding lesson with Jen Woodhouse!
The experience was truly transformative! We are now brimming with countless new ideas for crafting unique metal furniture pieces and combining them with our signature woodworking style. The possibilities feel limitless, and we can barely contain our excitement to start on these innovative projects.
Our Teacher and Friend: Jen Woodhouse
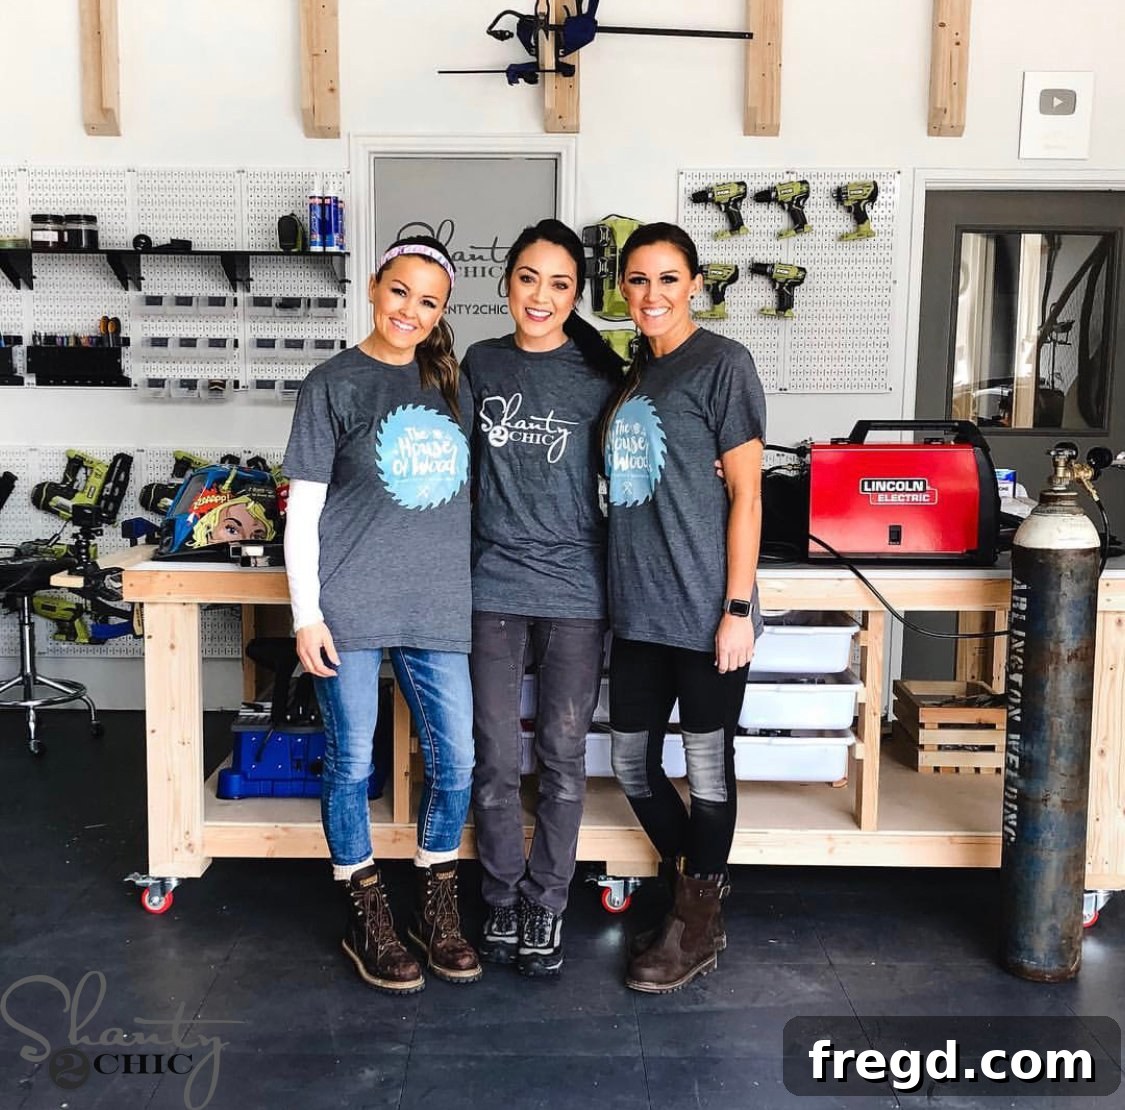
Learning a new skill, especially one as seemingly complex as welding, can be daunting. That’s why having an exceptional teacher makes all the difference. We were incredibly fortunate to have Jen Woodhouse from The House of Wood guide us through our first TIG welding experience. Jen, with her impressive background in DIY and woodworking, taught herself to weld just over a year ago. Her ability to break down complex techniques into understandable steps, combined with her patient and encouraging demeanor, made the learning process incredibly enjoyable and accessible. She understood our initial trepidation as woodworkers venturing into metalwork, and her teaching style was perfectly tailored to help us overcome those initial fears and embrace the excitement of creating with metal.
The Star of the Show: Lincoln Electric 140 MP
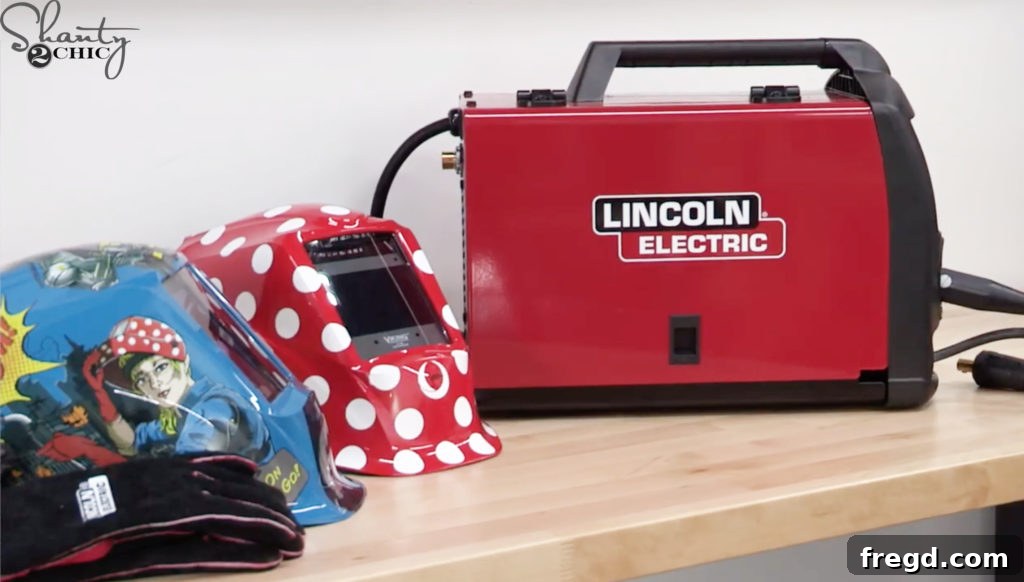
A crucial element in our successful welding endeavor was the Lincoln Electric 140 MP Multi-Process Welding Machine. This machine truly lived up to its reputation for ease of use and exceptional performance. As a 3-in-1 welder, it offers remarkable versatility, allowing for TIG, MIG, and STICK welding – making it an ideal choice for a wide range of projects and skill levels. Jen specifically focused on teaching us TIG welding, which was perfect for our goals of creating clean, precise joints for furniture. One of the most appealing aspects of TIG welding for us, as newcomers, was the absence of flying sparks typically associated with MIG welding. This significantly reduced our initial intimidation and allowed us to focus more on the intricate techniques of the process, making the learning curve much smoother and more enjoyable. The intuitive controls and straightforward setup of the Lincoln Electric 140 MP played a pivotal role in demystifying welding for us. Its robust design and reliable performance ensured a consistent and high-quality weld every time, building our confidence with each practice run.
Preparing for TIG Welding: Tungsten Grinding
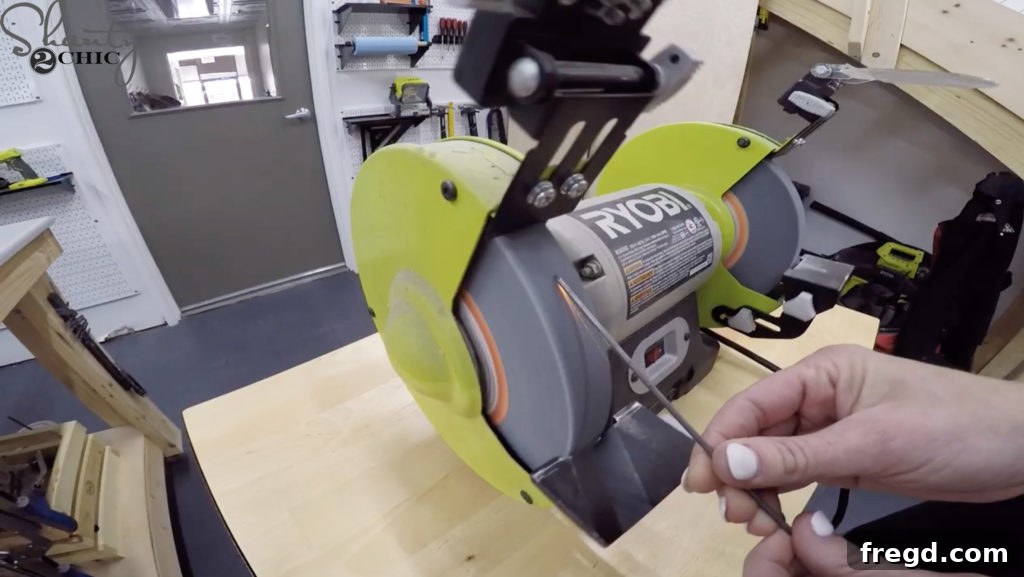
Before we could even strike an arc, proper preparation was key. Jen guided us through the essential step of preparing our tungsten electrode. This involved using a bench grinder to carefully sharpen the tungsten to a fine point. The precision of this grind is critical for achieving a stable arc and a high-quality weld. A finely sharpened tungsten allows for a concentrated arc, which is essential for the precise heat control that TIG welding demands. We quickly learned that every detail, from the angle of the grind to the smoothness of the point, contributes directly to the overall success and aesthetics of the weld. This initial step underscored the meticulous nature of TIG welding and set the stage for the focused attention required throughout the process.
Practicing Our Welds: Mastering the Technique
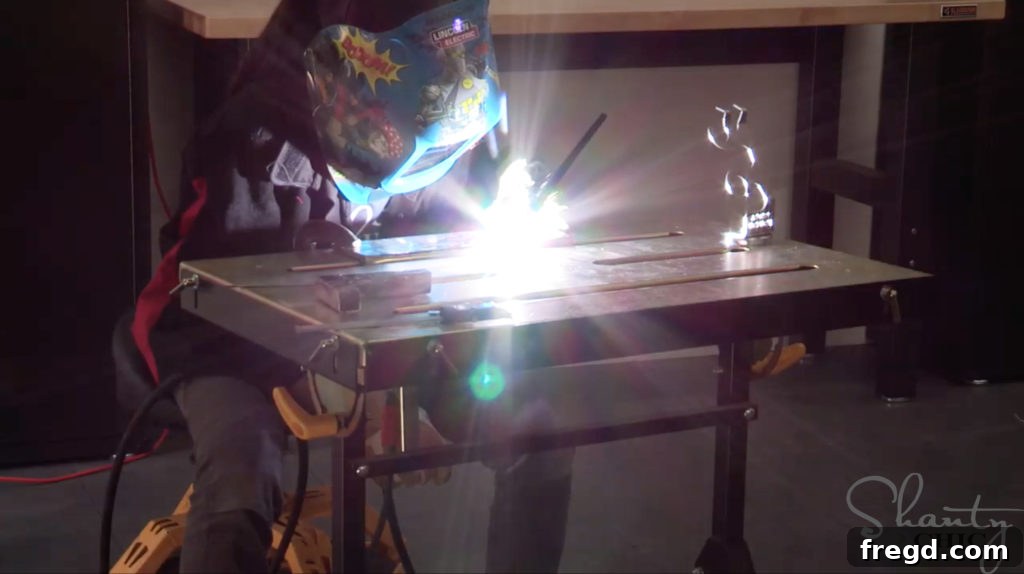
With the machine set up and the tungsten prepared, it was time to put theory into practice. We began our training on a thick piece of scrap steel, focusing on mastering the fundamental movements and coordination required for TIG welding. Jen led by example, flawlessly demonstrating the smooth motion of the torch and the precise feeding of the filler rod. She emphasized the importance of maintaining a consistent arc length and angle, as well as developing a rhythm for dipping the filler rod into the molten puddle. This initial practice phase was invaluable, allowing us to build muscle memory and understand the subtle nuances of the process without the pressure of a final project.
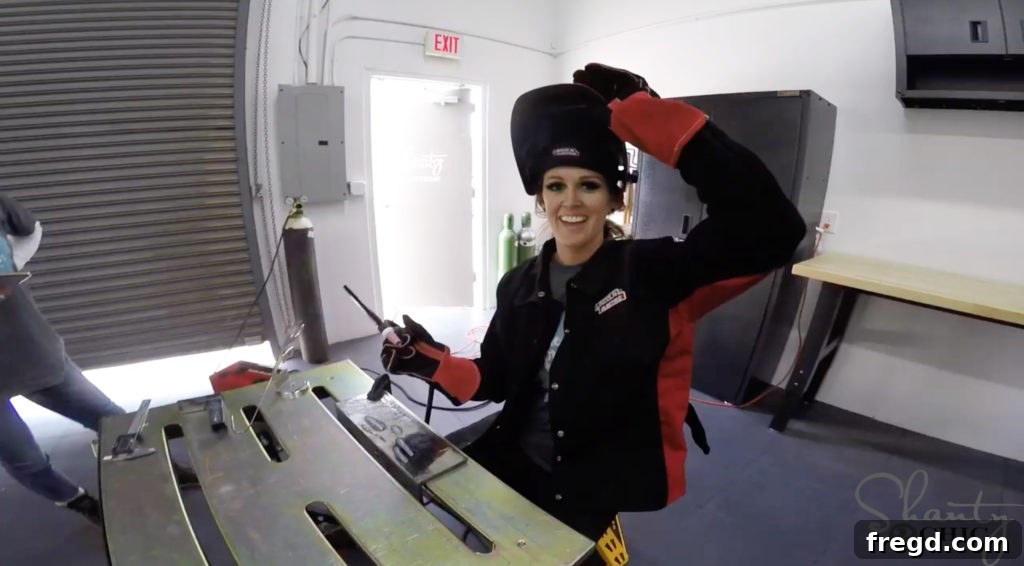
Next, Ashley stepped up to the plate, taking her turn with the torch. The initial moments were a mix of concentration and excitement as she replicated Jen’s movements, slowly guiding the arc across the metal. Each ripple in the practice weld was a step towards understanding the delicate balance of heat, speed, and filler material. It was a tangible learning process, where immediate feedback from the metal itself guided her adjustments and improvements.
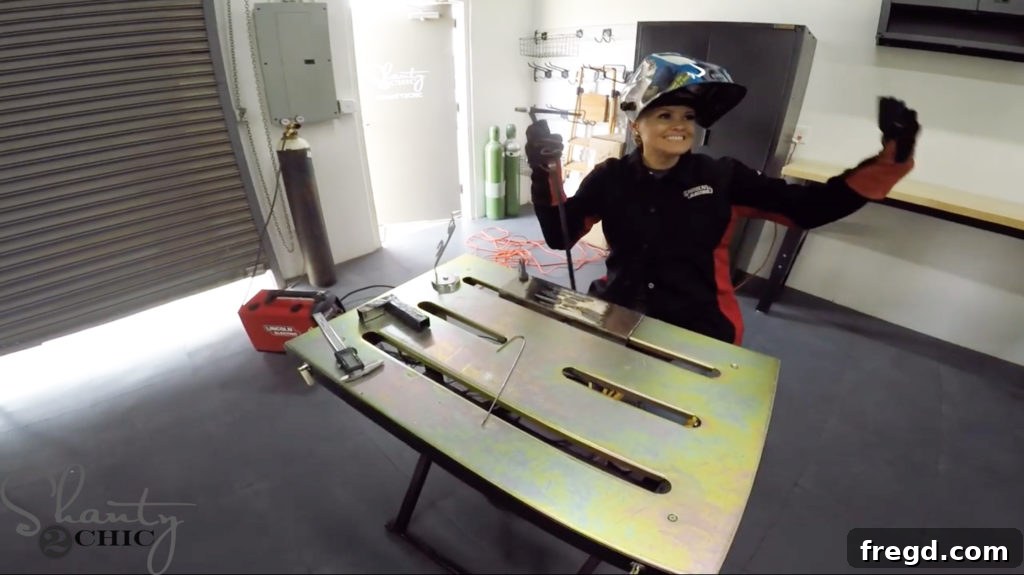
Whitney followed, and to our delight, she absolutely nailed her practice run! Her steady hand and quick grasp of the technique resulted in surprisingly clean and consistent beads. Her success was a huge confidence booster for all of us, demonstrating that with proper instruction and focus, even beginners could achieve impressive results with TIG welding. Seeing each other’s progress, even in these early stages, created a supportive and encouraging learning environment.
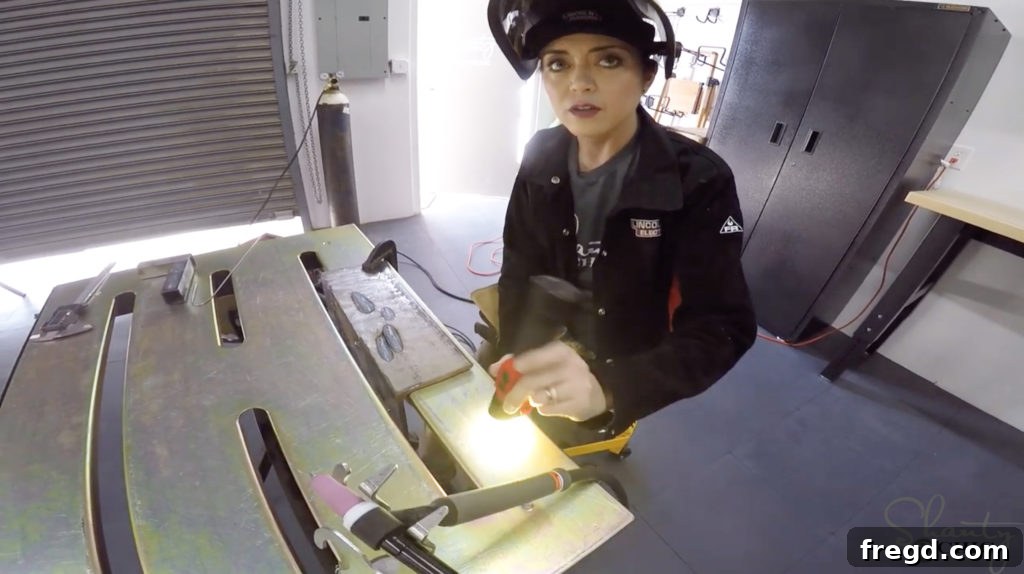
One of Jen’s most brilliant teaching aids was her simple yet highly effective flashlight demonstration. She used a flashlight to mimic the arc, vividly illustrating the proper way to hold and angle the welding torch. This visual analogy instantly clicked, making the abstract concept of arc manipulation much more concrete and understandable. It was a game-changer for grasping the correct hand position and movement, allowing us to translate that understanding more easily to the actual welding process.
Welding the Coffee Table Base: Step-by-Step
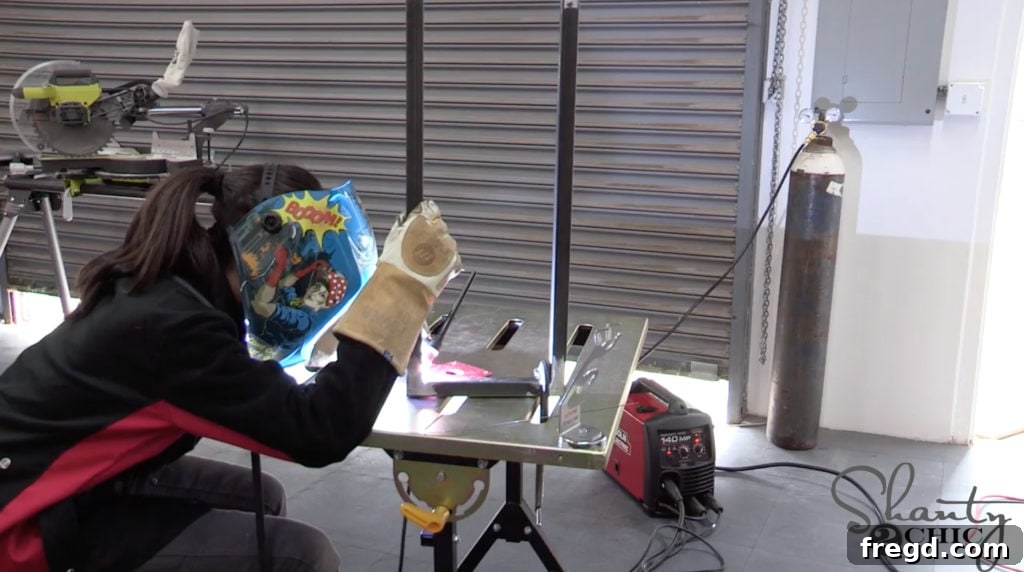
Once we felt a newfound comfort and confidence from our practice sessions, it was time to apply our budding skills to a real project: welding the steel base for a coffee table. This transition from practice coupons to structural components felt incredibly significant. The process involves carefully joining metal pieces using the TIG torch and a separate filler rod. The concentrated heat from the arc melts the edges of the base metal, and simultaneously, the filler rod is introduced into this molten puddle, creating a strong, homogeneous bond that permanently fuses the two pieces of metal together. This meticulous method is what gives TIG welds their characteristic clean appearance and superior strength, perfect for furniture that needs to be both beautiful and durable.
Tack First for Stability
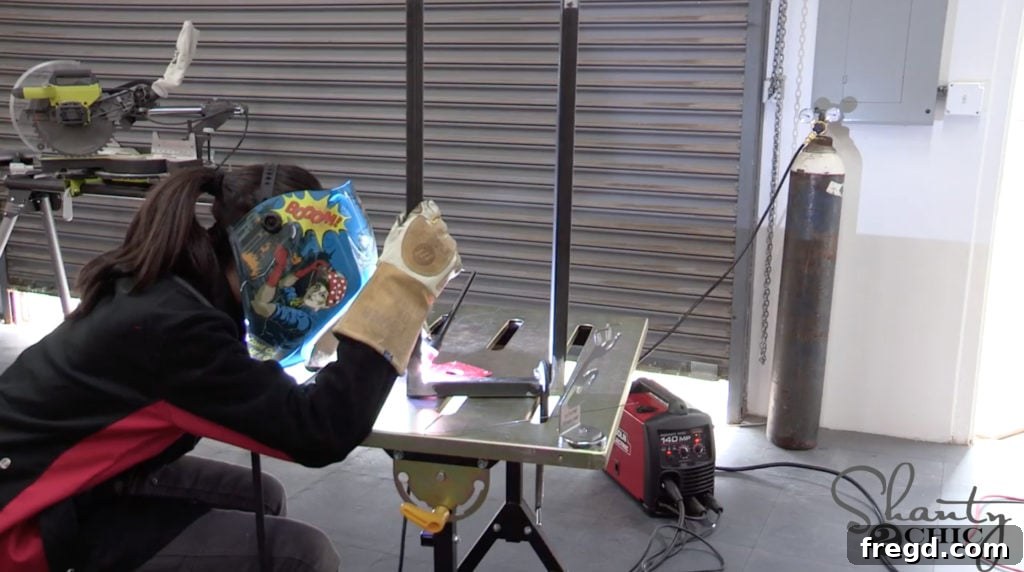
Jen shared another invaluable tip: always begin by creating small “tack” welds at the ends of the joints first. These brief, strategically placed welds temporarily hold all the individual pieces of the metal frame together, ensuring they are accurately aligned and sturdy before proceeding with the full, continuous weld. This prevents warping or misalignment that could occur from the heat of a longer weld. Once the entire structure was securely tacked in place, providing a robust skeleton, we went back and systematically filled in the remaining gaps, completing each seam with a continuous, strong weld. This methodical approach ensured the integrity and precision of our coffee table base.
Celebrating Our First Welded Joint
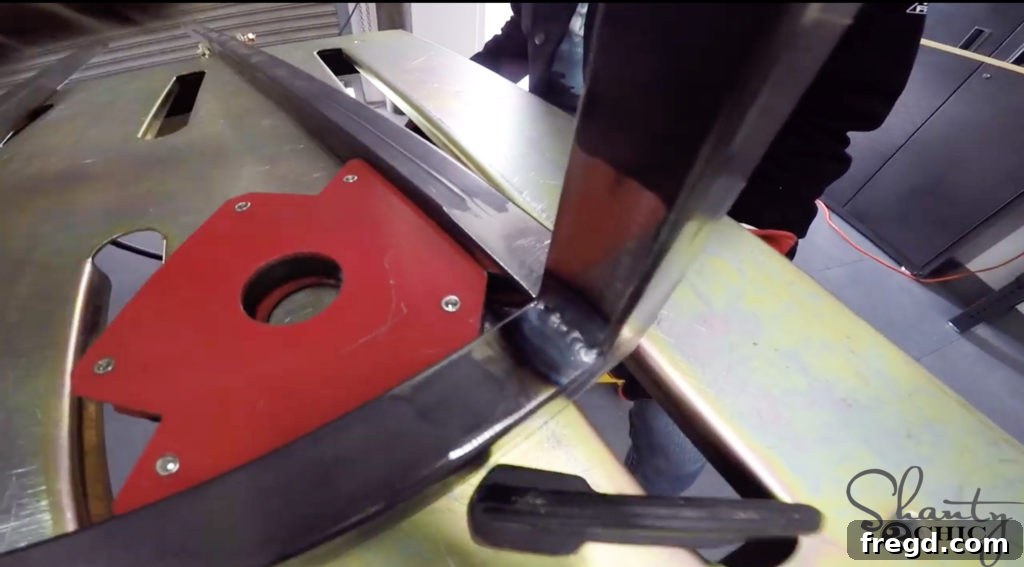
The moment we completed our first full welded joint was incredibly satisfying! The sense of accomplishment was immense, seeing the two separate pieces of metal become one, flawlessly joined by our own hands. We were genuinely thrilled with the clean lines and solid bond of our initial weld, a testament to Jen’s excellent instruction and the capabilities of the Lincoln Electric machine. We also discovered a fantastic accessory that significantly aided our process: a magnetic right-angle piece. This ingenious tool securely held our metal bars together at a perfect 90-degree angle, eliminating any movement and ensuring precise alignment during welding. It’s these small, clever tools that can make a huge difference in the workshop, especially when you’re perfecting a new craft.
Grinding Down the Welds for a Flawless Finish
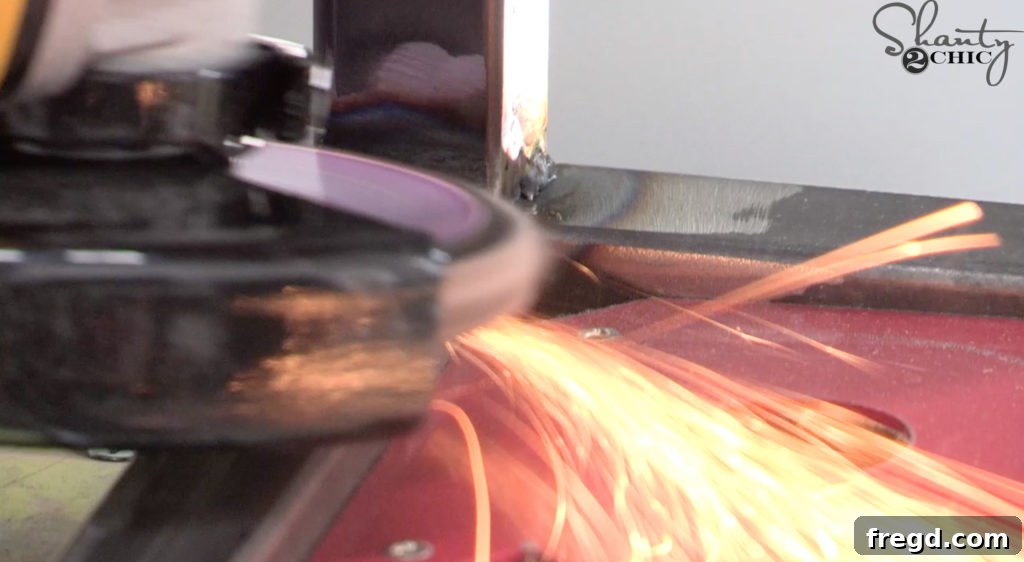
Once all the joints were welded, the next crucial step was to refine the appearance of our metal base. This involved using an angle grinder fitted with a 60-grit flap disc to meticulously grind down the welds. The goal was to remove any excess material, smooth out the weld beads, and create a perfectly flush and seamless surface. This process not only enhances the aesthetic appeal of the piece but also prepares it for finishing. Grinding requires a steady hand and a keen eye to avoid over-grinding and to achieve an even texture across all surfaces. The transformation from a raw, beaded weld to a smooth, uniform joint was truly remarkable and brought us one step closer to our vision for the coffee table.
The Finish: Transforming the Metal
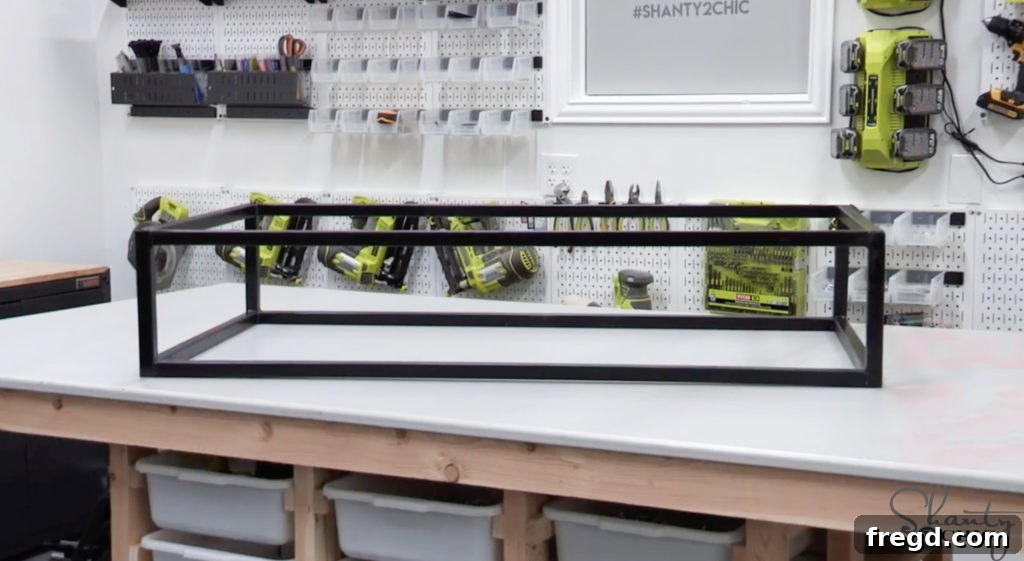
With the welds expertly smoothed, it was time for the final touches that would protect the metal and give it its desired aesthetic. We began by applying a high-quality self-etching primer. This specialized primer is essential for metal, as it etches into the surface, creating an optimal bond for subsequent paint layers and providing crucial corrosion resistance. After allowing the primer to cure thoroughly, we followed up with two even coats of black spray paint, chosen to complement the natural tones of the wood top we planned to create. The rich, matte black finish transformed the raw metal base into a sophisticated and elegant foundation for our coffee table, showcasing the clean lines and solid construction we had worked so hard to achieve.
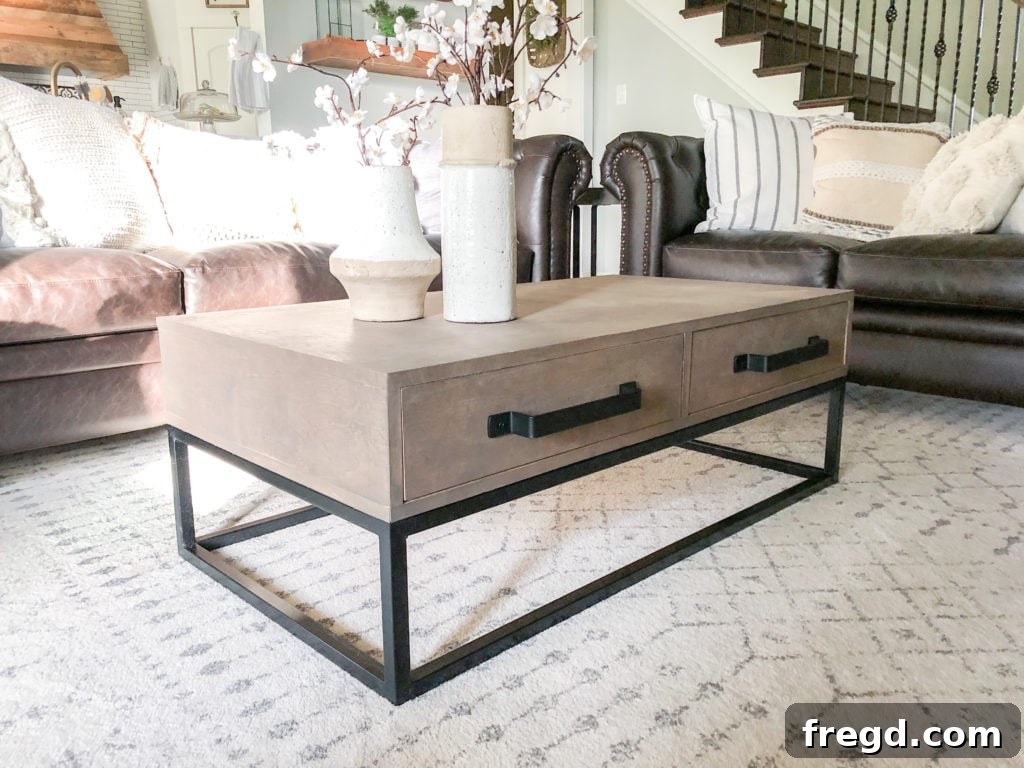
Learning how to TIG weld with Jen Woodhouse was an incredibly rewarding experience. We cannot overstate how impressed we were with the new Lincoln Electric 140 MP Multi-Process Welding Machine. Its user-friendly interface made setup a breeze, and its ease of operation allowed us to quickly grasp the basics of TIG welding. Furthermore, its affordability compared to many other multi-process welding machines on the market makes it an excellent investment for any DIY enthusiast or professional looking to expand their capabilities. This machine has truly opened up new avenues for our furniture design, proving that incorporating metal is not only achievable but also incredibly fulfilling. We highly recommend it to anyone considering venturing into the world of welding.
Our Final Thoughts on TIG Welding
This journey into TIG welding has been nothing short of inspiring. It’s incredible to think that just a short while ago, welding felt like an unattainable skill, confined to industrial settings. Now, with the right guidance and the right equipment, we’re confidently fabricating metal components for our projects. The precision and strength that TIG welding offers are perfectly suited for the intricate details and robust construction required in high-quality furniture. We’re already sketching out plans for future pieces that will beautifully marry the warmth of wood with the sleek strength of metal, creating unique, contemporary designs that stand the test of time. This new skill not only expands our creative repertoire but also empowers us to tackle even more ambitious DIY projects, pushing the boundaries of what we thought possible in our workshop.
Don’t miss out on our next video, where we’ll take you through the exciting process of building the exquisite wood portion of this very coffee table! Make sure to subscribe to our YouTube Channel and hit the notification bell so you’re the first to see it. We’re eager to share the complete transformation of this project from raw materials to a stunning finished piece.
Thank you so much for joining us on this incredible welding adventure. Your support means the world to us!
Happy Building!
Explore Shanty2Chic Merch!

We’ve heard your requests, and we’re absolutely thrilled to announce that our official Shanty2Chic merchandise is finally here! Due to overwhelming demand, we’ve launched our line of Shanty2Chic T-shirts, perfect for showcasing your love for DIY and rustic-chic style. These high-quality tees are designed with comfort and style in mind, making them a great addition to your workshop attire or everyday wardrobe. We’re incredibly excited to offer these to our amazing community. Just click HERE to explore our collection and grab yours today!