
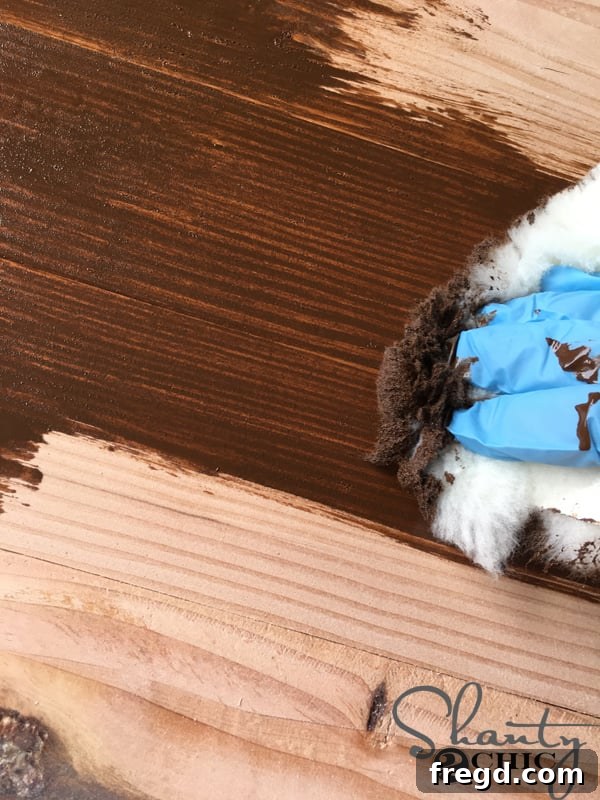
One question that resonates deeply within the DIY community and beyond, a query we encounter daily across all our social platforms, emails, and posts, is unequivocally: “How exactly do you stain wood to achieve that flawless, professional look?” It’s a question that speaks to the heart of woodworking, furniture restoration, and home décor. Recognizing this widespread curiosity and the desire for clarity, we’ve taken the initiative to demystify the process. We are thrilled to share our meticulously developed techniques and favored products, illustrating precisely how we attain those consistently beautiful, richly stained finishes that transform ordinary wood into extraordinary pieces. For a comprehensive, step-by-step visual walkthrough, we invite you to explore our dedicated YouTube video, aptly titled “How to Stain Wood.”
We’ve often expressed our profound preference for staining over painting, and for good reason: it genuinely is a remarkably straightforward process, yielding stunning results with relative ease. Staining allows the inherent character and unique grain patterns of the wood to shine through, adding a depth and warmth that paint often obscures. Our video serves as an invaluable resource, guiding you through each crucial step. Within this tutorial, you’ll discover our most cherished staining tools, insider tips and tricks gleaned from years of experience, and witness firsthand just how incredibly simple and rewarding the art of wood staining truly is. Prepare to unlock your inner woodworker and embark on your next DIY project with newfound confidence!
Don’t miss out on these essential insights! Simply click HERE or on the captivating image below to instantly access our comprehensive staining tutorial and begin your journey to beautifully stained wood.
Mastering the Art of Wood Staining: A Comprehensive DIY Guide
Wood staining is more than just applying color; it’s an opportunity to enhance the natural beauty of wood, transforming raw lumber into a work of art. Whether you’re refinishing an old dresser, building a custom farmhouse table, or simply giving new life to a thrift store find, the right staining technique can elevate your project from amateur to professional. While our video provides a visual guide, let’s delve deeper into the essential steps, tools, and considerations that will empower you to achieve stunning results every time.
Why Choose Staining Over Painting?
The debate between staining and painting is a common one in the DIY world, and while both have their merits, staining often emerges as the preferred choice for those who appreciate the organic beauty of wood. Staining doesn’t just add color; it penetrates the wood fibers, allowing the natural grain, knots, and imperfections to remain visible, creating a rich, dimensional finish that paint simply cannot replicate. This translucence gives stained wood a timeless appeal, adding warmth and character to any space. Beyond aesthetics, staining can be less labor-intensive than painting. It often requires fewer coats, and the application process can be more forgiving, making it an excellent option for beginners. Furthermore, stained surfaces tend to be more durable and resistant to scratches and chips, as the color is absorbed rather than sitting on the surface. When the goal is to celebrate the inherent charm of wood, staining is undoubtedly the superior choice.
Essential Tools and Materials for Your Staining Project
Before you even open a can of stain, gathering the right tools and materials is paramount. Proper preparation and the use of quality products will significantly impact the final outcome of your project. Here’s a checklist of what you’ll need:
- Wood Stain: Choose your desired color and type (oil-based, water-based, gel).
- Wood Conditioner: Crucial for ensuring even stain absorption, especially on blotch-prone woods like pine, maple, or birch.
- Polyurethane/Topcoat: To seal and protect your stained finish.
- Sandpaper: Various grits (e.g., 80, 120, 150, 220) for proper surface preparation.
- Sanding Block or Orbital Sander: For efficient and even sanding.
- Lint-Free Rags or Applicator Pads: For applying stain and wiping off excess. Old t-shirts or microfiber cloths work well.
- Foam Brushes or Natural Bristle Brushes: For applying topcoat.
- Gloves: To protect your hands from stain and chemicals.
- Safety Glasses: Essential for eye protection, especially during sanding.
- Drop Cloths or Plastic Sheeting: To protect your work area from spills.
- Stirring Sticks: To thoroughly mix the stain before and during use.
- Mineral Spirits or Water: For cleanup, depending on your stain type.
- Masking Tape: To protect areas you don’t want to stain.
Step-by-Step Guide to Achieving a Flawless Stained Finish
Step 1: Preparation is Key – Cleaning and Sanding
The success of any staining project hinges on thorough preparation. Start by cleaning your wood surface. Remove any dirt, grease, or old finishes. For bare wood, a quick wipe-down with a damp cloth is usually sufficient. For previously finished wood, you may need to strip the old finish first. Once clean, sanding is critical. Begin with a coarser grit sandpaper (e.g., 80 or 100) to remove imperfections and smooth the surface. Gradually work your way up to finer grits (150, then 220). The goal is to achieve a silky-smooth surface, as any remaining scratches will be amplified by the stain. Sanding also opens up the wood pores, allowing the stain to penetrate evenly. Always sand with the grain of the wood, and thoroughly remove all sanding dust with a vacuum or a tack cloth before proceeding.
Step 2: Condition the Wood for Even Absorption
This step is often overlooked but is absolutely vital, especially for woods known to stain unevenly (softwoods like pine or fir, and some hardwoods like maple or cherry). Wood conditioner helps to pre-seal the wood pores, preventing the stain from soaking in too deeply in some areas and creating a blotchy appearance. Apply a generous, even coat of wood conditioner according to the manufacturer’s instructions, typically allowing it to penetrate for 5-15 minutes before wiping off any excess. It’s crucial to apply your stain within the conditioner’s recommended window (usually within two hours) for optimal results.
Step 3: Applying the Stain – Technique Matters
Before application, ensure your stain is thoroughly stirred – never shake, as this can introduce air bubbles. Using a lint-free rag, foam brush, or applicator pad, apply the stain generously in the direction of the wood grain. Work in small sections, especially on larger pieces, to ensure you can manage the “open time” of the stain. After applying, allow the stain to penetrate for a few minutes. The longer you let it sit, the darker and richer the color will be. Experiment with an inconspicuous area or a scrap piece of wood to determine your desired color depth. Once you’ve achieved the desired penetration, firmly wipe off all excess stain with a clean, dry, lint-free rag, again, moving with the grain. If you leave too much stain on the surface, it can become tacky and may not cure properly, leading to an uneven finish.
Step 4: Drying Time and Multiple Coats
Allow the first coat of stain to dry completely according to the manufacturer’s instructions. Drying times can vary significantly based on the type of stain (oil-based generally takes longer than water-based), humidity, and temperature. Once dry, assess the color. If you desire a deeper, darker hue, you can apply a second coat, repeating the application and wiping process. Always ensure each coat is fully dry before applying the next. Avoid over-applying, as too many layers can create a thick, uneven, or even peel-prone finish.
Step 5: Applying the Protective Topcoat
Once your stain has fully dried and cured (this can take 24-72 hours, depending on the product), it’s time to apply a protective topcoat. This step is non-negotiable, as it seals the stain, enhances its durability, and protects the wood from moisture, scratches, and everyday wear. For this, we highly recommend Triple Thick Polyurethane, which offers exceptional protection. Apply thin, even coats of your chosen topcoat using a high-quality brush or foam applicator. Avoid applying too thickly, as this can lead to drips, bubbles, and uneven drying. Lightly sand with a very fine grit sandpaper (e.g., 320 or 400) between coats if recommended by the manufacturer, then thoroughly clean off any sanding dust. Apply 2-3 coats for optimal protection, allowing each coat to dry completely. We prefer a Satin or Matte finish for a subtle, elegant look that preserves the natural feel of the wood without excessive shine.
Our Go-To Wood Stains for Every Aesthetic
Over the years, we’ve experimented with countless wood stains, but a select few have consistently delivered exceptional results, becoming staples in our workshop. These are the colors we return to time and again for their rich pigments, ease of application, and stunning finished look. Here are a few of our very favorite stains that we like to use, each offering a distinct personality to your woodworking projects:
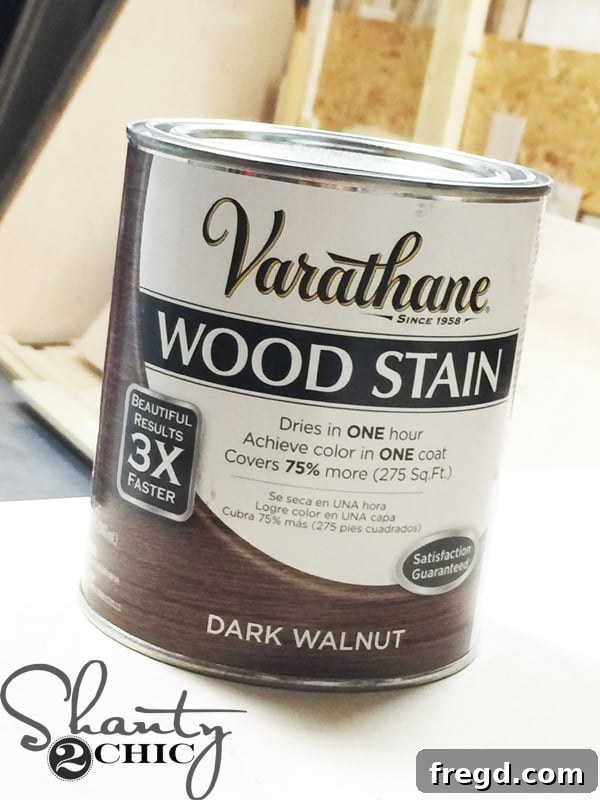
Dark Walnut Stain: Timeless Elegance and Depth
The Dark Walnut stain is a true classic, an enduring favorite for its ability to impart a deep, rich, and sophisticated brown hue that evokes a sense of tradition and timeless elegance. This stain beautifully mimics the appearance of aged walnut wood, making it perfect for heirloom furniture pieces, traditional cabinetry, or any project where you desire a warm, luxurious, and stately finish. It’s incredibly versatile, capable of transforming various wood species into pieces that radiate warmth and gravitas. If you’re aiming for a look that is both refined and inviting, Dark Walnut is an unparalleled choice. Find this beautiful shade HERE on Amazon.
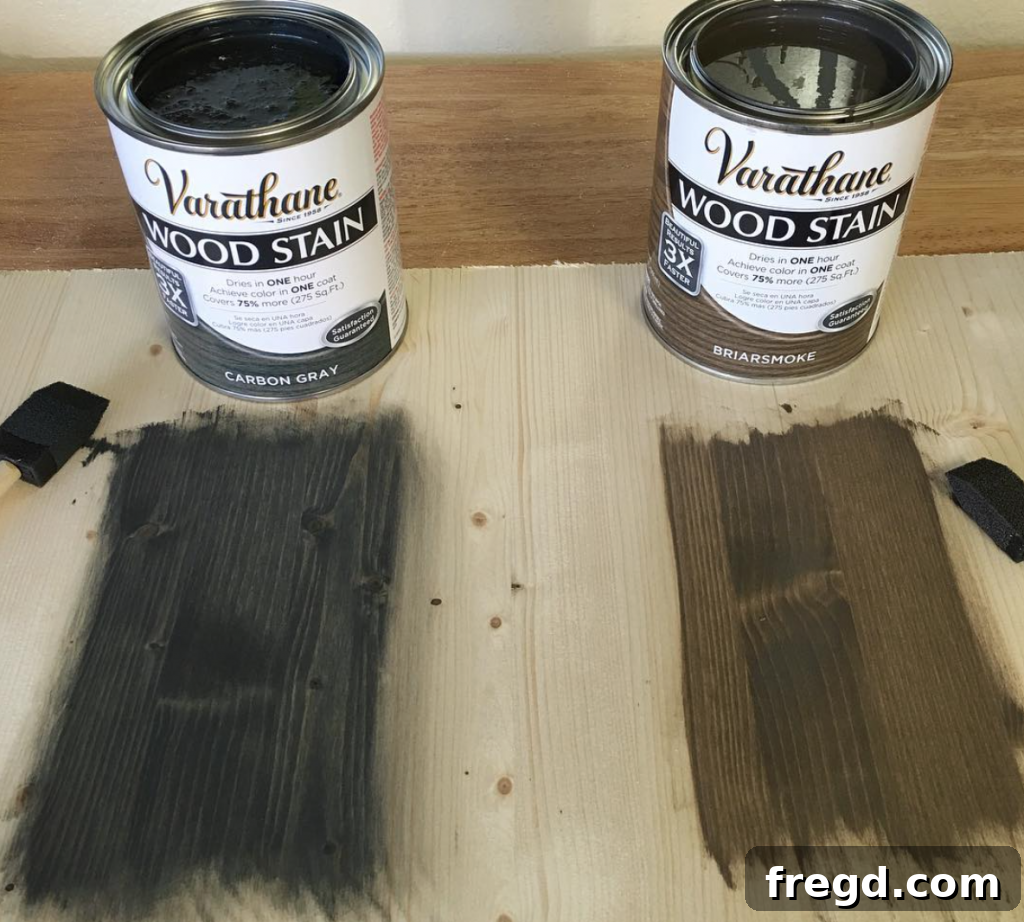
Carbon Gray and Briarsmoke: Modern Chic Meets Rustic Charm
For those seeking a more contemporary or weathered aesthetic, Carbon Gray and Briarsmoke offer two fantastic options that are incredibly popular today. Carbon Gray delivers a sleek, sophisticated charcoal tone that is perfect for modern farmhouse designs, industrial-inspired pieces, or urban chic décor. It offers a cool, understated elegance that can instantly update any wooden item. Briarsmoke, on the other hand, leans into a more rustic, weathered aesthetic. It’s a beautiful, complex gray-brown that creates a vintage, aged, and slightly smoky appearance, ideal for creating that sought-after reclaimed wood look without the hassle of sourcing old lumber. Whether you’re aiming for sleek sophistication or charming antiquity, these two stains provide distinct and highly desirable finishes. You can find Carbon Gray HERE on Amazon, and Briarsmoke HERE on Amazon.
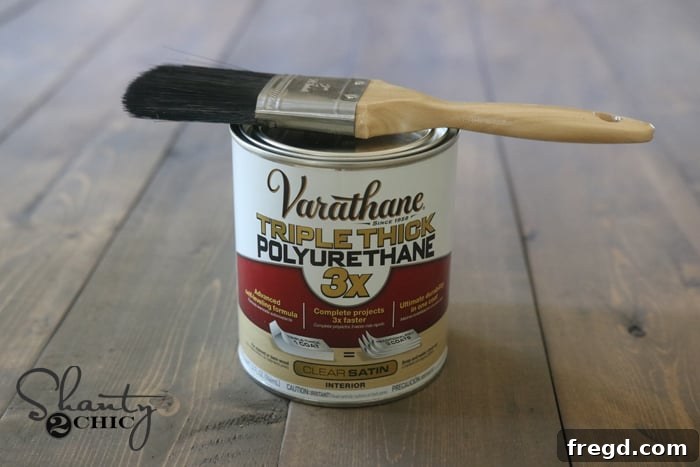
The Perfect Finish: Triple Thick Polyurethane
Once you’ve achieved your desired stain color, protecting it is paramount. For the ultimate finish, we absolutely swear by Triple Thick Polyurethane. This product is a game-changer, offering exceptional durability and a beautiful, smooth protective layer in fewer coats. We particularly love it in a Satin or Matte finish, as these options provide robust protection without an overly glossy sheen, allowing the natural beauty of the stained wood to remain the focal point. Satin offers a subtle luster, while Matte provides a nearly flat, natural wood look. This polyurethane protects against scratches, moisture, and general wear and tear, ensuring your stained projects stand the test of time and maintain their exquisite appearance for years to come. Find this essential finish HERE on Amazon.
Safety and Cleanup Considerations
Working with wood stains and finishes requires attention to safety and proper cleanup. Always work in a well-ventilated area to avoid inhaling fumes. Wear gloves to protect your skin and safety glasses to protect your eyes. Dispose of stain-soaked rags properly; oil-based stains can spontaneously combust, so always lay them flat to dry outside or submerge them in water before discarding. Clean your brushes and tools immediately after use with the appropriate solvent (mineral spirits for oil-based products, water for water-based products) to ensure they last for many projects to come.
Embark on Your Next Staining Adventure!
We sincerely hope that our detailed guide and accompanying video have not only answered your burning questions about how to stain wood but have also instilled in you the confidence and excitement to tackle your very own staining project. The transformation of a raw piece of wood into something beautiful and personalized is an incredibly rewarding experience, one that adds immense character and charm to your home. Don’t be afraid to experiment with colors and techniques; the beauty of DIY lies in learning and creating something uniquely yours.
Once you’ve completed your stunning creations, we would absolutely love to see them! Make sure to share your finished projects with us and our vibrant community on social media. Tag us and use the hashtag #shanty2chic so we can celebrate your successes and inspire others. Your creativity fuels our passion, and we can’t wait to see the beautiful pieces you bring to life through the art of wood staining!
Thanks for stopping by and being a part of our creative journey!
Ashley and Whitney