
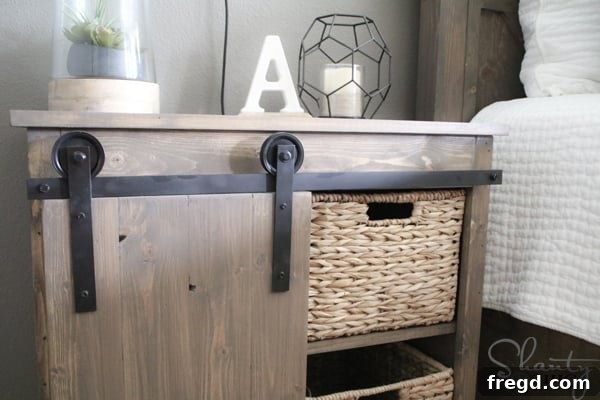
You’ve stumbled upon the ultimate guide to creating stunning, functional barn door hardware for an unbelievably low price! Yes, you read that correctly – achieve a high-end look for your sliding doors with a DIY solution costing around $20. We understand the allure of barn doors; their rustic charm and space-saving design make them a perfect addition to almost any interior. However, the cost of commercial barn door hardware can be prohibitive, often exceeding the budget for many renovation or furniture upcycling projects. That’s why we embarked on a mission to engineer a truly budget-friendly, yet robust and beautiful, DIY version for you.
Our journey to perfecting this design involved dedicated effort, spanning two full days of experimentation and four crucial trips to Home Depot to source and refine the perfect components. The result is a system that not only rivals the aesthetic appeal of expensive alternatives but also stands up to daily use. We’re thrilled to finally unveil this project and empower you to transform your spaces without breaking the bank. This comprehensive guide will walk you through every step, ensuring you can replicate our success with confidence and ease.
While this article provides detailed written instructions, some aspects of this project are best understood through visual demonstration. For a dynamic, step-by-step walkthrough, we highly recommend watching our companion video tutorial. It visually breaks down each stage, from component selection to final assembly, ensuring clarity for even the most novice DIY enthusiast. Just follow the instructions and click play on the video referenced within the guide for a truly immersive learning experience.
Click here to watch the essential video tutorial for this DIY Barn Door Hardware project!
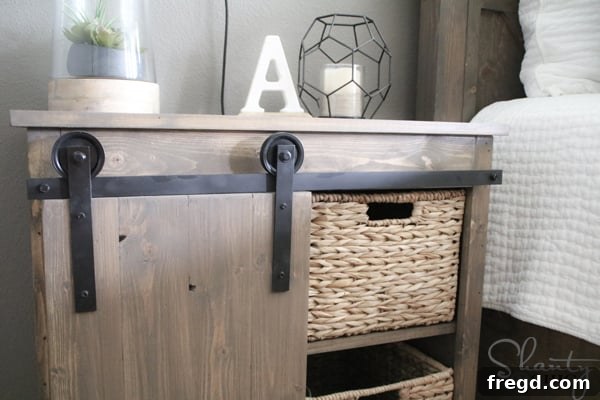
The beauty of this DIY barn door hardware extends beyond its incredible affordability; it’s also completely customizable. Whether you’re enhancing a small cabinet, adding sliding doors to a wardrobe, or installing a full-sized barn door in your home, this system can be adapted to suit your needs. The key lies in adjusting the length of your track piece. For longer applications, simply add more spacers with hex screws along the track to ensure adequate support and smooth operation. This flexibility means you can achieve a cohesive, designer look across various projects, all while maintaining that coveted budget-friendly status.
Are you ready to dive into a rewarding project that combines functionality, style, and significant savings? Let’s gather our materials and begin crafting your very own custom barn door hardware!
DIY Barn Door Hardware – The Essential Supplies
Navigating the hardware store aisles can sometimes feel overwhelming, especially when you’re looking for specific components for a new project. To simplify your shopping experience, we’ve meticulously listed all the necessary supplies below, complete with direct links to Home Depot products where applicable. This ensures you can easily locate exactly what you need to build your DIY barn door hardware efficiently. Please note that the quantities listed are for ONE barn door setup. If your project requires two barn doors, remember to double the quantities for all items, except for the aluminum flat bar which is typically long enough for two smaller doors.
Key Components for Your Track and Rollers:
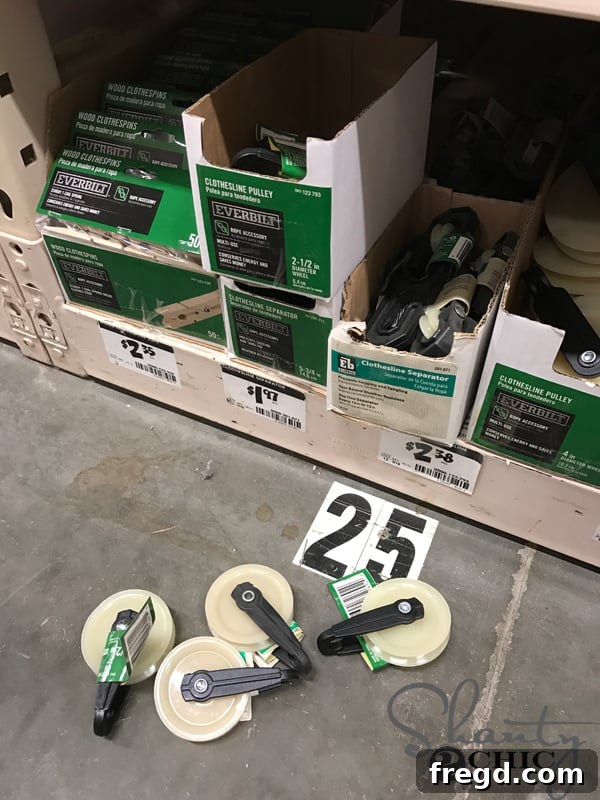
The true genius of this budget-friendly hardware lies in repurposing common items. The “star of the show” for our rolling mechanism are these incredibly versatile **Clothesline Pulleys**. You will need two of these per barn door. These pulleys, specifically the Everbilt 2-1/2 in. White Clothesline Pulley, are available at Home Depot for approximately $2.38 each. The trick is to carefully disassemble them – a process clearly demonstrated in our video tutorial – to extract the wheel component. This simple hack transforms a basic pulley into a perfectly functional barn door roller. *A crucial note: We’ve found that the pulleys stocked at Home Depot are designed in a way that allows for easy disassembly. Pulleys from other retailers, like Lowe’s, often have a different construction that makes them impossible to take apart without damage. For best results, we highly recommend purchasing your pulleys exclusively from Home Depot.
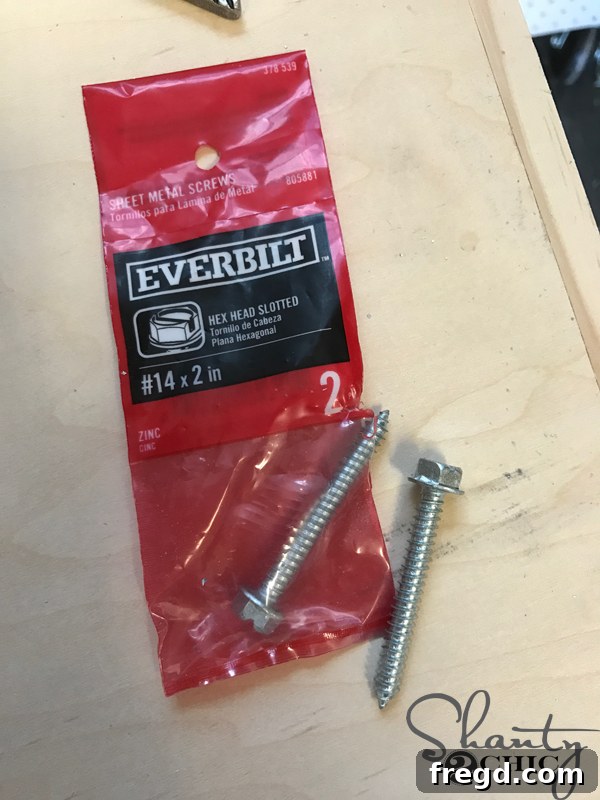
For securely mounting your track to the furniture or wall, you’ll need a package of **2-inch Hex Screws**. These robust screws provide the necessary strength to hold the track firmly in place. Look for Everbilt #14 x 2 in. Slotted Hex Head Sheet Metal Screws, typically sold in packs of two, at your local Home Depot.
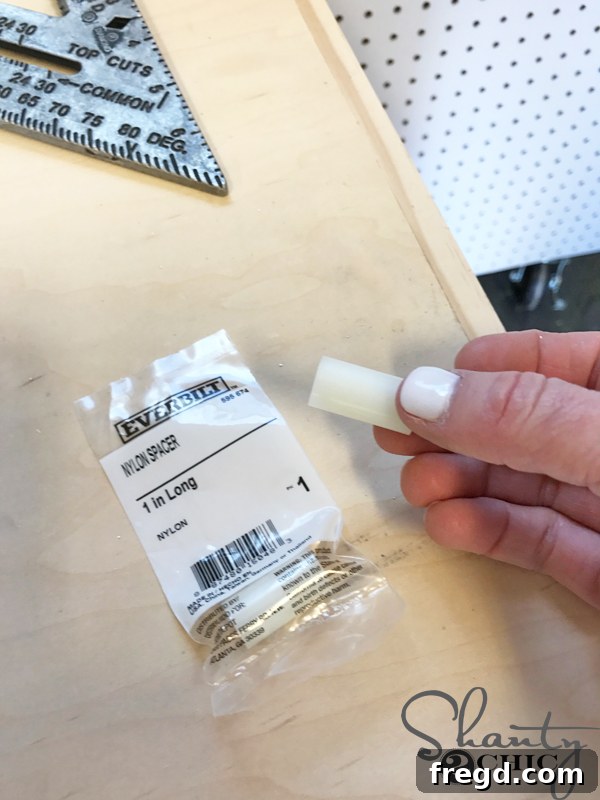
To create the necessary clearance between your barn door track and the mounting surface, you’ll require two **1-inch Spacers**. While metal spacers are ideal for ultimate durability, nylon spacers are perfectly acceptable for this project, especially since all hardware will be spray painted for a uniform finish. You can find these essential components, such as Everbilt 0.328 in. x 1 in. x 1/2 in. O.D. Nylon Spacers, at Home Depot.
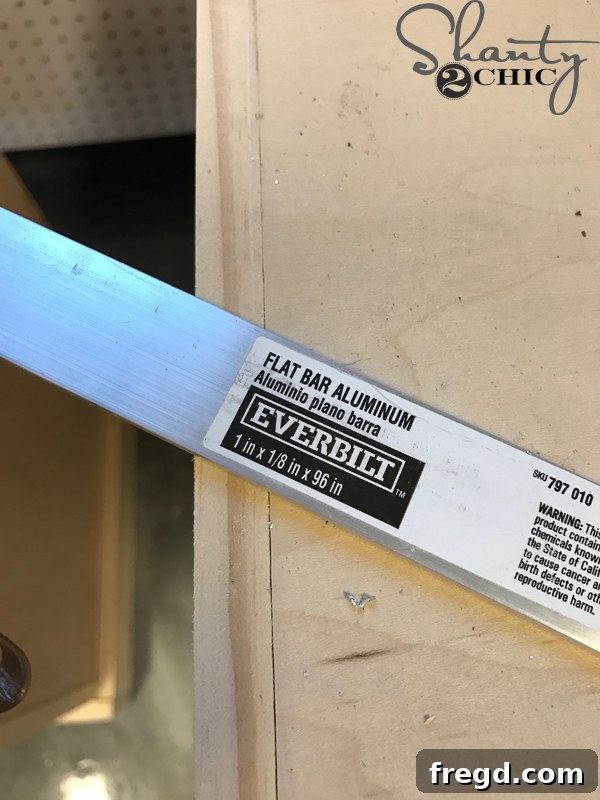
The foundation of your barn door track is the **1 inch x 1/8 inch x 96 inch Aluminum Flat Bar**. This lightweight yet sturdy material will form the rail on which your barn door glides. A single 96-inch flat bar is typically sufficient for building hardware for two standard-sized barn doors, making it an incredibly cost-effective choice. You can purchase this Everbilt 1 in. x 96 in. Aluminum Flat Bar at Home Depot.
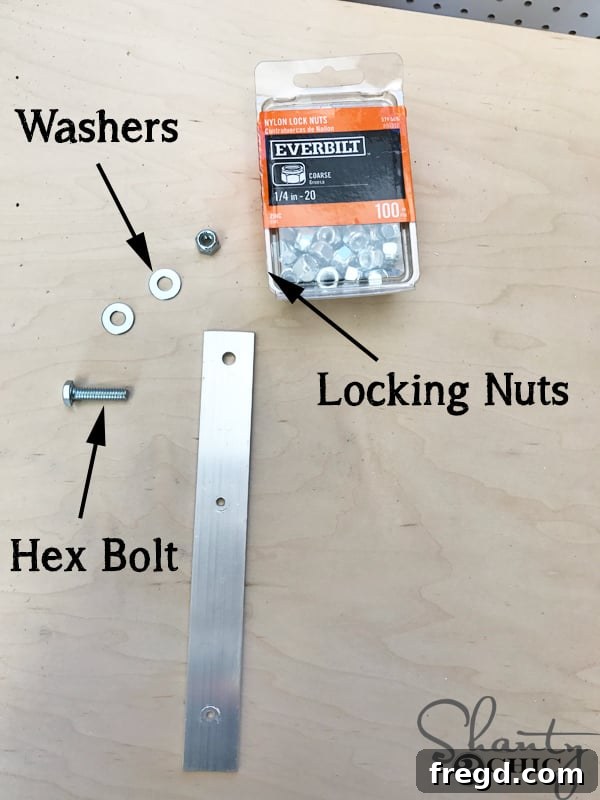
DIY Barn Door Hardware – Wheel Assembly Components
To construct the smooth-rolling wheel assemblies that carry your barn door, you’ll need a few additional hardware pieces:
- 2 – 1/4 inch x 1 inch Hex Bolts: These bolts will serve as the axle for your repurposed pulley wheels, ensuring secure attachment to the door. Find them HERE.
- 1 package of 1/4 inch Washers: Washers are crucial for distributing the load evenly and preventing the bolts from digging into the material, allowing for smoother wheel rotation. A pack of Everbilt 1/4 in. Stainless Steel Flat Washers should provide more than enough.
- 1 package of 1/4 inch Locking Nuts: These specialized nuts are essential for keeping your wheel assemblies tightly secured, preventing them from loosening over time due to door movement. Opt for a package of Everbilt 1/4 in. -20 tpi Zinc Plated Nylon Lock Nuts.
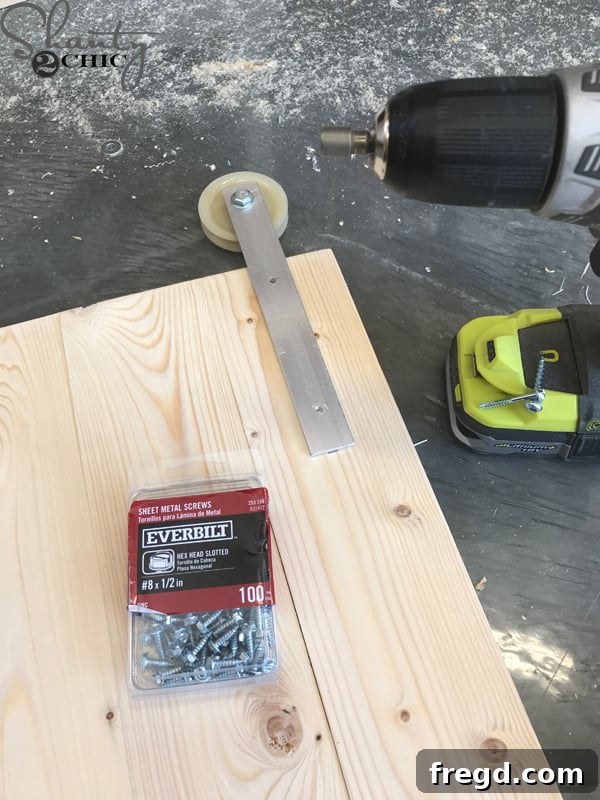
Finally, to attach the wheel assemblies to your barn door itself, you’ll need a quantity of **small Hex Screws**. A bulk box ensures you have plenty for this project and any future DIY endeavors. Grab a box of Everbilt #8 x 1/2 in. Zinc Plated Steel Hex Head Slotted Drive Sheet Metal Screws.
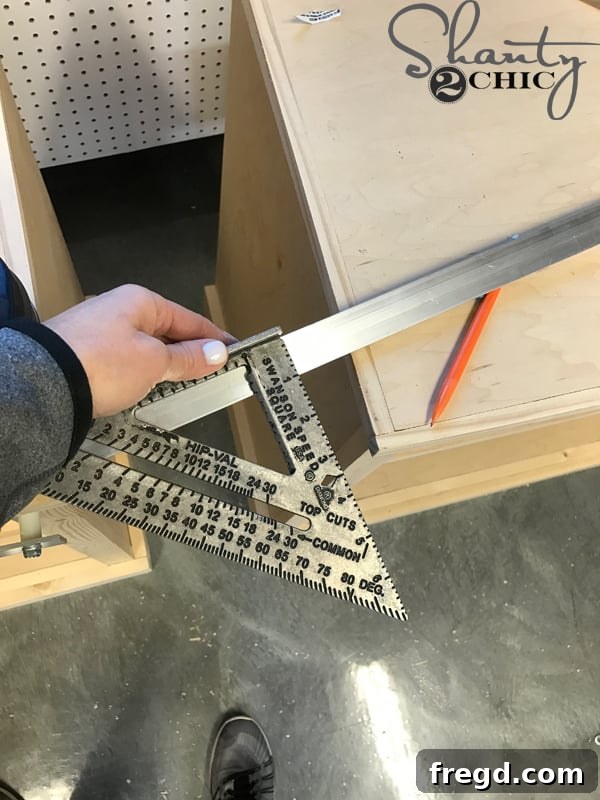
Essential Tools for Fabrication:
Precision is key in DIY projects. To accurately mark your cuts on the aluminum flat bar, you will need a **Speed Square** and a pencil. We recommend the speed square available HERE on Amazon for its reliability and ease of use.
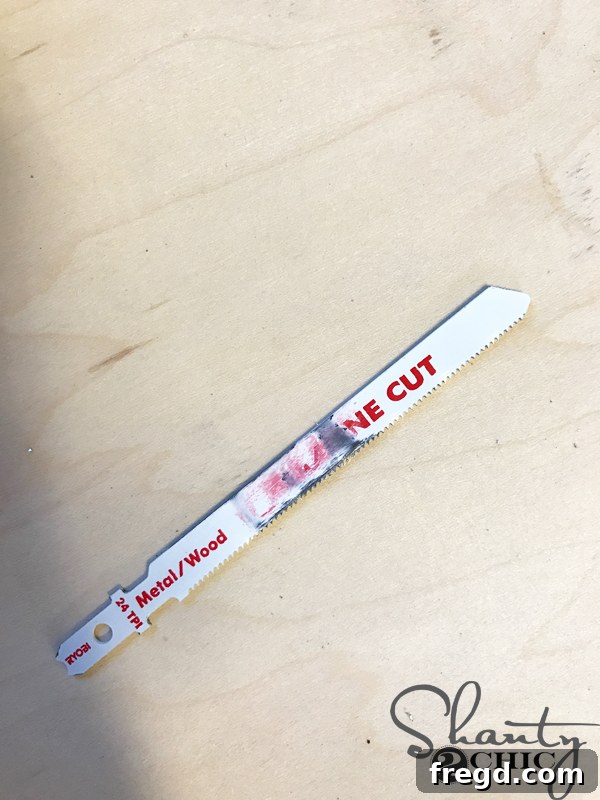
Cutting the aluminum flat bar requires a powerful tool and the correct blade. A jigsaw equipped with a **metal-cutting jigsaw blade** will make quick work of the task. Ensure you select a blade designed for cutting metal to prevent damage to your tool and achieve clean cuts. You can find a suitable RIDGID 8 TPI Jig Saw Blade at Home Depot.
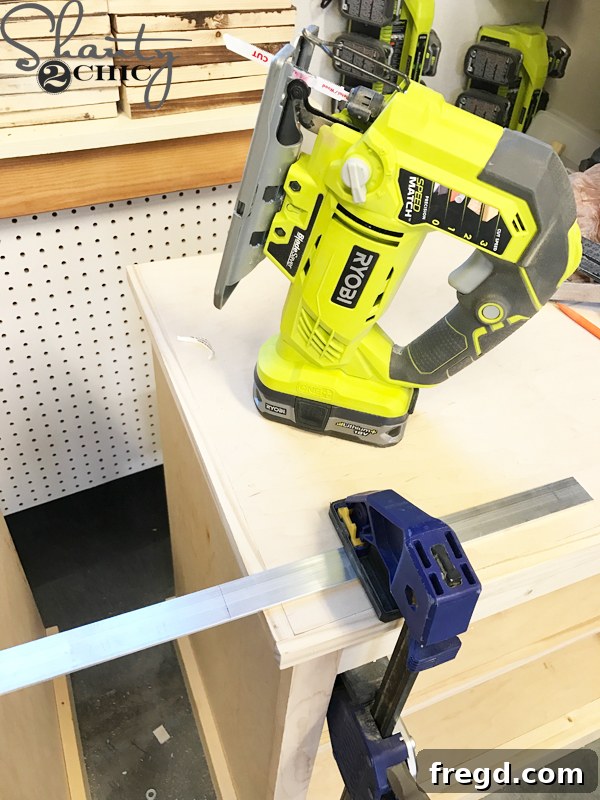
Safety and stability during cutting are paramount. Always use sturdy clamps to secure the aluminum flat bar to a workbench or stable surface before making any cuts with the jigsaw. This prevents the material from shifting, ensuring accurate cuts and significantly reducing the risk of injury. Double-check that your clamps are tightly fastened before you begin.
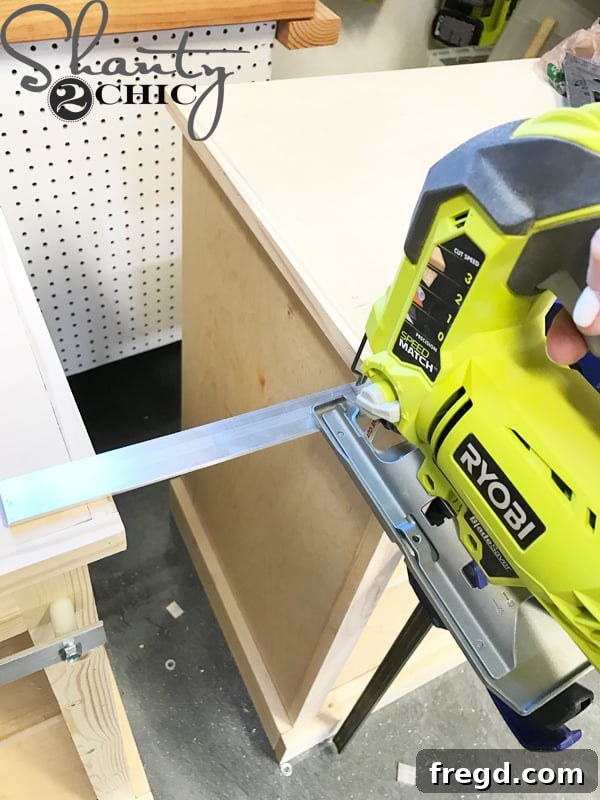
With the right tools and proper technique, you’ll find that the jigsaw cuts through the aluminum flat bar “like butta!” — smoothly and efficiently, leaving you with clean edges for your track.
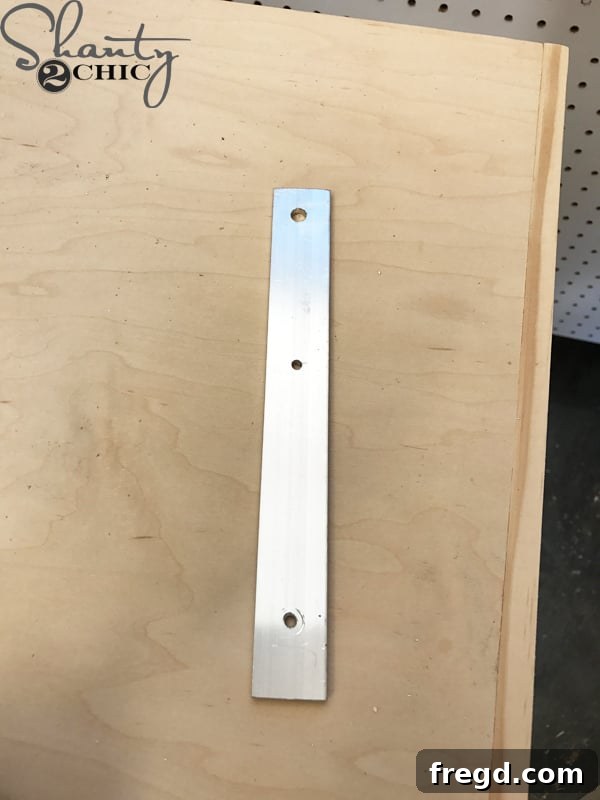
Once your flat bar is cut to the desired length, the next step involves predrilling holes for mounting the track and attaching the wheel assemblies. You will need a set of **metal drilling drill bits** for this task. Using the correct bits is essential to cleanly penetrate the aluminum without damaging the material or dulling your tools. A versatile set like the Ryobi Titanium Coated Drill Bit Set is highly recommended. For precise guidance on the placement and sizing of these holes, please refer back to our comprehensive video tutorial, which provides clear visual instructions.
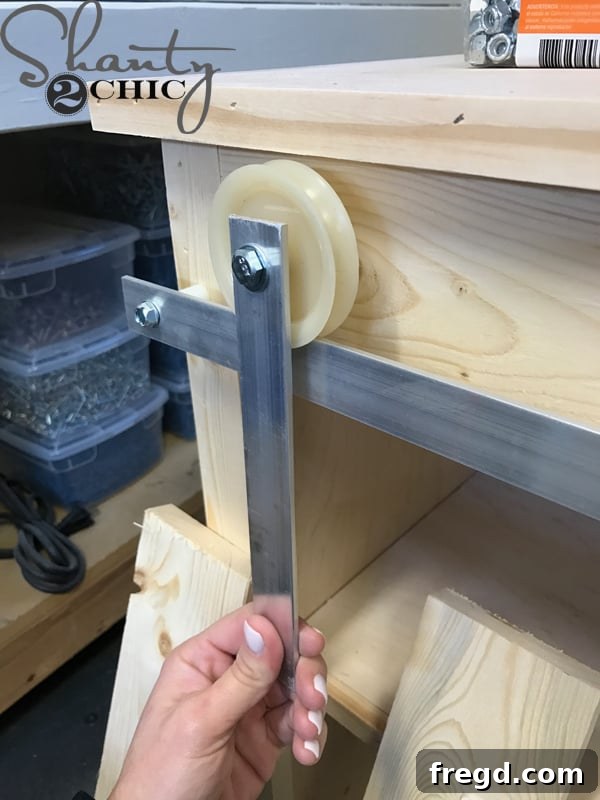
After all holes are accurately predrilled in the flat bar, you can proceed with the assembly of your custom barn door wheels. This involves integrating the repurposed clothesline pulleys with the hex bolts, washers, and locking nuts. The goal is to create a secure, free-spinning wheel assembly that will glide smoothly along your track.
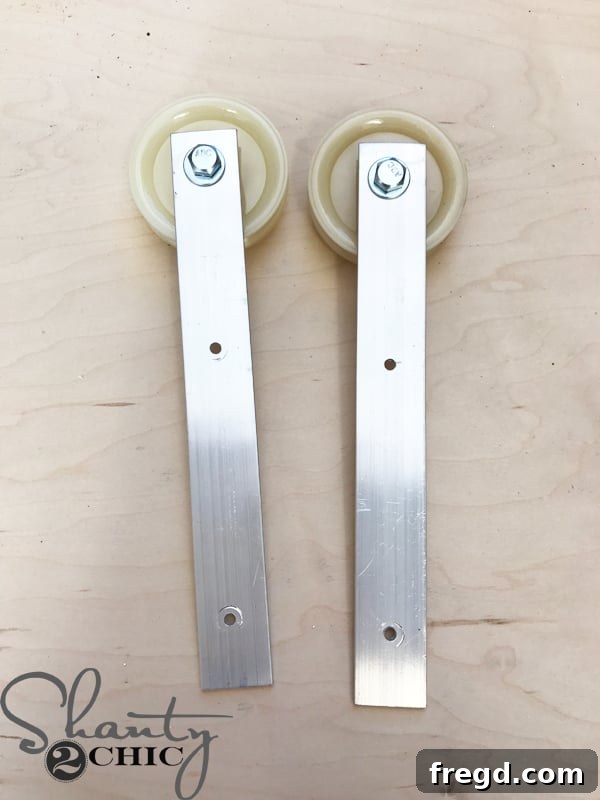
The exact steps for assembling the wheels, ensuring they are snug but still rotate freely, are best demonstrated visually. For a clear, detailed guide on this crucial part of the process, please refer to the specific segment in our video tutorial. It covers everything from disassembling the pulleys to securing the bolts and nuts.
DIY Barn Door Hardware – Installing the Track
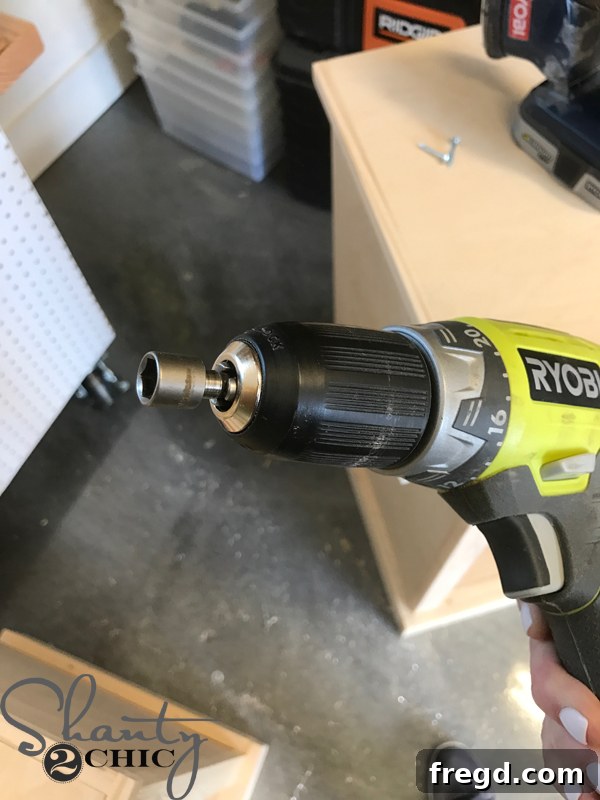
When it comes to attaching the track, a specialized tool will make the job much easier and more efficient. You’ll need a **nut driver bit** to securely drill the hex screws into your barn door track and mounting surface. This bit ensures a snug fit and prevents stripping the screw heads. A versatile set, such as the Ryobi Speedload Driver Bit Set, will likely include the necessary sizes.
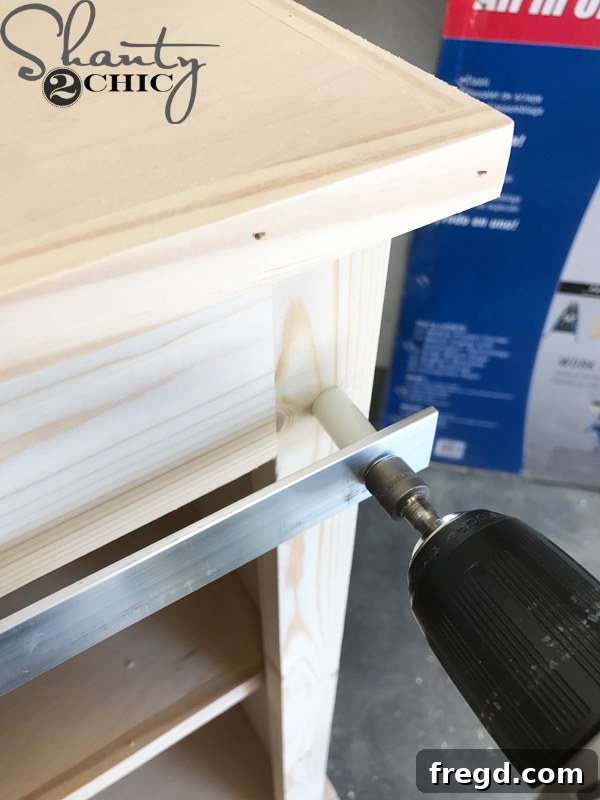
Once all your predrilled holes are complete and your wheels are fully assembled, the exciting moment of attaching the barn door track to your furniture piece or wall has arrived. Carefully align the track, ensuring it is perfectly level, then use your hex screws and nut driver bit to fasten it securely. This step is critical for the smooth and safe operation of your barn door. Take your time to measure twice and drill once, ensuring a sturdy installation.
DIY Barn Door Hardware – The Finishing Touch: Painting
Before committing to paint, it’s always a good practice to perform a test fit. Mount the entire hardware system and briefly attach your barn door to ensure everything aligns perfectly and slides smoothly. This preliminary check allows you to make any necessary adjustments before applying the final finish, saving you time and effort in the long run. Confirm that the track is level, the wheels move freely, and the door hangs as expected.
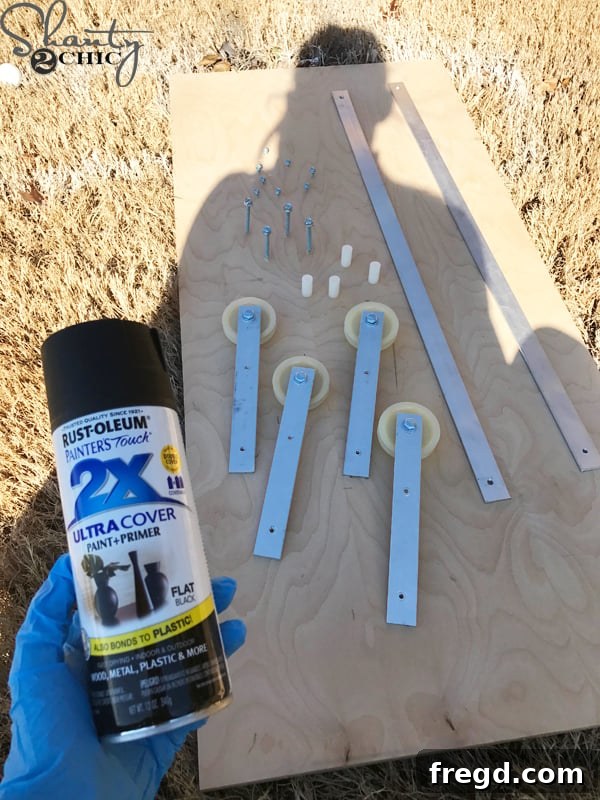
Once you’ve confirmed a perfect fit, it’s time to add the aesthetic appeal. We achieved our desired industrial-chic look using two coats of **Rust-Oleum Flat Black Spray Paint**. This specific paint provides excellent coverage and a durable, matte finish that beautifully mimics high-end barn door hardware. You can purchase it conveniently HERE on Amazon. *Pro Tip: As the paint dries, periodically spin the wheels on your assemblies. This ensures full, even coverage on all surfaces of the wheel and prevents any paint buildup from hindering their smooth rotation. Allow ample drying time between coats and before final assembly to prevent tackiness or smudges.
With the paint completely dry and cured, re-mount the track securely onto your furniture piece. Then, carefully attach your barn door to the newly installed hardware. This final step brings your vision to life! For a detailed visual guide on hanging the door and making any final adjustments to ensure effortless gliding, our video tutorial is an invaluable resource.
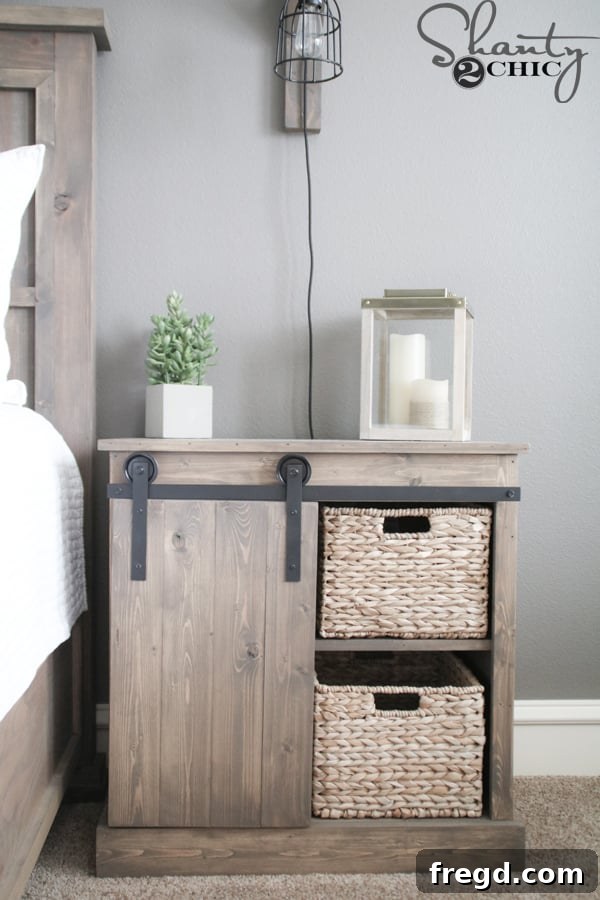
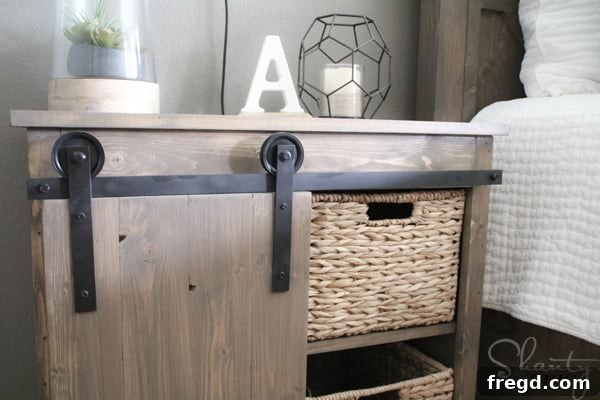
And there you have it! Custom, robust, and stylish DIY Barn Door Hardware crafted entirely by you, for less than you ever thought possible. This project proves that achieving a high-end look doesn’t require a high-end budget. You’ve successfully transformed simple hardware store components into a striking feature that adds character and functionality to your space.
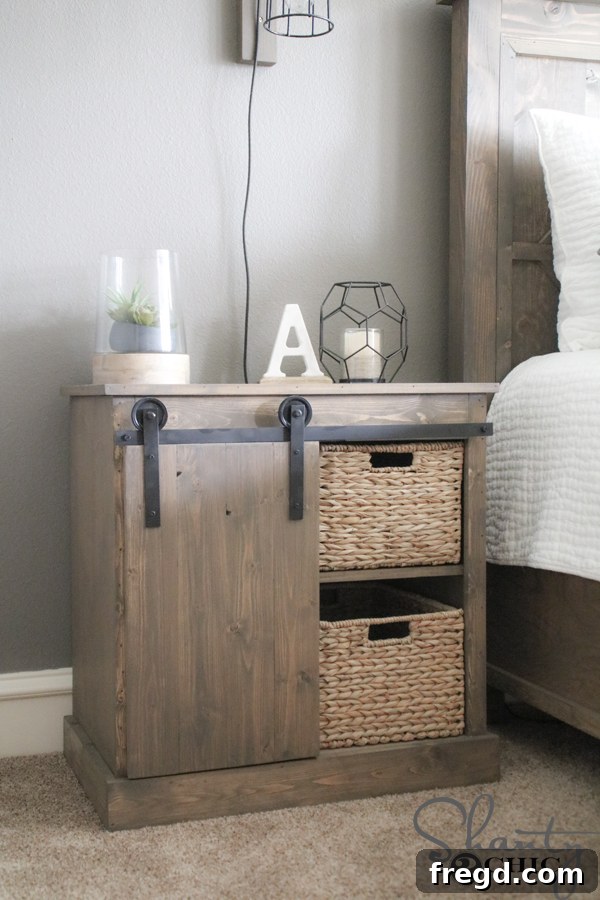
Don’t stop here! This project is just one of many inspiring builds we love to share. Make sure to subscribe to our YouTube channel so you don’t miss out on our upcoming video tutorials. Our next exciting guides will show you how to build the awesome barn door itself, followed by a tutorial on crafting the perfect accompanying light sconce to complete your rustic-industrial aesthetic. Join our community of DIY enthusiasts and let’s keep building amazing things together!
Thank you so much for taking the time to follow along with this tutorial. We hope you feel empowered and inspired by what you’ve created.
Happy Building!