
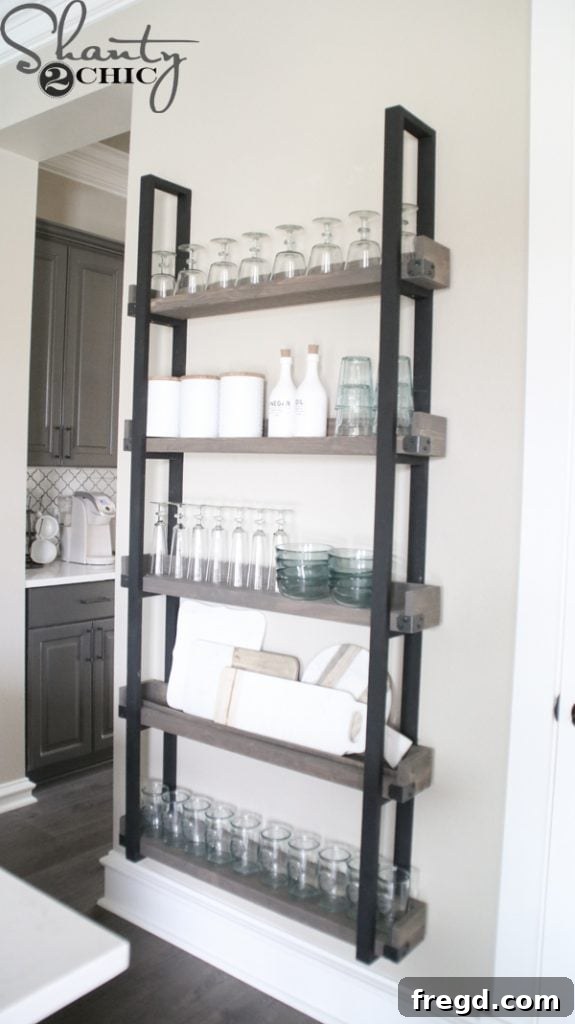
DIY Floating Plate Rack: Elevate Your Home Decor with Custom Shelving
Are you searching for a striking yet simple way to enhance a plain, uninspired wall in your home? Look no further! This DIY Floating Plate Rack project stands out as one of our absolute favorites. It’s not only an incredibly easy build, making it ideal for beginners eager to dive into woodworking, but it also creates a dramatic focal point that breathes life into any room. Imagine a beautifully organized display for your cherished dinnerware, favorite cookbooks, or decorative accents – all crafted by your own hands!
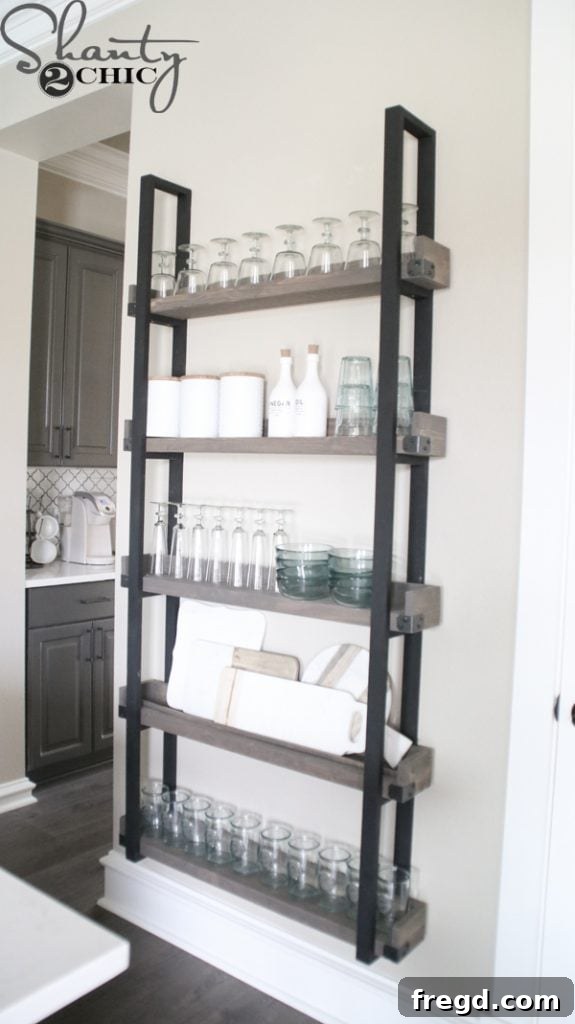
Watch the Step-by-Step Video Tutorial!
Sometimes, seeing is believing! To give you an even clearer understanding of each stage, we’ve put together a comprehensive video tutorial. Come join us in our workshop as we guide you through the entire process of building and proudly hanging this magnificent piece. It’s packed with visual tips and tricks to make your build even smoother. Just click the video below to watch and learn!
Wasn’t that incredibly straightforward? With the visual guidance from the video and the detailed written instructions ahead, you’re perfectly set for success. Now, let’s get down to the essential details. You can download the free printable plans to guide you through every cut and measurement. Once you have your plans in hand, you can follow along with the step-by-step tutorial provided below. A quick but important note: The trim sticks mentioned in the supply list are optional. However, if you envision using your new floating plate rack to display plates, platters, or even cutting boards in an upright position, you will definitely need to include a piece of trim on each shelf where these items will be placed. This trim acts as a crucial barrier, preventing your items from sliding off. Keep this in mind when you’re gathering your materials to ensure you have everything you need for your desired display.
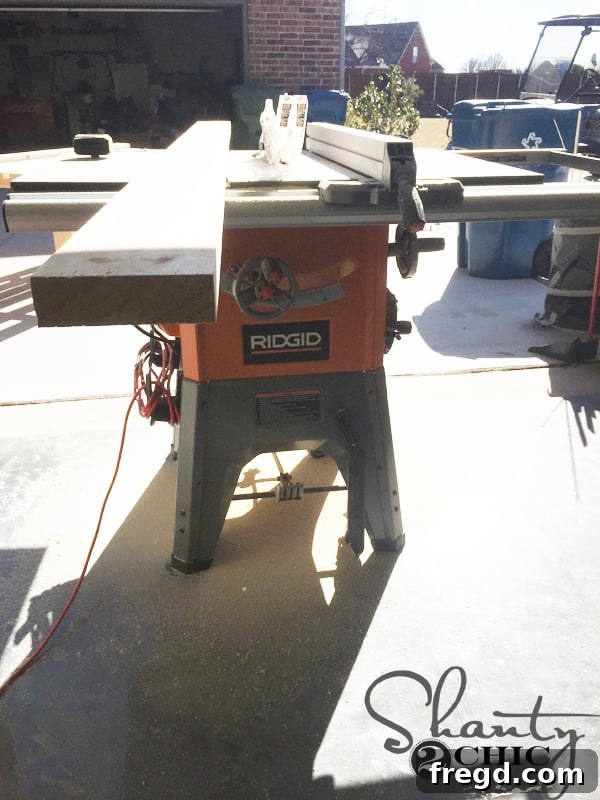
Getting Started: Preparing Your Wood and Making Initial Cuts
Precision Ripping for a Refined Finish
To begin, I opted to rip all of my 2×6 boards down to a precise 4.25 inches. While this step is not strictly necessary for the structural integrity of the floating plate rack, it offers distinct advantages. Firstly, it allowed me to achieve a more narrow overall depth for each shelf, contributing to a sleeker, more streamlined appearance on the wall. Secondly, ripping the boards ensures perfectly clean and straight edges on all sides of the shelf pieces, which significantly enhances the final aesthetic. If you decide to skip this ripping step to save time or materials, simply ensure that you adjust the measurements for the ladder rungs and the side shelf pieces accordingly to accommodate the full 2×6 width. Always double-check your measurements against your chosen board dimensions.
Making Precise Cuts and Drilling Pocket Holes
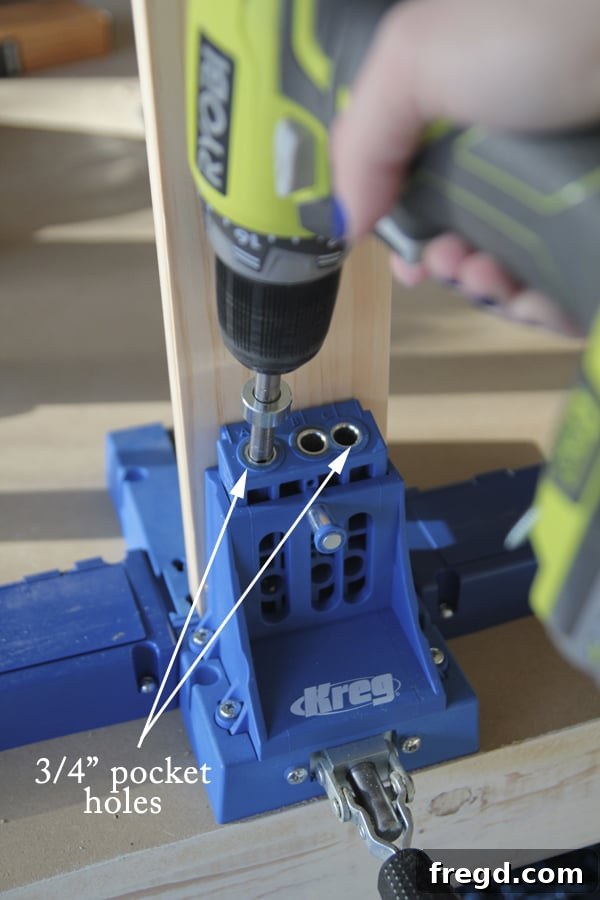
With your boards prepared, the next crucial step involves making all your necessary cuts according to the provided plans, followed by drilling the pocket holes. Accurate cuts are fundamental to ensuring that all components fit together seamlessly, resulting in a professional-looking finished product. Once your pieces are cut, refer to your detailed plans for the exact placement and quantity of pocket holes. Pocket holes are an ingenious method for creating strong, concealed joints, which is essential for the clean aesthetic of our floating plate rack. If you’re new to pocket hole joinery, we highly recommend watching our dedicated How to Use a Kreg Jig video HERE. This tool simplifies the process immensely, making it accessible even for novice woodworkers. You can find our favorite model of the versatile Kreg Jig HERE on Amazon, a fantastic investment for any DIY enthusiast.
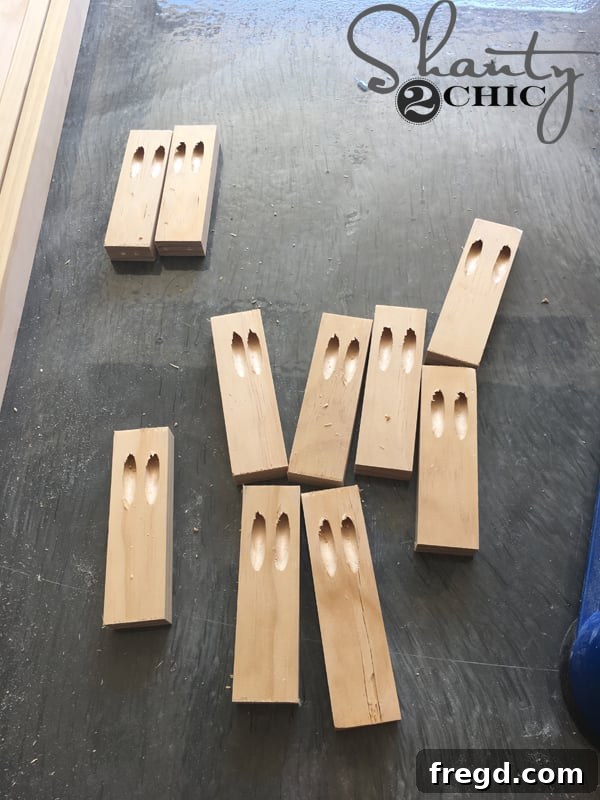
Here’s a closer look at the rung pieces, clearly showing the precisely drilled pocket holes. These holes are strategically placed to ensure strong, hidden connections when assembling the ladder frame.
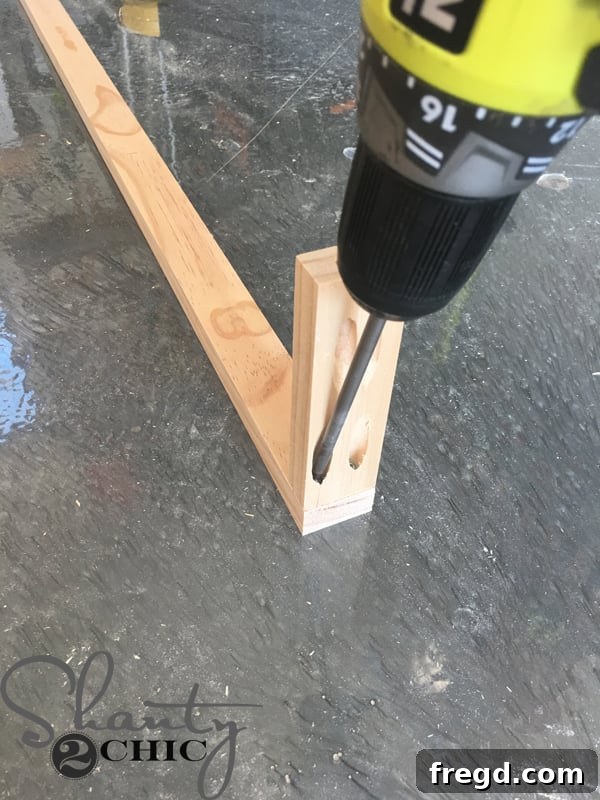
Assembling the Ladder Frame
Constructing the First Side of the Ladder
It’s time to bring your cuts to life by assembling the ladder frames, which form the core structure of your floating plate rack. Begin by attaching the rungs to one of the long side pieces of the ladder. For a robust and lasting bond, generously apply wood glue to each joint before securing with 1 1/4-inch pocket hole screws. The combination of glue and screws creates an incredibly strong connection. As you work, pay close attention to the orientation of your pocket holes: ensure they all face the same direction. Specifically, when the ladder is eventually mounted on the wall, these pocket holes should face upwards, towards the ceiling. This crucial detail ensures they will be hidden from view once the shelves are in place, maintaining a clean and professional appearance.
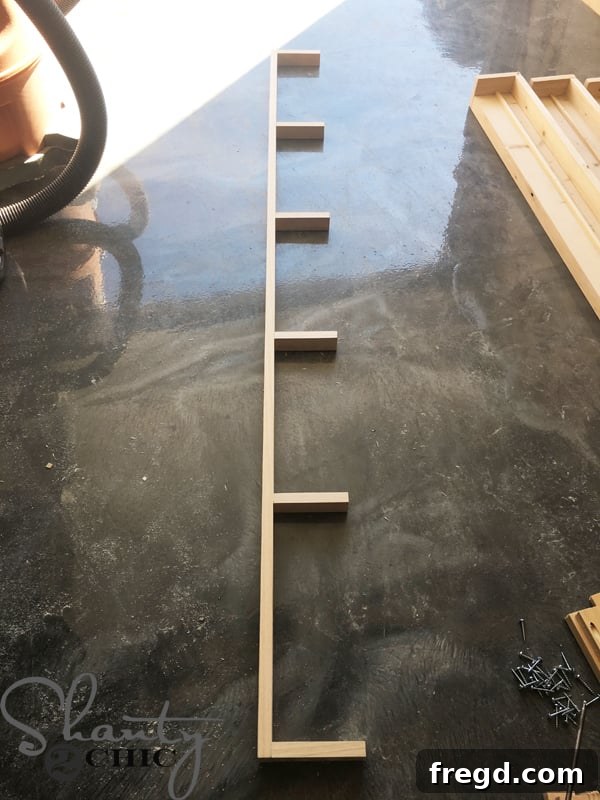
This image showcases one side of the ladder completely assembled, providing a clear visual of how the rungs are attached to the side piece. Notice the consistent direction of the pocket holes, an important step for the next stage of assembly.
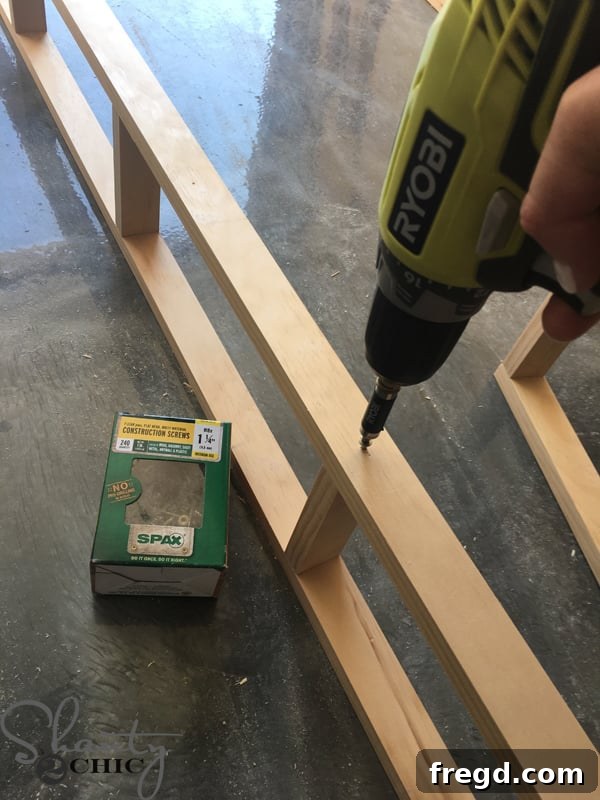
Attaching the Second Side of the Ladder
With the first side of your ladder complete, it’s time to connect the second side. For this connection, you’ll use 1 1/4-inch wood screws along with wood glue. This side will form the back of your ladder frame and will ultimately be attached to the wall. Because this side will be hidden against the wall, there’s no need to drill pocket holes here. The screw holes will be completely concealed once the unit is mounted, making for a straightforward and efficient assembly process.
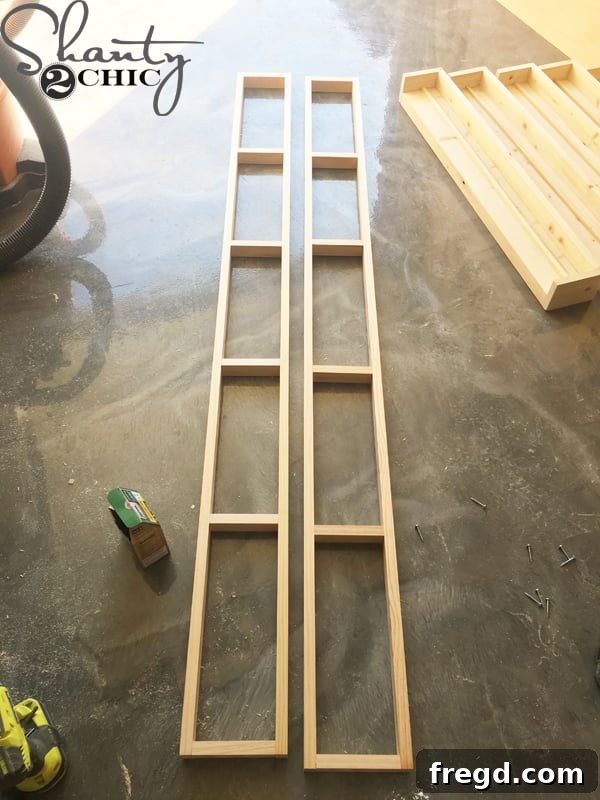
And just like that, both ladder frames are complete! These two robust structures will form the backbone of your elegant floating plate rack.
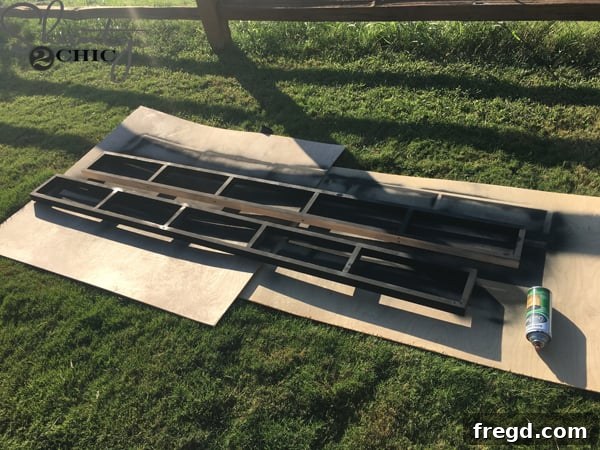
Adding Style and Support: Painting and Hardware
Pre-Finishing the Ladders and Strong-Ties
At this juncture, with the primary ladder frames assembled, I decided it was the perfect time to apply a coat of spray paint to both the ladders and the strong-ties. These strong-ties, which serve as crucial corner pieces for added stability and a touch of industrial style, benefit greatly from pre-finishing. Painting them separately ensures thorough coverage and a cleaner final look, especially in areas that might be difficult to reach once the entire unit is assembled.
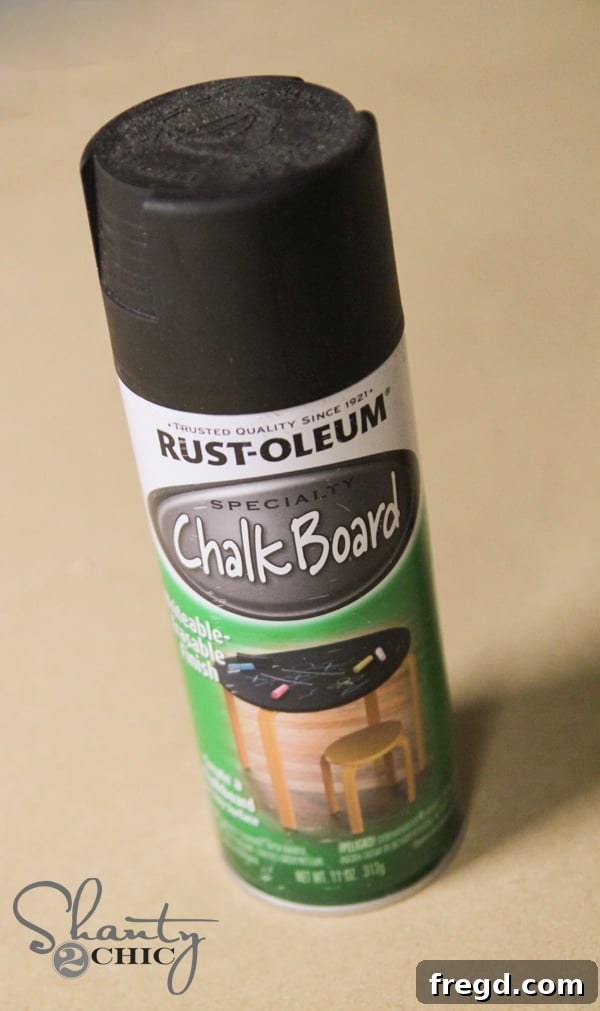
For the ladders, I opted for Rust-Oleum Chalk Board spray paint, found HERE on Amazon. This particular paint delivers an excellent flat black finish, which perfectly complements the rustic yet modern aesthetic I was aiming for. Its matte appearance provides a sophisticated contrast to the wood grain. The strong-ties used for the corner pieces are readily available in the framing aisle at your local Home Depot, making them easy to source for your project.
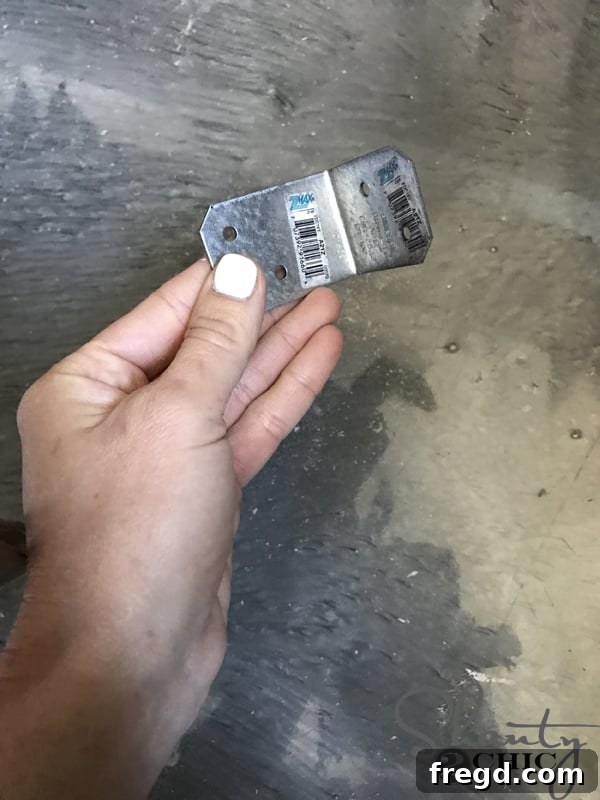
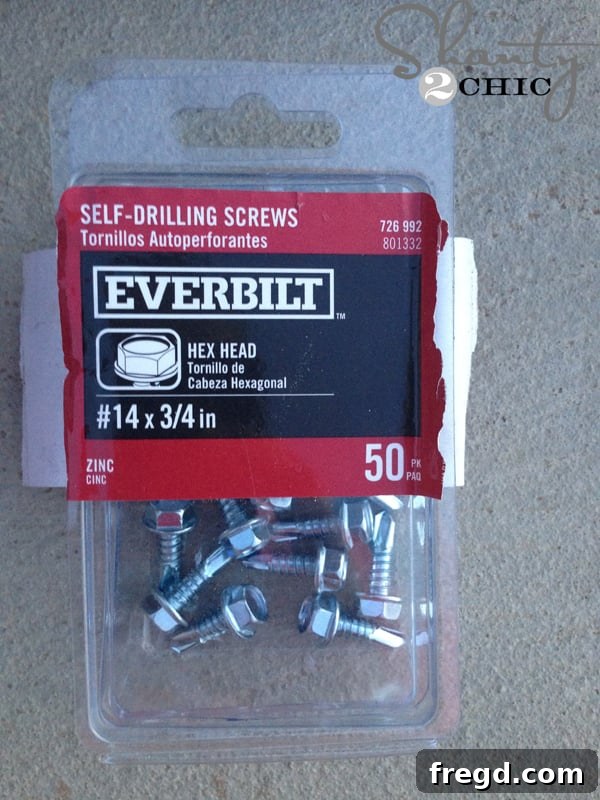
These are the small hex screws I utilized to securely attach the strong-ties. They provide a sturdy connection and a subtle industrial detail that enhances the rack’s design. You can also find these hex screws conveniently at Home Depot, typically alongside other fasteners and hardware.
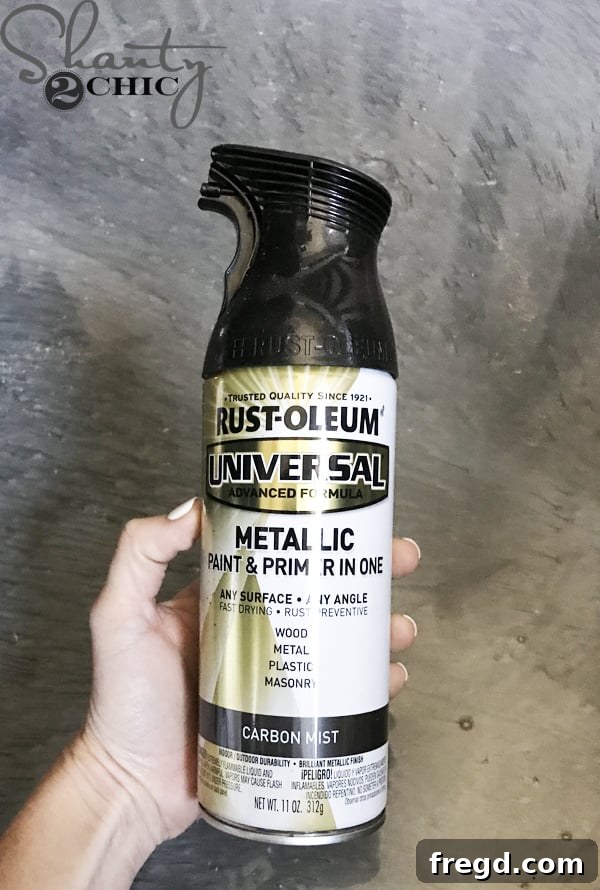
To match the aesthetic of the strong-ties and hex screws, I used Carbon Mist spray paint, also available HERE on Amazon. This color provides a subtle, sophisticated finish that ties all the metal components together seamlessly, contributing to the overall cohesive look of the floating plate rack.
Final Ladder Assembly: Adding Cleats
Preparing and Attaching the Back Cleats
Now, let’s turn our attention to the back cleats, an essential component for mounting your plate rack securely to the wall. Refer to your plans to drill the appropriate 3/4-inch pocket holes into each cleat. These cleats will be attached to the back side of the ladder frames, positioned strategically to support the shelves and facilitate a hidden mounting system.
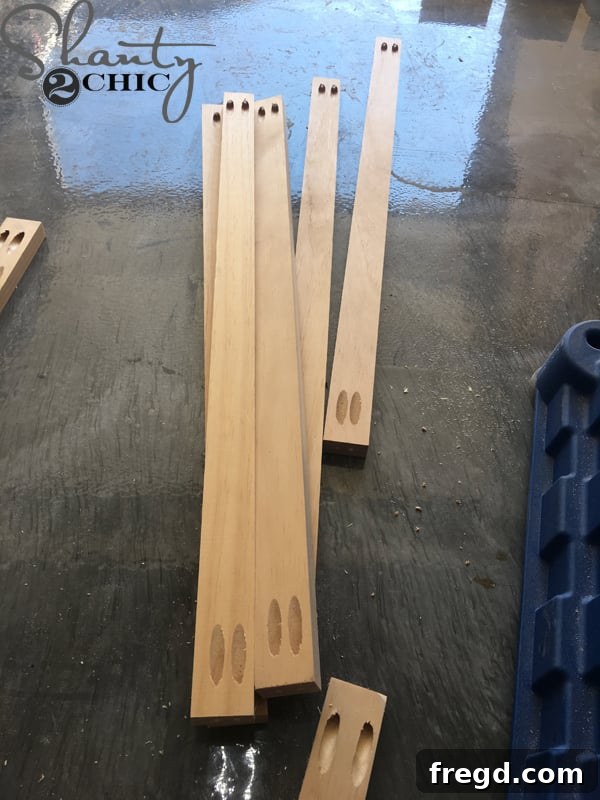
With the pocket holes drilled, it’s time to attach the cleats to the back of your ladder frames. Begin at the bottom of the ladders. Remember, the pocket holes on the ladder rungs themselves should be facing upwards, towards the ceiling. Place each cleat just above the ladder rungs. This precise positioning is key: it ensures that the cleats will be cleverly hidden behind the shelves once the project is complete, maintaining the “floating” appearance. The pocket holes on the cleats should face backward, as they will sit flush against the wall. Secure each cleat using wood glue for a strong bond and 1 1/4-inch pocket hole screws for robust attachment. This method creates a sturdy, well-supported structure for your shelves.
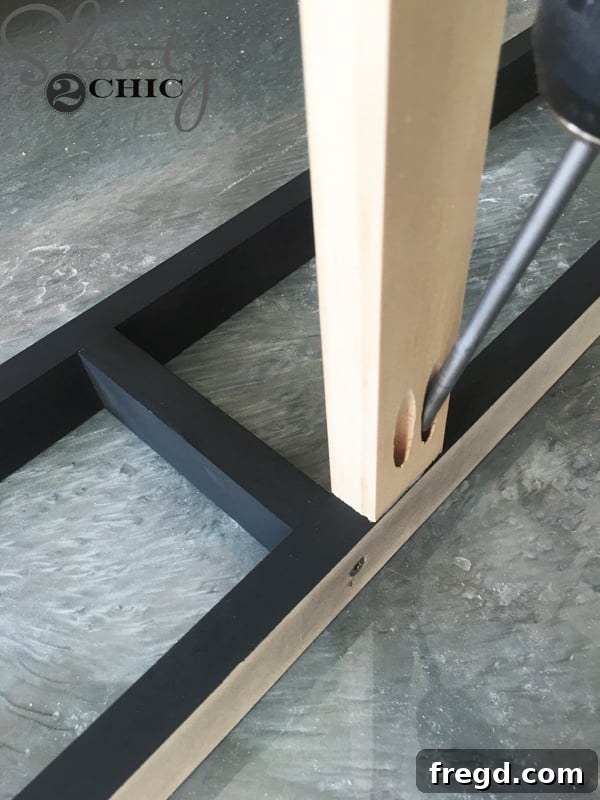
Once all the cleats are securely attached to the first ladder, you can proceed to attach the other ladder, completing the main frame structure of your plate rack. Ensure all connections are tight and square, providing a stable foundation for your shelves.
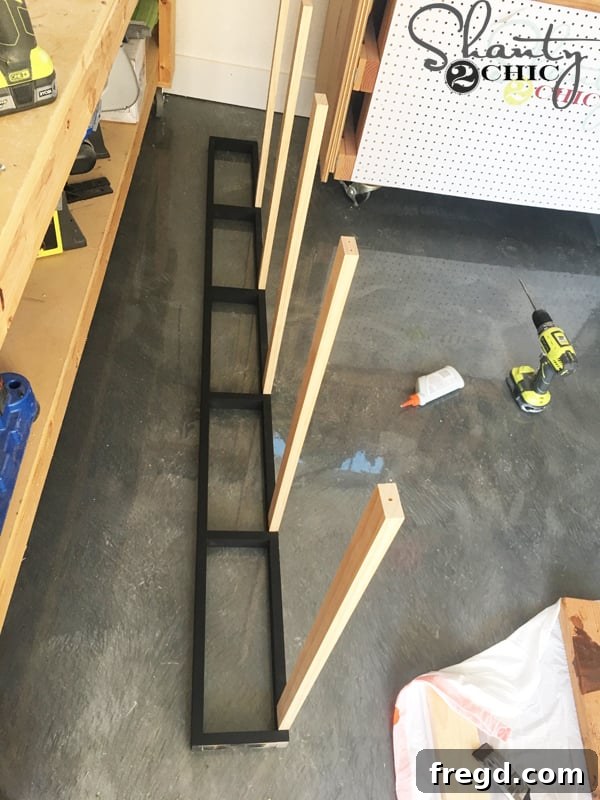
The ladder frame is now fully assembled and ready for the next exciting stage: building the individual shelves!
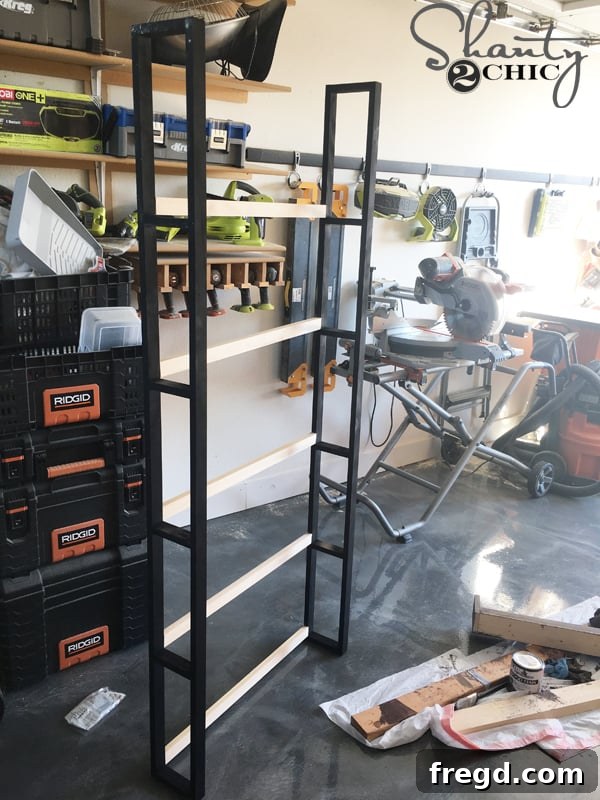
Crafting the Floating Shelves
Assembling the Shelf Base
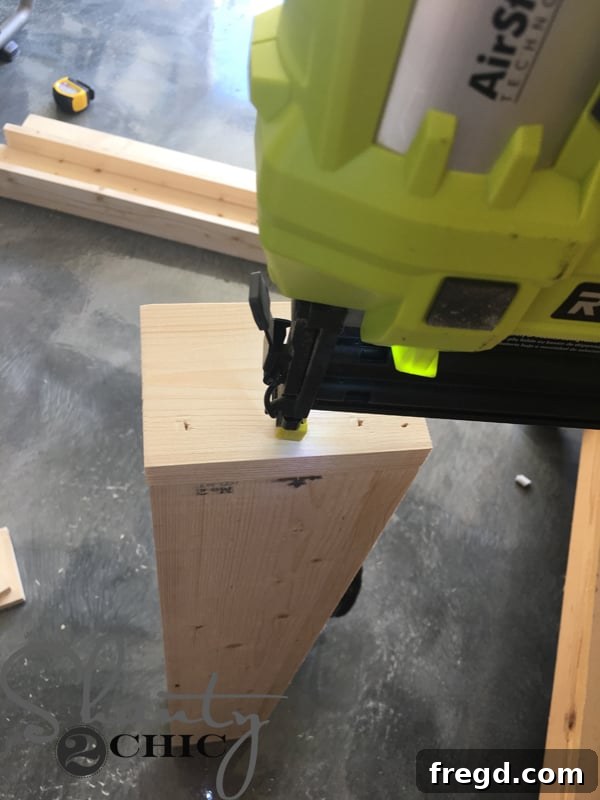
Now for the shelves, which are crucial for both functionality and aesthetics. Start by attaching the back shelf pieces to the main shelf bases. Apply a continuous bead of wood glue along the edges for a strong, lasting bond, then secure them with 1 1/4-inch brad nails. I found my Ryobi 18-volt Airstrike Nailer incredibly efficient for this task, making quick work of securing the pieces. If you don’t have access to a power nailer, a hammer and finish nails will work just as well – simply take your time and ensure precision. It’s vital to ensure that the bottom and sides of the back piece are perfectly flush with the bottom of the shelf. This alignment is critical for a neat appearance and for the shelves to sit correctly within the ladder frame.
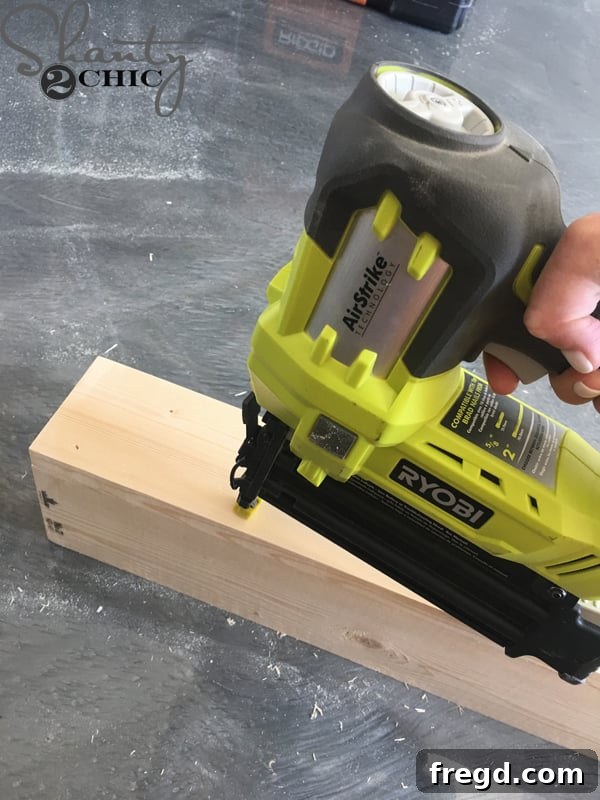
At this stage, your shelf should resemble the image below, with the back piece firmly attached to the main shelf body, creating a foundational L-shape.
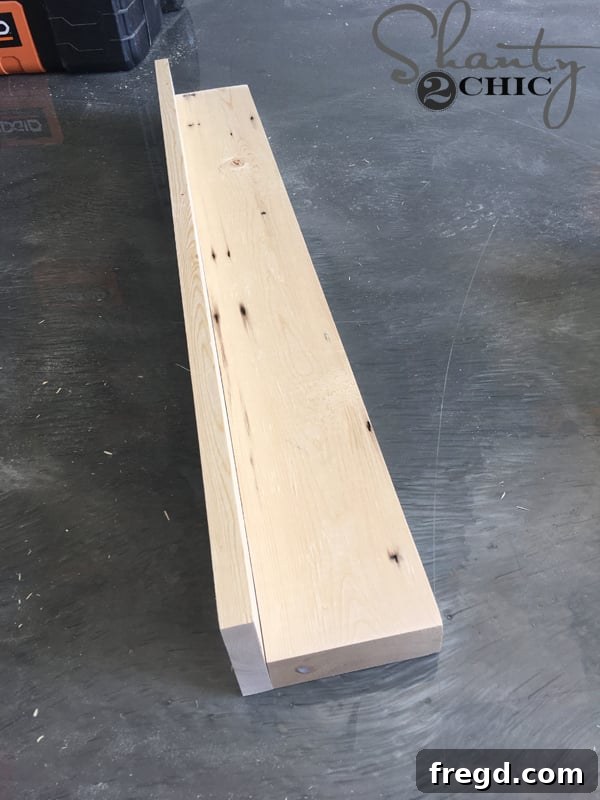
Adding the Side Pieces for a Chunky Look
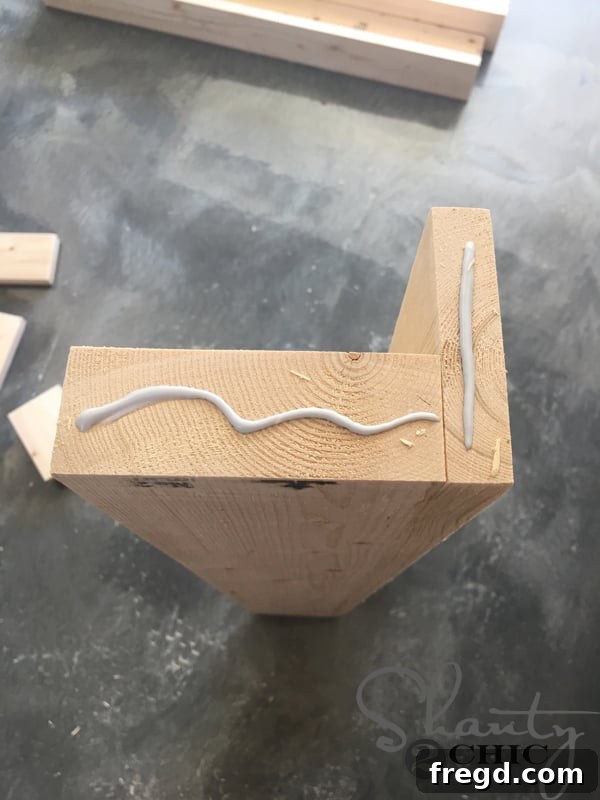
To give each shelf a substantial, “chunky” appearance and to neatly conceal any rough edges, you’ll now add the side pieces. Turn the partially assembled shelf onto its end, exposing the raw edges where the side pieces will attach. Apply wood glue generously along these exposed edges, ensuring full coverage for a strong bond. Next, carefully position and attach the side pieces using 1 1/4-inch brad nails, just as you did with the back piece. These side pieces are instrumental in covering the rough-cut sides of both the main shelf and its back piece, creating a solid, finished look that truly elevates the aesthetic of your floating plate rack.
Finishing the Shelves: Staining for Character
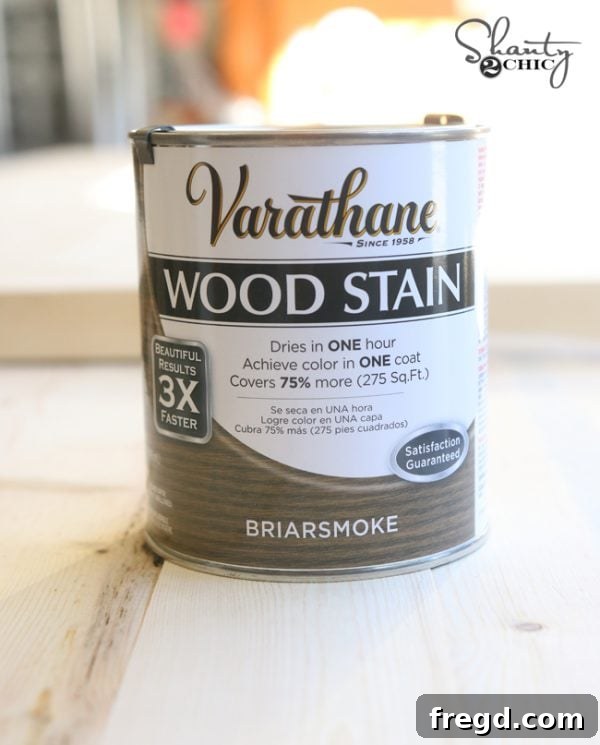
Once all your shelves are meticulously built, it’s time to give them a beautiful finish that highlights the wood grain and complements your home decor. For this project, we chose to apply a single coat of Briarsmoke stain by Varathane, available HERE on Amazon. This particular stain delivers a rich, smoky tone that adds a touch of rustic elegance and depth to the wood. If you’re new to staining or want to perfect your technique, be sure to check out our helpful How to Stain Wood video HERE for expert tips and a flawless finish. Allow ample time for the stain to dry completely according to the manufacturer’s instructions before proceeding to the next steps.

Installation: Mounting Your Floating Plate Rack
Securely Mounting the Ladder Frame to Your Wall
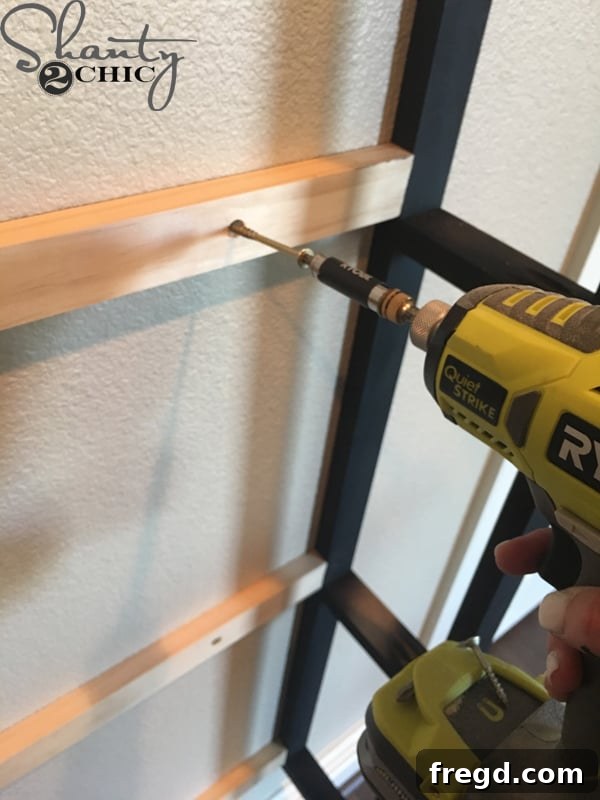
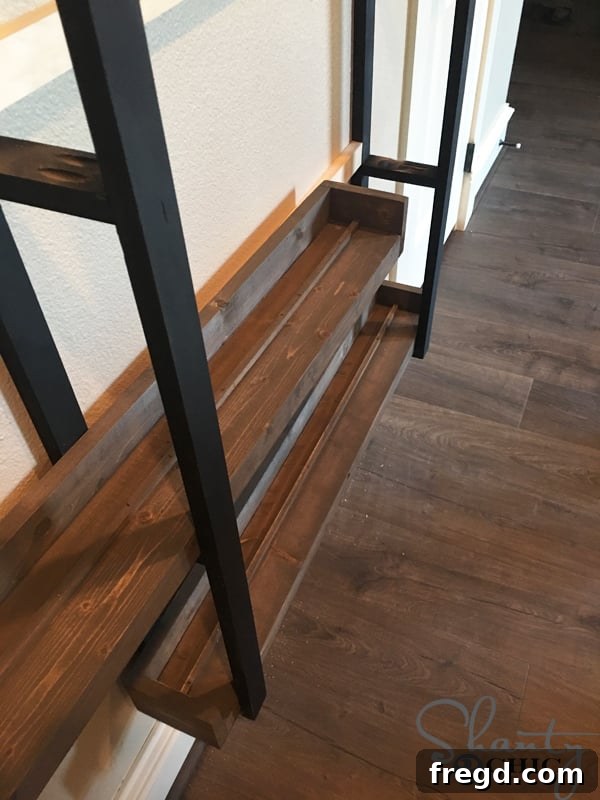
While your beautifully stained shelves are drying, you can focus on the crucial task of securely hanging the ladder frame on your wall. This step is paramount for the stability and safety of your entire floating plate rack. Begin by accurately marking the locations of all wall studs within your desired display area. Since this piece is designed to be quite wide, you should comfortably be able to locate and utilize at least two studs within the span. Attaching directly into studs provides the strongest possible anchor, preventing any sagging or instability. Use 3-inch wood screws, driving them through the pre-drilled pocket holes in the cleats and directly into the studs behind the drywall. For superior strength and peace of mind, I recommend using at least two screws for each cleat. This robust fastening method ensures your elegant floating plate rack will be firmly secured and capable of holding your display items with confidence.
Installing and Securing the Shelves
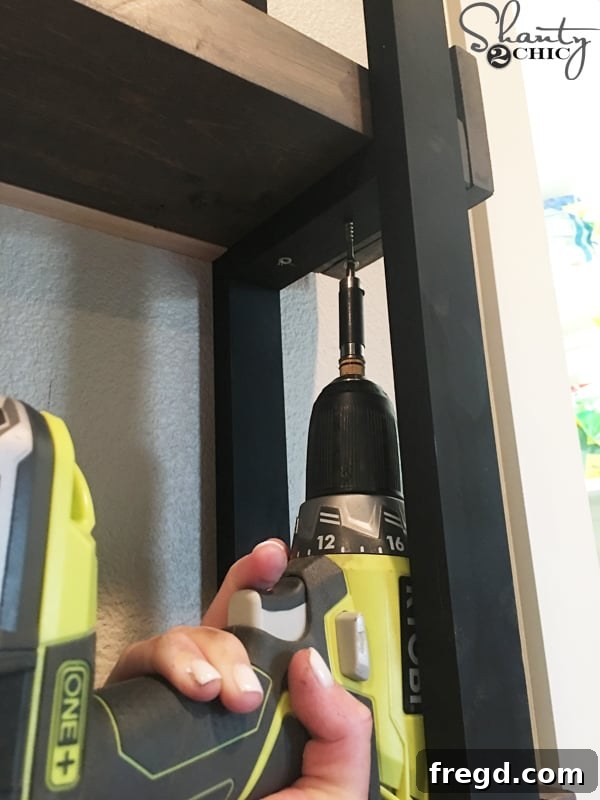
Once your ladder frame is firmly mounted and your stained shelves are completely dry to the touch, it’s time for the satisfying step of installing the shelves. This part is incredibly straightforward: simply slide each finished shelf over its corresponding rung on the ladder frame. The design allows for a perfect, snug fit. To ensure each shelf remains securely in place and can withstand the weight of your displayed items, drive a 1 1/4-inch wood screw from underneath each rung, directly into the shelf above it. This hidden fastening method provides additional stability without compromising the clean, floating aesthetic of your design.
The Finishing Touch: Attaching the Strong Ties
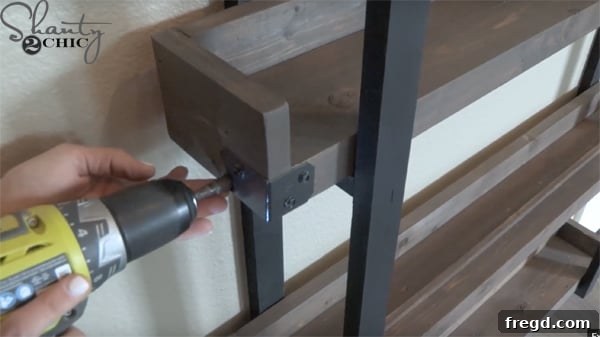
Finally, to complete the assembly and add a stylish, industrial accent while further reinforcing the structure, attach the strong-ties to the shelves. These painted metal corner pieces add character and ensure everything is firmly held together. Once these are in place, your magnificent DIY Floating Plate Rack is officially complete and ready for its grand unveiling!
Decorate and Display: Showcase Your Style!
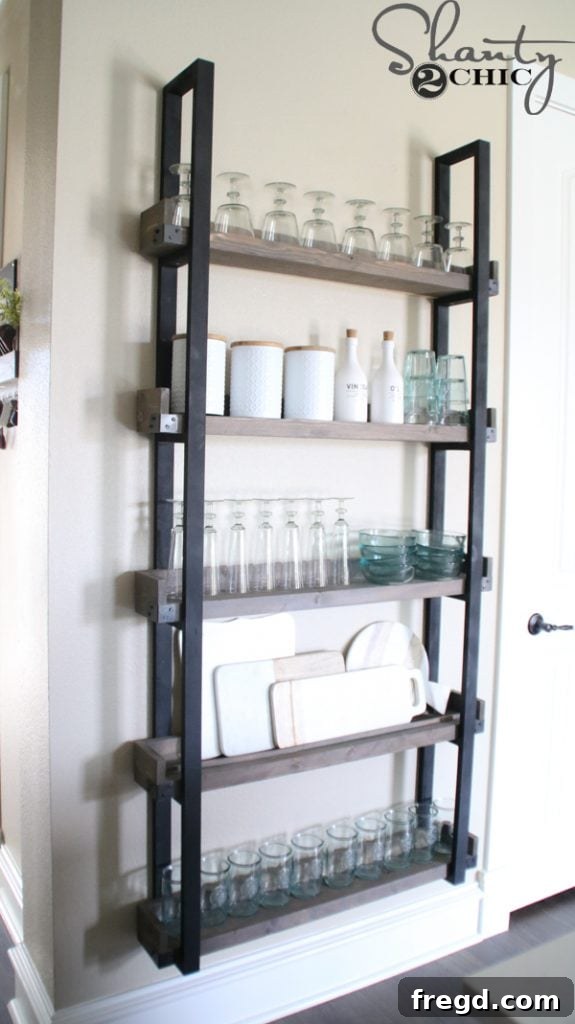
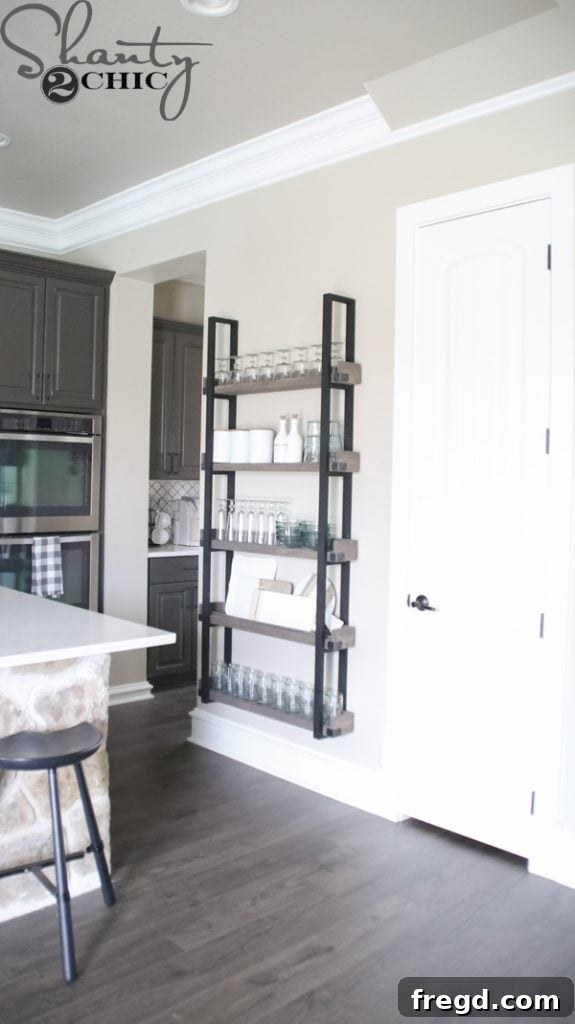
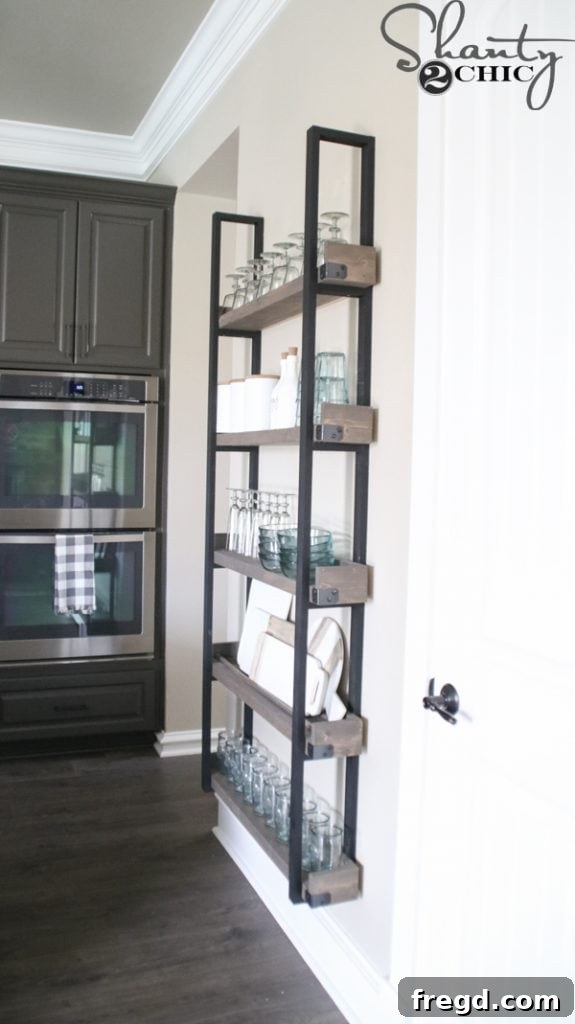
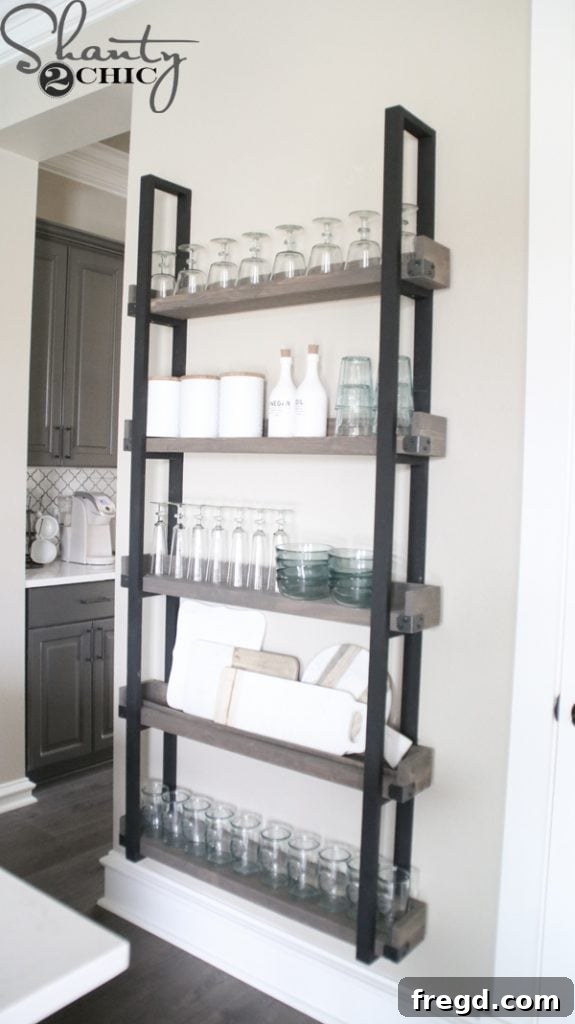
Now comes the most exciting part: filling your brand-new floating plate rack with all your favorite items! This versatile display unit is perfect for showcasing decorative plates, cherished cutting boards, elegant stemware, cookbooks, or any other items that reflect your personal style. Let your creativity flow! A valuable tip: if you intend to primarily display plates and cutting boards in an upright position, remember to attach a small piece of trim to the front edge of each shelf. This simple addition will effectively hold them in place, preventing them from sliding forward and ensuring a secure, beautiful display.
Conclusion: A Project That Transforms Any Space
This DIY Floating Plate Rack project truly embodies fun, simplicity, and immense impact! It’s a fantastic way to introduce unique character, practical storage, and a personalized touch to any blank wall in your home, whether it’s in your kitchen, dining area, or even a living space. We hope you enjoyed this journey and are inspired to create your own. Want to know where I sourced all the beautiful items I used to dress up this rack? You can find a curated list below to help you achieve a similar look or spark ideas for your own styling!
Thank you so much for stopping by and embarking on this creative journey with us!
Happy Building!
Shop the Look: Where to Find Everything
Discover the decorative items used in our stunning floating plate rack display:
- Recycled Glass Red Wine Glasses: HERE
- White Canisters: HERE
- Oil and Vinegar Set: HERE
- Recycled Glass Tumblers: HERE
- Recycled Glass Champaign Glasses: HERE
- Recycled Glass Bowls: HERE
- Marble Cheese Boards: HERE, HERE, Target and HomeGoods
- Recycled Drinking Glasses: HomeGoods