
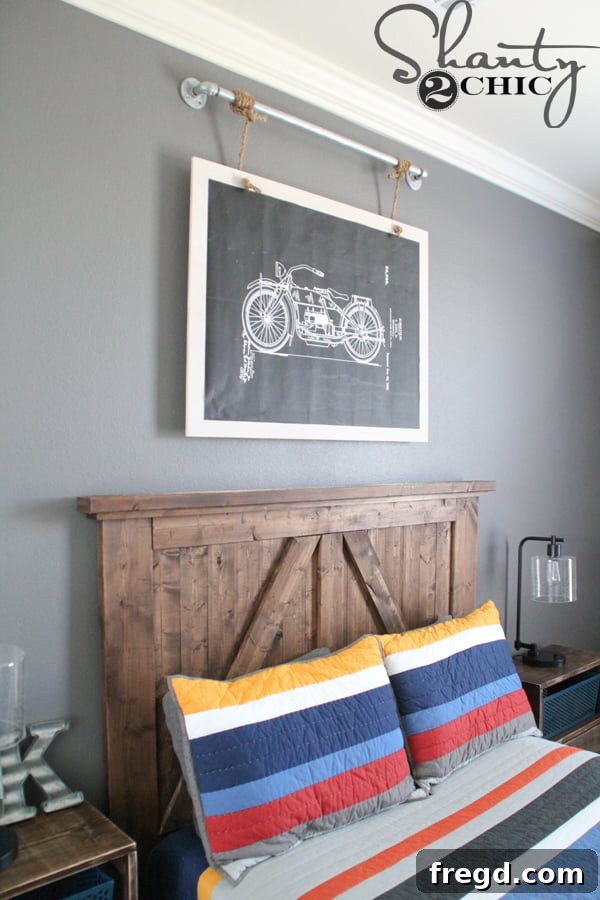
Happy new year, fellow DIY enthusiasts! We’re absolutely thrilled to kick off the year by finally unveiling a project that has garnered immense interest: the DIY Industrial Wall Art we crafted for our son’s bedroom. This unique piece perfectly blends rustic charm with an edgy, industrial aesthetic, making it an ideal focal point for any teen boy’s room or anyone looking to infuse a cool, vintage vibe into their space.
We believe that personalized touches truly transform a house into a home, and there’s nothing quite like the satisfaction of creating something functional and beautiful with your own hands. This project is not just about making art; it’s about adding character and a story to your living environment.
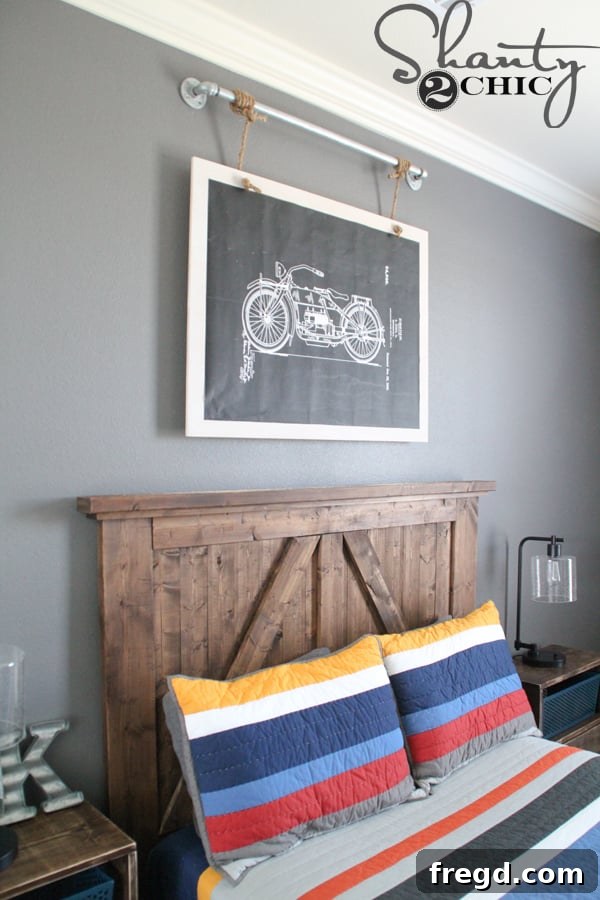
When we previously showcased the DIY Nightstands on Wheels that complemented his room, our inboxes were flooded with questions about the striking wall hanging visible in the background. Its distinctive design and robust appearance captured many imaginations, leading us to believe this detailed tutorial would be highly anticipated. Indeed, it’s a showstopper that consistently draws attention and compliments, proving to be an exceptionally cool addition to a teen’s personal space.
What makes this project even more appealing is its surprising simplicity. Despite its professional and intricate look, it’s incredibly easy to build, even for those with moderate DIY experience. Furthermore, a significant component of this art piece – the vintage motorcycle graphic – was sourced completely for FREE! We discovered this amazing free art download here, offering a range of vintage patent designs that are perfect for an industrial theme. Finding high-quality, free resources like this significantly reduces the overall cost and effort, making this an incredibly budget-friendly endeavor.
This project is not just about aesthetics; it’s about creating a conversation piece. The blend of raw materials like galvanized pipe and natural wood, combined with a classic vintage print, creates a timeless appeal. It’s robust, masculine, and sophisticated all at once, ideal for a growing boy who appreciates unique style.
Sourcing Your Free Vintage Motorcycle Print
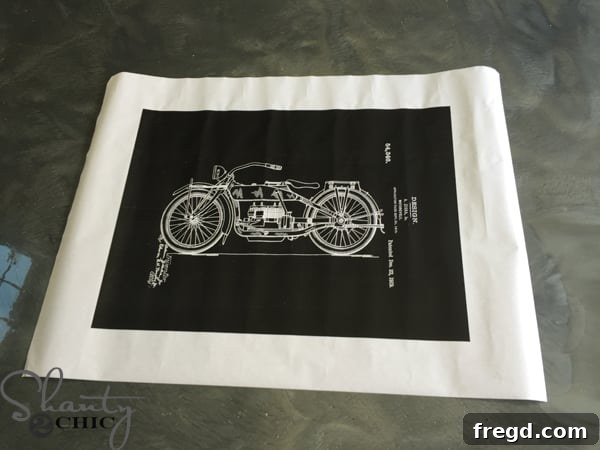
The core of this industrial art piece is the stunning vintage motorcycle patent print. After downloading the high-resolution 36″x48″ file from the recommended source, we chose to scale it down slightly for our specific dimensions. We uploaded the digital file to Staples’ engineering print service and ordered a 24″x36″ print. The beauty of engineer prints lies in their affordability and quick turnaround. For a mere $4, our print was ready in just a few hours, showcasing sharp lines and a crisp monochrome aesthetic that perfectly suited our industrial vision. This cost-effective printing method is a game-changer for large-format art projects, allowing you to create impactful decor without breaking the bank.
Choosing the right size is crucial for visual impact. While the original download was larger, the 24″x36″ size provided ample presence without overpowering the room, offering a balanced aesthetic that complemented the nightstands and other decor elements. This step truly demonstrates how accessible and affordable creating impressive custom wall art can be.
Preparing Your Plywood Base: The Foundation of Your Industrial Art
With our engineering print in hand, the next step involved preparing the plywood base that would house our art. We carefully trimmed the white border off the print using a pair of sharp scissors, ensuring clean, straight edges. For the base itself, we utilized a 1/2″ sheet of Purebond Plywood scrap. Purebond plywood is an excellent choice for DIY projects as it’s formaldehyde-free and durable, offering a smooth surface for painting and mounting. If Purebond isn’t readily available, any good quality sanded plywood will work, just ensure it’s free of major blemishes.
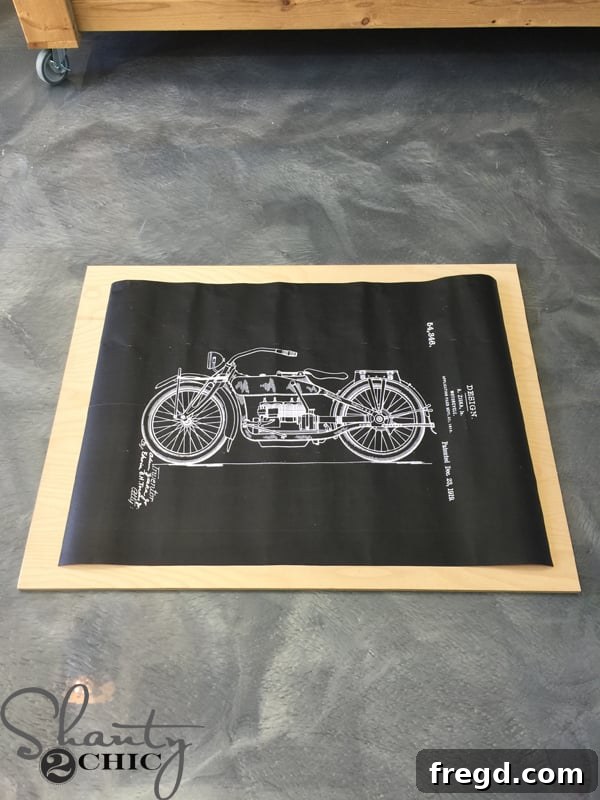
We cut the plywood to a size that would provide approximately a 2″ border around the print on all sides. This border is essential for creating a visual frame, allowing the industrial element to stand out against the slightly larger wooden canvas. Precision in this step ensures a professional and aesthetically pleasing finish, so take your time measuring and cutting.
Adding a White-Washed Effect for Rustic Charm
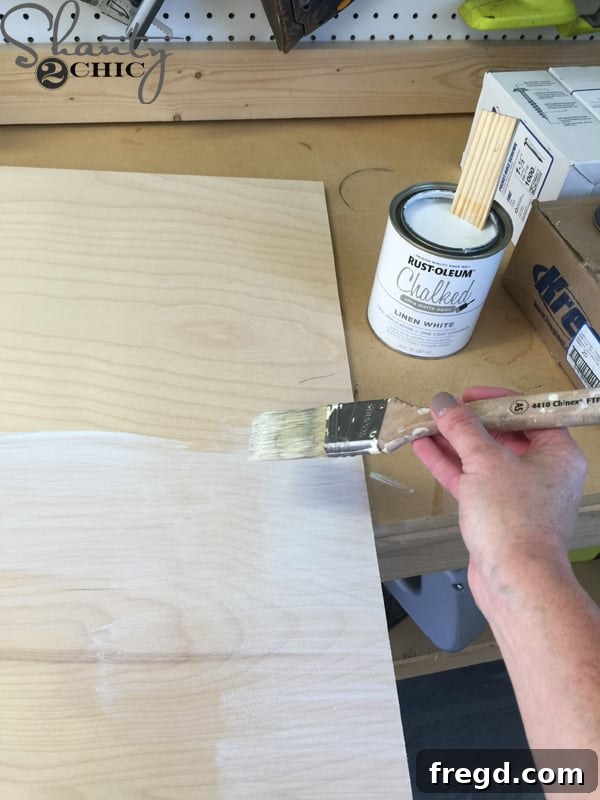
To enhance the industrial-rustic aesthetic, we decided to give the plywood border a subtle white-washed look. This technique adds depth and character without overwhelming the vintage print. We applied a single coat of Rust-Oleum Linen White Chalked Paint around the edges of the plywood. The beauty of chalk paint is its thin consistency, which naturally creates a beautiful, translucent white-washed finish when applied lightly. You don’t need to cover the entire board; focus on the areas that will be visible once the print is mounted.
The light, airy feel of the white wash provides a striking contrast to the dark, intricate motorcycle print and the raw galvanized pipe, contributing significantly to the overall industrial farmhouse appeal. Allow the paint to dry thoroughly before proceeding to the next steps. This brief drying period can be used efficiently to prepare for mounting or gather other materials.
Mounting the Support Beam: Securing Your Wall Art
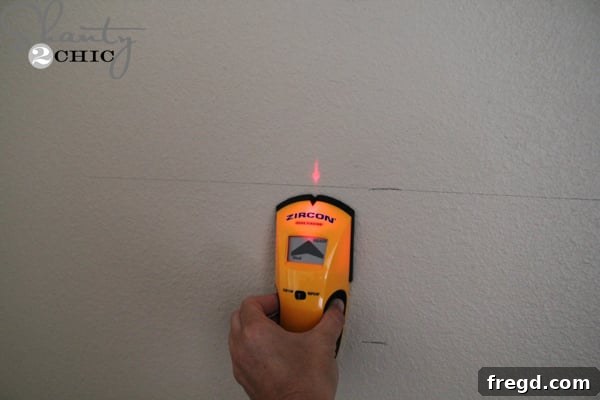
While the paint dried on our plywood, we shifted our focus to preparing the wall for the art installation. The initial step involved drawing a horizontal line on the wall to mark the approximate middle of where the picture would hang. This line serves as a guide for positioning the 2×4 support beam. Next, using a reliable stud finder, we located and marked the studs behind the wall. Attaching heavy wall art directly into studs is paramount for stability and safety, preventing the piece from sagging or falling over time. For those looking for a recommendation, this is a link to our favorite stud finder, a tool invaluable for any home DIY project.
Properly identifying and marking at least two studs ensures that your industrial wall art will be securely anchored, providing peace of mind. This foundational step is critical for the longevity and safe display of your masterpiece.
Attaching the 2×4 Support to the Wall
For the primary support, we cut a 2×4 to a length of 30 inches. The decision to make the 2×4 shorter than the width of the plywood base was intentional. We wanted the illusion that the entire art piece was gracefully hanging from the decorative metal pipe, rather than being obviously supported by a hidden wooden beam. By keeping the 2×4 slightly narrower, it remains out of sight from the sides of the finished artwork, maintaining the aesthetic integrity of the design.
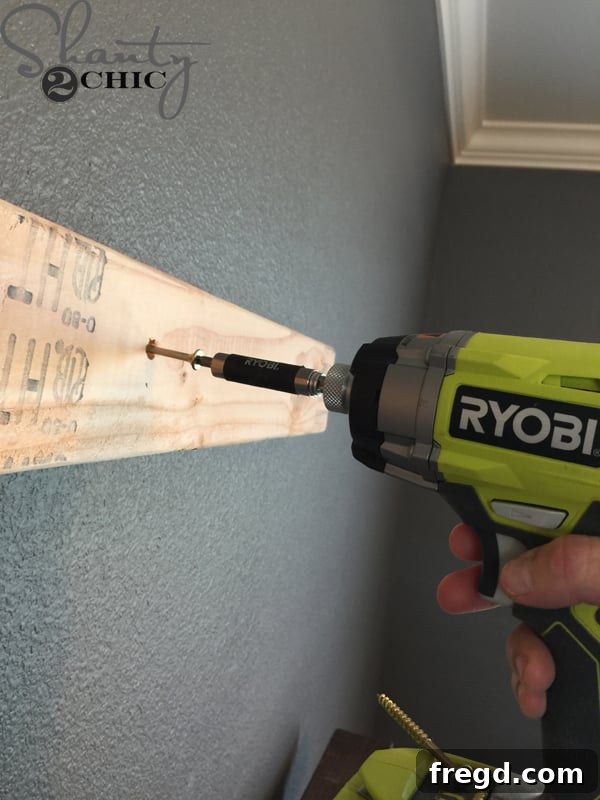
To securely attach the 2×4 to the wall, we utilized our Ryobi Impact Driver, driving 3 1/2″ Spax screws directly into the 2×4 and firmly into the marked studs behind the wall. It’s crucial to drill into at least two studs for maximum stability, especially for larger pieces. Spax screws are a fantastic choice for this type of application because their unique threading often eliminates the need for pre-drilling and significantly reduces the risk of splitting the wood. While an impact driver makes this process incredibly fast and effortless, a standard drill will also work effectively to drive the screws home.
Securing the Plywood to the 2×4 Support
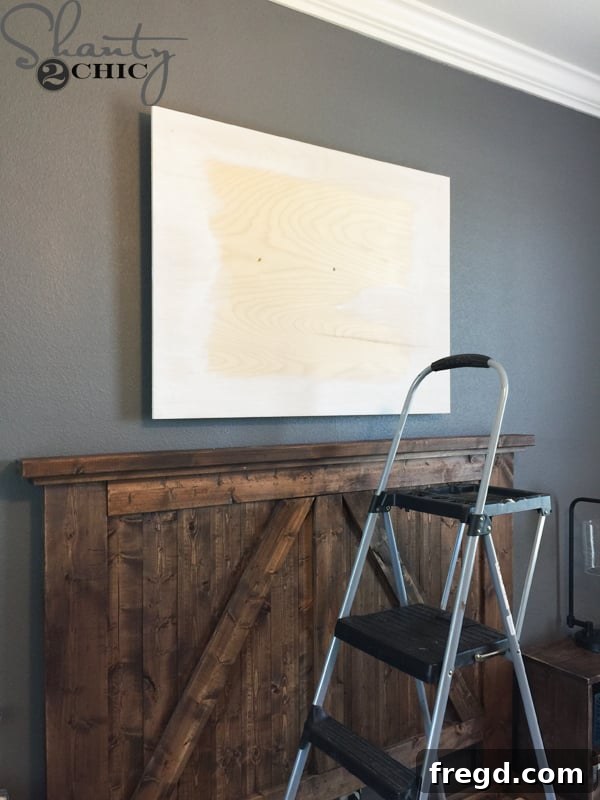
With the 2×4 firmly mounted, the next step was to attach the plywood base. We carefully centered the plywood over the 2×4 support beam, ensuring even spacing on either side. Then, using 1 1/4″ Spax screws, we secured the plywood to the 2×4. A critical detail here is to strategically place all of your screws so they will be completely hidden behind the print once it is attached. This ensures a clean, seamless look that doesn’t distract from the artwork itself. A few well-placed screws, typically along the top, middle, and bottom of the plywood where it overlaps the 2×4, will provide ample support without being visible.
This step brings the structural foundation of your industrial wall art together, creating a robust backing for your vintage print and the decorative pipe elements that will soon be added. Double-check that the plywood is level and securely fastened before moving on.
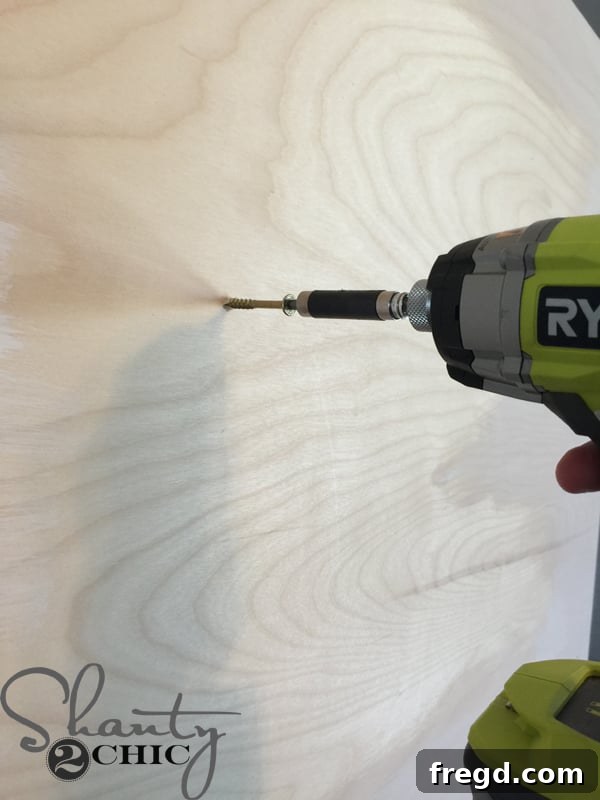
As you can observe, the screws are visible in the middle of the plywood at this stage. Rest assured, these will soon be expertly concealed by the motorcycle print, maintaining the smooth, unblemished appearance of the final artwork. This temporary visibility is a necessary part of the construction process, ensuring structural integrity before the aesthetic elements are added.
Preparing for the Rope: Drilling Holes in the Plywood
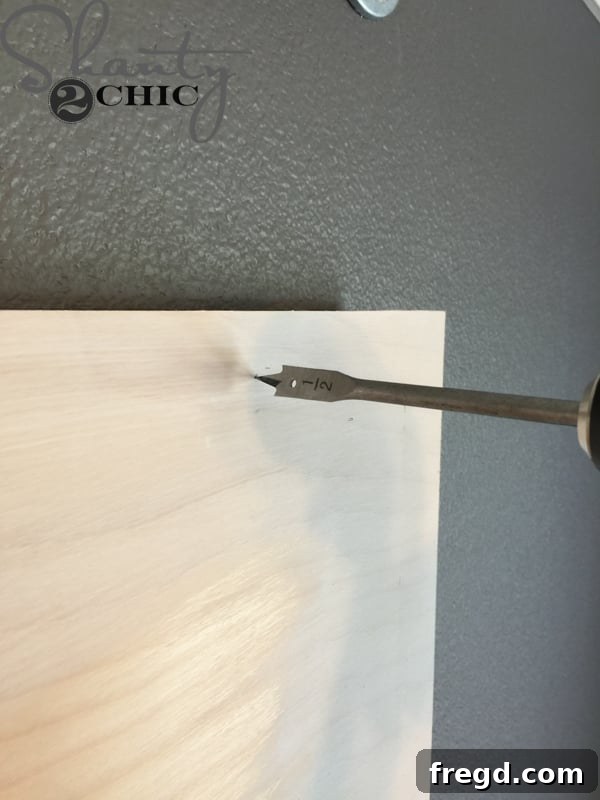
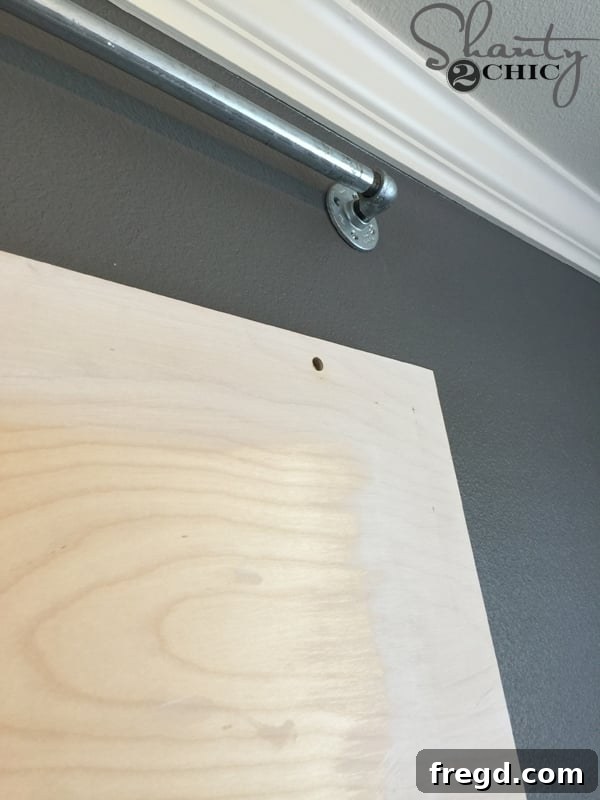
To integrate the hanging rope component, we drilled two holes, one in each top corner of the plywood. Using a 1/2″ spade bit, we carefully created these openings. The exact placement was determined by eye, focusing on an aesthetic balance rather than strict measurements. The key is to ensure the holes fall above where the top edge of the print will be and are far enough inward from the sides to allow the rope to hang gracefully from the metal pipe without obstruction. Think about the visual flow and how the rope will interact with both the print and the pipe. These holes are crucial for the functional and decorative aspect of the hanging rope, so take your time to ensure symmetrical and well-placed drilling.
Assembling the Industrial Pipe Structure: A Cost-Effective Statement
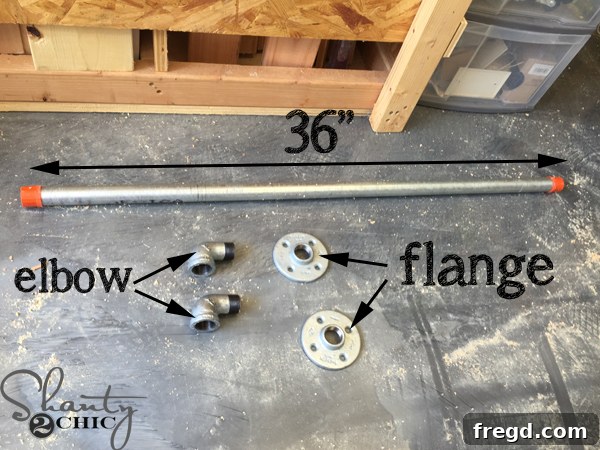
Now, let’s talk about the industrial pipe assembly – the component that truly defines the “industrial” aesthetic of this wall art. We sourced all the necessary supplies from Home Depot, and while this section represents the bulk of the project’s material cost, the impact it delivers is well worth the investment. For approximately $40, we purchased a 1″ x 36″ galvanized pipe here, two 1″ flanges here, and two 90-degree street elbows here. Note that while the pipe is listed as 1″, the corresponding flanges and elbows often use a slightly different nominal size (e.g., 3/4″ in the links) for compatibility in plumbing, so always double-check fitting sizes to ensure they match your pipe diameter.
Galvanized steel pipe is chosen for its raw, utilitarian look and durability, perfectly aligning with the industrial design theme. These components are typically found in the plumbing aisle and are designed to screw together easily, forming a robust and visually striking structure. The street elbows allow the pipe to extend horizontally from the wall, while the flanges provide the mounting points, creating a strong, cantilevered appearance from which the art will seemingly hang.
Assembling and Mounting the Pipe Structure
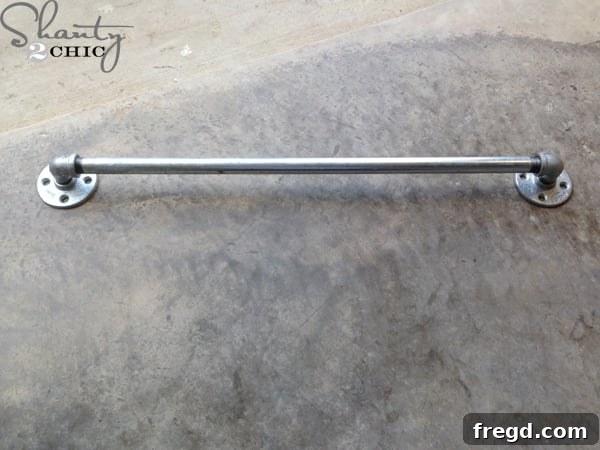
Once all the pipe components were gathered, the assembly was straightforward: simply screw the flanges onto each end of the 90-degree street elbows, and then attach these elbow-flange assemblies to the ends of the galvanized pipe. It’s a quick process that rapidly brings the industrial element to life.
With the pipe structure assembled, we then carefully centered it horizontally over the plywood base and secured it to the wall. This involved using appropriate wall anchors driven through the pre-drilled holes in the flanges. Given the weight of the pipe and the entire art piece, using robust anchors is essential for a secure installation. Ensure the pipe is level before tightening all screws. This step not only adds a crucial decorative element but also provides the anchor point for the rope, creating the illusion of the artwork hanging directly from this rugged pipe.
Integrating the Rope Element for a Hanging Effect
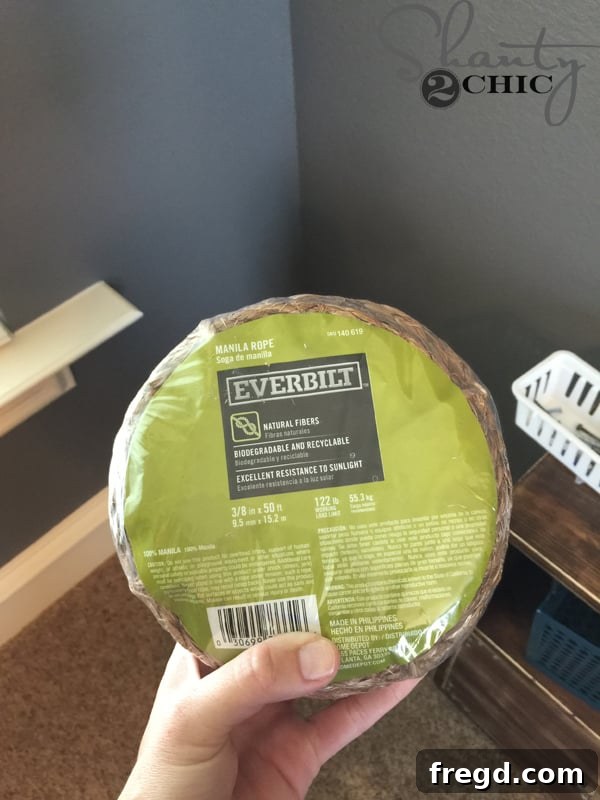
To complete the industrial illusion, we needed a suitable rope. We found this durable 3/8″ rope at Home Depot, which offered the perfect thickness and texture to complement the galvanized pipe and rustic wood. Natural fiber ropes like sisal or manila work best for this aesthetic, adding an organic, rugged touch.
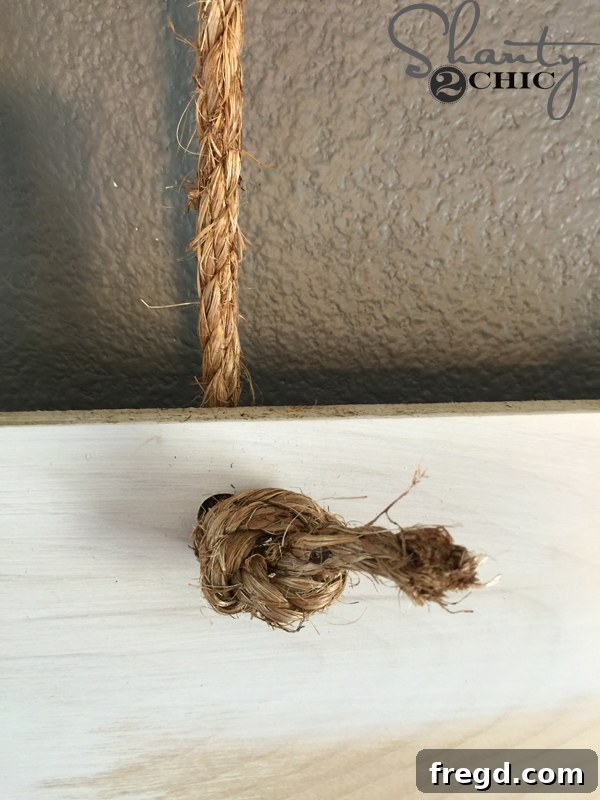
The process of attaching the rope began by feeding it through one of the pre-drilled holes in the plywood, from the back side, allowing the majority of the rope to hang freely in front. Once the desired length was achieved, we tied a secure knot at the end on the backside of the plywood, preventing the rope from pulling through. If any excess rope extended beyond the knot, we simply trimmed it to a neat size for a tidy finish.
Next, we ran the rope upwards, discreetly behind the metal pipe, and then draped it over the top. To create a substantial and visually appealing hanging effect, we wrapped the rope around the pipe approximately five times. This multiple-wrap technique adds volume and reinforces the perception that the artwork is genuinely suspended by the rope from the industrial pipe.
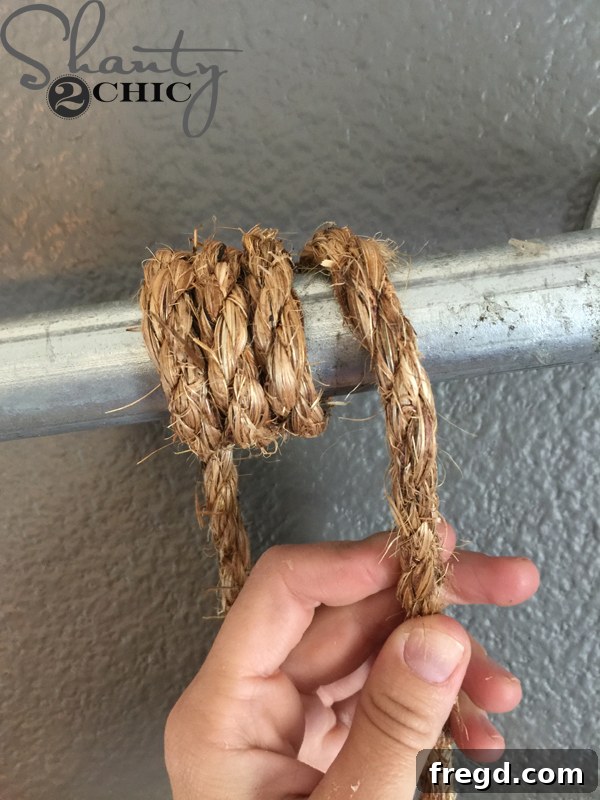
Finally, to secure the rope in place and prevent it from unraveling, we used the free end of the rope to tie a firm knot around the section of rope running down to the plywood. This creates a neat, self-contained loop that firmly holds the rope in its wrapped position. Any remaining slack was then carefully trimmed off, ensuring a clean and finished appearance. Repeat this process for the rope on the other side of the plywood, ensuring symmetry in the hanging lengths and knot placements.
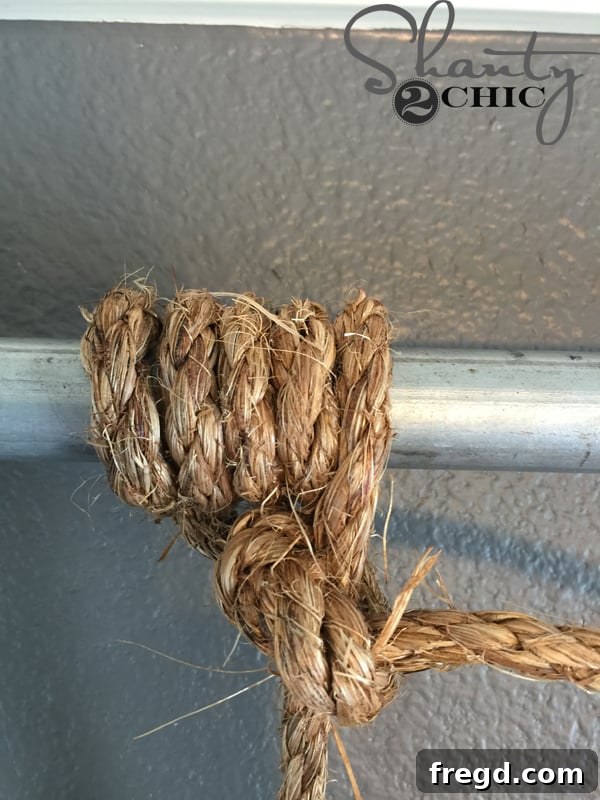
With both ropes securely tied and aesthetically pleasing, the structural and decorative elements of your industrial wall art are complete. Now, the stage is set for the main event: attaching your stunning motorcycle patent print.
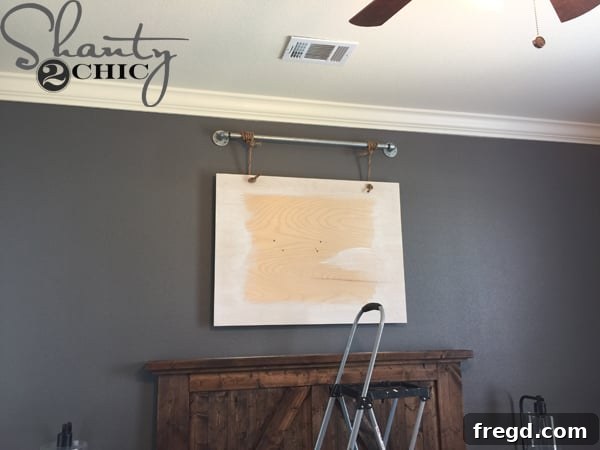
Attaching the Print: The Final Touch
The moment of truth! Attaching the engineer print to the plywood is the final step in bringing your industrial wall art to life. We chose to use double-sided tape for this, valuing its ease of application and the clean finish it provides. To ensure perfect alignment, we meticulously marked the exact desired position for each corner of the print on the plywood. Then, we applied generous strips of double-sided tape to the plywood within the area that would be covered by the print. Once the tape was in place, we carefully aligned the print over the marked corners and pressed it firmly onto the taped surface. Using ample tape ensures a strong, lasting bond and prevents bubbling or peeling over time.
While double-sided tape offers a seamless appearance, other options exist. Furniture tacks, strategically placed around the border of the print, can also be used, adding another subtle industrial detail. However, we opted against them to keep the focus solely on the vintage graphic. Spray adhesive is another alternative for a full-coverage bond, but we preferred to avoid the potential mess and fumes indoors, making double-sided tape our preferred method for its simplicity and clean application.
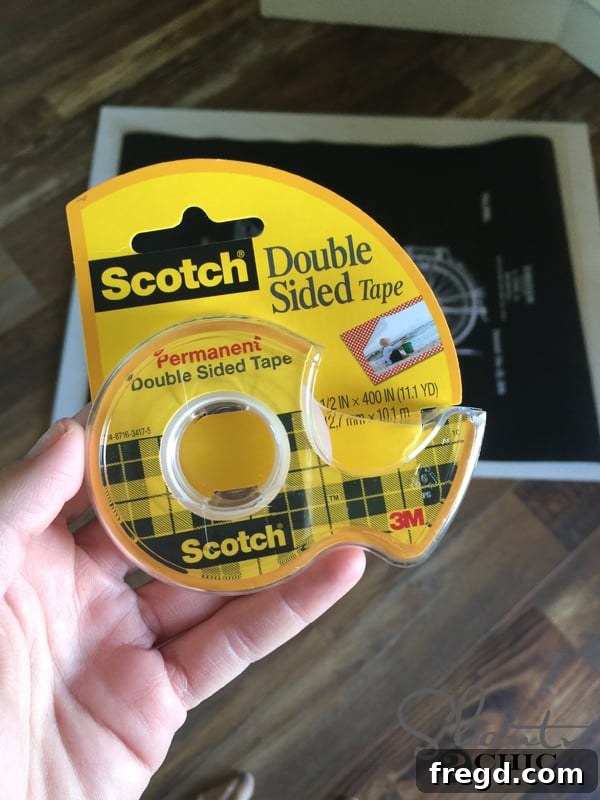
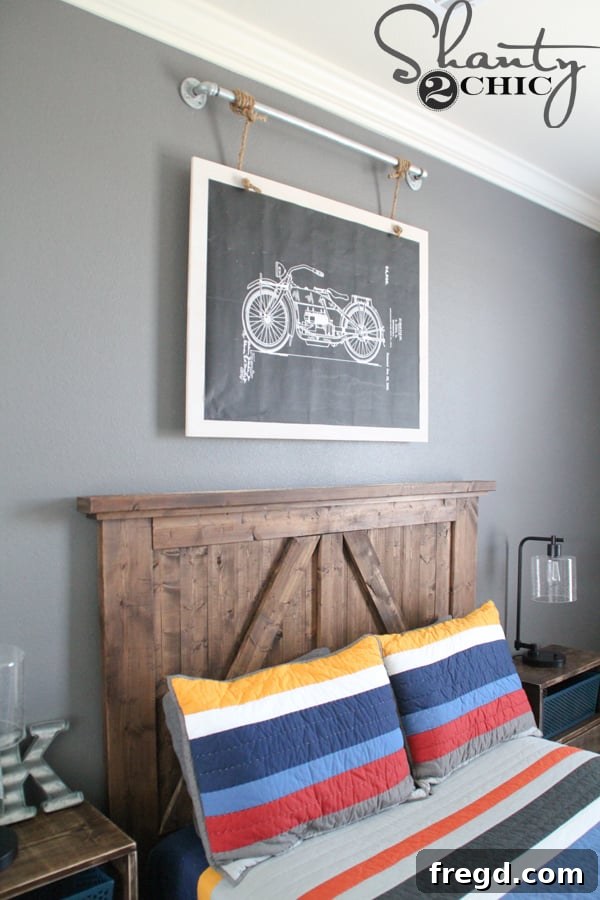
And just like that, your DIY Industrial Wall Art is complete! This project truly embodies the spirit of DIY – it’s super easy to execute, incredibly inexpensive when compared to store-bought alternatives, and the result is absolutely captivating. We especially love how the finished piece creates the convincing illusion that the vintage motorcycle print is genuinely suspended by the rugged pipe and rope, a detail that elevates it from a simple picture to a dynamic art installation. This bespoke artwork adds character, charm, and a personalized touch to any room, reflecting a unique style that mass-produced items simply can’t match.
The Grand Reveal: Our Son’s Room Transformed
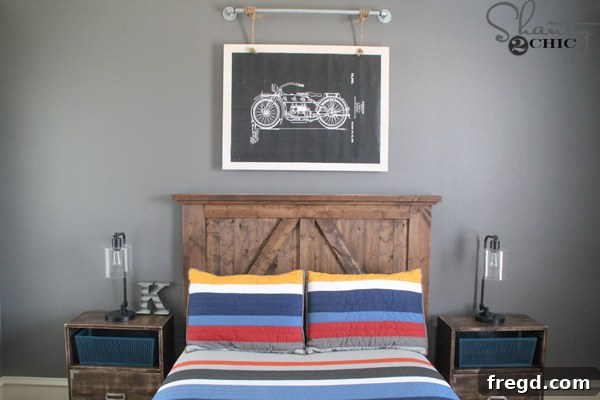
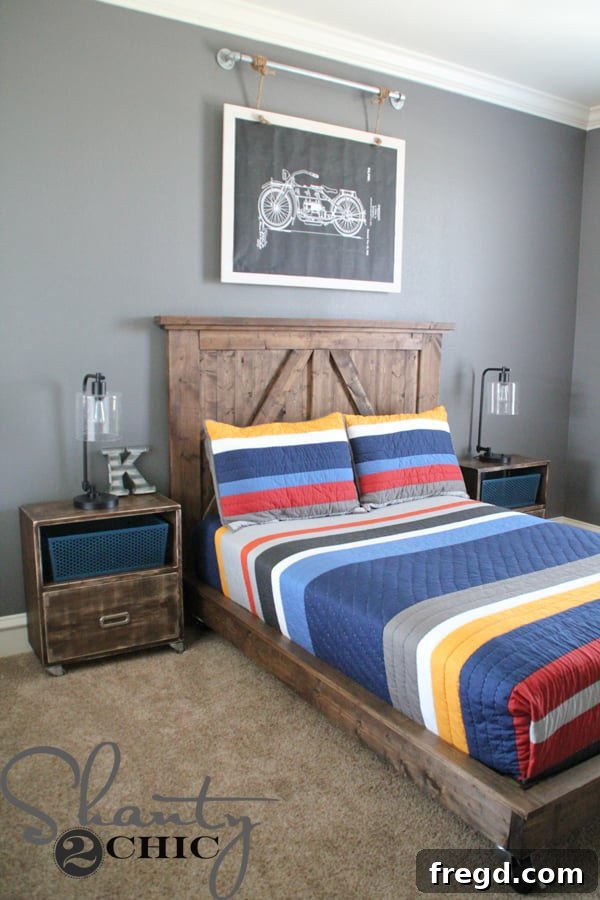
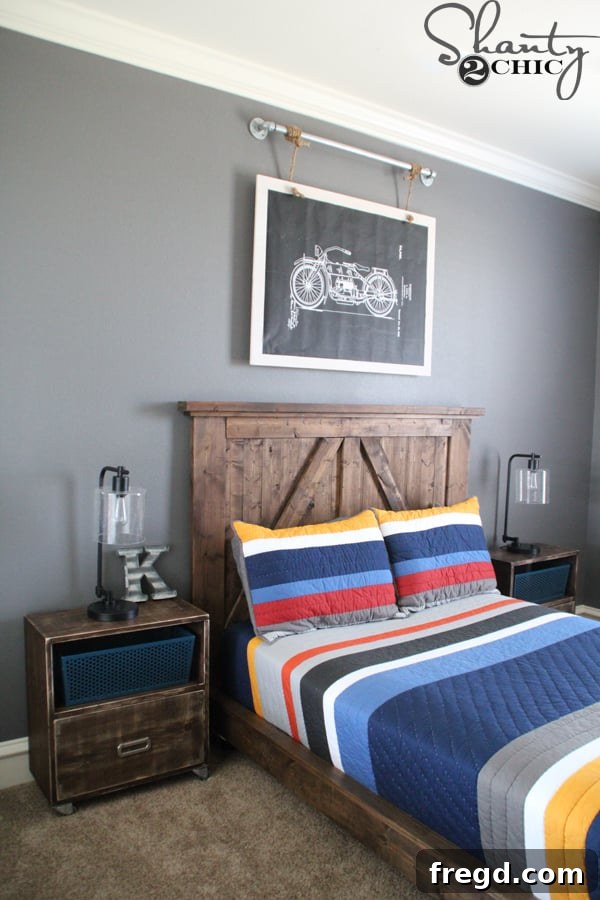
The satisfaction of seeing this striking piece come together, especially knowing it was a DIY effort, is immense. It fits perfectly into our son’s industrial-themed bedroom, providing a strong focal point that truly ties the whole room together. The best part? He absolutely loves it! For a total material cost of about $70, creating such a large, unique, and impactful piece of art feels like a significant win. It’s a testament to how creative problem-solving and a bit of elbow grease can lead to stunning, personalized results without breaking the bank.
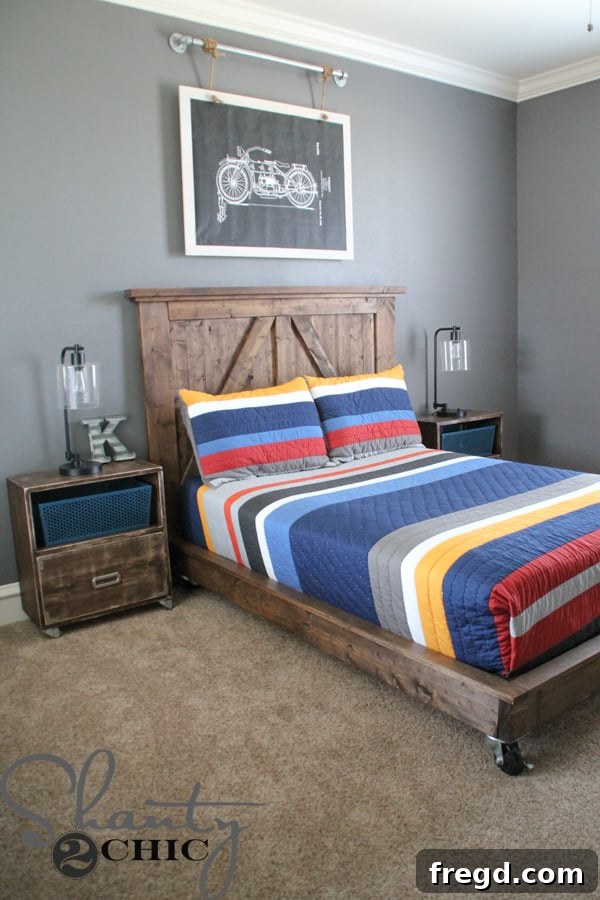
Complementary Decor for an Industrial-Themed Space
For those inspired to create a cohesive industrial-themed bedroom, we’ve carefully curated other elements within our son’s room. Each piece contributes to the overall rugged yet stylish aesthetic, demonstrating how various DIY projects and carefully selected items can create a harmonious design.
- DIY Headboard: A custom-built barn door headboard adds significant rustic character and a focal point to the bed area.
- DIY Platform Bed: Complementing the headboard, our DIY platform bed on wheels offers a low-profile, movable, and distinctly industrial foundation for restful sleep.
- DIY Nightstands: The DIY nightstands on wheels, which sparked so much interest, provide practical storage with a consistent industrial design.
- Bedding: The MVP Stripe Quilt & Sham from Pottery Barn Teen introduces a touch of classic comfort with a modern, sporty edge, perfectly balancing the harder industrial elements.
- Lamps: These Hudson Industrial Table Lamps from Target tie into the theme with their sturdy design and metallic finish, providing functional lighting with a strong aesthetic statement.
- Baskets: Storage baskets from Michael’s offer practical solutions for decluttering while adding texture and warmth to the room.
- Paint: The walls are painted in “Rugged Suede” by Valspar, a warm, earthy tone that grounds the industrial elements. The trim is an oil-based match to Valspar’s “Ivory Lace,” providing a crisp contrast and clean finish.
Each component, whether custom-built or carefully selected, contributes to a cohesive, stylish, and highly personalized industrial-themed sanctuary for a growing boy. We hope this comprehensive guide inspires you to embark on your own DIY journey and transform your space!
Thanks so much for stopping by and taking the time to explore this project. We wish you happy crafting and a beautifully decorated home!
~Ashley