
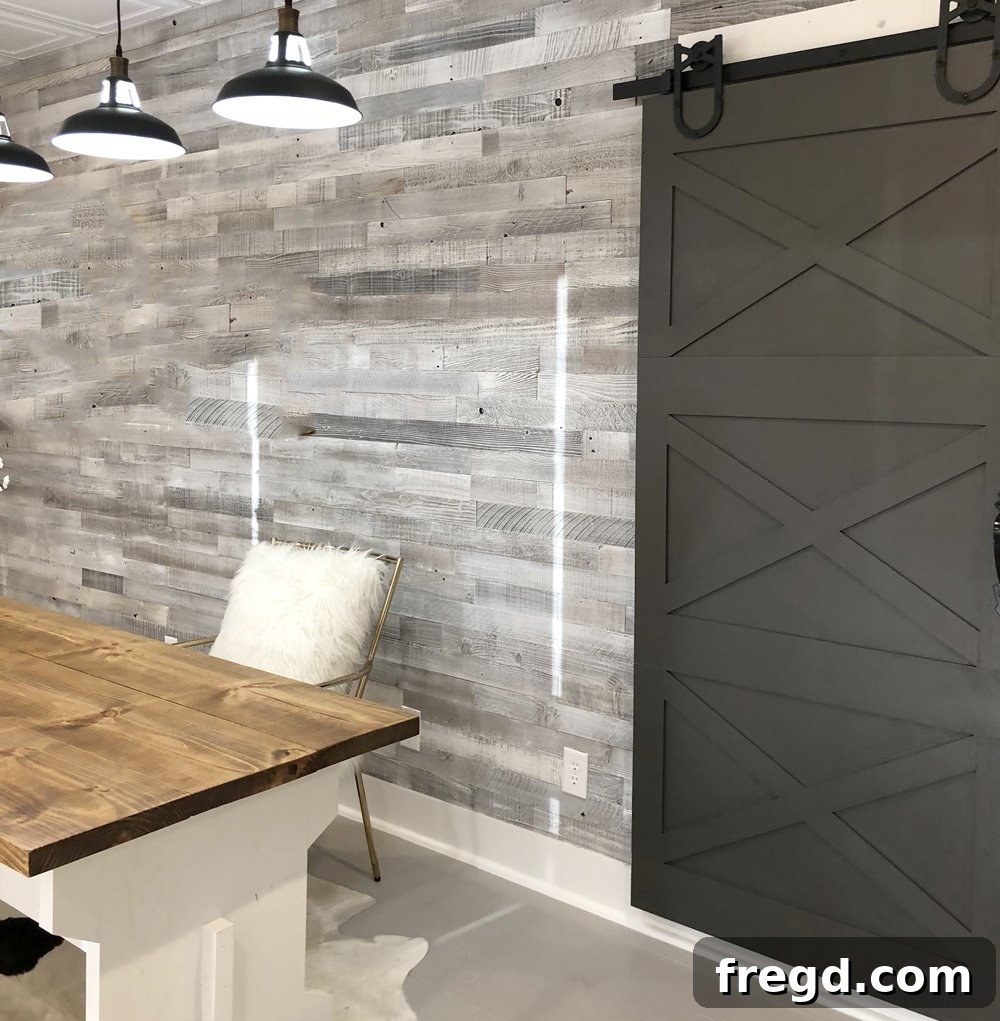
DIY Sliding Barn Door Hack: Transform Your Home on a Budget
Welcome, DIY enthusiasts! Are you captivated by the rustic charm and space-saving elegance of sliding barn doors but deterred by their hefty price tags and cumbersome weight? You’re not alone. Traditional solid wood barn doors can be expensive to purchase, challenging to transport, and difficult to install due to their substantial mass. But what if we told you there’s a brilliant, budget-friendly solution that allows you to achieve that coveted barn door aesthetic without breaking the bank or your back?
Today, we’re thrilled to unveil our revolutionary DIY Sliding Barn Door Hack! This innovative project leverages readily available and affordable materials, transforming an ordinary hollow core door into a stunning, lightweight, and custom-designed barn door. It’s the perfect way to add character, functionality, and a touch of farmhouse style to any room in your home.
Dive into the full process and see every step come to life in our comprehensive YouTube video HERE or simply watch the embedded player below!
Why Choose Our DIY Barn Door Hack?
The allure of barn doors extends beyond their charming appearance; they offer practical benefits like saving floor space that traditional swinging doors occupy. However, the obstacles of cost and weight often make them seem like an unattainable luxury for many homeowners. Our DIY barn door hack directly addresses these challenges, offering a superior alternative:
- Cost-Effective: By using an inexpensive hollow core door as your base and readily available craft boards for detailing, you drastically reduce material costs compared to purchasing a solid wood barn door.
- Lightweight Design: Hollow core doors are inherently lighter than solid wood doors, making the entire assembly easier to handle, transport, and install. This also puts less strain on your barn door hardware and wall structure.
- Fully Customizable: From the decorative trim pattern to the paint color and hardware finish, every aspect of this door can be tailored to perfectly match your home’s unique style and existing decor.
- Beginner-Friendly: While it involves some basic woodworking, the steps are straightforward and designed for DIYers of all skill levels. With our detailed instructions and free plans, you’ll feel confident tackling this project.
- Quick Transformation: You’ll be amazed at how quickly an ordinary door blank can be transformed into a statement piece that enhances your living space.
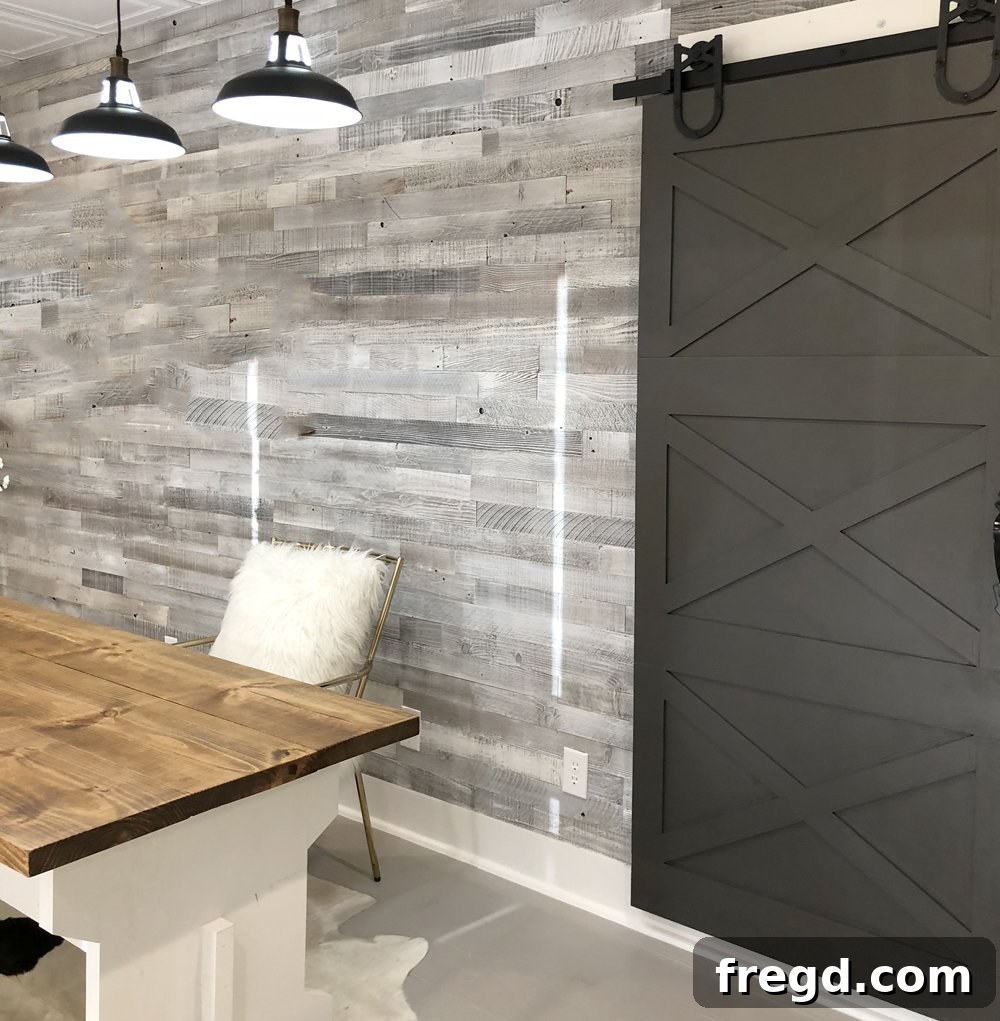
Essential Tools & Materials for Your Project
Before you embark on this exciting transformation, gathering all your necessary tools and materials will ensure a smooth and efficient building process. We’ve curated a list of the key items you’ll need, along with some recommended products that will help you achieve professional-looking results. Remember, while some links are provided for convenience, you can often find similar items at your local hardware store.
DIY Sliding Barn Door Hack – Free Plans & Resources
To make this project even easier, we’ve created comprehensive, step-by-step plans that you can download and print. These plans will guide you through all the measurements and cuts, ensuring accuracy for your custom door.
DOWNLOAD YOUR FREE PLANS HERE!
Materials Checklist:
- Hollow Core Door: This is the foundation of your barn door. They are incredibly affordable, widely available at hardware stores, and come in various standard sizes. Choose one that is large enough to comfortably cover your desired door opening. Expect to pay around $20-35.
- 1/4” Craft Boards: These thin boards will form the decorative trim pattern on your door. Look for them in the lumber section, often near pine boards. They are easy to cut and attach.
- Wood Glue: A strong wood glue is crucial for securing the craft boards to your hollow core door, ensuring a lasting bond. We highly recommend the Glu-Bot – an excellent glue bottle that makes application mess-free and efficient. Glu-Bot Link here
- 5/8” Staples: Used in conjunction with wood glue, staples provide immediate holding power while the glue dries, preventing the trim pieces from shifting.
- Wood Filler: Essential for concealing staple holes and any minor imperfections, creating a seamless, professional finish before painting. We recommend a high-quality wood filler for the best results. BEST Wood Filler Link
- Chalk Paint for Door: Chalk paint offers a beautiful matte finish and excellent coverage, often requiring minimal prep work. It adheres well to various surfaces, including wood and laminate. Chalk Paint for Door Link
- Barn Door Metal Hardware Kit: This includes the track, rollers, and handles necessary for your door to slide smoothly. Opt for a sturdy, attractive set that complements your chosen door design. Barn Door Metal Hardware Link
Recommended Tools:
- Measuring Tape: For accurate measurements of your door and trim pieces.
- Pencil: For marking cut lines and angles.
- Miter Saw or Circular Saw: For precise cuts on your 1/4″ craft boards. A miter saw offers excellent precision for angled cuts.
- Staple Gun: An electric or pneumatic staple gun will make attaching the trim pieces quick and secure.
- Sandpaper or Electric Sander: For smoothing wood filler and preparing the surface for paint.
- Paint Brushes and Rollers: For applying primer (if needed) and paint evenly.
- Safety Glasses and Gloves: Always prioritize safety when working with tools and materials.
Additionally, if you’re looking for inspiration for an accent wall, check out our Wood Wall Video here. And don’t forget elegant Black Pendant Lights to complete your room’s aesthetic!
Step-by-Step Guide to Building Your DIY Barn Door Hack
Step 1: Selecting and Preparing Your Door Blank
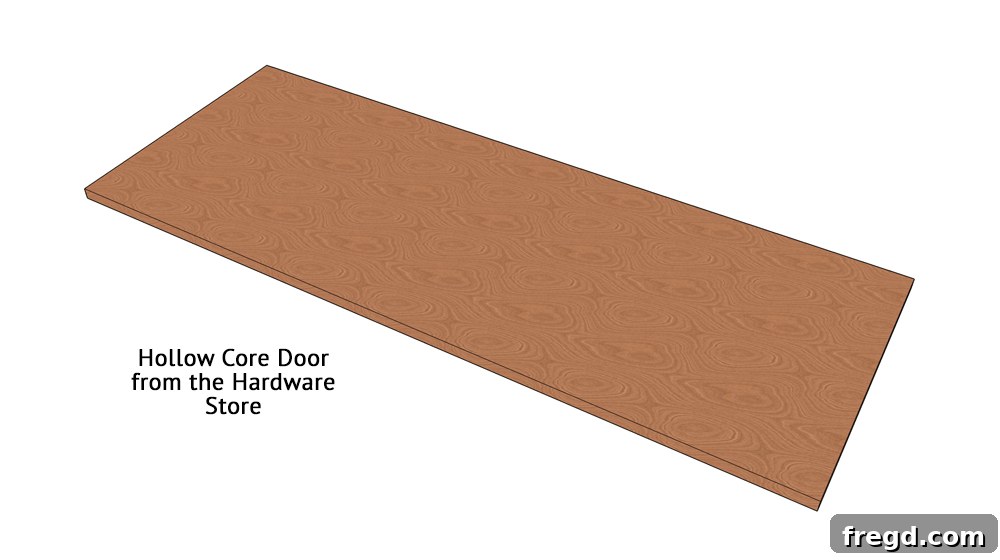
The journey begins with your chosen hollow core door. These doors are intentionally lightweight and affordable, making them the perfect canvas for our project. Visit your local hardware store and explore the various sizes available. The key is to select a door that is sufficiently wide and tall to completely cover the opening where it will be installed, with a slight overlap for privacy and aesthetic appeal. Once you have your door, ensure it’s clean and free of any dust or debris. This initial step sets the stage for a smooth application of your decorative trim.
Step 2: Creating Your Horizontal Trim Pieces
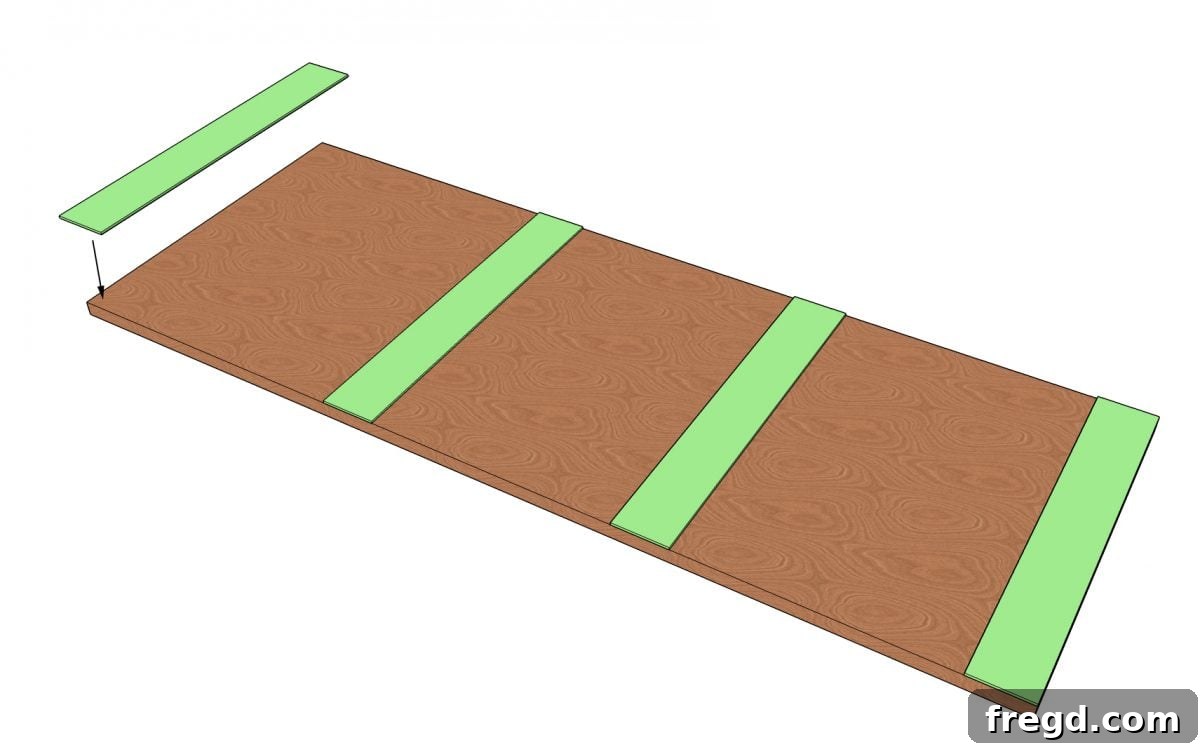
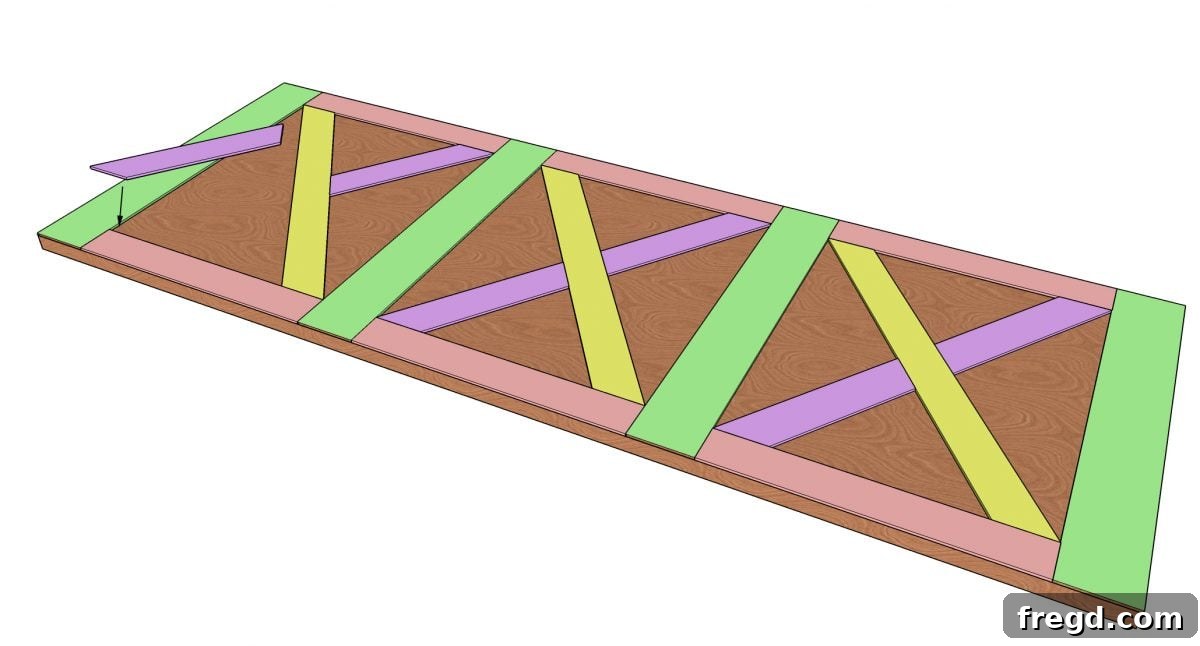
Now, let’s bring the design to life! Take your 1/4” craft boards and begin by cutting the horizontal pieces. It’s crucial to measure these cuts directly against the width of your specific hollow core door. We purposefully don’t provide exact measurements here because doors can vary slightly, and a custom fit is paramount. Place your craft board across the door, mark your cut lines, and then carefully cut each piece to fit snugly. Once cut, apply a generous amount of wood glue to the back of each horizontal board. Position them on your door, ensuring they are straight and evenly spaced. Secure them in place with 5/8” staples, making sure the staples are flush with the surface.
Step 3: Attaching the Vertical Trim Pieces
With your horizontal boards in place, it’s time to add the vertical elements of your trim design. Measure the spaces between your attached horizontal boards carefully. Cut your 1/4″ craft boards to fit precisely into these vertical gaps. Just like with the horizontal pieces, apply wood glue to the back of each vertical board. Press them firmly into position, aligning them perfectly with the horizontal trims. Use 5/8” staples to secure them, ensuring a strong and lasting bond. This creates the foundational grid for your barn door’s pattern.
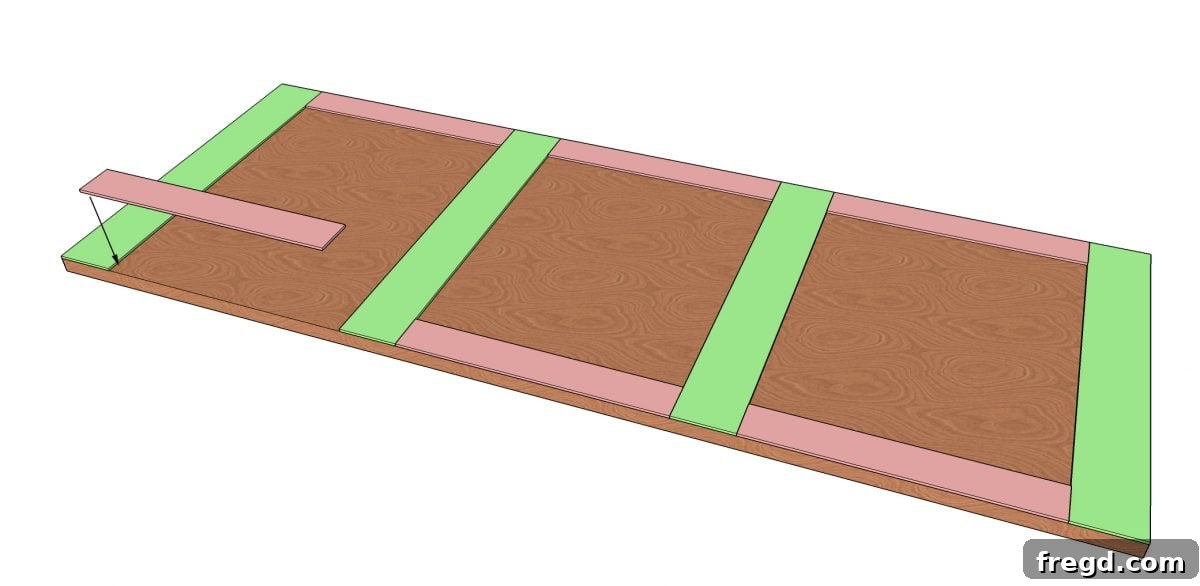
Step 4: Crafting the First Set of Diagonal Accents
This is where your barn door truly starts to take shape and gain its distinctive character. Take one of your craft boards and position it diagonally across the framed sections you’ve just created. You’ll want to determine the angle that best suits your aesthetic. Once you have the desired angle and placement, use a pencil to carefully mark where the board intersects with the existing trim pieces. These marks will guide your cuts. After cutting, apply wood glue to the back of the diagonal piece and secure it with 5/8” staples. Repeat this process for the remaining diagonal boards in this direction, ensuring consistency in your angles and snug fits against the trim.
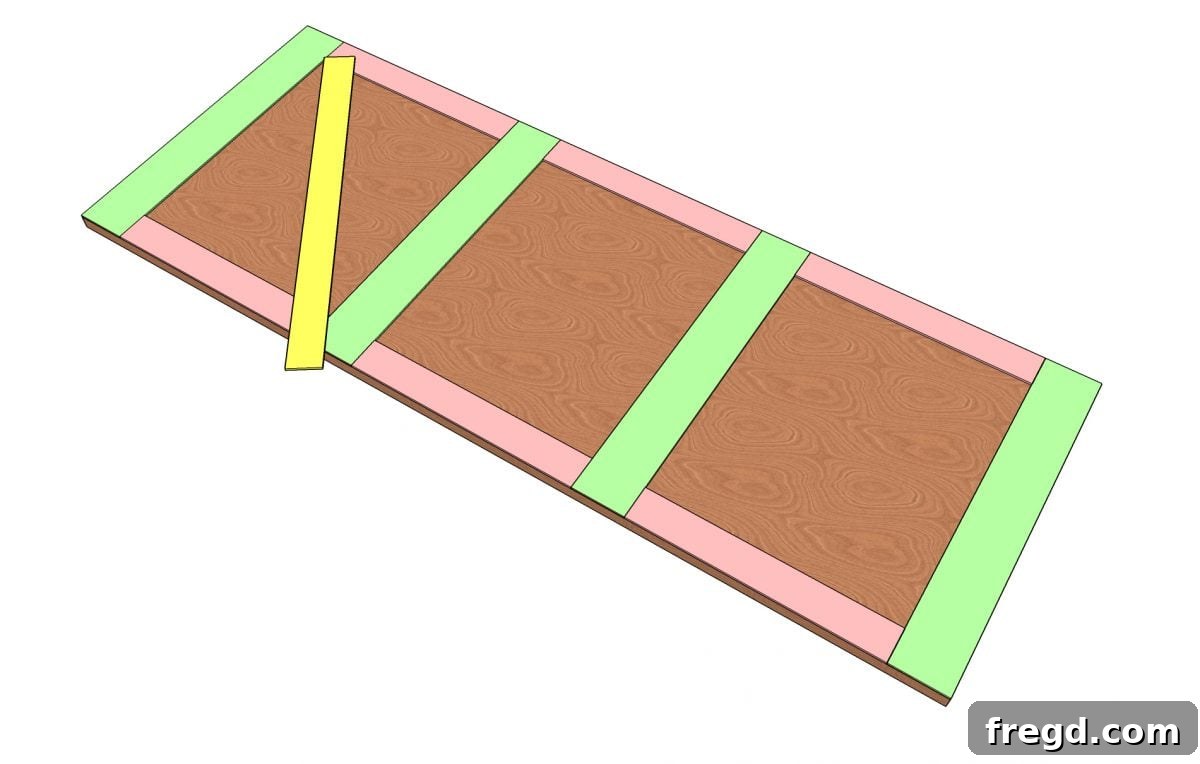
Continue this step for all boards running in the same diagonal direction, ensuring all cuts are precise for a clean, professional finish. Apply both wood glue and staples for maximum adhesion.
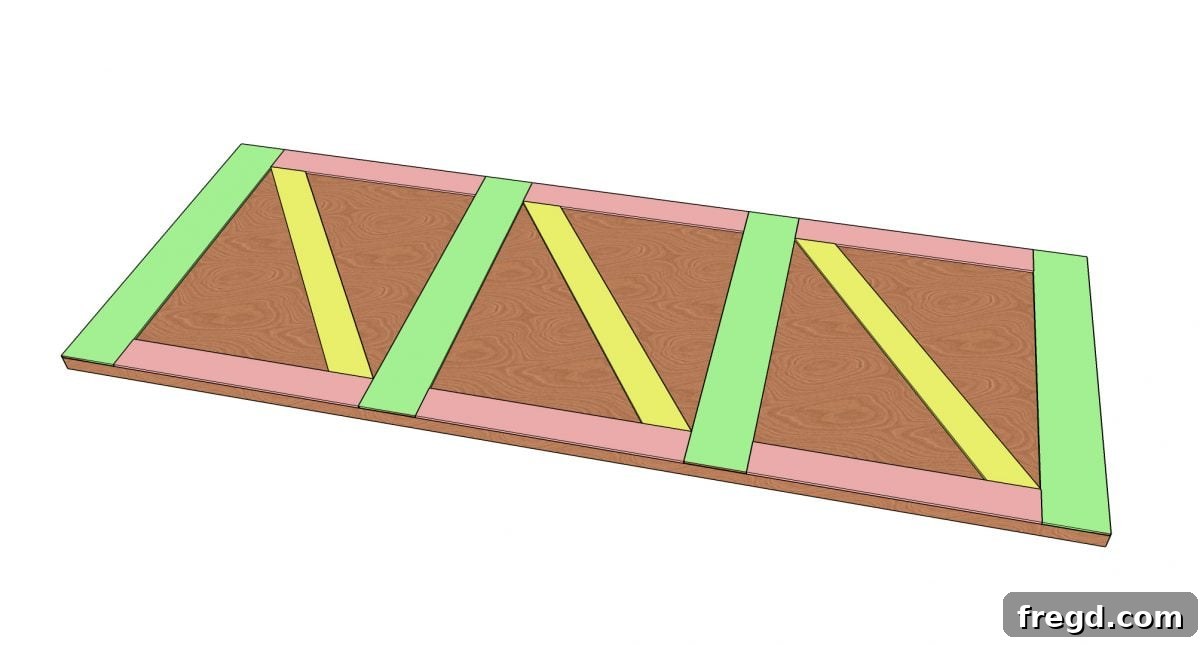
Step 5: Completing the Opposite Diagonal Pattern
Now, it’s time to create the opposing diagonal lines, giving your barn door the classic “X” or “Z” pattern. Similar to the previous step, position a craft board diagonally in the opposite direction. This time, pay close attention to where it crosses over the existing diagonal pieces. Use your pencil to mark not only the overall length of the board but also the precise points where it will need to be cut to fit around the intersecting trim. This might involve making several smaller cuts to ensure a perfect fit. Accuracy here is key for a polished look. Once marked and cut, apply wood glue and secure these final decorative pieces with 5/8” staples.
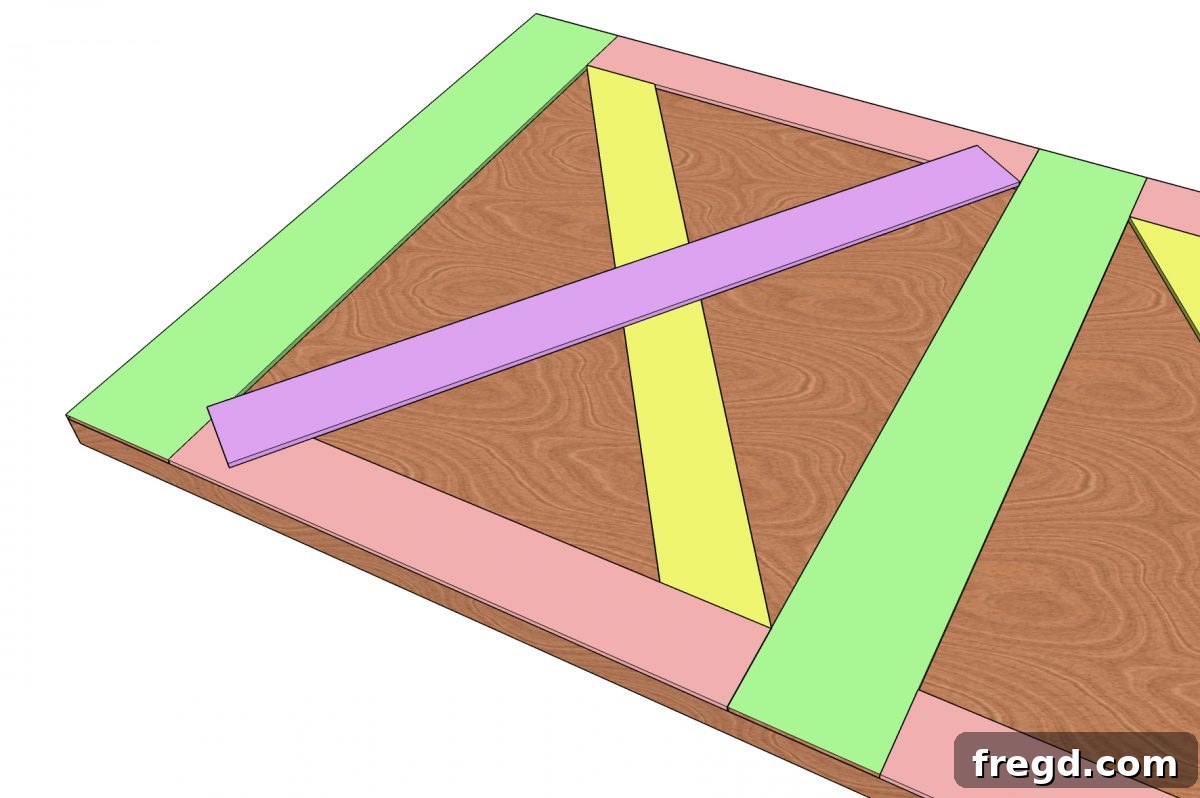
With all your decorative trim pieces now securely attached, your barn door’s structural design is complete! Take a moment to admire the intricate pattern you’ve created.
Step 6: Finishing Touches – Wood Filler and Painting
To achieve that flawless, professional finish, wood filler is your best friend. Carefully fill all visible staple holes and any small gaps or imperfections where the trim pieces meet. Allow the wood filler to dry completely according to the product’s instructions. Once dry, sand the entire surface of your door smooth. Pay extra attention to the areas with wood filler to ensure they are perfectly flush with the trim. After sanding, wipe away all dust. Now, your door is ready for its grand transformation with paint! Apply your chosen chalk paint (or any other paint suitable for doors) in thin, even coats, allowing adequate drying time between each. A light sanding between coats can further enhance smoothness. This final step brings your custom barn door to life with color and character.
Installation and Customization
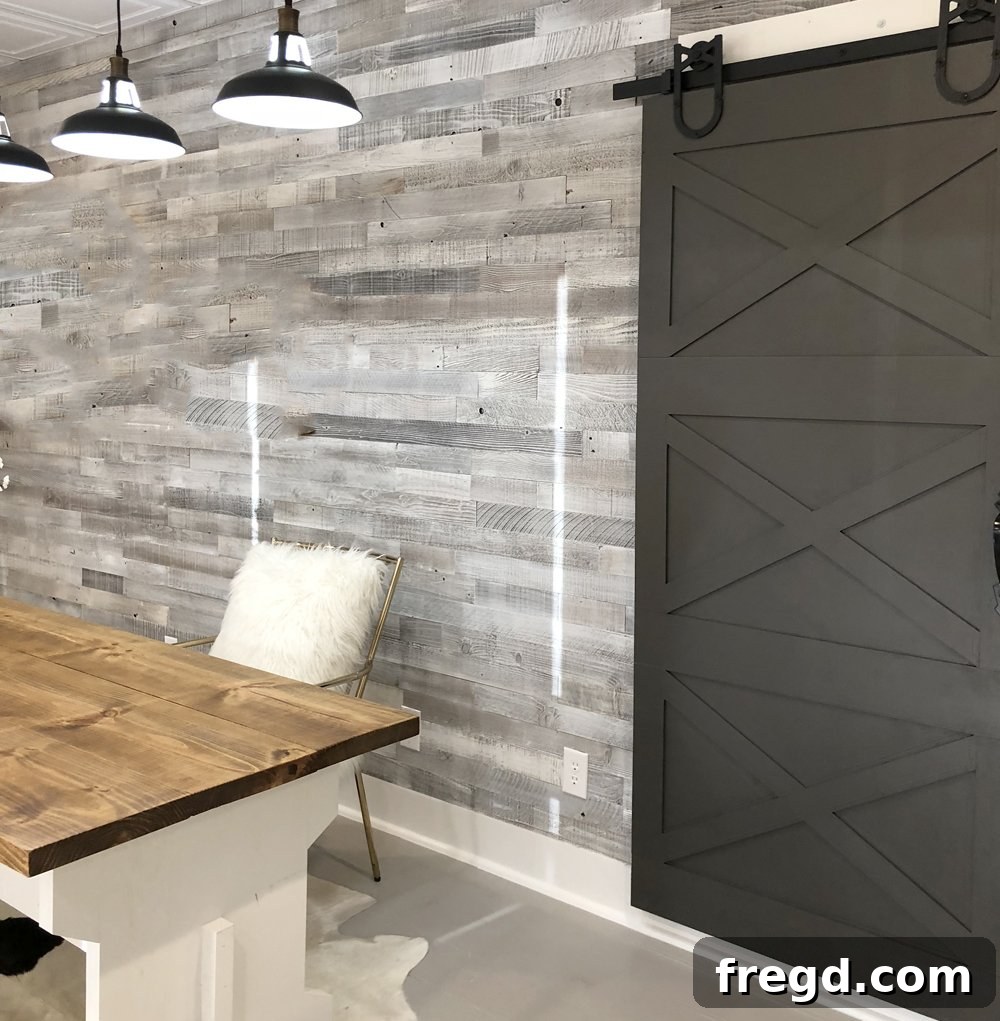
Once your door is fully painted and dried, it’s ready for installation! Follow the instructions provided with your chosen barn door metal hardware kit to mount the track above your door opening and attach the rollers to the top of your newly constructed barn door. Ensure the track is level and securely fastened to wall studs for safety and smooth operation. Add your handles, and step back to admire your handiwork.
The beauty of this DIY project lies in its endless customization possibilities. Don’t feel limited to a simple paint job. Consider distressing your door for a more weathered, rustic look, or opt for a bold, contrasting color to make a statement. You can also experiment with different barn door hardware styles – from traditional black wrought iron to sleek, modern stainless steel – to perfectly match your home’s aesthetic. Change the arrangement of the craft boards for an entirely different pattern. The creative control is entirely yours!
Share Your Masterpiece!
We absolutely love seeing your creativity in action! Once you’ve completed your stunning DIY Sliding Barn Door, don’t forget to share your finished projects with us on social media. Tag us and use the hashtag #shanty2chic so we can celebrate your amazing accomplishment. We can’t wait to see how you’ve personalized this hack and transformed your living spaces!
This project proves that you don’t need a huge budget or extensive woodworking experience to create high-impact home improvements. With a little ingenuity and our easy-to-follow guide, you can enjoy the style and functionality of a beautiful barn door in your home today!