
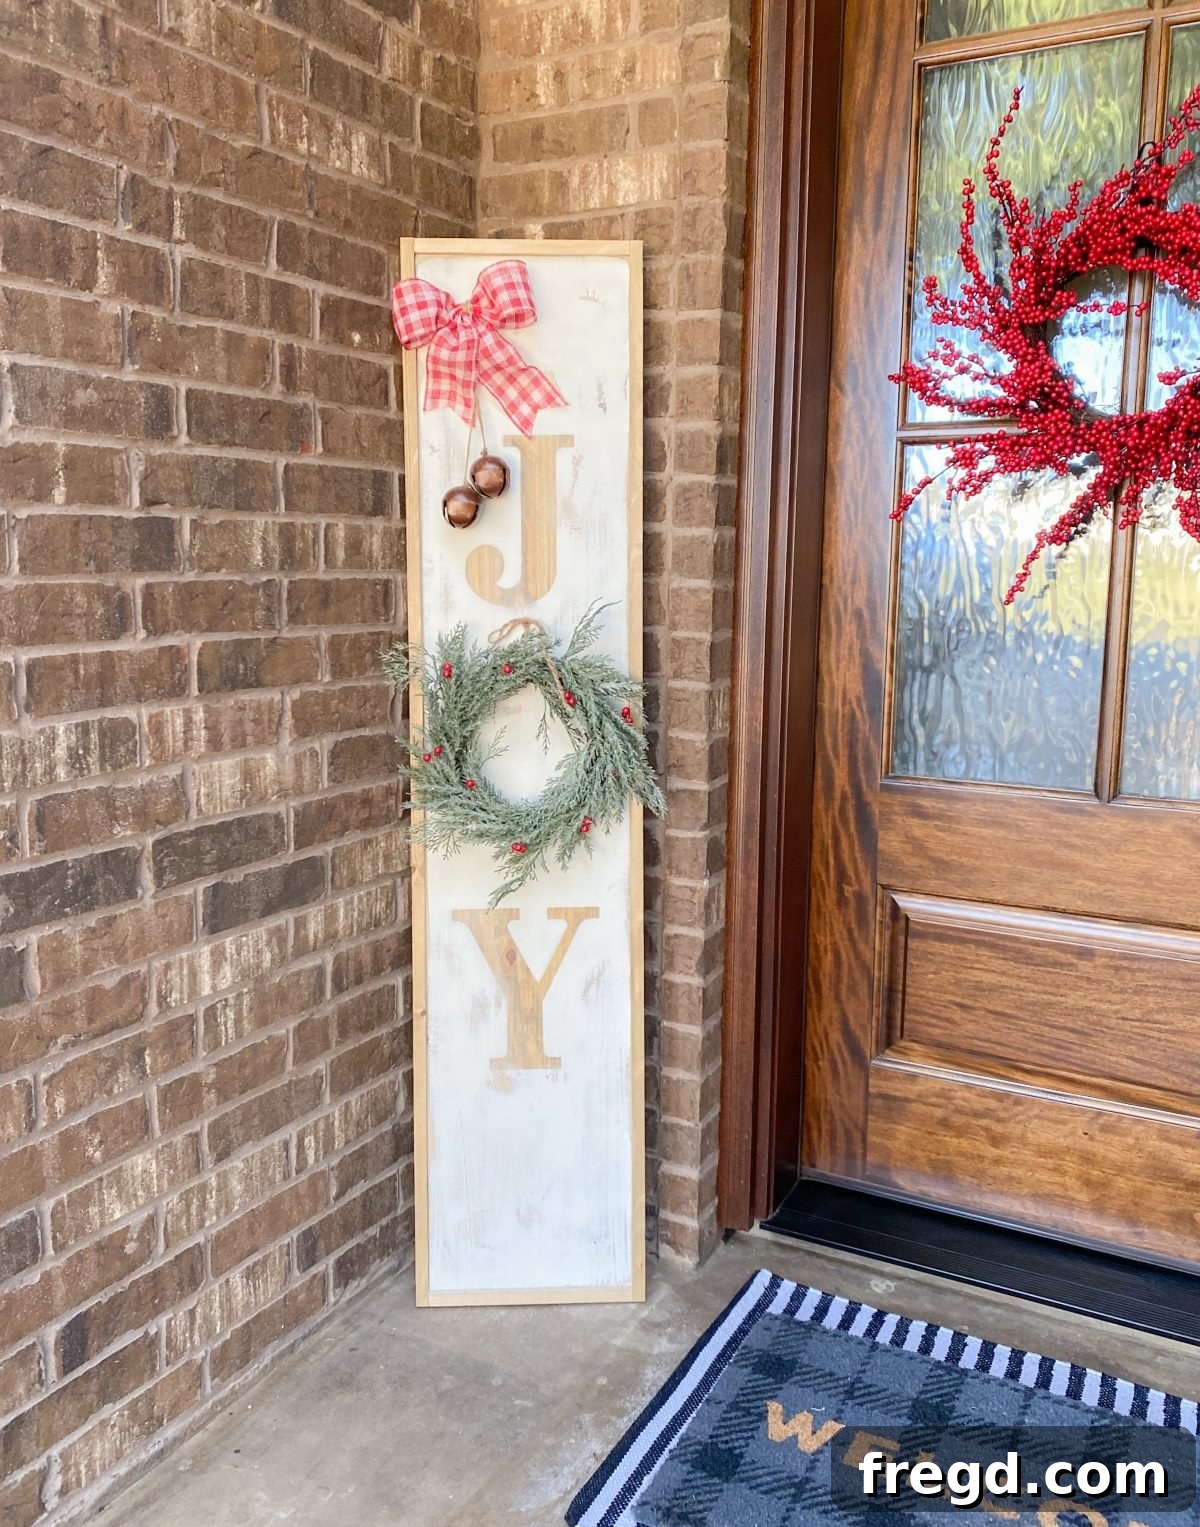
DIY Reversible Porch Sign: A Festive Welcome for Christmas & Beyond (JOY & HOME)
As the festive season approaches, transforming our homes into warm, inviting sanctuaries becomes a beloved tradition. There’s a unique joy in crafting your own holiday decorations, and today, I’m thrilled to share a project that’s not only incredibly simple and fun but also offers year-round versatility. Forget buying a new sign every season – with this DIY tutorial, you’ll create a stunning reversible porch sign that proudly displays “JOY” for Christmas and effortlessly flips to “HOME” for the rest of the year! It’s the perfect way to add curb appeal and a personal, handcrafted touch to your entryway.
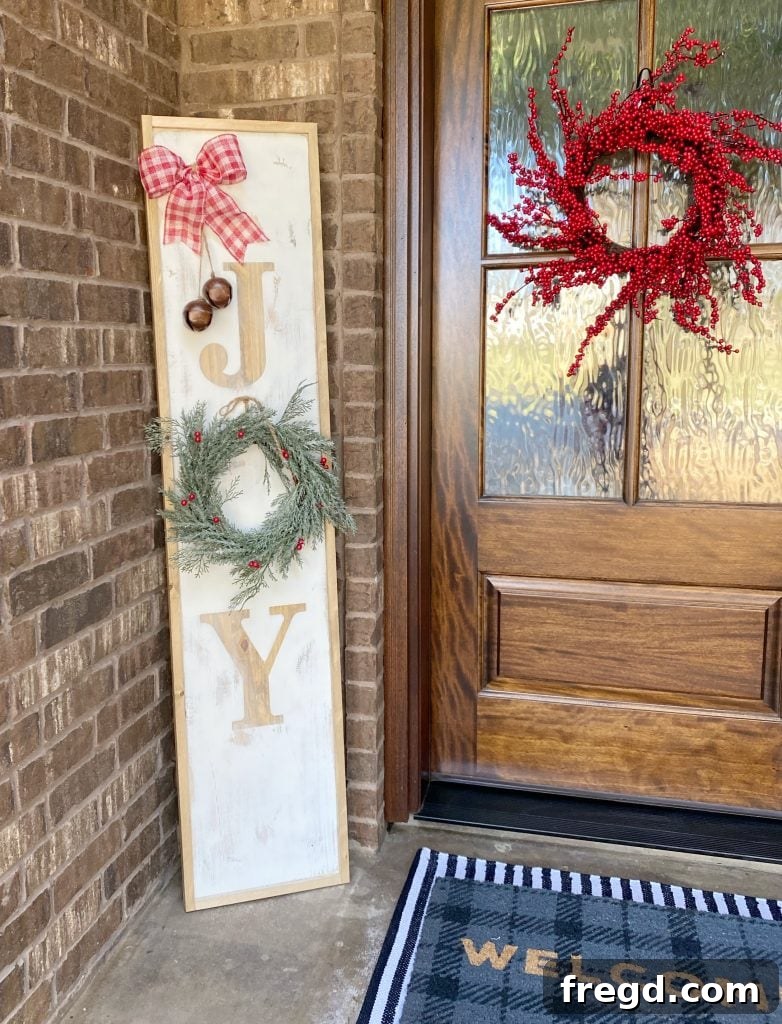
For this charming project, I had the pleasure of teaming up with Minwax, a brand I trust for exceptional wood finishes. The dramatic contrast between the rich wood stain and the crisp white paint creates a captivating aesthetic that truly elevates the piece. It’s a design element that adds so much character and depth. Let’s dive into how incredibly easy it is to build this impressive sign!
Why You’ll Love This Reversible Porch Sign
Before we gather our materials, let’s talk about why this particular DIY project is a must-try for your home:
- Dual Functionality: Get two signs in one! “JOY” for the holiday season and “HOME” for a warm welcome throughout the year.
- Budget-Friendly: Often, you can use scrap wood or inexpensive lumber, making this an economical decor solution.
- Customizable: Choose your favorite stain and paint colors, ribbons, and embellishments to match your personal style.
- Relatively Quick Project: While there are drying times involved, the actual hands-on work is manageable within a weekend.
- Adds Curb Appeal: A tall, vertical sign instantly enhances your front porch, entryway, or even an indoor space.
- Handcrafted Charm: There’s immense satisfaction in displaying something you’ve made yourself, adding a unique touch to your home.
Materials You’ll Need for Your DIY Porch Sign
One of the best aspects of this project is its simplicity when it comes to materials. You might even have some of these lying around your workshop already! Here’s a comprehensive list to get you started:
Lumber & Wood Components:
- Plywood (or other suitable wood board): One piece, cut to 12 inches by 60 inches. Opt for exterior-grade plywood if your sign will be exposed to the elements for greater longevity. Common thickness is usually 1/2 to 3/4 inch.
- 1×2 Boards: Two pieces, each 60 inches long (or the exact length of your main board) for the trim.
- Wood Letters: Individual wood letters for “J” and “Y” (for the JOY side) and “H”, “M”, “E” (for the HOME side). Ensure they are large enough to be prominent on your 12-inch wide board.
Finishes & Adhesives:
- Minwax Pre-Stain Wood Conditioner: Essential for ensuring an even stain application, especially on softer woods or plywood.
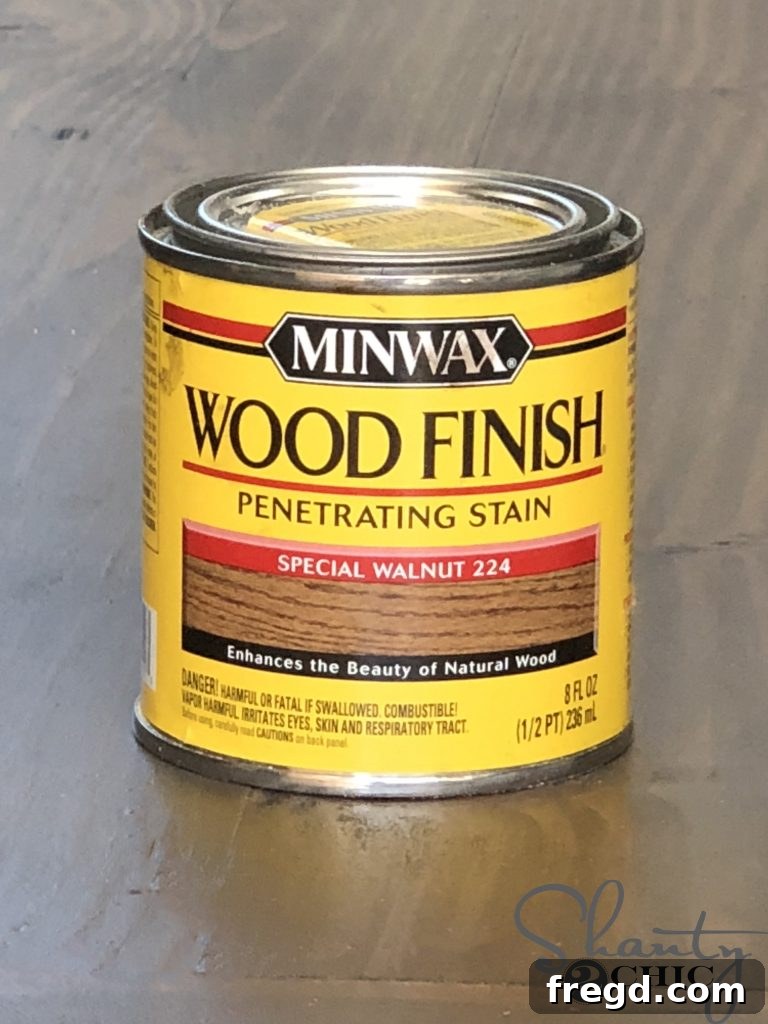
- Minwax Wood Stain: Your preferred color. I used one of my favorites to achieve that lovely contrast. (A dark or medium tone often works best against white).
- White Chalk Paint: A can of white chalk paint in a spray can format for easy application.
- Wood Glue: High-quality wood glue for attaching the trim boards securely.
- 1.25-inch Brad Nails: For reinforcing the trim boards.
- Optional: Minwax Helmsman Spar Urethane (or similar exterior sealer): Highly recommended if your sign will be displayed outdoors to protect it from weather.
Decorative Elements & Hardware:
- Wired Burlap Ribbon: About 2-3 feet for creating a beautiful bow. Wired ribbon holds its shape well.
- Twine: For tying the bow and attaching embellishments.
- Rustic Jingle Bells: A few large ones to add a festive touch.
- Small Craft Wreath: Approximately 6-8 inches in diameter, to act as the “O” in both “JOY” and “HOME”.
Tools For Your Workshop:
- Miter Saw or Circular Saw: For precise cuts on your plywood and 1×2 boards.
- Measuring Tape and Pencil: For accurate measurements and markings.
- Orbital Sander or Sanding Block: With 120-grit sandpaper (and potentially finer grits like 220 for initial smoothing).
- Wiping Rags or Foam Brushes: For applying stain and wiping off excess.
- Brad Nailer: For efficiently attaching the trim.
- Power Drill and Drill Bit: A small drill bit (e.g., 1/8 inch or 3/16 inch) for creating holes for the bow.
- Safety Glasses and Gloves: Always wear appropriate personal protective equipment when working with tools and finishes.
Step-by-Step Guide: Crafting Your Festive Porch Sign
Now that we have all our materials and tools ready, let’s get into the fun part – building this sign! Follow these steps carefully for the best results.
Step 1: Preparing Your Wood Foundation
Begin by cutting your plywood board to the desired dimensions of 12 inches wide by 60 inches tall. If you’re using scrap wood, ensure it’s sturdy and has a relatively smooth surface. Next, give your board a good sanding. Start with 120-grit sandpaper to smooth out any rough edges or imperfections, then follow with 220-grit for an even smoother finish. This preparation is crucial for an even stain application. After sanding, wipe down the board thoroughly with a clean, dry cloth to remove all sawdust.
Once clean, apply a coat of Minwax Pre-Stain Wood Conditioner. This step is often overlooked but is vital, especially on plywood or softer woods, as it helps the wood absorb stain evenly, preventing blotchiness. Apply it according to the product directions and allow it to penetrate for the recommended time.
Step 2: Applying Minwax Stain for a Rich Base
With your board properly conditioned, it’s time for the stain! I opted for one of my absolute favorite Minwax stain colors to achieve a rich, warm base. Since this is a smaller project, a wiping rag is an excellent tool for application. Dip the rag into the stain and apply it evenly along the grain of the wood. Don’t let the stain sit too long; after a few minutes, use a separate, clean wiping rag to wipe away any excess stain. This process ensures a beautiful, consistent finish and prevents the stain from becoming too dark or sticky. Remember to also stain your two 1×2 trim boards at this stage, so they match the main board perfectly. Set all stained pieces aside to dry completely according to Minwax’s instructions – usually several hours or overnight.
Step 3: Creating Your Festive Lettering with Chalk Paint
Once your stained board is thoroughly dry, it’s time to add the magic! Gather your wooden letters “J” and “Y”. Carefully position them on your plywood board, spacing them out to form the word “JOY” (leaving space for your wreath as the “O”). Ensure they are centered and aligned aesthetically. You can use a ruler to measure and pencil in faint guidelines if needed. Once you’re happy with their placement, you can lightly adhere them with a dab of removable adhesive or simply hold them in place while you apply the paint.
Now, with the letters securely positioned (or held), spray the entire board and the letters with white chalk paint. Chalk paint adheres wonderfully to stained wood and provides a beautiful matte finish. Apply several light, even coats, allowing each coat to dry slightly before applying the next, to prevent drips and ensure full coverage over the stain and the letters. The goal here is to completely cover the stained wood and the letters with white paint.
Step 4: Revealing the Rustic Charm and Distressing
After the chalk paint has completely dried – and this is where the magic truly happens – carefully pick up your wooden letters (“J” and “Y”). As you lift them, the beautiful stained wood underneath will be revealed, creating a stunning contrasting effect for your lettering. The “LOVE” moment is real when you see those crisp, stained letters emerge against the white!
To enhance the rustic feel of your sign, take 120-grit sandpaper and gently rough up the painted areas. Focus on the edges, corners, and anywhere the sign would naturally show wear and tear. This distressing technique allows even more of the underlying stained board to peek through, giving your sign an authentic, weathered, and farmhouse-inspired look. It adds character and depth, making the sign feel older and more cherished.
Step 5: Framing Your Masterpiece with Trim Boards
Next, it’s time to add the stained trim boards, which will frame your sign beautifully and give it a finished, polished look. First, precisely measure and cut your two 1×2 boards to the exact length of your plywood sign (60 inches). You’ll be attaching them along the long edges of your main board. Apply a generous bead of wood glue along the back of one 1×2 board, then carefully align it with the edge of your main sign board. Press it firmly into place. While the glue provides strong adhesion, reinforce it with 1.25-inch brad nails, spaced every 6-8 inches along the trim. Repeat this process for the other 1×2 board on the opposite side. The combination of wood glue and brad nails ensures a durable and lasting attachment.
Step 6: Adding Seasonal Embellishments & the Reversible Feature
Now for the delightful finishing touches! Grab your power drill and a small drill bit. At the very top center of your sign, drill two small holes, spaced about an inch apart. These holes will serve a dual purpose: they’ll securely hold your decorative bow and also make it incredibly easy to change out your embellishments for different seasons, supporting the reversible design.
Next, create a festive bow. I used wired burlap ribbon, which is fantastic because it holds its shape beautifully. Fashion a bow to your liking (there are many simple tutorials online if you need a guide) and tie its center tightly with twine. Then, thread the ends of the twine through the holes you just drilled at the top of the sign. Flip the sign over, pull the twine taut, and tie a secure knot on the backside to hold the bow firmly in place. To add an extra touch of rustic holiday charm, I looped another piece of twine through some large, rustic jingle bells and tied this into the center of my burlap bow.
Finally, select a small craft wreath (around 6-8 inches in diameter) to complete the word “JOY” by acting as the letter “O”. Position it strategically in the designated space. You can secure it with a dab of hot glue or by weaving thin wire or twine through its back and attaching it to the sign.

The Best Part: The Reversible Design! Here’s where this project truly shines. Once your “JOY” side is complete, you will repeat steps 3, 4, and 6 on the *opposite side* of your sign to create the word “HOME.” The process is identical: position your “H,” “M,” and “E” letters, spray with white chalk paint, remove the letters to reveal the stained wood, and distress the painted areas. The beauty of this design is that the same wreath you used for the “O” in “JOY” will also serve as the “O” in “HOME.” When Christmas is over, simply flip your sign around, swap out your holiday-themed bow and jingle bells for a more generic, all-season bow (perhaps a simple plaid or neutral color), and you’re set with a whole new, welcoming look! This versatility makes it an incredibly practical and long-lasting piece of home decor.

Protecting Your Porch Sign: Ensuring Longevity
If your beautiful new porch sign will be displayed outdoors, exposed to the elements, an essential final step is to apply a protective finish. This will safeguard your sign from moisture, UV rays, and temperature fluctuations, ensuring its beauty lasts for many seasons to come. Minwax offers excellent products for this purpose, such as Minwax Helmsman Spar Urethane. Apply several coats according to the product directions, allowing adequate drying time between each coat. This clear topcoat will create a durable barrier without altering the look of your stain and paint.
Beyond Christmas: The Versatility of Your New Sign
The true genius of this reversible porch sign lies in its adaptability. While the “JOY” side is perfect for spreading holiday cheer throughout November and December, simply flipping it reveals the “HOME” side, offering a warm and inviting welcome for the rest of the year. This means your DIY creation isn’t just a seasonal decoration but a permanent fixture that enhances your home’s aesthetic no matter the time of year. Consider having a few different bows on hand – a spring floral one, a patriotic one for summer, or a cozy autumn one – to truly embrace its versatility. It’s a testament to smart design and functional DIY!
Conclusion: Embrace the Joy of DIY Decor
I absolutely adore the way this reversible porch sign brightens up my doorway and adds a personal touch to my home. It’s a project that combines rustic charm with holiday spirit, and the ability to flip it for year-round use is simply brilliant. Crafting your own decor is a rewarding experience, and I hope this tutorial inspires you to create your own beautiful welcome sign. Special thanks to Minwax for sponsoring this cute project and providing the high-quality stains that make such a difference in the finished look. All opinions and experiences shared are, of course, entirely my own!
For more inspiration from Minwax, click here! And to find their fantastic products near you, click here.