
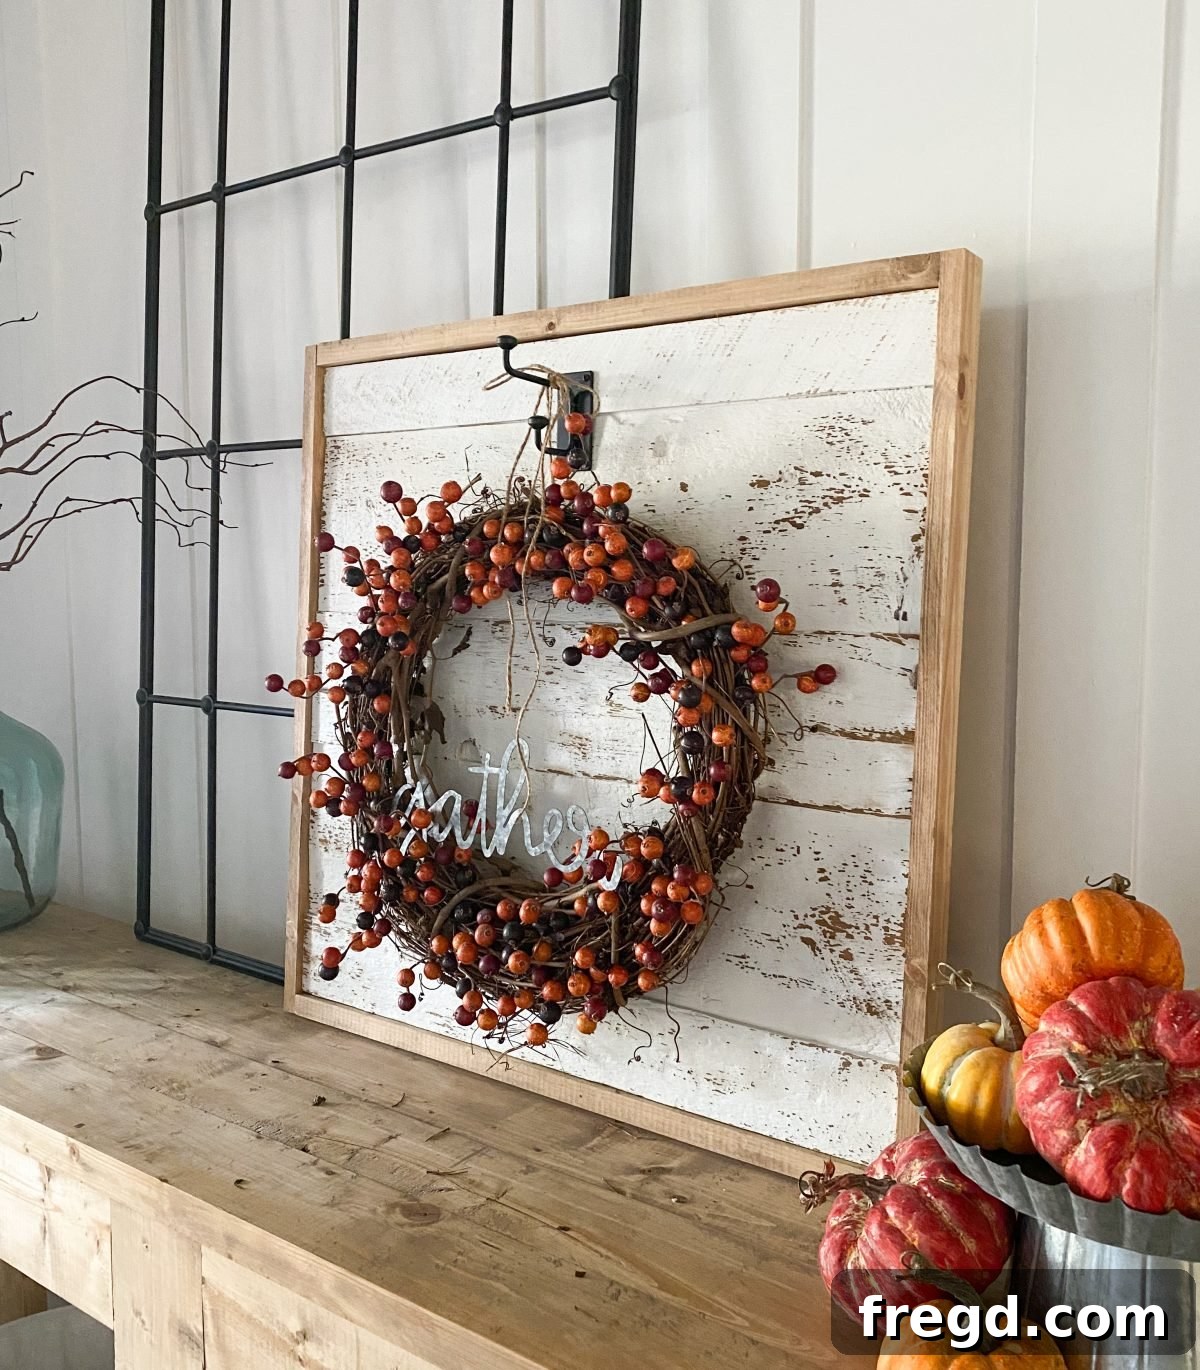
Create Your Own Stunning DIY Farmhouse Wreath Display: A Step-by-Step Guide
As the crisp air rolls in and leaves begin their vibrant transformation, there’s an undeniable magic in the air that inspires us to bring the warmth and beauty of the season indoors. Fall, for many, is the most cherished time of year, and decorating for it holds a special place in our hearts. This year, my recent addition of a new entryway table sparked a creative challenge: how to beautifully showcase a seasonal wreath without breaking the bank on expensive decor. The answer, as it often is for DIY enthusiasts, lay in my scrap pile!
Inspired by the rising cost of lumber and a desire to create something truly unique, I embarked on a delightful project to craft a charming farmhouse wreath display entirely from salvaged materials. The result is a piece that perfectly captures the rustic elegance of the farmhouse aesthetic and provides a versatile backdrop for any seasonal wreath. I was thrilled to team up with Purdy on this endeavor, whose exceptional tools made the painting process an absolute breeze. This DIY Farmhouse Wreath Display isn’t just a project; it’s a testament to creativity, sustainability, and the joy of crafting something beautiful with your own hands.
Why Embrace a DIY Wreath Display?
Beyond the simple act of decoration, building your own wreath display offers a multitude of benefits:
- Cost-Effective Decor: By utilizing scrap wood and repurposing materials, you significantly reduce the overall cost compared to purchasing a ready-made display. This project is a prime example of high-impact decor on a low budget.
- Personalized Touch: A DIY project ensures your decor is one-of-a-kind. You can customize every aspect, from the size and finish to the type of wood and decorative accents, reflecting your personal style and the unique character of your home.
- Sustainable Crafting: Giving new life to forgotten scraps of wood is not only satisfying but also an eco-friendly approach to home decor. It’s a small step towards reducing waste and celebrating resourcefulness.
- Seasonal Versatility: A well-designed wreath display isn’t limited to a single season. Its sturdy construction and classic farmhouse appeal make it suitable for displaying wreaths for fall, Christmas, spring, or any special occasion throughout the year.
- A Sense of Accomplishment: There’s immense satisfaction in stepping back and admiring a beautiful piece that you’ve crafted with your own hands. It’s a functional piece of art that tells a story.
Gathering Your Materials and Tools
One of the best aspects of this project is its reliance on readily available materials, often found in your own workshop or local hardware store.
Materials You’ll Need:
- Plywood Base: Approximately 3/4″ or 1/2″ thick plywood. For this project, a 27″ x 27″ piece was used, but you can adjust dimensions to fit your desired space.
- Barn Wood (or reclaimed wood): Enough pieces to cover your plywood base. You can source authentic barn wood or purchase pre-treated barn wood panels from hardware stores or online.
- Wood Glue: For strong, lasting adhesion.
- Brad Nails: 1″ for attaching barn wood, 1.25″ for the decorative frame.
- Paint: Sherwin-Williams Pure White (or your preferred color).
- Wood for Frame: 1×2 boards, measured to frame your display.
- Wood Stain: Your choice of color for the frame.
- Decorative Hook: To hang your wreath (sourced from Hobby Lobby or similar craft stores).
Essential Tools:
- Saw: Jigsaw or table saw for cutting plywood and barn wood.
- Brad Nailer: For quick and secure attachment of wood pieces.
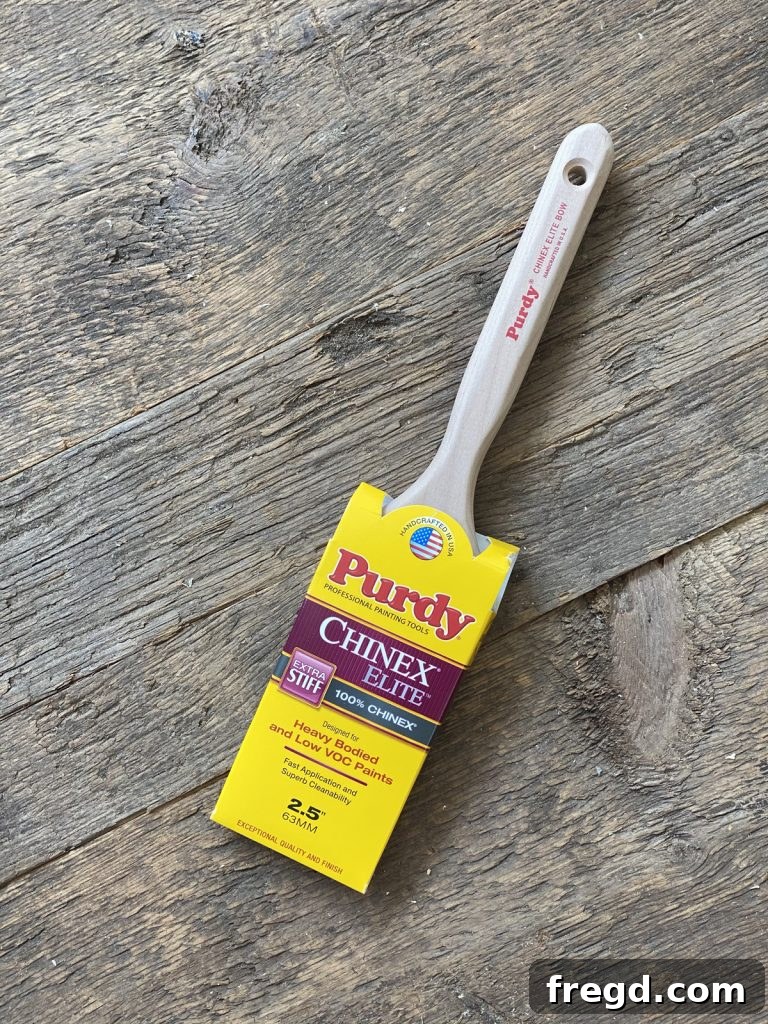
- Purdy Chinex Elite Brush: Essential for painting rough, uneven surfaces.
- Purdy Pail with Liners: For efficient paint management and easy cleanup.
- Orbital Sander with 120-grit sandpaper: For distressing the painted surface.
- Drill: For attaching the wreath hook.
- Tape Measure and Pencil: For accurate measurements.
- Safety Goggles and Gloves: Always prioritize safety!
Step-by-Step Construction: Building Your Farmhouse Wreath Display
Step 1: Preparing the Foundation – The Plywood Base
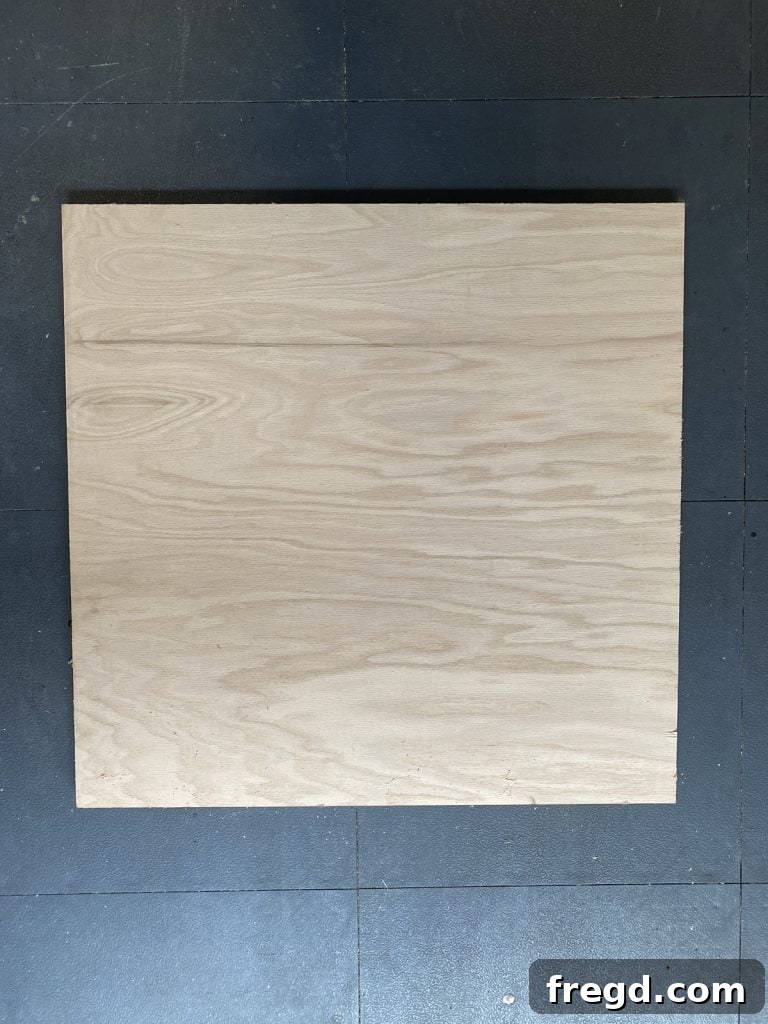
Every great project starts with a solid foundation. For this farmhouse wreath display, a piece of plywood serves as the sturdy backing. I began with a 27″ x 27″ square of 3/4″ thick plywood. However, you can easily adapt these dimensions to perfectly suit the specific space in your home where you envision this charming piece. If you’re working with a larger or smaller area, simply adjust your plywood cut accordingly. A 1/2″ thick plywood would also work beautifully, offering a slightly lighter alternative while maintaining sufficient rigidity. Use a table saw or circular saw to ensure clean, straight cuts, always remembering to prioritize safety by wearing appropriate eye protection.
Step 2: Embracing Rustic Charm – Attaching the Barn Wood Panels
The distinctive character of this farmhouse wreath display comes from the use of barn wood. I used reclaimed scrap barn wood, but high-quality barn wood can also be purchased online or at specialty hardware stores if you don’t have a stash. I cut several pieces of barn wood to the 27″ width of my plywood base. Starting at the very bottom edge of the plywood, I applied a generous bead of wood glue along the back of the first barn wood strip. Then, I carefully aligned it flush with the bottom of the plywood and secured it in place using 1″ brad nails and a brad nailer. This combination of glue and nails ensures a strong, durable bond. I continued this process, working my way upwards, attaching each subsequent barn wood strip flush against the one below it, creating a continuous, beautifully textured surface.
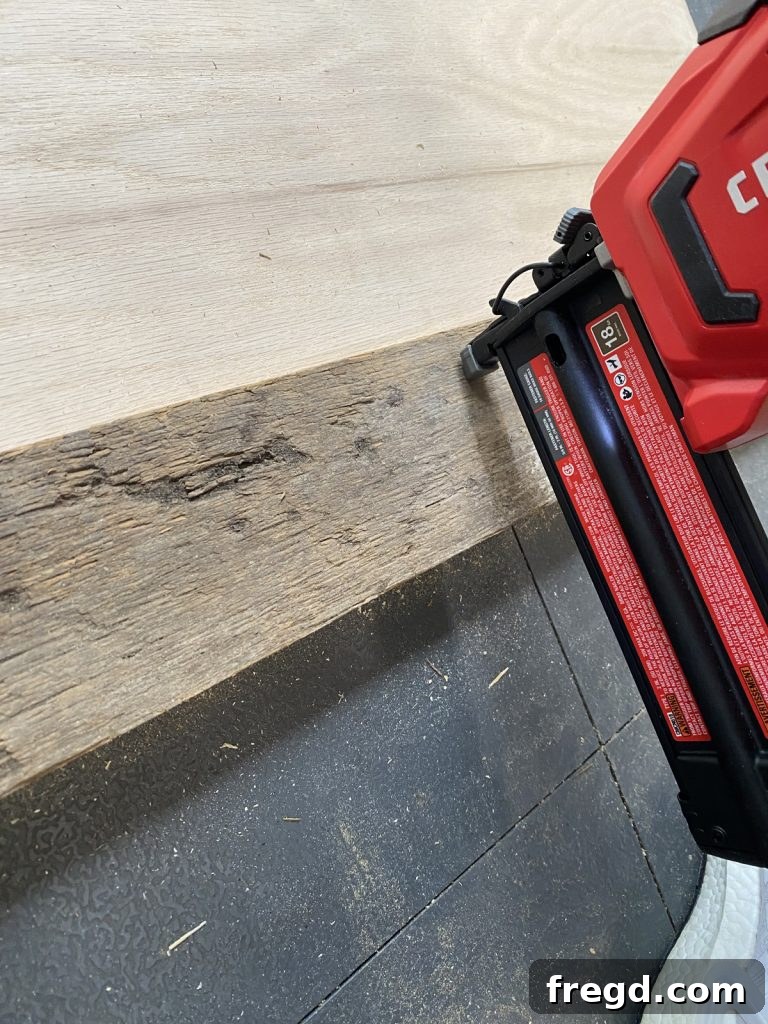
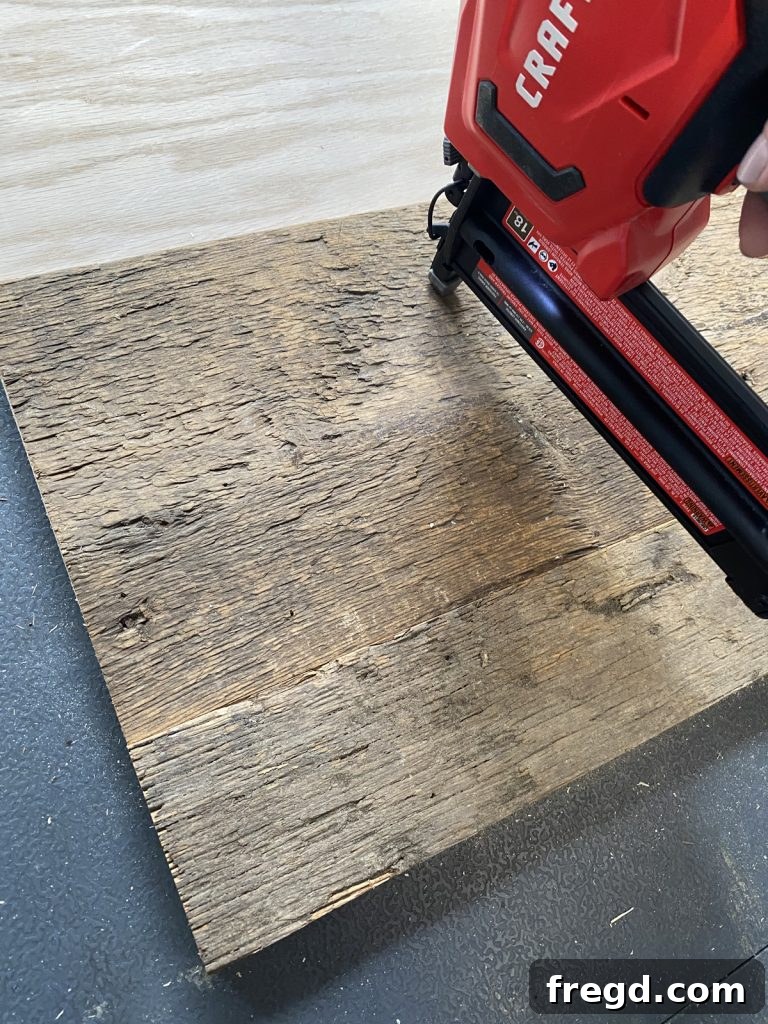
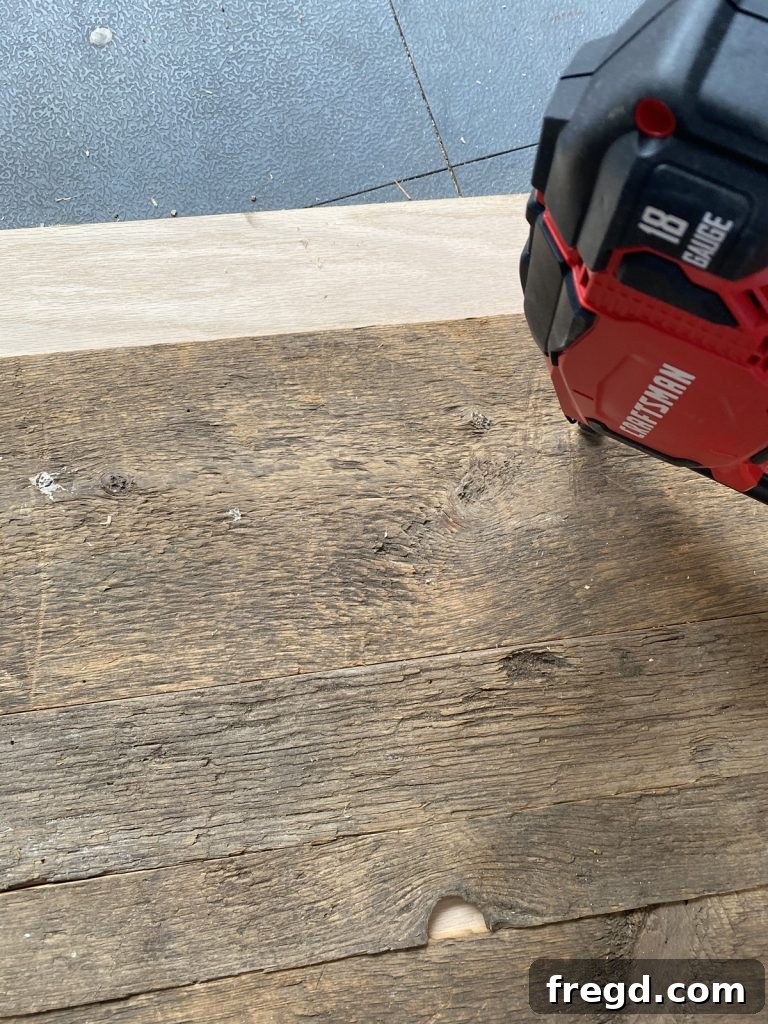
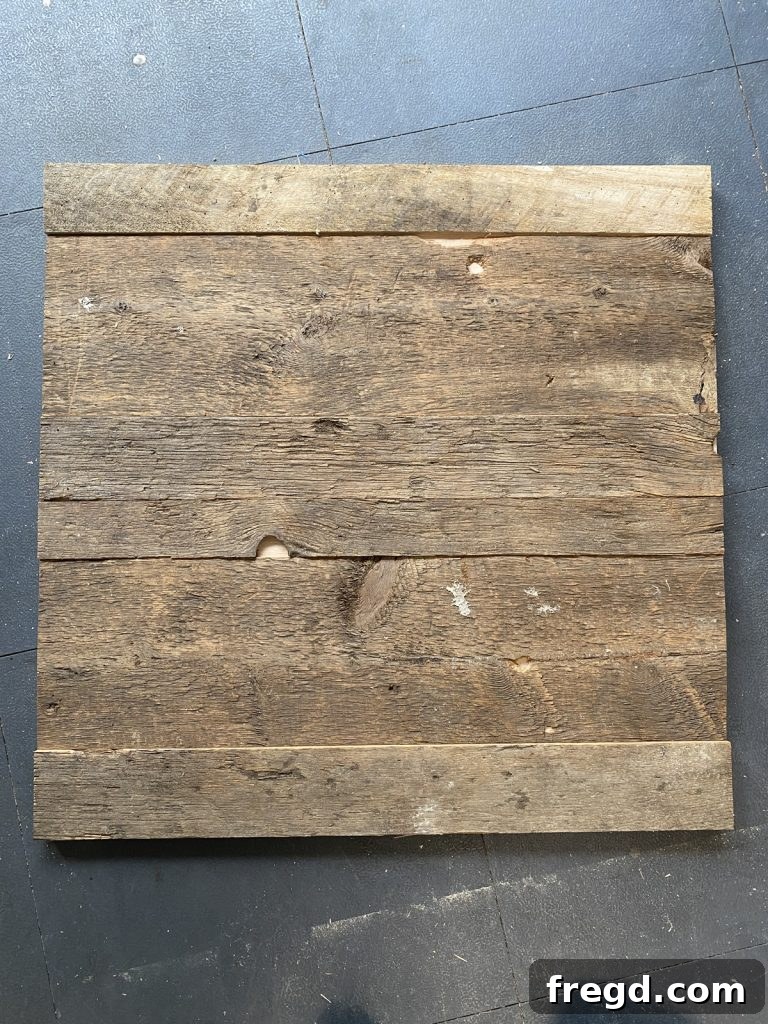
I continued this process until the entire plywood base was covered with the rustic barn wood. It’s possible that your final piece of barn wood won’t fit perfectly at the top. If the top piece is too wide for the remaining gap, simply measure the exact width needed and use a jigsaw or table saw to rip it down to the correct size before attaching it. This ensures a clean, professional finish across the entire surface.
Step 3: Preparing for Paint – Tackling the Textured Surface
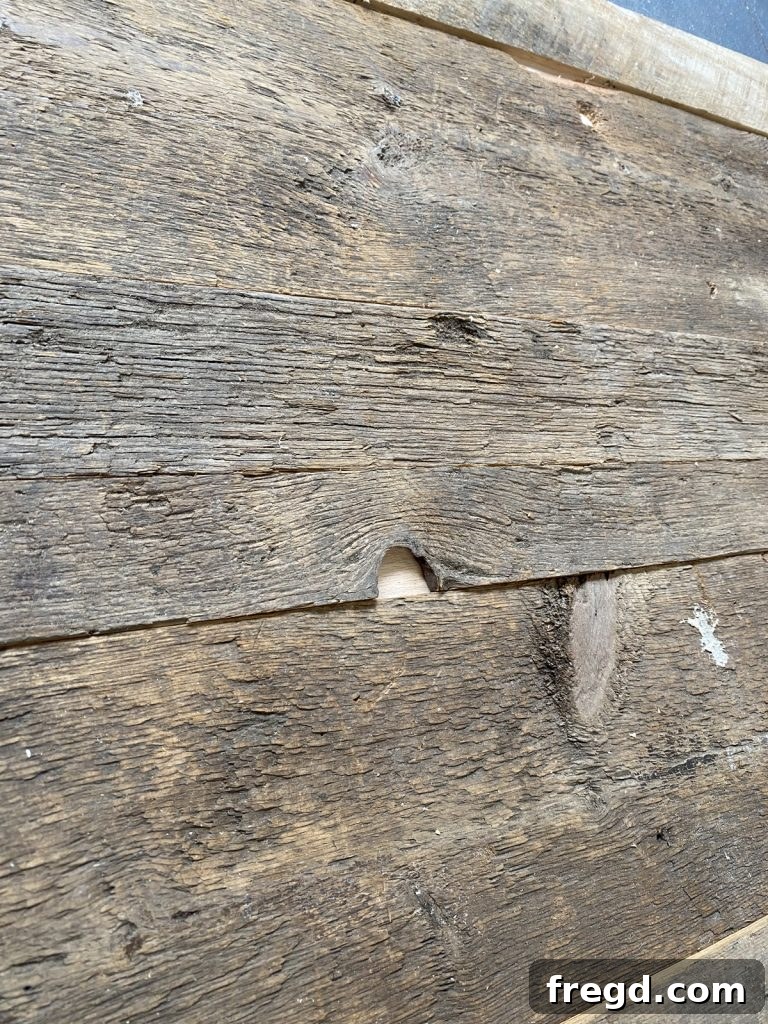
With all the barn wood securely in place, the surface of the display was now wonderfully textured and uneven – precisely what gives it that authentic farmhouse appeal. At this point, it was ready for paint, and I knew I needed a tool that could handle the unique contours and provide excellent coverage. Painting such a surface demands a brush that can get into every crevice and apply paint smoothly and efficiently.
Step 4: The Purdy Advantage – Painting with Precision and Speed
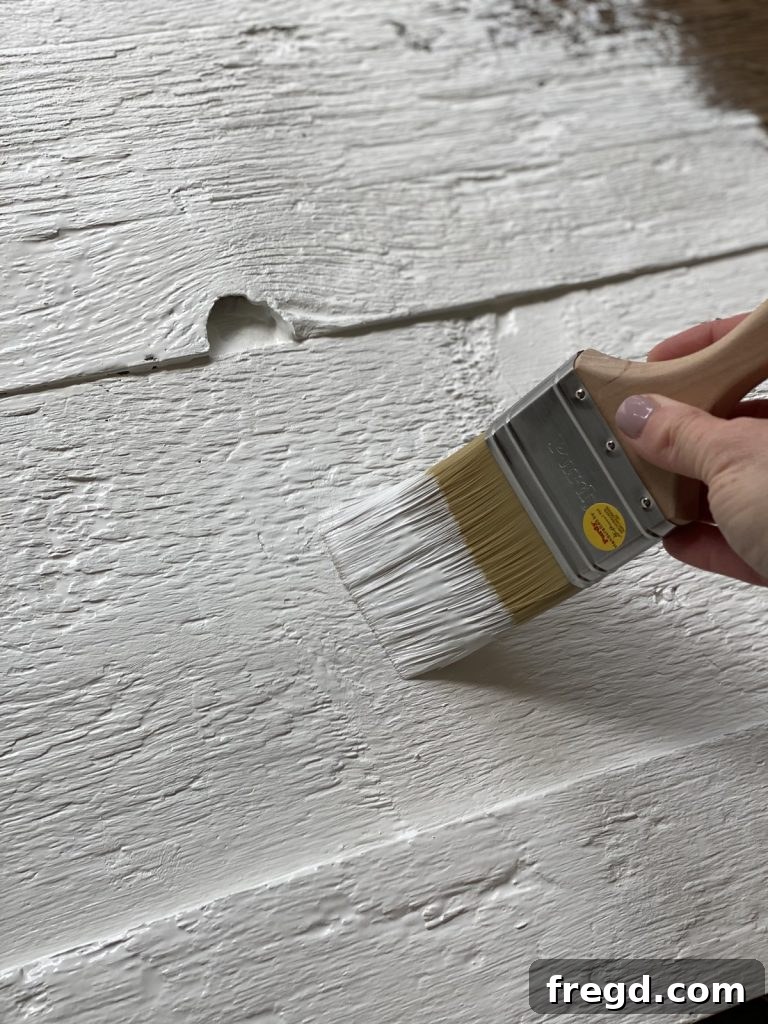
To tackle this critical step, I turned to my trusted Purdy tools, designed for both professional results and efficiency. My tool of choice for this project was the Purdy Chinex Elite brush. This brush is an absolute game-changer when working with rough, uneven surfaces like reclaimed wood. Its stiff, durable filaments are engineered to withstand abrasive textures, ensuring the brush maintains its integrity and performance throughout the painting process. These pre-flagged filaments – much like split ends on hair – are designed to pick up and hold more paint, allowing for smoother application and significantly faster coverage, even on deeply textured surfaces. This meant I could achieve a rich, even coat with fewer dips and strokes, saving valuable time and effort.
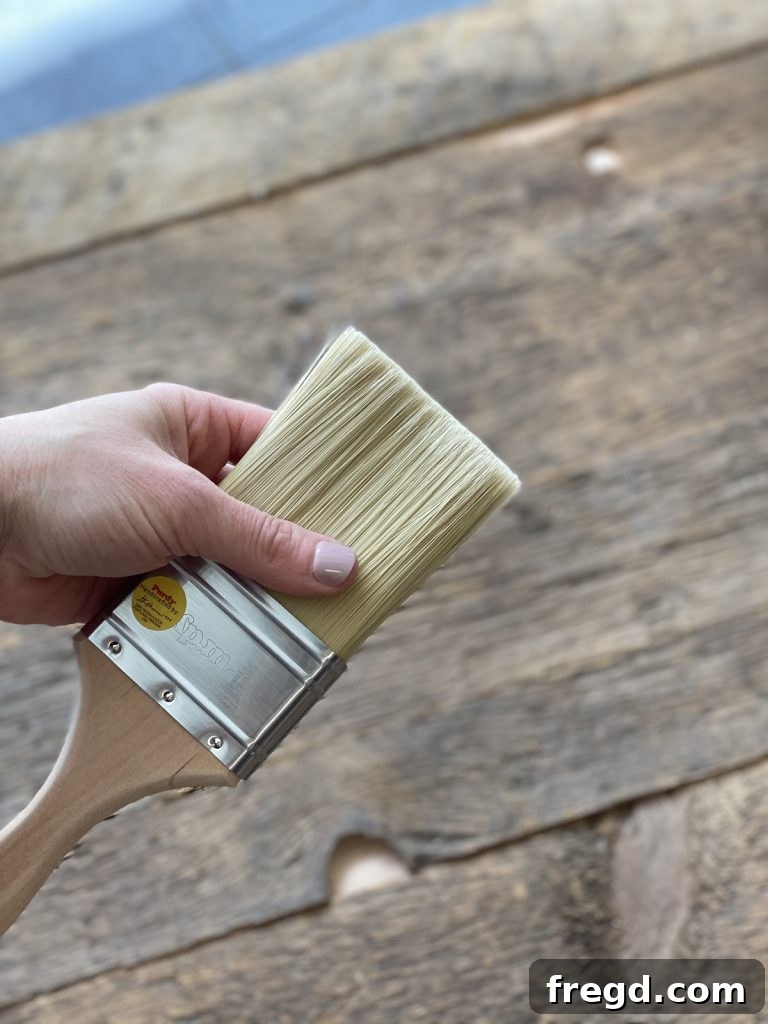
The Purdy Chinex Elite brush truly delivers a smooth, thick application, allowing me to cover the entire surface quickly and effectively. This brush’s design ensures excellent paint release and a beautiful finish, even on challenging textures.
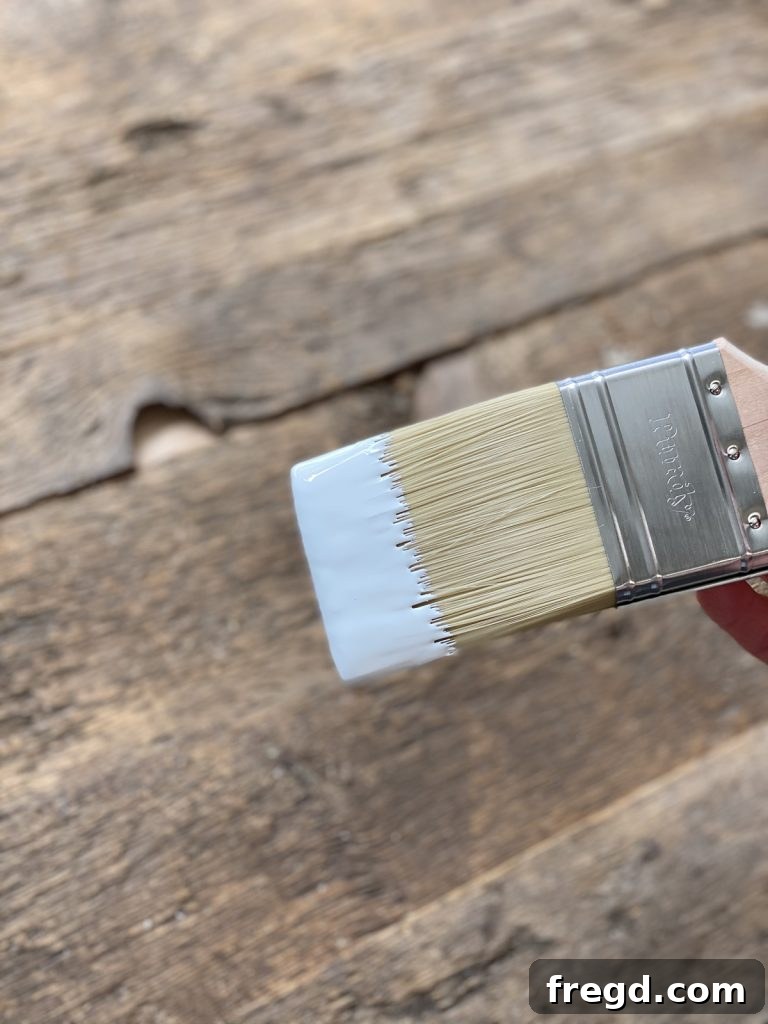
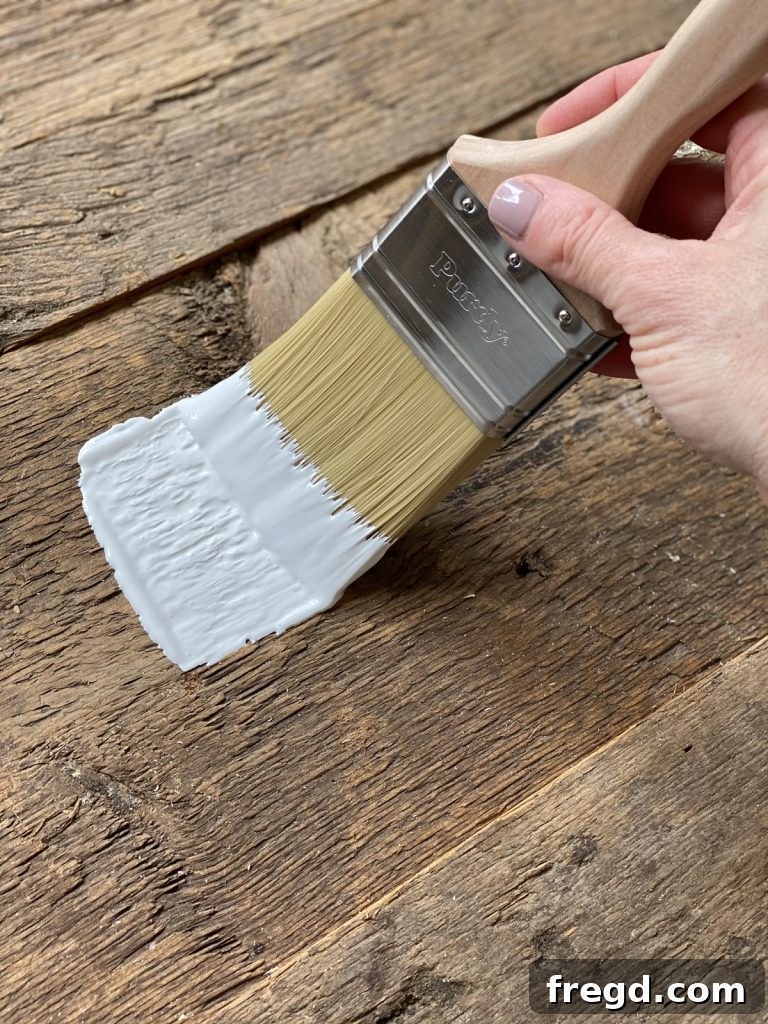
In addition to the exceptional brush, I also incorporated my Purdy Pail into this project. This ingenious tool is a must-have for both large and small painting tasks, drastically cutting down on project time. What I particularly love about the Purdy Pail are its disposable liners. These liners can be easily changed and discarded, transforming cleanup from a tedious chore into a quick, hassle-free task. If you’re looking to streamline your painting process and reduce cleanup time, the Purdy Pail is an investment you won’t regret. You can explore these and other outstanding Purdy products on their official website. Their commitment to quality tools truly makes a difference in any DIY project.
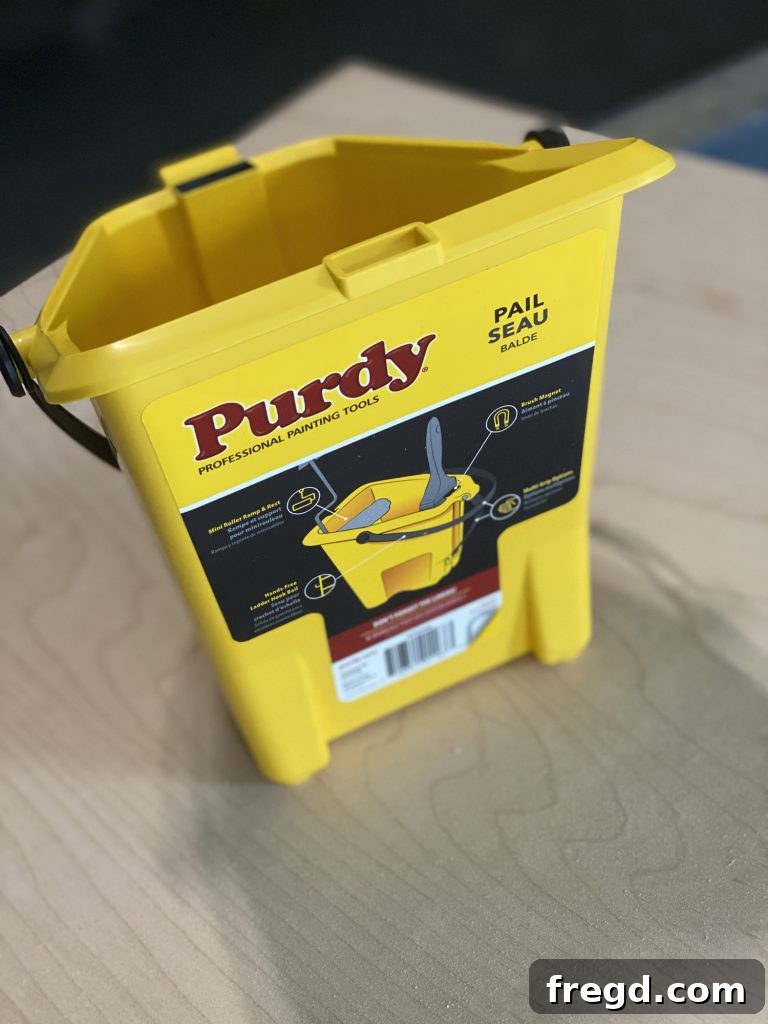
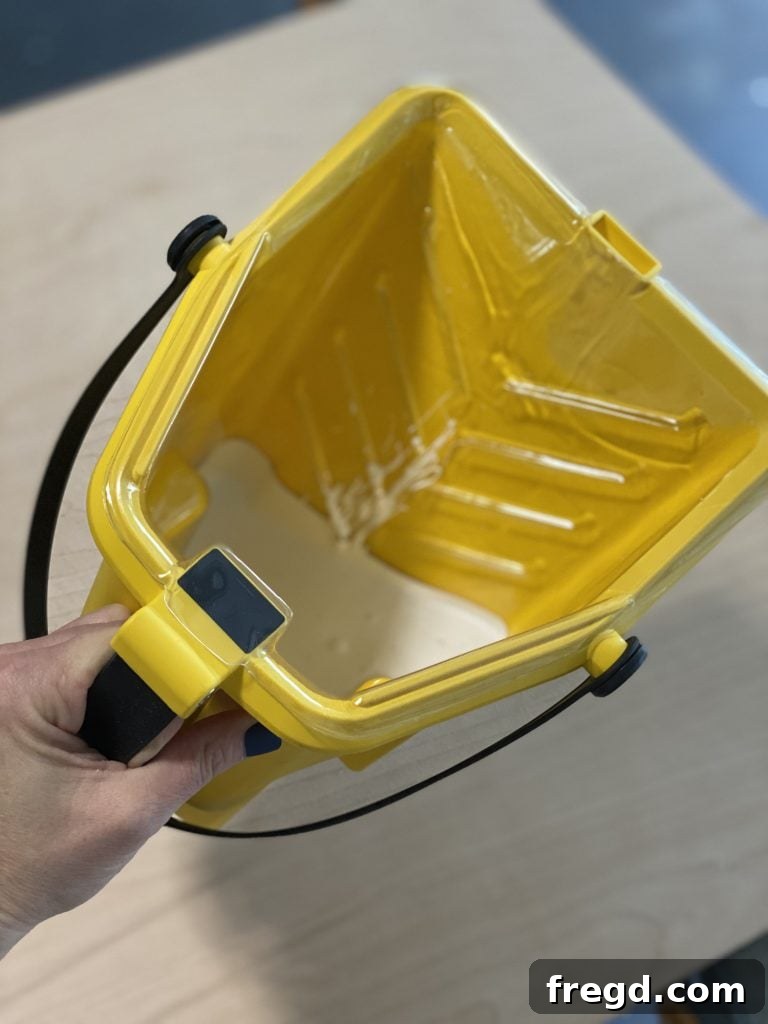
For the paint itself, I opted for a single, generous coat of Sherwin-Williams Pure White. This crisp, classic white is a personal favorite, offering a clean, bright aesthetic that beautifully complements the rustic barn wood. After applying the paint, I allowed it ample time to dry completely, ensuring a durable and smooth base for the next step.
Step 5: Adding Character – The Distressed Look
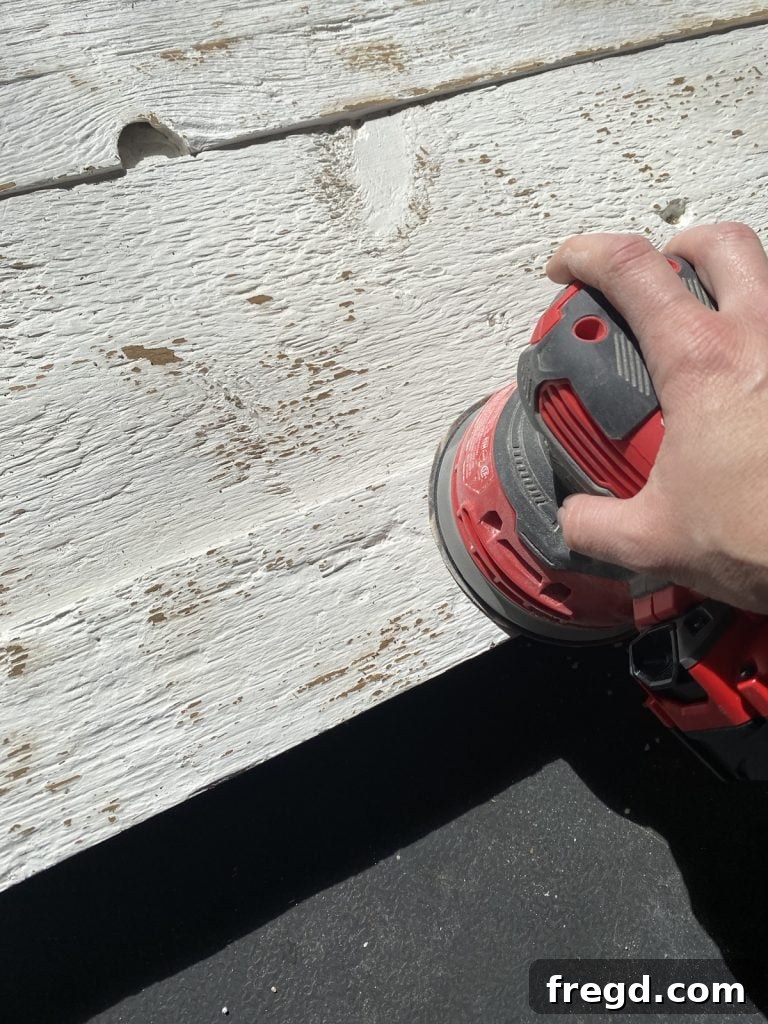
Once the paint was thoroughly dry, it was time to introduce that coveted farmhouse distressed look. This technique subtly reveals the natural wood beneath the paint, adding depth, texture, and an aged appearance. Using my orbital sander fitted with 120-grit sandpaper, I gently sanded various areas of the painted surface. The key here is not to sand too aggressively, but to lightly graze the surface, allowing just a hint of the barn wood to show through. Focus on edges and raised areas where natural wear would occur. This creates a beautifully authentic, timeworn aesthetic that truly elevates the rustic charm of the display.
Step 6: Framing the Beauty – Crafting the Decorative Border
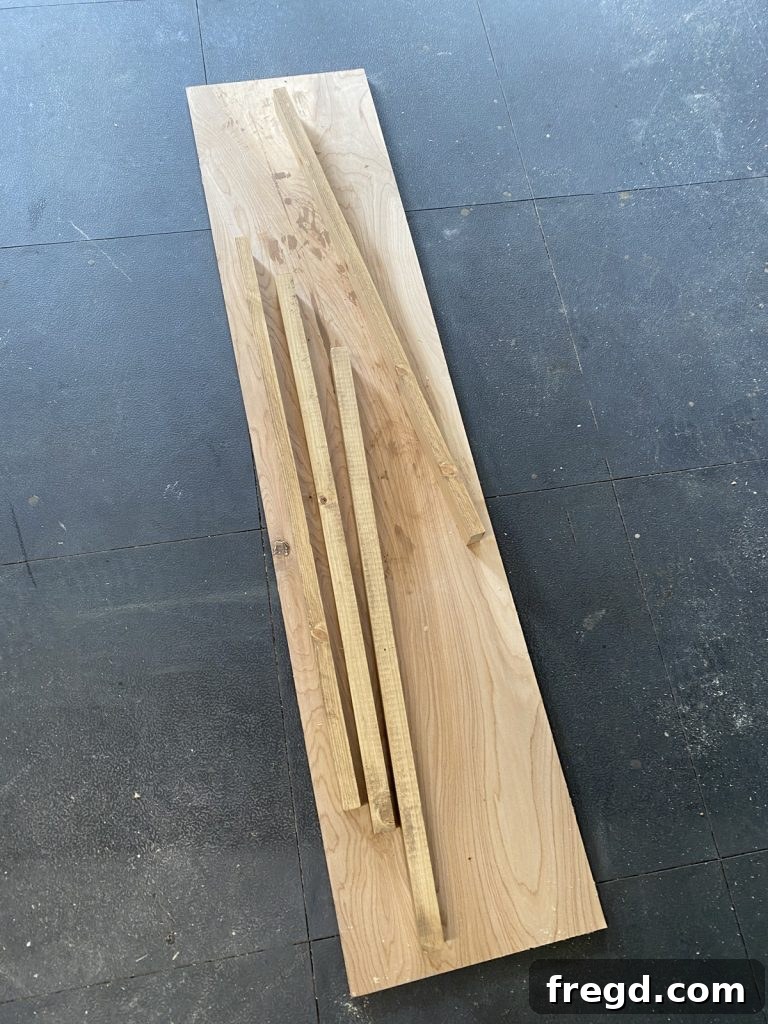
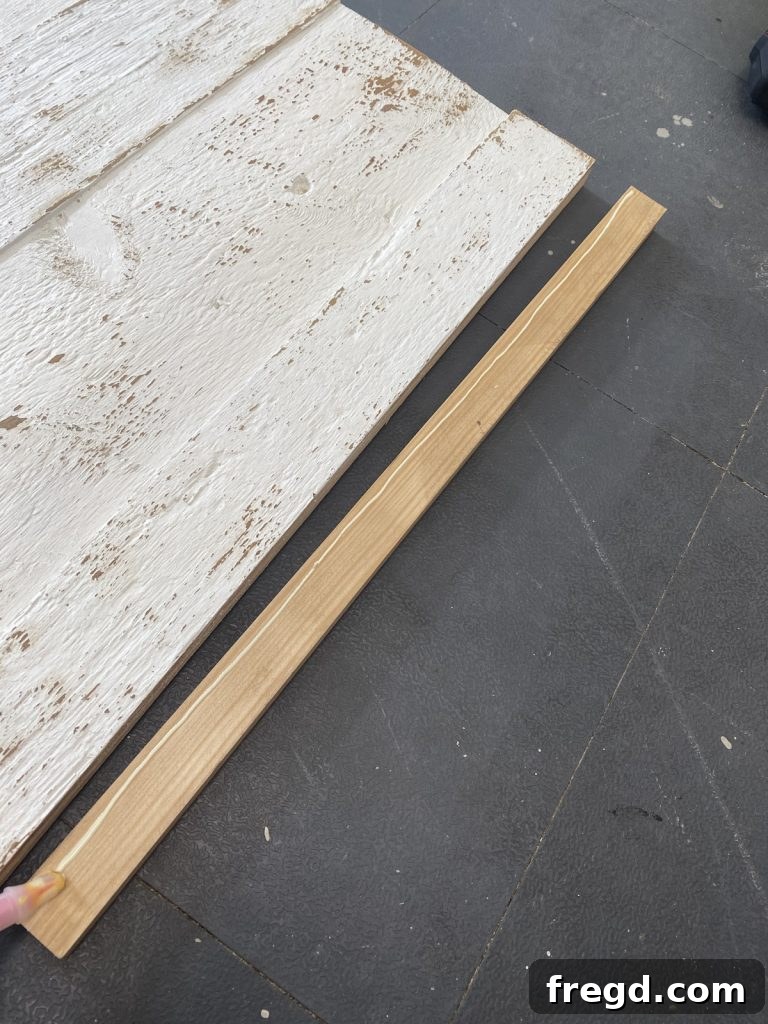
To give the display a more finished and polished look, I added a simple yet elegant frame using 1×2 boards. First, I meticulously measured and cut each board to perfectly fit the perimeter of the painted plywood piece. After cutting, I applied a wood stain to each frame piece. The choice of stain color is entirely up to you; a darker stain can create a bolder contrast, while a lighter one might blend more seamlessly. Once the stain had dried, I used wood glue for strong adhesion and 1.25″ brad nails to securely attach each frame board to the edges of the plywood. The frame not only enhances the aesthetic appeal but also provides a neat border, completing the farmhouse vignette.
Step 7: The Final Touch – Installing the Wreath Hook
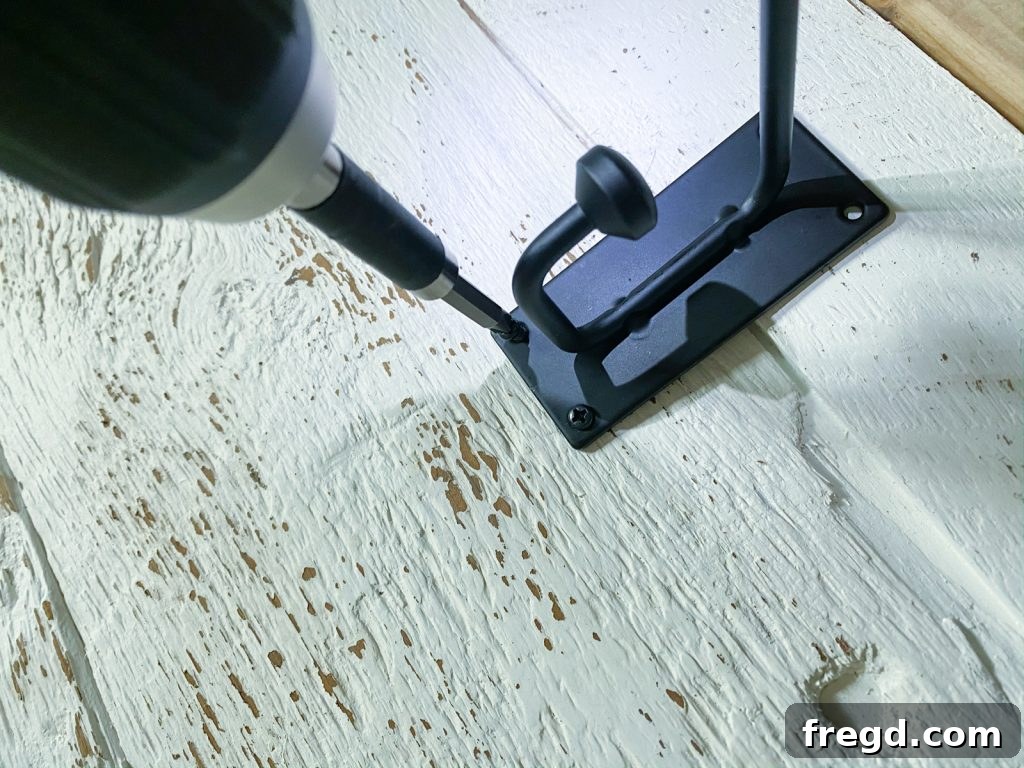
The last step in bringing this beautiful farmhouse wreath display to life is adding the hook. This is where personal style truly comes into play. You can choose any hook that complements your home decor – whether it’s a rustic cast-iron hook, a sleek modern design, or something more ornate. I found a perfect hook at Hobby Lobby that perfectly matched the rustic vibe I was aiming for. Using my drill, I carefully attached the hook to the center and top portion of the display, ensuring it was securely fastened and capable of holding the weight of various wreaths. This simple addition completes the functionality and design, making it ready to showcase your favorite seasonal adornments.
The Finished Masterpiece: A Versatile Farmhouse Accent
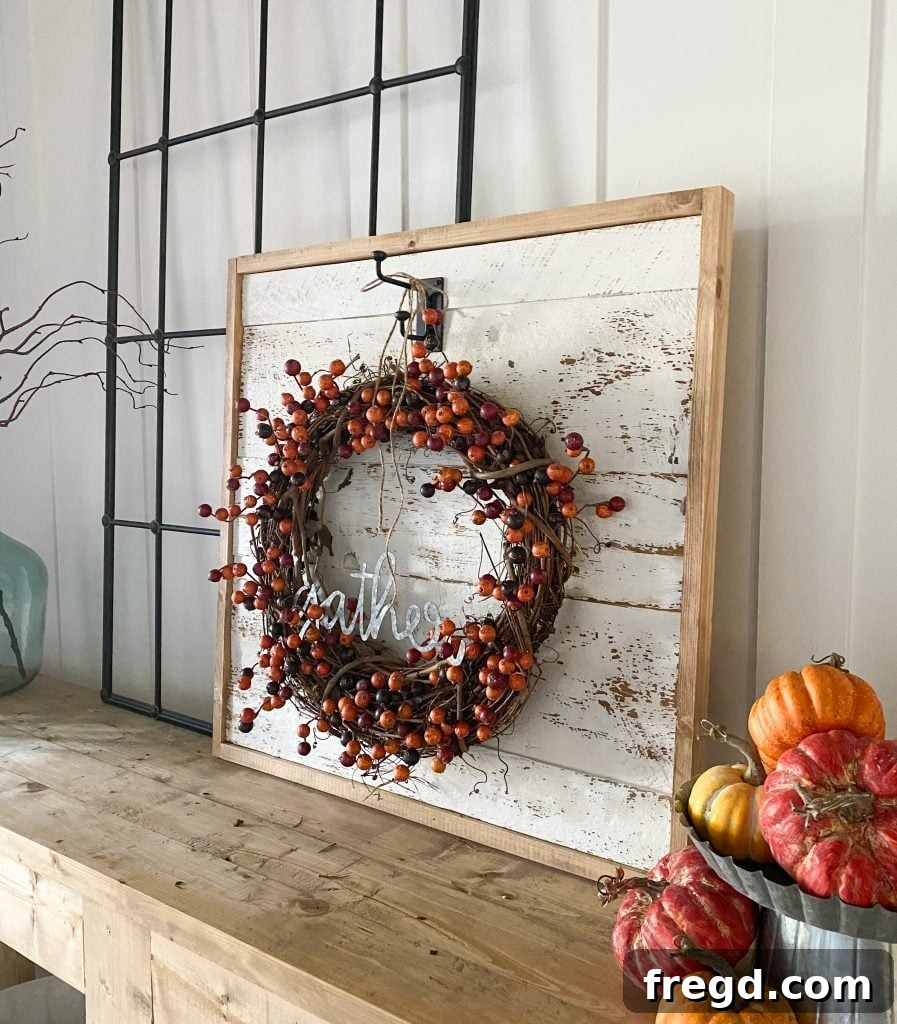
I couldn’t be happier with how this DIY Farmhouse Wreath Display turned out! It’s a project that combines rustic charm with practical functionality, creating a beautiful focal point for any entryway or living space. The distressed white barn wood, framed by the stained trim, offers a timeless appeal that seamlessly integrates with a variety of decor styles, from classic farmhouse to modern rustic.
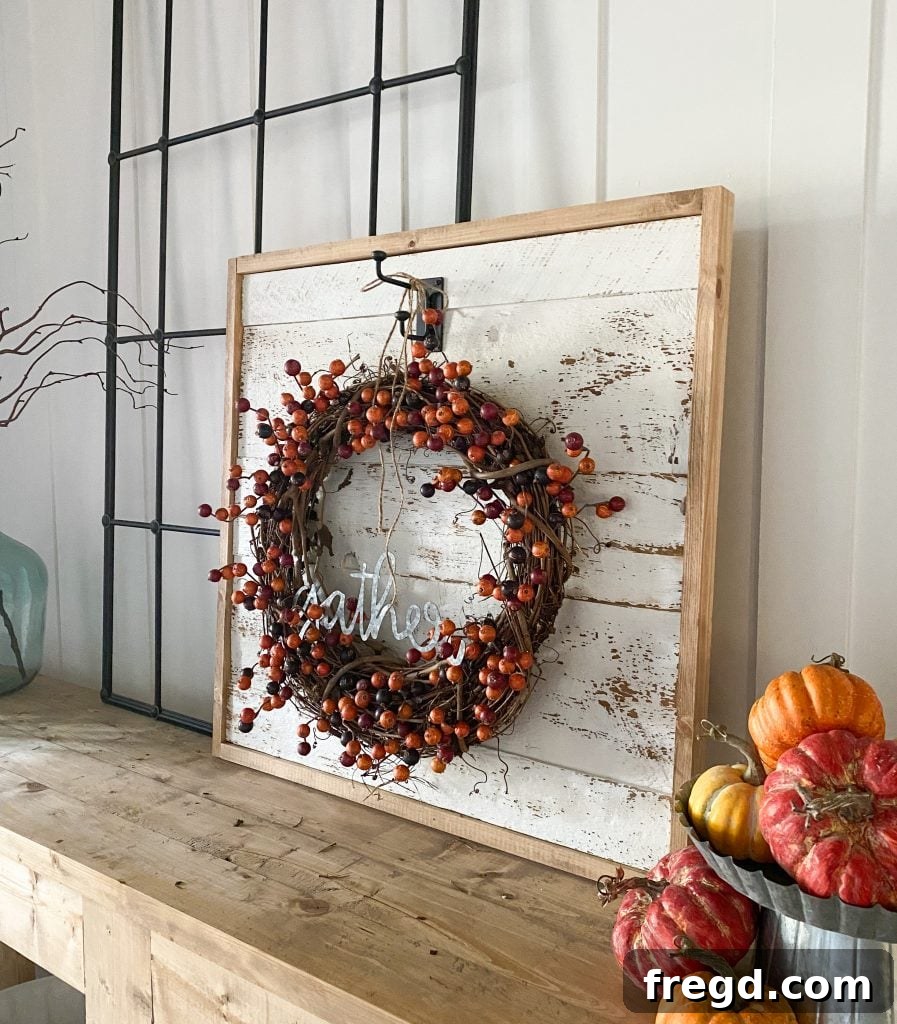
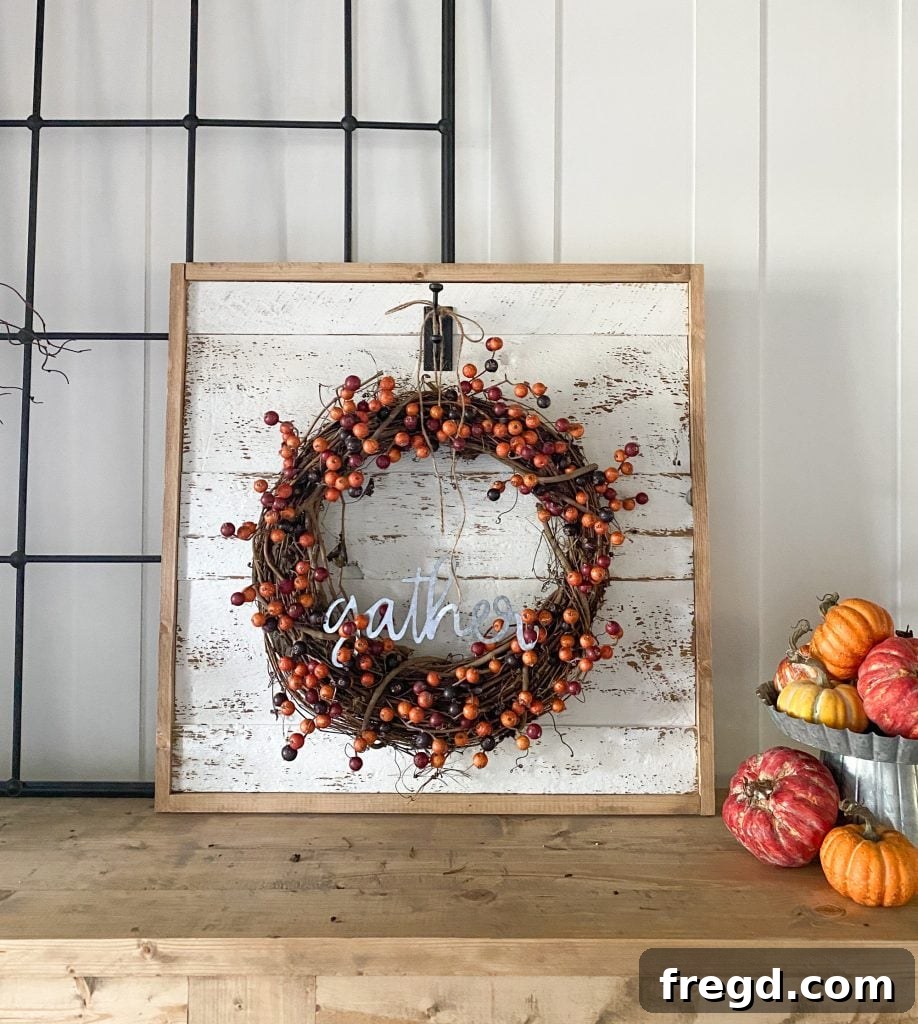
What makes this display truly special is its incredible versatility. While it looks absolutely stunning with a fall wreath, I’m already looking forward to swapping it out for a festive Christmas wreath in just a few weeks! Imagine a snowy evergreen wreath against the distressed white, or a vibrant spring floral arrangement welcoming guests. This display serves as a perfect canvas for celebrating every season and holiday.
I sincerely hope you love this project as much as I do and feel inspired to create your own! It’s a wonderful way to personalize your home decor, use up those valuable scraps, and enjoy the rewarding process of DIY.
Where to Find Your Purdy Essentials
For those eager to replicate this project with the same professional-grade tools, you can easily find the Purdy Pail at all Sherwin-Williams stores. And remember, stock up on those handy liners! They are truly indispensable for making cleanup a breeze, and you’ll thank yourself for having plenty on hand for future projects. The exceptional Purdy Chinex Elite brushes, vital for tackling textured surfaces with ease and efficiency, are available at all Purdy retailers nationwide.
This project was proudly sponsored by Purdy, and while the tools provided were exceptional, rest assured that all opinions and words expressed here are entirely my own, born from genuine experience and satisfaction.
To delve deeper into the quality and craftsmanship that defines The Purdy Difference and to explore their full range of innovative products, CLICK HERE!
Unsure which Purdy tool is perfect for your next home improvement or DIY project? Utilize their comprehensive tool selector by CLICKING HERE!
Ready to get started? Find the nearest retailer to purchase your Purdy tools today by CLICKING HERE!