
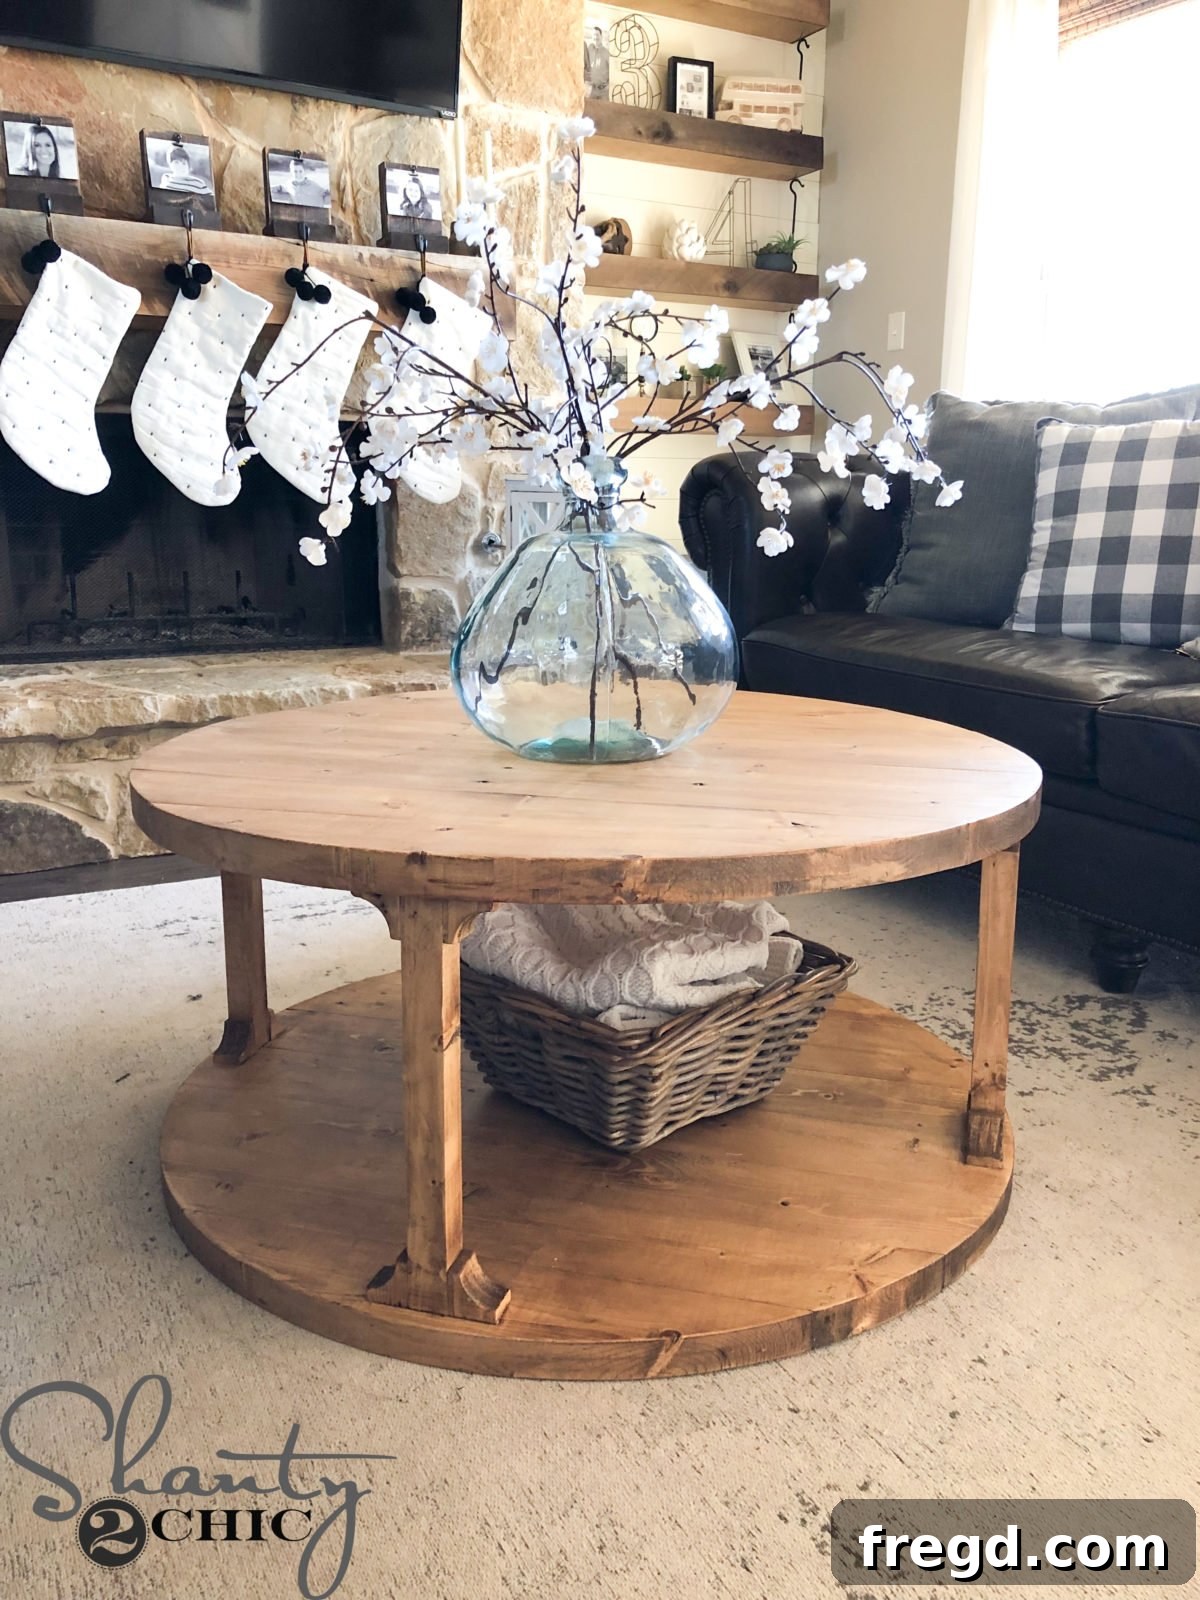
Transforming your living space doesn’t have to break the bank, especially when you can craft stunning furniture with your own hands! One of the most sought-after furniture pieces in modern homes is undoubtedly a round table. Whether it’s a cozy coffee table, a functional kitchen table, or an elegant dining centerpiece, the demand for circular designs is always high. Today, we’re thrilled to share an incredibly easy and budget-friendly DIY project: a beautiful round coffee table that you can build for under $40!
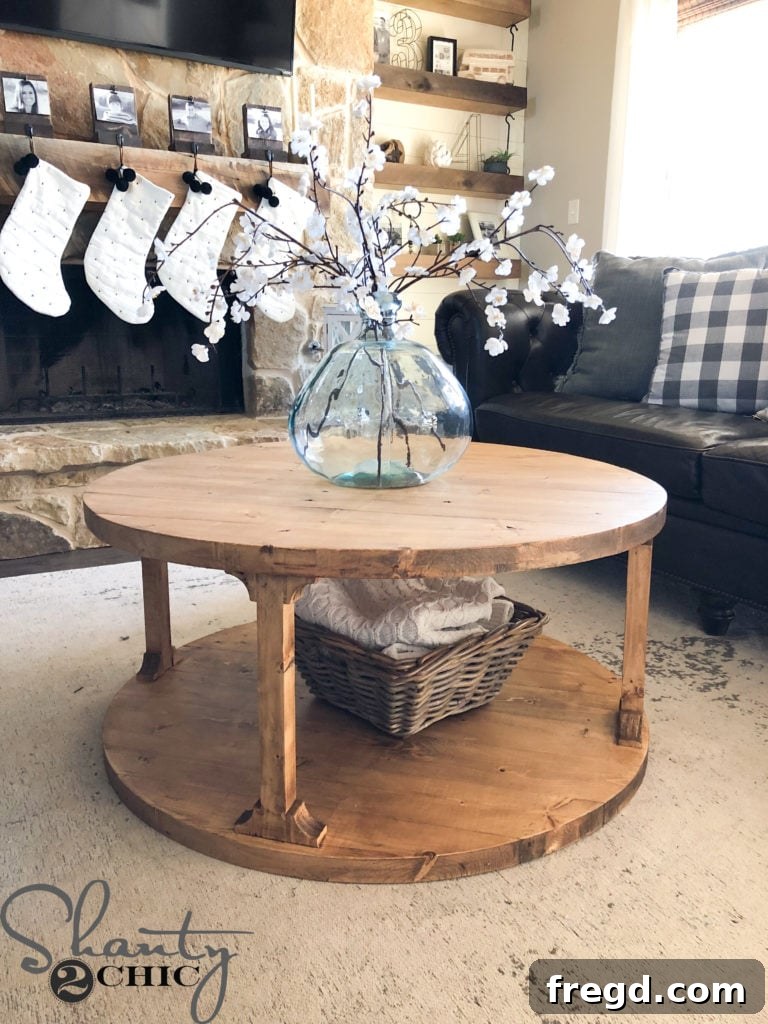
Imagine creating this masterpiece using just seven standard 2×6 boards. That’s right, a grand total of only $39 for all the lumber! This project is perfect for both seasoned DIY enthusiasts and beginners looking to dip their toes into woodworking. We’ve simplified every step, ensuring a smooth and rewarding building experience. So, roll up your sleeves, gather your tools, and let’s get building! You can follow along with our comprehensive video tutorial by clicking here or watching the embedded video below.
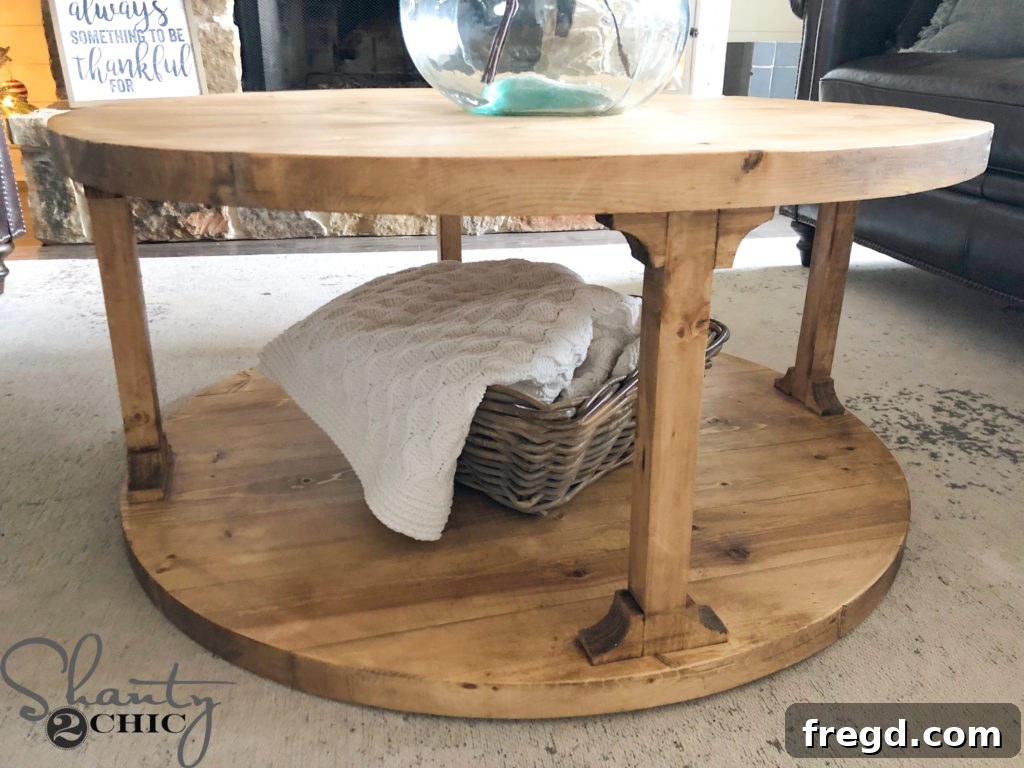
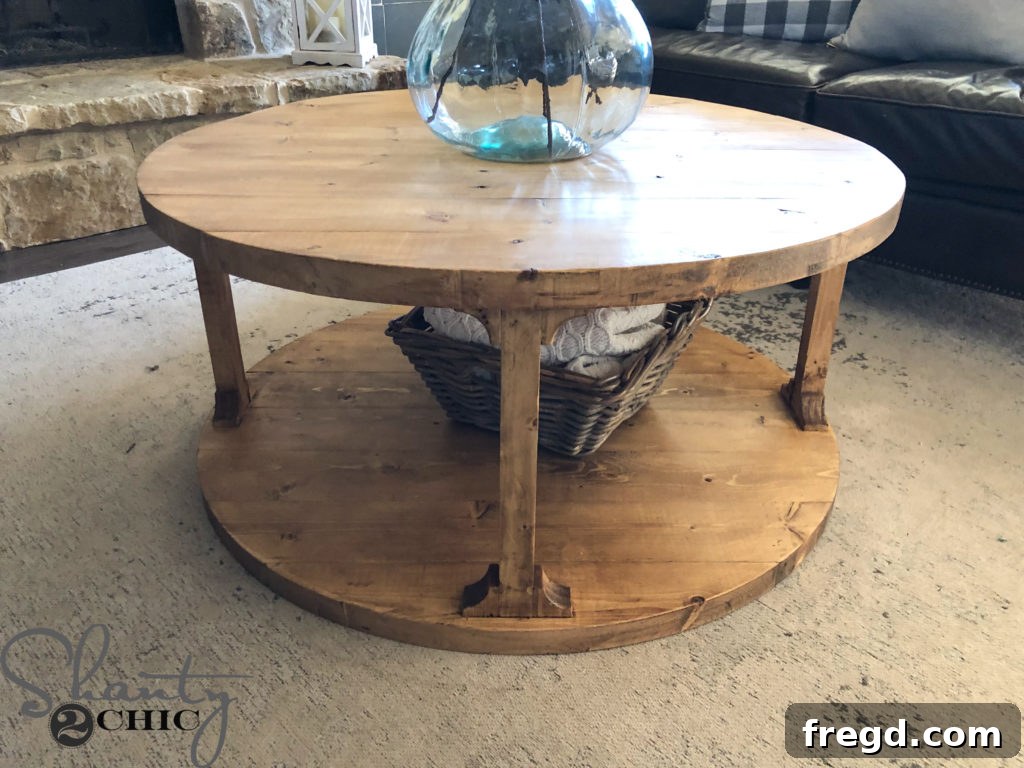
The joy of bringing a custom piece of furniture to life, especially one that saves you both time and money, is truly unmatched. A standout feature of this design, and one of our personal favorites, is the unique corbel cuts that add a touch of architectural elegance to the table’s base. Beyond the video, you’ll find detailed written instructions below, perfectly complemented by our free printable plans. These plans will be your trusted companion, guiding you through every measurement and cut to ensure a professional-looking finish.
Ready to embark on your woodworking journey? Click HERE to download your FREE Printable Plans!
Why Choose a DIY Round Coffee Table?
Round coffee tables have surged in popularity for their unique ability to soften a room’s aesthetic and foster a more intimate, conversational setting. Unlike their rectangular counterparts, round tables lack sharp edges, making them an excellent choice for homes with children or tight spaces. Building your own offers unparalleled advantages: complete control over the design, a significant reduction in cost compared to retail options, and the immense satisfaction of creating something beautiful and functional with your own hands. This project specifically showcases how you can achieve high-end results using common lumber and simple techniques, proving that a custom, stylish coffee table is well within reach for any DIY enthusiast.
Essential Tools and Materials for Your Project
Before diving into the build, ensuring you have all the necessary tools and materials will make the process much smoother. Here’s a comprehensive list of what you’ll need to construct your stunning DIY round coffee table:
Materials:
- Seven 2×6 boards (we maximized these to create all components, including legs and corbels, for optimal cost savings)
- Wood glue (a reliable, strong-bond wood adhesive is crucial)
- 2 1/2″ pocket hole screws
- 2″ brad nails
- Wood stain or finish of your choice
Tools:
- Miter saw or circular saw (for precise cuts)
- Kreg Jig (our favorite model for creating strong pocket hole joints can be found HERE)
- Plunge router
- Circle jig (you can learn how to make your own HERE)
- Special router bit for circular cuts (find the one we used HERE)
- Hole saw cutter (for creating corbel arches, our recommended model is HERE)
- Power drill
- Orbital sander and sandpaper (various grits)
- Measuring tape and pencil
- Safety glasses and hearing protection (always prioritize safety!)
- Kreg Tool Face Clamp (highly recommended for seamless plank joining, the 6″ model we use is HERE)
Step-by-Step Construction of Your Round Coffee Table
Let’s dive into the core of the project: building the top, bottom, and frame of your coffee table. Each step is designed to be straightforward, ensuring a successful build.
1. Preparing Your Lumber: Ripping Boards to Size
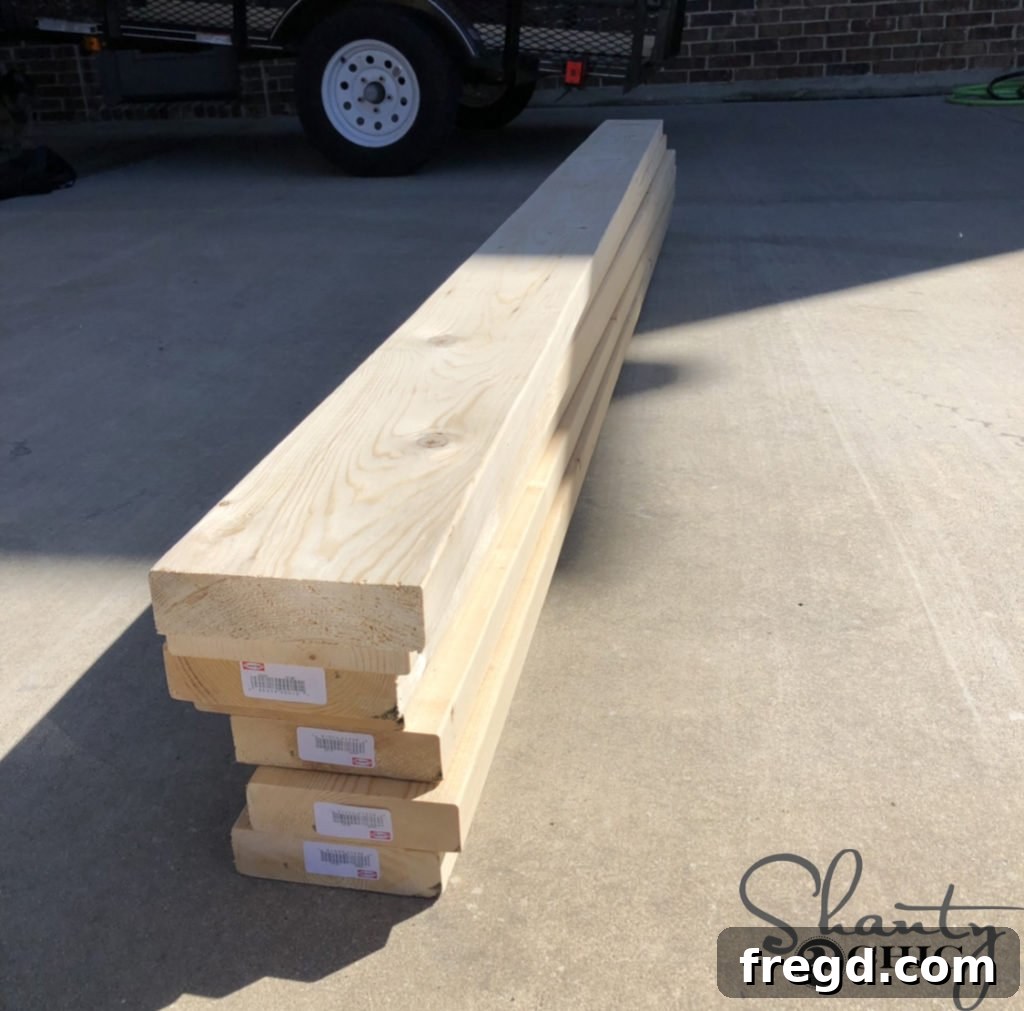
The journey to your custom coffee table begins with preparing your lumber. We started with seven 2×6 boards, which are incredibly versatile and cost-effective. Our first critical step was to rip the rounded edges off these boards, effectively narrowing each one to a consistent 5 inches wide. This technique not only gives the finished product a more refined, custom look but also significantly reduces material costs. We further leveraged this by using the leftover scraps to create the 2×2 boards for the legs and the crucial corbel pieces, maximizing every bit of lumber. While ripping the boards is highly recommended for aesthetics and budget savings, it’s not strictly necessary. However, if you choose to skip this step, remember to adjust all subsequent measurements and your supply list accordingly to accommodate the wider boards.
2. Crafting the Tabletop and Base Planks
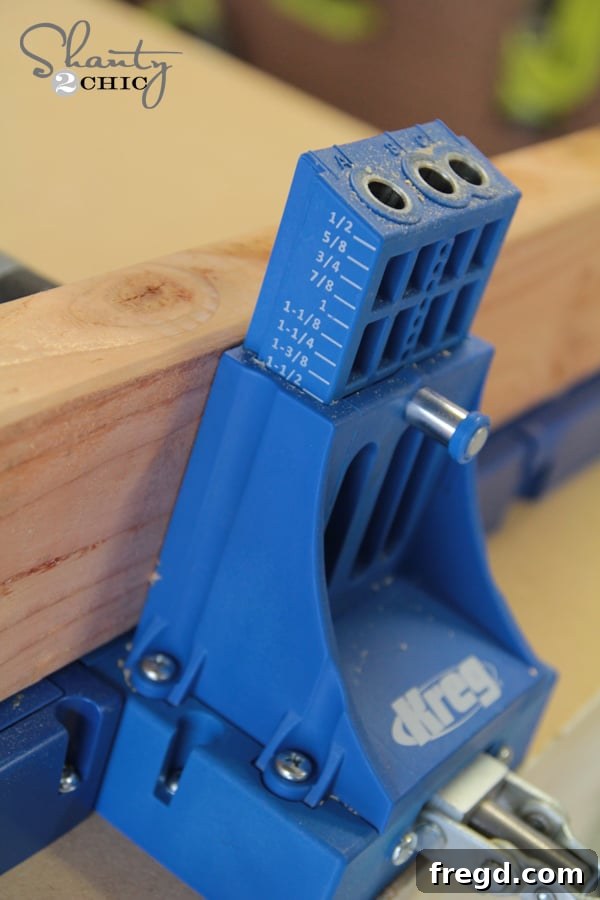
Once your boards are prepped and ripped, the next stage involves cutting the individual planks that will form the top and bottom panels of your coffee table to their specified lengths. Precision is key here. After cutting, you will drill 1 1/2-inch pocket holes into each plank. Pocket holes are an ingenious method for creating strong, concealed joints, perfect for furniture construction. We highly recommend using a Kreg Jig for this task; it’s a game-changer for woodworking projects. If you’re new to using a Kreg Jig or need a refresher, be sure to watch our detailed “How to Use a Kreg Jig” video to master this technique.
3. Assembling the Plank Panels for Top and Bottom
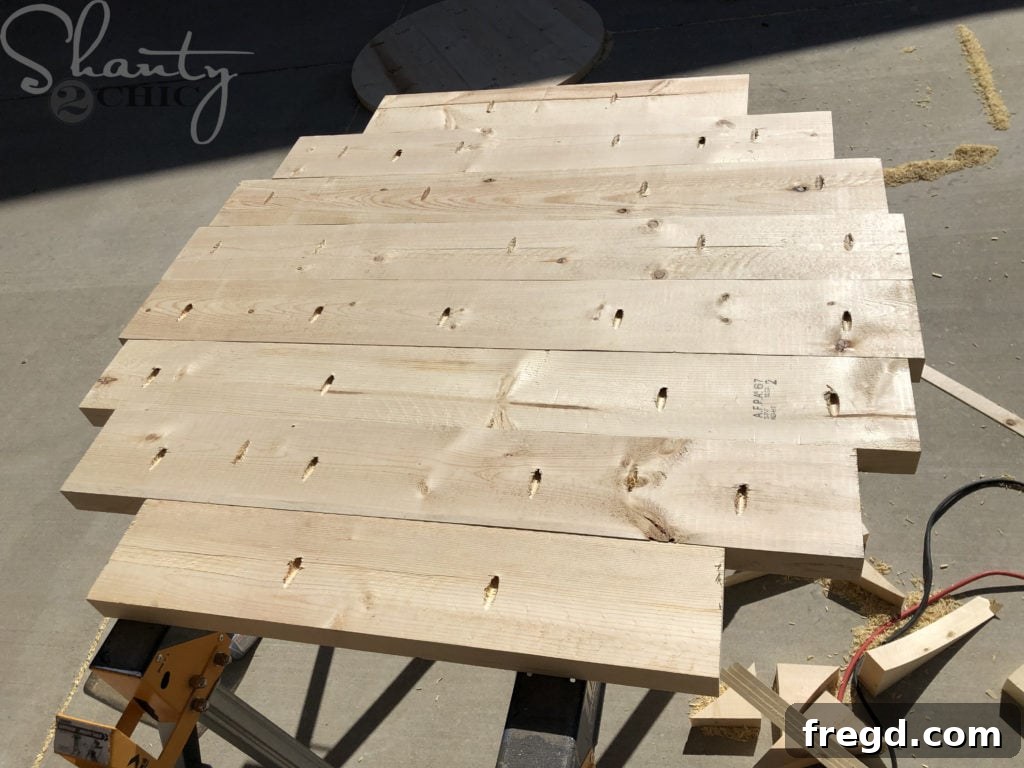
With your planks cut and pocket holes drilled, it’s time to assemble the two large panels that will eventually become your table’s top and bottom. Secure these planks together using 2 1/2-inch pocket hole screws and a generous application of wood glue for maximum strength and stability. For precise pocket hole placement, direction, and the ideal spacing of your planks, always refer back to your printable plans. You will need to build two identical panels using this method – one for the table top and one for the bottom.
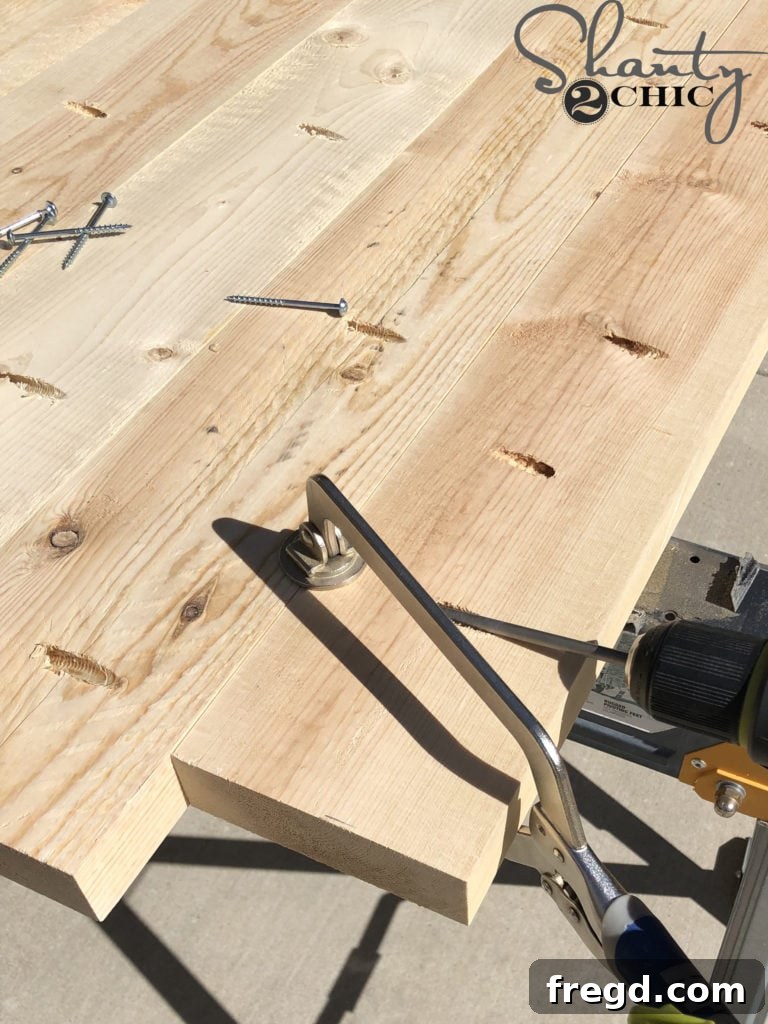
A frequently asked question we receive is how we achieve such incredibly smooth and seamless table tops. Our secret lies in a simple yet effective technique: employing a Kreg Tool Face Clamp at each pocket hole joint. This ingenious clamp applies pressure, tightly squeezing the boards together as you drive in the screws, eliminating gaps and ensuring a perfectly flat surface. This step is crucial for a professional finish. You can find the 6-inch model of the Kreg Tool Face Clamp that we consistently rely on for our table planking projects HERE.
4. Cutting Perfect Circles for Your Table
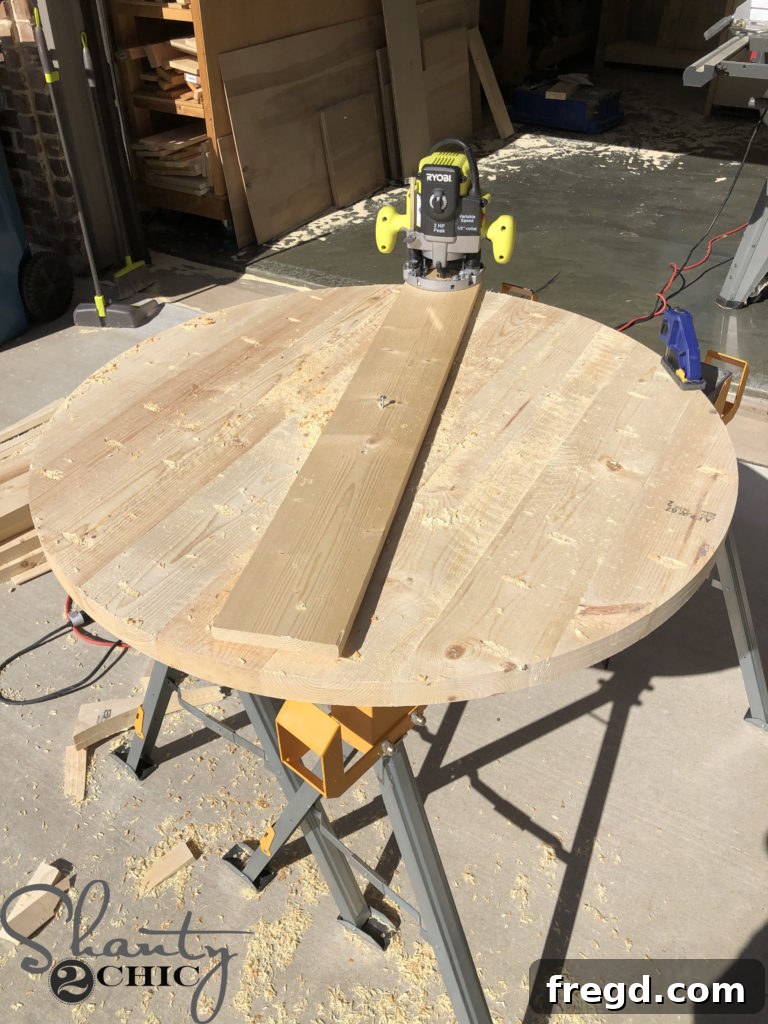
Once your plank panels are fully assembled and the glue has dried, the next exciting step is to transform them into perfectly round table components. For this, you will need a plunge router attached to a custom-made circle jig. With this setup, you can precisely cut a 38-inch diameter circle from both the table top and the table bottom panels. If you’re curious about how to construct your own circle jig, which is an invaluable tool for any round woodworking project, you can find our detailed tutorial HERE. Remember, you’ll need a specialized router bit designed for this type of clean, circular cutting. The specific router bit we used to achieve flawless edges for our round table can be found and purchased HERE. Repeat this process to create two identical round pieces, one for the top and one for the base of your coffee table.
Assembling the Coffee Table Frame
With the round top and bottom panels ready, it’s time to bring your coffee table to life by assembling the sturdy frame that will support it.
5. Constructing the Sturdy Table Legs
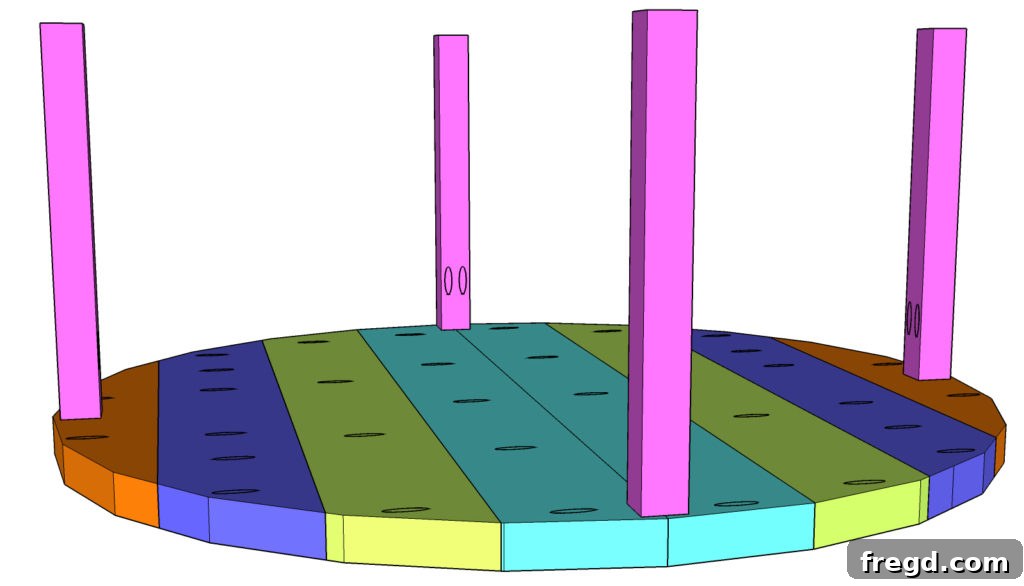
After your table top and bottom circles are perfectly cut, the next focus is on preparing and attaching the legs. First, cut your leg pieces to the specified size according to the printable plans. For robust joinery, drill a 1 1/2-inch pocket hole on one end of each leg. Then, carefully turn your table top upside down. Position the legs evenly around the perimeter of the table top. Securely attach each leg to the underside of the table top using 2 1/2-inch pocket hole screws and a durable wood glue. This initial attachment forms the upper part of your coffee table’s frame.
6. Securing the Bottom Panel
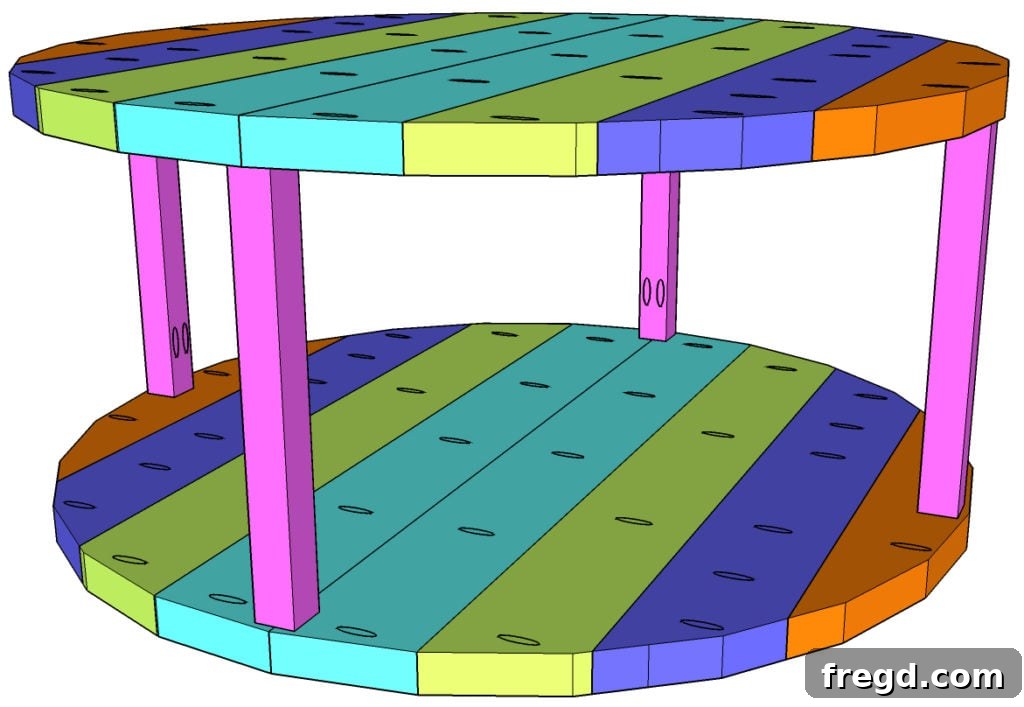
With the legs firmly attached to the table top, the next step is to connect them to the bottom panel, creating a fully integrated and stable structure. Take your second round panel (the table bottom) and flip it upside down. Align this bottom panel with the free ends of the table legs. From the underside of the table bottom, drive 2 1/2-inch wood screws directly into each table leg. For optimal stability and strength, use two screws per leg, ensuring a firm connection. Don’t forget to apply wood glue before securing with screws, as the combination of glue and screws provides the strongest possible bond for your coffee table’s foundational frame.
Adding Decorative Corbels for Unique Style
Now for the design element that truly sets this coffee table apart: the charming corbels. These decorative accents add architectural interest and a touch of farmhouse elegance.
7. Fabricating the Elegant Corbels
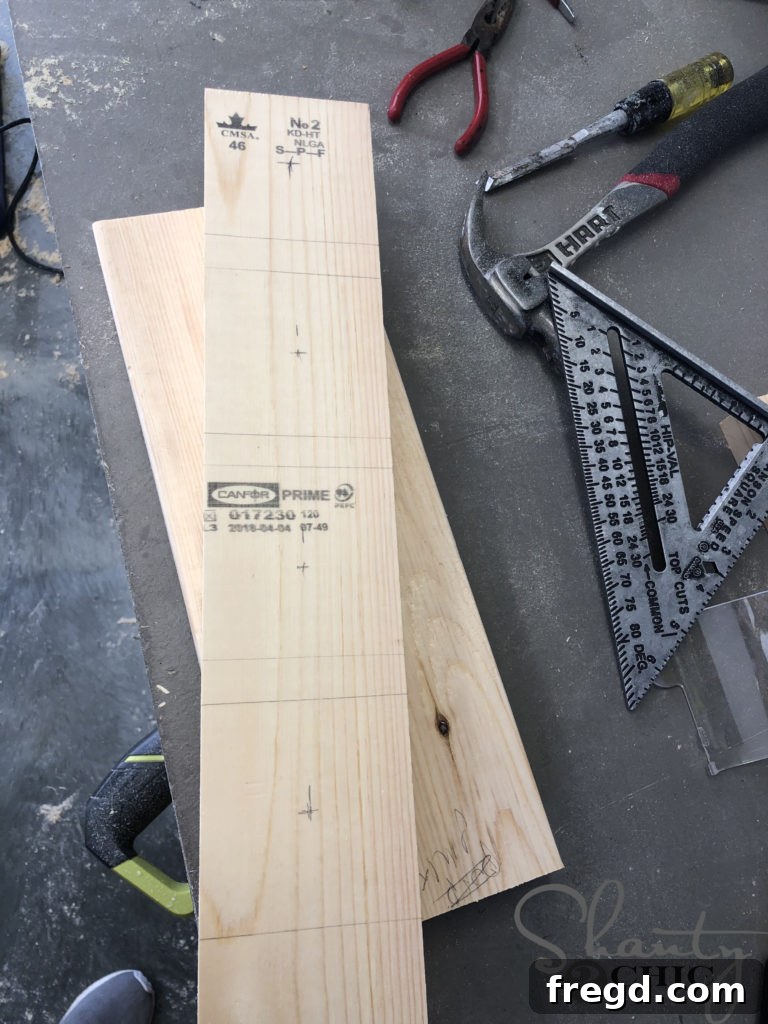
The distinctive corbels are a highlight of this coffee table, providing visual interest and a custom feel. The most efficient way to create these pieces is by ripping a 3 1/2-inch wide board from one of your 2×6 boards. This strategic cut maximizes your lumber usage and keeps costs down.
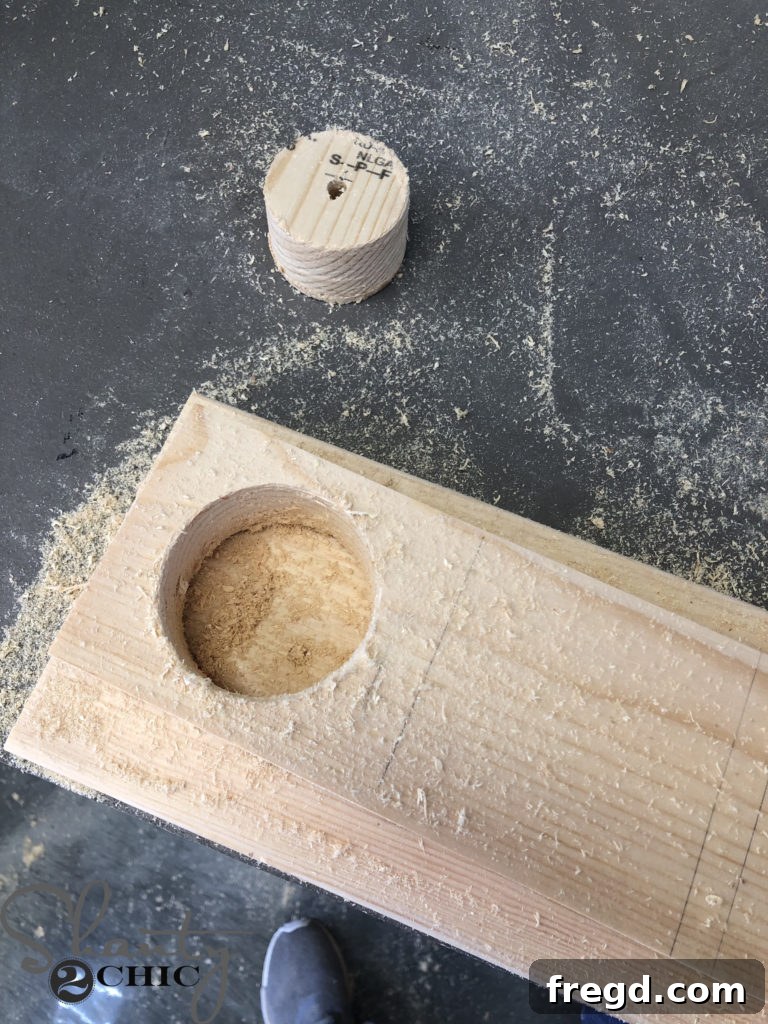
Once you have your 3 1/2-inch wide board, mark it into four perfect 3 1/2-inch squares. The next step is to create the arch for the corbels. Using a hole saw cutter, drill a 2 1/2-inch diameter hole precisely in the center of each marked square. This will create a clean, consistent curve. You can find the specific hole saw cutter we used for this project HERE.
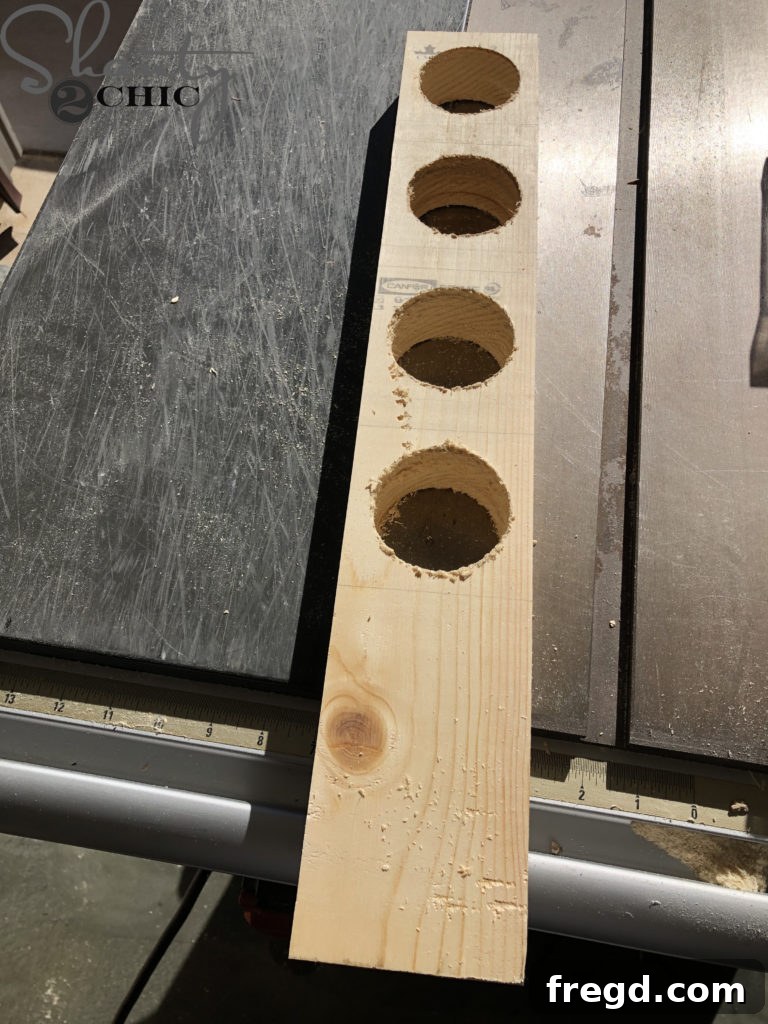
Repeat this process for all four of your marked squares, ensuring you have four perfectly drilled circles that will form the basis of your corbels.
8. Shaping and Preparing the Corbel Arches
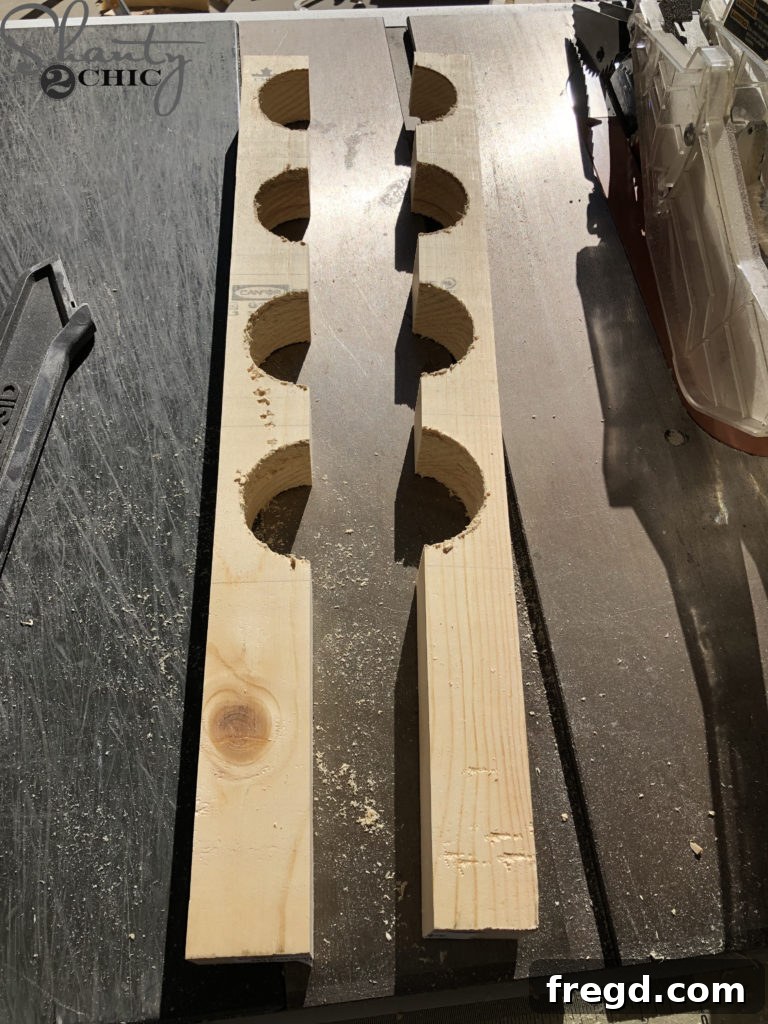
Once the four circles are successfully cut into your board, the transformation into individual corbels begins. Carefully rip the entire piece down the middle, lengthwise. This action will yield two distinct boards, each featuring four elegant arches. From these two boards, you will then cut each arch in half. This final cut will result in a total of 16 beautifully shaped corbels, ready to adorn your coffee table. For a more visual and detailed walkthrough of this intricate cutting technique, we highly recommend referring back to our how-to video, which provides invaluable guidance on achieving perfect corbel shapes.
9. Attaching Corbels to the Legs
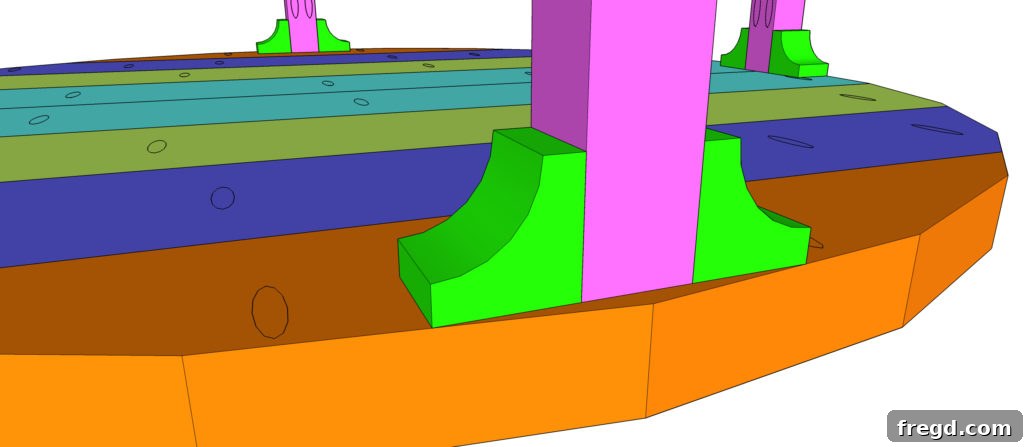
With all 16 corbels meticulously crafted, it’s time to integrate them into the coffee table’s design. This step truly brings out the character of your piece. You will attach four corbels to each of the table’s legs. For a strong and lasting bond, use both 2-inch brad nails and a durable wood glue. As you attach them, ensure that the corbels are perfectly flush with the front and back surfaces of the legs. This precise alignment is crucial for a clean, professional finish and to ensure the decorative elements seamlessly integrate with the table’s structure.
The Grand Finale: Sanding, Staining, and Sealing
You’ve done the hard work of building! Now it’s time to bring out the beauty of the wood and protect your creation for years to come.
10. Finishing Your Masterpiece
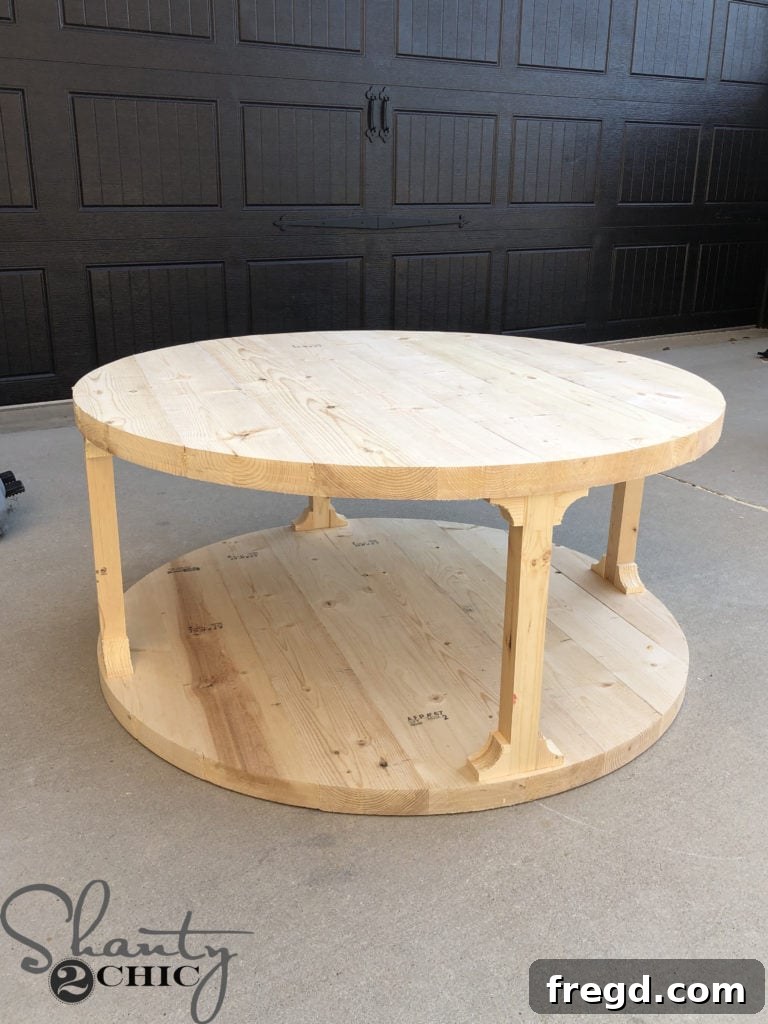
Congratulations, the structural work is complete! Now for the final, and perhaps most satisfying, step: giving your DIY round coffee table a flawless finish. Start by performing a thorough sanding across all surfaces. This is critical for achieving a smooth, professional feel and preparing the wood to absorb stain evenly. Begin with a coarser grit sandpaper (e.g., 80-100 grit) to remove any imperfections or rough spots, then progressively move to finer grits (e.g., 150-180 grit, then 220 grit) for a silky-smooth finish. After sanding, meticulously clean off all sawdust.
Once clean, apply your chosen stain. We opted for a beautiful shade that enhances the natural grain of the wood, which you can find HERE. Apply the stain according to the manufacturer’s instructions, usually wiping it on and then wiping off the excess. Allow adequate drying time between coats if you’re applying multiple. Finally, protect your stunning work with a clear topcoat. A polyurethane or lacquer finish will seal the wood, providing durability against spills and daily wear, ensuring your coffee table remains beautiful for years to come.
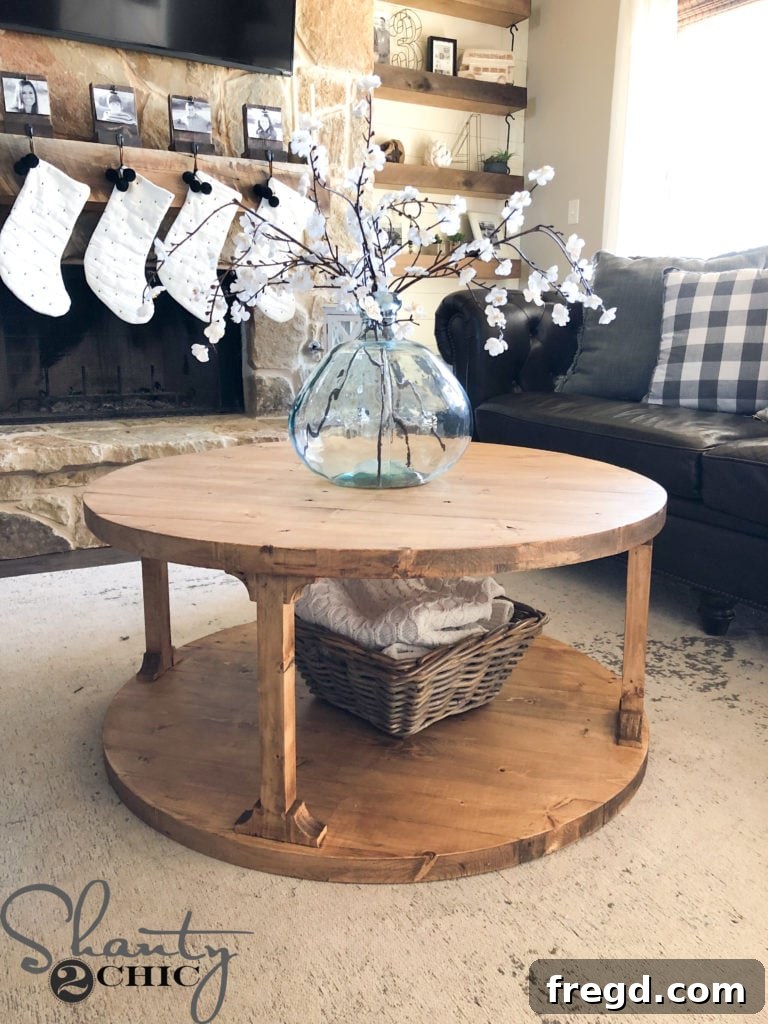
Project Wrap-Up: Enjoy Your New Coffee Table!
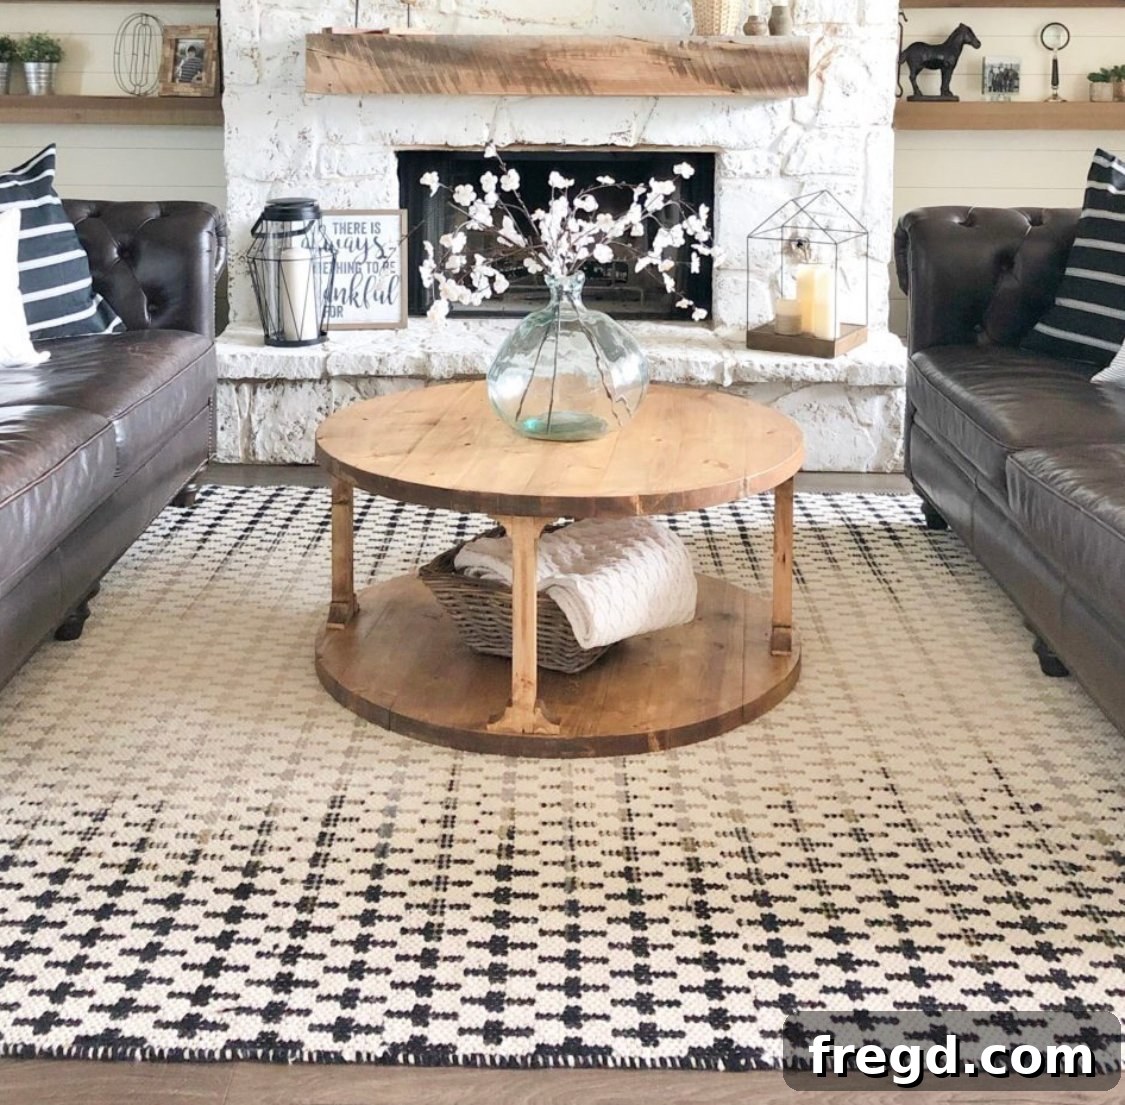
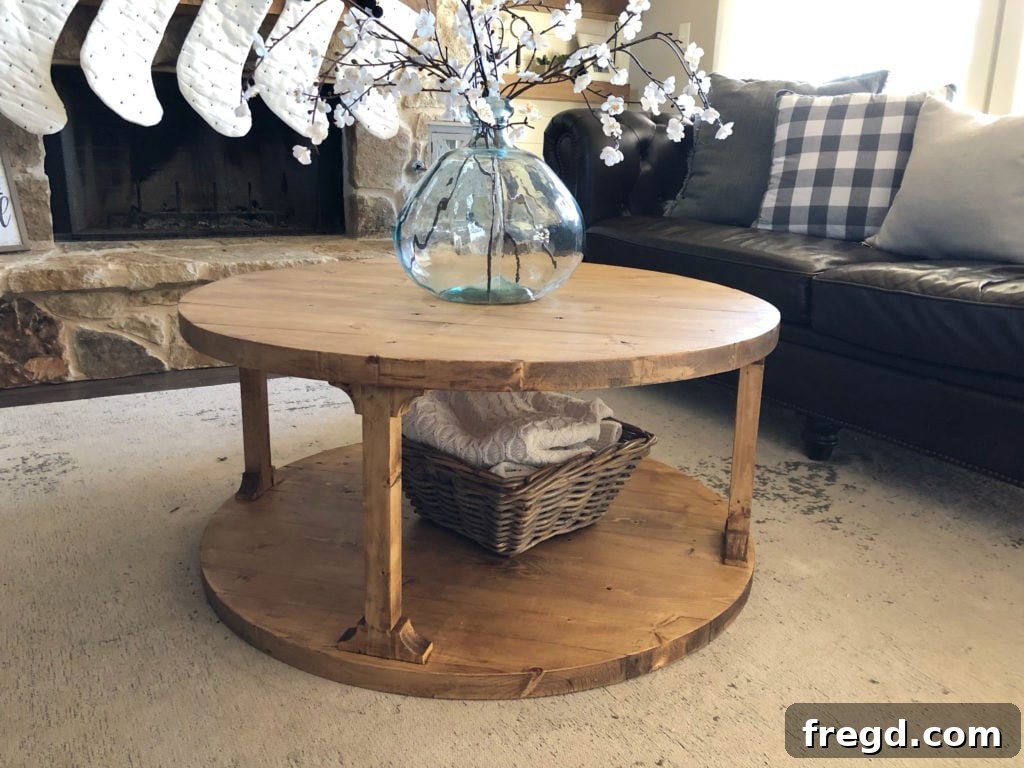
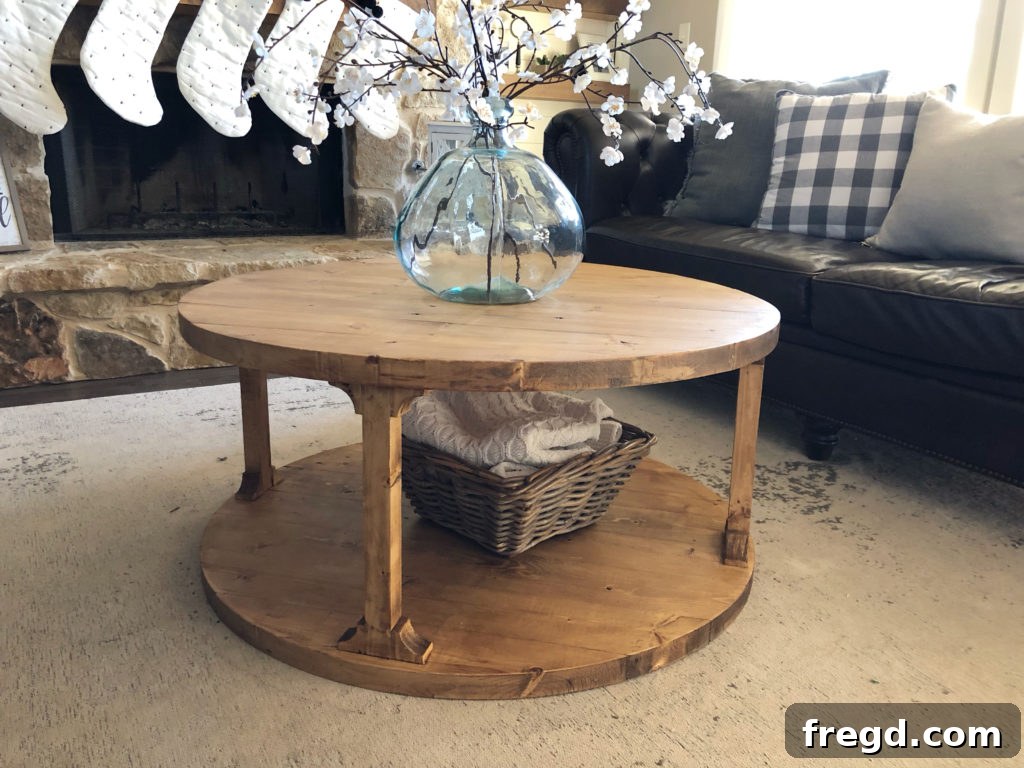
And there you have it! A stunning, custom-built round coffee table, crafted with your own hands for an incredible $39 in lumber. It’s a testament to what creativity and a bit of effort can achieve, proving that beautiful home decor doesn’t have to come with a hefty price tag. We hope you thoroughly enjoyed following along with our DIY Round Coffee Table project and found our how-to video and detailed instructions helpful. This table is not just a piece of furniture; it’s a conversation starter, a focal point, and a symbol of your woodworking accomplishment. Enjoy your new centerpiece, and happy building!
For those curious about the other stylish elements featured in our room, we’ve provided links below to help you recreate the look:
- Rug
- Vase
- Stems
- Couches
- Always Something to be Thankful for Sign
- Mantel
- Stocking Hangers
- Hanging Shelves
- Storage Trunk
Pillows are a mix from AtHome, Kirkland’s and Target
Explore More DIY Coffee Table Projects
If you’ve enjoyed building this round coffee table, you’re in luck! We have a treasure trove of other DIY coffee table plans to inspire your next woodworking adventure. Whether you’re looking for a different style, size, or a project tailored to a specific skill level, you’ll find something to love.
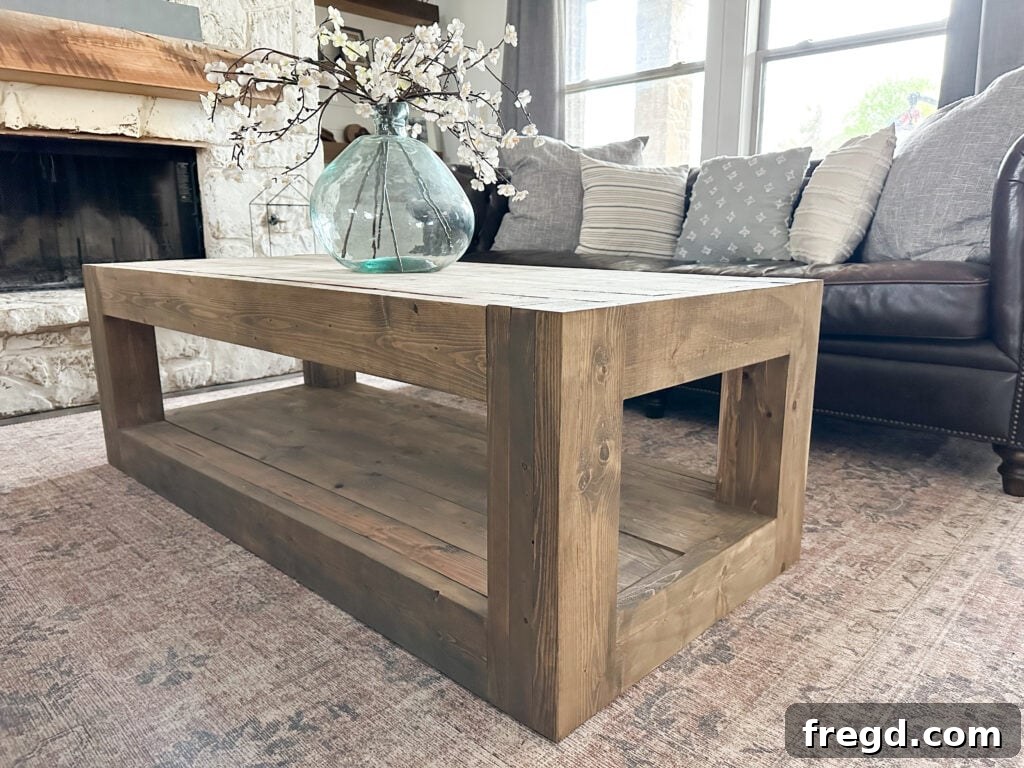
Consider our robust Chunky Coffee Table for a substantial statement piece.
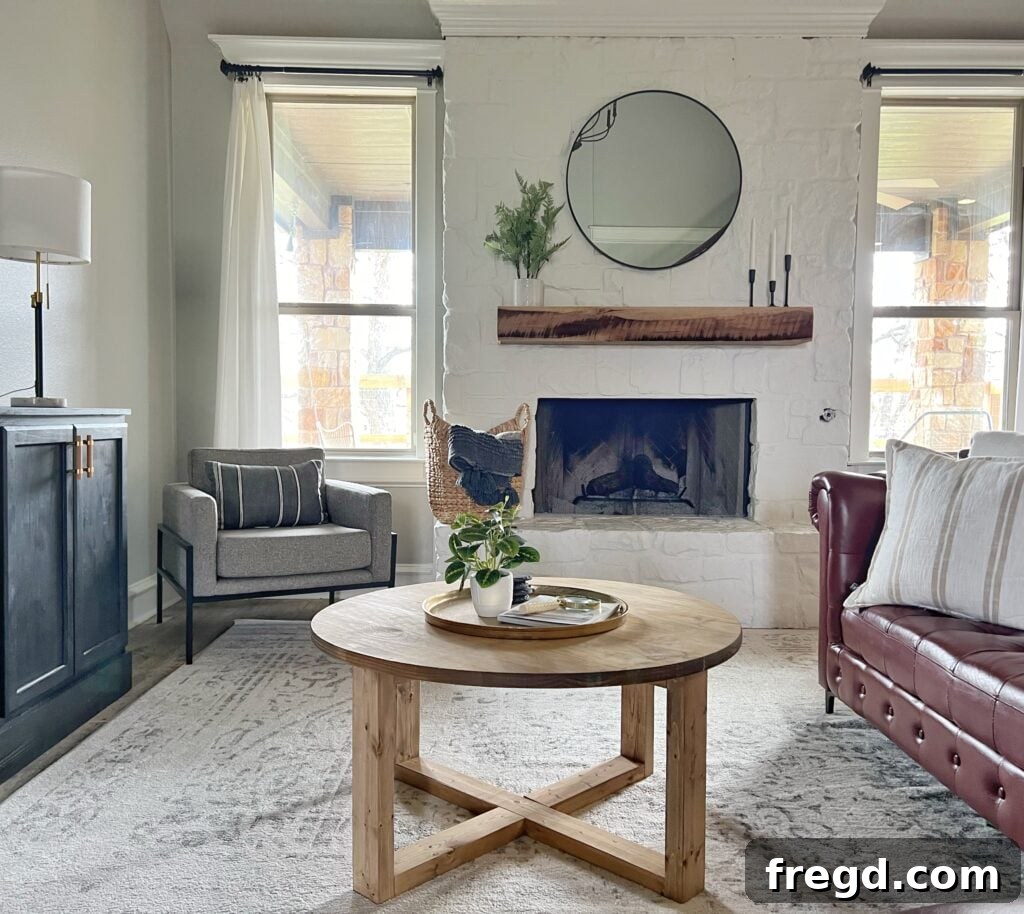
Or perhaps a variation of our Round Coffee Table with a unique base will catch your eye.
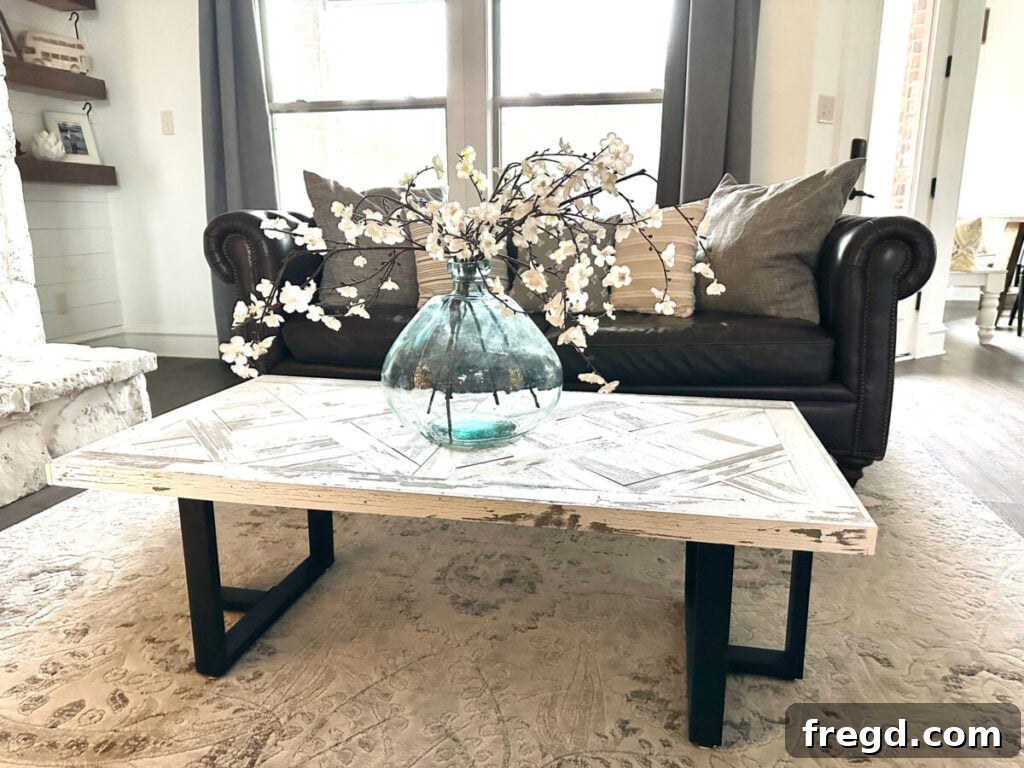
For a project emphasizing simplicity and speed, check out the Industrial Coffee Table, buildable with just three essential tools.
Explore our complete list of DIY Coffee Table Plans to find the perfect table that matches your skill level, desired style, and space requirements. Happy building, and may your home be filled with custom-made charm!