
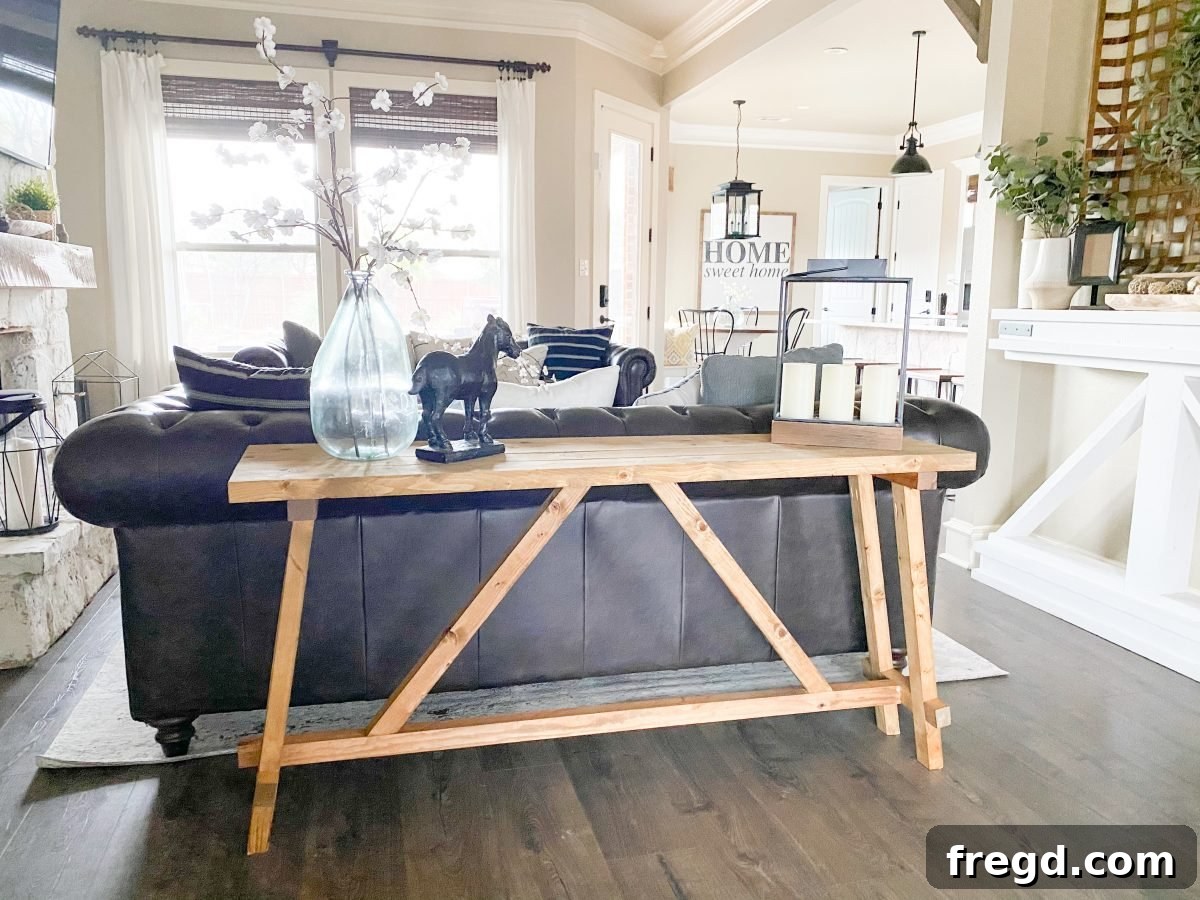
Build Your Own Angled Console Table: A Comprehensive DIY Guide
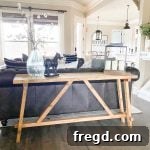
Transform your living space with a custom-built piece of furniture! This detailed guide will show you how to construct a stylish and functional DIY Angled Console Table. Perfect for entryways, hallways, or behind a sofa, this project boasts a modern aesthetic with its unique angled design, and it’s surprisingly easy and affordable to build. With free printable plans, step-by-step instructions, and a helpful video demonstration by Shanty2Chic, you’ll gain the confidence to tackle this rewarding woodworking endeavor. Grab your tools, and let’s create something beautiful!
For a visual walkthrough and more in-depth tips, don’t forget to watch the accompanying how-to video. It complements these instructions perfectly, bringing each step to life.
This project is not only easy but also incredibly budget-friendly, proving that custom furniture doesn’t have to break the bank. Let’s dive into the build!
Why Choose an Angled Console Table?
An angled console table is more than just a piece of furniture; it’s a statement. Unlike traditional, rectangular tables, the unique angles add a dynamic and contemporary flair to any room. This design choice brings a sense of modern elegance and visual interest, making your console table a focal point rather than just a functional surface. It’s incredibly versatile, serving beautifully as an entryway table to greet guests, a stylish addition to a narrow hallway, or a practical surface behind a sofa for lamps and decorative items. The angled structure creates visual depth and can make a smaller space feel more expansive. Opting for a DIY build also means you get to personalize every aspect, from the wood selection to the final finish, ensuring it perfectly complements your home décor and meets your specific needs. This project is ideal for those looking to add a touch of custom craftsmanship and unique design to their interiors without the high cost of retail alternatives.
Essential Supplies and Tools
Before you begin any woodworking project, a well-organized workspace and all necessary materials and tools are key to a smooth and successful build. Below is a comprehensive list to ensure you have everything on hand for your DIY Angled Console Table.
Materials List
- 6 – 2x4x8 Framing Lumber: These standard lumber pieces will form the entire structure of your console table, offering durability and an attractive rustic or modern look depending on your finish.
- 2 1/2″ Pocket Hole Screws: Essential for creating strong, concealed joints, particularly for the table top and parts of the base.
- 2 1/2″ Wood Screws: Used for general assembly, providing robust connections in various parts of the console table’s frame.
- 2 1/2″ Finish Nails: Ideal for attaching trim pieces or extensions where a smaller, less noticeable fastener is desired, providing a clean finish.
- Wood Glue: A critical component for any woodworking project, wood glue creates a bond stronger than the wood itself when combined with screws or nails, ensuring the longevity and stability of your table.
Required Tools
- Miter Saw: Indispensable for making precise and accurate crosscuts, especially the angled cuts required for the legs and supports of this console table.
- Kreg Jig: This specialized tool simplifies drilling pocket holes, allowing you to create incredibly strong and hidden joints for a professional finish. It’s a game-changer for many DIY furniture projects.
- Drill: Necessary for drilling pilot holes, driving screws, and using the Kreg Jig. A good quality drill will make assembly much faster and easier.
- Finish Nailer: Speeds up the process of attaching finish nails, creating clean and secure connections for the extensions with minimal effort.
- Table Saw (optional): While not strictly necessary for this project, a table saw can be useful for ripping wider boards to specific widths or for more intricate cuts if you choose to customize the design further.
Safety First
Always prioritize safety when working with power tools. Wear appropriate personal protective equipment (PPE) including safety glasses, hearing protection, and gloves. Ensure your workspace is clean and well-lit. Familiarize yourself with all your tools before you begin, and never operate machinery while distracted or fatigued. A safe workshop is a productive workshop!
Getting Started: Preparation and Accuracy
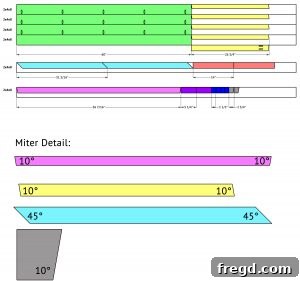
Success in woodworking hinges on meticulous preparation and precise measurements. Before making any cuts, double-check your measurements against the plans. Remember the adage: “measure twice, cut once.” This is particularly important for the angled cuts, as even a small inaccuracy can affect the final look and stability of your console table. Ensure your lumber is free of major defects like warps or large knots that could compromise strength or appearance. Having your cut list handy and organized will streamline the entire build process. Below is a visual representation of the cut list to guide you:
Step-by-Step Construction Guide
Now that your materials are prepped and your tools are ready, let’s dive into the core of the project: building your stunning Angled Console Table. Follow these detailed instructions carefully for the best results.
Phase 1: Crafting the Sturdy Table Top
The table top will be the most visible component of your console table, so precision here is key for a polished final product.
Step 1: Precise Cuts for Your Planks
Using your miter saw, carefully cut all the necessary planks to their specified lengths according to your plans. Accuracy in this step ensures a flush and even table surface. Pay attention to square cuts, as this will minimize gaps when joining the planks. Once cut, visually arrange them to confirm their fit and appearance.
Step 2: Drilling Pocket Holes for Seamless Joins
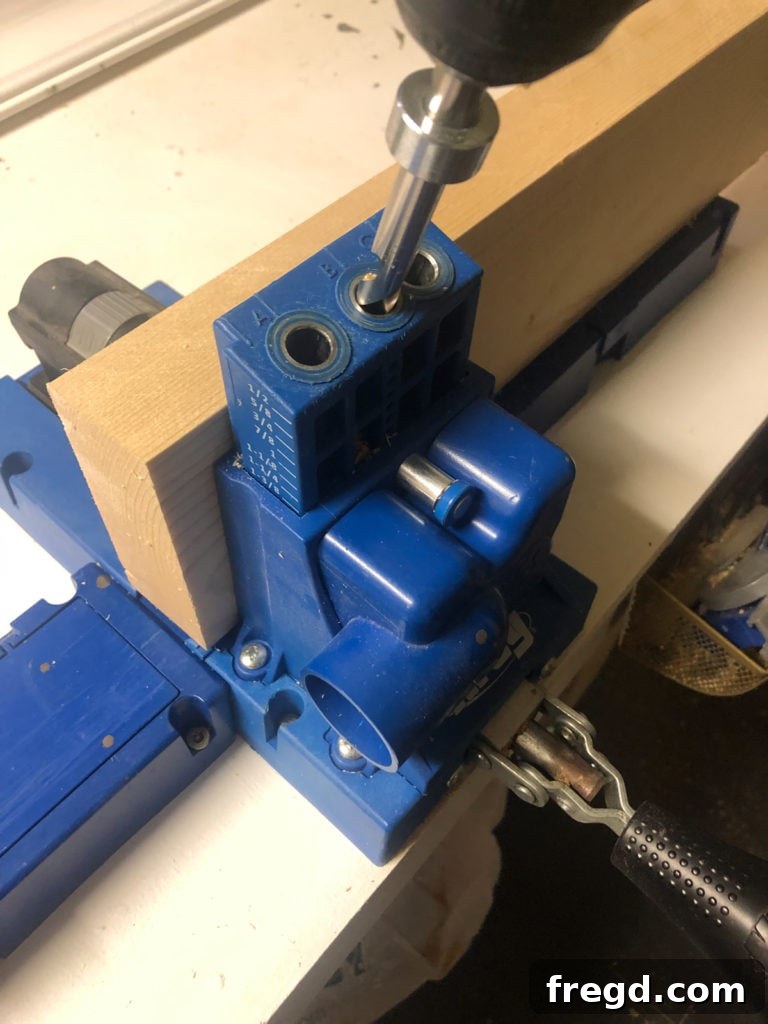
Take three of your cut planks and set up your Kreg Jig. Drill 1 1/2-inch pocket holes along one long edge of each of these three planks. Pocket holes are fantastic because they create incredibly strong joints without visible fasteners on the finished surface, contributing to a clean, professional look. Make sure your Kreg Jig is set correctly for the thickness of your 2×4 lumber. Distribute the pocket holes evenly along the edge to ensure maximum holding power across the entire joint.
- Find our recommended Kreg Jig here.
Step 3: Assembling the Table Top
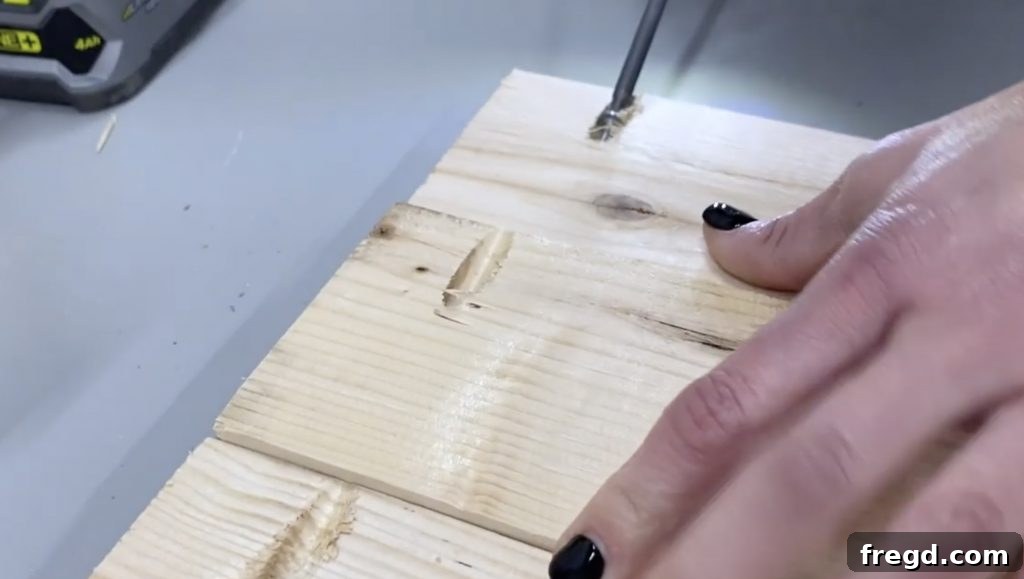
Now, it’s time to bring those planks together. Apply a generous bead of wood glue along the edges where the planks will meet. Align the planks, ensuring they are flush, and secure them together using 2 1/2-inch pocket hole screws. Work on a flat, stable surface, and use clamps to hold the planks tightly together while you drive the screws. This combination of wood glue and pocket hole screws creates a joint that is exceptionally strong and will withstand daily use. Wipe away any excess glue with a damp cloth before it dries.
Phase 2: Building the Dynamic Angled Base
The base is where the “angled” aesthetic of your console table truly comes to life. Careful attention to angles and connections here will ensure both stability and visual appeal.
Step 1: Constructing the Leg Assemblies
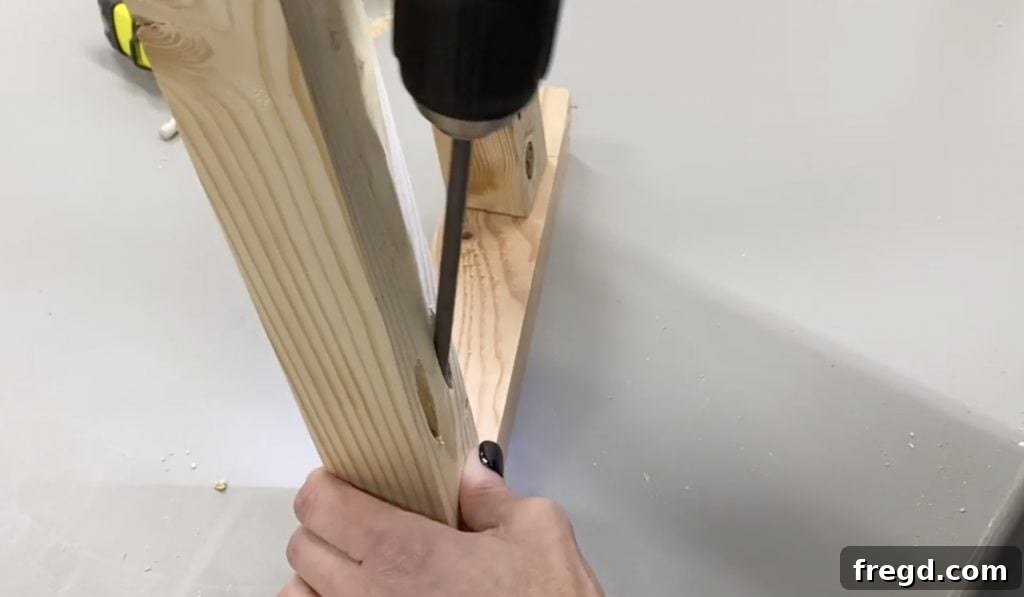
Cut your legs and top supports to their specified sizes. For the legs, ensure your miter saw is set to the correct angle to achieve the distinctive angled look – this is typically where the custom design emerges. Drill 1 1/2-inch pocket holes at the long point ends of each leg. Apply wood glue to the joints and attach the legs to the top supports using 1 1/2-inch pocket hole screws. It’s crucial to build two identical leg assemblies, ensuring they are mirrored for a balanced structure. Check for squareness before the glue sets to prevent wobbles in the final piece.
Step 2: Attaching the Bottom Supports
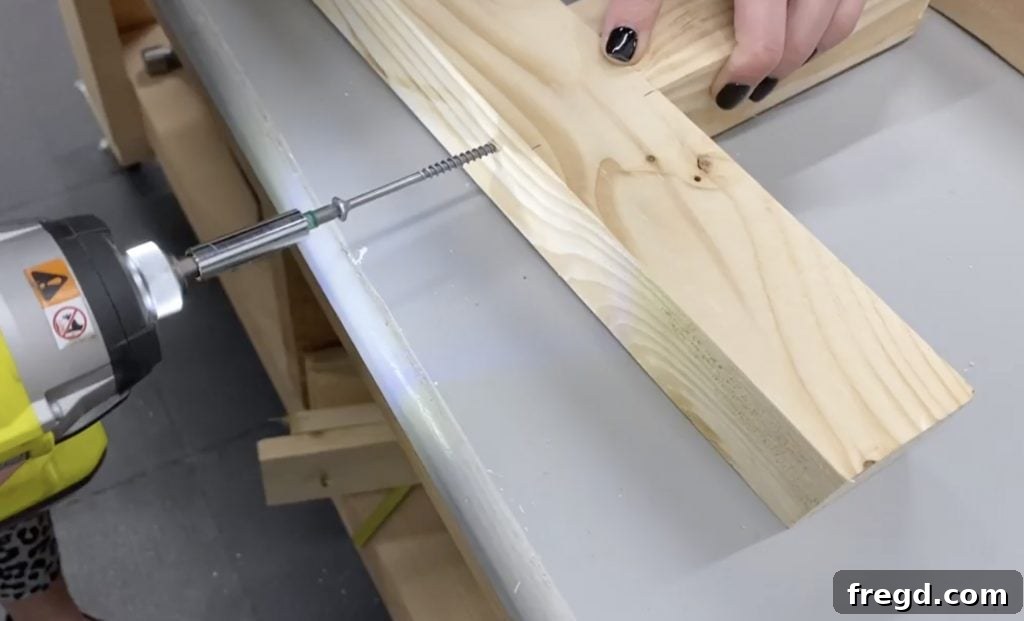
Next, cut the bottom supports to size. These pieces will connect the lower sections of your legs, adding significant stability. Apply wood glue and attach the bottom supports between the legs using 2 1/2-inch wood screws. Make sure the supports are flush and level. Repeat this process for both leg assemblies you just built. These bottom supports are critical for preventing racking and ensuring a solid foundation for your table.
Step 3: Integrating the Base to the Table Top
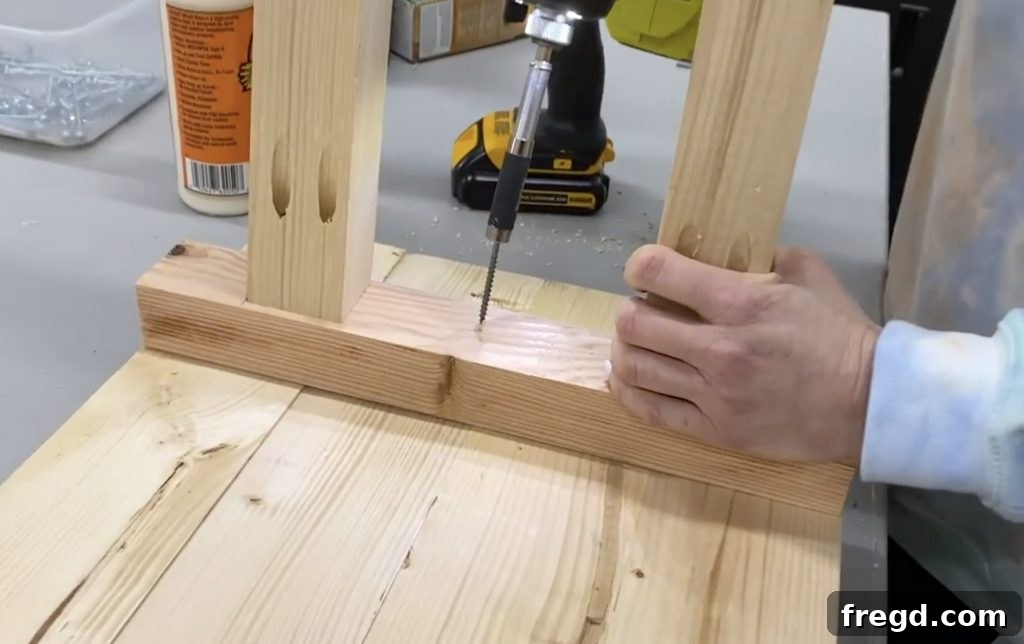
With both leg assemblies complete, it’s time to join them to the table top. Position the leg assemblies on the underside of your planked top, ensuring they are properly spaced and aligned according to your plans. Apply wood glue along the top edges of the leg assemblies where they meet the table top. Secure them in place using 2 1/2-inch wood screws, driving them up through the top supports of the leg assemblies into the table top. This connection is vital for the overall structural integrity of your console table.
Phase 3: Adding Stability and Angled Aesthetics
This phase introduces additional structural elements and the final touches that define the console table’s unique angled appearance.
Step 1: Installing the Central Runner
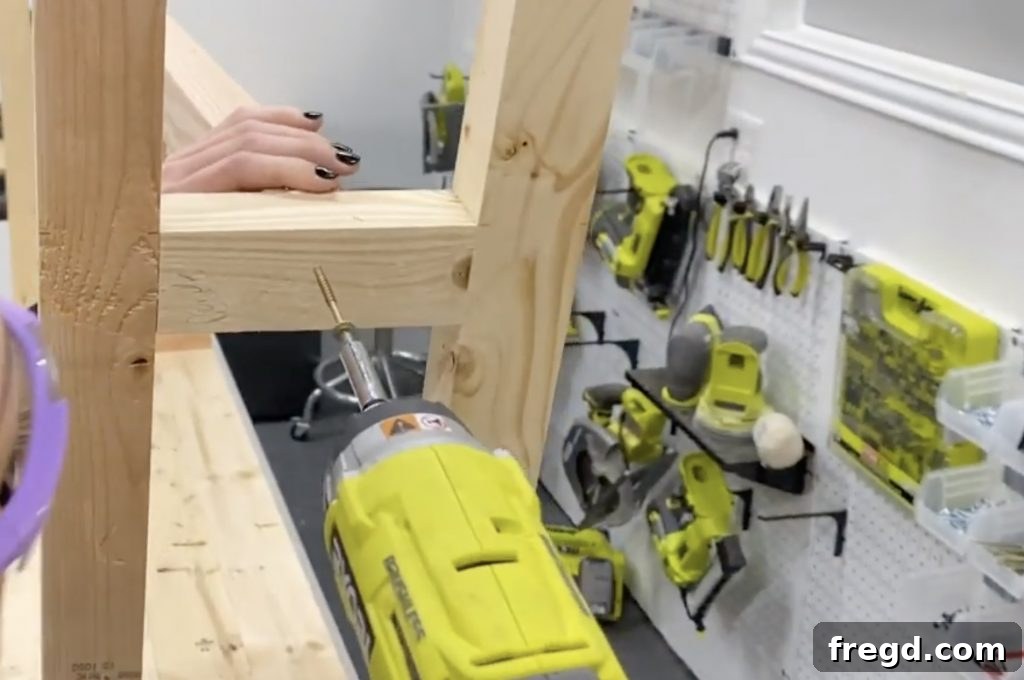
Cut the runner piece to its specified length. This runner will run horizontally between the bottom leg supports, providing extra stability and serving as a central anchor for other components. Center it precisely on the bottom leg supports. Apply wood glue to the ends and attach it using 2 1/2-inch wood screws, driving them from the outside of the bottom leg supports into the runner. Ensure it’s perfectly centered for both aesthetic balance and structural symmetry.
Step 2: Fastening the Cross Supports
Cut the cross supports to size. These pieces will connect the underside of the planked table top to the top of the central runner, further bracing the structure and preventing any potential sway. Apply wood glue to the ends of the cross supports and secure them in place with 2 1/2-inch wood screws. This step significantly enhances the table’s rigidity and overall strength, creating a very solid piece of furniture.
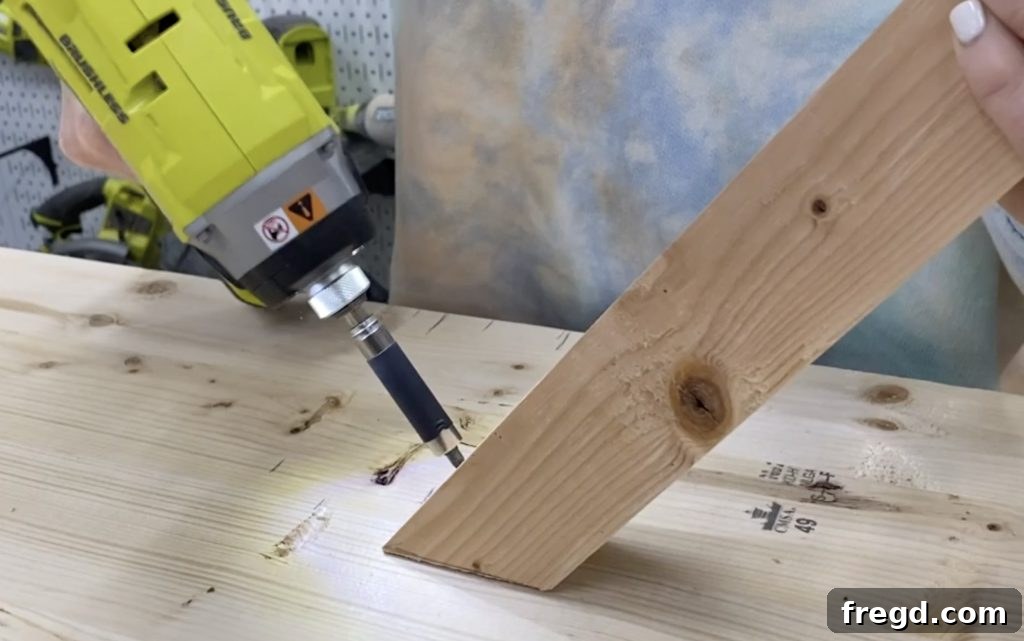
Step 3: Attaching Runner Extensions
Cut the runner extensions to their specific lengths. These smaller pieces will be attached to the bottom leg supports, extending the angled profile of the base and adding another layer of visual interest. Center them carefully on the bottom leg supports. Apply wood glue to the back of the extensions and then fasten them securely with 2 1/2-inch finish nails. The finish nails leave smaller holes, contributing to a cleaner appearance that will be easy to fill later.
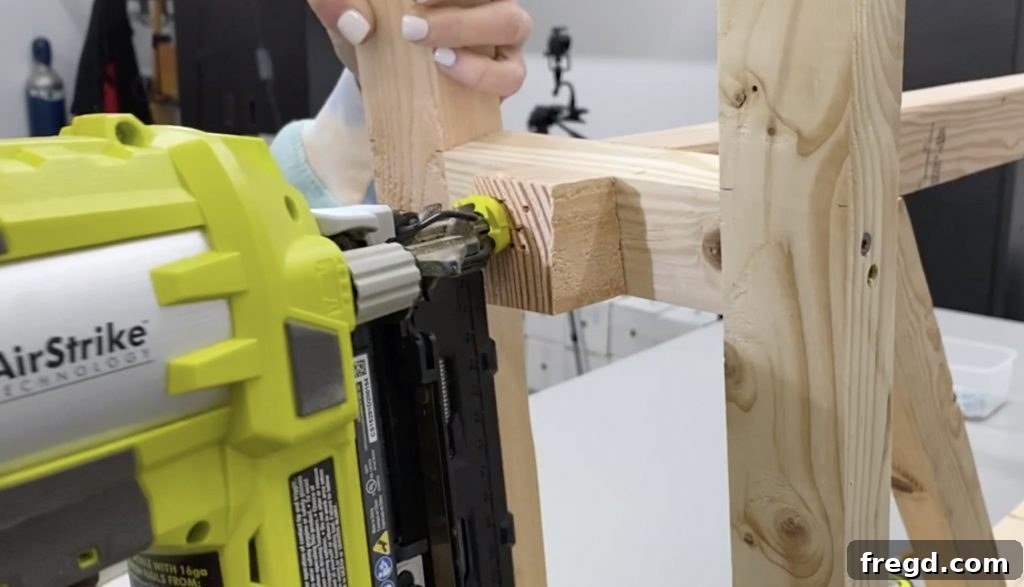
Step 4: Securing Leg Extensions
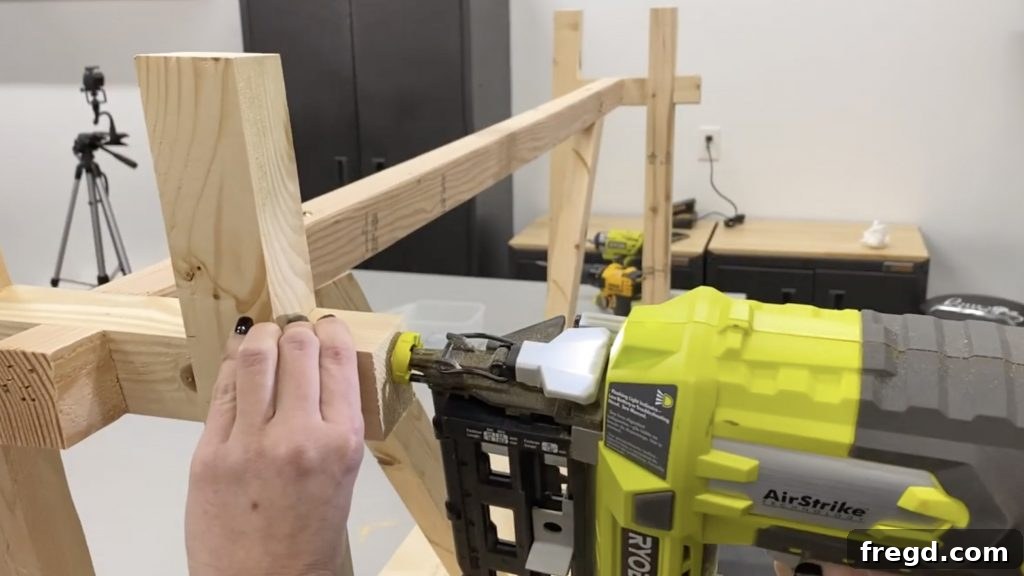
Finally, cut the leg extensions to size. These pieces are crucial for completing the angled design, running along the outside of the main legs. Apply wood glue to their backs and attach them to the outside of the legs using 2 1/2-inch finish nails. Ensure they are flush and follow the existing angles of the legs for a cohesive and polished look. This step not only enhances the aesthetic but also adds a subtle layer of dimension to your console table.
The Grand Finale: Sanding and Finishing Your Console Table
With all the structural components assembled, it’s time to bring out the true beauty of your woodworking. The finishing process is where your table transitions from a collection of wood pieces into a piece of art.
Step 1: Preparing for a Flawless Finish
This stage is vital for a professional-looking end product. Start by filling all visible nail and pocket holes with wood filler. Allow the filler to dry completely according to the manufacturer’s instructions, then sand it smooth. Next, begin sanding the entire table, starting with a coarser grit sandpaper (e.g., 80 or 100 grit) to remove any imperfections, pencil marks, or rough spots. Gradually move to finer grits (e.g., 150, 220 grit) to achieve a silky-smooth surface. The smoother the wood, the better your chosen finish will adhere and look. After sanding, thoroughly wipe down the table with a tack cloth or a damp rag to remove all dust, ensuring a clean canvas for your stain or paint.
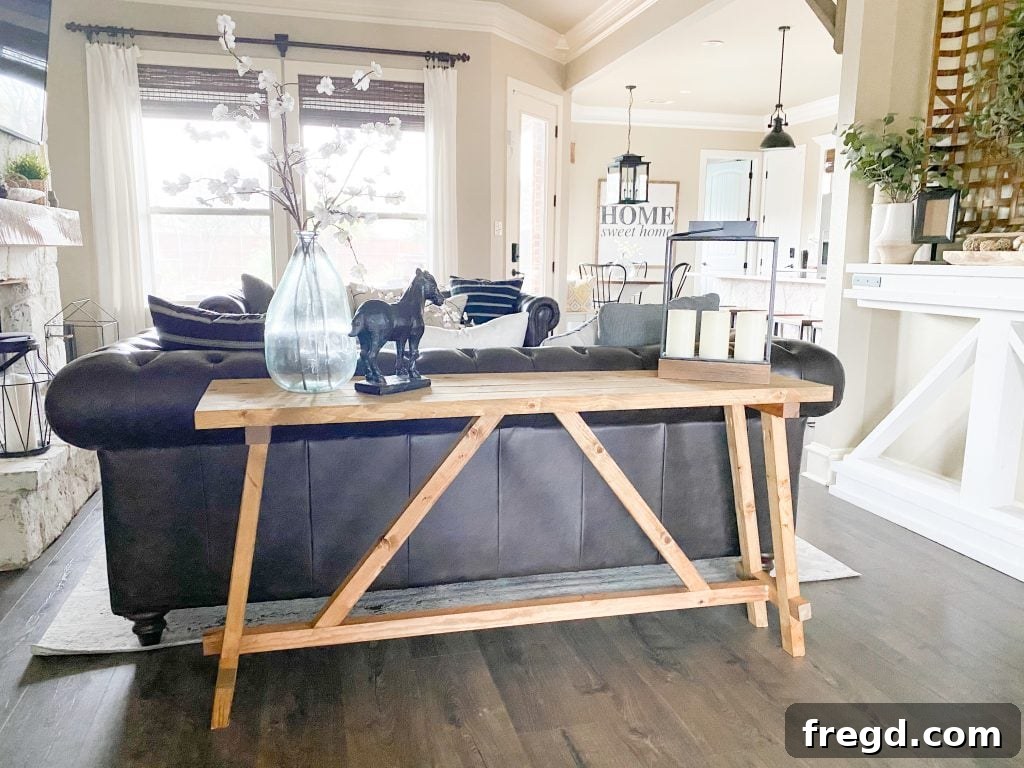
Step 2: Applying Your Chosen Finish
Now for the exciting part – adding the finish! Whether you opt for a rich wood stain to highlight the grain, a vibrant paint color to match your décor, or a clear protective coat, apply it according to the product’s directions. If staining, apply evenly with a brush or rag, wiping off excess for a consistent color. For paint, apply thin, even coats, allowing sufficient drying time between each. Consider applying a topcoat (like polyurethane or lacquer) for added durability and protection, especially for a console table that will see regular use. We used a beautiful stain to enhance the natural warmth of the wood. You can find the specific stain we used via the link below.
- Discover the stain we utilized for this project here.
Share Your Masterpiece!
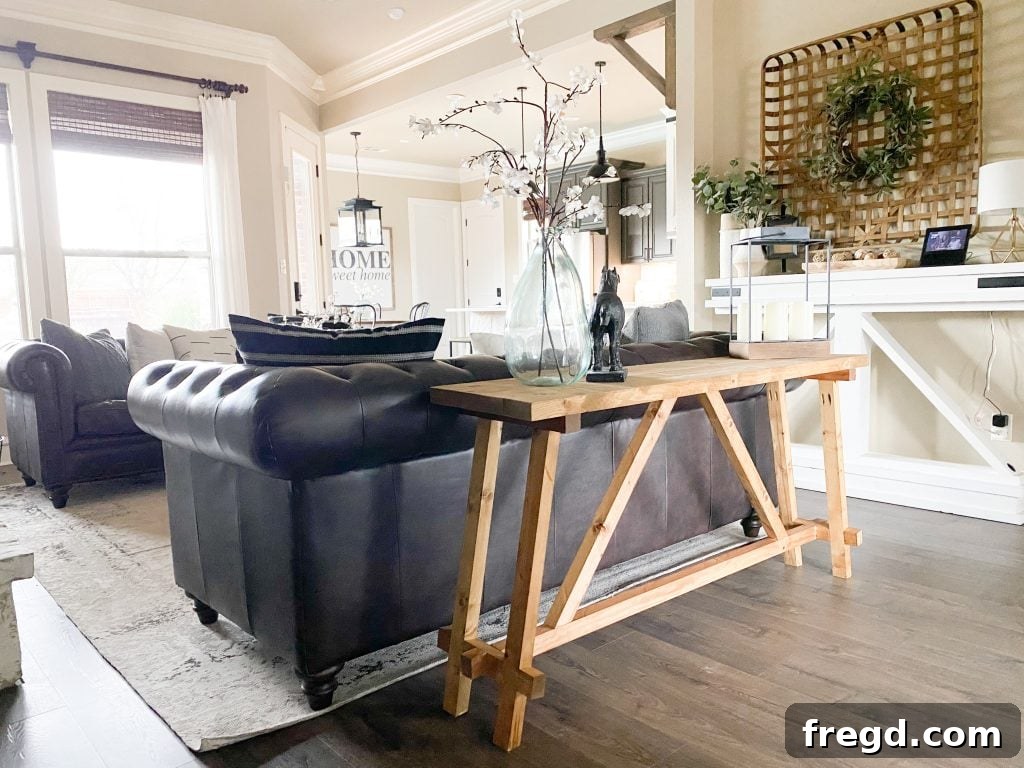
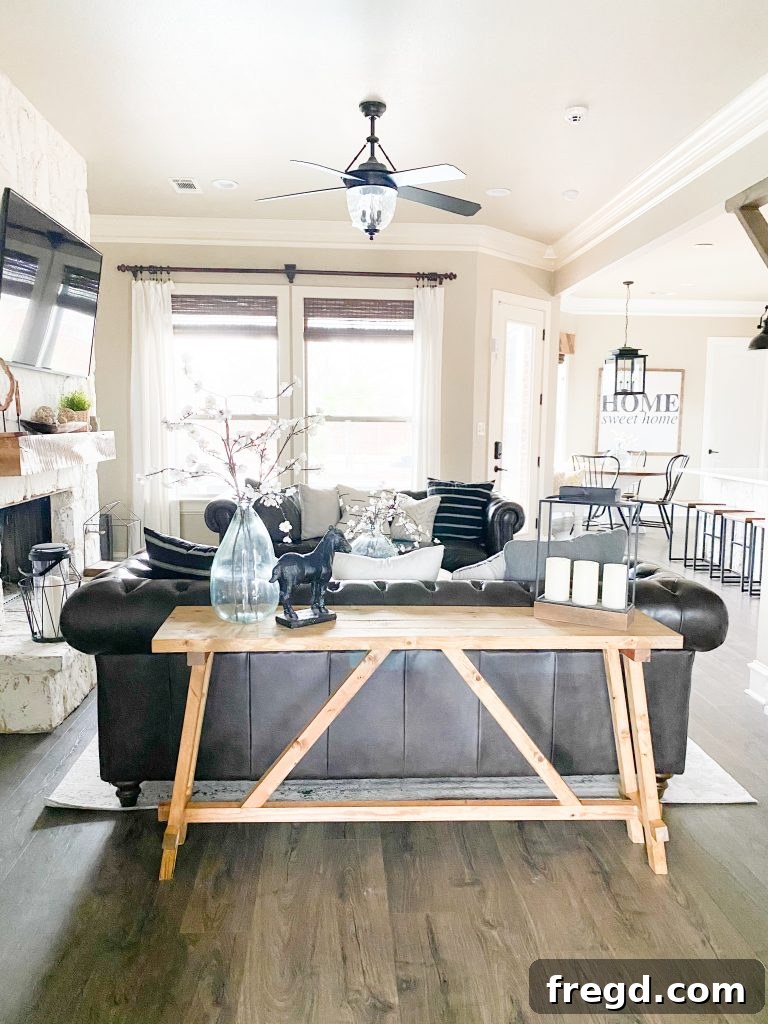
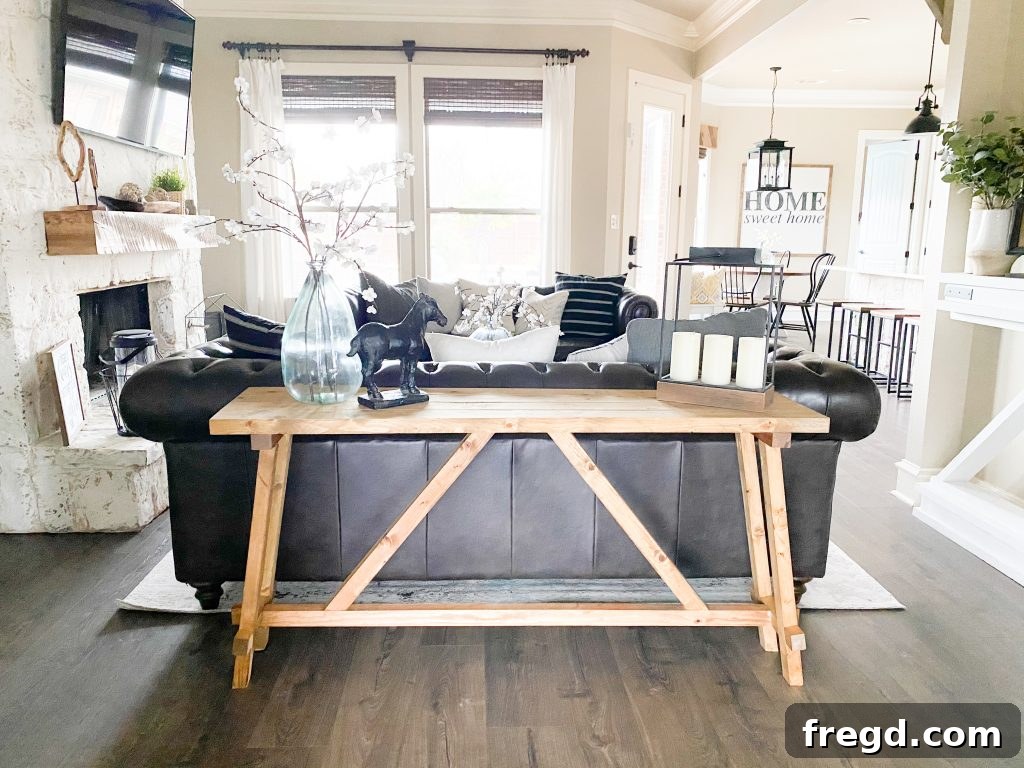
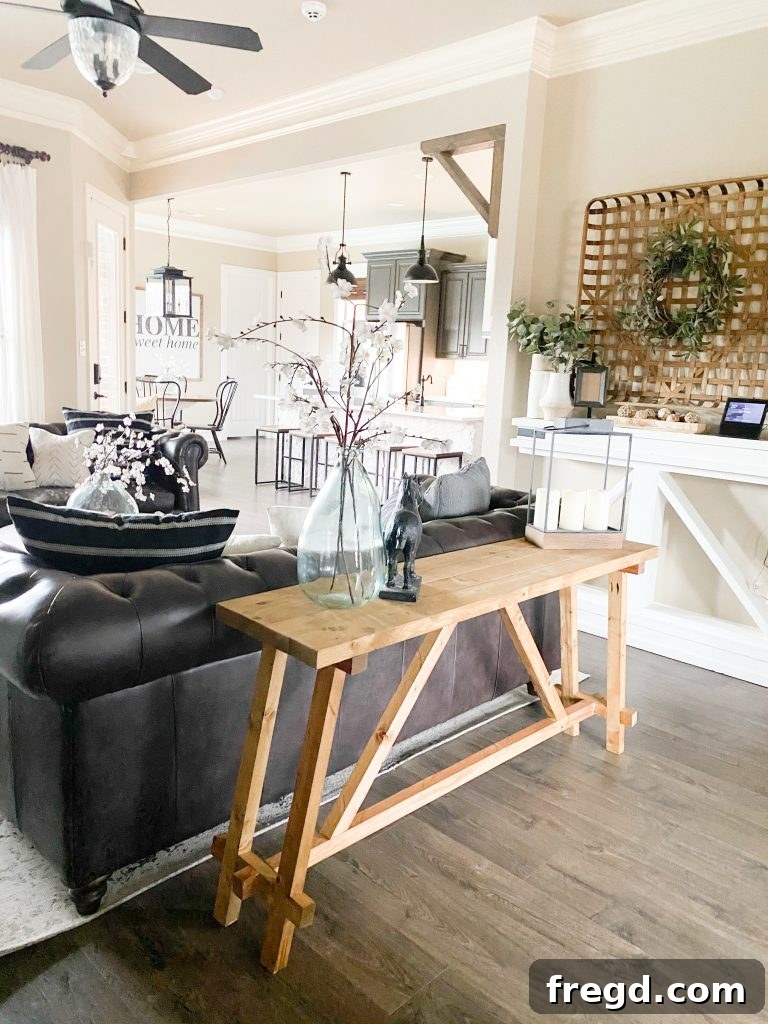
Congratulations! You’ve successfully built your very own Angled Console Table. We love seeing your creativity come to life! Don’t forget to share photos of your completed projects on social media. Use the hashtag #shanty2chic so we can admire and even feature your incredible builds on our platforms. Your creation might just inspire someone else to pick up their tools and start their own DIY journey!
Ready to Build? Download the Free Plans!
To make your building process even smoother, we provide a full set of downloadable plans. These printable plans include detailed diagrams, exact measurements, and the complete supply list. Click the link below to get started on your own DIY Angled Console Table today!
Click here to download the free printable plans, including the full supply list and cut specifications!