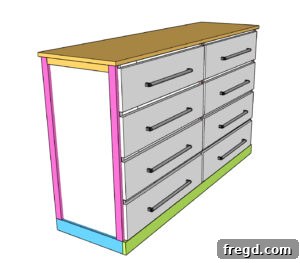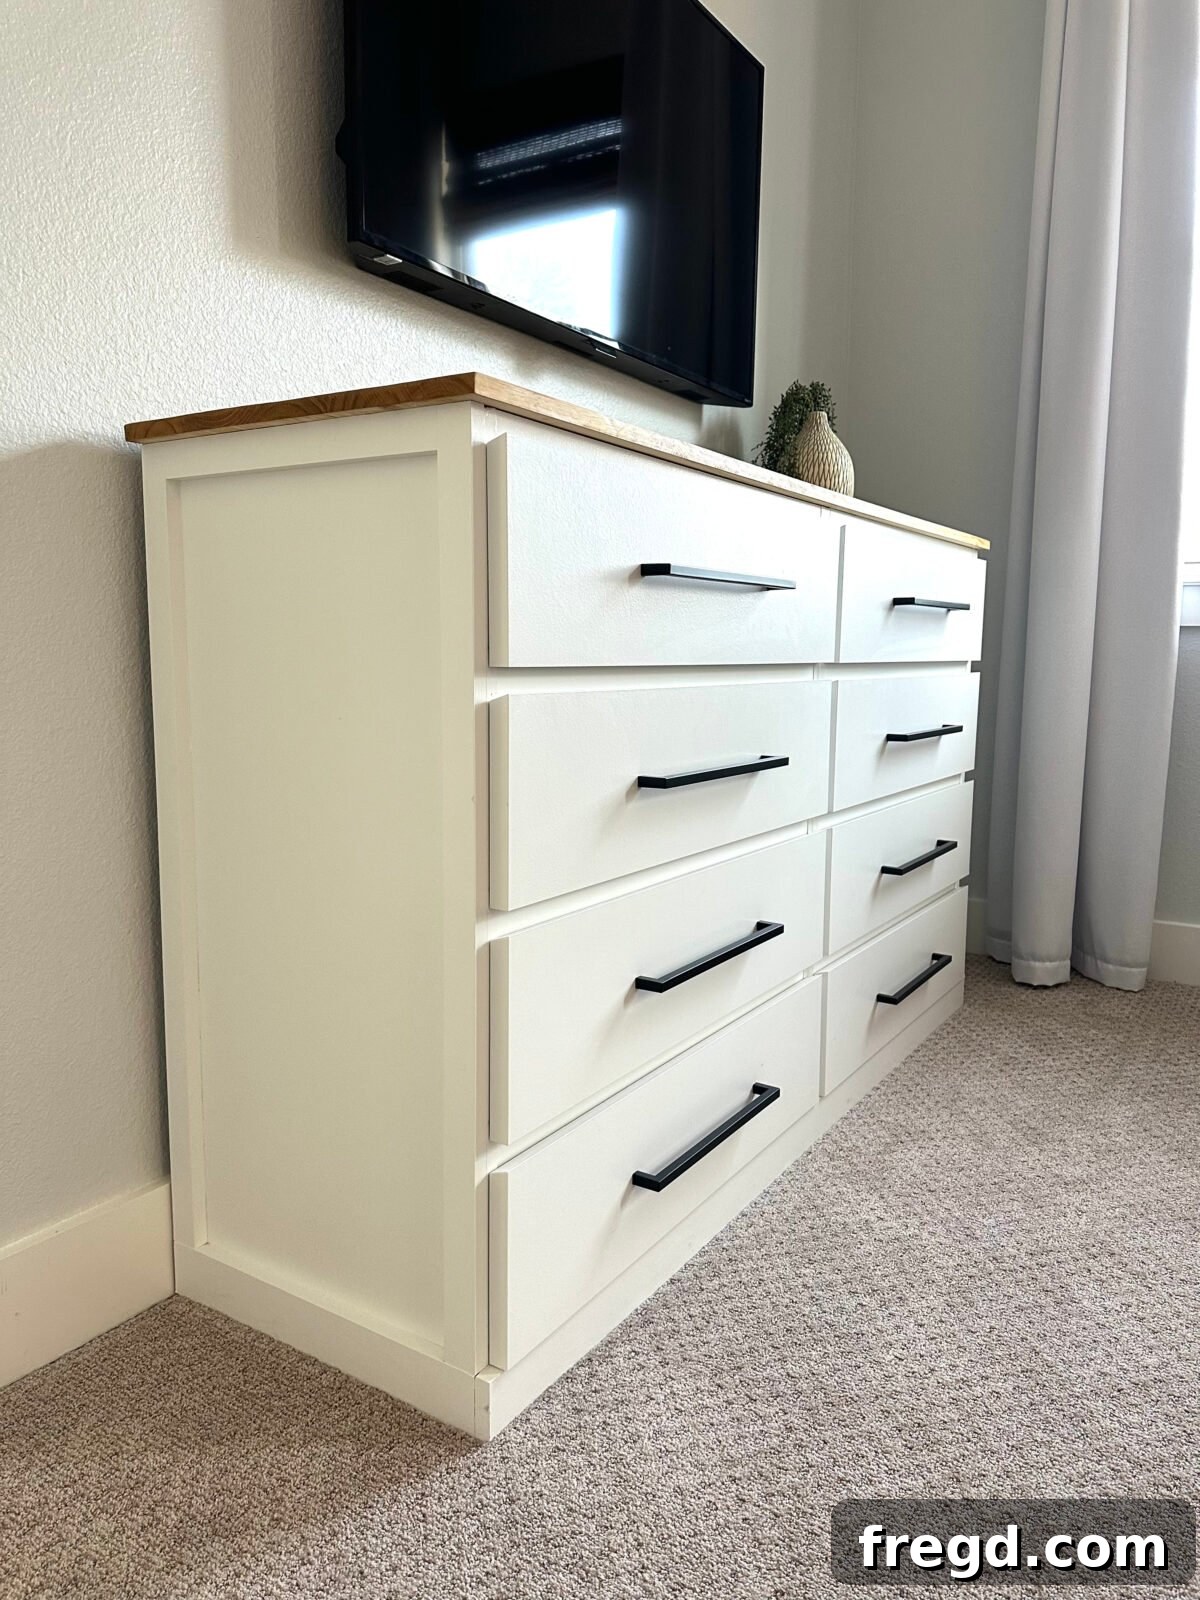
Welcome to my latest DIY adventure! Today, I’m thrilled to share my ultimate IKEA Malm Dresser Hack, a project that transformed two standard dressers into one magnificent, custom-built storage solution. With just a handful of basic tools and some creativity, you can achieve this high-end look without the high-end price tag. This detailed guide, complete with free plans from Shanty2Chic, will walk you through every step of creating a personalized piece that fits seamlessly into your home.
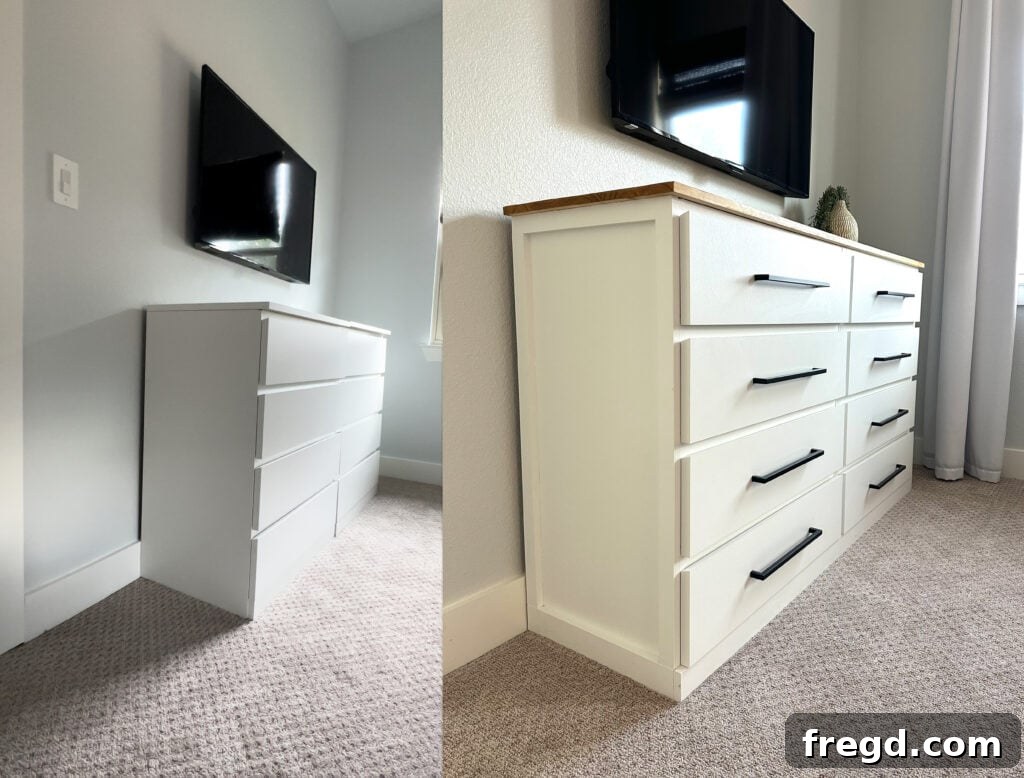
Crafting a Dream Space: The Motivation Behind This IKEA Malm Hack
Last summer marked a new chapter as I settled into my new home, brimming with ideas to personalize every room with custom-built furniture. High on my priority list was my daughter’s bedroom. As she recently entered her teenage years, I wanted to create a sanctuary for her – a comfortable and beloved space she could truly call her own. With the significant changes of a new school and town, I believed a beautifully furnished bedroom would provide a much-needed retreat and a stable anchor during her adjustment period.
A major requirement for her new space was ample clothing storage. A dresser, therefore, became the very first piece of furniture I envisioned for her. Building a large, high-quality dresser from scratch can be both time-consuming and expensive. Faced with the intense Texas summer heat and a daunting list of other projects, I sought a smarter solution. My inspiration led me to two IKEA Malm 4-drawer dressers, renowned for their minimalist design and hack-friendly structure. The goal was clear: transform these simple units into a grand, custom dresser that would offer generous storage and a sophisticated aesthetic, all while staying within a reasonable budget and timeframe.
This project is more than just building furniture; it’s about crafting a piece that brings joy, functionality, and a touch of custom elegance to a cherished space. So, let’s embark on this exciting DIY journey!
Watch the step-by-step how-to video I shared on our Instagram page for visual guidance.
Don’t forget to grab the comprehensive free plans and follow along with the detailed instructions provided below to bring your own custom dresser to life!
Click here to jump straight to the free printable plans and detailed cut list!
Table of Contents
The Appeal of IKEA Malm Hacks
The IKEA Malm series is a beloved staple for many DIY enthusiasts, and for good reason. Its clean lines, affordability, and sturdy construction make it an ideal canvas for customization. From simple paint jobs to elaborate structural modifications like this one, Malm dressers offer endless possibilities to create furniture that looks far more expensive and custom than its original price tag suggests. This particular hack transforms two individual units into a cohesive, grand statement piece, maximizing storage while introducing bespoke charm into any room.
Materials & Tools for Your Custom Dresser
Before diving into the build, gather all your materials and tools. Having everything organized and ready will ensure a smooth and efficient project. Remember, quality materials and reliable tools are key to a professional-looking finish and a durable piece of furniture.
Supplies You’ll Need:
- 2 – 1x6x8 Primed Pine Boards: These will form the structural trim, giving your dresser a built-in, custom look.
- 1 – 3/4″x20″x6′ Unfinished Pine Board: This will serve as the beautiful, solid wood top for your combined dresser.
- 1 1/2″ Wood Screws: Essential for securely joining the two dresser frames together.
- 1 1/4″ Brad Nails: Perfect for attaching trim pieces with minimal visible holes.
- 8 – Cabinet Pulls: Choose hardware that complements your desired aesthetic and elevates the overall design.
- 2 – Ikea Malm Dressers (4-drawer variant is ideal for this hack): The foundation of your custom creation.
- Wood Glue: Provides a strong, lasting bond for all your wood connections.
- Wood Filler: For seamlessly concealing nail holes and imperfections.
- Paint and Stain (details on specific products used below): To achieve your desired finish.
Tools for the Job:
- Miter Saw: For precise and accurate cuts on your trim and top pieces.
- Drill: Necessary for pre-drilling holes and driving screws.
- Brad Nailer: Makes attaching trim quick and easy.
- Table Saw (optional, but recommended for perfect trim cuts): Useful if you need to rip boards to specific widths for your trim.
- Sander or Sandpaper: For preparing surfaces and smoothing filled holes.
Step 1: Preparing Your IKEA Malm Dresser Bases
Building the Foundation
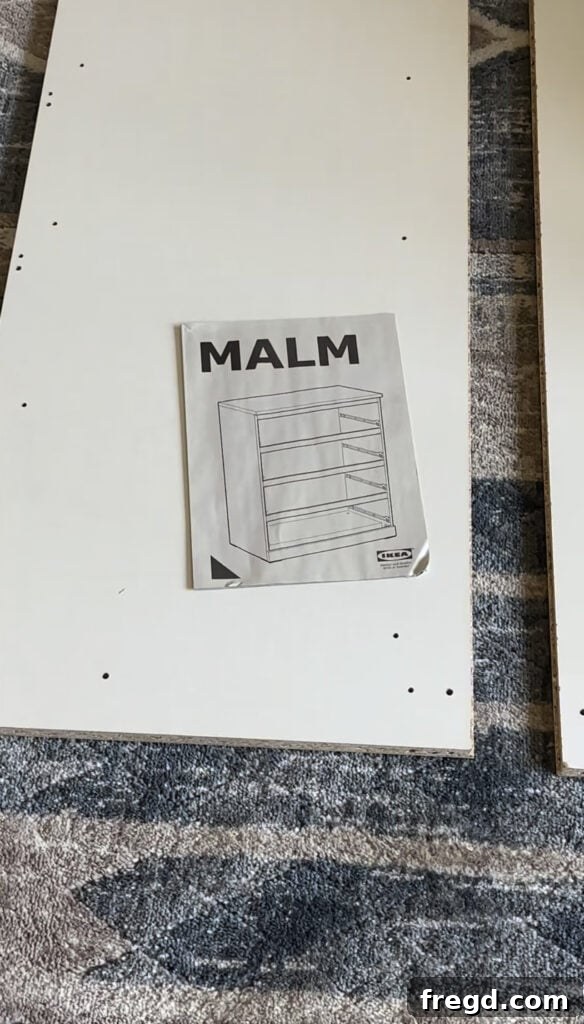
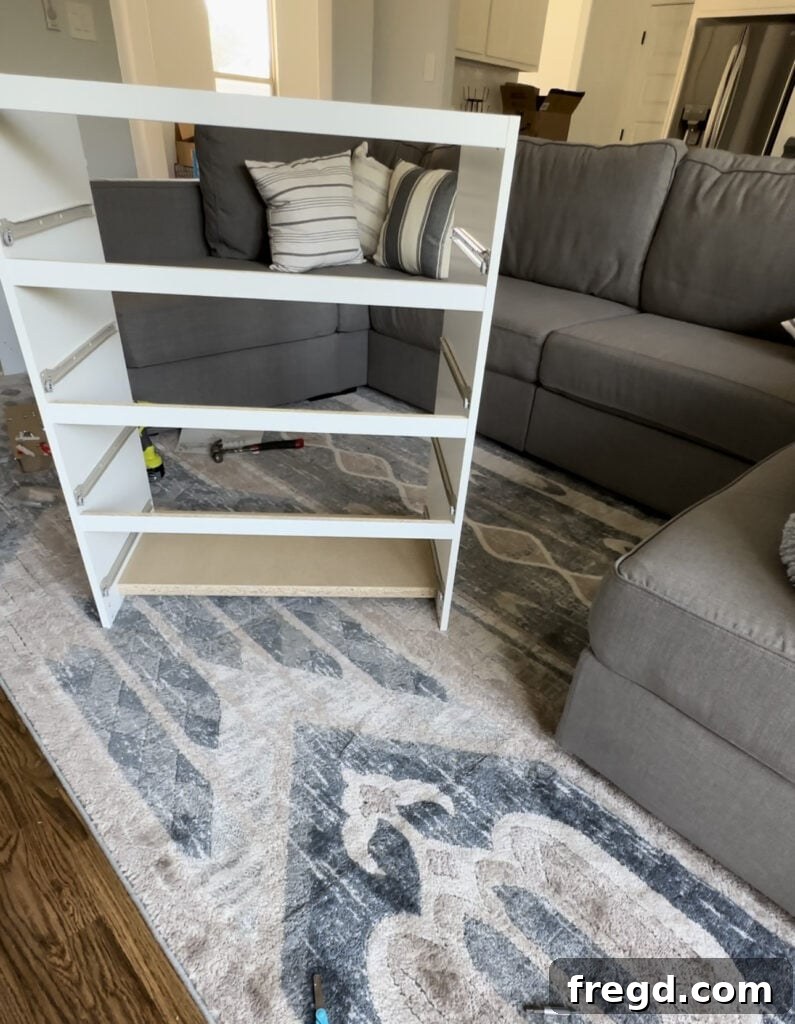
Begin by following the provided IKEA instructions to assemble the main frames of both Malm dressers. However, for this specific hack, there are a few crucial modifications. Do not attach the original tops, the backing panels, or the front bottom trim pieces. These components are either replaced by custom elements or simply not needed for the final, integrated design. Skipping these steps now will save you time and effort later, ensuring a cleaner foundation for your personalized dresser. Focus on building the core drawer units and side panels, as these form the essential structure we’ll be building upon.
Step 2 & 3: Enhancing the Frames with Custom Trim
Adding trim is where your Malm dressers start shedding their mass-produced look and begin to take on a bespoke character. These carefully chosen pine boards will create the illusion of a solid, custom-built piece.
Step 2: Attaching the Middle Trim
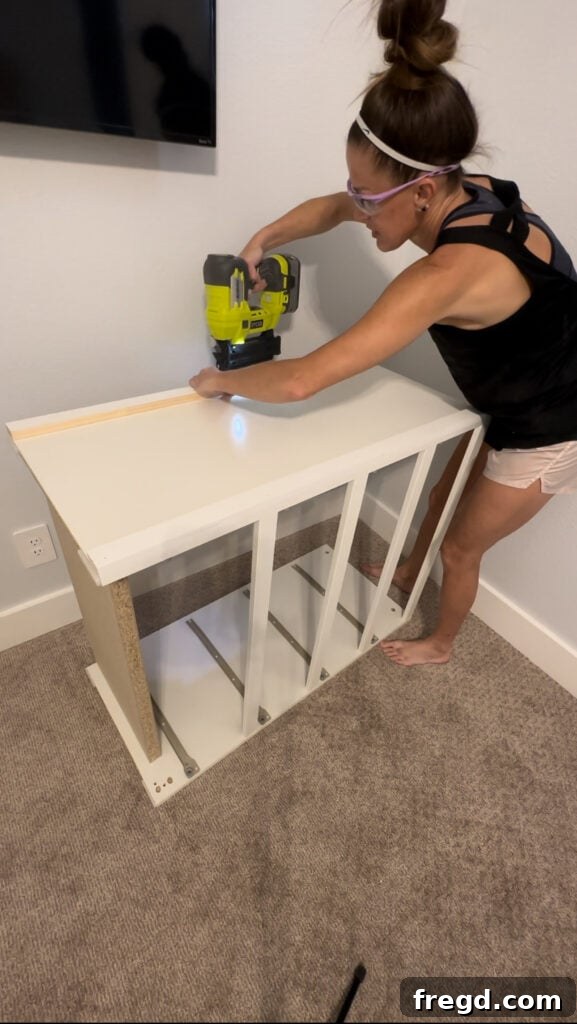
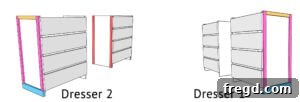
Once both dresser frames are assembled (without the specified parts), it’s time to add the middle trim. Using your miter saw, precisely cut the middle trim pieces from your 1x6x8 primed pine boards according to the project plans. These pieces will be attached to the inside face of one of the dresser frames. Apply a generous bead of wood glue along the back of the trim piece, then secure it in place with 1 1/4″ brad nails using your nail gun. Ensure the trim is flush with the edge where the two dressers will meet. This meticulous step ensures a strong bond and a smooth, continuous surface when the units are joined.
Step 3: Securing the Side Trim
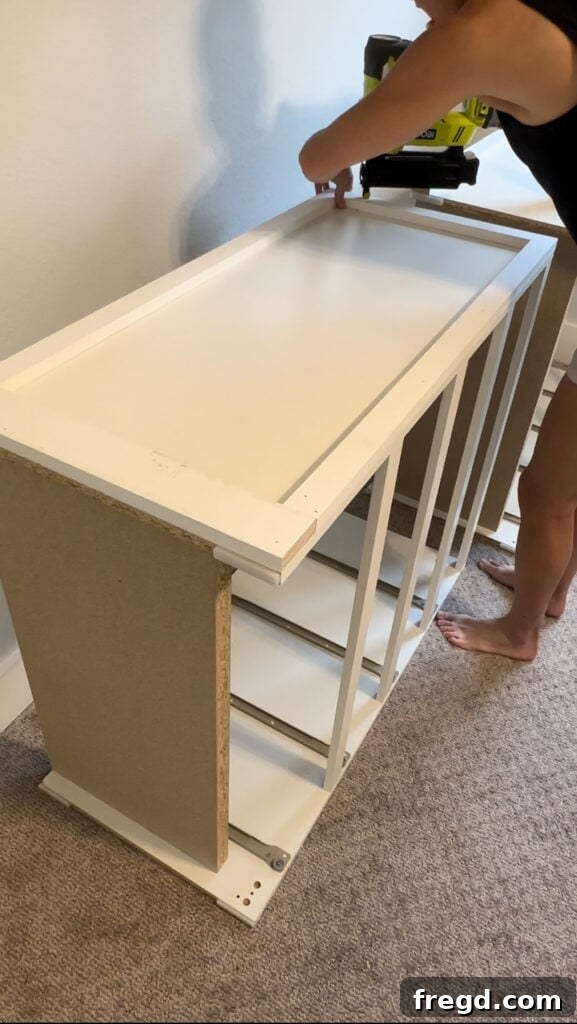
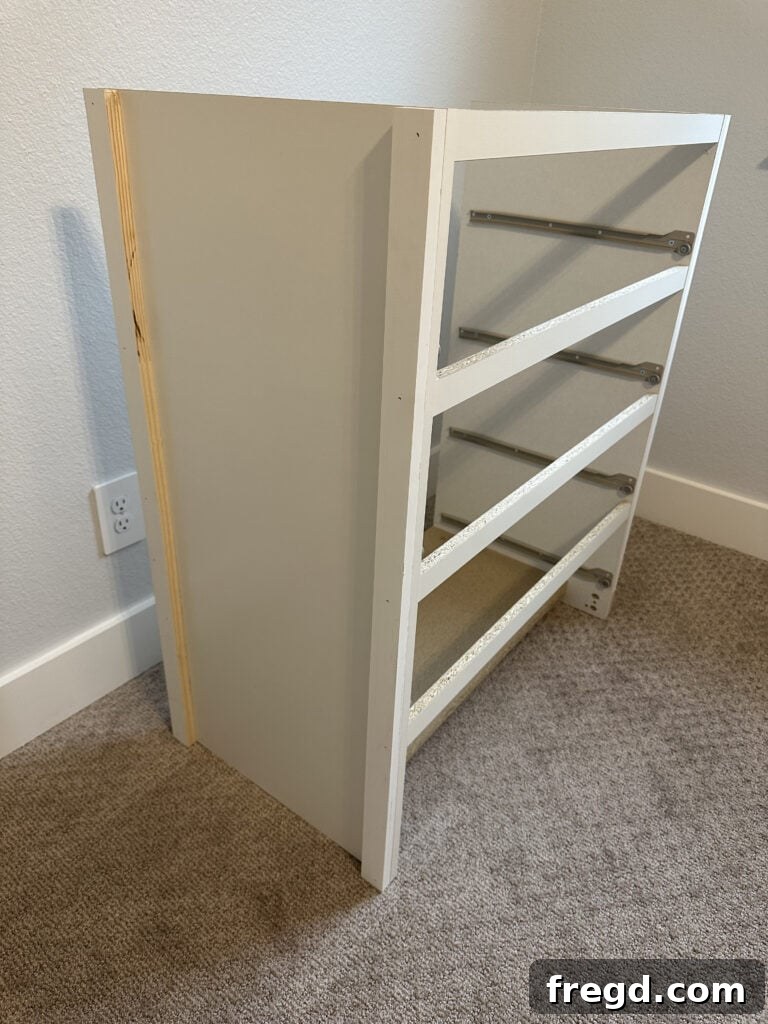
Next, cut the side trim pieces to the correct dimensions from your primed pine boards. These pieces will be attached to the outermost vertical sides of both dresser frames. Apply wood glue to the back of each trim piece and then fasten them securely with 1 1/4″ brad nails. It’s crucial that all trim pieces are perfectly flush with the outside edges of the cabinet frames. This attention to detail creates clean lines and a seamless transition, making the finished piece look like a single, solid unit rather than two separate components. Take your time during this step to ensure precise alignment for the best results.
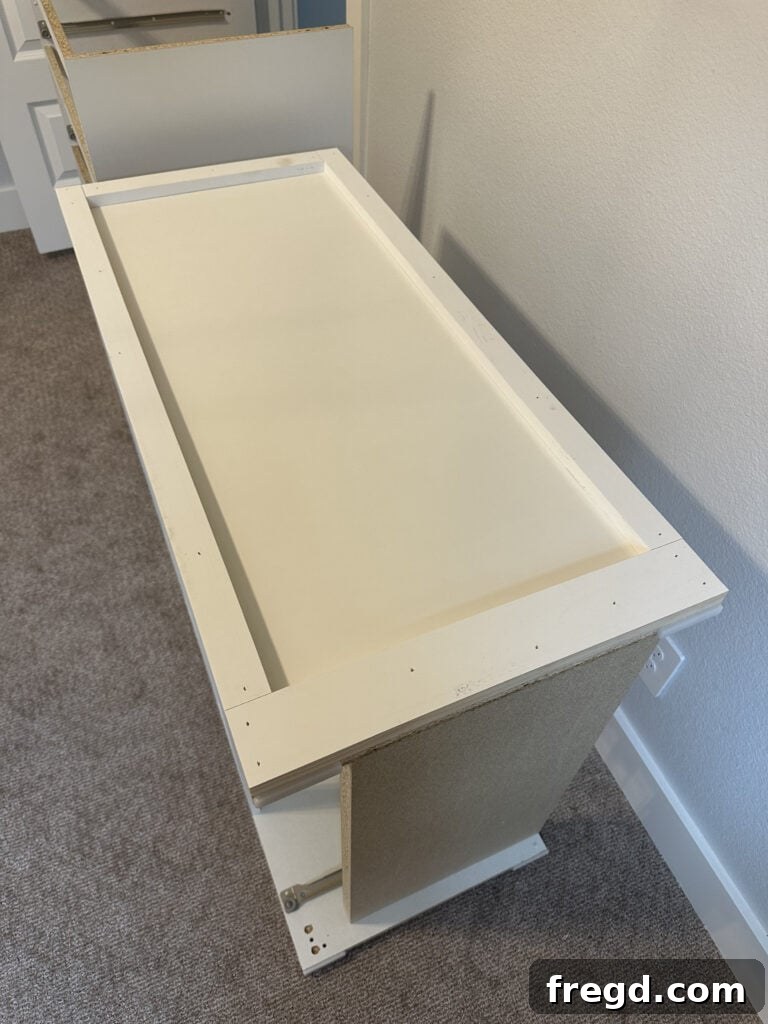
Step 4: Seamlessly Joining the Dresser Units
Bringing the Two Halves Together
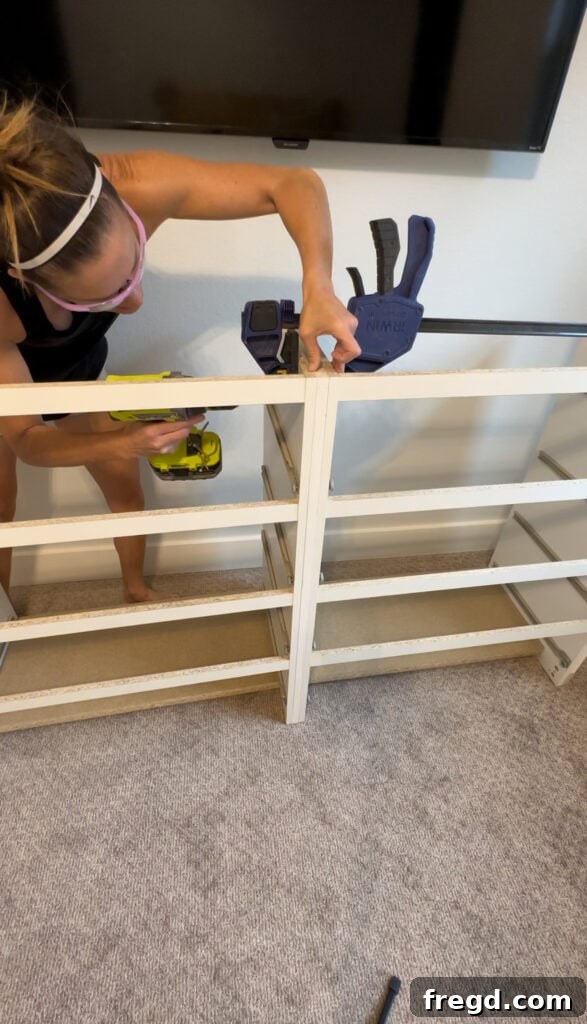
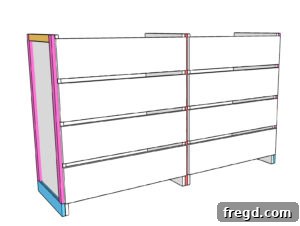
With all the individual trim pieces firmly in place, it’s time for the exciting moment of bringing your two dresser units together to form one expansive piece. Carefully position the two dressers side-by-side, ensuring they are perfectly flush both front-to-back and top-to-bottom. Any misalignment here will be noticeable in the final product, so take your time to achieve a precise fit. Apply a strong bead of wood glue along the meeting edges for added adhesion.
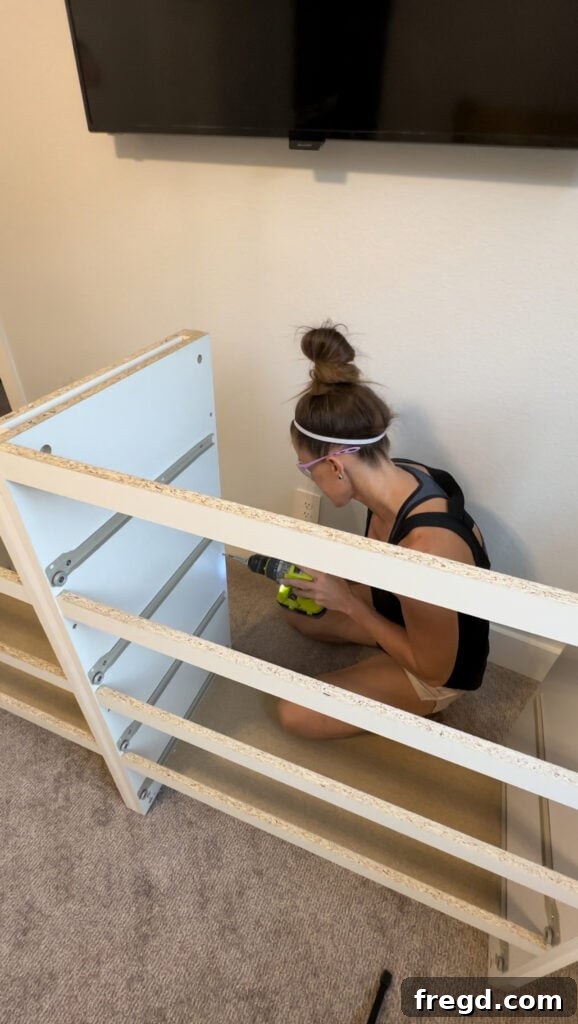
Once aligned, use 1 1/2″ wood screws to securely attach the two dressers. Drive these screws from the inside of each dresser frame, through the existing particle board, and into the middle trim piece that you previously installed. Repeat this process on both the front and back sides of the dresser connection to ensure maximum stability and a robust union. This creates a single, sturdy framework ready for its final transformation.
Step 5: Adding a Sturdy and Stylish Base Trim
Completing the Foundation
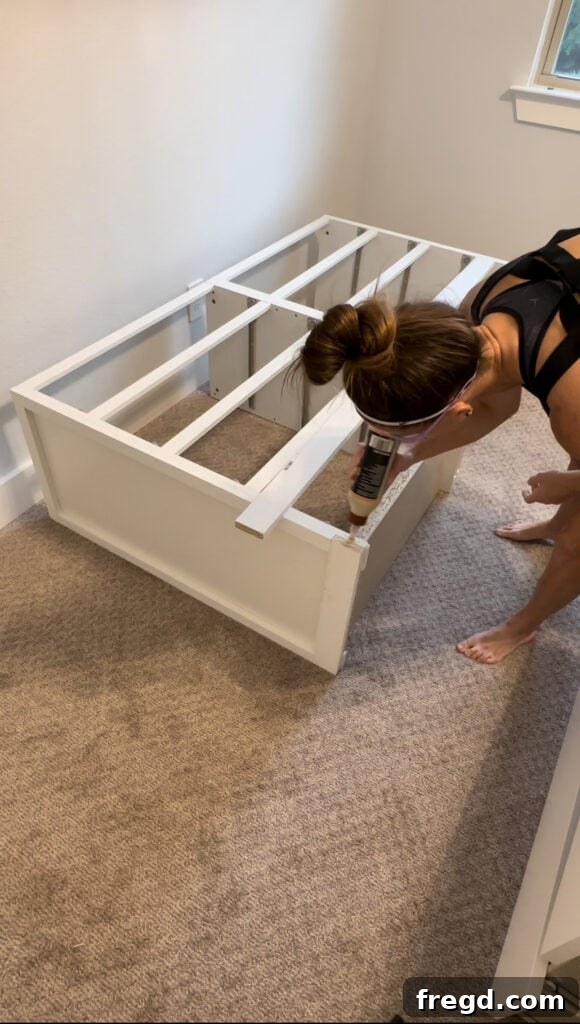
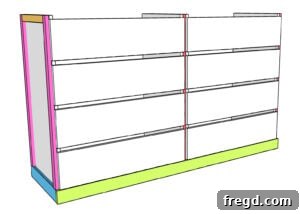
The base trim is essential for providing a finished look and concealing the original dresser feet, elevating the piece off the ground and giving it a more substantial, furniture-grade appearance. Measure and cut the front bottom base trim to the exact length required to span the entire front of your newly joined dressers. Apply wood glue along the back of this trim piece and position it carefully at the base. Secure it firmly with 1 1/4″ brad nails, ensuring it is flush and level. This step not only adds to the aesthetic appeal but also reinforces the structure, creating a cohesive and elegant base for your custom dresser.
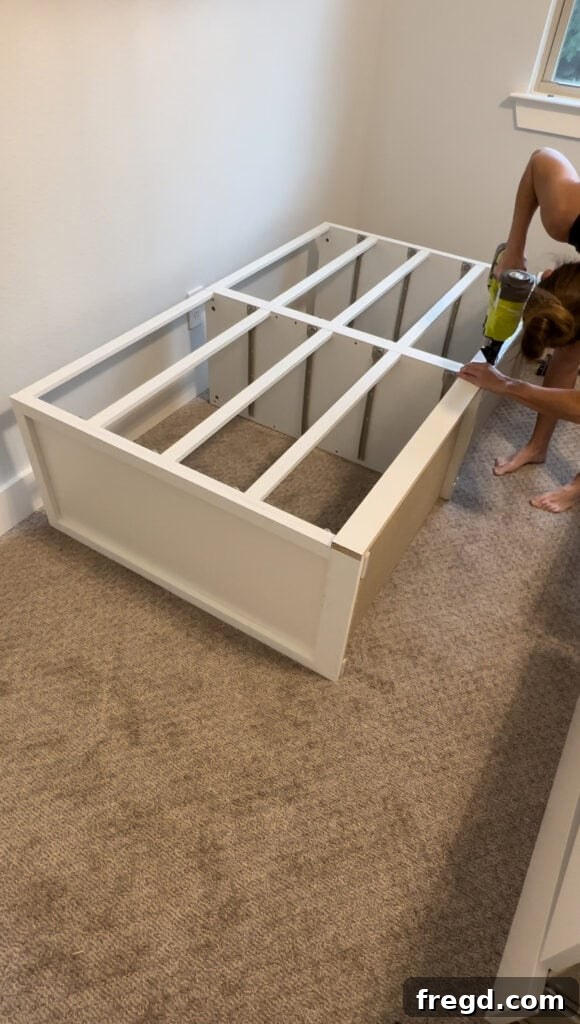
Step 6: Crafting the Perfect Dresser Top
Adding the Crown to Your Creation
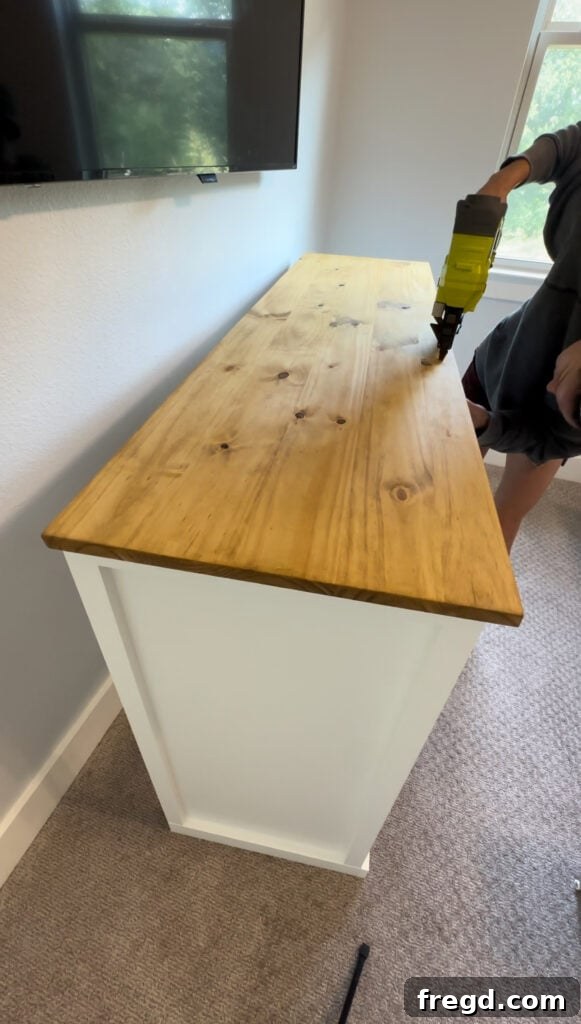
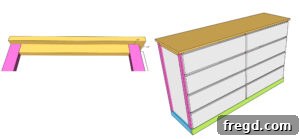
The top surface is a defining feature of your custom dresser, offering both functionality and significant visual impact. Carefully measure and cut your 3/4″x20″x6′ unfinished pine board to the appropriate length and width. When attaching, aim for a consistent 3/4″ overhang on both sides and along the front edge of the joined dressers. The back edge of the top should be flush with the back of the dresser frames. Apply wood glue generously to the top edges of the dresser frame, then carefully place the cut project panel. Secure it with 1 1/4″ brad nails, ensuring the overhangs are even. For those looking for an alternative look, using several individual wood slats instead of a single panel can create a beautiful, planked tabletop effect.
Note: For ease of finishing, I highly recommend staining the top panel and painting the dresser base separately before attaching the top. This allows for cleaner edges and a more professional finish.
Step 7-10: The Grand Finish: Sanding, Painting, Staining & Hardware
The finishing touches are where your dresser truly comes to life, reflecting your personal style and enhancing its custom appeal. This multi-step process ensures a durable, beautiful result.
Step 7: Flawless Prep with Wood Filler and Sanding
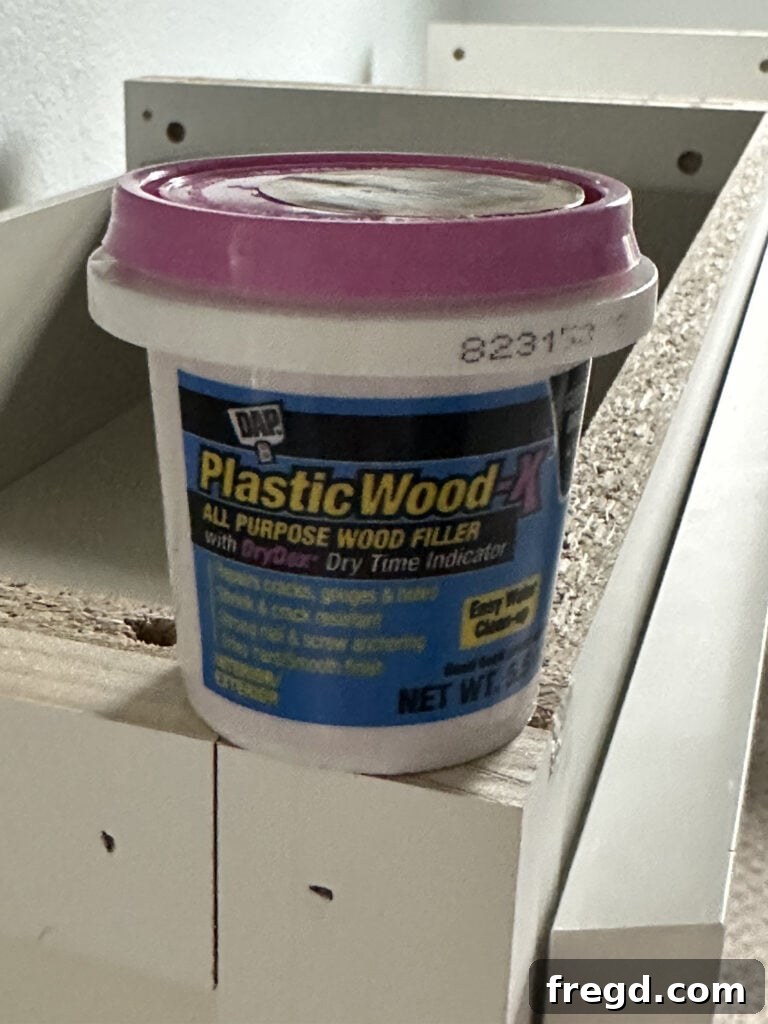
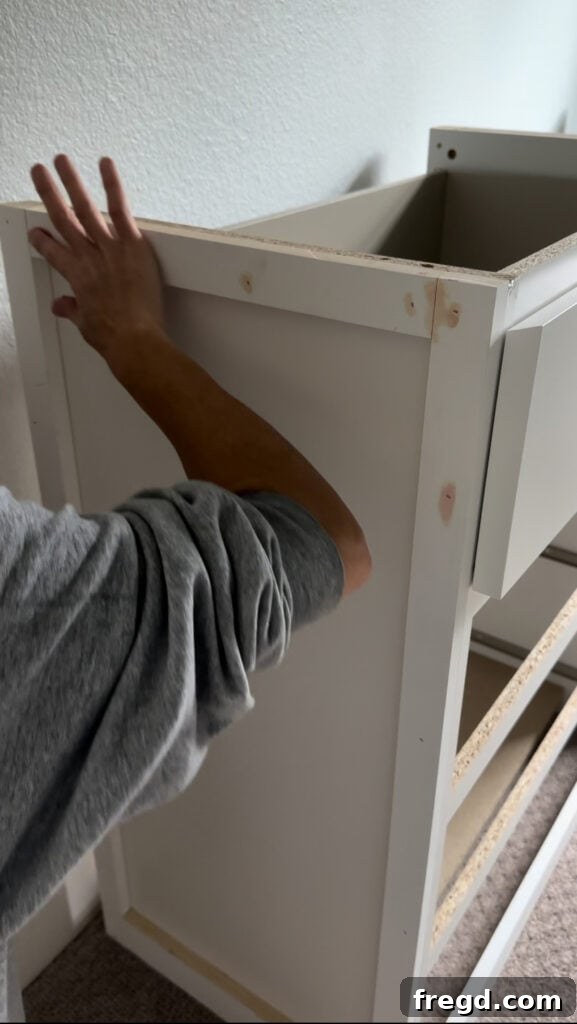
A smooth, flawless surface is the secret to a professional-looking paint or stain job. Begin by meticulously filling all exposed nail holes with high-quality wood filler. Allow the filler to dry completely according to the manufacturer’s instructions. Once dry, lightly sand the filled areas and any rough spots on the dresser frame. You can use an orbital sander for larger areas or sandpaper for detailed work. This step ensures an even surface, free from imperfections, that is ready to accept paint or stain beautifully.
- Discover the wood filler I rely on for seamless results here.
Step 8: Painting the Dresser Base
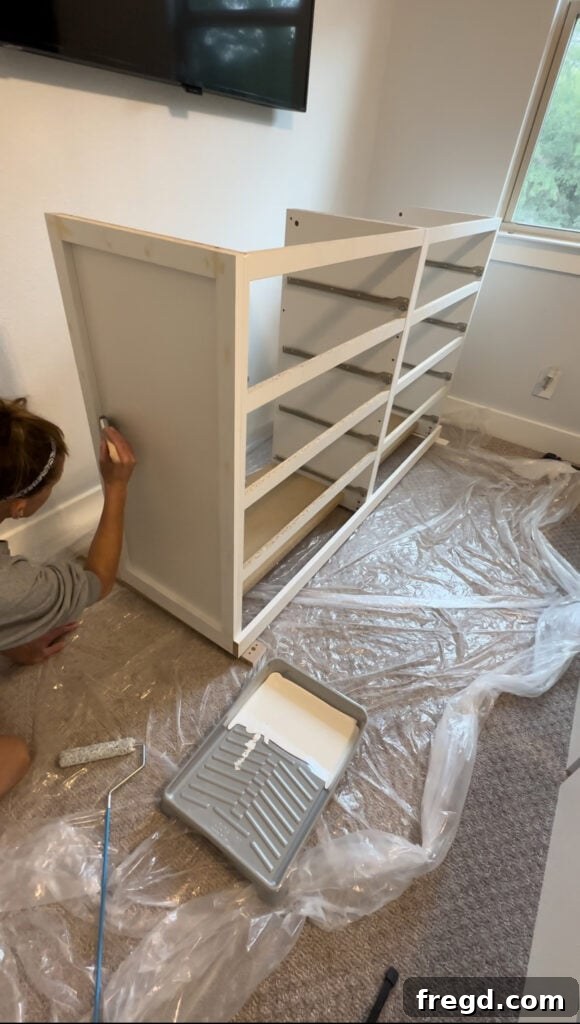
For a clean, crisp look, I chose to paint the cabinet base before attaching the stained wood top. This approach simplifies the finishing process and helps achieve sharp paint lines. I used two coats of our absolute FAVORITE Valspar Cabinet and Furniture Paint. This incredible paint is a game-changer for furniture, doors, trim, and cabinets, and we’ve trusted it for years. Its key benefit: it requires zero prior sanding or priming and can be applied directly over virtually any existing paint, including oil-based finishes. For this project, I had it tinted to Sherwin Williams Extra White, a versatile shade that brightens any space.
- Find the exceptional Valspar Cabinet and Furniture Paint we swear by here.
Step 9: Staining the Custom Top
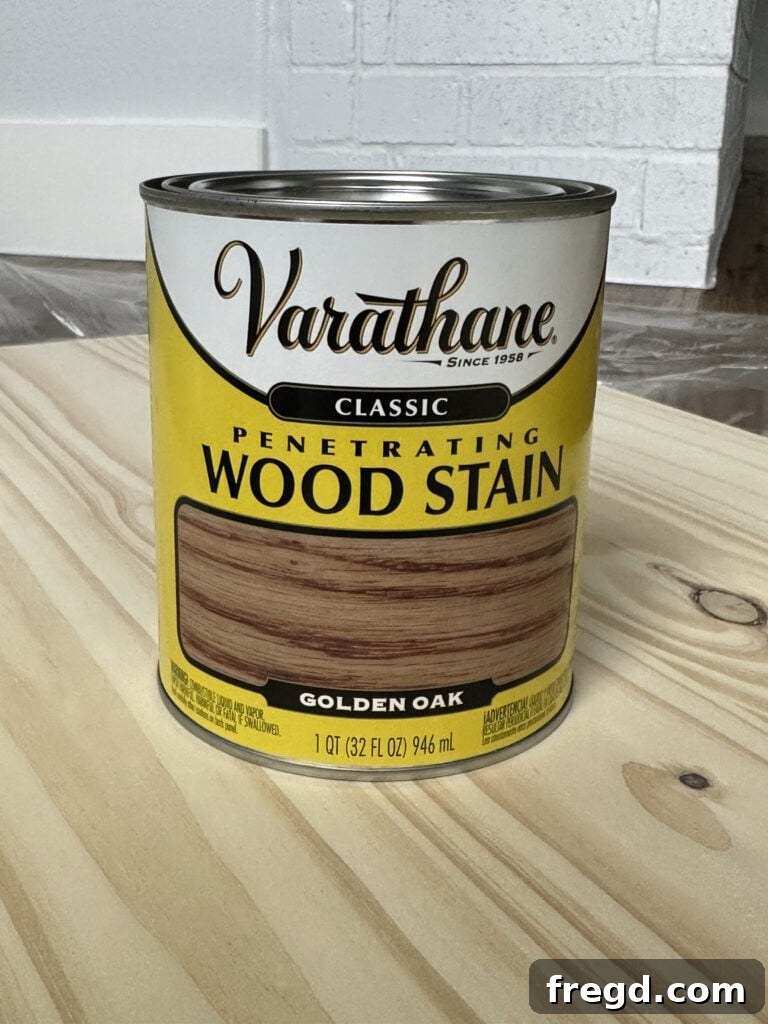
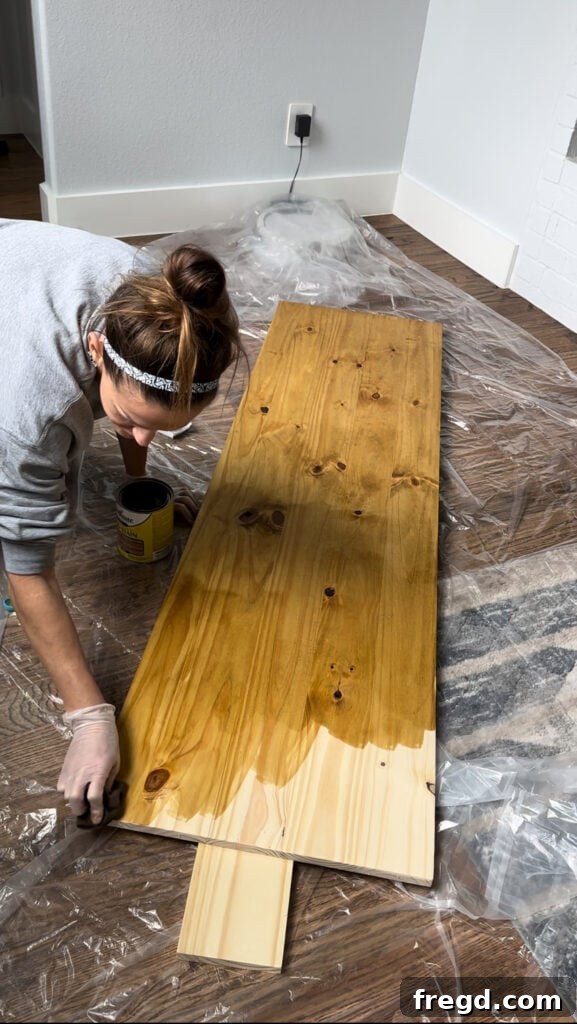
While the paint on the dresser base was drying, I turned my attention to the unfinished pine project panel that would become the top. I applied a single, even coat of Varathane Golden Oak stain over the entire surface. This classic stain brings out the natural beauty of the pine, adding warmth and depth that beautifully contrasts with the crisp white base. Staining the top separately before attachment minimizes drips and ensures a perfectly uniform finish.
- Get the gorgeous Golden Oak stain I used for this project here.
Step 10: Attaching Elegant Hardware
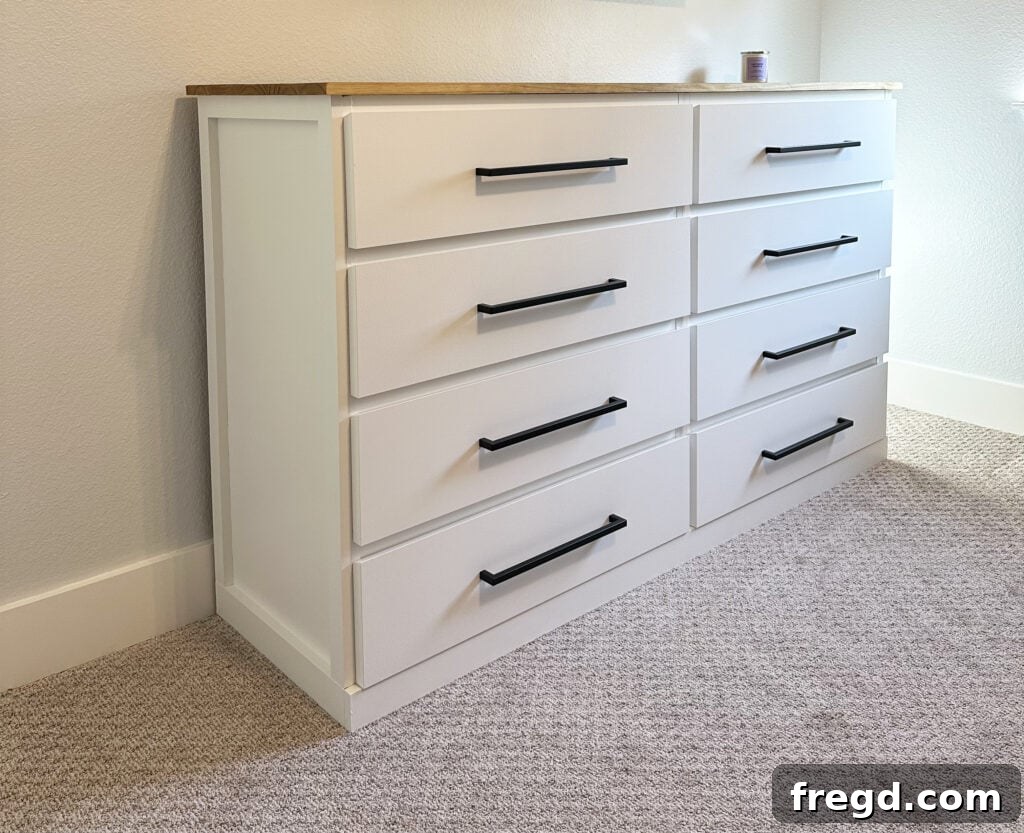
The hardware is the jewelry of your furniture, offering an opportunity to truly personalize the piece. Once the stain and paint were thoroughly dry and cured, I proceeded to attach a stylish cabinet pull to each of the eight dresser drawers. This step is where you can unleash your creativity! From classic knobs to modern pulls, or even unique leather straps, the choice of hardware can dramatically alter the style of your dresser. Select pieces that complement your decor and make this custom creation uniquely yours.
- Find the elegant drawer pulls that elevated this design here.
And just like that, the transformation was complete!
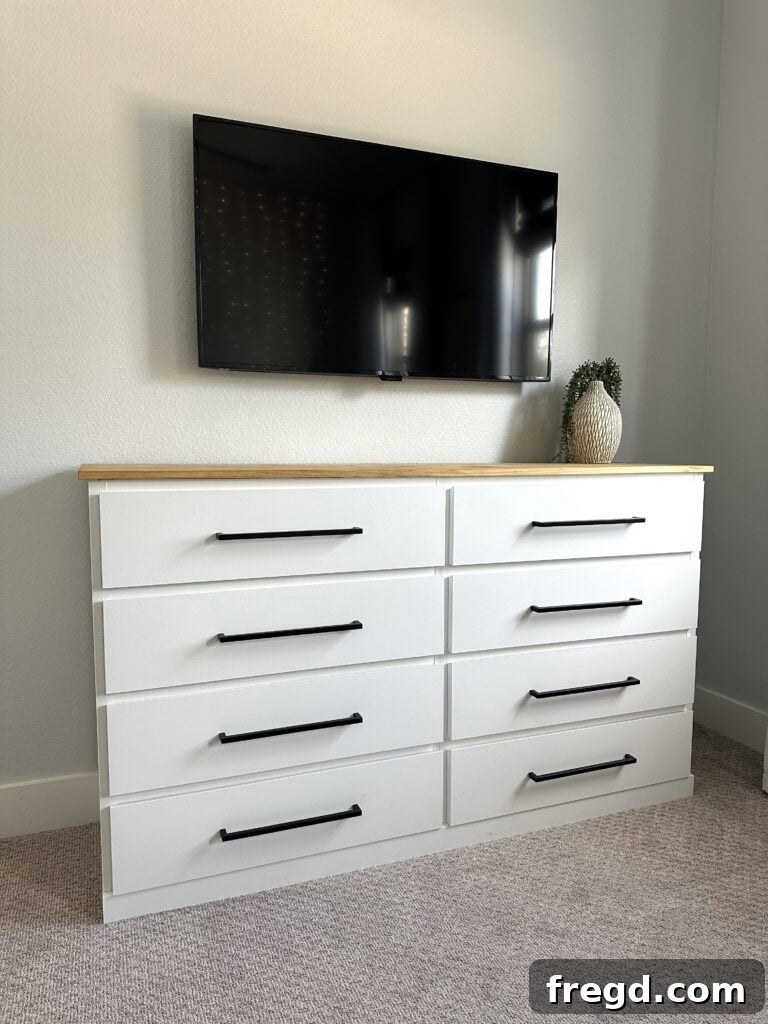
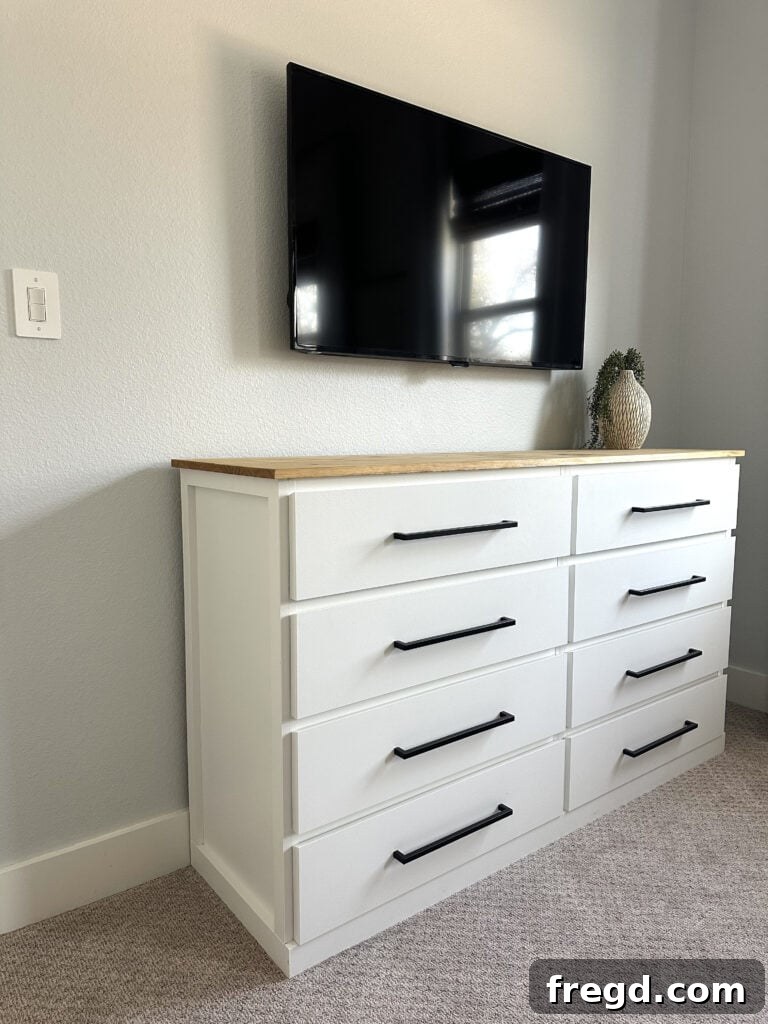
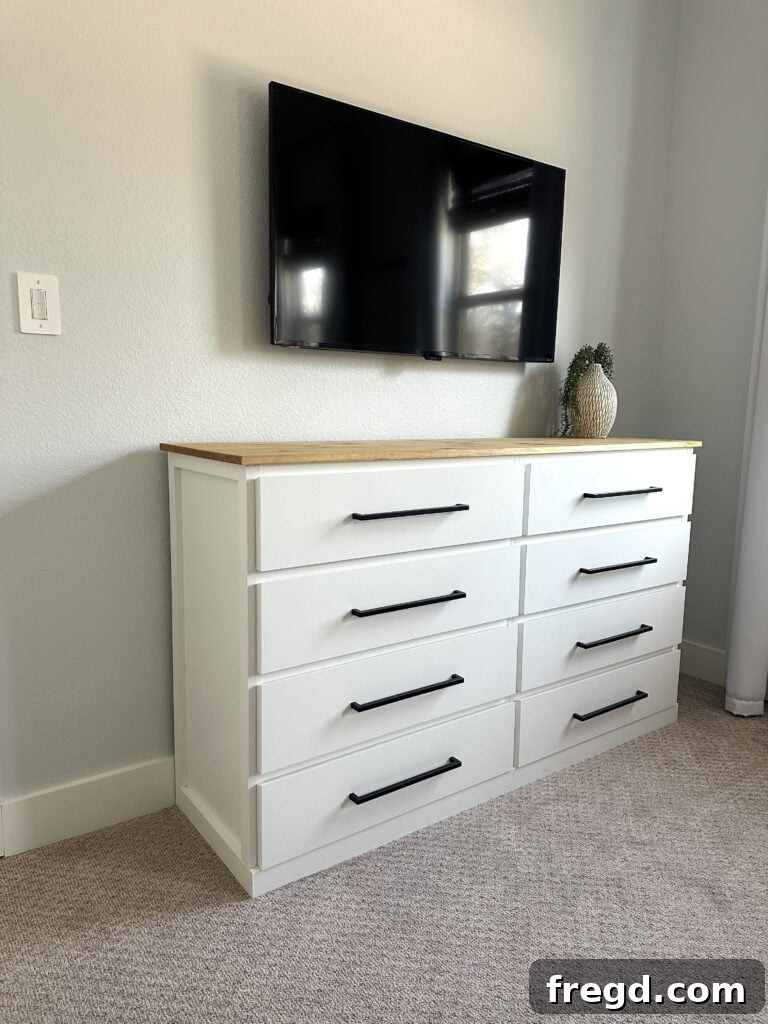
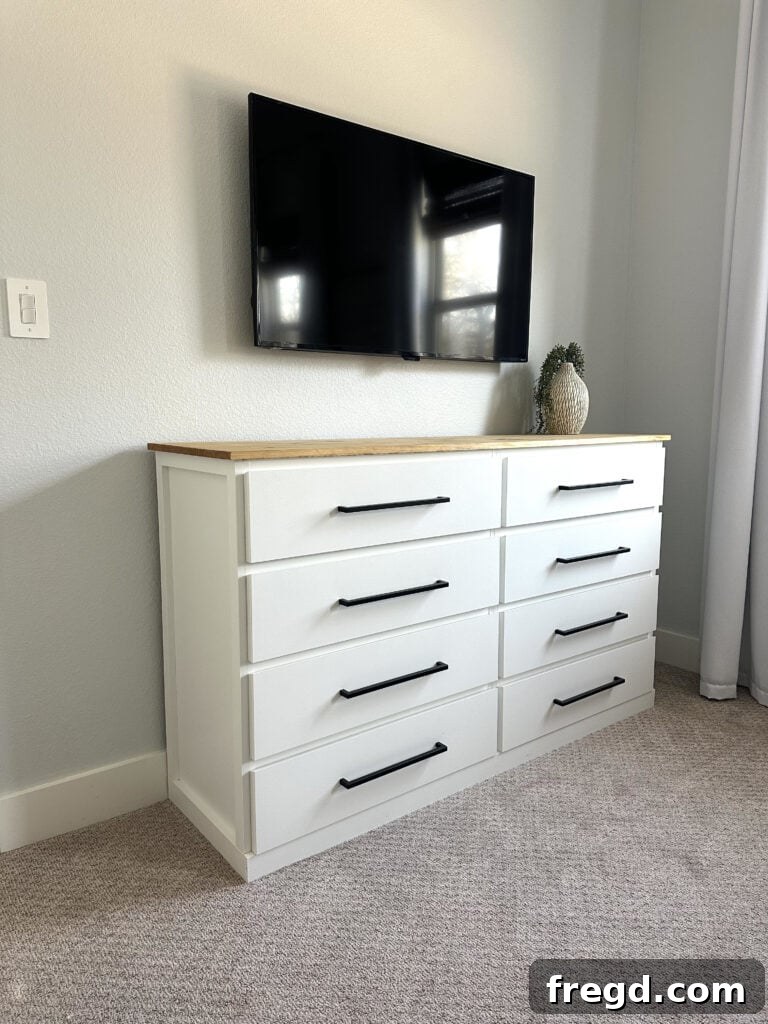
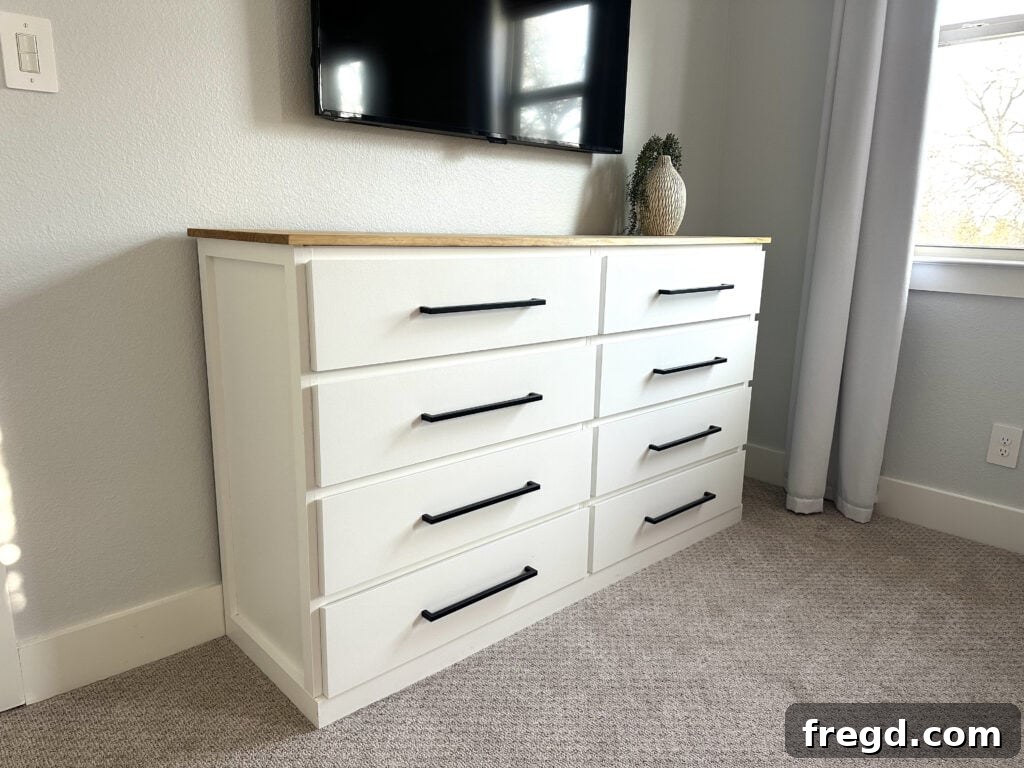
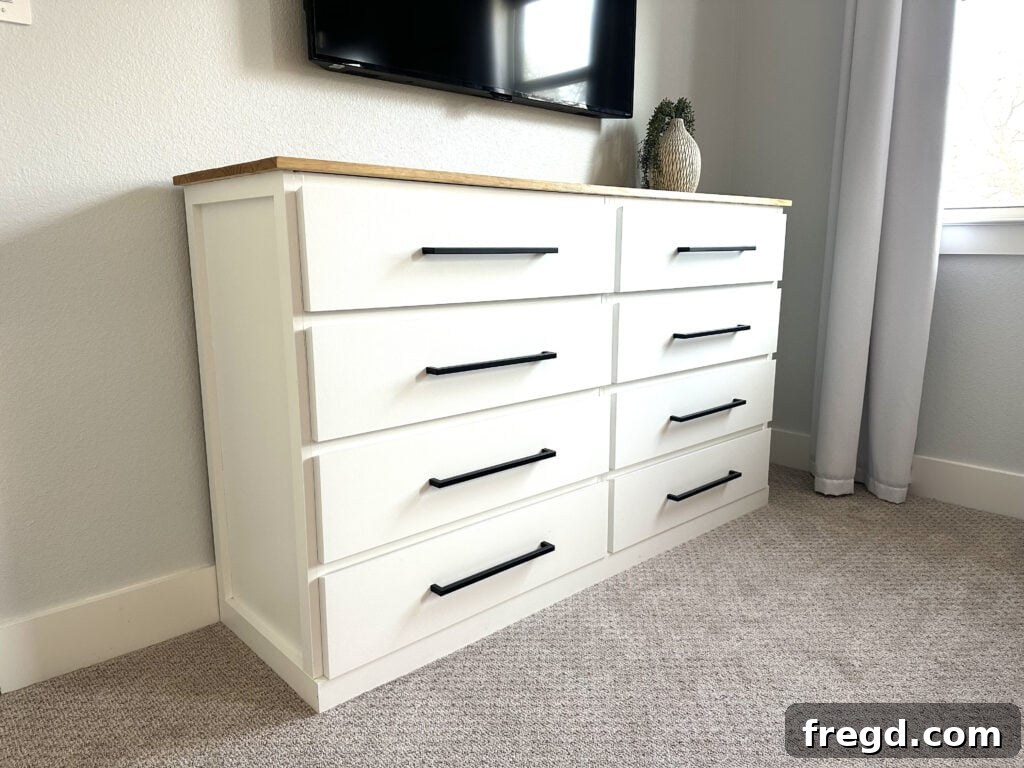
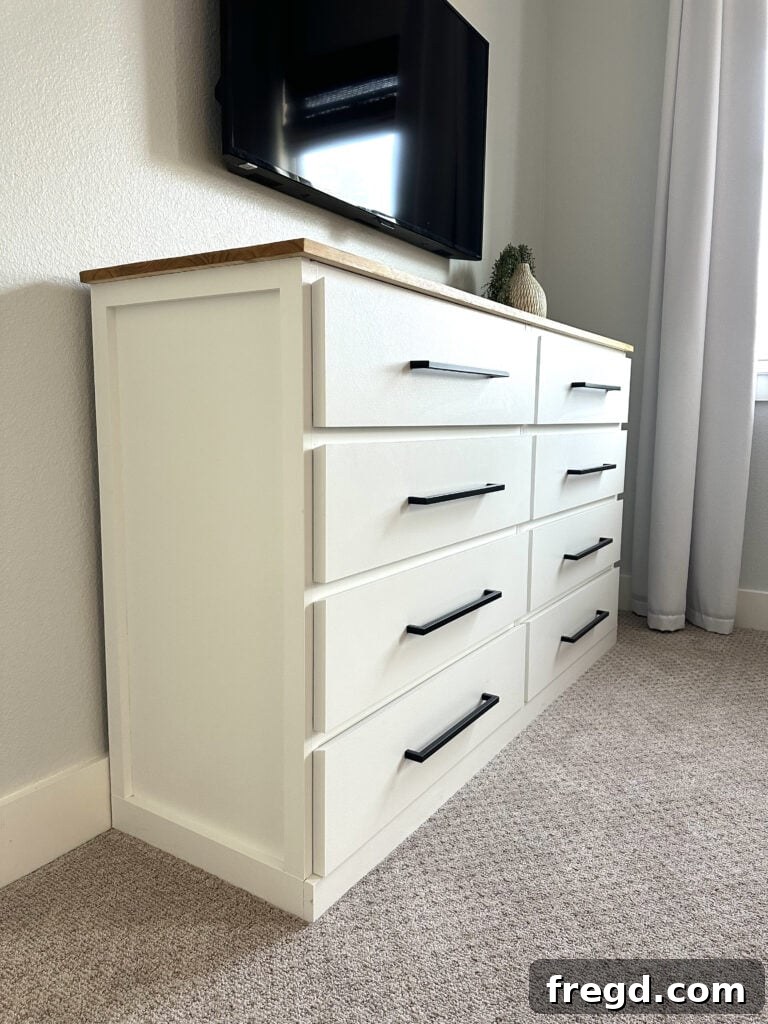
The Custom IKEA Malm Dresser: A Versatile & Stylish Storage Solution
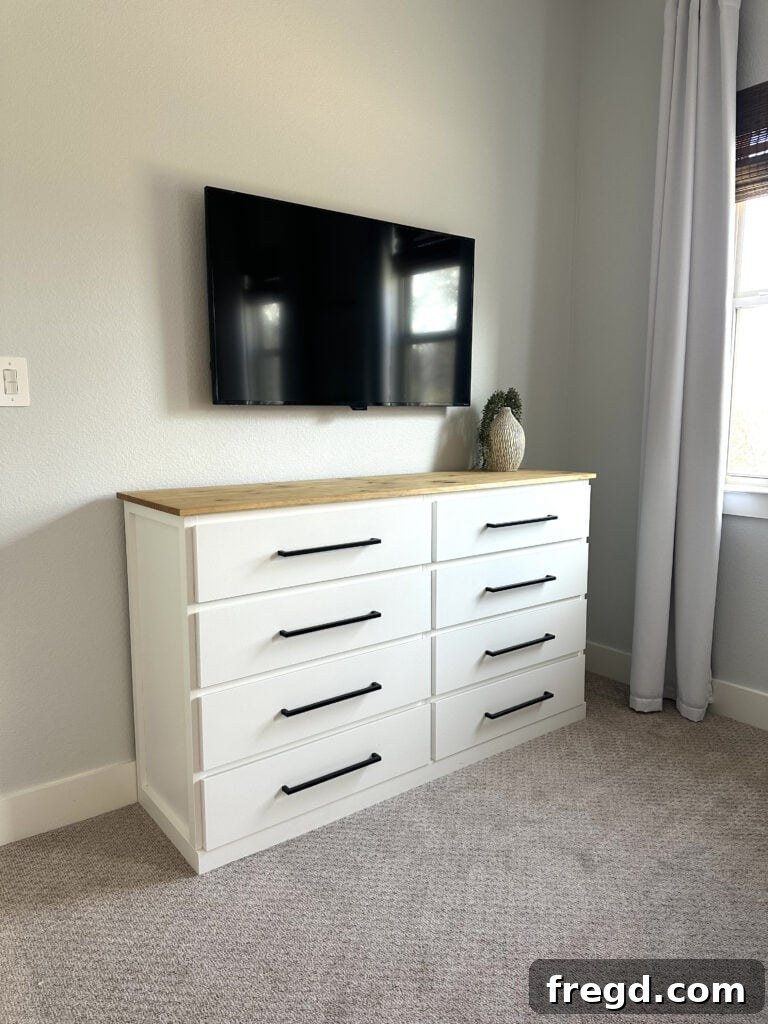
This IKEA Malm hack was not just a fun project, but a truly necessary one! I am absolutely thrilled with how I was able to create such a large, custom-looking dresser from two basic, off-the-shelf units. The transformation is remarkable, resulting in a piece that offers exceptional storage capacity and a sophisticated aesthetic that rivals high-end furniture. Its versatile design means it’s not just for bedrooms; imagine it enhancing an entryway, providing vital storage in a master bedroom, serving as a stylish console in a family or living room, or even organizing a home office. Anywhere you need substantial storage combined with elegant design, this customized Malm dresser fits right in.
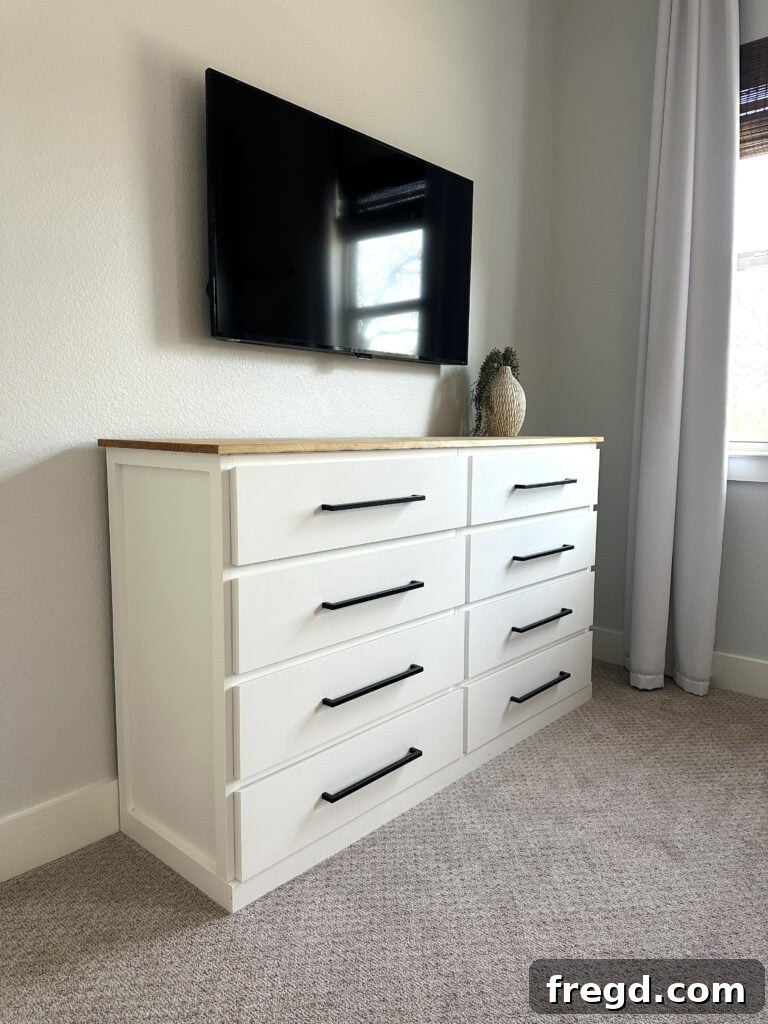
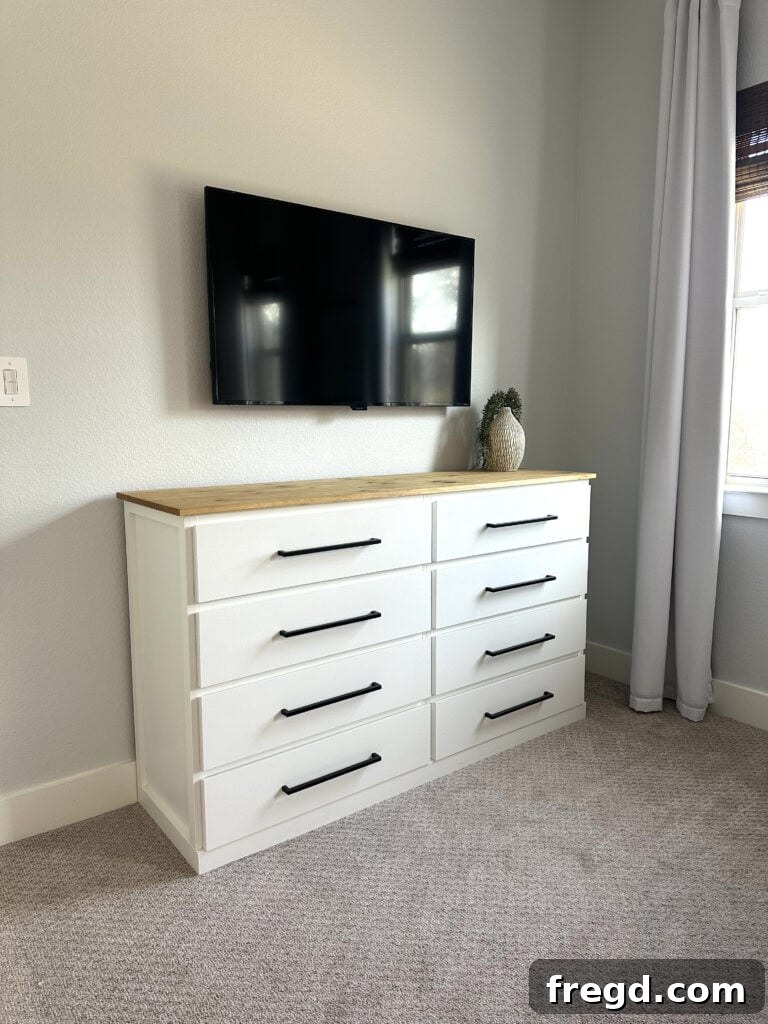
The possibilities for making this piece uniquely yours are truly limitless. Consider changing up the drawer fronts with trendy cane webbing for a touch of bohemian chic, splurging on some luxurious leather pulls for a modern farmhouse feel, or even adding depth and texture with an exciting paint technique, decorative wallpaper, or a fabric overlay. Each small modification can completely redefine its character, allowing you to match it perfectly to your evolving home decor. I adore how my daughter’s room is progressing with this new focal point, and I can’t wait to see the finished space. Next up on the building list: a coordinating nightstand!
Explore More DIY Dresser Projects from Our Collection
If you loved this project, you’ll be excited to discover other inspiring DIY furniture builds from our archives. Each project offers unique designs and practical solutions for your home. Get ready to expand your woodworking skills and create more custom pieces!
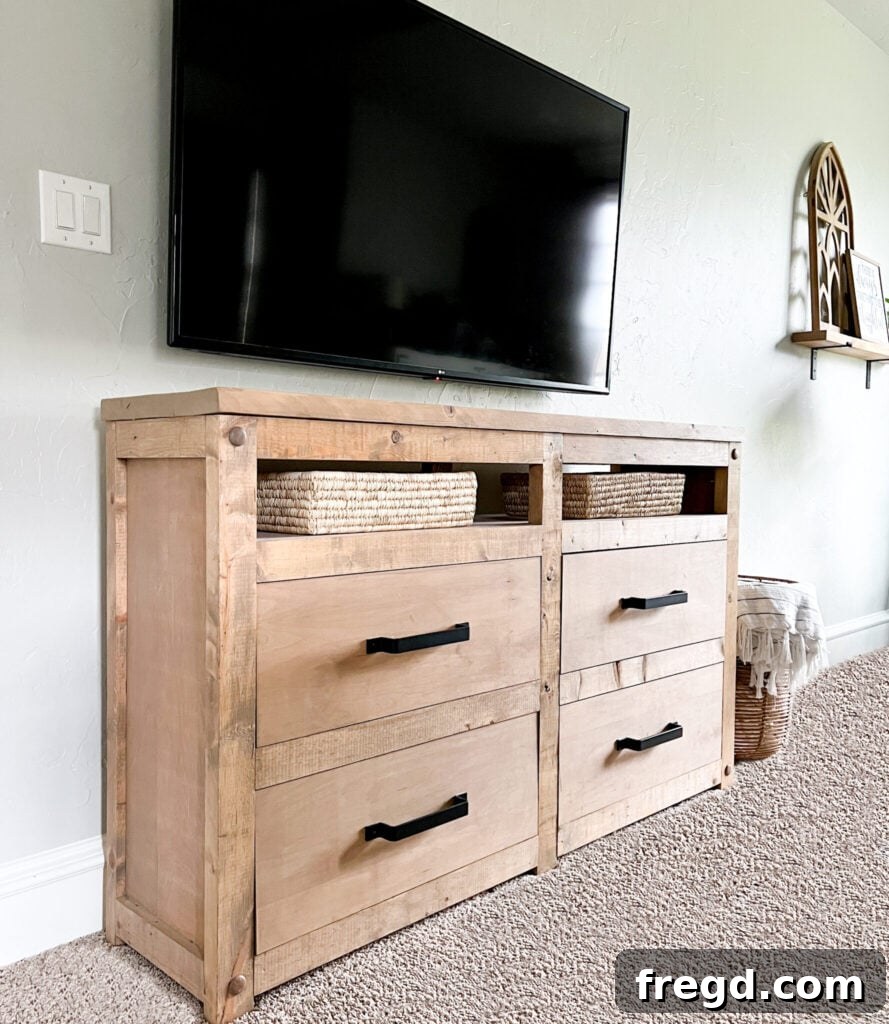
Rustic Modern Dresser: A perfect blend of classic charm and contemporary lines, ideal for adding character to any room.
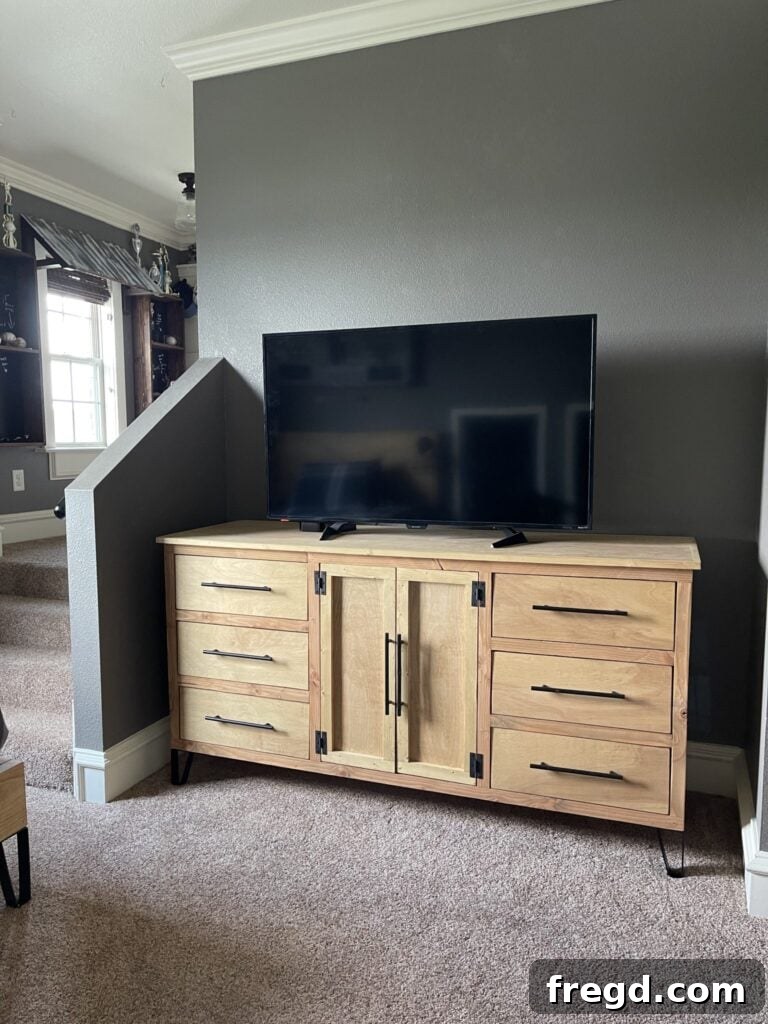
Modern Dresser: Sleek and minimalist, this design focuses on clean aesthetics and functional storage for a contemporary home.
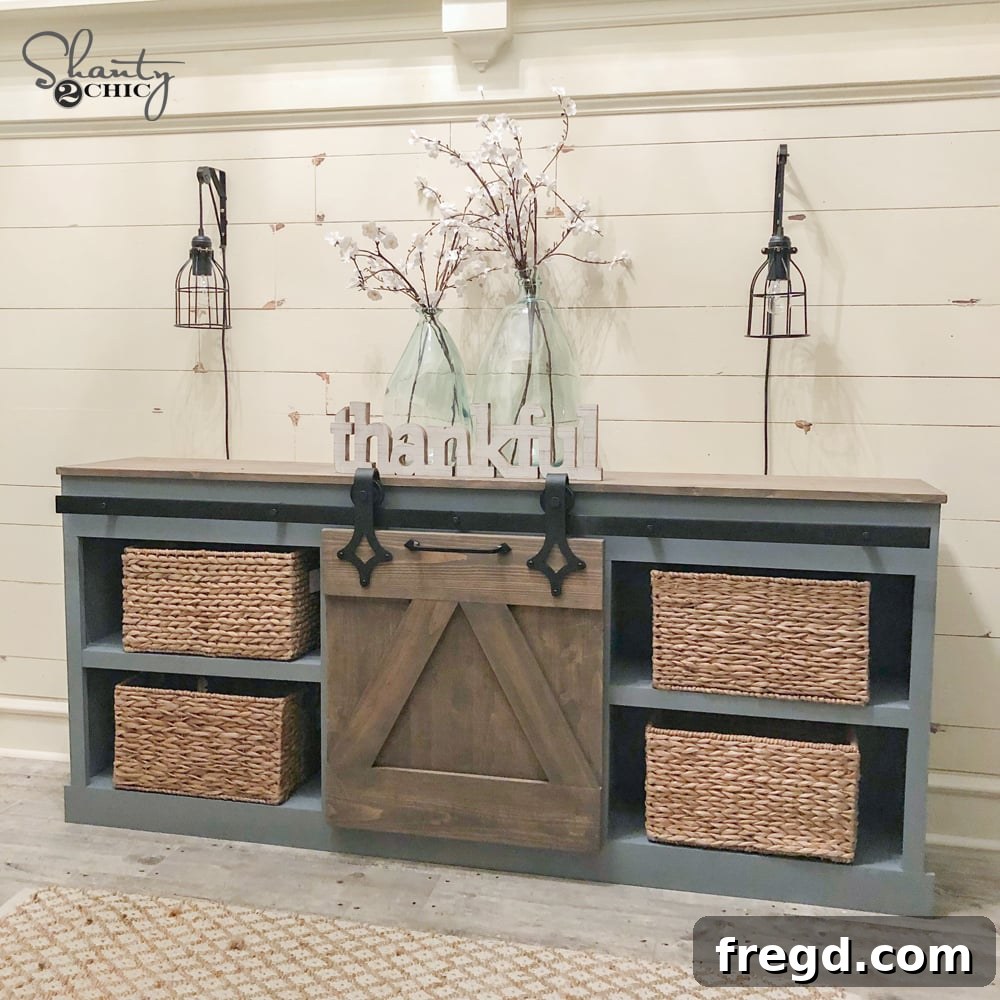
Sliding Barn Door Console: A unique and charming piece that offers versatile storage with a rustic touch, perfect for media or entryway use.
IKEA Malm Dresser Hack: Project Summary
Tools
-
Miter Saw
-
Drill
-
Nailer (Brad Nailer recommended)
-
Table Saw (optional, for precise trim cuts)
Supply List
- 2 1x6x8 Primed Pine Boards
- 1 3/4″x20″x6′ Unfinished Pine Board
- 1 1/2″ Wood Screws
- 1 1/4″ Brad Nails
- 8 Drawer Pulls
- 2 IKEA Malm 4-Drawer Dressers
- Wood Glue
- Wood Filler
- Paint & Stain for desired finish
Instructions
Cut List
-
Refer to the full downloadable plans for detailed cut list and diagrams to prepare all your wood pieces.

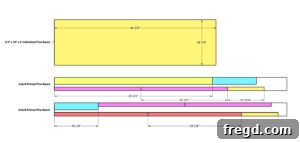
Adding Trim
-
After assembling the main frames of both IKEA Malm dressers (excluding original backs, tops, or bottom supports), cut the middle trim pieces to size. Attach them to the inside of one dresser with 1 1/4″ brad nails and wood glue, ensuring they are flush.
-
Cut the side trim pieces to size and attach them to the outside, vertical sides of both dressers using 1 1/4″ brad nails and wood glue. All trim should be perfectly flush with the outside of the cabinet frame for a seamless look.
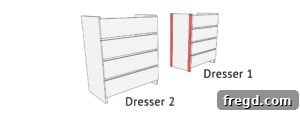
Joining the Dressers
-
Once all trim is securely attached, bring the two dressers together, ensuring they are perfectly flush. Use wood glue along the meeting edges and secure them with 1 1/2″ wood screws driven from the inside of the dresser frame into the middle trim. Repeat on both the front and back sides.
Base Trim
-
Cut the front, bottom base trim to fit the entire width of the joined dressers. Attach it to the front of the dressers with 1 1/4″ brad nails and wood glue to complete the base.
Attaching the Top
-
Cut the project panel (or wood slats) to size for the top. Attach it to the dresser frames with 1 1/4″ brad nails and wood glue, ensuring a 3/4″ overhang on both sides and the front, and flush with the back. (Note: It’s easier to paint/stain before attachment!)
The Finish
-
Fill all nail holes with wood filler and sand smooth. Apply your chosen paint to the dresser base and stain to the top (if not done previously). Once dry, attach your selected hardware to each drawer.
Don’t forget to share your amazing creations with us on social media using #shanty2chic – we love seeing your builds and will share our favorites!
Happy Building!