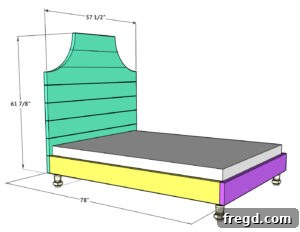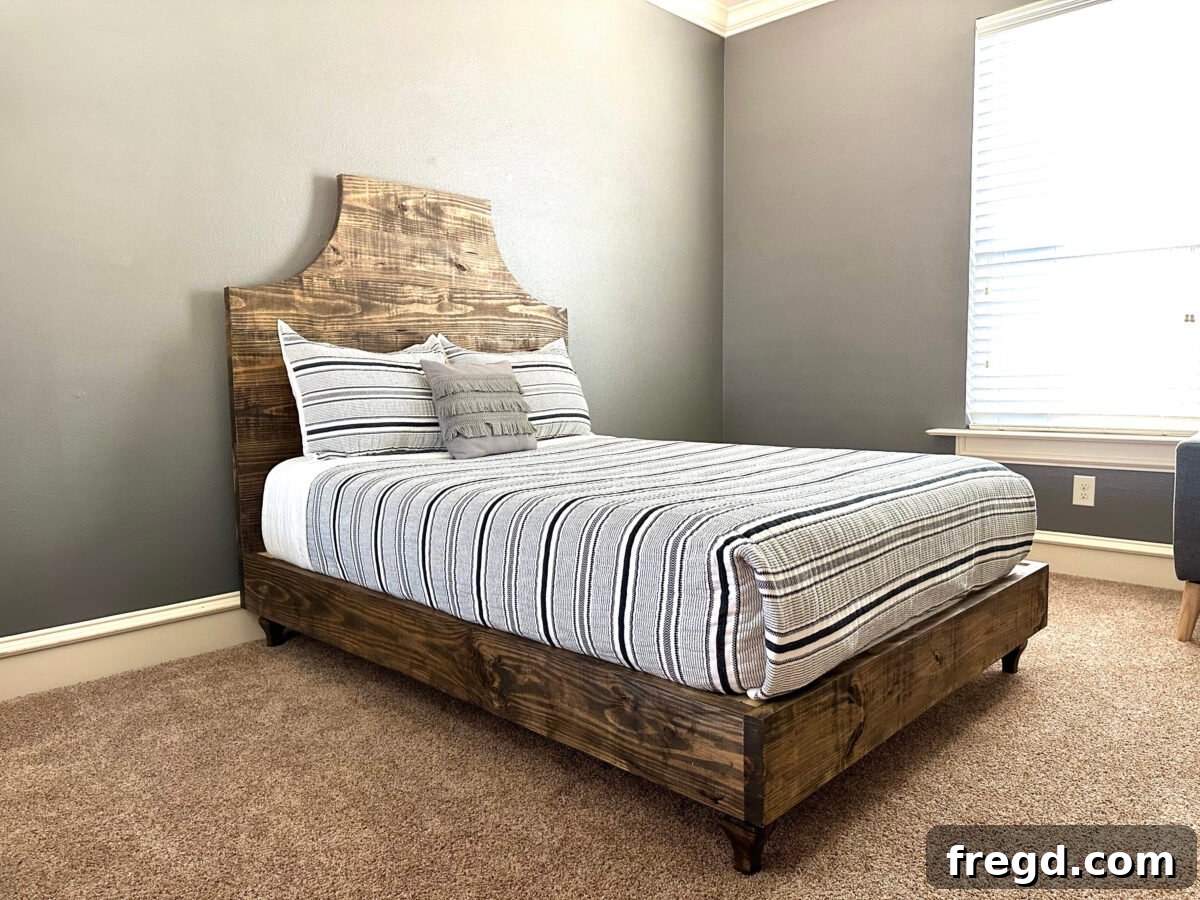
Embark on an exciting journey to build a stunning DIY full-size bed featuring a captivating, fancy headboard! This comprehensive guide provides everything you need: free printable plans, an easy-to-follow step-by-step tutorial, and an insightful how-to video by the renowned Shanty2chic team. Get ready to transform your space with a custom-built piece of furniture that perfectly blends vintage charm with modern aesthetics.
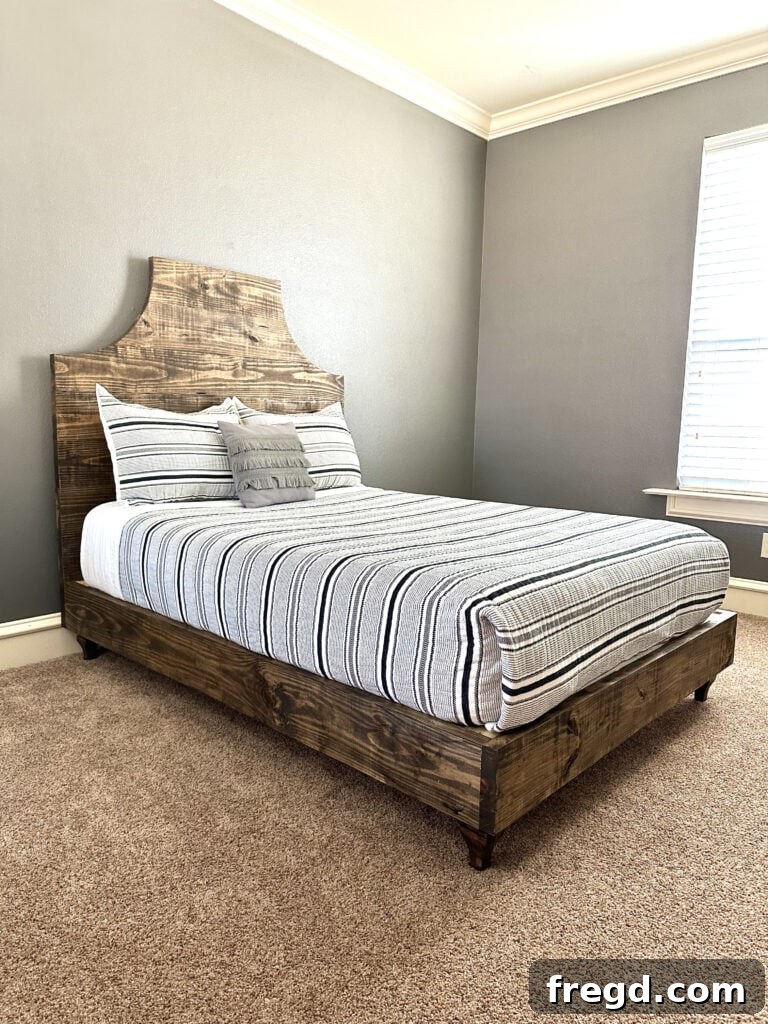
There’s an undeniable satisfaction that comes with creating something with your own hands, and this DIY bed project is no exception. We recently converted my oldest son’s former room into a welcoming guest sanctuary. The first step in any room renovation, for me, is always designing the bed. It sets the tone, dictates the style, and becomes the focal point for the entire space. Once the design was finalized, I meticulously crafted my shopping list and headed straight to the local hardware store, brimming with anticipation for this rewarding build.
For a dynamic visual walkthrough, join us in Whitney’s workshop! Witness each step come to life by clicking the play button on the video below. It’s an invaluable resource to complement the written instructions.
Didn’t that make the process look incredibly achievable? Beyond the video, you can dive into the detailed, step-by-step instructions provided below. And don’t forget the most crucial element: download the free printable plans to ensure you have all the measurements and diagrams at your fingertips for a smooth and successful project!
Click here to jump to the free printable plans!
How to Build a DIY Full Size Bed with a Fancy Headboard
Essential Tools for Your DIY Bed
Having the right tools is half the battle won in any DIY project. For this full-size bed with a fancy headboard, you’ll need the following:
- Miter Saw: Crucial for making precise crosscuts on your lumber.
- Drill: Essential for driving screws and pre-drilling holes to prevent wood splitting.
- Kreg Jig: Your best friend for creating strong, concealed pocket hole joints.
- Table Saw (optional): Useful for ripping lumber to specific widths, though not strictly necessary if you can get boards pre-cut or adapt your plans.
- Jigsaw: Indispensable for cutting the elegant arcs on your headboard.
- Sander: For achieving a smooth, professional finish that’s ready for stain or paint.
Comprehensive Supply List
Gathering your materials beforehand ensures a seamless build. Here’s a detailed list of what you’ll need:
- 12 – 2x8x8 Framing Lumber (Pine or Douglas Fir): These will form the main structure of your bed frame and headboard planks. Opt for straight, knot-free boards for the best results.
- 1 – 2x6x8 Framing Lumber (Pine or Douglas Fir): Used for specific support elements.
- 12 – 1x4x8 Furring Strips: Perfect for the bed slats that will support your mattress.
- 4 – Furniture Feet: These add a touch of sophistication and elevate the bed frame. Choose a style that complements your desired aesthetic.
- 2 1/2″ Pocket Hole Screws: Specifically designed for use with your Kreg Jig to create strong joints.
- 1 1/4″ Wood Screws: General-purpose screws for various attachments.
- 2 1/2″ Wood Screws: For securing cleats and other structural components.
- 4″ Wood Screws: Ideal for attaching the sturdy furniture feet.
- Wood Glue: An essential for adding extra strength and stability to all your joints, creating a truly robust piece of furniture.
Detailed Cut Lists
Before you begin any assembly, it’s crucial to accurately cut all your lumber according to the provided plans. This section outlines the necessary cuts. Remember, precise cuts lead to a seamless assembly.
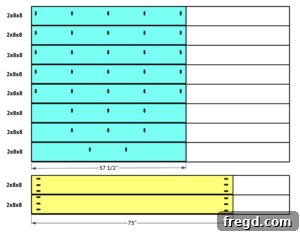
Cut List 1: Primary Components
Cut List 2: Supports and Slats
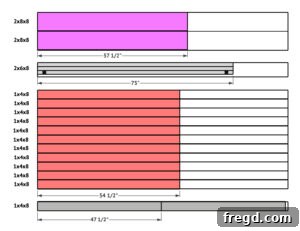
Crafting the Fancy Headboard
The headboard is truly the star of this bed, offering that touch of elegant sophistication. Let’s get started on bringing its unique design to life.
Step 1: Planking the Headboard
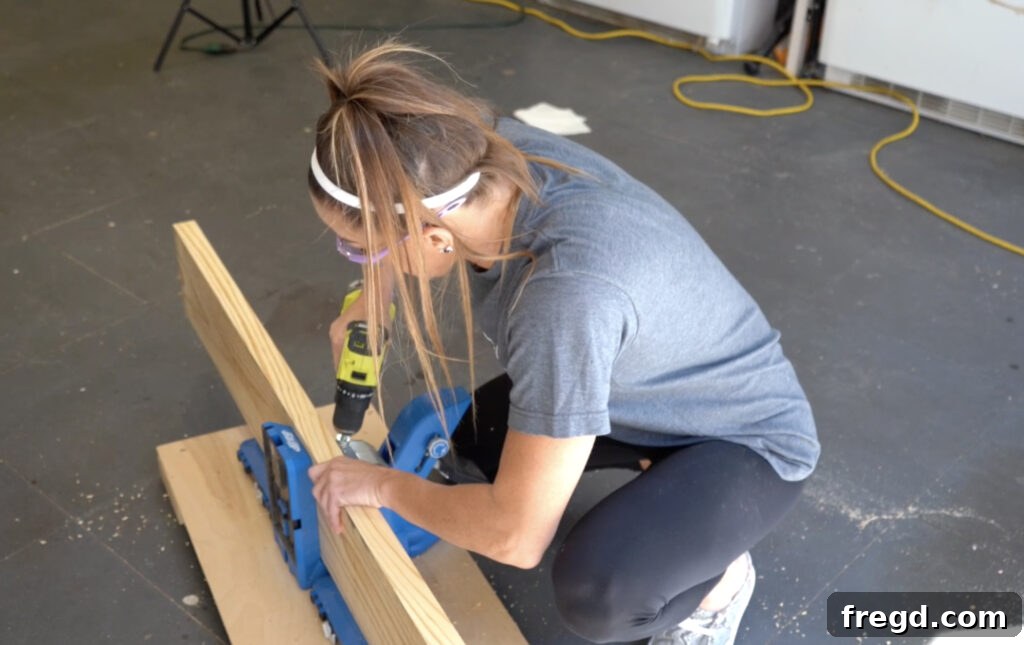
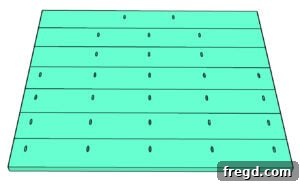
Begin by cutting all your headboard planks to the specified size from your 2x8x8 lumber. Accuracy here is key for a flush finish. Once cut, utilize your Kreg Jig to drill 1 1/2″ pocket holes into all but one of the planks. Pay close attention to the placement of these pocket holes as indicated in the diagrams within your free plans; strategic placement ensures maximum strength and minimal visibility. For consistent, reliable pocket holes, we highly recommend our favorite pocket hole jig, available here.
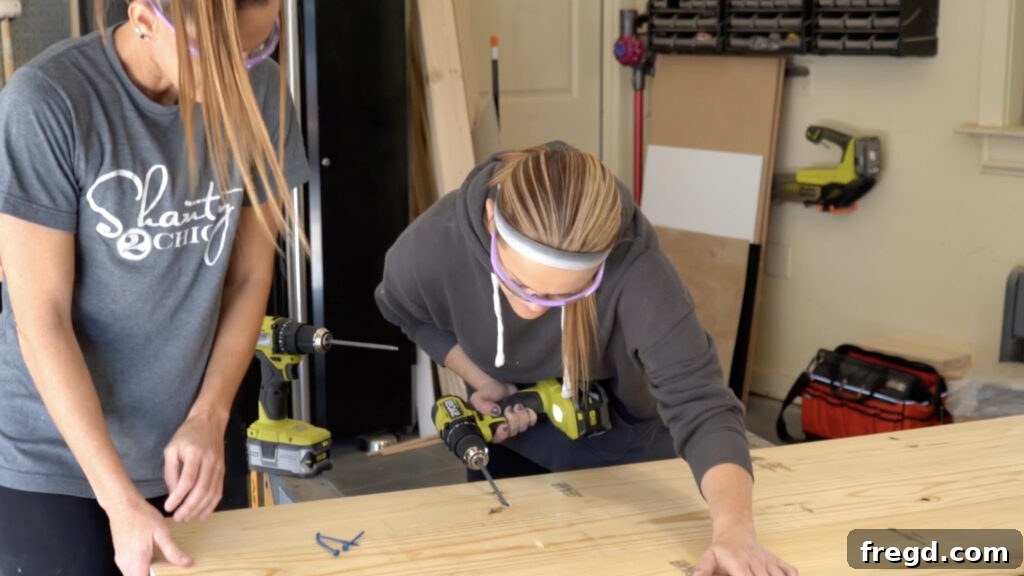
Next, apply a thin bead of wood glue along the edges of seven planks before joining them together. Secure them firmly with 2 1/2″ pocket hole screws. Work carefully, ensuring each joint is tight and square. This assembly process will form the main panel of your headboard.
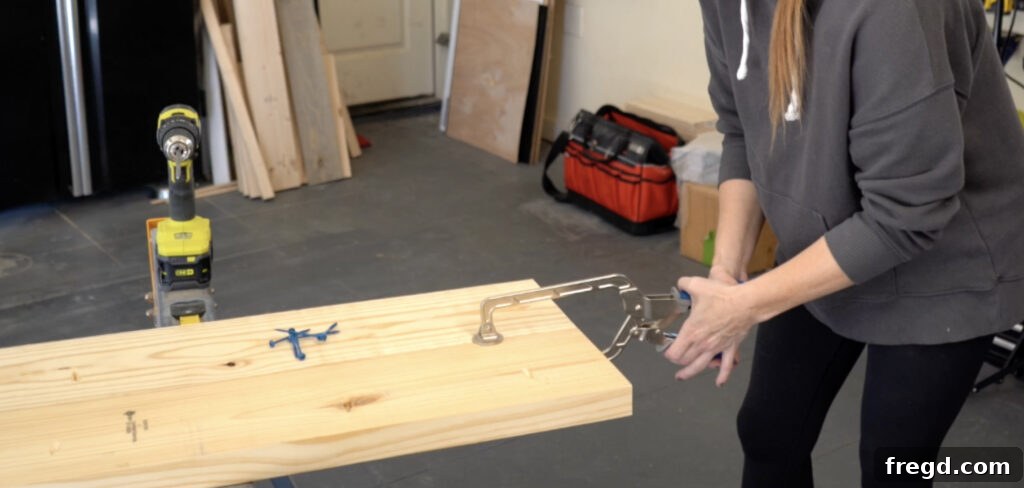
A common question we receive is how to achieve such a perfectly smooth, flush surface between planks for both headboards and table tops. The secret lies in using Kreg Face Clamps. These clamps are indispensable for pulling joints tight and ensuring the surfaces remain level as you drive in your pocket hole screws. Simply reposition them along the planks as you work your way down the board. You can find the Kreg Face Clamp we rely on here.
Step 2: Cutting the Arcs
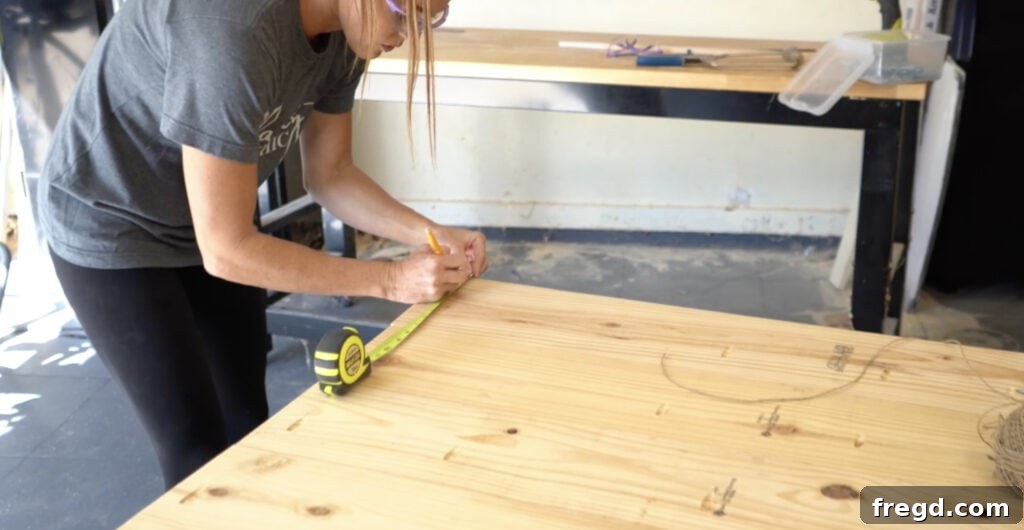
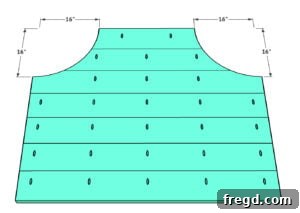
This is where your headboard truly gets its “fancy” appeal. Begin by marking 16 inches down from the top corners of the assembled headboard panel on both sides. These marks will serve as your starting and ending points for the elegant curve. For best results, use a flexible batten or a large compass to draw a smooth, continuous arc connecting these two points. Alternatively, you can create a template from cardboard.
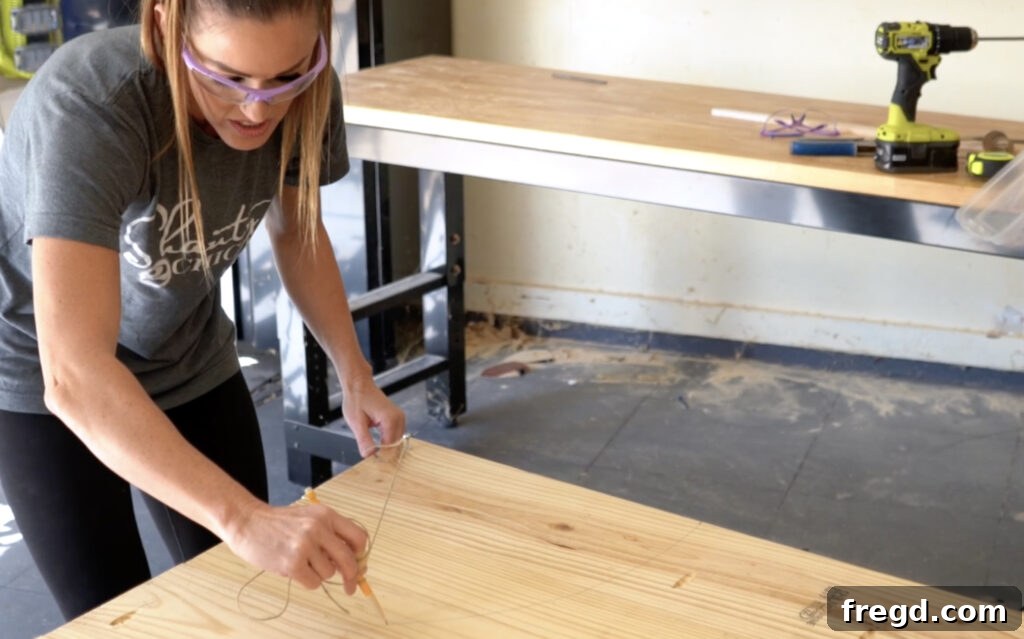
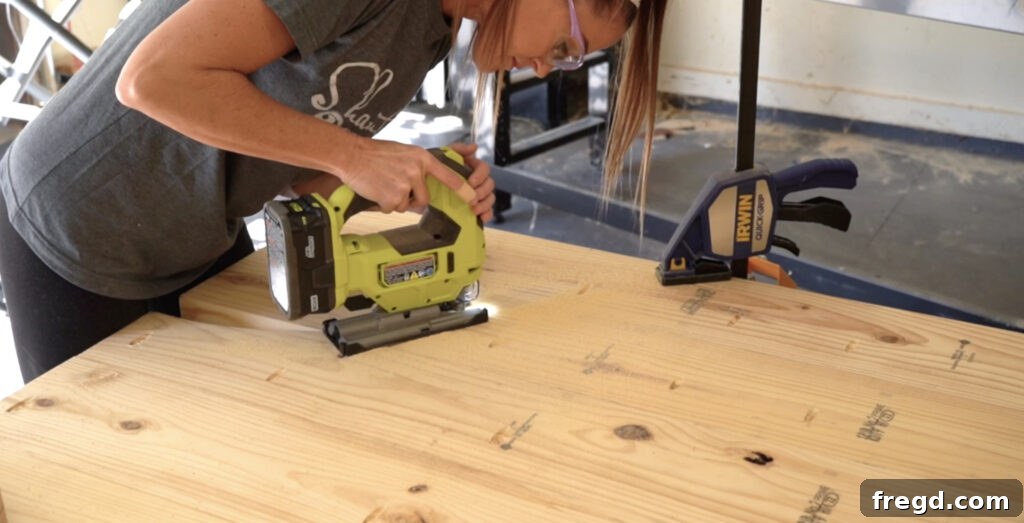
With your arc clearly drawn, it’s time to use your jigsaw. Carefully cut along the marked line. Take your time, moving slowly and steadily to ensure a clean, smooth curve. For more detailed tips and a visual demonstration of this technique, be sure to watch our how-to video – it offers invaluable guidance on achieving these perfect cuts!
Step 3: Attaching the Back Supports
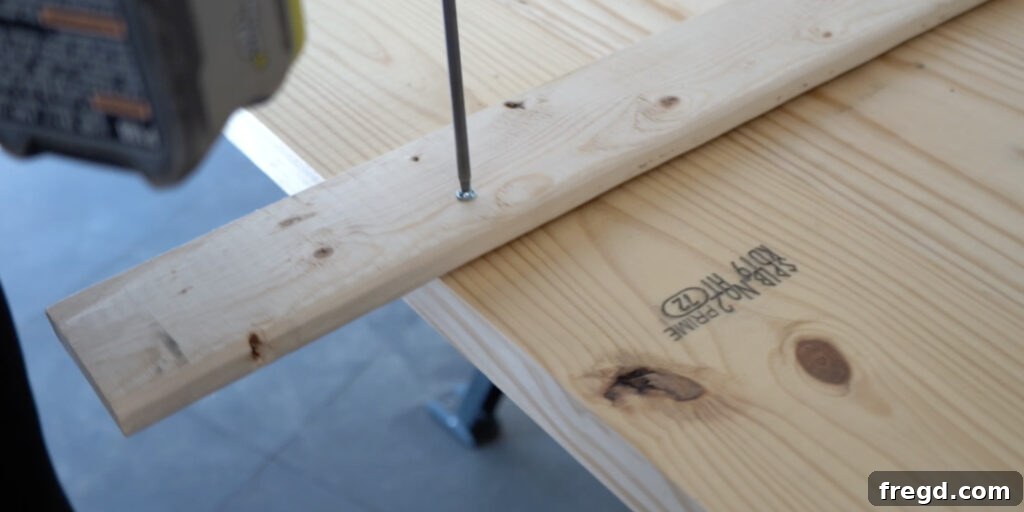
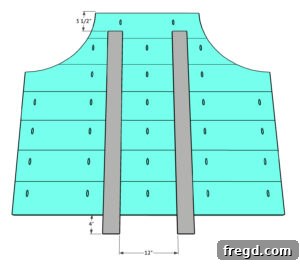
To reinforce the headboard and provide a sturdy attachment point for the bed frame, cut the back supports to the dimensions specified in your plans. Apply wood glue generously to the contact surfaces, then position the supports on the back of the headboard. Secure them firmly in place with 1 1/4″ wood screws. This step adds critical structural integrity to your beautiful headboard.
Constructing the Sturdy Bed Frame
A beautiful headboard deserves an equally robust and well-constructed bed frame. Here’s how to build the foundation for your new full-size bed.
Step 1: Attaching the Side, Top and Back Rails
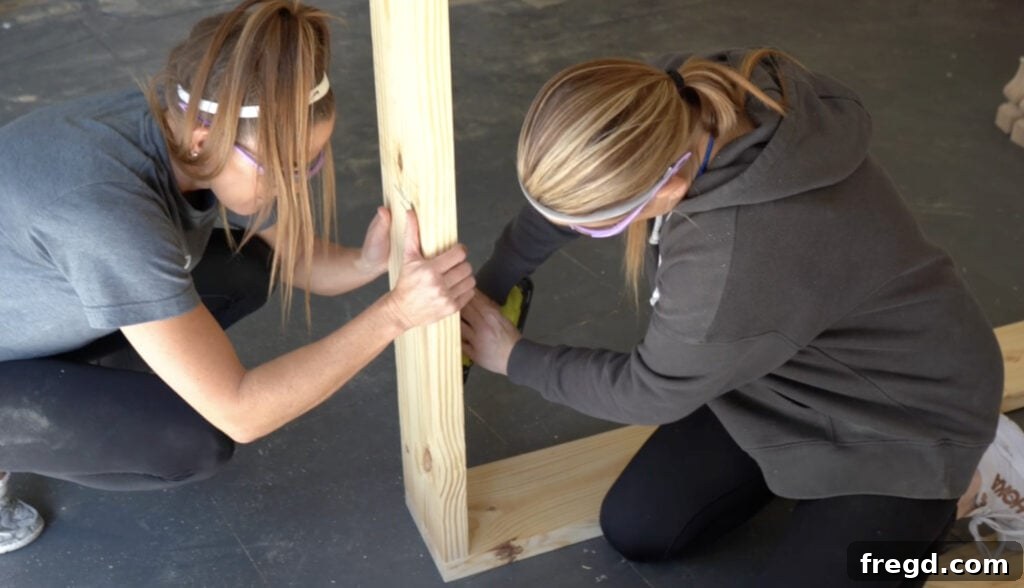
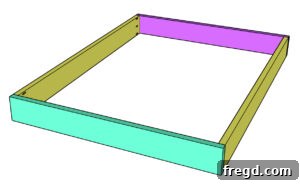
First, cut all your bed frame pieces – including the side rails, top rail, and back rail – to the precise sizes indicated in your plans. Next, using your Kreg Jig, drill 1 1/2″ pocket holes at both ends of the side rails. These will be used to create strong, hidden joints. Apply wood glue to the ends of the side rails, then attach them securely to the headboard and footboard sections using 2 1/2″ pocket hole screws. Ensure all joints are flush and tight for maximum stability.
Step 2: Adding the Furniture Feet
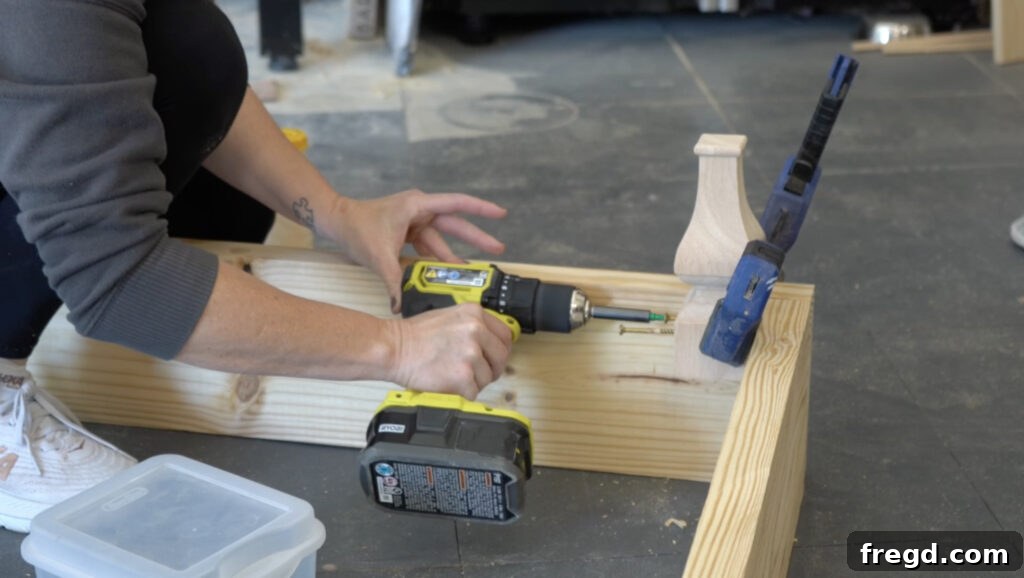
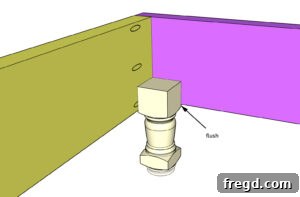
The furniture feet not only provide support but also elevate the bed, adding to its overall aesthetic. Carefully position each of the four furniture feet on the inside corners of the bed frame. It’s crucial that the bottom of the top block of the feet is perfectly flush with the bottom edge of your bed frame. Apply a generous amount of wood glue to the contact surfaces for added stability, then secure each foot with 4″ wood screws, driving them from the inside of the frame into the feet. These sturdy furniture feet are the ones we personally recommend for this project.
Step 3: Installing the Cleats
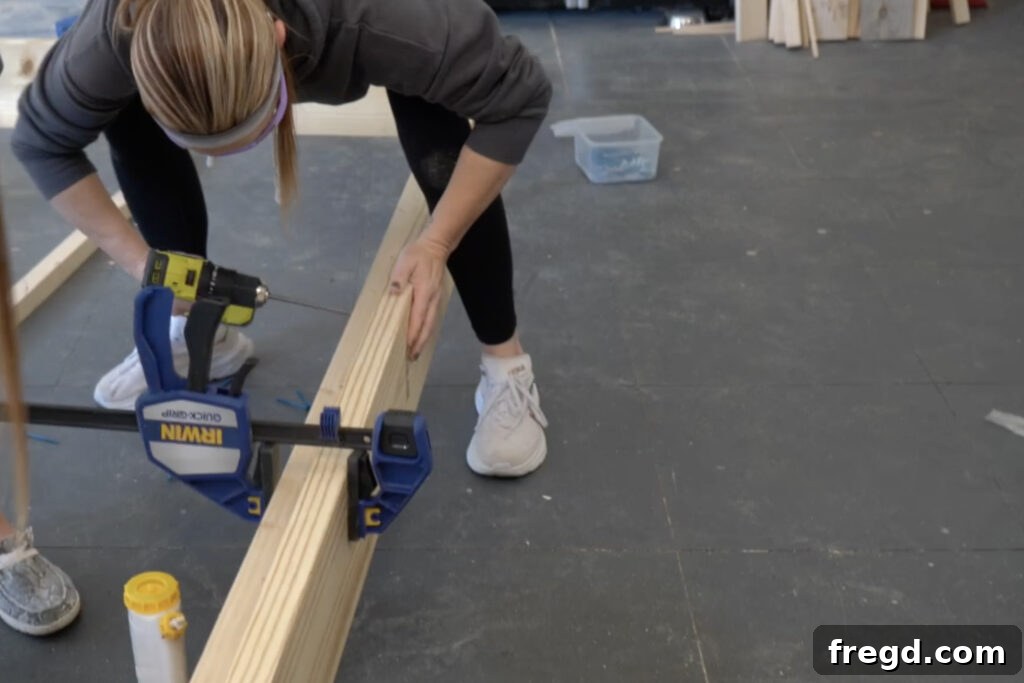
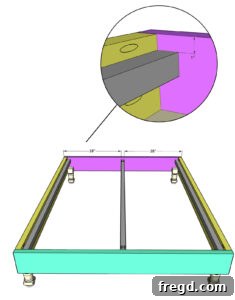
Cleats are essential for providing a solid foundation for your mattress slats. Cut all cleats to the sizes specified in your plans. For the center cleat, drill 1 1/2″ pocket holes at both ends. Begin by attaching the side cleats to the inside of each long side of the bed frame. Apply wood glue along the length of the cleats and secure them with 2 1/2″ wood screws. Ensure they are positioned at the correct height to support the slats and mattress.
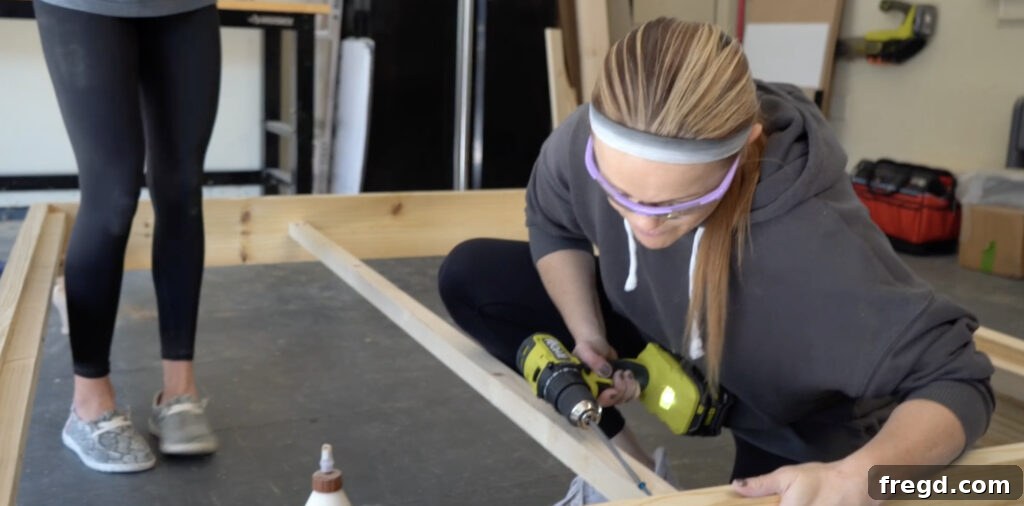
Once the side cleats are in place, attach the center cleat. Apply wood glue to its ends and secure it to the headboard and footboard rails using 2 1/2″ pocket hole screws. This central support is vital for preventing mattress sag and ensuring the longevity of your bed frame.
Assembling Your Full Size Bed
With the major components built, it’s time to bring everything together to form your complete bed. Note: I highly recommend applying your chosen finish (sanding, staining/painting) to individual components *before* final assembly. This makes it significantly easier to achieve thorough coverage, especially in tight corners, and is often simpler for moving larger pieces into the house.
Step 1: Attaching the Headboard
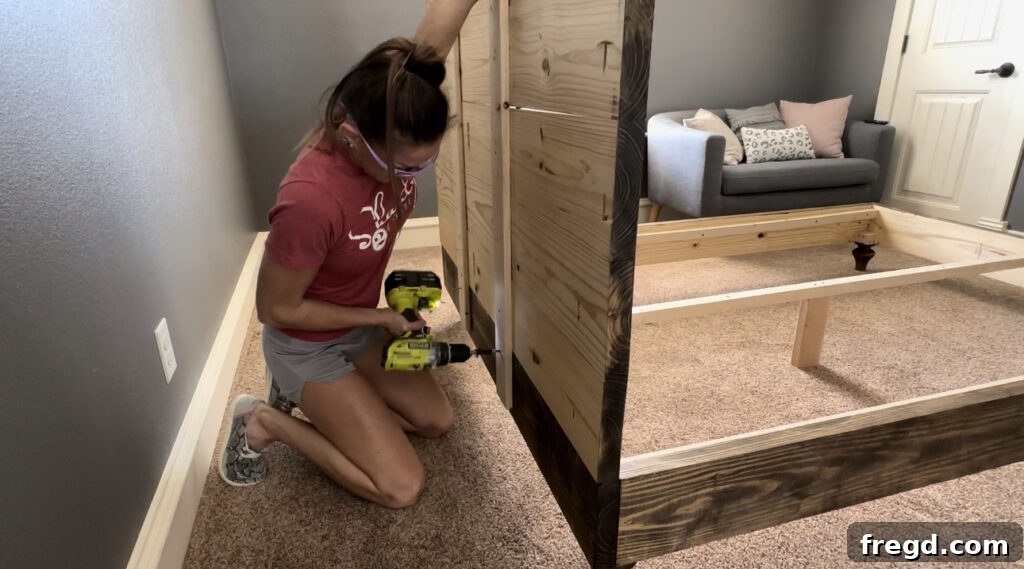
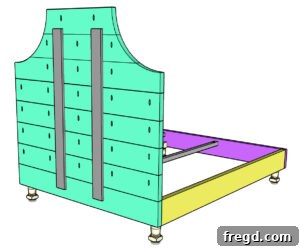
Carefully rest the finished headboard onto the back rail of the assembled bed frame. Ensure it’s centered and aligned properly. First, secure it to the back rail by driving 2 1/2″ wood screws through the headboard’s back supports and into the back of the bed frame. This initial connection provides primary stability.
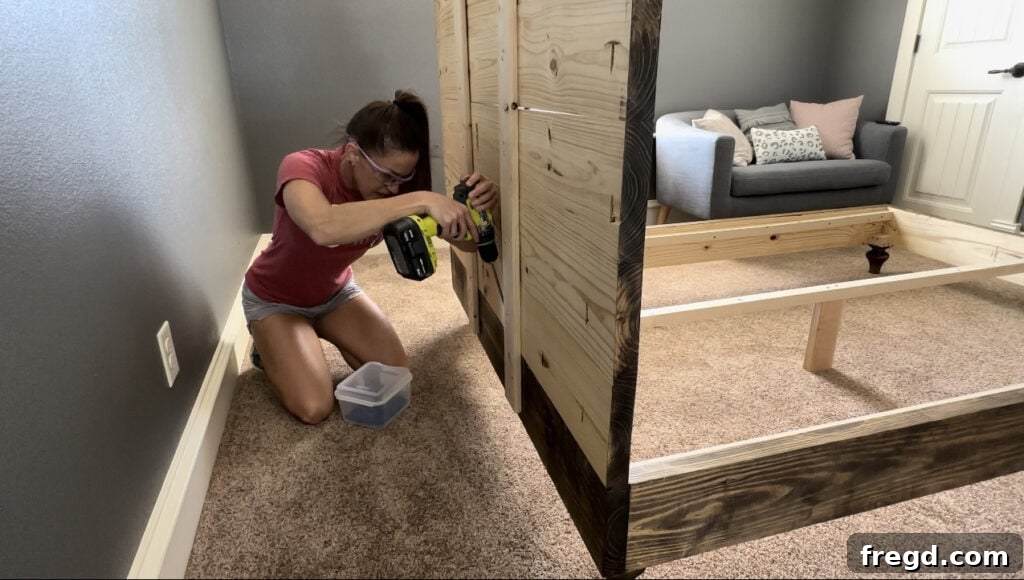
To provide maximum support and prevent any movement, follow up by driving 2 1/2″ pocket hole screws from the bottom headboard plank directly into the back rail of the bed frame. This dual attachment method—both through the back supports and from the bottom plank—creates an incredibly strong and stable headboard connection that will withstand years of use.
Step 2: Installing the Slats
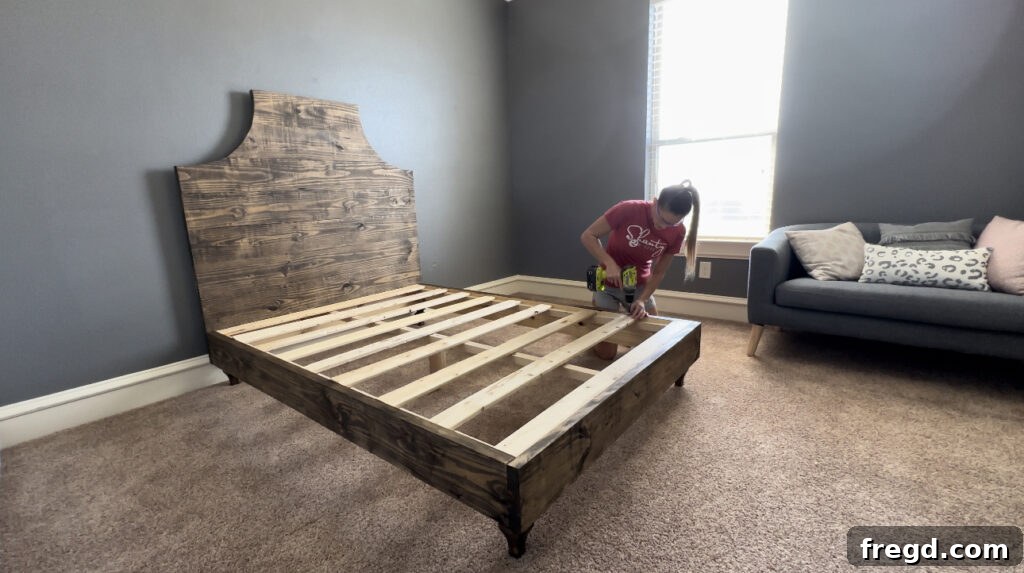
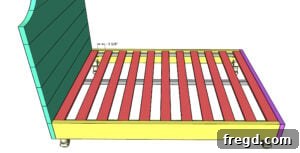
The final step in assembly is to install the bed slats that will support your mattress. Cut all the 1x4x8 furring strips to the appropriate length. Evenly space them across the width of the bed, resting them on the cleats you previously installed. For each slat, apply a dab of wood glue to the ends where they meet the cleats, then secure them with 1 1/4″ wood screws. This ensures the slats stay in place and provide consistent, squeak-free support for your mattress.
Adding the Perfect Finish
The finish is what truly brings your DIY full-size bed to life, protecting the wood and highlighting its natural beauty. Here’s how to achieve that professional look.
Step 1: Sanding and Staining
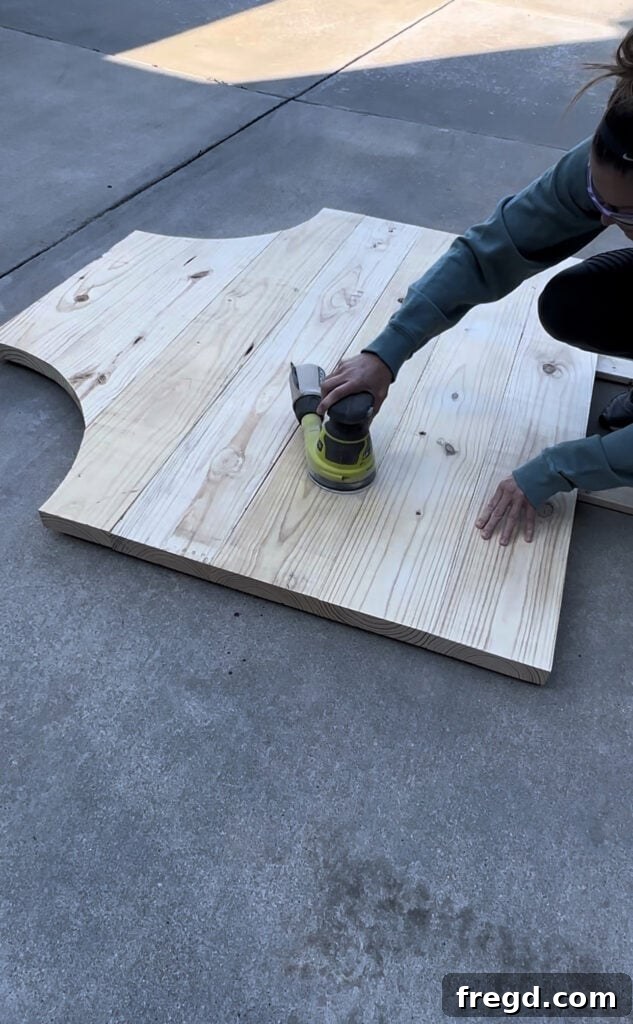
Before any stain or paint, a thorough sanding is non-negotiable. Using an orbital sander, work your way through progressively finer grits of sandpaper (e.g., 80, 120, 180, 220). This process removes imperfections, smooths out rough edges, and prepares the wood to absorb your chosen finish evenly. A well-sanded surface is key to a professional-looking result.
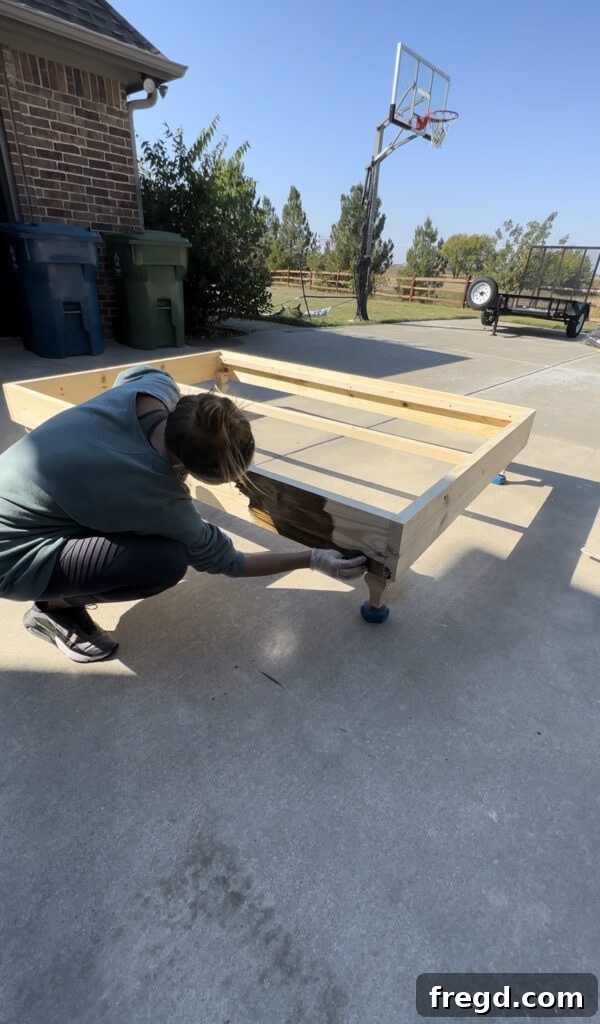
Once sanding is complete, carefully fill any exposed pocket holes or minor imperfections with wood filler. Allow it to dry completely, then sand smooth. Now, it’s time to apply your chosen finish! Whether you opt for a rich stain to highlight the wood grain or a classic paint color, ensure you follow the product’s instructions for application and drying times. For optimal results, especially when staining, I always prop up my builds using Kreg Project Blocks. They elevate the piece, making it incredibly easy to reach all sides and edges without having to wait for one side to dry before flipping. Plus, they’re super affordable, typically under $20!
If you’re curious about the specific shade I used for this project, you can find the stain I chose right here.
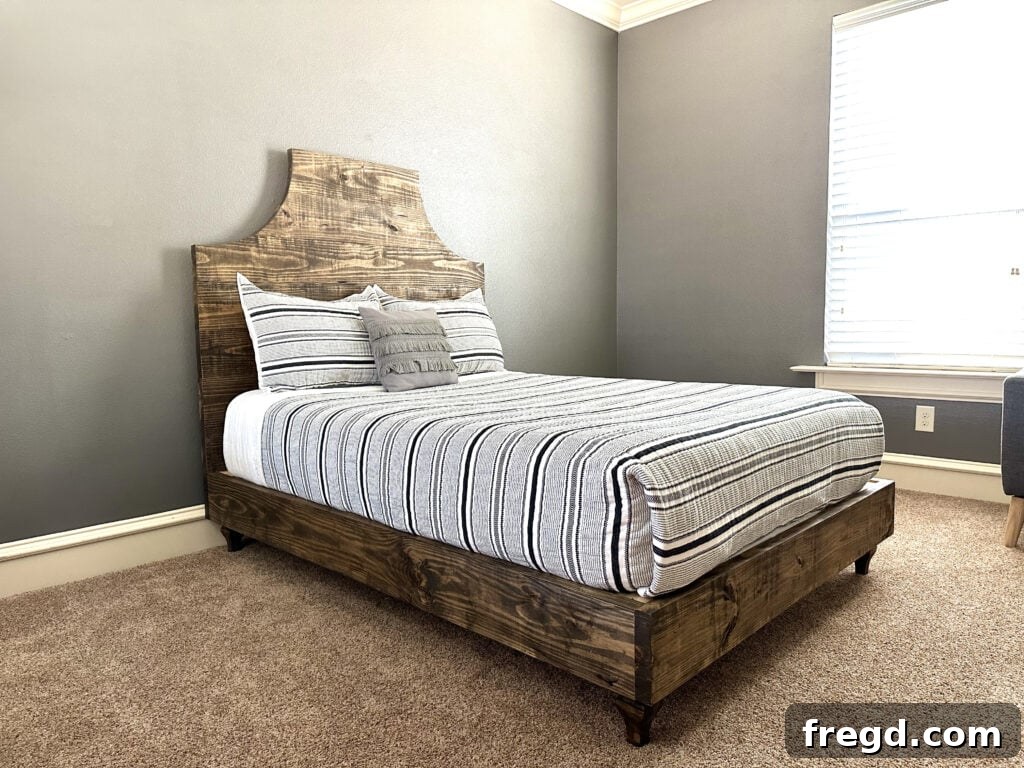
I absolutely adore the sophisticated elegance of this fancy headboard, especially how it perfectly complements the clean lines of the simple bed frame. This design achieves a harmonious balance, offering both visual interest and practical functionality.
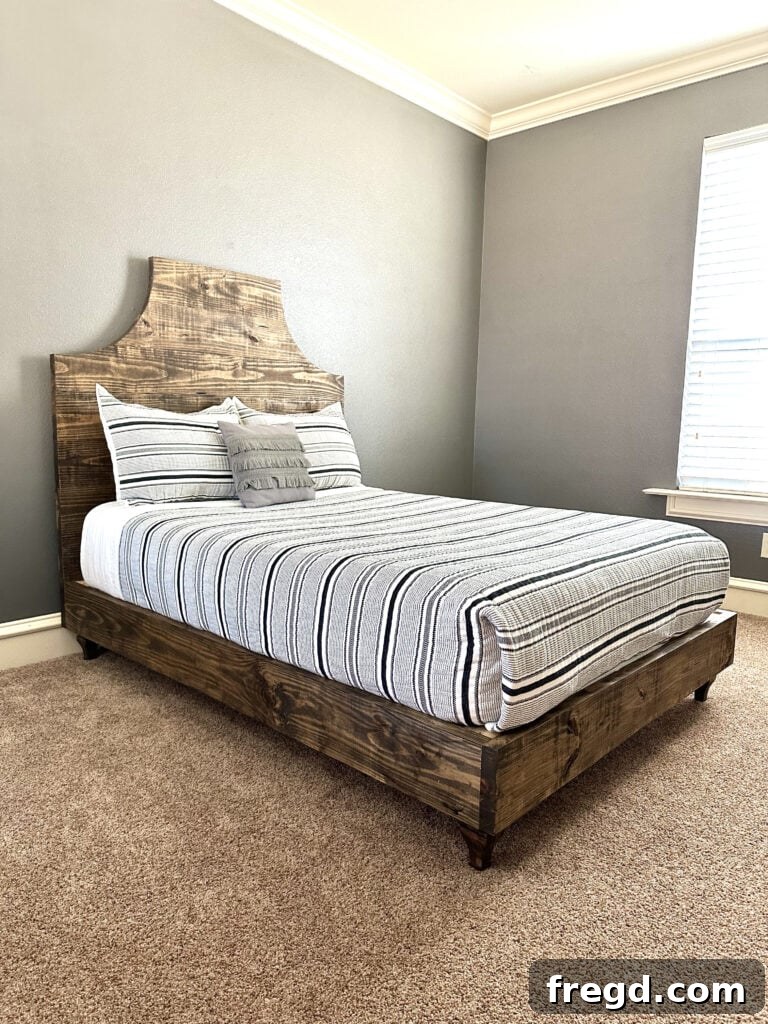
The result is a piece that exudes a beautiful vintage-modern style, making it a timeless addition to any bedroom. I can hardly wait to complete the rest of the guest room decor to fully showcase this magnificent centerpiece!
We absolutely love seeing your woodworking creations! Make sure to share photos of your completed DIY beds with us on social media. Use the hashtag #shanty2chic so we can admire and even feature your incredible builds!
Happy Building!
Customizing Your Bed Size
While these plans are specifically for a full-size bed, modifying them for different mattress sizes is a straightforward process. Here are the standard dimensions for common mattress sizes, which you can use as a guide:
- Twin: 75″L x 38″W
- Full (this plan): 75″L x 54″W
- Queen: 80″L x 60″W
- King: 80″L x 76″W
When adapting the plans, you will primarily adjust the width of components for the headboard planks, footboard, and slats that run across the width of the bed. For length adjustments, you’ll modify the side rails and any associated trim or cleats that run along the length of the bed. Always double-check your mattress dimensions before cutting to ensure a perfect fit.
For example, if you were building a twin bed, you would subtract 6″ from the width of the headboard planks, headboard and footboard rails, and all the slats that span the width of the bed. Conversely, for a queen-sized mattress, you would add 5″ to the length of the side rails, associated trim, and cleats. Additionally, you would add 6″ to the width of the boards that span the width of the bed (headboard, footboard, and slats). Always measure twice, cut once!
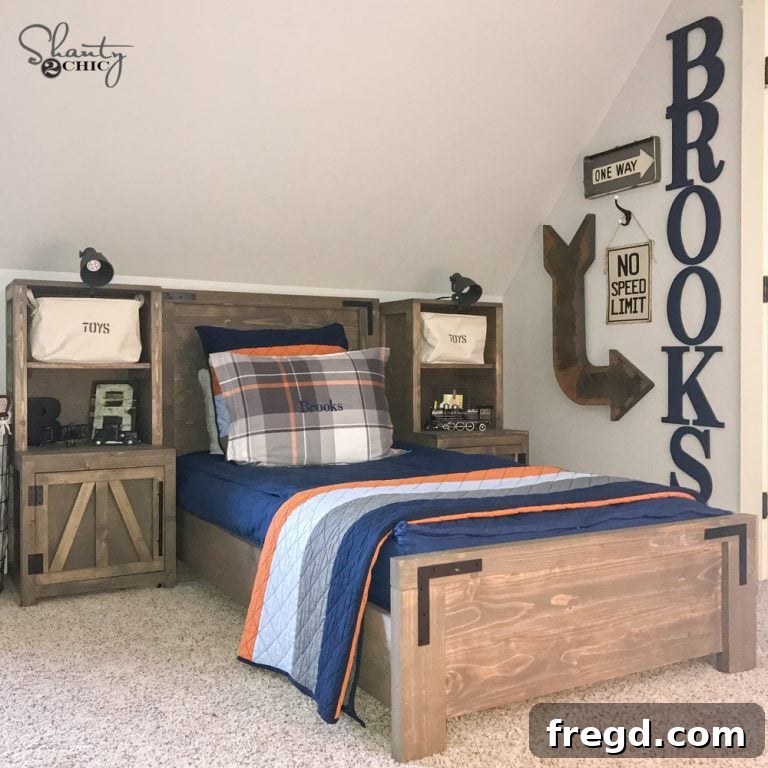
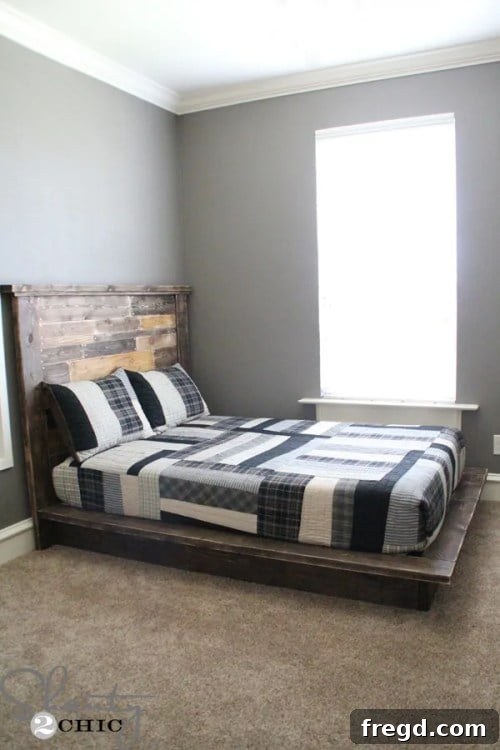
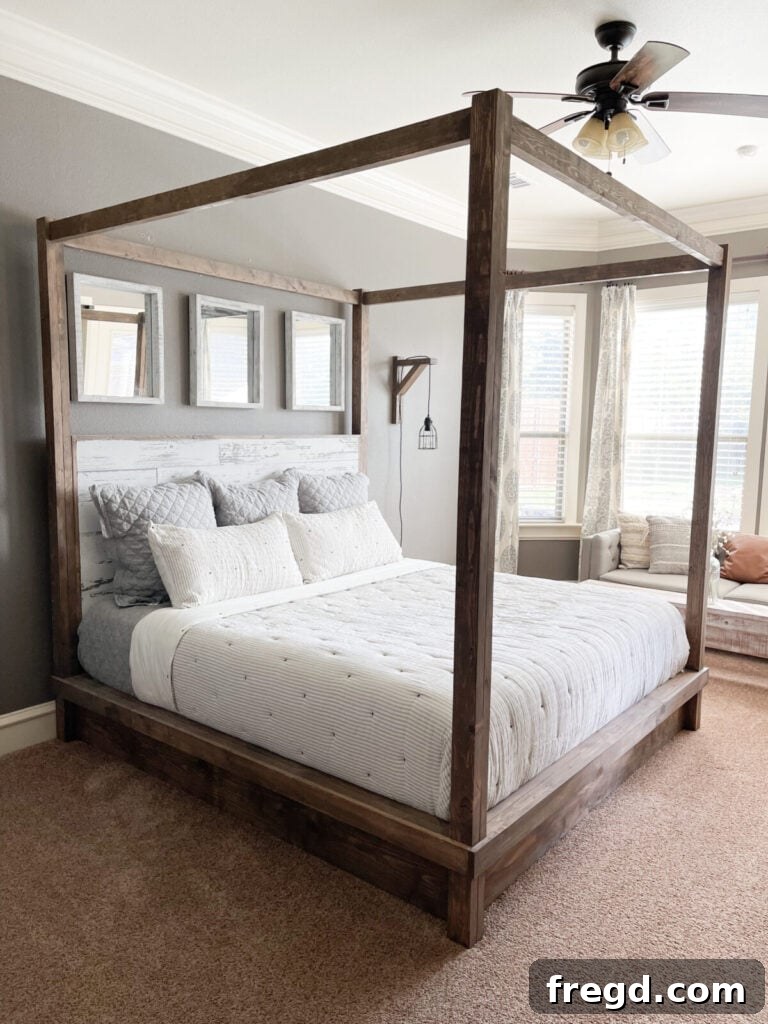
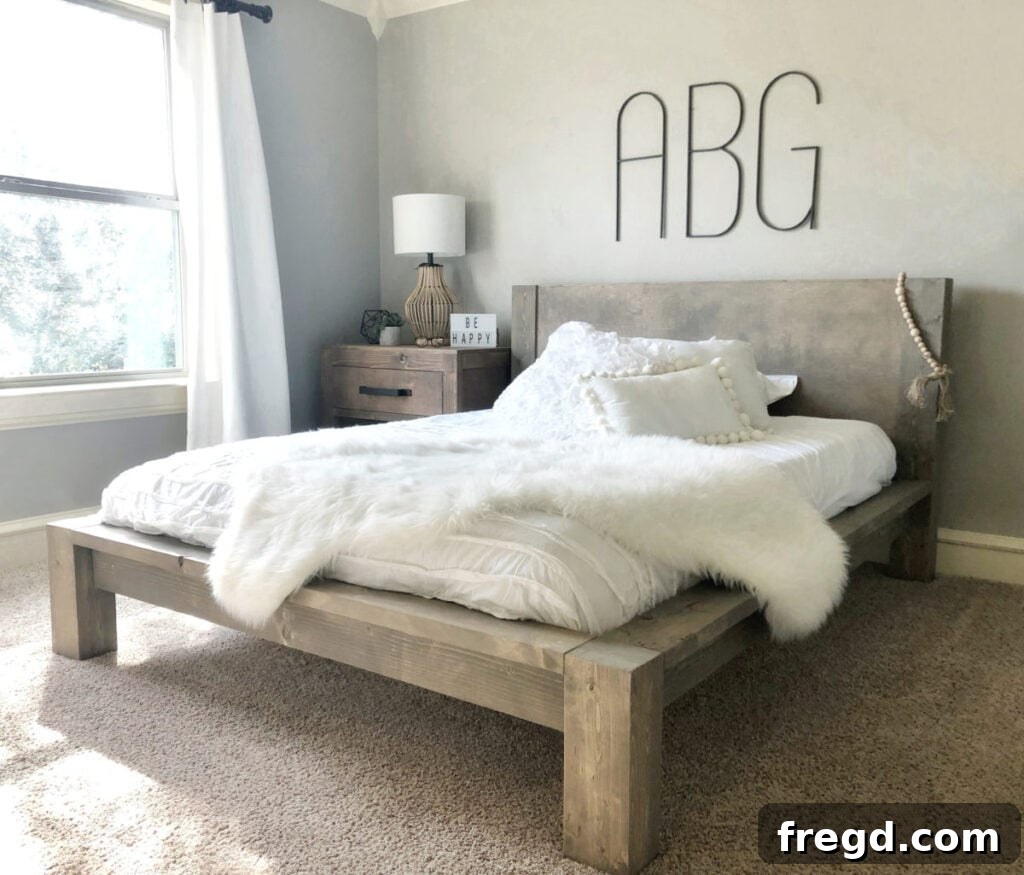
Explore More Bed Frame Projects
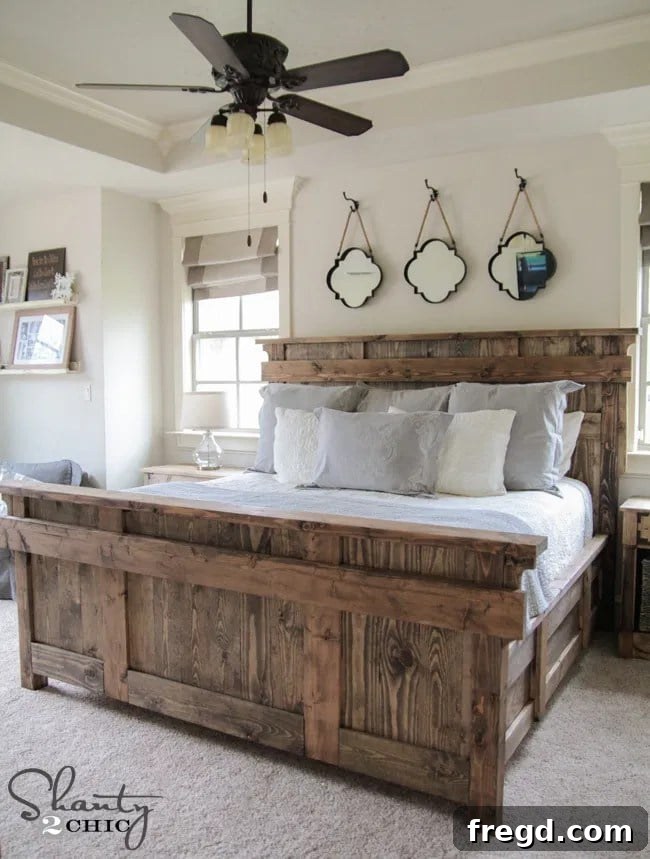
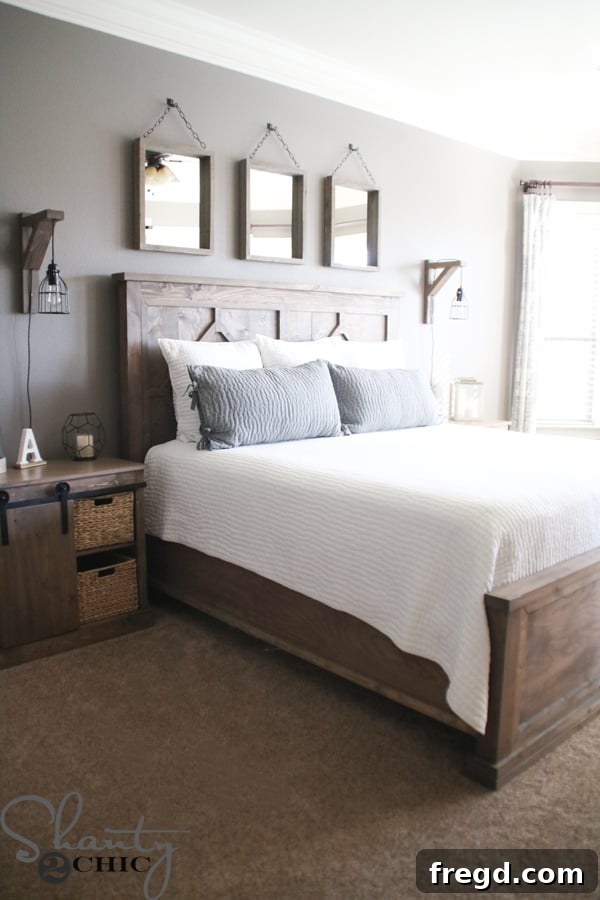
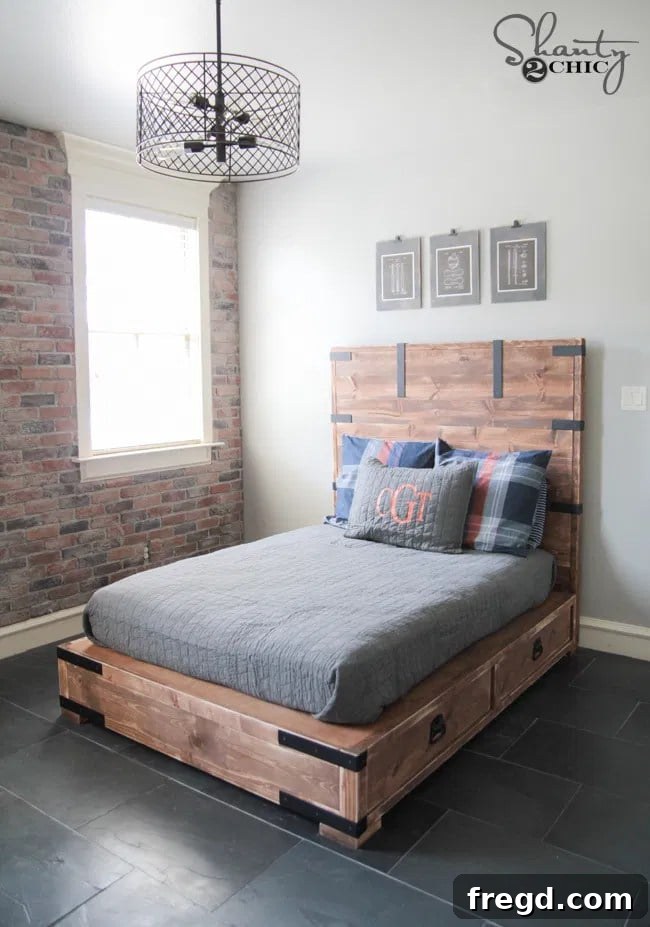
If you enjoyed building this bed or are looking for other styles, be sure to check out some of the other fantastic bed frame projects we’ve designed. Each comes with detailed plans and tutorials to inspire your next woodworking adventure!
Free Printable Plans and Details

DIY Full Size Bed with Fancy Headboard
Discover how to construct this magnificent DIY Full Size Bed complete with a sophisticated, fancy headboard, courtesy of Shanty2chic! This project is perfect for enhancing any bedroom with custom, handcrafted furniture.
Click here for the full set of free printable plans, including a detailed shopping list and comprehensive diagrams!
Tools
- Miter Saw
- Drill
- Kreg Jig
- Table Saw (optional)
- Jigsaw
- Sander
Supply List
- 12 – 2x8x8 Framing Lumber (Pine or Douglas Fir)
- 1 – 2x6x8 Framing Lumber (Pine or Douglas Fir)
- 12 – 1x4x8 Furring Strips
- 4 – Furniture Feet
- 2 1/2″ Pocket Hole Screws
- 1 1/4″ Wood Screws
- 2 1/2″ Wood Screws
- 4″ Wood Screws
- Wood Glue
Instructions
-
Cut List
-
Refer to Cut List 1 for your primary bed frame components.

Detailed diagram for Cut List 1. -
Refer to Cut List 2 for your support elements and mattress slats.
Detailed diagram for Cut List 2.
-
-
Building the Headboard
-
Cut all headboard planks to size. Drill 1 1/2″ pocket holes in all planks except one, noting the placement on the top three planks as per the plans. Attach 7 of the planks together using 2 1/2″ pocket hole screws and wood glue, using face clamps to ensure flush joints.
Assemble headboard planks with pocket holes. -
Mark 16″ down from the top corners of the headboard. Draw a smooth arc connecting these points. Carefully cut the arcs using a jigsaw. Refer to the video tutorial for visual guidance on this step.
Outline and cut the decorative arcs. -
Cut the back supports to size. Attach them to the back of the headboard using 1 1/4″ wood screws and wood glue for reinforcement.
Securely fasten back supports to the headboard.
-
-
Building the Bed Frame
-
Cut all bed frame pieces (side rails, headboard, footboard) to size. Drill 1 1/2″ pocket holes at both ends of the side rails. Attach the side rails to the headboard and footboard pieces with 2 1/2″ pocket hole screws and wood glue.
Connect bed frame rails. -
Attach the furniture feet to the inside corners of the bed frame using 4″ wood screws and wood glue. Ensure the top block of the feet is flush with the bottom of the bed frame.
Install the decorative and supportive feet. -
Cut the side and center cleats to size. Drill 1 1/2″ pocket holes at both ends of the center cleat. Attach the side cleats to each side of the bed frame with 2 1/2″ wood screws and wood glue. Then, attach the center cleat using 2 1/2″ pocket hole screws and wood glue for central support.
Mount the side and central cleats for slat support.
-
-
Assembling the Bed
-
Rest the finished headboard on top of the bed frame’s back rail. Attach it with 2 1/2″ wood screws through the headboard’s back supports and into the bed frame. Reinforce further by driving 2 1/2″ pocket hole screws from the bottom headboard plank into the back rail.
Final attachment of the headboard to the bed frame. -
Cut the bed slats to size. Evenly space and attach them to the cleats using 1 1/4″ wood screws and wood glue for a sturdy mattress base.
Place and secure all mattress slats.
-
-
The Finish
-
Give the entire bed a thorough sanding, progressing through finer grits. Fill any exposed holes with wood filler, sand smooth, then apply your desired finish (stain or paint). Using Kreg Project Blocks can greatly simplify this process.
Sand, fill, and apply finish for a professional look. Share your completed builds with us on social media using #shanty2chic so we can celebrate your craftsmanship!
Happy Building!
-