
Mastering the Art of DIY Floating Shelves: An Easy-to-Follow Video Tutorial
Hey fellow DIY enthusiasts! We are absolutely thrilled to share our very first comprehensive YouTube video tutorial with you today, guiding you through one of our most beloved and popular woodworking projects: the floating shelf. After numerous requests and a desire to bring our craft to life on video, it felt only natural to kick things off with a build that consistently captures attention and inspires. We’ve had the pleasure of constructing countless floating shelves over the years, experimenting with a variety of sizes, materials, and finishes. What we’re showcasing today is a particularly special design – incredibly inexpensive, remarkably easy to create, yet exceptionally sturdy and stylish.
This tutorial is perfect for beginners looking to dive into woodworking or seasoned builders seeking a quick, satisfying project. Our goal is to demystify the process, making it accessible and enjoyable for everyone. Before we delve into the detailed steps and essential tips, we invite you to watch our dedicated Floating Shelf Video. It brings all the instructions to life, offering visual guidance that complements this written guide perfectly.
Click the image below to watch the full video tutorial on how to build these stunning floating shelves!
Ready to transform your space with elegant, minimalist storage? Let’s get started on building your very own custom floating shelves!
Understanding Your Floating Shelf Project: Dimensions and Plans
Before you begin cutting any materials, it’s crucial to have a clear understanding of the project’s scope and the exact dimensions. Our design offers a versatile size that fits beautifully in various settings, from living rooms to kitchens, bedrooms, and offices. Knowing the final dimensions helps you visualize the shelf in your space and ensures all your cuts are accurate from the start.
Here are the overall finished dimensions of our floating shelf design:
To make your building process even smoother, we’ve prepared a set of free, printable plans. These plans include detailed cut lists, diagrams, and measurements, serving as your ultimate guide throughout the project. Having them handy will eliminate guesswork and significantly reduce the chances of errors, ensuring a successful build.
CLICK HERE FOR FREE PRINTABLE PLANS!
Step 1: Precision Cutting for Your Floating Shelf Components
The foundation of any high-quality woodworking project lies in accurate and clean cuts. For this floating shelf, precision is paramount, as it directly impacts the final fit and the professional appearance of your finished piece. We primarily utilized a miter saw for all our cuts, a tool highly recommended for its ability to produce clean, straight, and angled cuts with excellent repeatability. Investing in a good miter saw or having access to one will make a significant difference in the quality of your finished shelves.
The main material for our floating shelf box is hardwood plywood. This choice offers excellent stability, a beautiful grain, and is paintable or stainable to match any decor. Hardwood plywood typically comes in large sheets (e.g., 4×8 feet) at your local hardware store. Transporting these large sheets can be challenging and potentially dangerous. To make your life easier, most hardware stores offer a cutting service. We highly recommend having them make the initial rough cuts to break down the large sheets into more manageable pieces that are easier and safer to transport home. Just ensure these initial cuts are larger than your final dimensions so you can make your precise cuts with your miter saw.
Once you have your materials home, it’s time to make the precise cuts for each component of your floating shelf. Refer to your free printable plans for a detailed cut list. Always measure twice and cut once, and remember to wear appropriate safety gear, including safety glasses and hearing protection, when operating any power tools. Ensuring that each piece is perfectly sized will result in a seamless assembly and a beautifully finished shelf.
Here are the specific cuts required for building a single floating shelf:
Step 2: Constructing the Shelf Box – The Outer Shell
With all your pieces accurately cut, the next exciting step is to assemble the main body of the floating shelf – the box. This robust box forms the outer shell that will eventually slide over the hidden wall support. For this construction, we used a combination of hardwood plywood for the main faces and 1×6 lumber for the internal structural pieces (if applicable as per plans, or for the sides of the box). The combination creates a sturdy yet lightweight structure that can hold a considerable amount of weight when properly installed.
To join the pieces, we opted for a reliable combination of wood glue and 1.25-inch finish nails. Wood glue provides an incredibly strong bond once cured, while the finish nails offer immediate holding power, allowing you to move to the next step without waiting for the glue to fully dry. A nail gun, such as the Ryobi AirStrike Nailer we often use, makes this process quick, efficient, and ensures a professional finish with minimal visible fasteners.
Begin by assembling the four side pieces of the box. Apply a thin, even bead of wood glue along the edges that will be joined, then secure them together using your finish nails. Ensure your corners are square for the best aesthetic and structural integrity. Once the four sides are securely attached, you will then glue and nail the top piece to this frame, completing the basic box structure. It’s important to work on a flat surface to maintain squareness throughout the assembly process.
The use of finish nails creates small holes that can be easily filled later, making them virtually invisible after sanding and finishing. Take your time during this step to ensure all joints are tight and the box is perfectly square. This attention to detail will pay off when you move on to finishing and installation.
Step 3: Finishing the Shelf Box and Constructing the Wall Cleat
With the main shelf box assembled, we moved on to the finishing touches. This involves sanding the entire box to achieve a smooth surface, filling any nail holes or imperfections, and then applying your chosen finish. We decided to stain our box, which enhances the natural beauty of the hardwood plywood grain. While the stain was drying and curing, we efficiently shifted our focus to building the crucial wall cleat – the hidden support structure that makes these shelves “float.”
Building the Robust Wall Cleat
The wall cleat is the unsung hero of the floating shelf, providing the strength and stability required to hold your items securely. This support structure is crafted from a sturdy 2×4 piece of lumber. After making the necessary cuts for the cleat components as per the plans, we utilized our trusty Kreg Jig to create 1.5-inch pocket holes. These pocket holes are strategically placed into each of the three shorter pieces that will project outwards from the main cleat. The Kreg Jig system is invaluable for creating strong, concealed joints, which is essential for a clean floating look.
Next, we attached these three shorter, pocket-holed pieces to the longer 2×4 section, which will run horizontally along the wall. We used a combination of wood glue for added strength and 2.5-inch pocket hole screws to secure them firmly in place. This creates a robust, T-shaped or H-shaped support structure that will bear the weight of your shelf and its contents. Ensure all connections are tight and square, as any wobble here will compromise the stability of your finished floating shelf.
Step 4: Securely Mounting the Wall Support
Once the wall support (cleat) is fully assembled and robust, the next critical step is to securely attach it to your wall. Proper installation here is paramount for the safety and stability of your floating shelf. The key to a strong floating shelf is anchoring it directly into wall studs.
Begin by using a reliable stud finder to locate and mark the studs within your wall where you plan to install the shelf. Wall studs provide the structural integrity needed to hold significant weight. Once the studs are identified, hold your assembled wall support against the wall at your desired height, using a level to ensure it is perfectly horizontal. Mark the positions where the screws will go, ensuring they align with the center of the wall studs.
We attached the wall support using 3-inch screws, driving them directly through the support and deep into the wall studs. For heavier loads or longer shelves, consider using more screws or larger diameter screws to distribute the weight effectively. We frequently receive questions about how much weight these floating shelves can hold. When built and attached correctly – meaning securely fastened into wall studs with appropriate hardware – these shelves are incredibly strong and can support a substantial amount of weight, making them perfect for displaying books, decor, or even heavier items.
For a quick peek at the strength and versatility of these shelves in action, check out this post on our Instagram page, showcasing just how much they can handle!
Step 5: Final Assembly – Sliding the Shelf into Place
With the wall support firmly installed and your finished shelf box dry, you’re now at the exciting final stage of assembly. This is where your floating shelf truly comes to life, elegantly appearing to float against the wall.
The design of our floating shelf makes this step incredibly simple. The finished box is designed to slide seamlessly over the projecting arms of the wall support. Carefully align the box with the support and gently slide it into place until it’s snug against the wall. The fit should be tight but not so tight that it requires excessive force, which could damage your finish or the wall.
Once the box is fully seated over the support, we recommend securing it permanently. We used 1.5-inch screws driven through the top surface of the shelf box and into the top of the wall support. These screws prevent the shelf from shifting or accidentally being pulled off the support, adding an extra layer of security and stability. Counter-sink these screws slightly so they can be easily filled and concealed, preserving the smooth, seamless look of your floating shelf.
Your Beautiful Floating Shelf is Complete!
Congratulations! You’ve successfully built and installed your very own DIY floating shelf. These versatile shelves are not just practical for storage but also serve as beautiful decorative elements in any room. They are incredibly strong and can hold just about anything you desire, from your favorite books and cherished photo frames to unique decorative accents and plants.
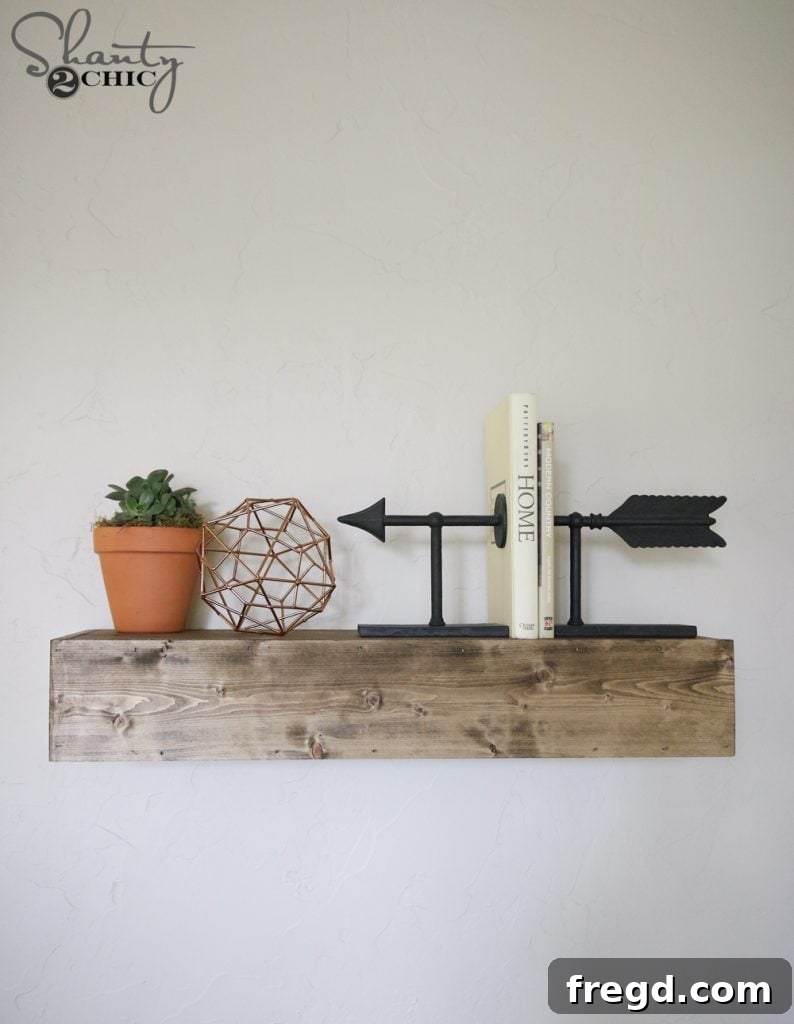
To give you a little styling inspiration, we dressed up our newly installed shelf with a few personal touches. We especially love the arrow bookends which provide a unique character. While we originally found ours at Pottery Barn, they no longer carry them. But don’t fret! We’ve discovered an almost exact match (and even more budget-friendly) available right now on Amazon HERE! It’s amazing how a few well-chosen accessories can truly elevate the look of your DIY creations.
We sincerely hope that this detailed guide and video tutorial have made the process of building these stunning floating shelves straightforward and enjoyable for you. Our aim is always to empower you with the knowledge and confidence to tackle your next DIY project.
Don’t forget to revisit our comprehensive video tutorial HERE on YouTube for visual step-by-step instructions. While you’re there, be sure to subscribe to our channel! We are committed to regularly sharing new and exciting DIY videos, tips, and tricks, so you won’t miss out on any future projects or inspiration.
Should you have any questions at all about the materials, tools, steps, or customization options for your floating shelves, please don’t hesitate to reach out in the comments section below or through our contact page. We love hearing from you and are always happy to help. Happy building, and enjoy your beautiful new floating shelves!