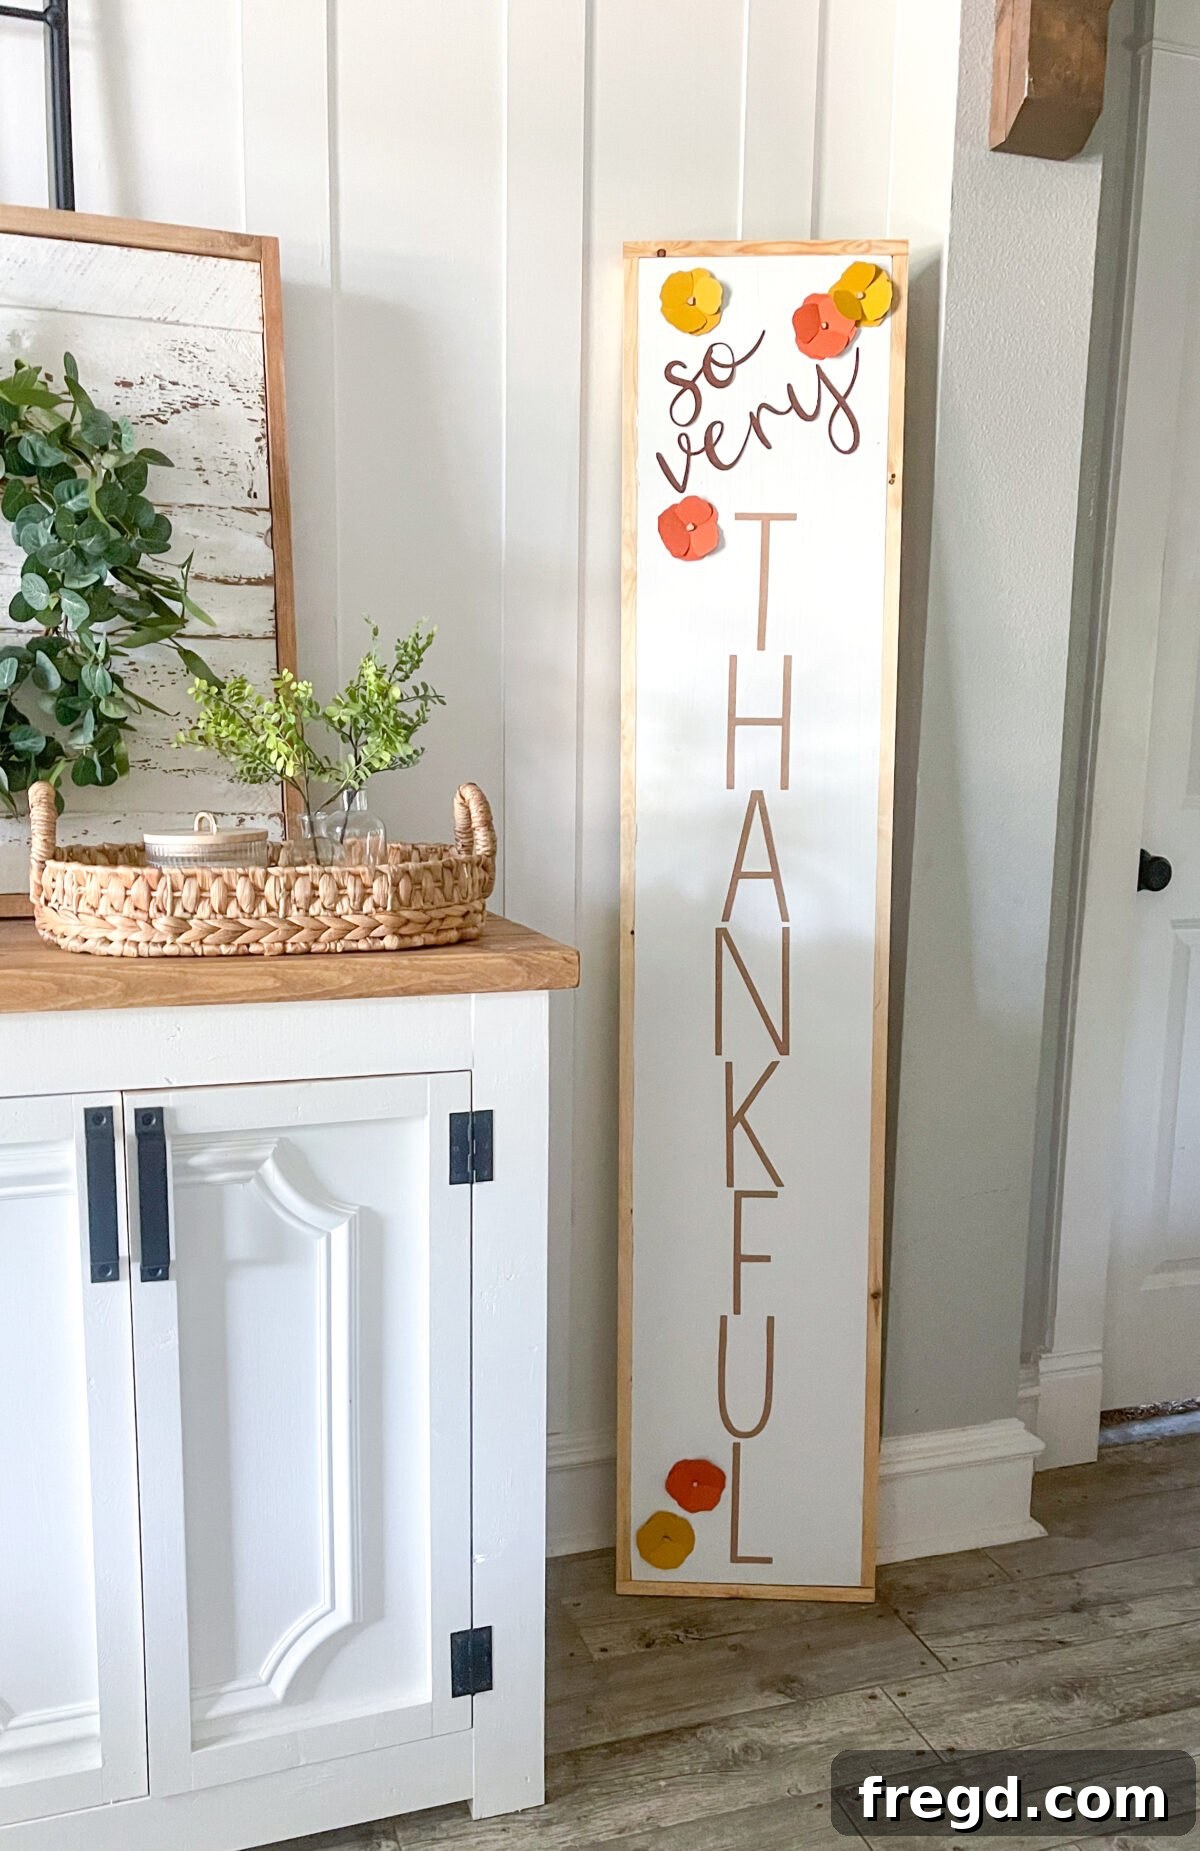
Embrace the cozy spirit of autumn by transforming your home with handcrafted decor! We absolutely adore adding unique, personalized touches to our living spaces throughout the year, and this rustic DIY wood sign for fall is one of our all-time favorite creations. The process was incredibly rewarding, and the end result perfectly captures the warm, inviting essence of the season.
As the air turns crisp and the leaves begin to change, there’s no better time to infuse your home with the charm of fall. DIY signs offer a wonderful way to personalize your decor effortlessly and affordably. While some crafters prefer traditional stenciling, we’ve found that using a Cricut cutting machine elevates the experience, making intricate designs simple and precise. This guide will walk you through every step, ensuring you can craft your own stunning farmhouse-style fall sign with ease.
Watch our video tutorial for a visual guide on creating your DIY wood sign!
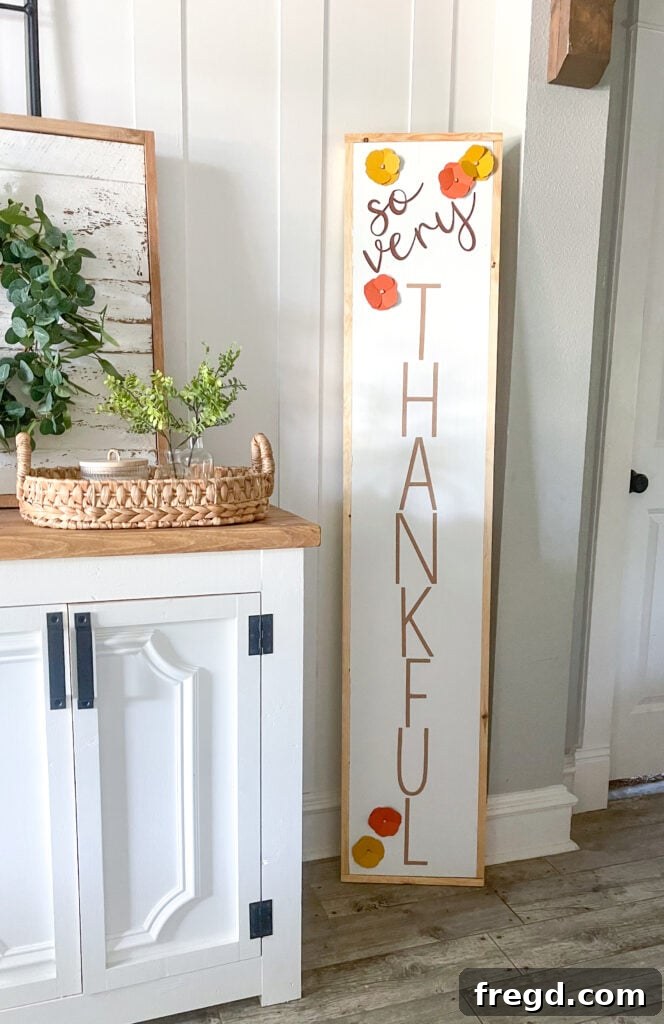
Craft Your Perfect Fall Decor: A DIY Rustic Wood Sign with Cricut
Unlock Your Creativity with the Cricut Cutting Machine
For this charming project, we utilized our trusty Cricut Explore Air, a fantastic entry point into the world of smart cutting machines. You can explore the latest models, like the Cricut Explore 3, and all its capabilities directly on the Cricut website HERE. Having owned multiple Cricut machines over the years, we can confidently say they are incredibly user-friendly, making them perfect for both beginners and seasoned crafters alike.
The magic truly happens within the Cricut Design Space program. This intuitive software is your creative hub, where you’ll bring all your design ideas to life. From selecting fonts and images to precise sizing and layout, Design Space simplifies the entire creative process. While today’s focus is on crafting a beautiful fall sign, the versatility of Cricut machines extends far beyond. We’ve used ours to personalize a vast array of items, including custom clothing, unique jewelry pieces, decorative throw pillows, witty coffee mugs, and stylish coasters, just to name a few of the endless possibilities. It’s an investment that truly empowers your crafting endeavors.
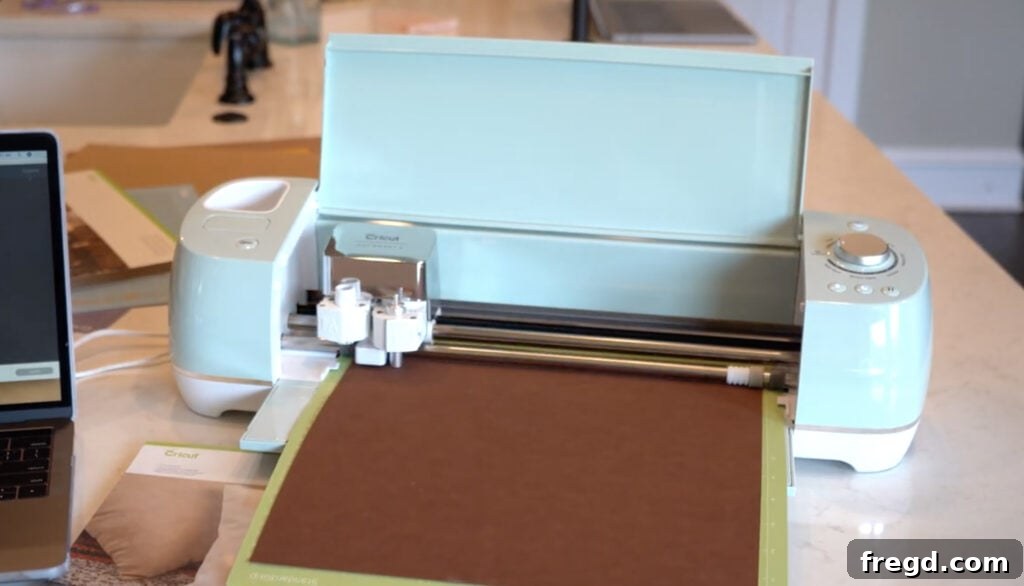
Essential Materials and Tools for Your DIY Farmhouse Wood Sign
Before diving into the creation process, gathering all your materials and tools will ensure a smooth and enjoyable crafting experience. Here’s what you’ll need to build your rustic farmhouse wood sign:
- Wood Project Panel: A 16-inch wide by 6-foot long panel (easily found near pine boards at hardware stores like Home Depot). Alternatively, scrap plywood can also be used.
- White Latex Paint: For the base of your sign.
- Paint Brush: For applying the base coat.
- 1×2 Boards: For the frame of your sign (amount depends on desired sign size).
- Miter Saw: For precise wood cuts for the frame.
- Light Wood Stain: To give your frame a beautiful, rustic finish.
- Wood Glue: For securely attaching frame pieces.
- Brad Nailer and 1 1/4″ Brad Nails: For strong, discreet fastening of the frame.
- Cricut Cutting Machine: Such as the Cricut Explore Air or Explore 3.
- Cricut Design Space Software: Essential for creating your custom design.
- Cricut Materials:
- Cardstock Sampler (Brown Tones): Adds texture and depth to your lettering.
- Faux Suede Sampler (Rustic): For an elevated, tactile element.
- Kraft Board (Natural): Provides a sturdy, natural background or additional layering.
- Hot Glue Gun and Glue Sticks: For attaching your cut-out designs to the sign.
- Measuring Tape and Pencil: For accurate measurements and markings.
- Safety Glasses: Always recommended when using power tools.
Step 1: Preparing Your Canvas – Painting the Farmhouse Style Sign
Our journey to creating this beautiful DIY wood sign begins with the main canvas: a project panel. These versatile panels, often 16 inches wide by 6 feet long, are readily available at your local hardware store, typically found near the pine boards and plywood sections. If you have scrap wood lying around, this is also a fantastic opportunity to repurpose it – a piece of scrap plywood or even a few joined planks can work just as well!
Once you have your panel, the first task is to apply a crisp, clean base coat. Using white latex paint and a standard paintbrush, cover one side of your panel evenly. Latex paint offers excellent coverage and dries relatively quickly. For a truly authentic farmhouse look, you might consider a technique called “dry brushing” or light distressing once the paint is fully cured. This involves lightly sanding edges or applying a very thin, almost-dry coat of contrasting color to create an aged appearance. Allow the paint to dry completely according to the manufacturer’s instructions. Patience here ensures a durable and professional finish for your personalized home decor piece.
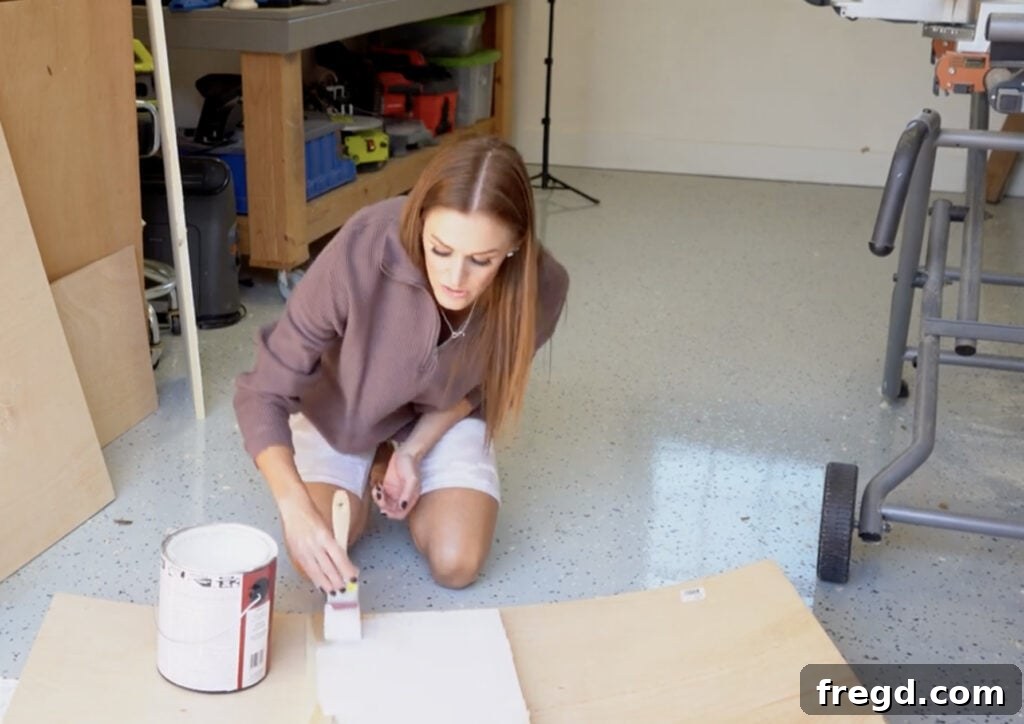
Step 2: Adding Structure and Style – Building the Wood Frame
While your painted sign panel is drying, you can move on to crafting the essential wood frame that will give your sign that quintessential rustic farmhouse appeal. For this, we used 1×2 boards, which are ideal for creating a substantial yet elegant border. Using a miter saw, carefully cut four pieces of the 1×2 board to perfectly frame the outside dimensions of your painted panel. Accuracy in your measurements and cuts is key here for tight, professional-looking corners.
Before attaching the frame pieces, we highly recommend staining them. A light wood stain will beautifully enhance the natural grain of the wood, adding depth and warmth that perfectly complements the white base of the sign. Apply the stain evenly and wipe off any excess according to the product’s instructions, then let it dry completely. Once dry, position the stained frame pieces around your painted panel. We secured them using a combination of wood glue for a strong, lasting bond and a brad nailer with 1 1/4-inch brad nails. Apply wood glue along the edges where the frame meets the panel, then use the brad nailer to shoot nails discreetly through the trim pieces and into the project panel. This method provides a very clean finish with minimal visible fasteners, resulting in a robust and beautifully framed custom wood sign.
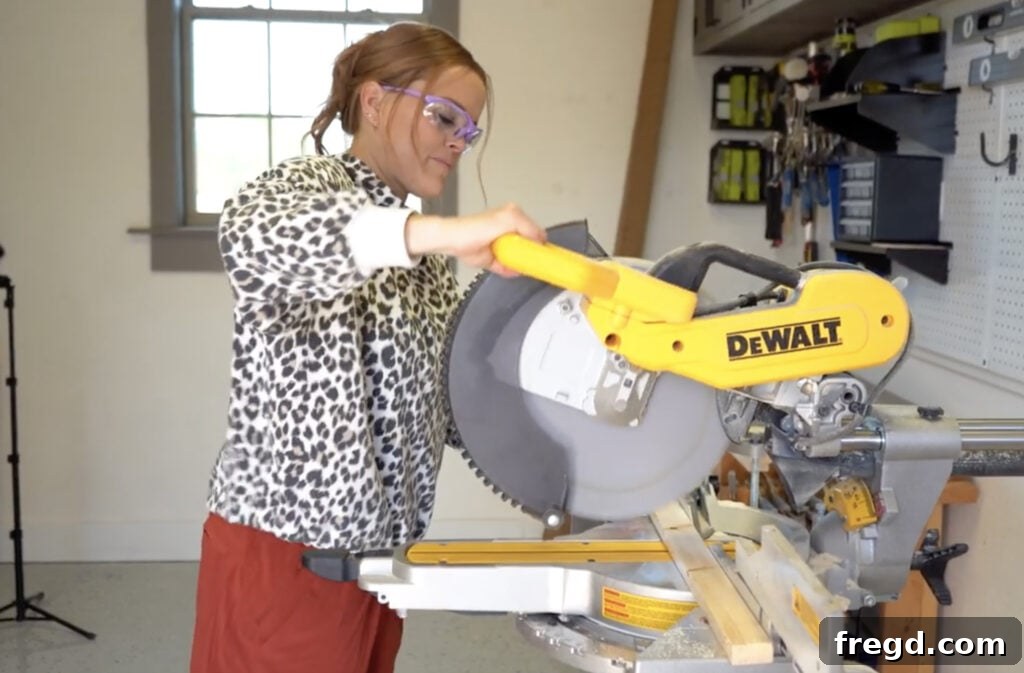
Step 3: Bringing Your Vision to Life – Creating the Design with Your Cricut Machine
With your sign panel painted and framed, it’s time for the truly creative part: designing your fall message with the Cricut machine! This step is incredibly simple and fun, especially when you harness the power of Cricut Design Space. This software comes pre-loaded with an extensive library of hundreds of fonts, ranging from elegant scripts to bold block letters, ensuring you’ll find the perfect style for your rustic fall decor. What’s even better is that you can also seamlessly import and use any font already installed on your computer, giving you limitless customization options.
Once you’ve chosen your desired font and typed out your message (perhaps “Happy Fall Y’all,” “Autumn Blessings,” or a custom family name), the program makes it remarkably easy to manipulate your design. You can click and drag letters and shapes, resize them precisely, adjust spacing, and arrange elements until your design perfectly fits your sign’s dimensions and aesthetic vision. Design Space provides a visual canvas that mirrors your mat, allowing you to preview exactly how your design will look before cutting. When you’re happy with your layout, simply click a button, and your Cricut machine will get to work. This remarkable machine is renowned for its precision cutting abilities, making it ideal for a wide range of materials beyond paper, including leather, various types of vinyl, and specialized craft boards. For our rustic sign, we selected a combination of Cardstock, Faux Suede, and Kraft Board to add rich texture and dimension to the lettering.
Cricut Materials We Used for This Rustic Fall Sign:
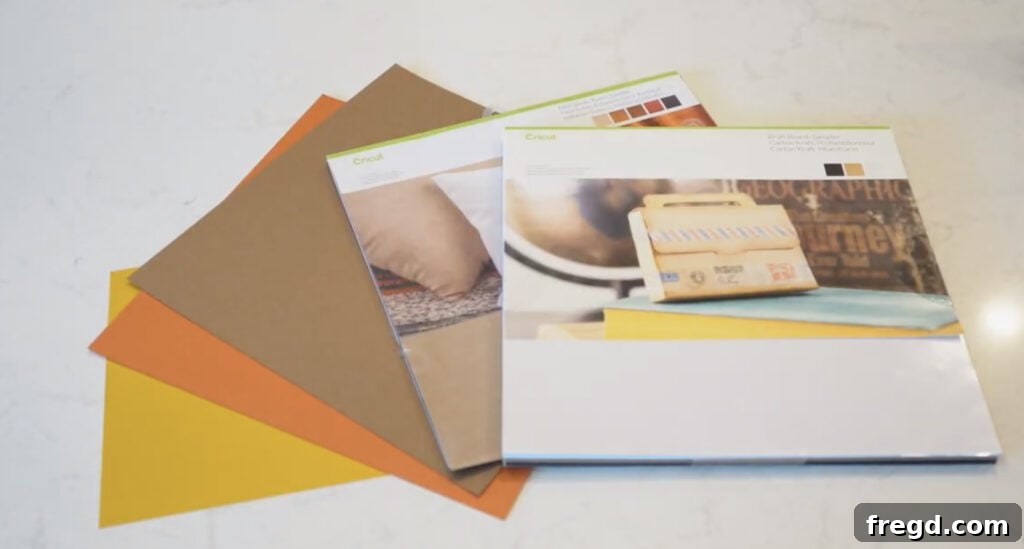
To give our sign a multi-dimensional and tactile feel, we carefully chose these specific Cricut materials:
- Cardstock Sampler (Brown Tones): Perfect for adding subtle color variations and a sturdy base for our letters.
- Faux Suede Sampler (Rustic): This material provided a luxurious, soft texture, giving the sign an unexpected and high-end feel.
- Kraft Board (Natural): Excellent for adding a natural, earthy element and offering great structural integrity for intricate cuts.
Using a mix of materials like this adds incredible character and depth, making your personalized home decor truly stand out. Experiment with different textures to see what unique effects you can create!
Step 4: The Finishing Touch – Attaching Your Custom Wall Art Designs
Once your Cricut machine has meticulously cut out all your design elements from the chosen materials, you’re just one step away from completing your stunning DIY fall wood sign! This final stage involves carefully attaching your beautiful custom letters and shapes to the painted panel.
For a quick, strong, and reliable bond, we recommend using a hot glue gun. Arrange your cut-out designs on the painted sign panel first, taking your time to ensure perfect placement and spacing. Once you’re satisfied with the layout, apply a small amount of hot glue to the back of each piece and firmly press it onto the sign. The quick-drying nature of hot glue means you can see your design come together in minutes. Take care to use enough glue for a secure hold but not so much that it oozes out from under the edges. This simple step transforms your pre-cut materials into a cohesive and captivating piece of personalized wall art, ready to adorn your home for the autumn season.
Cricut Made It Easy: Your Gateway to Personalized Home Decor!
Creating this rustic fall wood sign was not only an enjoyable and straightforward project but also a truly rewarding way to infuse our homes with seasonal charm. The Cricut machine undeniably streamlined the entire process, transforming what could be a painstaking task into a delightful crafting experience. Its precision, ease of use, and versatility make it an invaluable tool for any DIY enthusiast. In fact, our kids even love getting involved, using the Cricut to bring their own creative ideas to life!
We consider our Cricut machine one of our absolute favorite tools for customizing projects and adding unique character to our home decor. The ability to easily design and cut intricate details from a vast array of materials empowers you to let your creativity run wild, making any sign or decor piece truly your own. Whether you’re decorating for fall, winter holidays like Christmas (we’re already planning our next wooden signs!), or simply want to personalize everyday items, a Cricut opens up a world of possibilities. While Cricut generously sponsored this particular project, rest assured that all opinions and words shared are entirely our own, born from genuine love for this incredible crafting tool. We encourage you to explore the boundless potential of the Cricut machine and start creating your own cherished pieces of personalized home decor today!
Looking for more inspiration? Check out some of our other popular DIY wall sign projects: