
Effortlessly Transform Your Bathroom: The Ultimate DIY Mirror Frame Guide (Under $15!)
Are you tired of staring at that standard, builder-grade mirror in your bathroom? You know the one – flat, unframed, and utterly uninspiring. For many homeowners and renters alike, these functional but bland mirrors are a common sight. But what if we told you that you could transform this everyday essential into a beautiful, custom focal point for under $15 and in less than an hour? It’s true, and we’re here to show you exactly how!
Our little sister, Leasha, recently moved into her new home and was eager to personalize her space, starting with her bathroom. She envisioned a more polished look for her mirrors, and we knew just the trick. This DIY mirror frame project is not only incredibly simple but also one of the most impactful ways to elevate a boring mirror. The best part? It’s completely reversible and won’t damage your mirror, making it perfect for renters or anyone who likes to change their decor frequently as their tastes evolve. Say goodbye to drab and hello to fab!
The Incredible Transformation: Quick, Easy, and Budget-Friendly
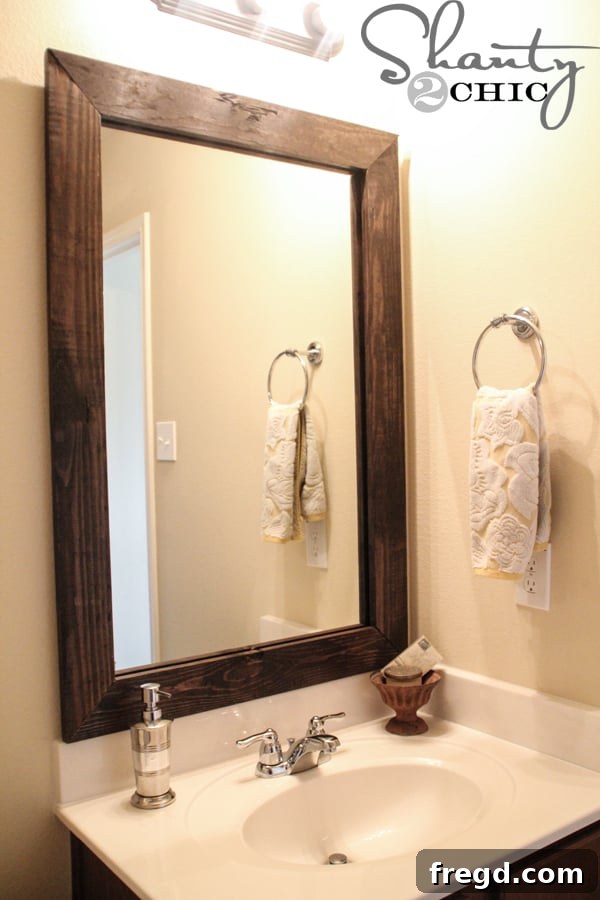
Imagine achieving a significant bathroom upgrade in about 45 minutes for a mere $15. Sounds too good to be true? Not with this project! The results are truly remarkable, giving your bathroom a high-end, custom feel without the hefty price tag or the commitment of a permanent renovation.
The difference is astounding, isn’t it? Let’s dive into how you can replicate this stunning transformation in your own home.
Materials and Tools You’ll Need
One of the beauties of this project is its accessibility. You don’t need a workshop full of expensive tools or exotic materials. Here’s a rundown of what you’ll gather:
- Wood Boards: For Leasha’s 42″ x 28″ mirror, we used two 1×4 pine boards. Pine is an excellent choice for DIY projects due to its affordability and ease of workability. You might choose other wood species based on your desired look and budget, but pine is a fantastic starting point.
- Measuring Tape: For accurate measurements.
- Pencil: For marking your cuts.
- Saw: A miter saw is ideal for precise 45-degree angle cuts, but a miter box and handsaw can also work effectively.
- Kreg Jig (Optional but Recommended): For creating strong, concealed pocket hole joints.
- Wood Screws: 1-1/4″ pocket hole screws if using a Kreg Jig.
- Sanding Pads/Sandpaper: Various grits, including a 3M Sandblaster sanding pad, for smoothing the wood.
- Wood Filler: Stainable wood filler if you plan to stain your frame.
- Stain or Paint: Your chosen finish (e.g., Rust-Oleum Dark Walnut stain).
- Protective Gear: Safety glasses, gloves, and a dust mask (like 3M TEKK Protection).
- 3M Command Strips: The secret to a damage-free, removable installation.
Step-by-Step Guide to Framing Your Mirror
Step 1: Measure Your Mirror and Plan Your Frame Dimensions
Accuracy is key when it comes to creating a seamless frame. Begin by precisely measuring the height and width of your existing mirror. For Leasha’s mirror, which was 42 inches by 28 inches, we decided to add one inch to each dimension. This extra inch allows the frame to slightly overlap the mirror’s edge, creating a clean, finished look and ensuring the mirror’s edges are fully concealed. Therefore, our final frame dimensions, measured from long point to long point of the miter cuts, would be 43 inches by 29 inches. Remember to always apply this “add an inch” rule to your specific mirror dimensions.
Step 2: Precision Cutting for a Perfect Miter Joint
Miter cuts are crucial for creating professional-looking corners on your frame. Each corner of your frame will consist of two pieces of wood cut at a 45-degree angle, which, when joined, form a perfect 90-degree angle.
Using a miter saw (or a miter box and handsaw for those without power tools), set your blade to a 45-degree angle. Make your first 45-degree cut on one end of your board. Then, measure your desired frame length (e.g., 43 inches for the longer sides, 29 inches for the shorter sides) along the long edge of the board. Swing the miter saw arm to the opposite 45-degree angle and make your second cut. This technique ensures that the opposing angles will meet perfectly at the corners. Repeat this process for all four pieces of your frame.
Step 3: Assembling Your Frame with Pocket Holes
For a strong and clean assembly, we utilized a Kreg Jig to create pocket holes on the short boards of the frame. Pocket holes are an incredibly effective way to join wood, creating strong, concealed joints that are perfect for frames. If you don’t have a Kreg Jig, you can use wood glue and clamps, reinforcing with nails or brad nails.
To use the Kreg Jig, simply place the board with the mitered angle flush against the base of the jig. We drilled two pocket holes on each end of the two shorter frame pieces. Once the holes are drilled, apply a bead of wood glue to the mitered edges and then join the pieces using 1-1/4″ pocket hole screws, ensuring the corners are tight and flush. This creates a robust and stable frame that will hold up beautifully.
Step 4: Achieving a Smooth, Professional Finish (Sanding & Filling)
Since this frame will be a prominent feature in your bathroom, we want it to look exceptionally smooth and clean. Even with affordable pine boards, a little elbow grease can go a long way in achieving a high-quality finish before staining or painting.
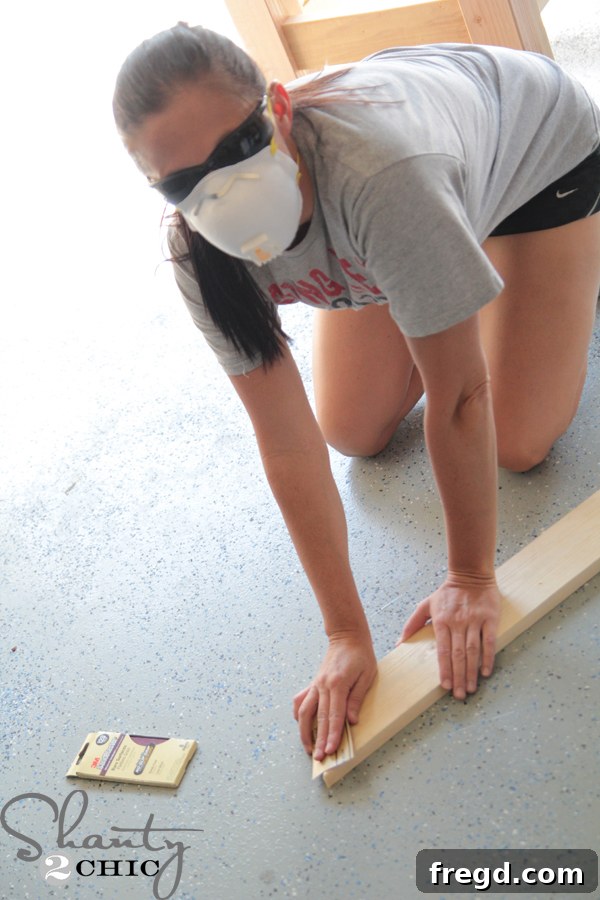
Begin by sanding all the edges and the top surfaces of your assembled frame. We recommend using a 3M Sandblaster sanding pad. These advanced abrasives are known for their flexibility and durability, making the sanding process more efficient and effective. Start with a medium-grit sandpaper (around 100-150 grit) to remove any major imperfections or rough spots, then move to a finer grit (220-grit) for a silky-smooth finish. Remember to always sand with the grain of the wood.
Throughout any woodworking project, safety should be your top priority. Always wear appropriate personal protective equipment, such as safety glasses, gloves, and a dust mask. We rely on 3M TEKK Protection to keep us safe during dusty tasks like sanding.
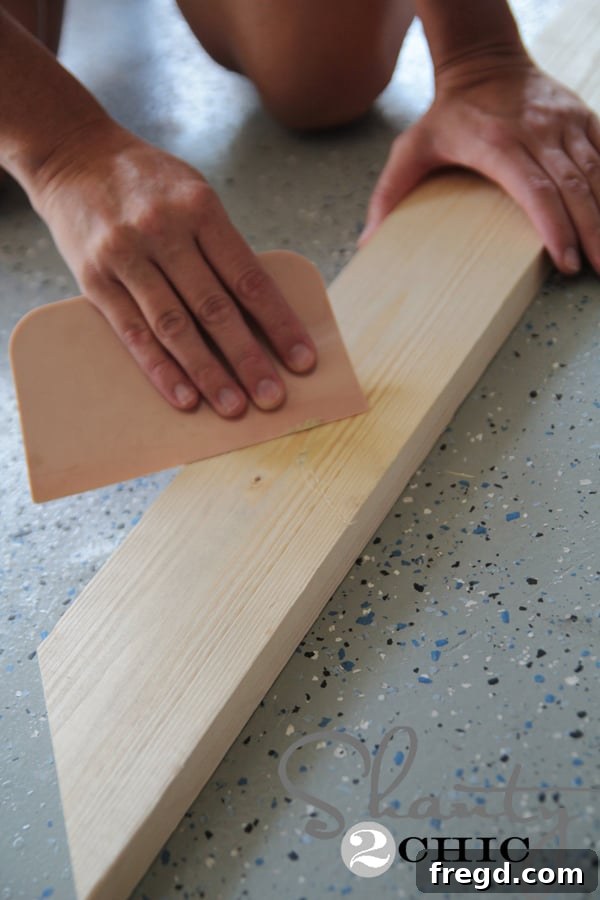 After initial sanding, inspect your frame for any small gouges, scratches, or knots. These imperfections can become more noticeable once stained or painted. Use a high-quality wood filler, such as 3M Wood Filler, to fill them in. If you plan on staining your frame, it’s crucial to use a “stainable” wood filler to ensure the filler absorbs the stain similarly to the wood, resulting in a consistent color. Apply the filler, let it dry completely according to the manufacturer’s instructions, and then sand it smooth again with fine-grit sandpaper.
Step 5: Applying Your Chosen Finish
With your frame smooth and free of imperfections, it’s time for the exciting part: applying the finish! For Leasha’s mirror, we chose Rust-Oleum Dark Walnut stain, which provided a rich, classic look that perfectly complemented her bathroom decor.
Apply your stain or paint according to the product directions. For stain, typically you apply with a cloth or brush, allow it to penetrate for a few minutes, and then wipe off any excess. For paint, apply thin, even coats, allowing adequate drying time between each coat. Once your chosen finish is dry, you might consider adding a protective topcoat, such as polyurethane, especially for a bathroom environment where moisture is present. This will help protect the wood and prolong the life of your beautiful new frame.
Step 6: The Secret to Damage-Free Installation with Command Strips
Now for the big reveal – how to attach this gorgeous frame without damaging your mirror or wall! The secret lies in one of our favorite DIY heroes: 3M Command Strips!
These innovative strips are absolutely perfect for this project because they offer a strong hold yet can be removed cleanly without leaving any residue or holes. This makes them ideal for renters or anyone who wants the flexibility to change their decor without commitment.
Before applying the frame, you might need to address any existing mirror clips. We gently removed all of Leasha’s mirror clips to ensure the frame fit snugly against the mirror. Her mirrors were very securely glued to the wall, so removing the clips wasn’t an issue. However, if you are concerned about your mirror’s stability after removing the clips, you can purchase very thin plastic mirror clips at your local hardware store. These thinner clips can be installed and the frame will still fit perfectly over them, offering additional security.
Attach the Command Strips to the back of your newly finished frame, following the package instructions for proper adhesion. Press the frame firmly onto the mirror, aligning it carefully to create a perfectly framed look. Hold it in place for the recommended time to ensure a strong bond.
The Final Touch: A Bathroom Transformed!
And just like that, you’re done! This project is truly thrilling because it offers so much impact for so little effort and cost. A simple DIY frame can dramatically change the entire ambiance of your bathroom, making it feel more upscale and thoughtfully designed. What’s even better is the complete flexibility it offers. Should you decide to revamp your bathroom again in the future, you can simply pop off the frame, pull the 3M Command Strips for a clean removal, and create a brand new frame to match your evolving style. It’s the ultimate commitment-free home upgrade!
We absolutely love how this project turned out and how easily it elevates a space. If you’re inspired to tackle this DIY, we’d be thrilled if you shared your progress and finished projects!
~ Ashley
This post is a collaboration with 3M DIY. To keep up-to-date on projects, products and sampling visit 3MDIY.com and be sure to follow all of their social media sites!
3M DIY Facebook Page
3M DIY Twitter Page
3M DIY YouTube Page