
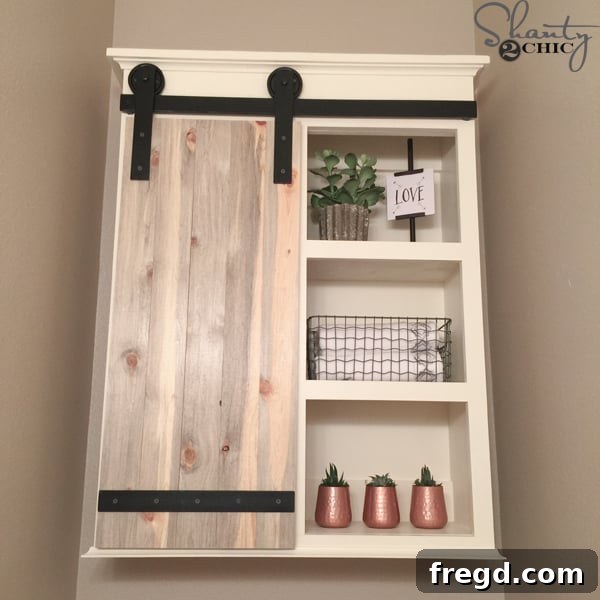
The allure of a beautifully organized and styled bathroom, coupled with the rustic charm of a sliding barn door, is a combination many homeowners dream of. For those who, like us, are utterly obsessed with the aesthetic of sliding barn doors but lack the expansive wall space for a full-sized installation, this project offers the perfect solution: a DIY Sliding Barn Door Bathroom Cabinet. We are absolutely thrilled with our new creation, and we know you will be too! This ingenious design provides the ideal balance between open shelving for displaying your favorite décor and discreet, hidden storage for those less-than-glamorous essentials. It’s not just a cabinet; it’s a statement piece, a functional marvel, and a testament to the joy of custom home crafting.
Transforming your bathroom into a stylish and highly functional space doesn’t have to be complicated or expensive. This DIY cabinet project is remarkably easy to build, even for those with moderate woodworking experience. And the best part? We’ve got the FREE Printable Plans available for you to download, ensuring you have all the measurements and details you need to embark on your own building adventure. Get ready to add character, charm, and unparalleled organization to your bathroom with this fantastic sliding barn door cabinet!
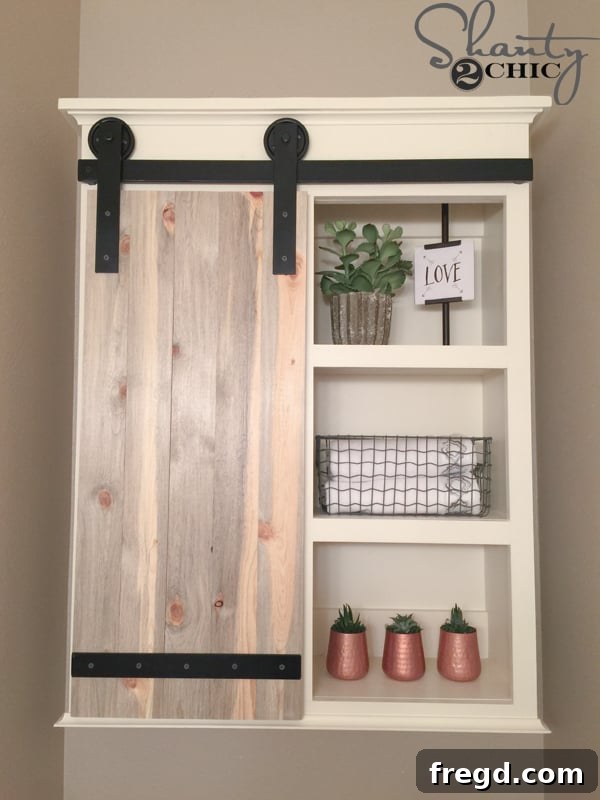
Imagine a space where your prettiest lotions and decorative items are beautifully displayed, while unsightly cleaning supplies or extra toilet paper are neatly tucked away behind a stylish, sliding door. This cabinet provides just that – a seamless blend of aesthetics and practicality. It’s truly super easy to build, and to make your journey even smoother, we offer comprehensive free printable plans.
Don’t wait to start your next DIY project! You can access and print the detailed plans by clicking HERE or by simply clicking on the image above. Once you have your plans in hand, follow along with our step-by-step tutorial to bring this stunning sliding barn door bathroom cabinet to life.
Building Your Own DIY Sliding Barn Door Bathroom Cabinet
Embarking on a custom woodworking project like this DIY barn door cabinet can be incredibly rewarding. Before we dive into the specific steps, let’s ensure you have all the necessary tools and materials at hand. Having everything ready will make the building process much smoother and more enjoyable.
Tools You’ll Need:
- Kreg Jig K5: Essential for drilling precise pocket holes, which create strong, hidden joints.
- Drill/Driver: For pre-drilling and driving screws.
- Miter Saw: Crucial for making accurate cross-cuts, especially for trim work. Watch our How to Use a Miter Saw video HERE!
- Table Saw: Useful for ripping boards to specific widths, particularly for preparing the barn door planks.
- Brad Nailer (Ryobi 18 gauge recommended): For attaching face frames and trim quickly and securely.
- Crown Stapler (Ryobi 18 gauge recommended): Ideal for attaching thin backing material.
- Kreg Bar Clamp: Perfect for holding boards flush while assembling components like the face frame.
- Kreg Face Clamp: Excellent for keeping door planks flush during assembly.
- Tape Measure and Pencil: For accurate marking and measuring.
- Wood Glue (Titebond recommended): For reinforcing joints and adding durability.
- Safety Glasses: Always protect your eyes when working with power tools.
Materials List:
- Lumber:
- 1×6 boards (for cabinet top braces)
- 3/4″ plywood (for side pieces and shelves – consider using scrap plywood to save money!)
- 1×2 boards (for face frame)
- Blue Stained Pine (1×6 or similar tongue and groove boards for the sliding door – Home Depot link)
- Fasteners:
- 1 1/4″ pocket hole screws
- 3/4″ staples (for backing)
- 5/8″ brad nails (for trim)
- Black construction screws (for hardware)
- Finishing Supplies:
- Wood filler
- Latex paint (e.g., Cozy Cottage by Behr or Ivory Lace by Valspar)
- Hardware:
- Cove molding (Home Depot link)
- Custom sliding barn door hardware (Etsy link from Tyler Wayne)
- French cleat for hanging (Amazon link)
Step-by-Step Cabinet Construction
1. Building the Cabinet Frame: The Sturdy Foundation
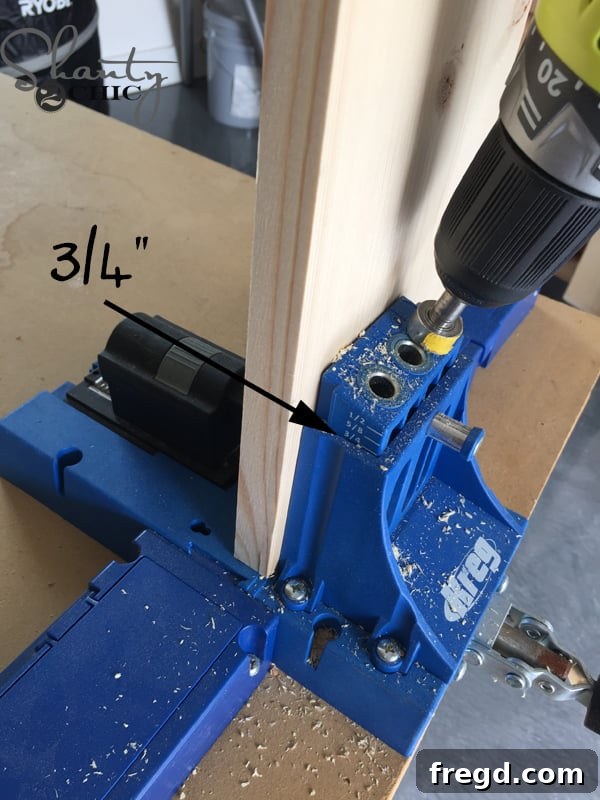
The foundation of your DIY storage cabinet begins with a solid frame. After accurately cutting the side, top, and bottom pieces according to the provided plans, we focus on the top braces. For these, I utilized 1×6 boards, creating three 3/4″ pocket holes into each with my K5 Kreg Jig. Pocket holes are fantastic for creating strong, hidden joints, giving your cabinet a professional and seamless appearance. A money-saving tip: I used leftover scrap 3/4″ plywood for the side pieces and shelves, which is a great way to utilize materials you might already have on hand. If you’re new to pocket holes, check out our helpful guide: Watch our How to Use a Kreg Jig video HERE!
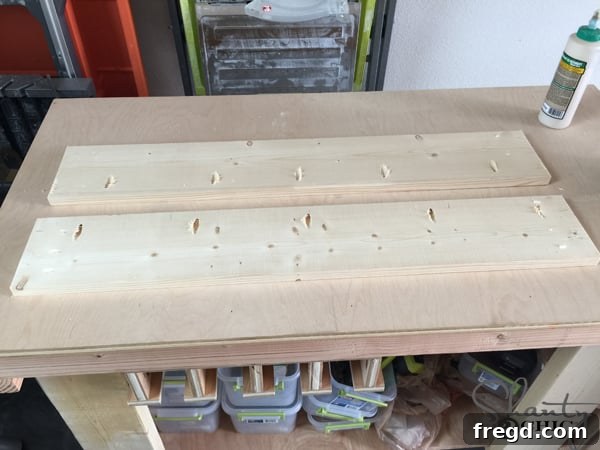
Here, you can see the 1×6 boards prepared with the pocket holes. Remember, the three pocket holes on each end are strategically placed on the opposite side of the boards (facing down) to ensure they are concealed once assembled, contributing to the clean look of your bathroom storage solution.
Next, I securely attached these prepared 1×6 boards to the cabinet’s side pieces. This was done using 1 1/4″ pocket hole screws, reinforced with a generous application of Titebond Wood glue. The glue provides extra strength and stability, ensuring your cabinet stands the test of time.
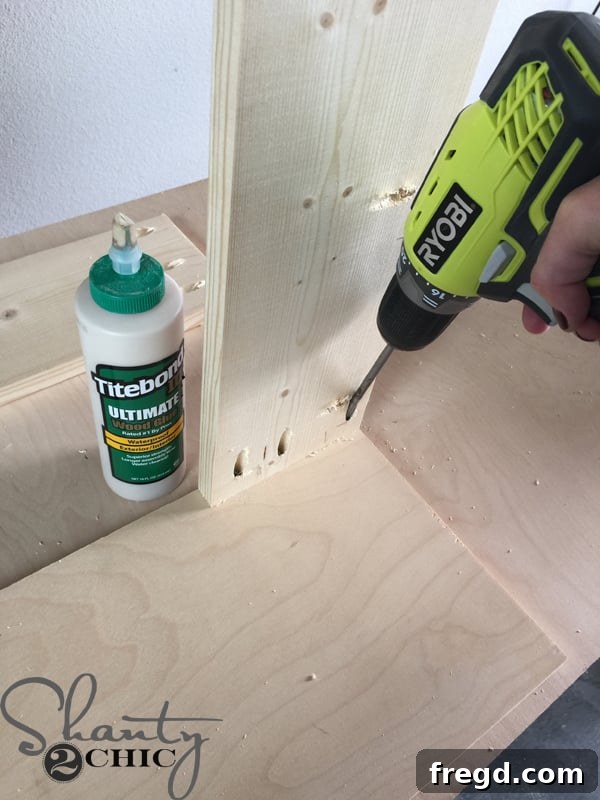
It’s crucial that the 1×6 boards are perfectly flush with the side pieces. This precision ensures a seamless look and proper alignment for subsequent steps in your homemade cabinet build.
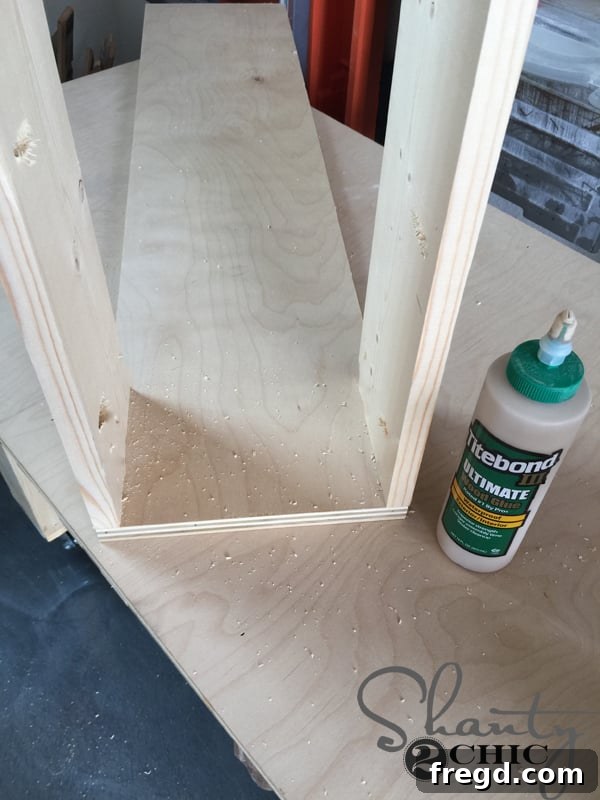
Once the top braces are attached, you can visualize the initial structure of your cabinet. Here, it’s shown turned upside down, giving a clear view of the assembled frame.
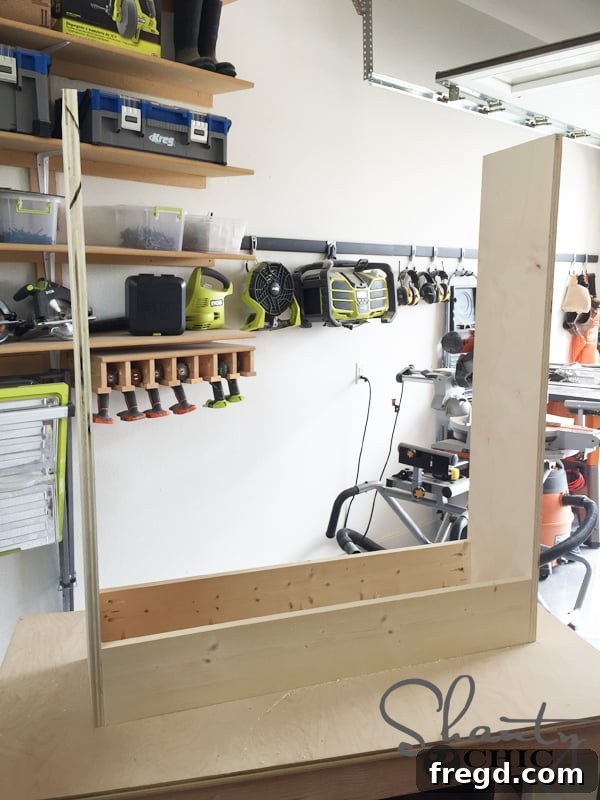
To ensure a perfect fit for the bottom shelf and the subsequent face frame, I recommend a clever trick: mark the exact thickness of the 1×2 board you’ll be using for the face frame onto the inside of the cabinet sides. This measurement will guide you in precisely positioning the bottom shelf, guaranteeing a snug and professional finish.
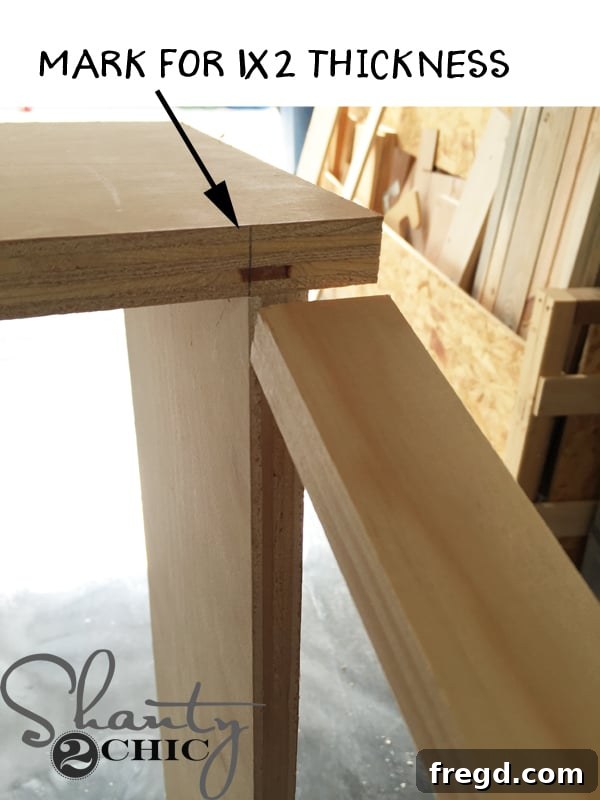
With your marks in place, attach the bottom shelf and the bottom brace using the exact same pocket hole technique and wood glue as you did for the top braces. This consistency in joinery ensures the entire cabinet frame is robust and well-constructed, ready for the next stages of your custom bathroom cabinet project.
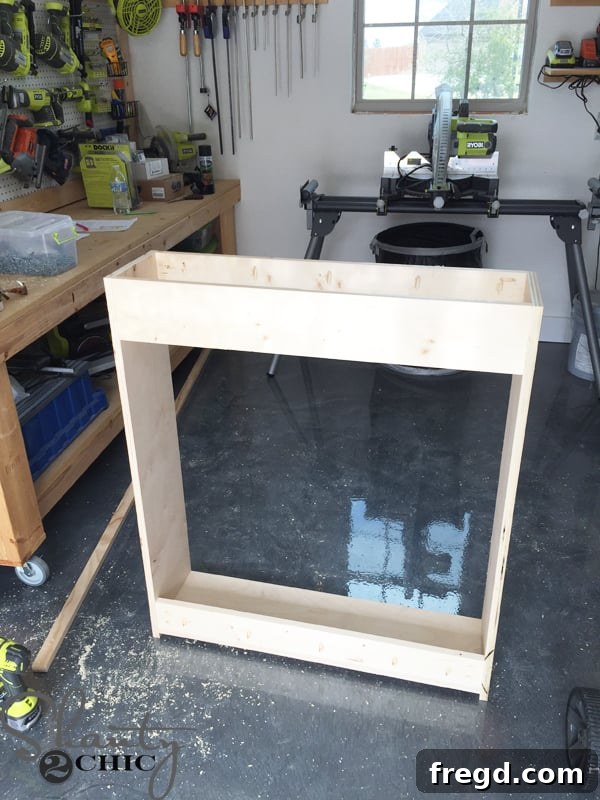
2. Crafting the Face Frame: The Cabinet’s Refined Front
The face frame is what gives your cabinet its finished, polished appearance, defining the openings for your shelves and the sliding door. I constructed the face frame using 1×2 boards, again employing 3/4″ pocket holes, wood glue, and 1 1/4″ pocket hole screws for strong, clean joints. It’s always best practice to refer to your plans and measure and cut as you go; this approach minimizes errors and ensures the best possible spacing and fit for your bathroom renovation project.
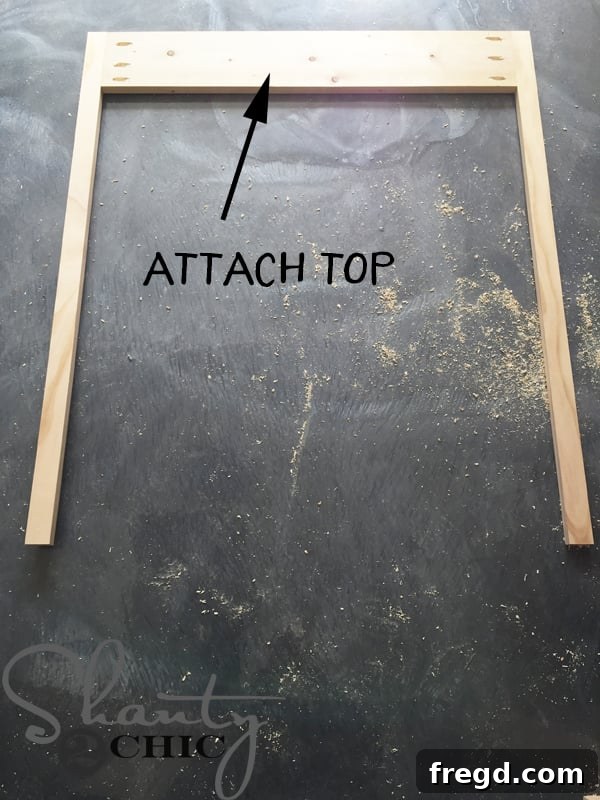
Here, you can see the face frame upside down, with its top and bottom horizontal pieces securely attached. This method allows for easier assembly and ensures accuracy.
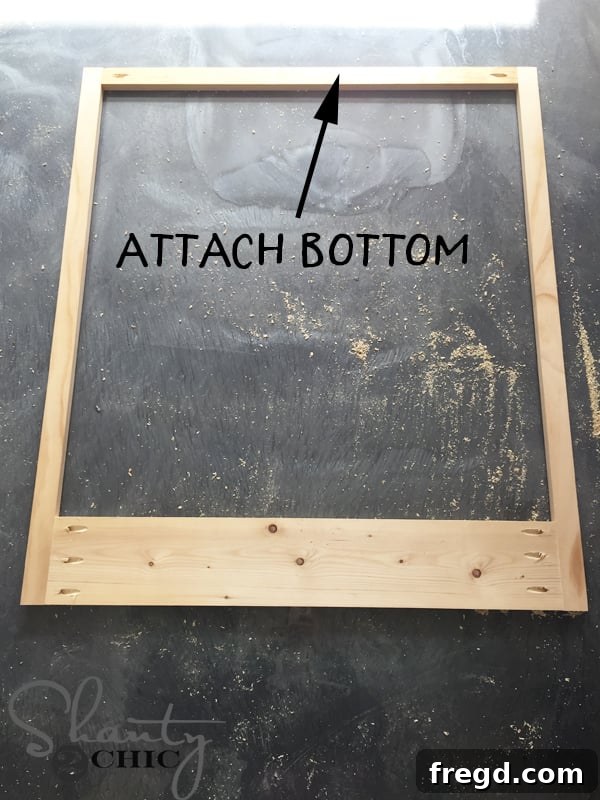
With the main horizontal elements in place, the middle vertical piece is attached next. This piece forms the divider for your open shelving area.
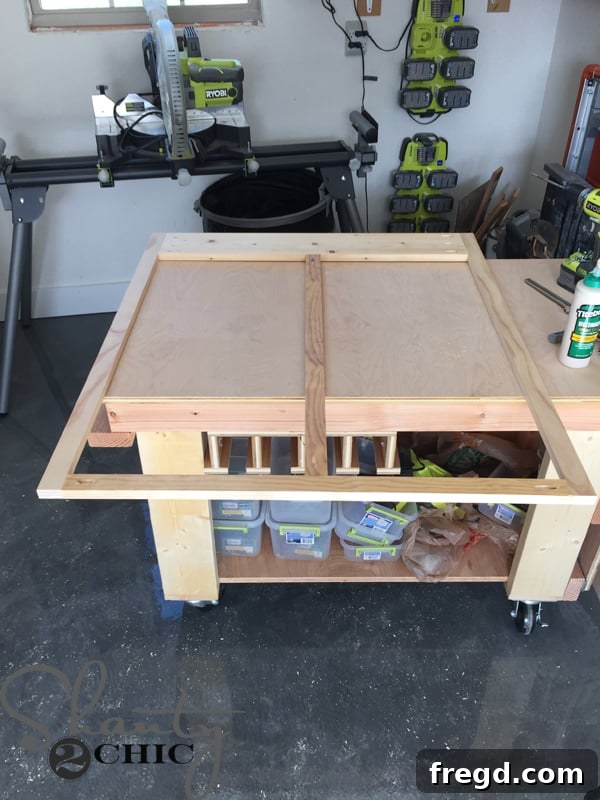
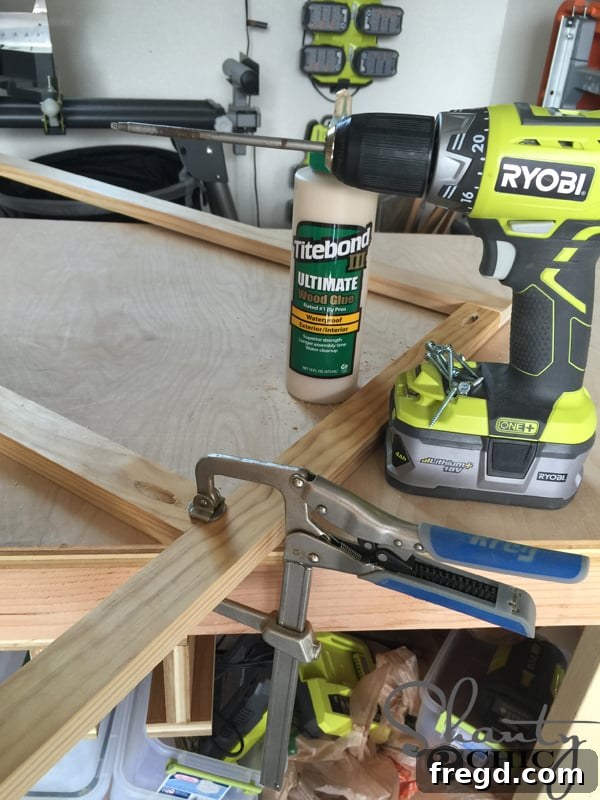
For achieving perfectly flush joints when working with 1×2 boards, I highly recommend using a Kreg Bar Clamp. This tool is invaluable for holding the boards firmly in place while you drill pocket hole screws, preventing any shifting and ensuring a clean, professional finish on your custom storage cabinet.
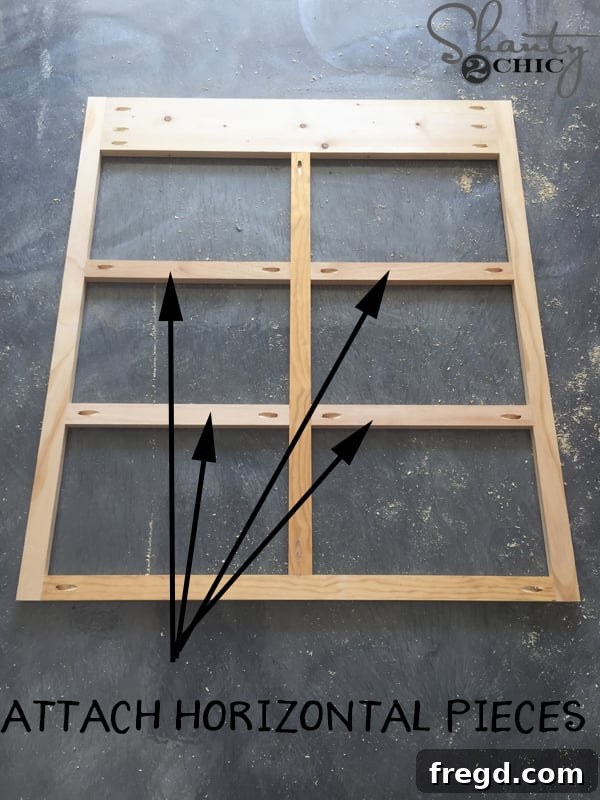
Once all the horizontal and vertical pieces are assembled, your face frame will look like this, ready to be attached to the main cabinet box. This intricate assembly creates the beautiful structure of your shelving and sliding door opening.
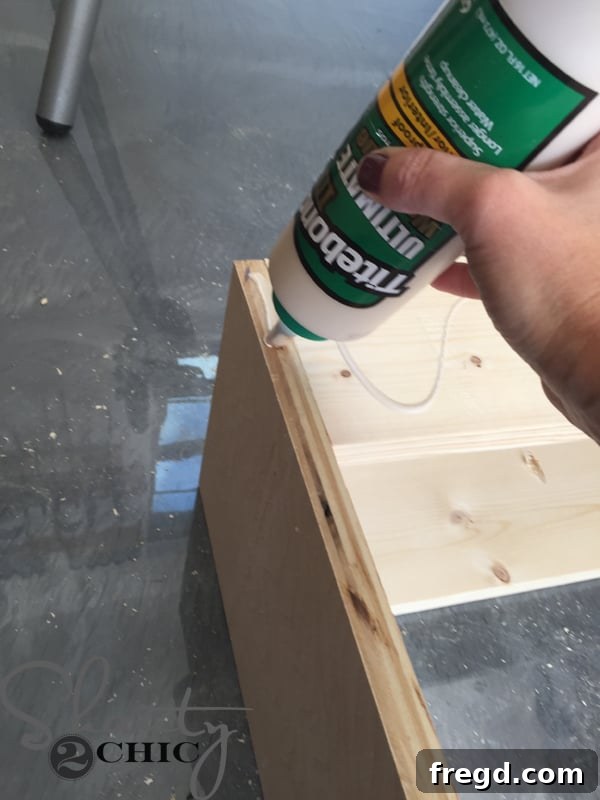
To securely attach the face frame to the cabinet box, I applied a generous bead of wood glue along the edges of the cabinet frame where the face frame would sit. Wood glue provides incredible holding power once dried, creating a durable bond.
After applying the glue, I used my Ryobi 18 gauge brad nailer to further secure the face frame to the cabinet frame. The brad nails act as clamps, holding the pieces tightly together while the wood glue sets, ensuring a strong and lasting connection for your barn door storage cabinet.
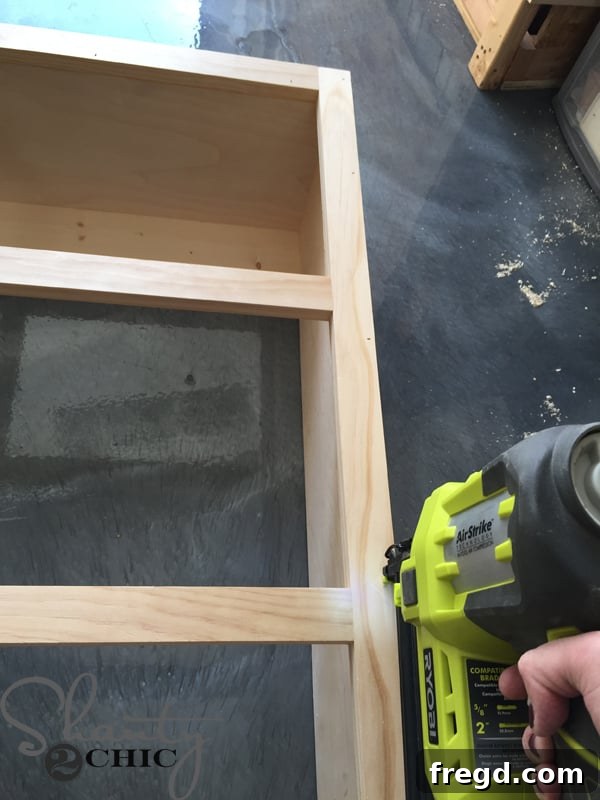
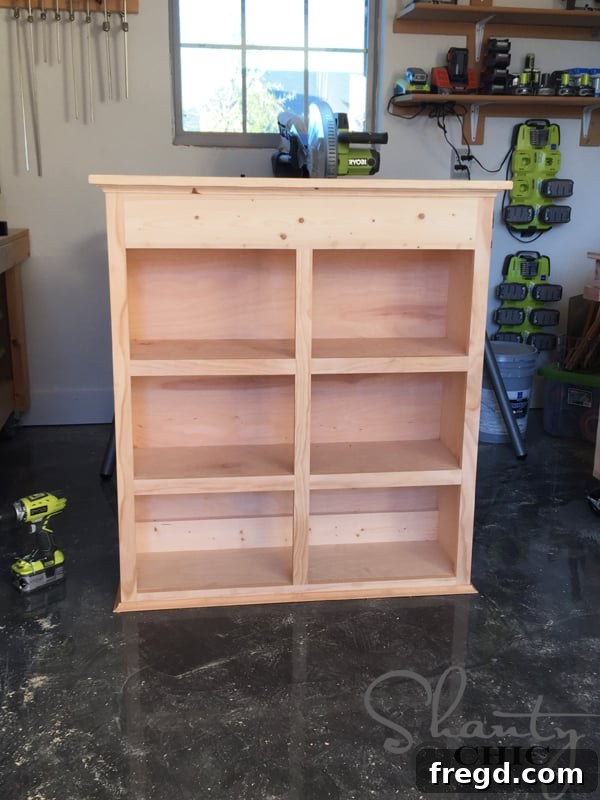
And just like that, the cabinet truly starts to take shape! The face frame adds depth and structure, transforming the basic box into a distinguished piece of furniture.
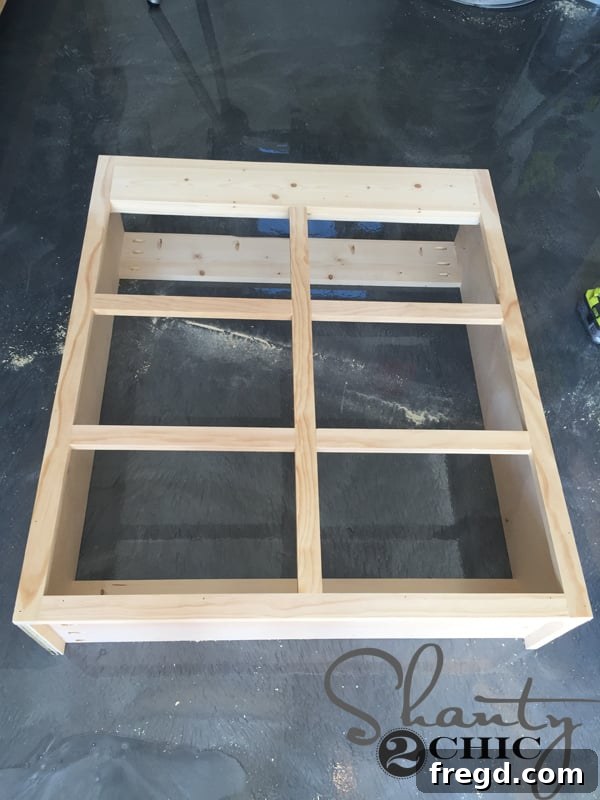
3. Installing the Top and Backing: Completing the Box
Now it’s time to add the cabinet top, which provides a functional surface and enhances the overall aesthetic. Utilize the pocket holes you previously drilled into the top braces to attach the top piece. Secure it with 1 1/4″ pocket hole screws and a good amount of wood glue. Position the back of the top piece flush with the back of the cabinet, allowing for a slight overhang on the front and sides of the cabinet for a finished look. This overhang adds a touch of elegance and practicality to your custom bathroom furniture.
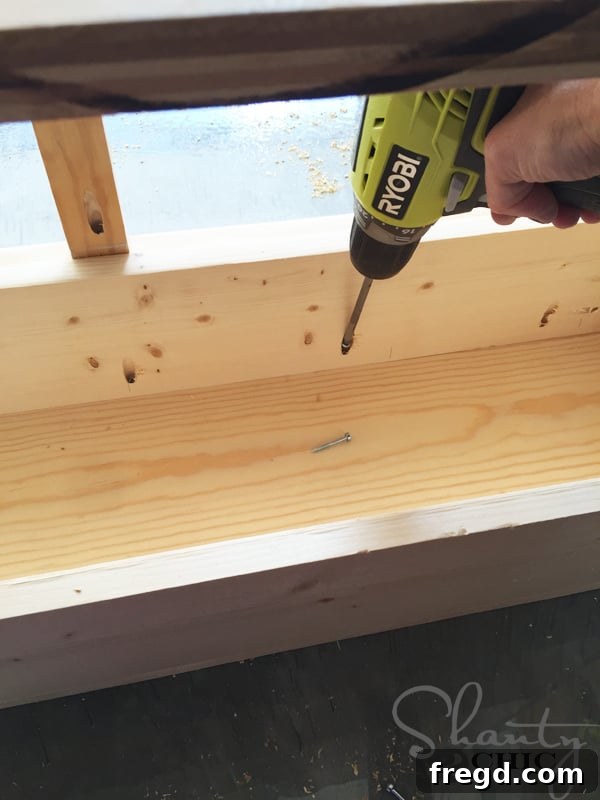
With the top securely attached, the cabinet’s main structure is nearly complete, showcasing its potential as a beautiful and functional storage solution.
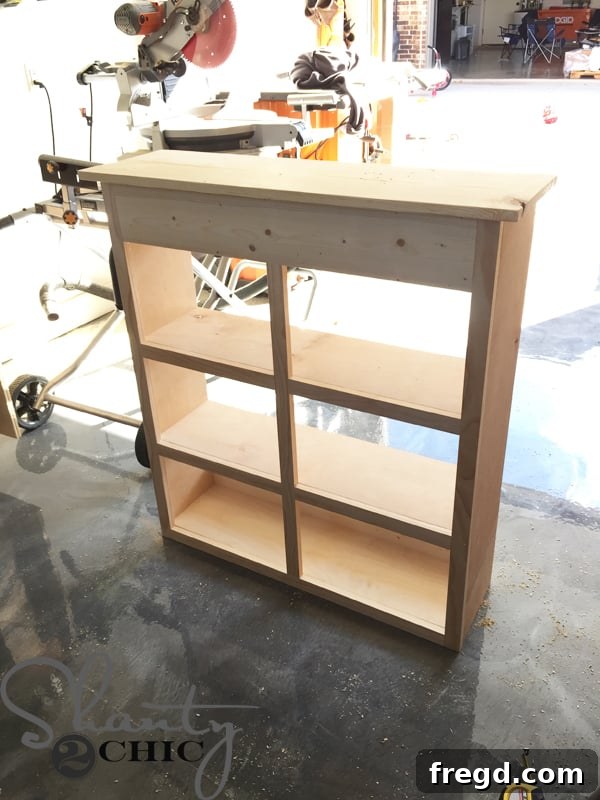
Next, we move to the backing. I attached the backing using 3/4″ staples and my Ryobi 18 gauge crown stapler. While finish nails can be used, staples are generally preferred for attaching thin backing material because they offer a wider grip, ensuring the board stays securely in place without splitting. This step solidifies the cabinet box and prepares it for the finishing touches.
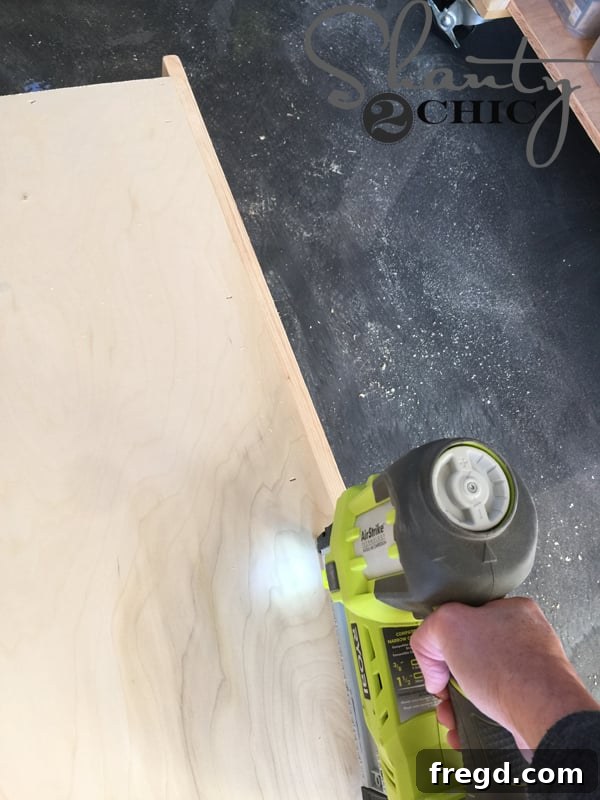
The backing is now fully attached, and your cabinet box is robust and complete. This brings us to the exciting part: adding the decorative trim to elevate the cabinet’s appearance!
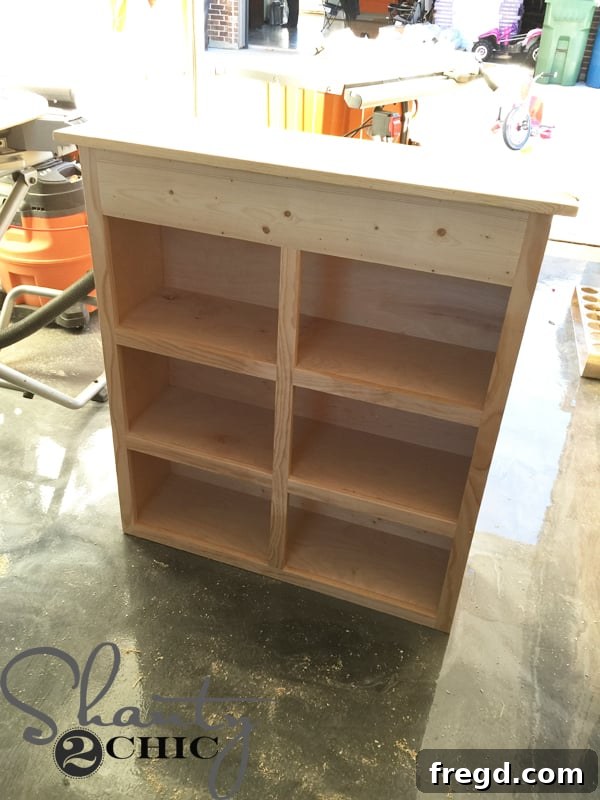
4. The Decorative Touch: Installing Cove Molding Trim
Trim work adds that final, professional flourish to any piece of furniture, and this DIY barn door cabinet is no exception. Always measure and cut your trim pieces as you go to ensure precise fits, especially with mitered corners. I used THIS cove molding, readily available at Home Depot. For mitered corners, start by making your first 45-degree cut on one end of the molding strip.
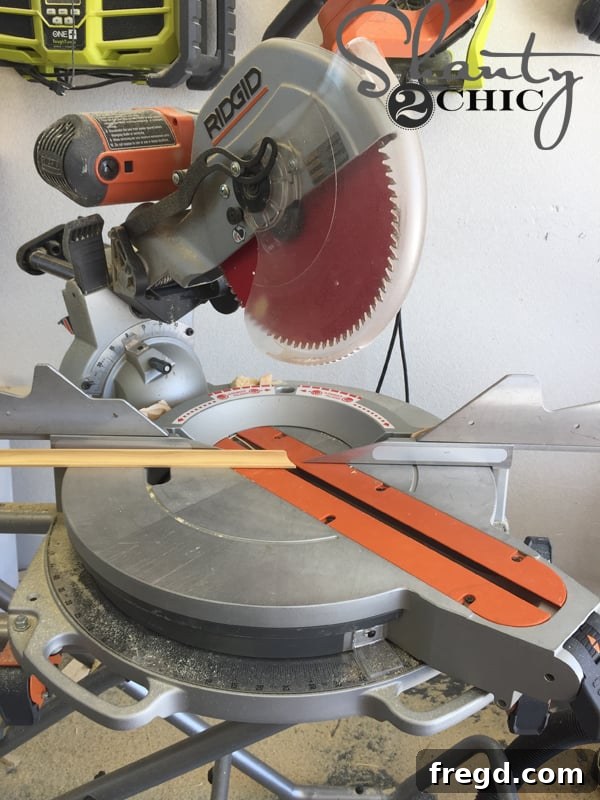
After the first cut, position the molding against the cabinet and mark precisely where the opposing 45-degree cut needs to be made. Accuracy here is key for tight, seamless corners.
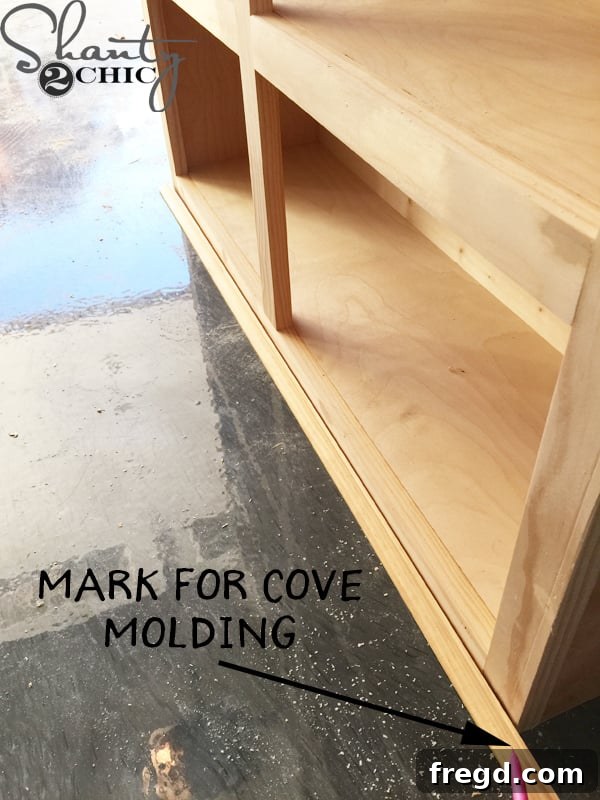
Then, swing your miter saw arm to the opposite 45-degree mark and make your second cut. For detailed guidance on this technique, be sure to Watch our How to Use a Miter Saw video HERE!
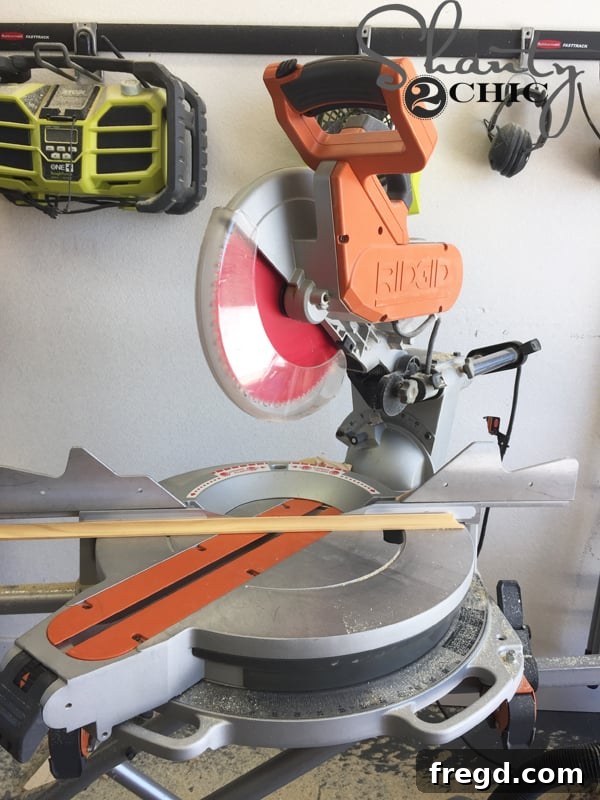
To attach the bottom cove molding, I found it easiest to flip the entire cabinet upside down. Apply wood glue to the back of the molding and secure it with your brad nailer, using 5/8″ brad nails for trim work. These smaller nails hold the trim firmly without being overly conspicuous.
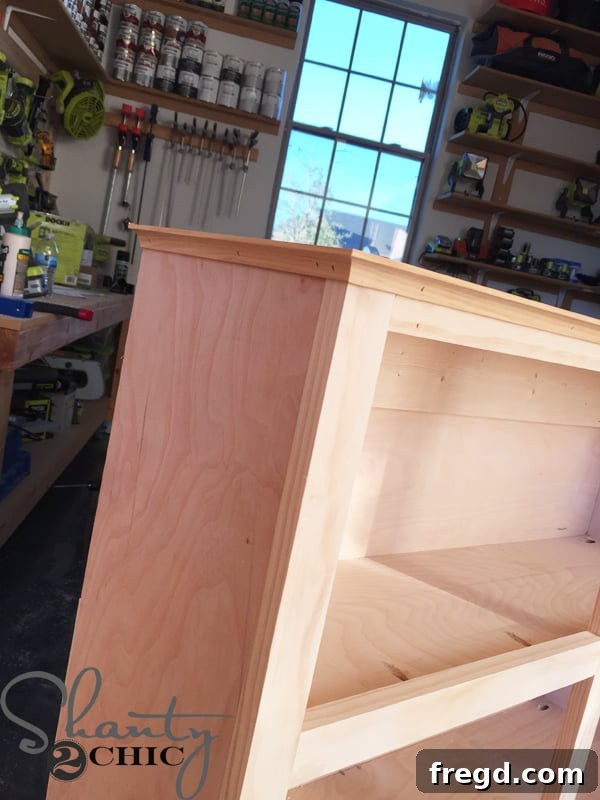
Repeat the same process for attaching the top cove molding. Maintain consistency in your cuts and attachment method for a cohesive look.
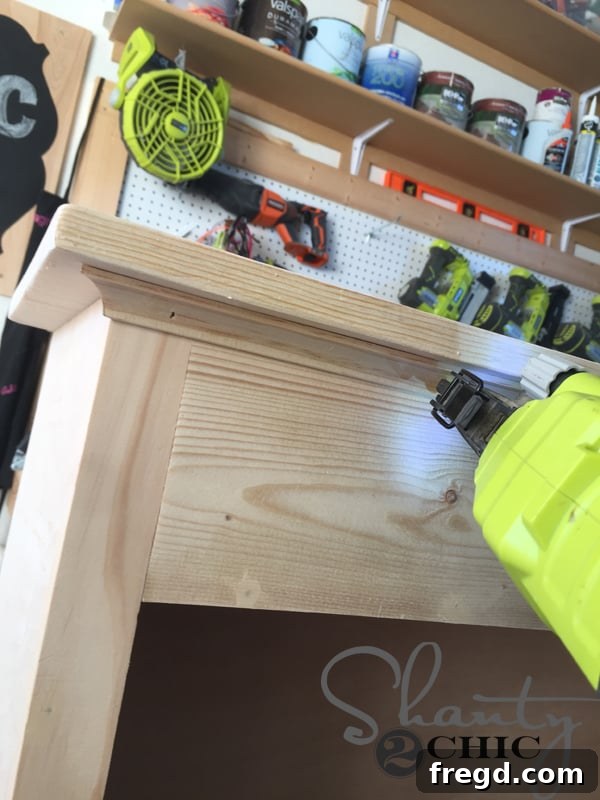
When trimming the sides, I always attach the front piece first. For the side pieces, make the initial 45-degree cut that meets the front trim, then mark where the straight “square” cut (0 degrees) will be on the other end. This allows the side trim to butt cleanly against the wall or adjoining surface, perfecting the look of your DIY bathroom cabinet.
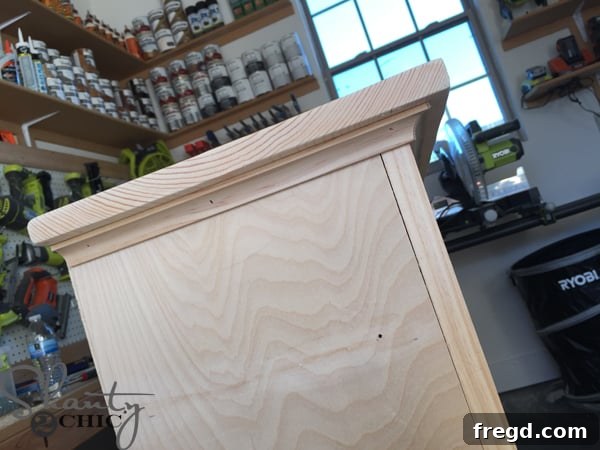
Finally, to achieve a flawlessly smooth finish, fill all visible nail holes with wood filler. Once dry, sand the filled areas smooth, preparing the cabinet for painting. This step is crucial for a professional, factory-finished appearance.
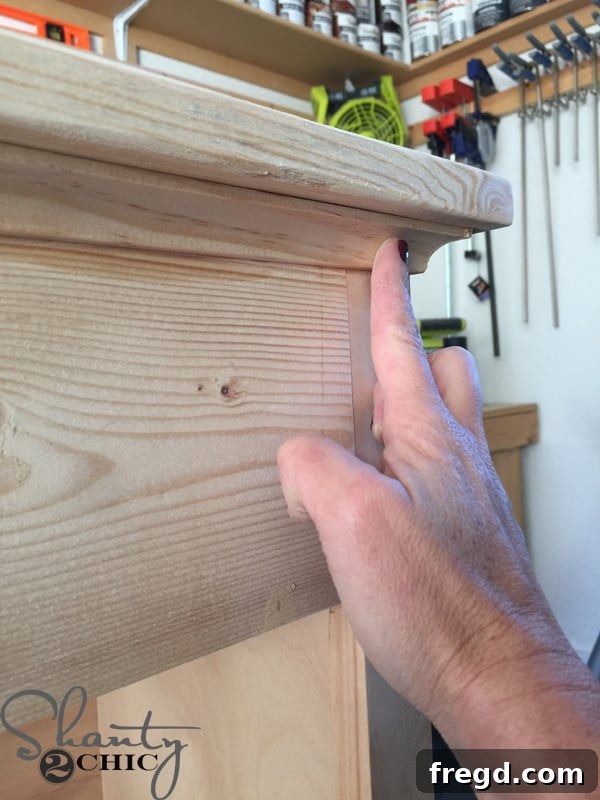
5. Preparing for Finish: Sanding and Painting
With all the construction complete and nail holes filled, your bathroom cabinet DIY project is ready for paint! Lightly sand all surfaces to ensure they are smooth and free of imperfections. Then, wipe away any dust with a tack cloth. For paint, I opted for a latex paint, custom-matched to my existing trim paint. My personal favorites are Cozy Cottage by Behr or Ivory Lace by Valspar – both offer a warm, inviting, and clean look that perfectly complements the rustic elegance of the barn door.
6. Building the Sliding Barn Door: The Cabinet’s Signature Feature
The barn door is undoubtedly the star of this sliding barn door storage cabinet. I crafted it using beautiful Blue Stained Pine from Home Depot. This wood has a unique grey tint that is absolutely stunning even without a finish, offering a natural rustic charm. Since it’s tongue and groove, I used my table saw to rip off the edges, creating flat-edged planks suitable for assembly. I then assembled the door using 3/4″ pocket holes and 1 1/4″ pocket hole screws. To ensure all planks remained perfectly flush during assembly, I relied on my trusty Kreg Face Clamp – an essential tool for creating seamless panel constructions.
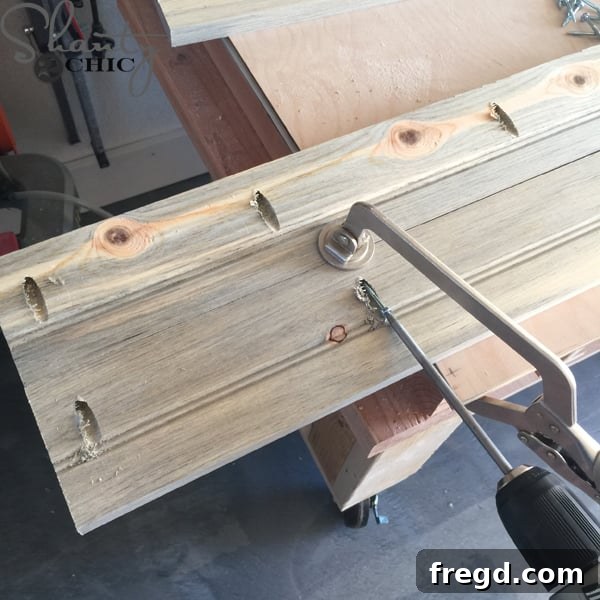
Here’s a view of the back side of the door, showcasing the robust pocket hole construction that provides its strength and durability.
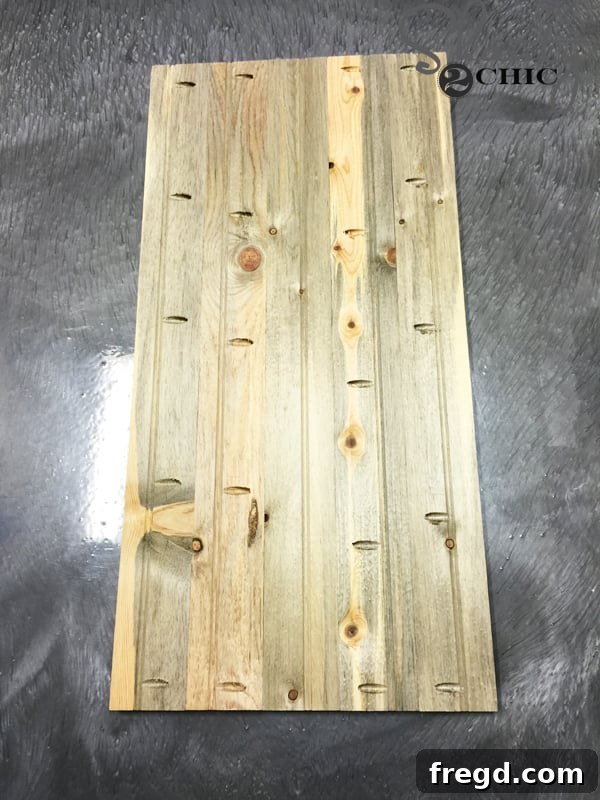
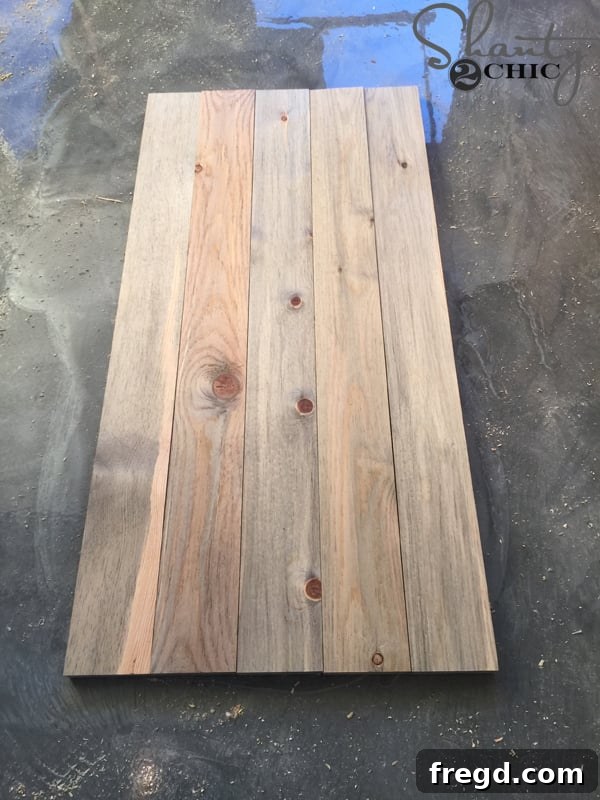
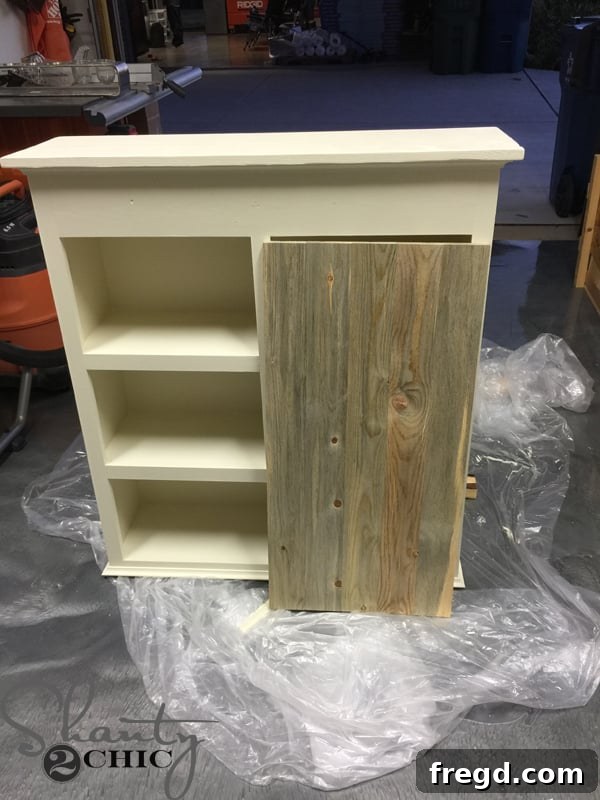
And now, the gorgeous front! Isn’t that Blue Stained Pine just stunning? Its natural variations and grey hues make each door unique and full of character, truly elevating the DIY barn door cabinet.
7. Installing Custom Hardware: The Signature Element
The hardware is where the magic truly happens, transforming a simple door into a functional, beautiful sliding barn door. For this piece, we were incredibly fortunate to have our super talented friend, Tyler Wayne, create custom hardware. You might remember his exceptional work from our HGTV Pilot, Open Concept, where he crafted a metal coffee table frame and two full-sized sliding barn doors. Tyler is incredibly gifted, and he runs an amazing Etsy shop featuring a variety of custom-built pieces. You can explore his creations HERE and order the specific cabinet sliding door hardware kit for this project HERE!
Installing the hardware was straightforward. I used black construction screws to firmly attach the custom tracks and rollers to the cabinet and door. The black screws complement the rustic, industrial feel of the hardware perfectly, creating a cohesive and stylish look for your custom barn door storage.
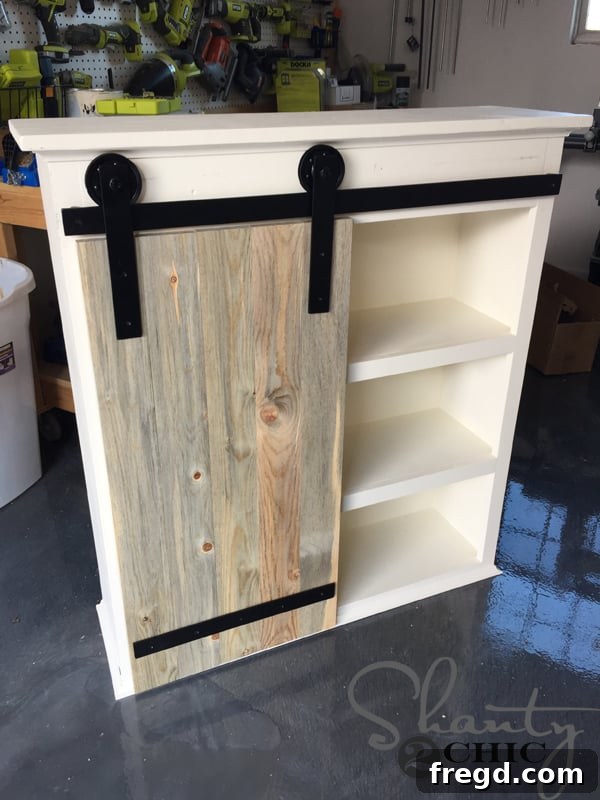
8. Hanging Your Masterpiece: Secure Installation
For hanging heavy items like this DIY bathroom cabinet, my absolute go-to method is a French cleat. This system offers exceptional stability and makes the hanging process significantly easier and safer. A French cleat consists of two interlocking pieces, one attached to the wall and one to the back of the cabinet, both cut at opposing 45-degree angles. This allows the cabinet to simply drop into place, creating a secure hold that distributes weight effectively. You can purchase a reliable French cleat HERE.
With the French cleat installed on both the wall (into studs for maximum security) and the cabinet, hanging your new storage solution is surprisingly simple. Just align the two cleat pieces and lower the cabinet until they interlock. That’s it! Your stunning sliding barn door bathroom cabinet is now securely in place, ready to be filled and admired.
Design & Functionality: The Best of Both Worlds
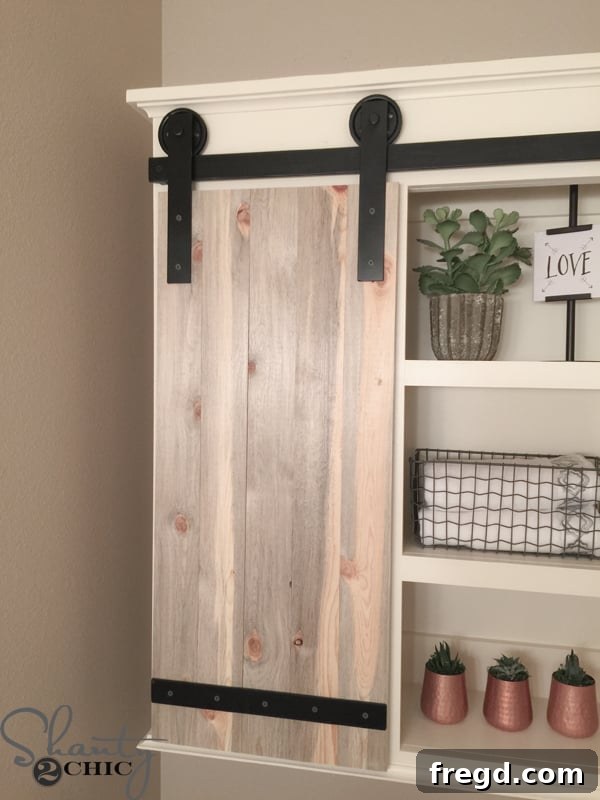
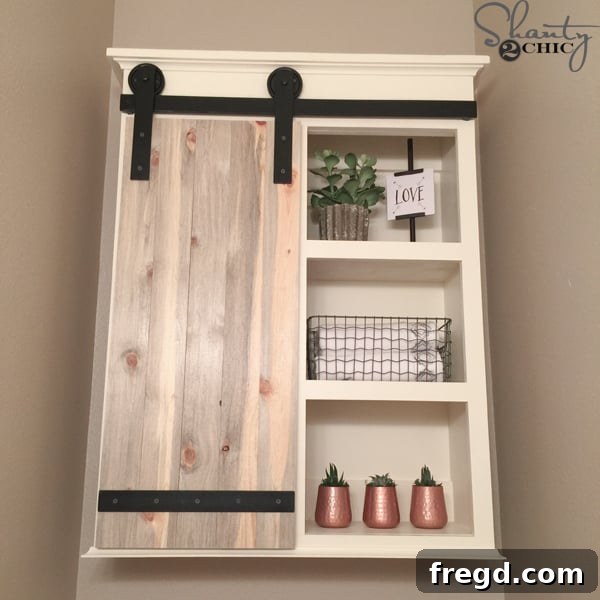
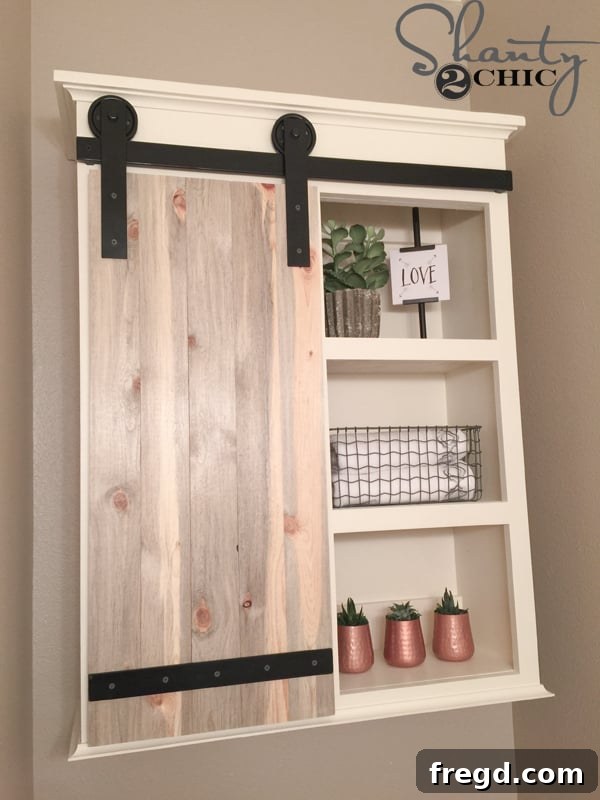
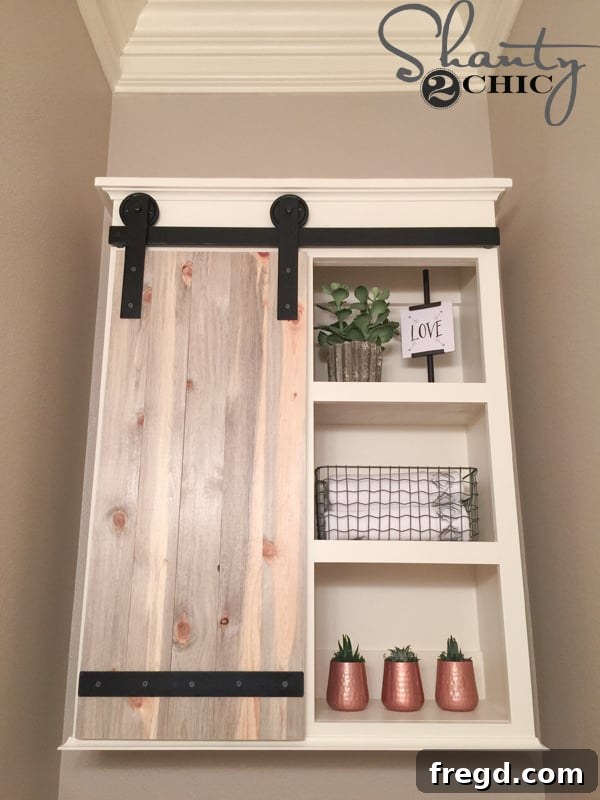
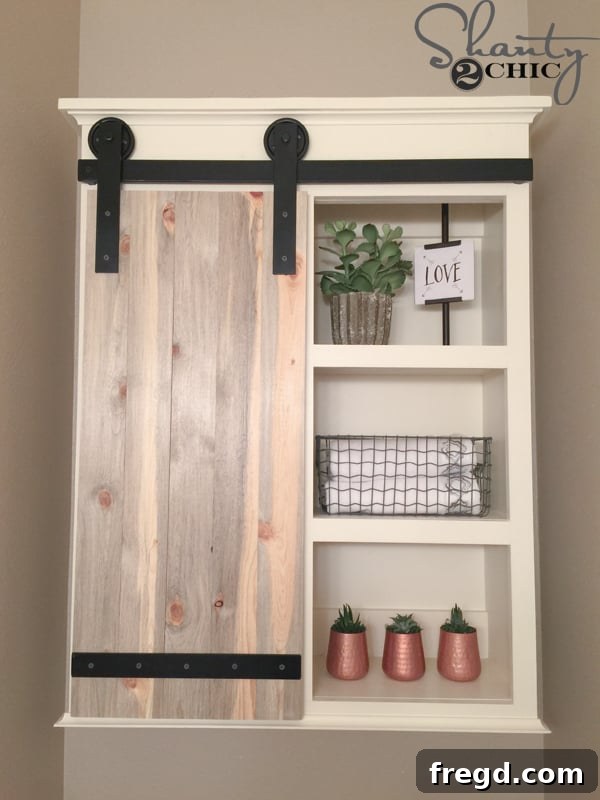
The true genius of this DIY barn door cabinet lies in its thoughtful design, perfectly balancing open display areas with discrete storage. I absolutely love having the open shelving to decorate with personal touches, charming plants, or beautifully folded towels, allowing me to inject personality into the bathroom space. Yet, with a simple slide of the barn door, I also have a dedicated, hidden place to store practical necessities like extra toilet paper, cleaning supplies, or personal hygiene items that don’t need to be on public display. This dual functionality ensures your bathroom remains both aesthetically pleasing and impeccably organized.
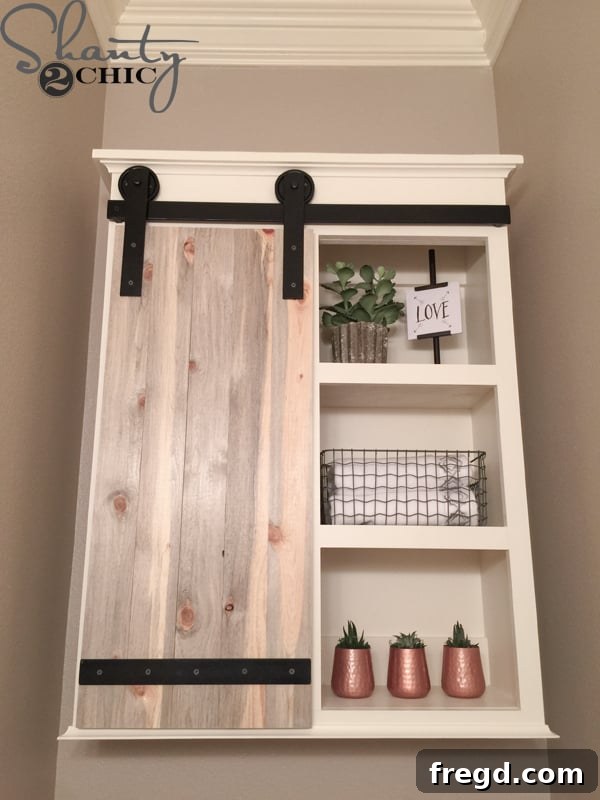
One look…
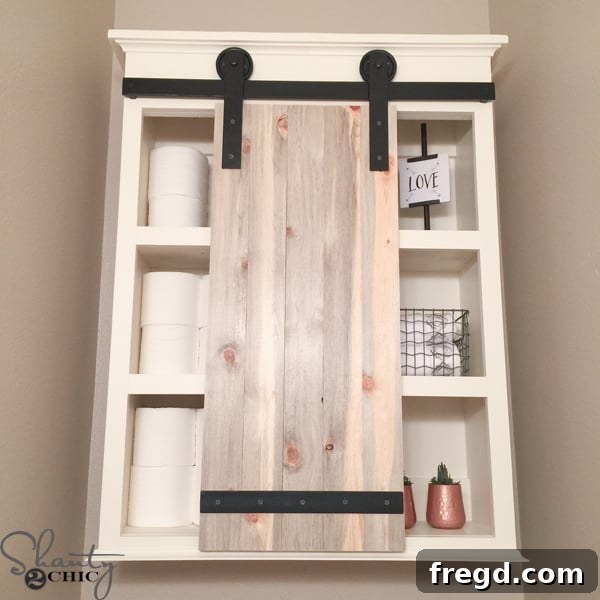
Two looks…
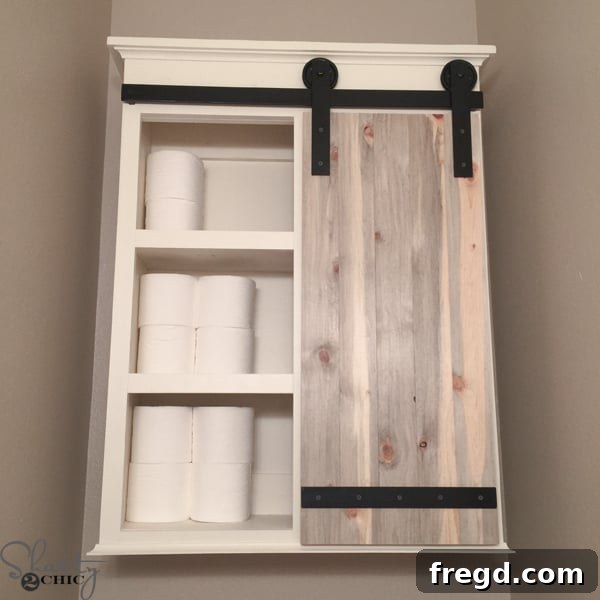
Three! We absolutely LOVE it!
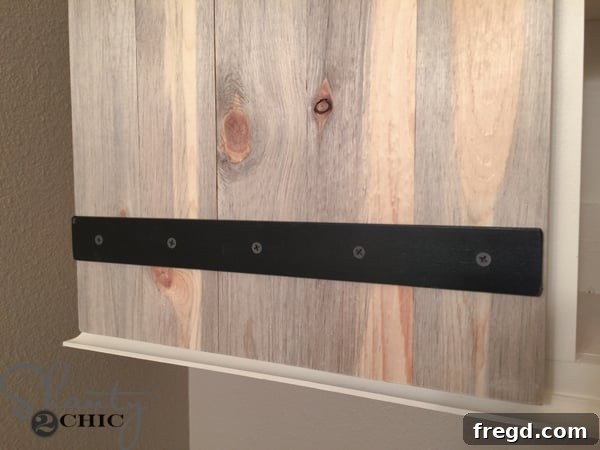
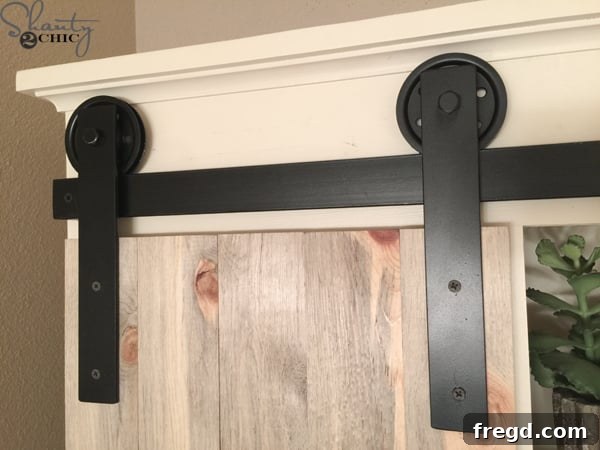
Conclusion: Elevate Your Bathroom with DIY Charm
Building your own Sliding Barn Door Bathroom Cabinet is more than just a woodworking project; it’s an opportunity to infuse your home with personalized style, functional design, and the undeniable satisfaction of a job well done. From the precise pocket hole joinery to the elegant cove molding and the rustic charm of the custom barn door hardware, every step contributes to a truly unique and impactful piece of furniture. This cabinet proves that you don’t need a huge budget or extensive experience to create something beautiful and practical for your home.
We hope this detailed tutorial and our free printable plans inspire you to pick up your tools and create this fantastic bathroom organization solution. Not only will you gain valuable storage, but you’ll also add a significant design element that enhances the overall aesthetic of your bathroom. Dive into the world of DIY, unleash your creativity, and enjoy the lasting beauty and utility of your handmade sliding barn door cabinet. Happy building!