
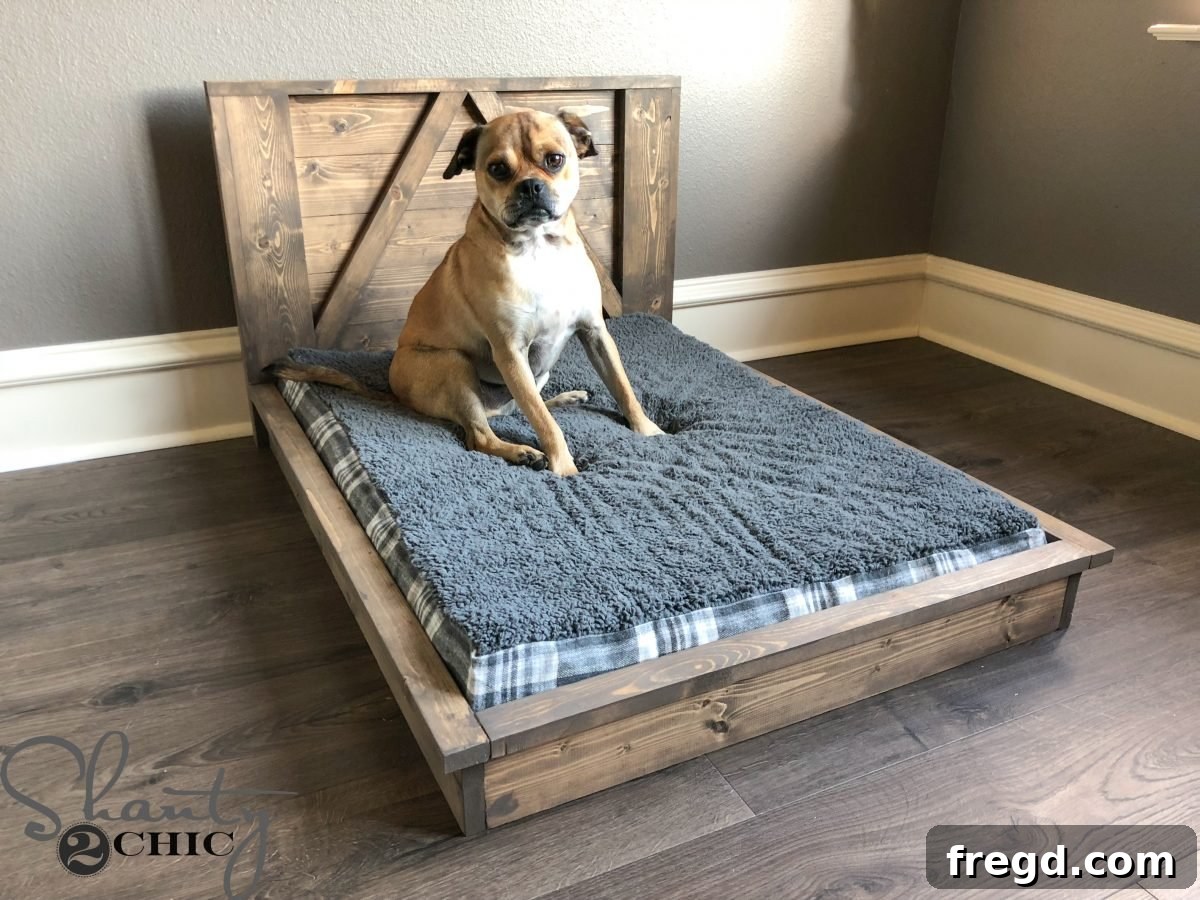
For years, we’ve poured our creativity into building custom furniture for our children, creating cozy spaces for them to grow. Yet, in our crafting endeavors, we realized we had overlooked a crucial member of our family: Man’s Best Friend! It was time to give our beloved canine companions the same dedication. But this couldn’t be just any dog bed; it had to embody our signature “Shanty Style” – a blend of rustic charm, farmhouse elegance, and practical design. And so, the idea for a DIY Farmhouse Dog Bed was born. We’re thrilled to share this project with you, offering a comfortable, stylish, and durable retreat for your furry friend that will seamlessly blend with your home decor.
Click the play button above to watch the full step-by-step video tutorial for this DIY Farmhouse Dog Bed! It provides a visual guide to complement our detailed instructions below.
When designing this custom dog bed, our primary goal was to ensure maximum comfort and a perfect fit for a standard large dog mattress. We meticulously planned the dimensions to accommodate this specific mattress, ensuring a snug and secure fit. Achieving the right proportions is essential for both aesthetic appeal and your pet’s comfort.
You can find the exact dog mattress we used for this project HERE. We highly recommend selecting your mattress first, as its dimensions will dictate the precise measurements for your lumber cuts. This approach guarantees that your finished dog bed will be a perfect, cozy haven for your furry companion.
Why Build a DIY Farmhouse Dog Bed?
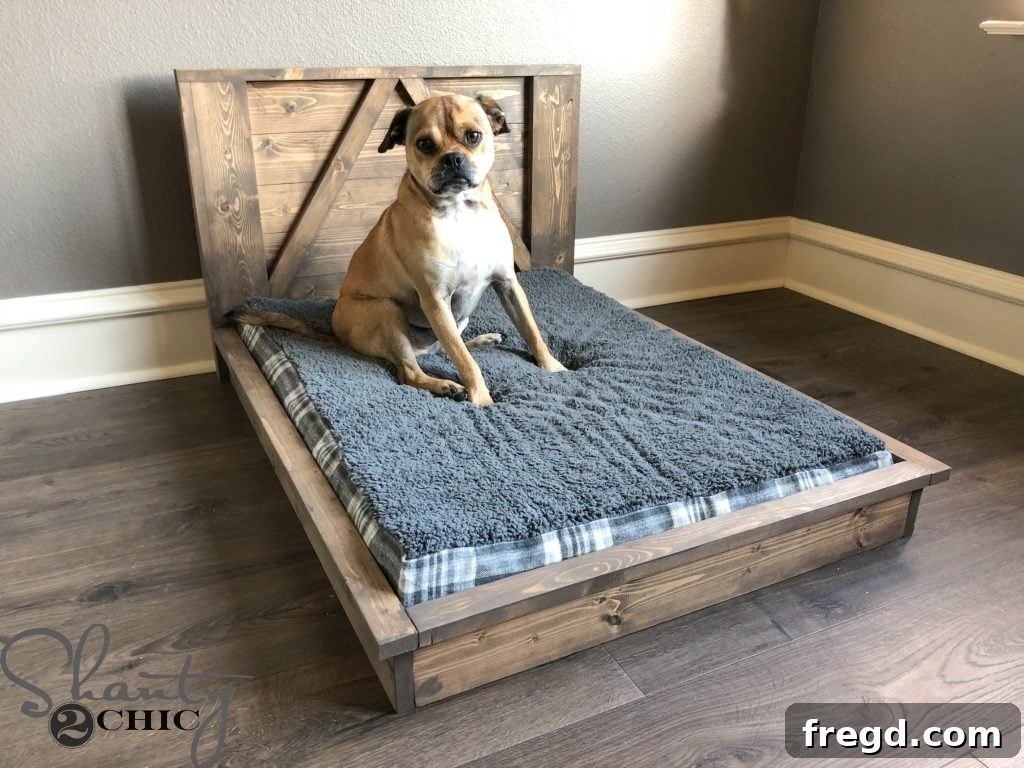
Building your own dog bed offers a multitude of benefits over purchasing a store-bought alternative. Beyond the immense satisfaction of creating something with your own hands, a DIY project like this provides unparalleled opportunities for customization and significant cost savings. We completed this entire project for around $60 in lumber, a fraction of the cost of comparable designer dog beds found in retail stores.
A “Shanty Style” dog bed adds a touch of rustic elegance and warmth to any home. Its classic design, characterized by clean lines and natural wood finishes, ensures it complements a variety of decor styles, from traditional farmhouse to modern rustic. Moreover, tailoring the size and finish to your specific needs means your pet’s new bed will be a perfect fit, both for them and for your living space.
This project is surprisingly fun and straightforward, making it an ideal endeavor for both seasoned DIY enthusiasts and those just beginning their woodworking journey. With our detailed plans and step-by-step instructions, you’ll be amazed at what you can achieve!
Essential Tools and Materials for Your Farmhouse Dog Bed
Before you dive into building, gathering all your tools and materials is crucial for a smooth and efficient construction process. Preparation is key to a successful DIY project, ensuring you have everything at hand when you need it.
Materials List:
- Lumber:
- 1×2 and 1×4 pine boards (specific lengths will be detailed in the plans, but plan for several pieces for headboard, sides, and trim)
- Wood for mattress slats (can be thinner plywood strips or inexpensive furring strips)
- Adhesives:
- High-quality wood glue (for strong, lasting bonds) – Consider a Glue Bot for easy application!
- Fasteners:
- 1 1/4″ finish nails (for most assembly steps)
- 2 1/2″ finish nails (for attaching the headboard to the frame for extra stability)
- Finishing Supplies:
- Wood stain (we used a beautiful farmhouse-appropriate shade, find it HERE)
- Protective polyurethane finish (for durability and easy cleaning, find the one we used HERE)
- Sandpaper (various grits, 120-220 for smooth finish)
- Clean rags or brushes for stain and poly application
- Dog Mattress:
- Choose your desired size first! We designed ours for a large grey mattress, which you can find HERE.
Tools List:
- Miter saw or circular saw (for accurate cuts)
- Tape measure
- Pencil
- Nail gun (pneumatic or electric, for finish nails) or hammer
- Drill (for pilot holes if hand-nailing to prevent splitting)
- Clamps (essential for holding pieces together while glue dries or nails are driven)
- Safety glasses and ear protection (always prioritize safety!)
DIY Farmhouse Dog Bed – Free Printable Plans
To make this project as accessible as possible, we’ve created detailed, free printable plans. These plans include precise cut lists, diagrams, and measurements to guide you through every step of the process. They are an invaluable resource for ensuring accuracy and ease of construction.
You can download the comprehensive free printable plans right here:
DOWNLOAD THE FREE PRINTABLE PLANS HERE
Additionally, you can follow along with our step-by-step visual and written instructions below, which complement the plans perfectly.
Step-by-Step Building Guide: Your Farmhouse Dog Bed
Let’s get started on building this beautiful and functional piece of pet furniture. Remember to work carefully and precisely, checking your measurements at each stage.
DIY Farmhouse Dog Bed – Headboard Sides Assembly
The first crucial step involves assembling the “L” shaped pieces that will form the sturdy sides of your headboard. This assembly provides the foundational structure for the headboard’s decorative slats.
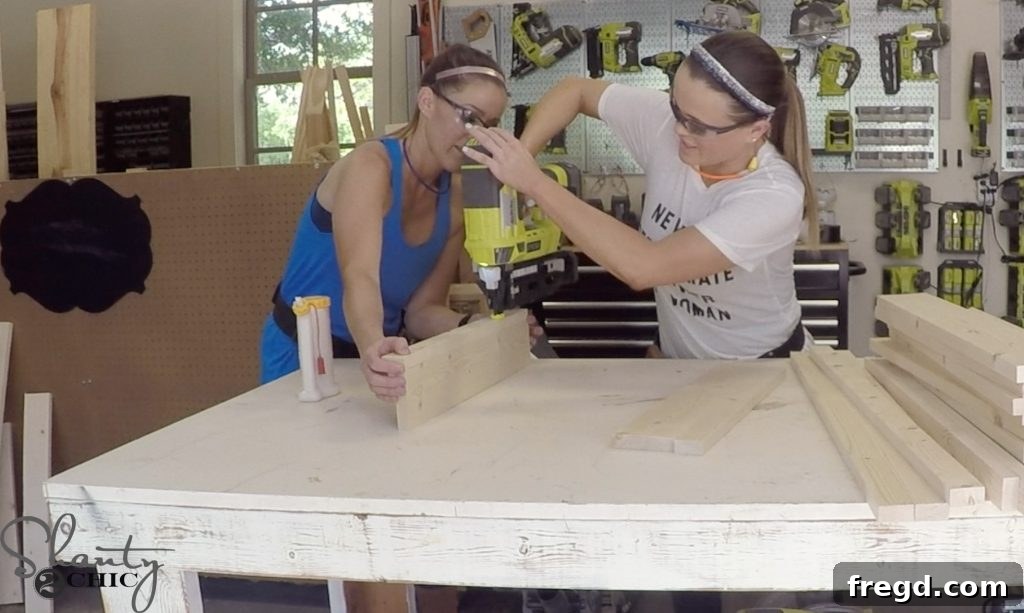
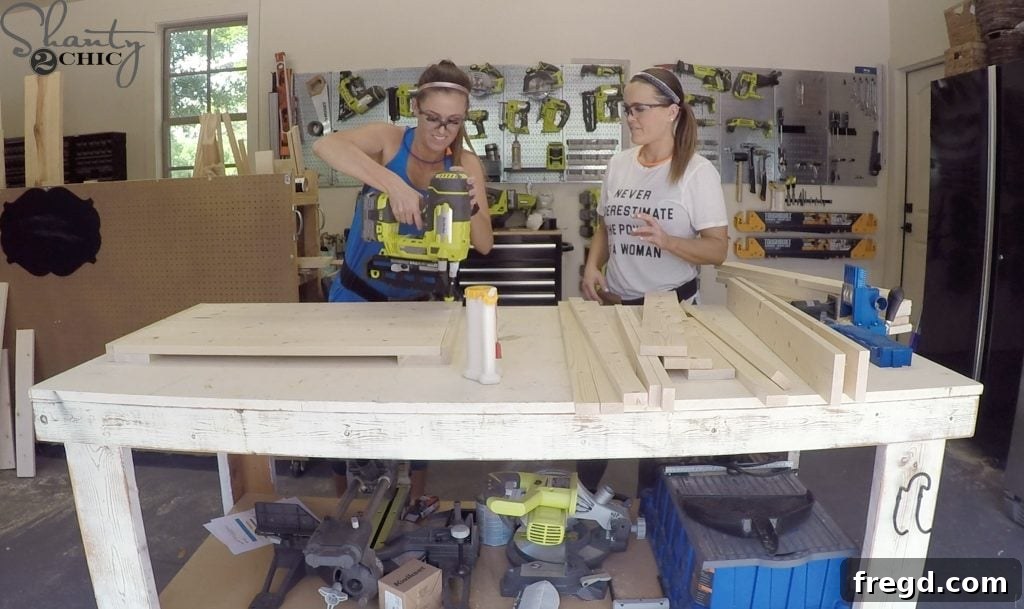
Carefully attach a 1×2 board to a 1×4 board, ensuring they form a perfect “L” shape. Apply a generous bead of wood glue along the edge where the two boards meet, then secure them with 1 1/4″ finish nails. Use clamps to hold the pieces firmly in place while you nail, ensuring a tight bond and precise alignment. Repeat this process to create two identical “L” shaped assemblies. These will act as the vertical supports for your headboard.
Attaching the Headboard Slats
With your “L” shaped sides ready, it’s time to add the headboard slats. These slats will give your dog bed that distinctive farmhouse look.
Position the headboard slats horizontally across the back of the two “L” pieces. Ensure they are evenly spaced and level. Secure each slat to the “L” pieces using 1 1/4″ finish nails and wood glue. The glue provides extra strength, while the nails hold everything in place while the glue dries. Pay attention to consistent spacing for a polished aesthetic.
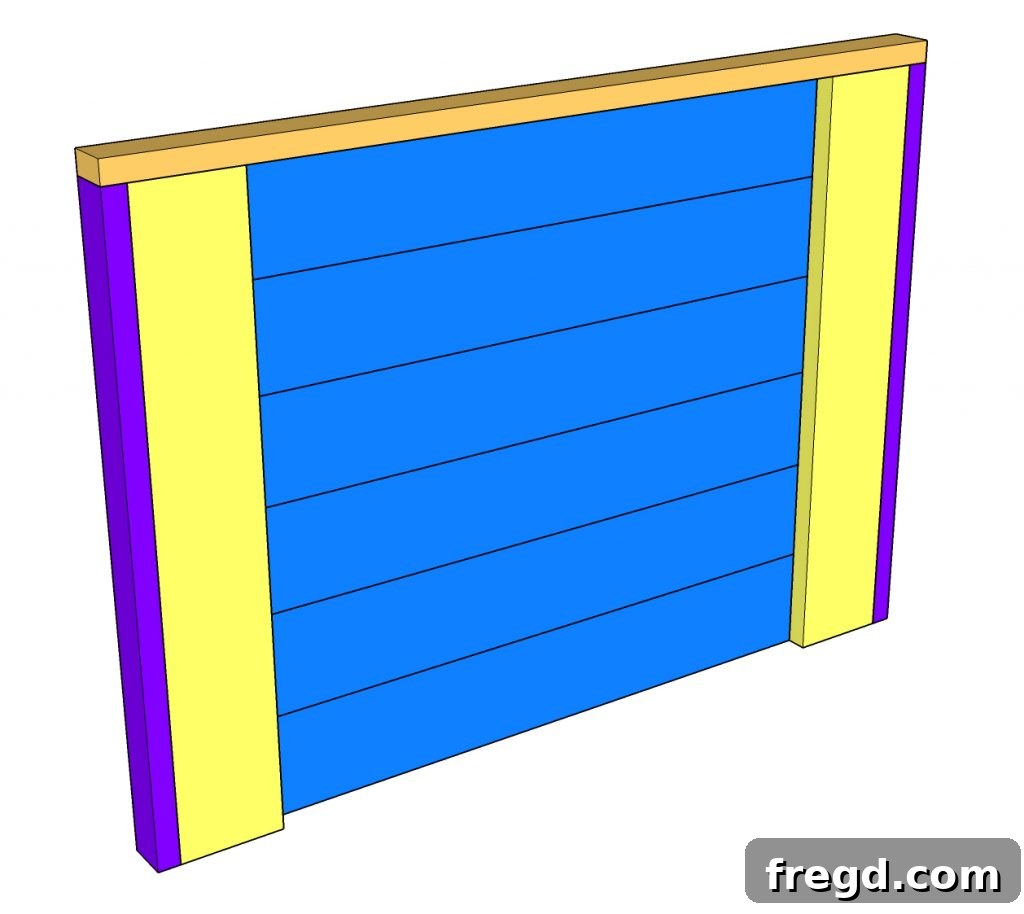
Adding the Top Headboard Trim
Once the slats are attached, flip the headboard over to work on the front. Now, you’ll add a trim piece to the very top, giving it a finished and substantial look.
Measure the exact length required for the top trim piece. Cut your wood to size with precision. Apply wood glue to the top edge of the headboard assembly, then carefully align and attach the trim piece using 1 1/4″ finish nails. This trim piece will cap off the headboard, providing a clean and decorative edge.
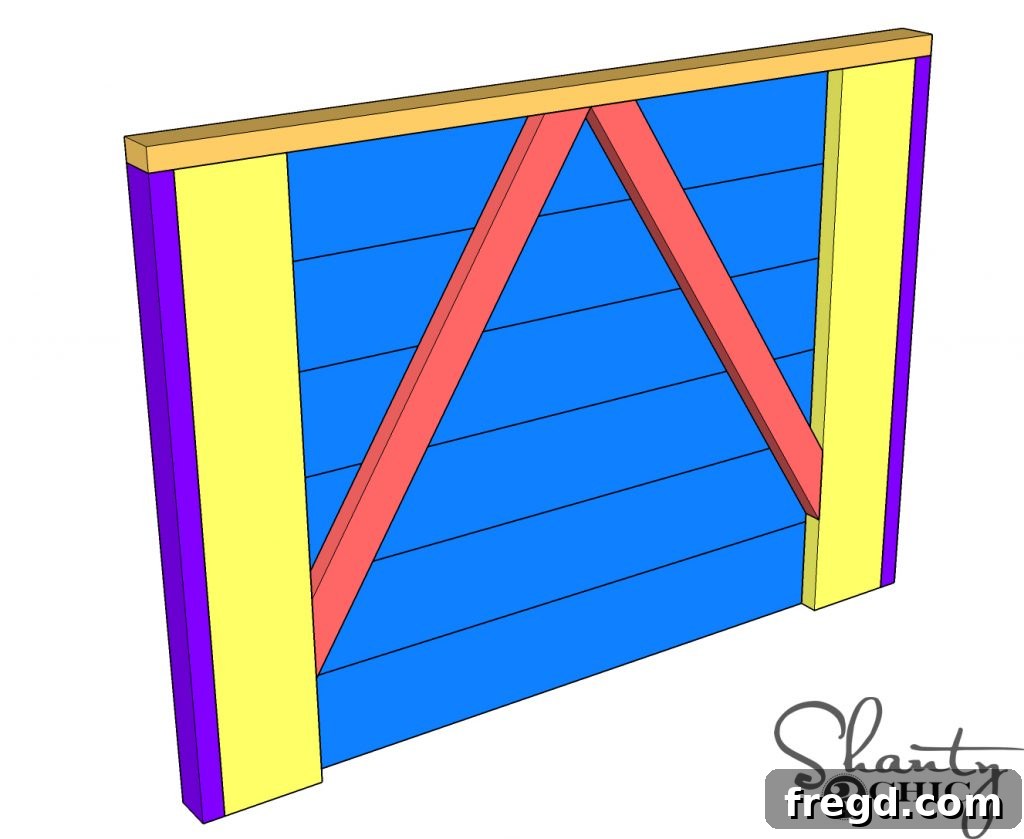
Installing the Decorative Diagonal Trim
To enhance the farmhouse aesthetic and add a touch of unique character, we’ll now install the diagonal trim pieces on the headboard. This detail truly sets the “Shanty Style” apart.
Measure and cut your diagonal trim pieces to the appropriate length and angle. Center them carefully on the top section of the headboard, creating a visually appealing pattern. Apply wood glue to the back of each diagonal piece and secure them firmly with 1 1/4″ finish nails. Ensure symmetrical placement for the best visual impact.
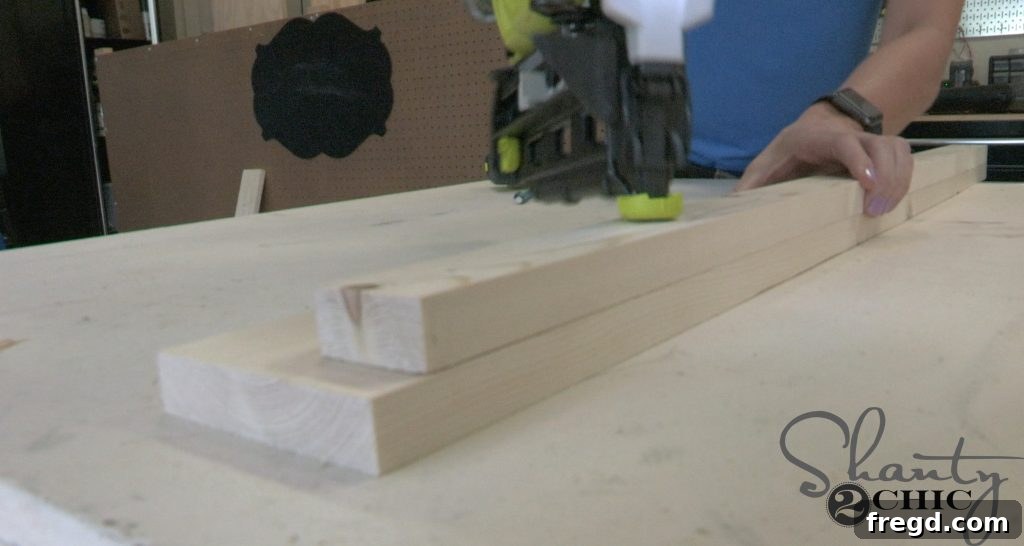
Assembling the Side Cleats
The cleats are essential components that will support the mattress slats. Accurate placement is crucial for the stability and durability of the bed frame.
Attach a cleat (a long, sturdy piece of wood) to one of the side pieces of your bed frame. Use wood glue and 1 1/4″ finish nails to secure it. It is vital that the headboard end of the cleat is perfectly flush with the end of the side piece. This ensures a clean joint when the headboard is finally attached. Repeat this step for both side pieces, creating two mirror-image assemblies.
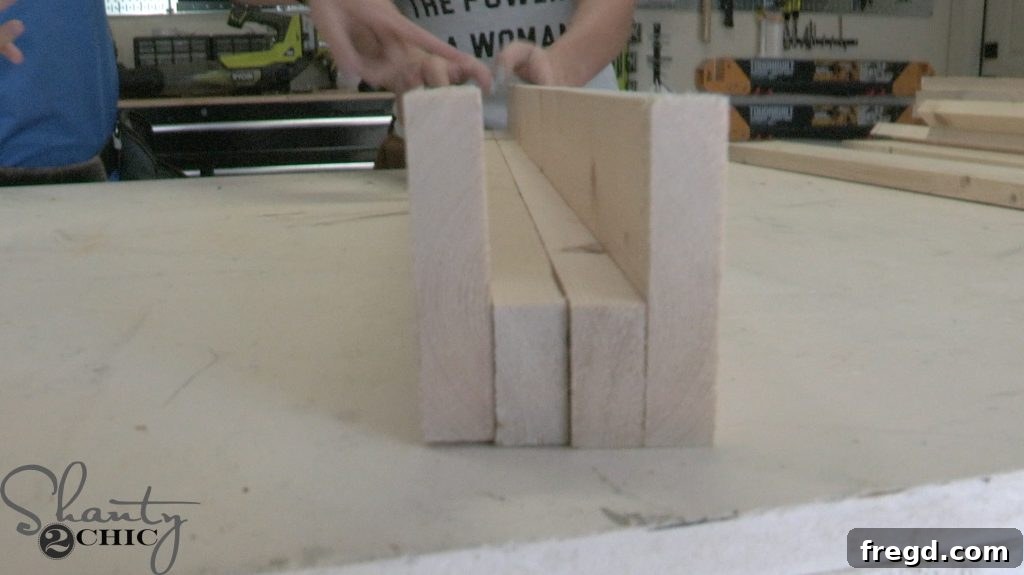
DIY Farmhouse Dog Bed – Cleat Assembly Tip
Important Note: When assembling these cleat-to-side piece units, ensure they are mirror images of each other. This means if one cleat is on the left side of a side piece, the other cleat should be on the right side of its corresponding side piece. This symmetrical construction is necessary for the bed frame to fit together correctly and provide balanced support for the mattress.
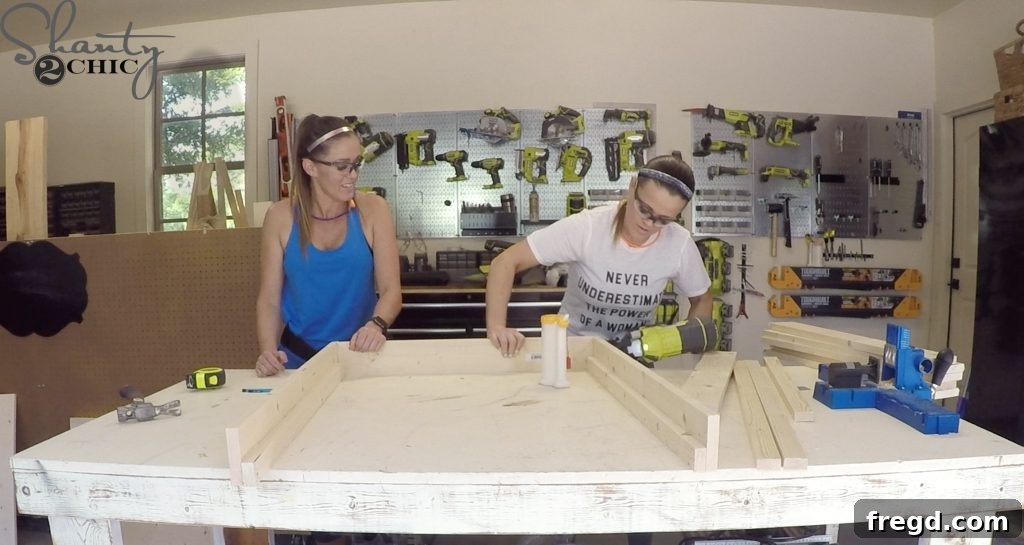
Attaching the Footboard
With the side pieces prepared, it’s time to connect them with the footboard, forming the basic rectangular frame of your dog bed.
Position the footboard piece at the end of the side pieces. Ensure all edges are flush and square. Apply wood glue to the connecting surfaces and then secure the footboard to the side pieces using 1 1/4″ finish nails. This forms the foundational box of your bed frame.
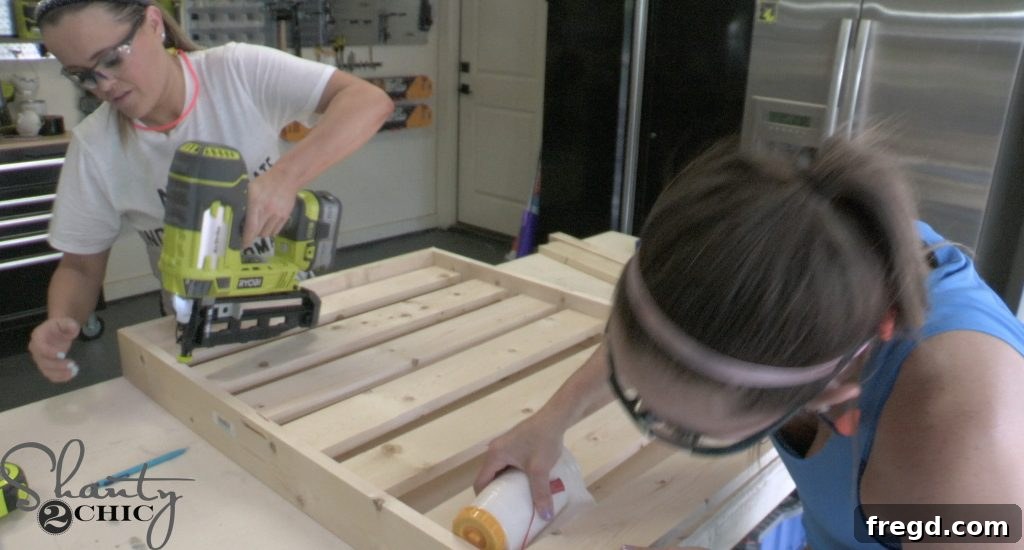
Installing the Mattress Slats
Now, let’s create the support system for your dog’s mattress. The slats will rest on the cleats you previously installed.
Place the mattress slats across the width of the bed frame, resting them on the cleats. The end slats should be flush with the inside edges of the frame. Evenly space out the remaining slats to provide consistent support for the mattress. Apply wood glue to the ends of each slat where they meet the cleats, then secure them with 1 1/4″ finish nails. This creates a sturdy and breathable platform for your dog’s comfort.
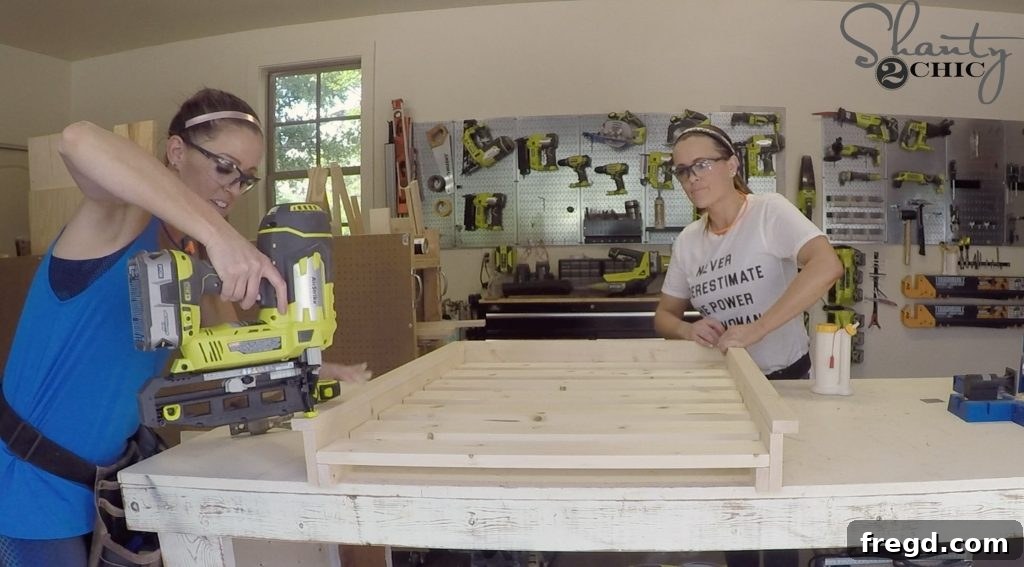
Adding the Decorative Trim to the Frame
To give the entire bed frame a more finished and robust look, we’ll add trim pieces around the outside edges.
Measure and cut the end and side trim pieces to fit precisely around the exterior of your bed frame. It is important that the inside edge of these trim pieces is flush with the inside edge of the bed frame. This creates a clean, uniform border. Apply wood glue and use 1 1/4″ finish nails to secure these trim pieces firmly in place. This step significantly enhances the visual appeal and provides a strong, protective edge for the bed.
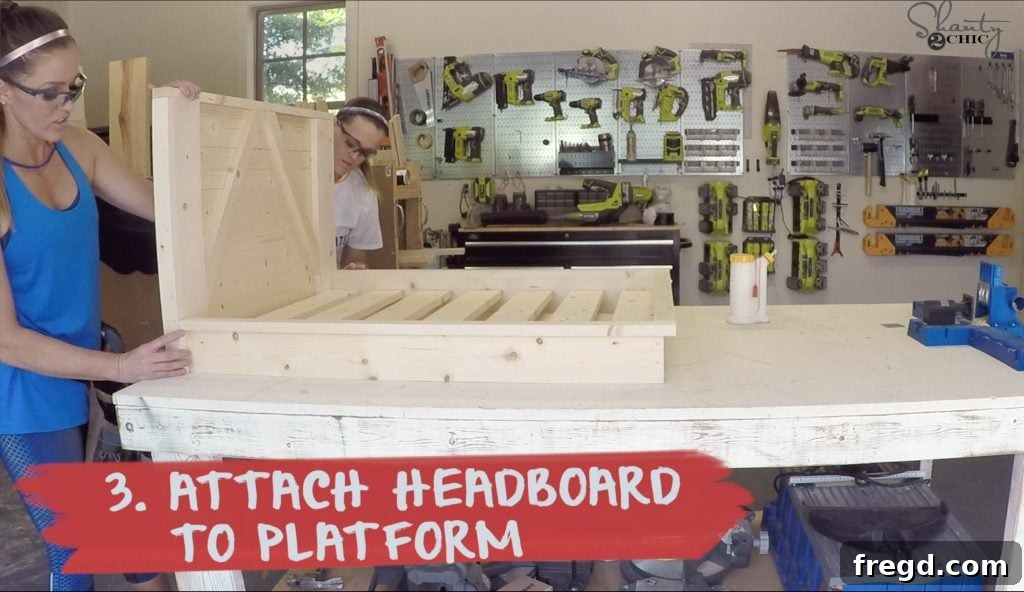
Final Headboard Attachment
The final structural step is to attach the headboard to the completed platform bed frame. This brings all the components together into one cohesive piece.
Carefully align the headboard with the back of the platform bed frame. Ensure it is centered and level. Use wood glue along the contact points and then secure the headboard using longer, 2 1/2″ finish nails. These longer nails provide the necessary strength and stability to firmly attach the headboard, ensuring it withstands enthusiastic leaning from your furry friend.
DIY Farmhouse Dog Bed – The Finishing Touch: Stain and Protect
Congratulations, the construction phase is complete! Now for the rewarding part: bringing out the natural beauty of the wood and protecting your hard work with a beautiful finish.
Before applying any stain or finish, thoroughly sand your entire dog bed. Start with a medium-grit sandpaper (around 120-150 grit) to smooth out any imperfections, then follow up with a finer grit (180-220 grit) for a silky smooth surface. Wipe away all dust with a tack cloth or damp rag.
We chose a single coat of a rich, farmhouse-appropriate wood stain to enhance the wood grain and achieve that desired rustic look. Apply the stain according to the manufacturer’s instructions, typically wiping it on with a clean rag and then wiping off any excess. This allows the wood’s natural character to shine through.
After the stain has completely dried (check manufacturer’s recommendations for drying times, usually 24 hours), apply a protective finish. We used a durable polyurethane, which is excellent for pet furniture as it provides a hard, water-resistant surface that is easy to clean and withstands daily wear and tear. Apply thin, even coats, allowing sufficient drying time between each coat. Two to three coats are usually recommended for optimal protection. Always ensure good ventilation during the staining and finishing process.
You can find the specific stain we used HERE and the protective Polyurethane we applied HERE!
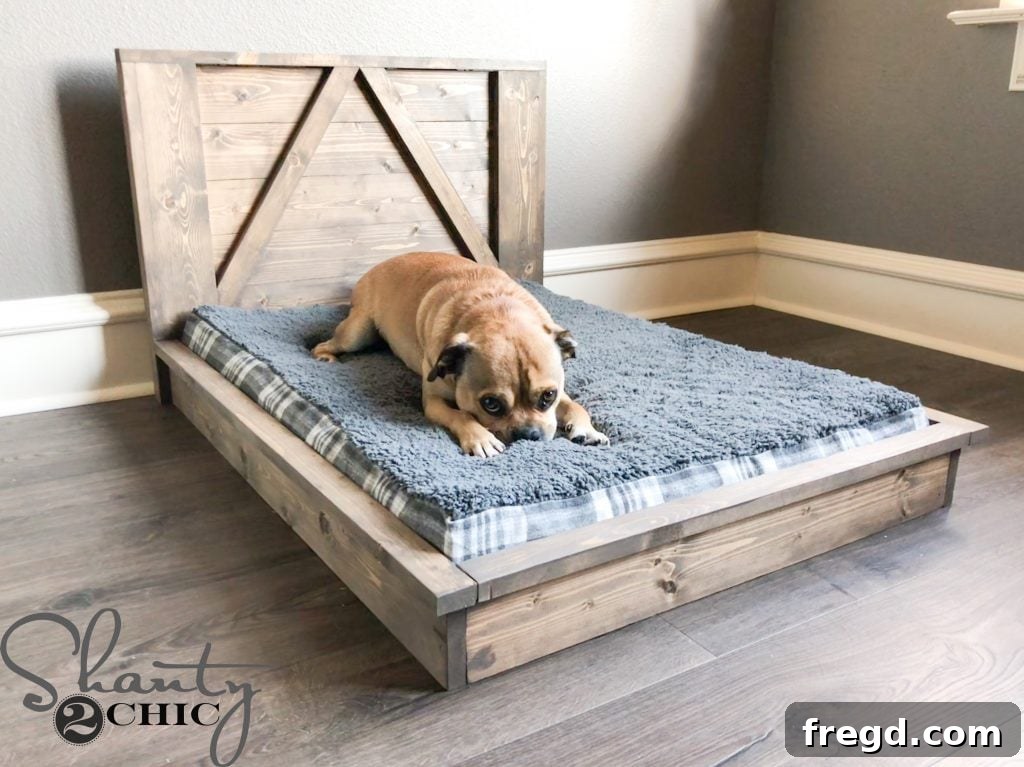
Adding the Mattress and Enjoying Your Creation!
Once your finish has fully cured, it’s time for the final, most satisfying step: placing the mattress into your newly built DIY Farmhouse Dog Bed! The bed was specifically designed to perfectly cradle a large dog mattress. The grey mattress we used is incredibly comfortable and durable, and at the time of writing, it’s even 15% off!
You can find the exact dog mattress we used HERE. We opted for the large size in grey, which perfectly complements the rustic charm of the farmhouse style.
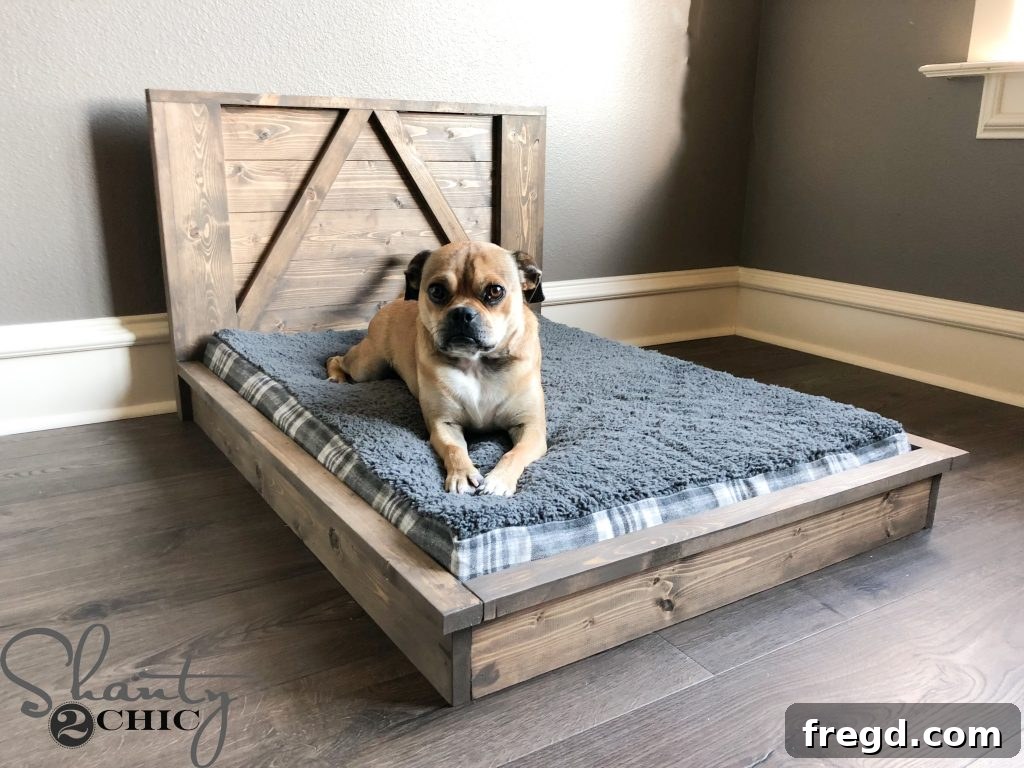
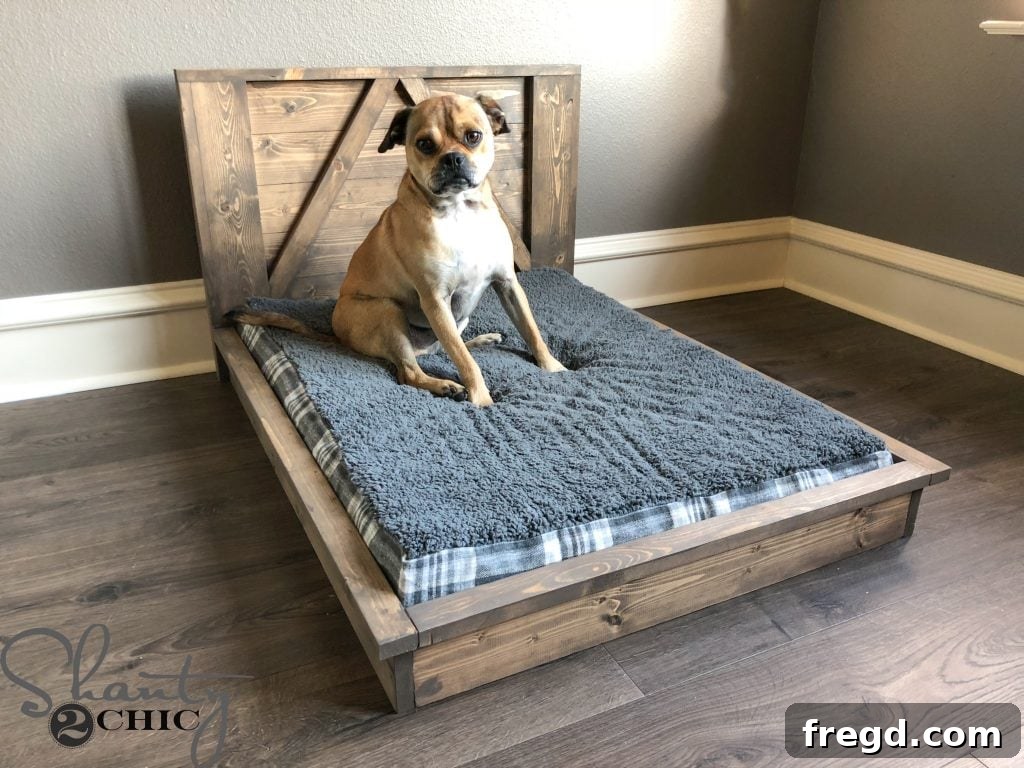
Our sweet Hoss absolutely adores his new DIY Farmhouse Dog Bed! Seeing him curled up comfortably in his custom-built haven brings us so much joy. Honestly, I wish I had thought of this idea sooner! It’s a project that truly gives back, providing your best friend with a dedicated, comfortable, and stylish space of their own.
Tips for Success and Customization
- Measure Twice, Cut Once: This old adage is especially true in woodworking. Precision ensures a perfect fit.
- Use Clamps: Clamps are your best friend for holding pieces steady while glue dries or you’re driving nails, ensuring strong, accurate joints.
- Sand Between Steps: A quick sanding after assembly and before finishing creates a much smoother, professional result.
- Personalize It: Consider painting the bed in a color that matches your decor, distressing the wood for a more aged look, or even adding a personalized plaque with your dog’s name!
- Adjust for Size: These plans are for a large dog bed. For smaller or larger breeds, simply adjust the dimensions of the bed frame and headboard to fit your chosen mattress.
Frequently Asked Questions About Building a DIY Dog Bed
We’ve compiled some common questions you might have before embarking on your DIY Farmhouse Dog Bed project:
Q: How long does it typically take to build this dog bed?
A: The actual construction can be completed in a single day, often within 4-6 hours of focused work. However, remember to account for drying times for wood glue, stain, and polyurethane, which can add a day or two to the overall project duration.
Q: Can I use different types of wood?
A: Absolutely! While we used common pine for its affordability and ease of work, you could opt for hardwoods like oak or maple for a more premium finish, or even reclaimed wood for an even more rustic feel. Just be sure to adjust your cutting and fastening techniques as needed for different wood densities.
Q: Is this bed suitable for outdoor use?
A: As designed and finished, this bed is primarily for indoor use. If you wish to use it outdoors, you would need to use pressure-treated lumber and apply multiple coats of an exterior-grade stain and sealant to protect it from the elements.
Q: What if I don’t have a nail gun?
A: While a nail gun makes the process much faster and easier, you can certainly use a hammer and finish nails. We recommend pre-drilling pilot holes for your nails to prevent wood splitting, especially in smaller pieces like the 1x2s.
Q: Can I paint the dog bed instead of staining it?
A: Yes! Painting the dog bed is a fantastic way to customize it to your home’s color scheme. Just ensure you prime the wood first for best adhesion and a smooth finish, then apply several coats of your chosen paint. A clear protective topcoat is still recommended for durability.
Conclusion
Building this DIY Farmhouse Dog Bed is more than just a woodworking project; it’s an act of love for your furry family member. You’ll create a durable, stylish, and incredibly comfortable piece of furniture that seamlessly integrates into your home, all while enjoying the satisfaction of a job well done and saving a significant amount of money.
Don’t hesitate to embark on this rewarding journey! Make sure to check out the detailed how-to video HERE again for visual guidance. Also, please consider clicking SUBSCRIBE to our Youtube Channel so you don’t miss any of our future DIY videos and projects!
We wish you happy building and many happy naps for your beloved companion!
Warmly,
Ashley
Project Sources & Materials:
- Glue Bot (for easy wood glue application)
- Wood Stain (the specific brand/shade we used)
- Polyurethane Finish (for protection and durability)
- Large Dog Mattress (the one we designed the bed around)