
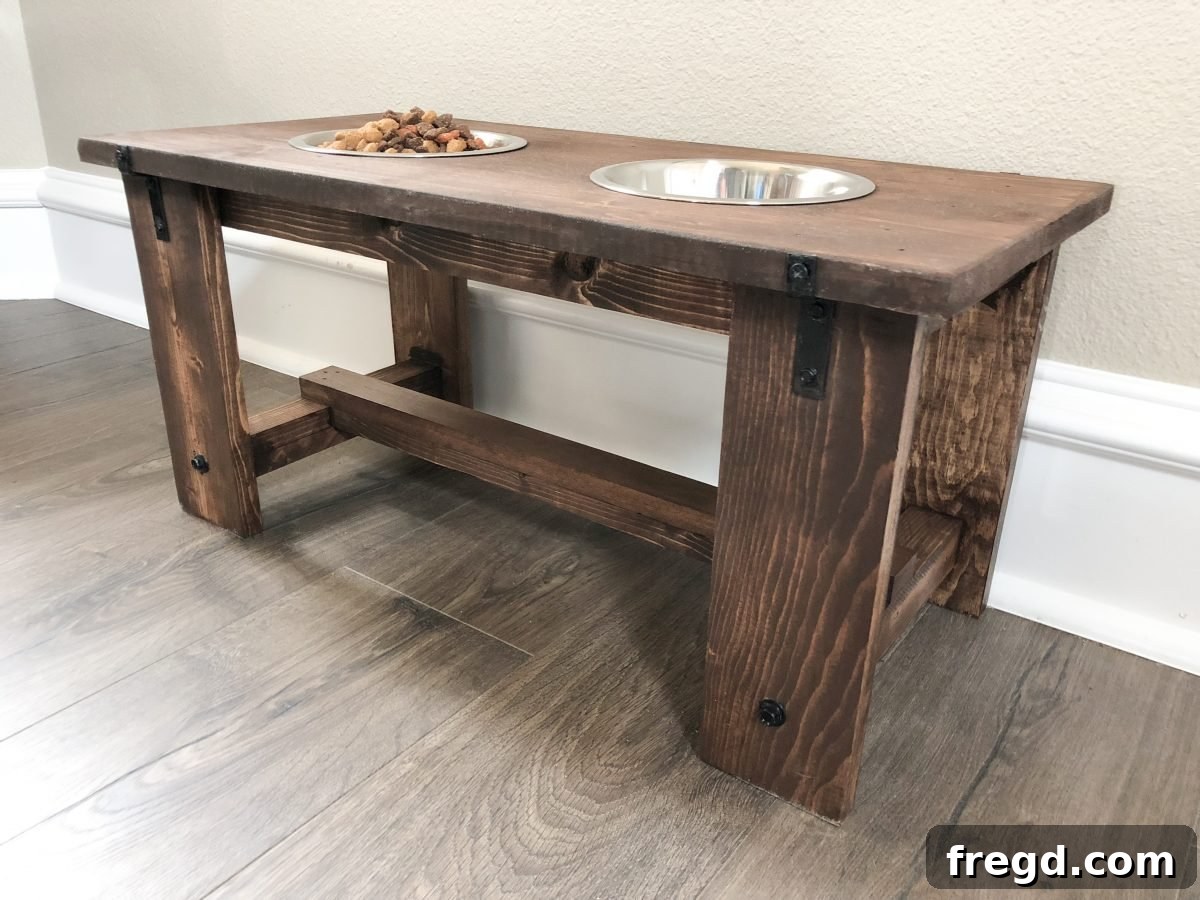
Welcome to our latest addition to the “Man’s Best Friend” collection! After the success of our Farmhouse Dog Bed project, we knew our next creation had to be equally practical, stylish, and built with love for our furry companions. And what could be more fitting than a DIY Dog Bowl Stand? But not just any stand – we aimed to elevate this essential pet accessory, drawing inspiration from the timeless appeal of our beloved Industrial Farmhouse Table design.
We are thrilled to unveil the DIY Industrial Farmhouse Dog Bowl Stand. This project isn’t just about providing a convenient feeding solution; it’s about crafting a beautiful piece of furniture that seamlessly blends with your home decor. Featuring matching industrial hardware and the distinctive design elements that made our Farmhouse Table a fan favorite, this elevated feeder is sure to be a cherished addition to your home and a functional improvement for your dog’s daily routine.
Investing in a well-designed elevated dog bowl stand offers numerous benefits for your canine companion. From improving posture and digestion to reducing mess and enhancing overall comfort, a raised feeder can make a significant positive impact on your dog’s health and well-being. This DIY project allows you to tailor the height and dimensions perfectly to your dog’s specific needs, ensuring an ergonomic eating experience.
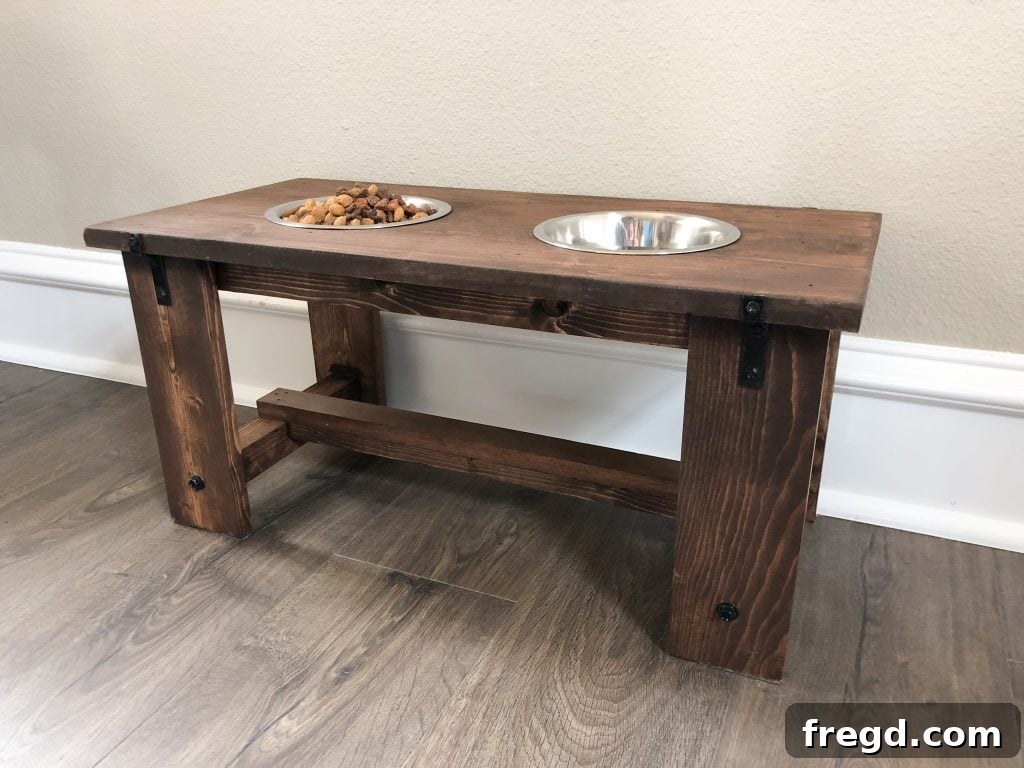
Ready to get started? Grab your favorite cup of coffee, clear your workspace, and let’s bring this amazing project to life! For a detailed visual guide, you can watch our step-by-step video tutorial. Simply click HERE or on the video box below to follow along with us as we build.
DIY Dog Bowl Stand: Your Guide to Building an Elevated Feeder
Building your own elevated dog bowl stand is an incredibly rewarding and straightforward project suitable for DIY enthusiasts of all skill levels. We’ve designed these plans to be easy to follow, quick to execute, and above all, fun! To ensure you have all the necessary measurements and cut lists at your fingertips, make sure to download the FREE Printable Plans HERE. These plans will serve as your essential roadmap as you proceed with the detailed how-to instructions below.
Step 1: Preparing the Table Top and Cutting Bowl Openings
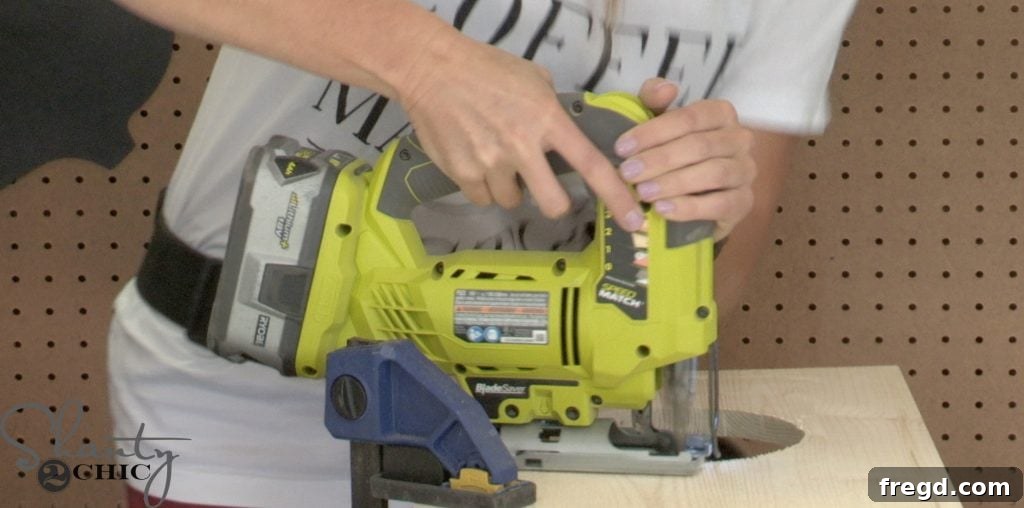
The foundation of our DIY dog bowl stand begins with the tabletop. The very first step involves cutting your chosen project panel to the specified dimensions for the table top. Once cut, accurately trace two 6-inch circles onto the surface where your dog bowls will sit. Precision here is key for a snug fit. We utilized our reliable Ryobi 18-Volt Jig Saw for cutting out these circles. A jig saw provides excellent control for curved cuts, ensuring a clean and smooth edge. Project panels, often made of plywood or MDF, are readily available at most hardware stores and offer a stable, flat surface perfect for this application. It’s crucial to note that the 6-inch circles are tailored to fit specific dog bowls, which you can find details for HERE. If you plan to use different dog bowls, remember to measure their diameter carefully and adjust the size of your traced and cut circles accordingly to ensure a perfect fit.
Step 2: Assembling the Apron Pieces
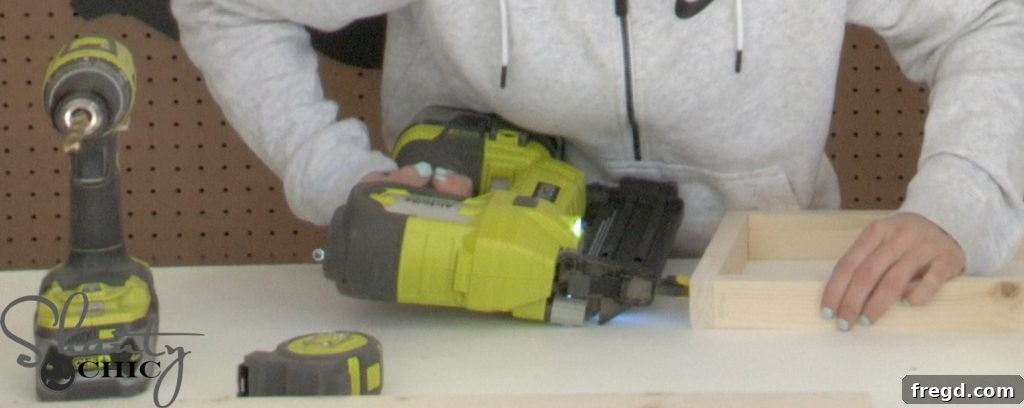
With the tabletop prepared and set aside, the next phase focuses on constructing the apron – the frame that will support the tabletop and provide structural integrity. Begin by cutting the apron pieces to their precise lengths as detailed in the plans. For secure and lasting joints, we recommend using both wood glue and 1 1/4-inch brad nails. Our Ryobi 18-gauge Airstrike Brad Nailer made quick work of attaching the two longer apron pieces to the two shorter pieces, forming a sturdy rectangular frame. Always ensure your corners are perfectly square before the glue sets to guarantee a professional finish and a stable stand. Wood glue provides incredible strength, while brad nails hold the pieces in place until the glue cures, creating a robust connection.
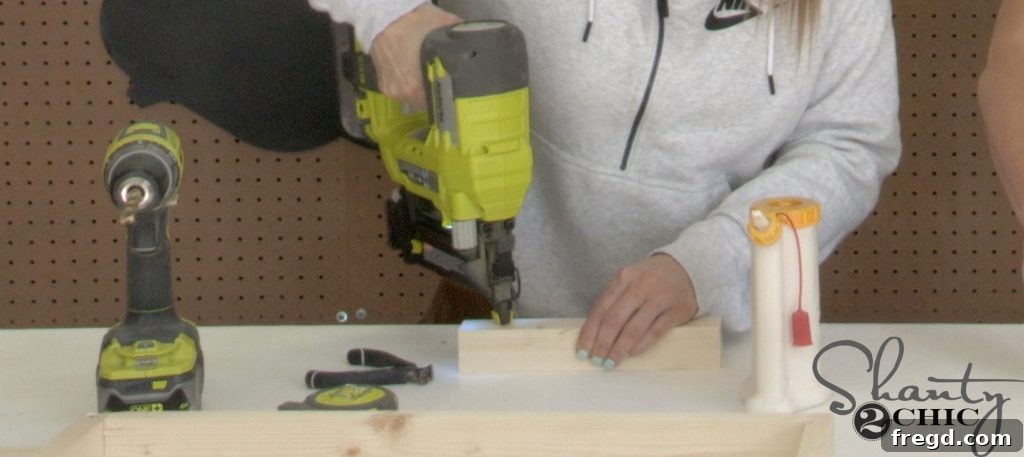
DIY Dog Bowl Stand – Building the Sturdy Leg Assembly
The leg assembly is critical for the stability and durability of your dog bowl stand, and we’ve streamlined the process for efficiency. This section focuses on creating the strong framework that supports the entire structure.
Step 3: Crafting the Leg Runners
Moving on, cut the leg runner pieces to their specified sizes. These components form the base of your leg structure. For each runner, attach two pieces together using a combination of 1 1/4-inch brad nails and wood glue. This lamination process significantly enhances the strength and thickness of each runner, providing a solid foundation for the stand. We constructed two identical runners, ensuring symmetrical support. For effortless and precise glue application, we highly recommend our favorite glue bottle dispenser, which you can find HERE. A good dispenser ensures even coats and minimizes mess, which is invaluable in woodworking.
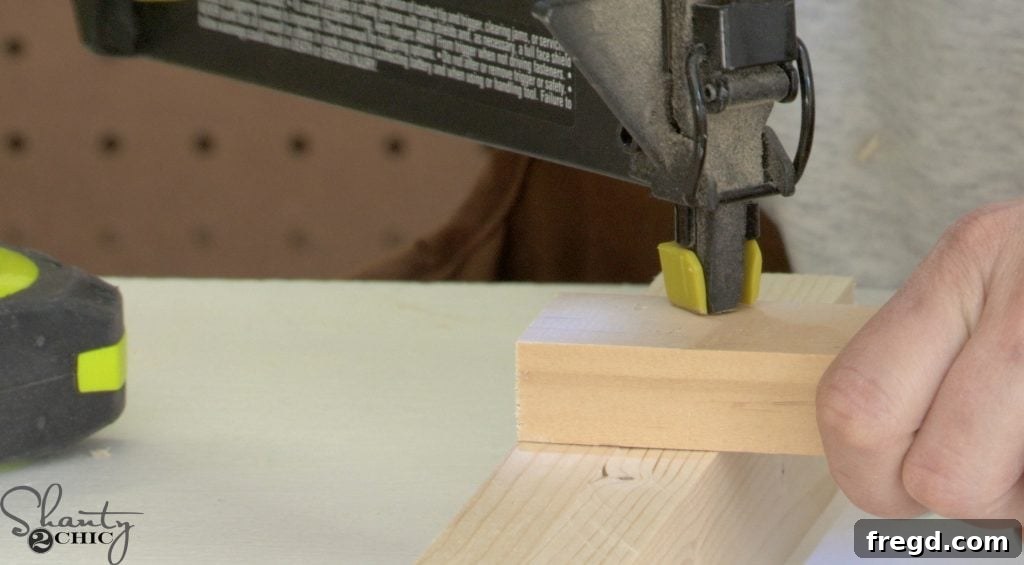
Step 4: Attaching the Long Stretcher to the Leg Runners
Next, cut the long stretcher piece to its precise dimension. This stretcher serves as a vital cross-support, connecting the two leg runners and providing essential rigidity to the overall structure. Carefully center the long stretcher on top of the two leg runners, ensuring even overhangs on both sides. Secure this connection firmly using 1 1/4-inch brad nails and a generous application of wood glue. This step is crucial for establishing the initial stability of your leg assembly.
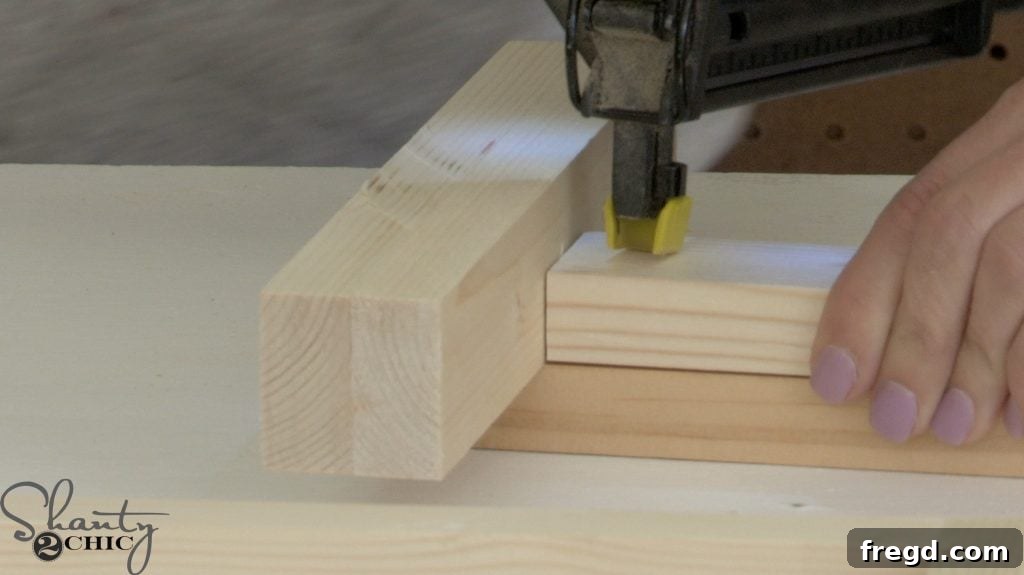
Step 5: Connecting the Bottom Stretcher
To further enhance the stability and complete the leg assembly, cut the bottom stretcher to size. Now, carefully flip the entire leg runner assembly upside down. Attach the bottom stretcher to the top stretcher (which is now at the bottom in this inverted position) using 1 1/4-inch brad nails and wood glue. This creates a robust, box-like structure for the base, significantly increasing its resistance to wobbling and ensuring your dog’s elevated feeder remains firm and secure during use.
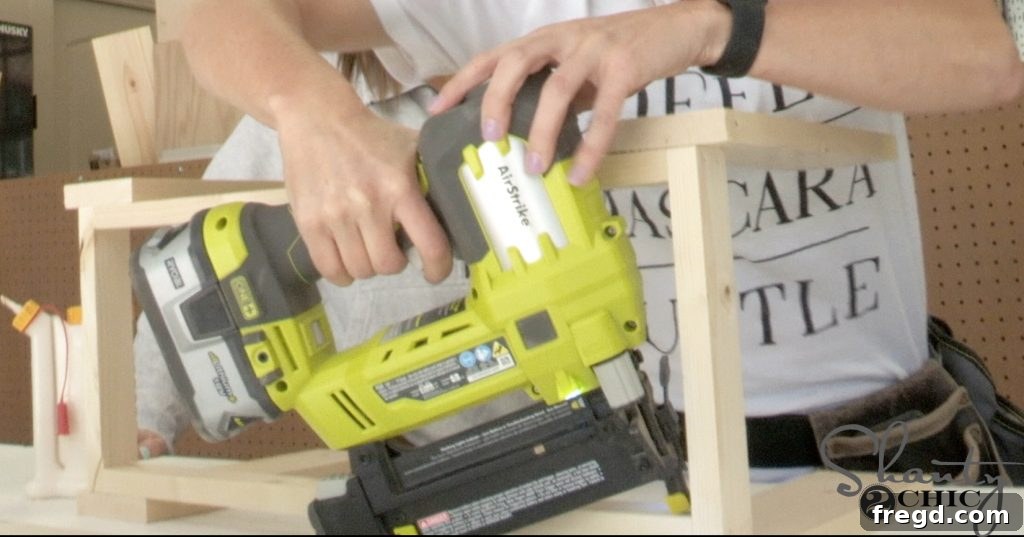
DIY Dog Bowl Stand – Final Assembly: Connecting Legs and Top
With the main components prepared, the final stages of assembly bring your DIY dog bowl stand to life. These steps focus on joining the legs to the apron and securing the tabletop for a complete, functional piece of pet furniture.
Step 6: Attaching the Legs to the Apron
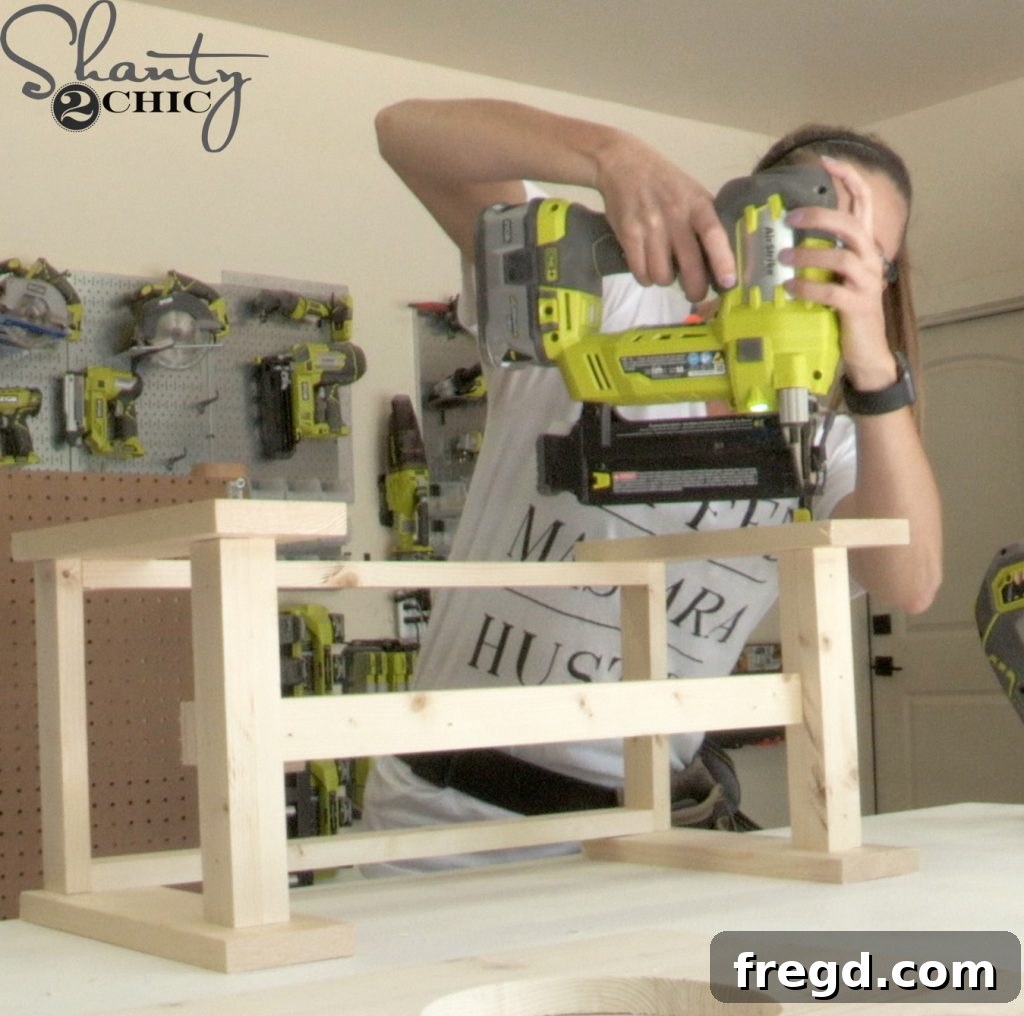
Now it’s time to integrate the stand’s supporting structure. Cut the individual legs to their appropriate sizes as indicated in your free plans. Then, attach them securely to the apron assembly. This connection is vital for the stand’s overall height and stability. Use 1 1/4-inch brad nails along with wood glue for a strong, long-lasting bond. Refer closely to the provided plans for the exact placement and alignment of the legs on the apron, ensuring they are evenly spaced and perfectly perpendicular to the apron for optimal balance and aesthetics.
Step 7: Securing the Stretcher Assembly to the Legs
With the legs now attached to the apron, it’s time to connect them to the pre-built leg runner and stretcher assembly. Carefully flip the entire leg assembly (apron with legs attached) upside down. Align the stretcher assembly precisely with the inside of the legs. This connection locks the lower framework into place, significantly increasing the structural integrity of the entire stand. Secure this crucial joint using 1 1/4-inch brad nails and a generous amount of wood glue. This double reinforcement ensures that the stand remains incredibly sturdy and wobble-free, even with enthusiastic eaters!
Step 8: Attaching the Table Top
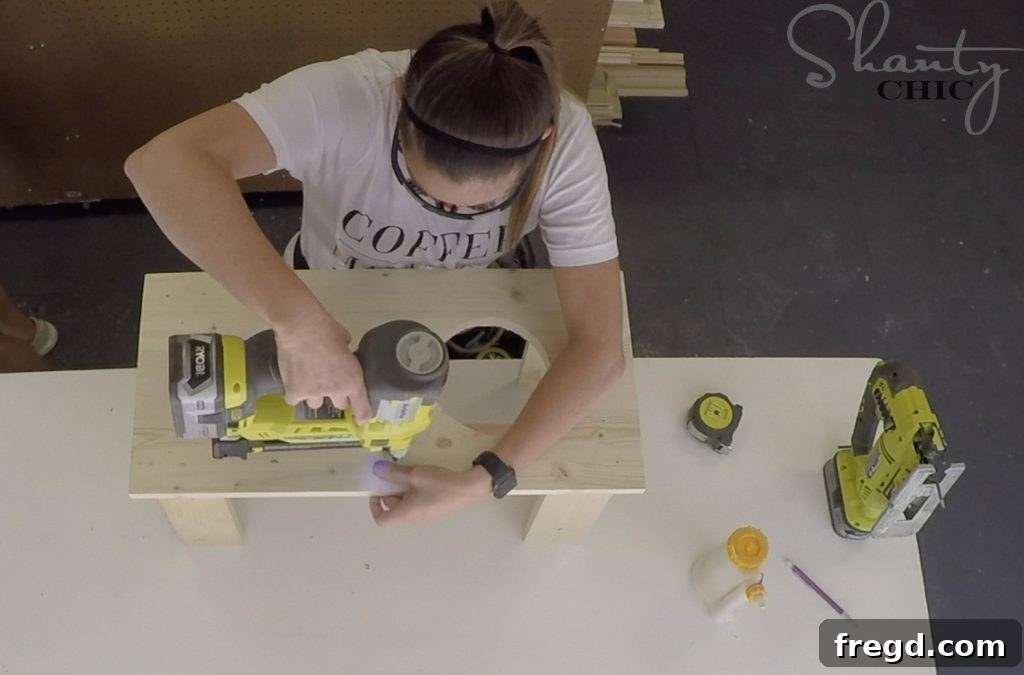
The final structural step is to attach the prepared table top to the apron and legs. Carefully center the tabletop over the apron, ensuring an even overhang on all sides. Secure it firmly in place using 1 1/4-inch brad nails and wood glue. Drive the nails through the top into the apron and into the tops of the legs for maximum hold. This creates a solid, unified piece, ready for its finishing touches.
DIY Dog Bowl Stand – Finishing Touches: Stain, Seal, and Style
The construction phase is complete, and now it’s time to transform your functional dog bowl stand into a beautiful piece of pet furniture that complements your home decor. The finishing steps are where you add character, protection, and that signature industrial farmhouse appeal.
Step 9: Staining for Style
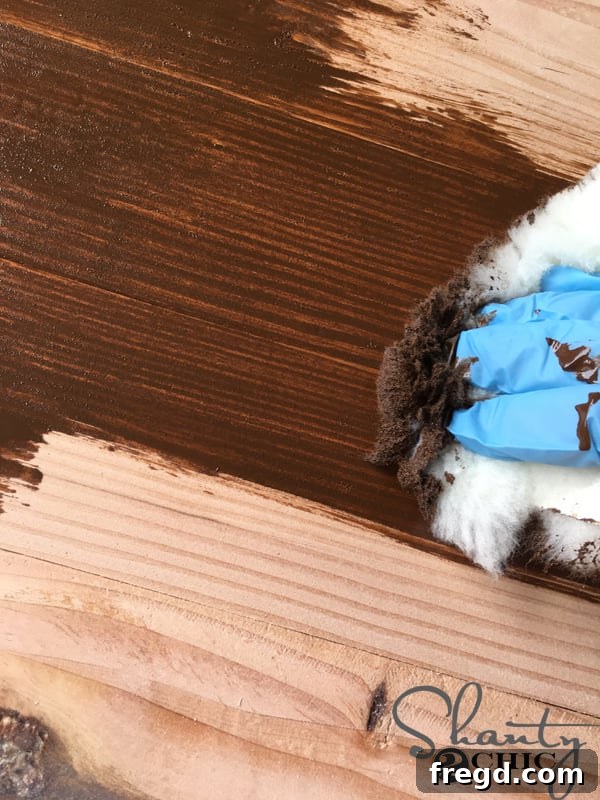
Once all the pieces are securely attached and the glue has fully dried, it’s time to give your DIY dog bowl stand its character with a coat of stain. Staining not only enhances the natural beauty of the wood grain but also allows you to match the piece to your existing furniture. We carefully selected a stain that perfectly captures the rustic elegance of the farmhouse style. You can find the exact stain we used HERE. Apply the stain evenly, following the wood grain, and allow it to penetrate fully before wiping off any excess for a rich, consistent finish.
Step 10: Applying a Waterproof Finish for Durability
Given that this stand will hold dog bowls filled with water and food, applying a durable, waterproof finish is absolutely critical. This protective layer will shield the wood from spills, moisture, and daily wear and tear, ensuring your beautiful creation lasts for years to come. Don’t skip this vital step! A good waterproof sealant will make cleaning a breeze and prevent the wood from warping or getting damaged. You can find the waterproof finish we used HERE. Apply multiple thin coats, allowing adequate drying time between each application, for maximum protection.
Step 11: Adding Industrial Decorative Hardware
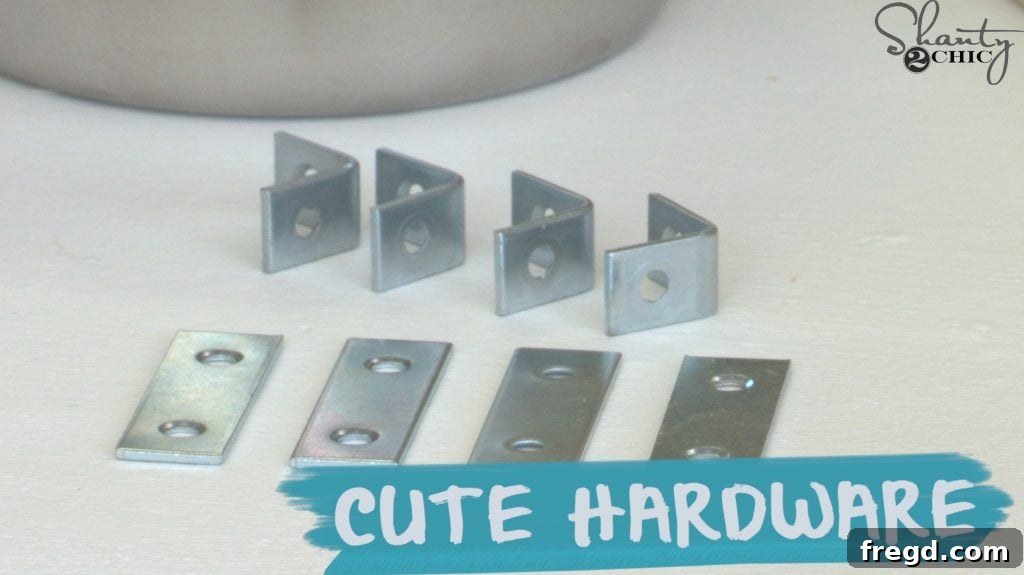
With the finish dry and cured, it’s time to add the distinctive industrial farmhouse hardware that gives this stand its unique aesthetic. These decorative pieces are surprisingly inexpensive and readily available at most hardware stores, allowing you to achieve a high-end look without breaking the bank. For an even more authentic industrial touch, we opted to spray paint our hardware with a satin black finish, which perfectly complements the stained wood. This step is entirely optional, but it significantly enhances the visual impact. We used hex screws to attach the angled metal pieces, ensuring they are securely fastened and aligned correctly. You can find the specific flat metal pieces HERE, the angled pieces HERE, and the spray paint we used HERE.
Step 12: Drop in the Dog Bowls!
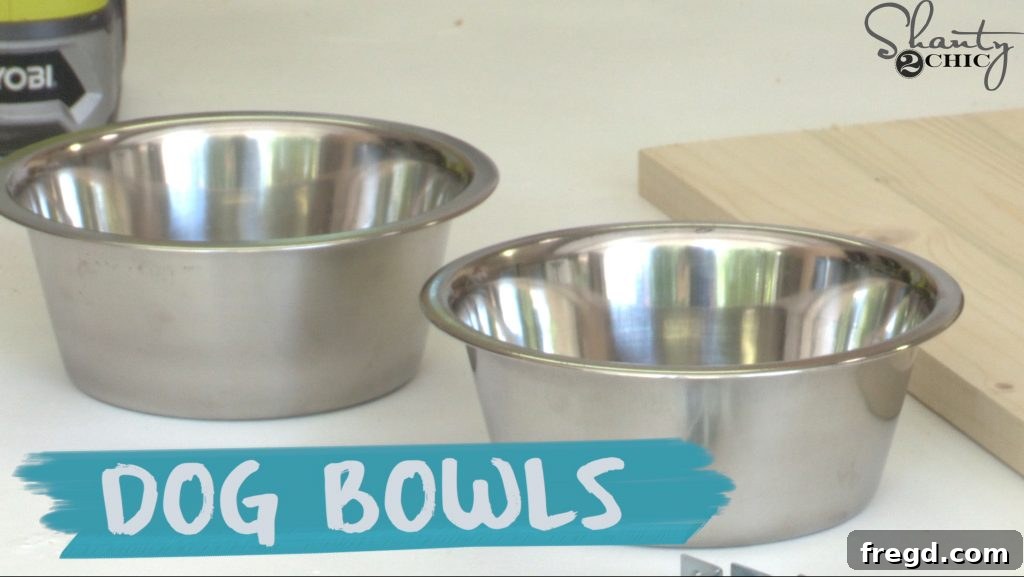
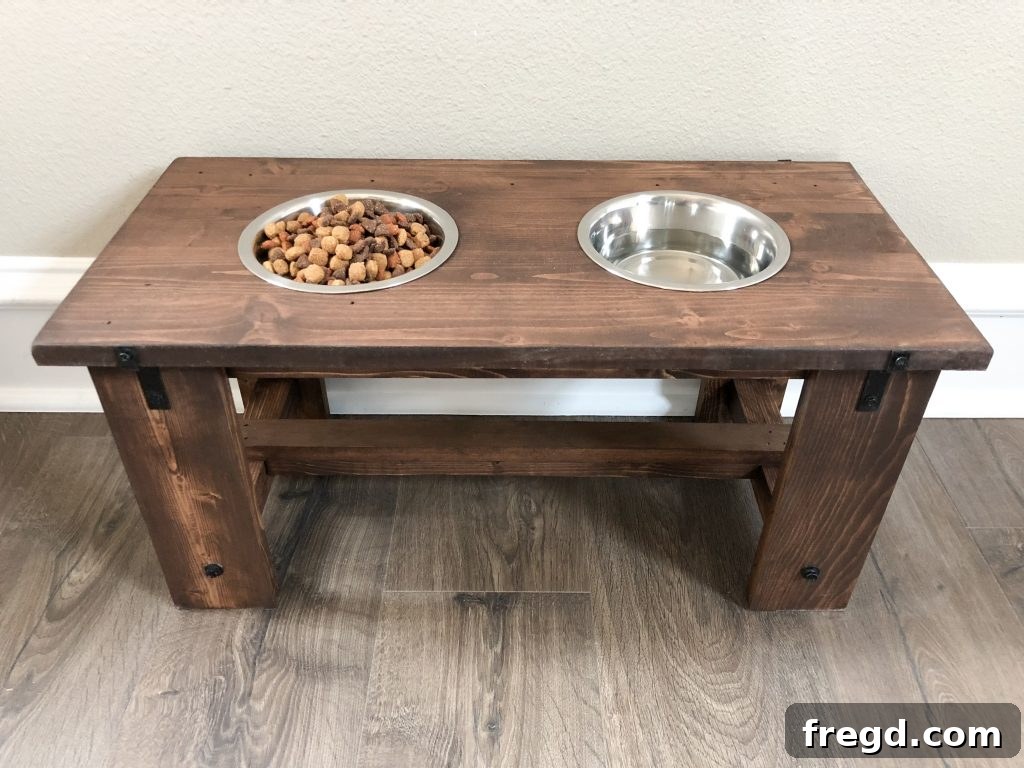
The moment of truth has arrived! The final, and arguably most satisfying, step is to simply drop the dog bowls into their designated openings. They should fit perfectly, sitting flush with the tabletop. The bowls we used for this project are a great match in terms of size and depth, ensuring a comfortable feeding experience for your pets. You can find the exact dog bowls we used HERE, ensuring they slot in beautifully with your newly built stand.
Customize Your Farmhouse Dog Feeder
One of the greatest advantages of a DIY project is the freedom to customize, and this farmhouse dog bowl stand is incredibly adaptable. Whether you have a tiny chihuahua or a majestic Great Dane, you can easily modify this design to suit your pet’s specific needs. Consider adding more bowls for multiple pets, adjusting the height for taller or shorter dogs, or even scaling down the entire stand for smaller breeds. My own dogs, who are medium-sized, find this stand to be the perfect height, promoting better posture and more comfortable mealtimes. You could also experiment with different wood types, paint colors, or even personalized engravings of your dog’s name or paw prints to make it truly unique.
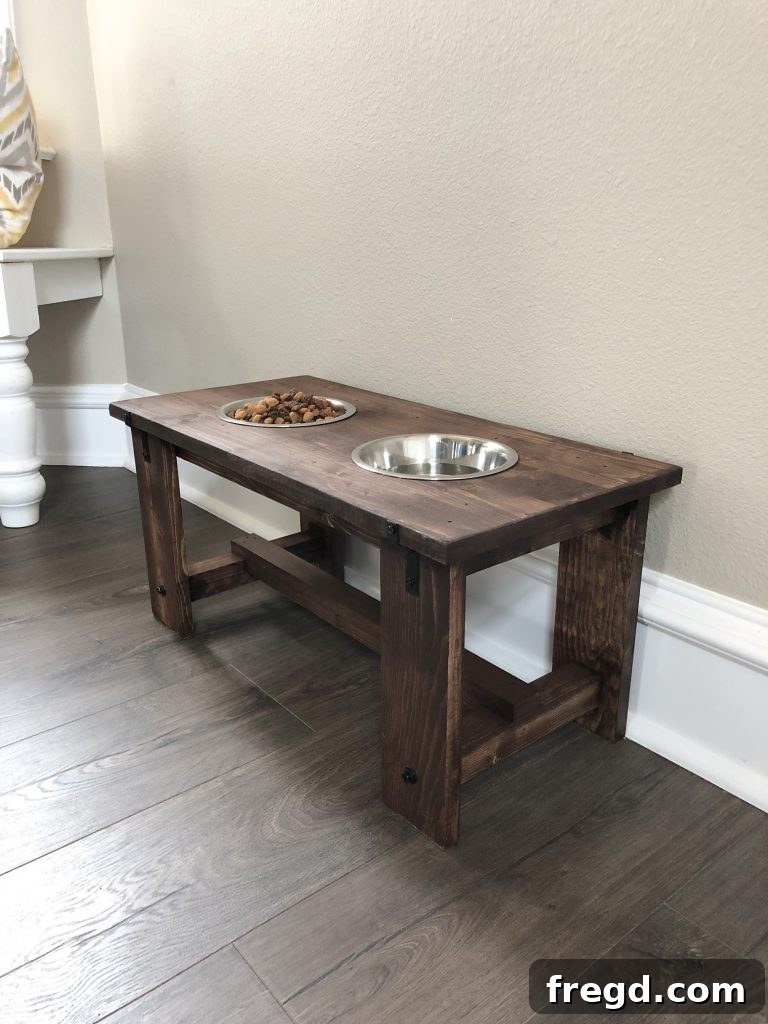
And just like that, you’ve created a beautiful and functional elevated dog bowl stand! Seeing my doggies enjoy their new, custom-built feeding station brings so much joy. It’s truly a testament to the power of a little DIY effort. Now, the only question left is, which exciting doggy project should we tackle next?
Essential Supplies for Your DIY Dog Bowl Stand Project
To help you get started on your own custom dog feeder, here’s a comprehensive list of all the materials and tools we used. Clicking on these links will direct you to the exact products, ensuring you have everything you need for a successful build:
Our Favorite Glue Bot Dispenser
The Dog Bowls We Used (6-inch diameter)
Flat Decorative Hardware for Industrial Accent
Angled Decorative Hardware for Corner Detail
Wood Stain (for the perfect farmhouse finish)
Waterproof Finish (essential for pet feeders)
Satin Black Spray Paint for Hardware (optional)
We absolutely love seeing your creations! If you build your own DIY Industrial Farmhouse Dog Bowl Stand, please make sure to share it on social media. Tag us and use the hashtag #shanty2chic so we can see your amazing work and share it with our community too!
Happy Building!