
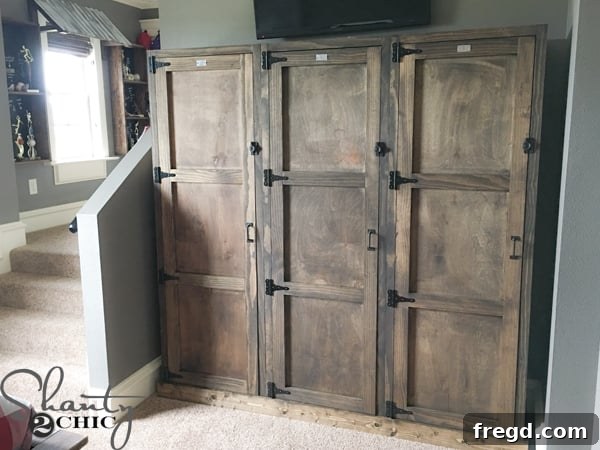
Welcome to a truly special DIY project that brought a unique blend of functionality and vintage charm into my son’s baseball-themed room! What started as a simple need for a dresser evolved into building a set of custom, modular wooden lockers – a decision I absolutely love, and more importantly, one my son adores. If you’re looking for a distinctive storage solution that adds character and can be tailored to any space, this comprehensive guide to building your own DIY locker system is perfect for you. Get ready to transform your home with these charming, custom-built vintage lockers!
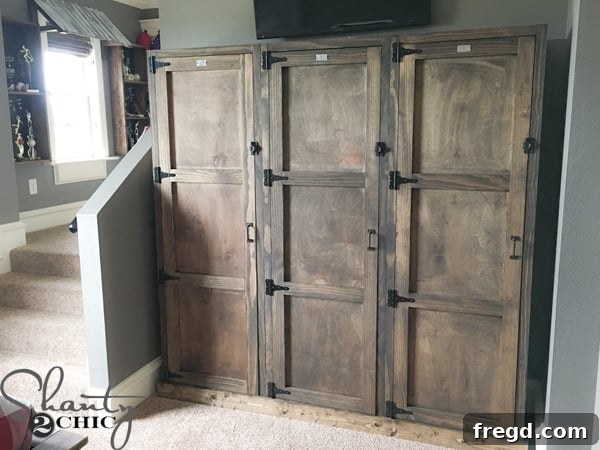
Why Build Custom DIY Wood Lockers?
My son’s passion for baseball inspired a complete room makeover, leaning towards a vintage sports aesthetic. He desperately needed a new storage solution, and instead of a conventional dresser, I envisioned something more fitting for his theme: vintage-style wooden lockers. This project exceeded expectations, offering several fantastic benefits that make it an ideal choice for any DIY enthusiast:
- Unbeatable Storage Capacity: These aren’t just pretty faces; they are incredibly spacious. Each locker is designed to hold a significant amount of items, from clothing to sports equipment, keeping clutter neatly tucked away.
- Remarkable Versatility: While perfect for a bedroom, these lockers are incredibly adaptable. Imagine them in your laundry room for sorting, in a bustling entryway or mudroom for coats and shoes, or even in a craft room for organizing supplies. Their timeless design fits seamlessly into various home aesthetics.
- Modular Design for Ultimate Customization: This is a game-changer! The plans are designed so you can build one individual locker, a pair, or even an entire wall of seventeen lockers. This modularity means you can perfectly fit the system into any available space, whether it’s a small nook or a large wall. You are in complete control of the scale and layout.
- Personalized Aesthetic: Building your own allows for complete control over the finish and hardware, ensuring the lockers perfectly match your home decor or a specific room theme, like my son’s vintage baseball room.
Ready to embark on this rewarding woodworking journey? Let’s dive into the tutorial, complete with free plans and a step-by-step guide to help you every inch of the way. You can access the detailed plans by clicking the image below or directly HERE to print them out.
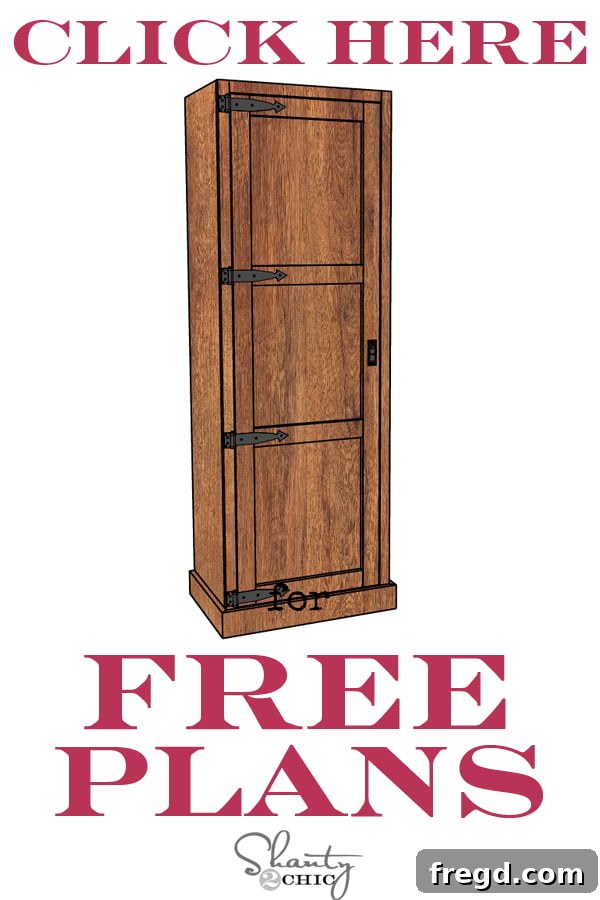
As always, I’ll walk you through my personal build process, offering insights and tips from my workbench to yours!
Getting Started: Essential Tools and Materials
Before we begin assembling, it’s crucial to have your tools and materials ready. While some specialized tools make the process smoother, I’ll also suggest alternatives where possible. Precision and safety are key in woodworking, so always double-check your measurements and wear appropriate safety gear.
Key Tools You’ll Need:
- Miter Saw: Essential for accurate crosscuts. (Ryobi Miter Saw shown in images)
- Kreg K5 Pocket Hole Jig: A fantastic tool for creating strong, concealed joints.
- Drill: For driving screws and pre-drilling.
- Ryobi Airstrike Brad Nailer/Stapler: For quick and secure attachment of trim and backing. A hammer and finish nails can be used as an alternative.
- Ryobi 18V Jigsaw: For cutting notches and curves.
- Speed Square: For marking precise right angles.
- Clamps: To hold pieces securely during cutting, drilling, and assembly.
- Kreg Shelf Pin Jig: Simplifies drilling adjustable shelf pin holes.
Main Materials Required:
- Wood boards (refer to plans for specific dimensions and types)
- 1/4″ Plywood (for backing and door panels)
- Wood glue
- 1 1/4″ Pocket hole screws
- Finish nails or staples
- Rust-Oleum Dark Walnut stain (or your preferred finish)
- Door pulls, hinges, and decorative metal locker plates
Step-by-Step DIY Locker Construction Guide
Follow these detailed steps to build your robust and stylish wooden lockers.
1. Making the Initial Cuts
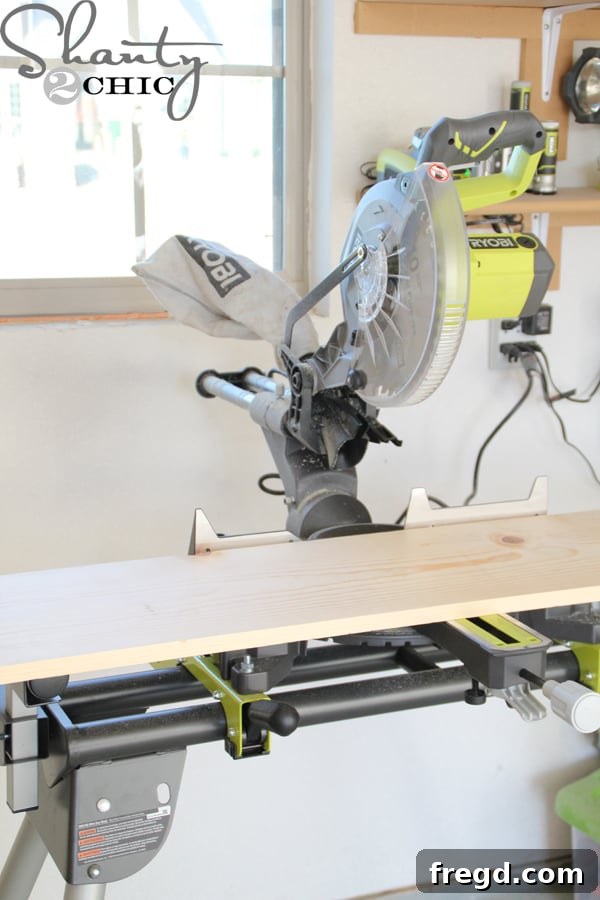
Begin by carefully measuring and cutting the wood for the top, bottom, and side panels of each locker unit. Accuracy here is paramount for a square and sturdy final product. Use your miter saw for clean, precise cuts. Always refer to your free plans for exact dimensions.
2. Drilling Pocket Holes for Strong Joints
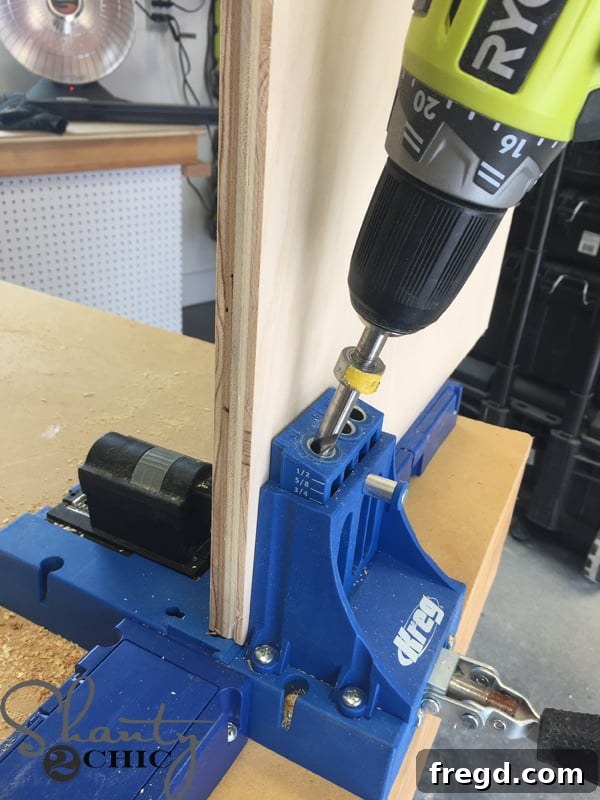
Next, grab your Kreg K5 pocket hole jig. Set it up to drill 3/4-inch pocket holes into the top and bottom pieces of your locker frame. These holes will allow you to create incredibly strong and hidden joints when assembling the main structure. If you’re new to using a Kreg Jig, make sure to check out our How to Use a Kreg Jig video tutorial for a comprehensive guide. For those looking to purchase this essential tool, you can find the Kreg K5 jig HERE on Amazon.
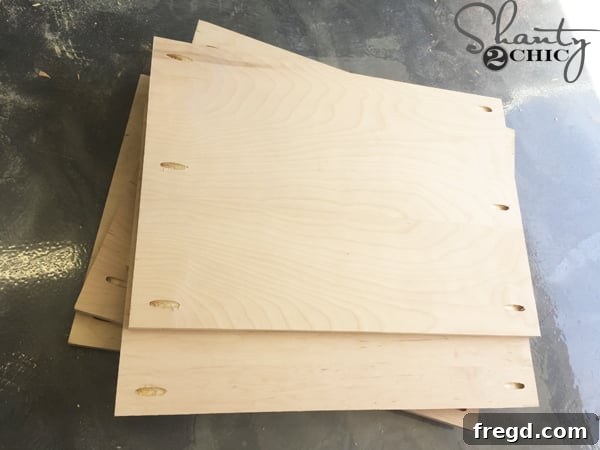
Once all the pocket holes are drilled, your top and bottom pieces should look like this, perfectly prepared for assembly.
3. Assembling the Locker Frame
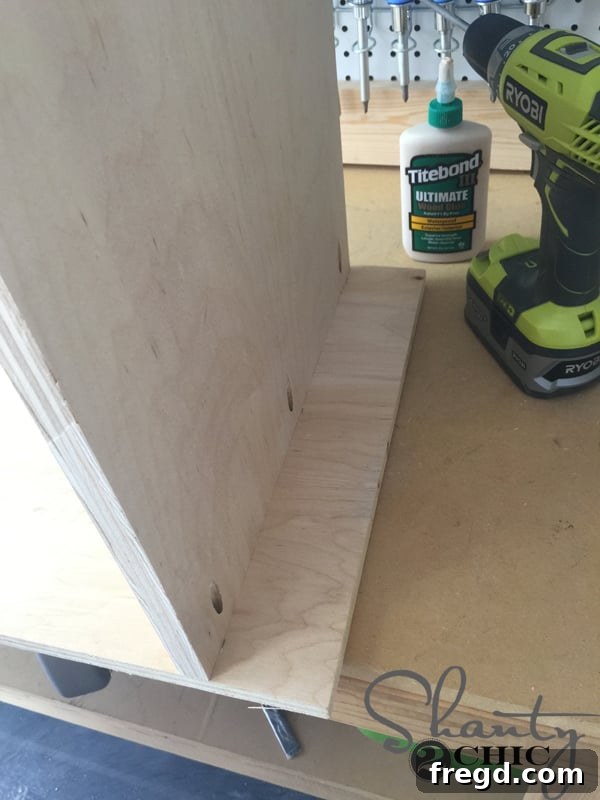
Now, it’s time to bring the main frame together. Apply a thin, even layer of wood glue to the edges where the side pieces will meet the top and bottom panels. Then, using 1 1/4-inch pocket hole screws, securely attach the side panels to the top and bottom pieces. Pay close attention to the spacing of the bottom piece, ensuring it aligns with the dimensions provided in your plans.
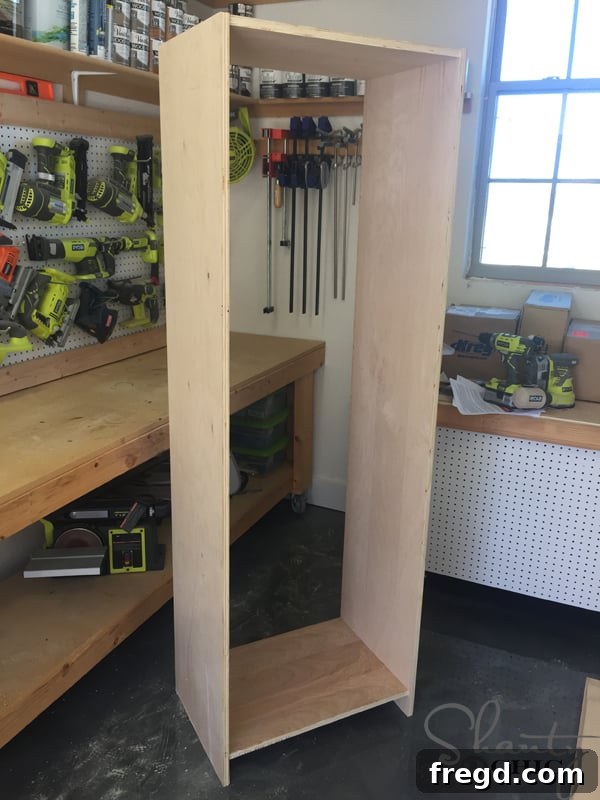
With the sides and bottom securely attached, your locker frame will begin to take shape, forming a sturdy box-like structure.
4. Installing the Back Braces
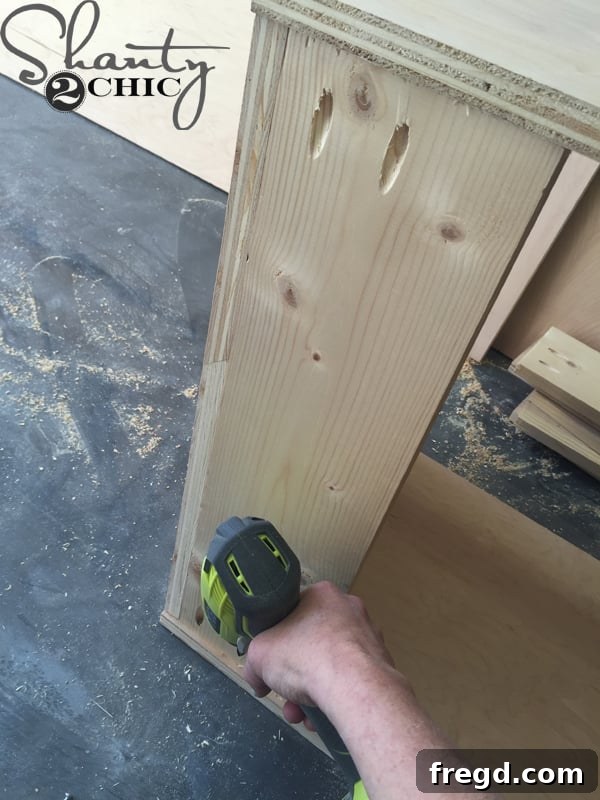
Cut your back braces. It’s crucial to measure the exact space for these pieces before cutting to ensure a perfect fit. These braces provide rigidity to the structure and serve as an attachment point for the locker’s back panel. Attach them using pocket hole screws and wood glue, making sure the pocket holes face outwards so they won’t be visible from the inside of the locker.
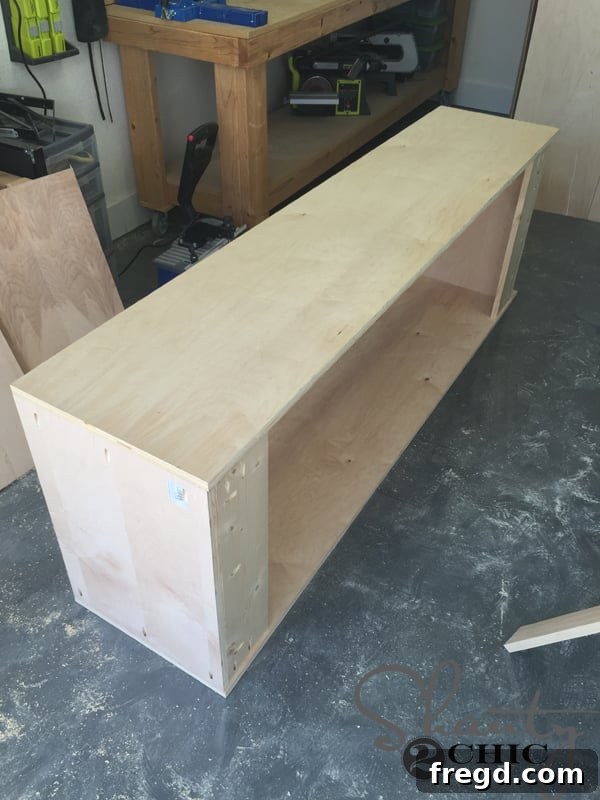
With the back braces in place, measure the space precisely from the top brace to the bottom brace. This measurement will be used for the next step.
5. Adding Side Braces for Enhanced Stability
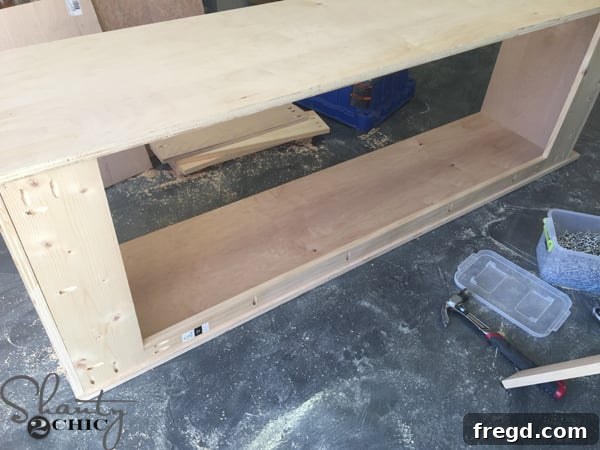
Cut the side braces according to the measurements you just took. These pieces further reinforce the locker’s structure. Secure them in place with pocket hole screws and wood glue.
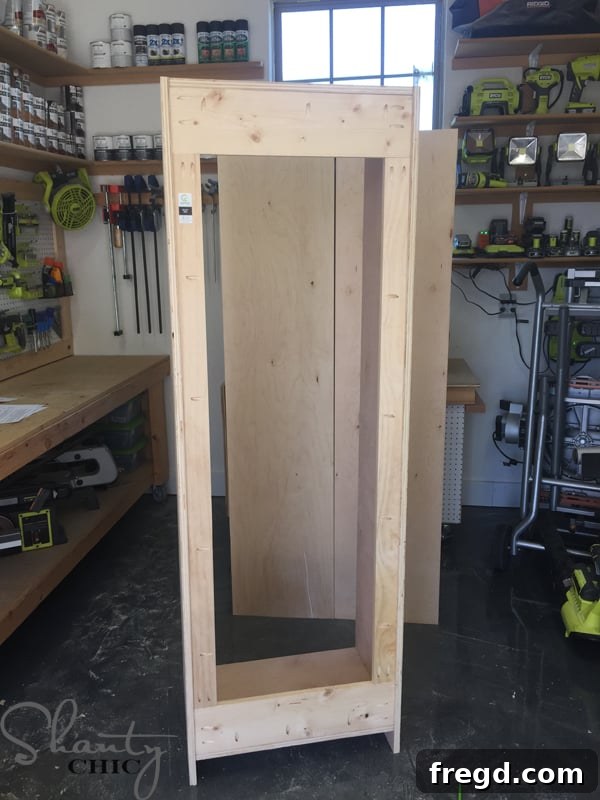
This image provides a clear back view of the locker, showcasing all the securely attached back braces, which contribute significantly to the locker’s overall stability.
6. Constructing and Attaching the Face Frame
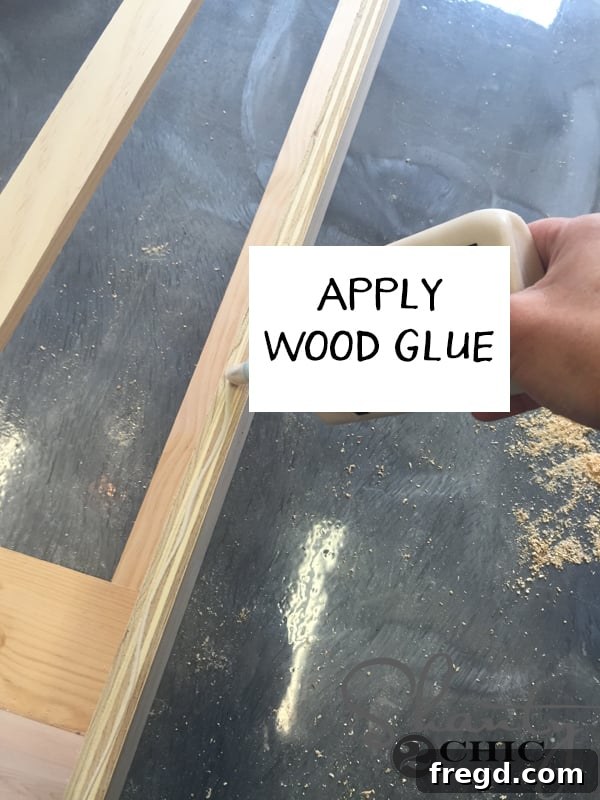
The face frame adds a crucial aesthetic element to your locker. Measure and cut the pieces for the face frame with precision. Apply a thin, even line of wood glue to the front edges of the side pieces of the locker. Be careful not to use too much glue here, as excess squeeze-out can be difficult to clean and may affect the stain application later.
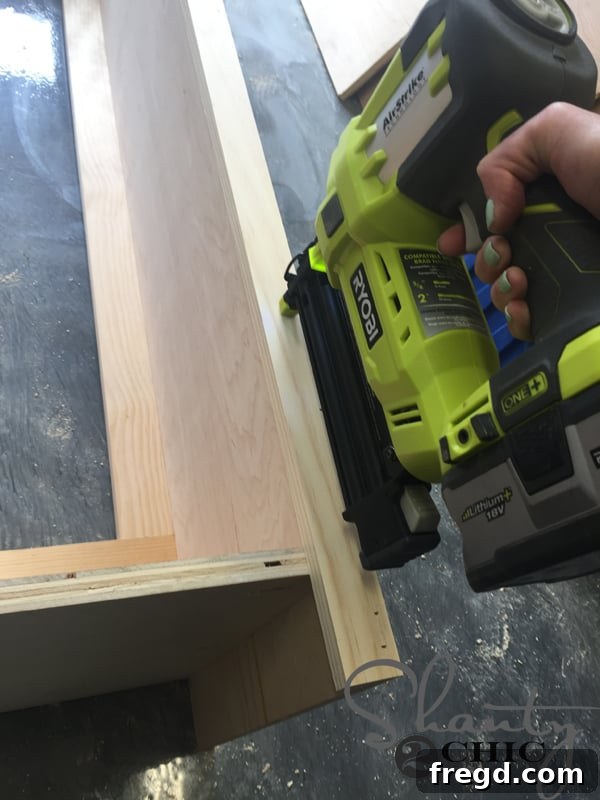
Once the glue is applied, attach the face frame pieces. I used my Ryobi Airstrike Brad Nailer for quick and secure fastening. If you don’t have a brad nailer, a hammer and finish nails will work just as well, though it might require a bit more patience and careful aiming.
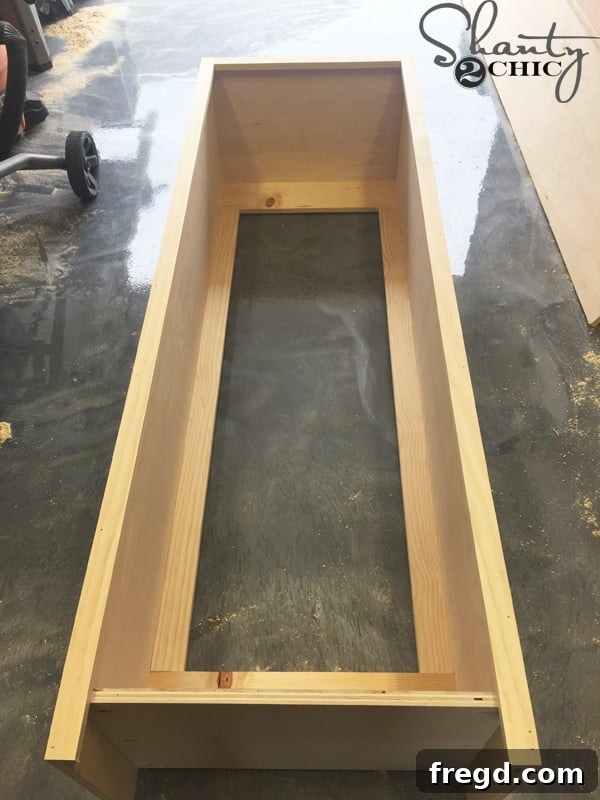
This image shows the locker with the vertical (side) pieces of the face frame securely attached, creating a clean and defined front edge.
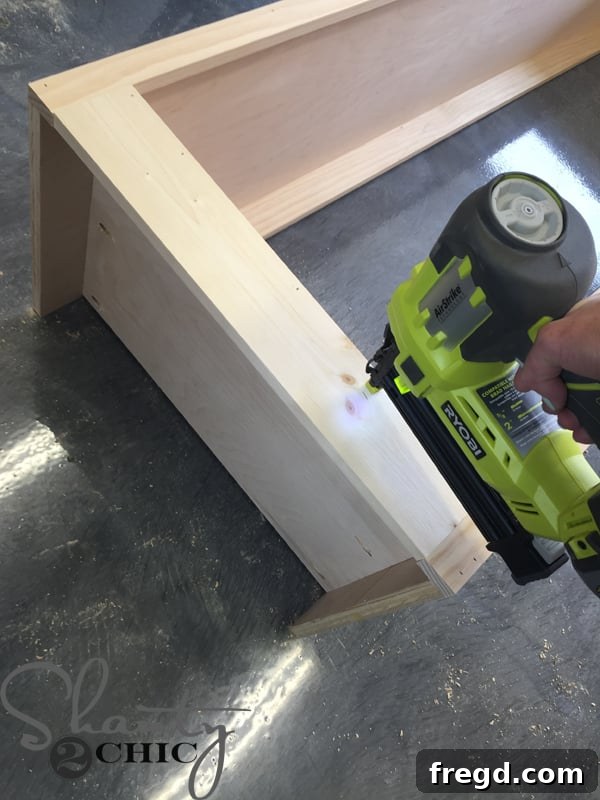
Now, measure and cut the bottom and top horizontal pieces for the face frame. Attach these in the same manner as the side pieces, using wood glue and finish nails or a brad nailer.
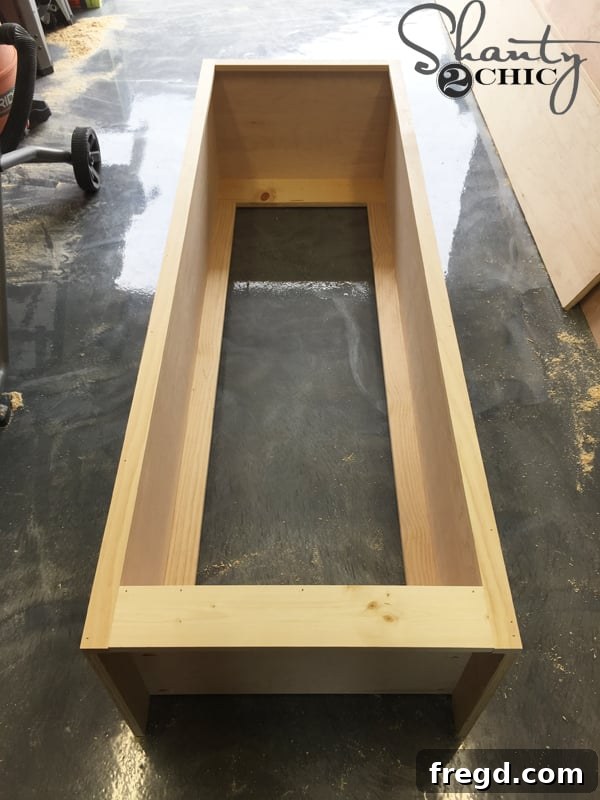
With all four pieces in place, the face frame is now complete, giving your locker a professional and finished appearance.
7. Securing the Plywood Backing
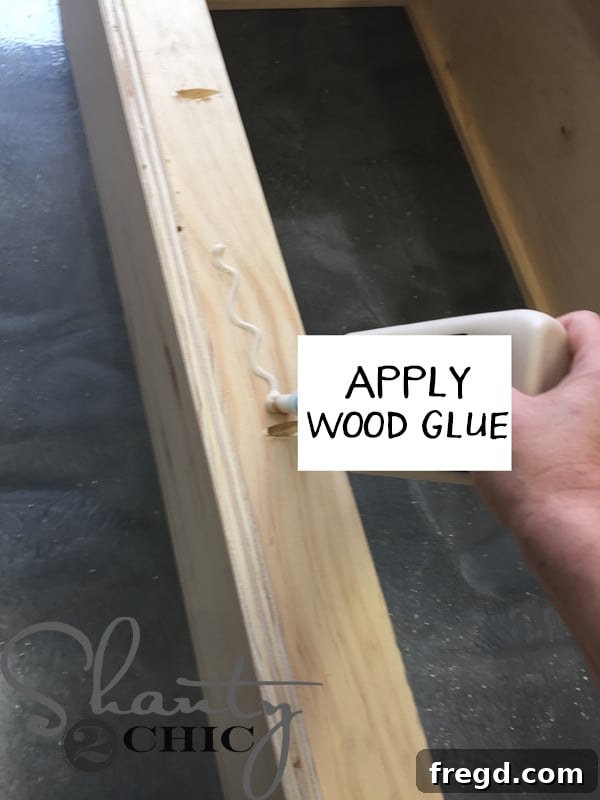
Flip the locker over to its back. Apply a generous bead of wood glue along the back braces. This glue, combined with fasteners, will create a very strong bond for the backing.
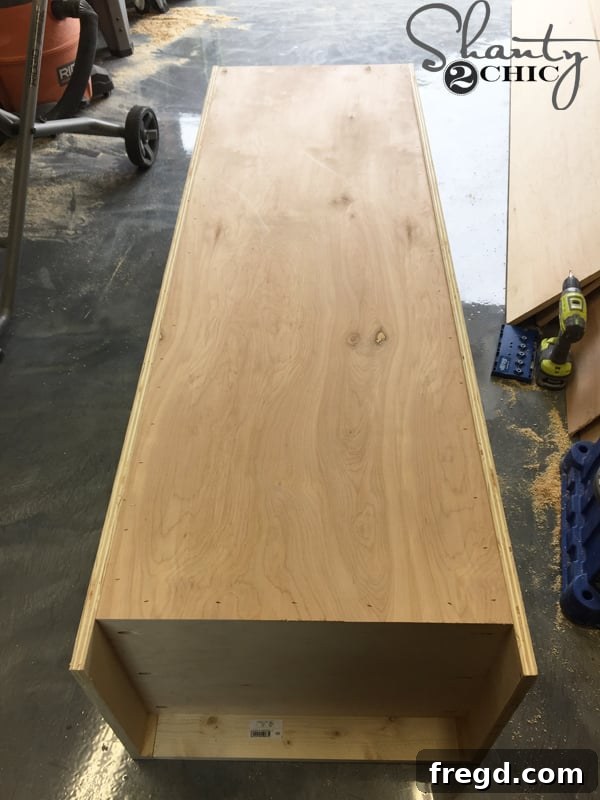
Carefully place your 1/4-inch plywood backing onto the glued braces. For this part, I highly recommend using a stapler, like my Ryobi Airstrike Stapler. Staples create an excellent bond with thinner materials like plywood, preventing tear-out and holding it firmly in place. While a brad nailer or hammer and finish nails can also work, staples generally offer superior grip for thin panels.
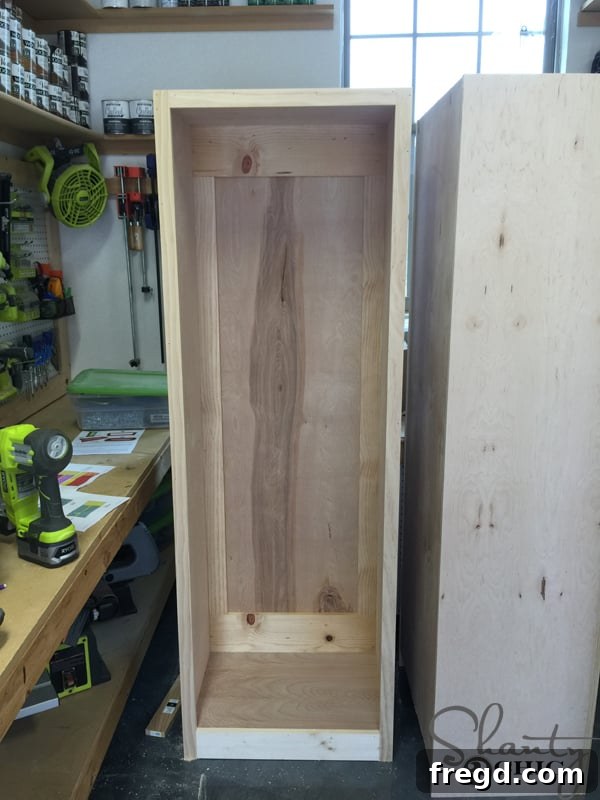
Looking fantastic! The main structure of your locker is now complete and incredibly sturdy. Next up are the shelf pin holes for adjustable shelving.
8. Drilling Shelf Pin Holes for Adjustable Shelves
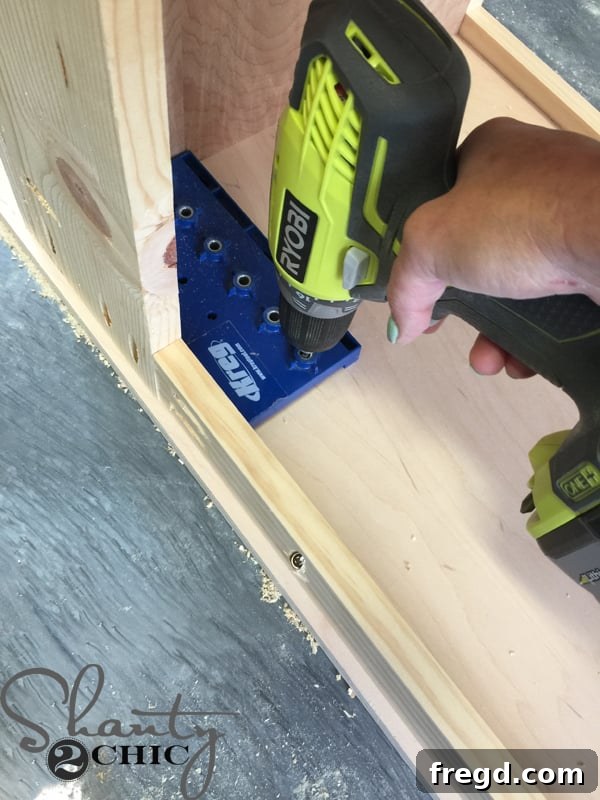
One of my absolute favorite tools for this part is the Kreg Shelf Pin Jig. It completely eliminates the guesswork and tedious measuring involved in drilling evenly spaced shelf pin holes, making the process incredibly fast and straightforward. Simply position the jig where you want your shelf pin holes to begin, clamp it securely, and start drilling.
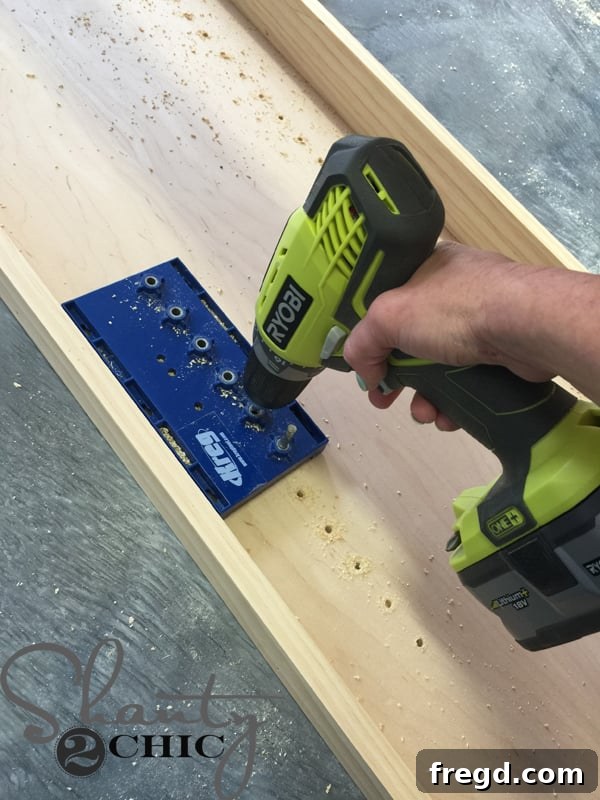
To extend your row of holes beyond the initial six, just insert the metal peg (which comes with the jig) into the very last hole you drilled. This acts as an anchor, allowing you to reposition the jig and continue drilling perfectly aligned holes—it couldn’t be easier! This incredibly useful tool can be ordered HERE on Amazon for around $30, a small investment for such precise results.
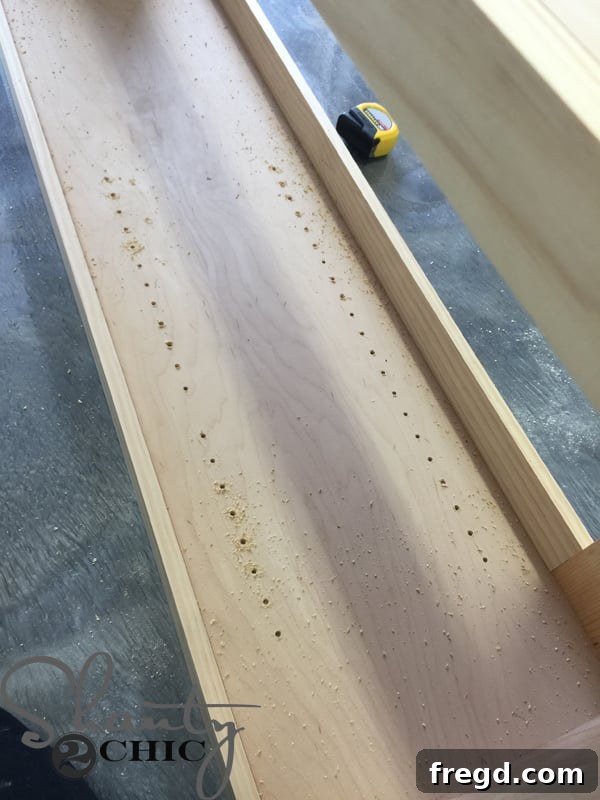
Here’s a look at the interior with all the shelf pin holes drilled (and yes, I totally spotted that missing hole in the middle later when I tried to install the shelves – a reminder that even experienced DIYers have small oversights!).
A Quick Tip: If you prefer open lockers, you can actually stop right here! Just build your shelves, apply your chosen finish, and your open locker system is complete, offering easy access and a different aesthetic.
9. Building and Installing the Shelves
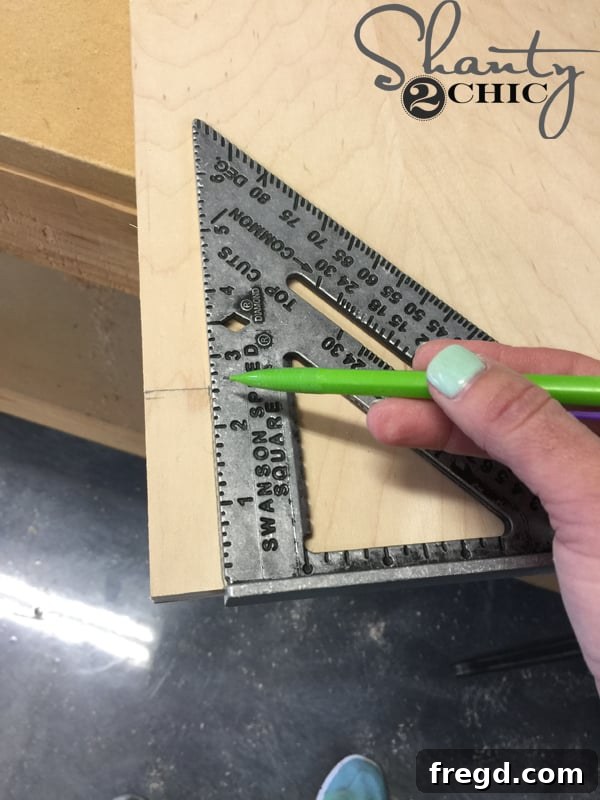
To construct the shelves, first cut your shelf pieces to the specified dimensions. Then, use a speed square to accurately mark out the back corners for notching. These notches are necessary to accommodate the back braces of the locker. Consult your plans for the precise notch measurements. You can easily order a reliable speed square from Amazon HERE.
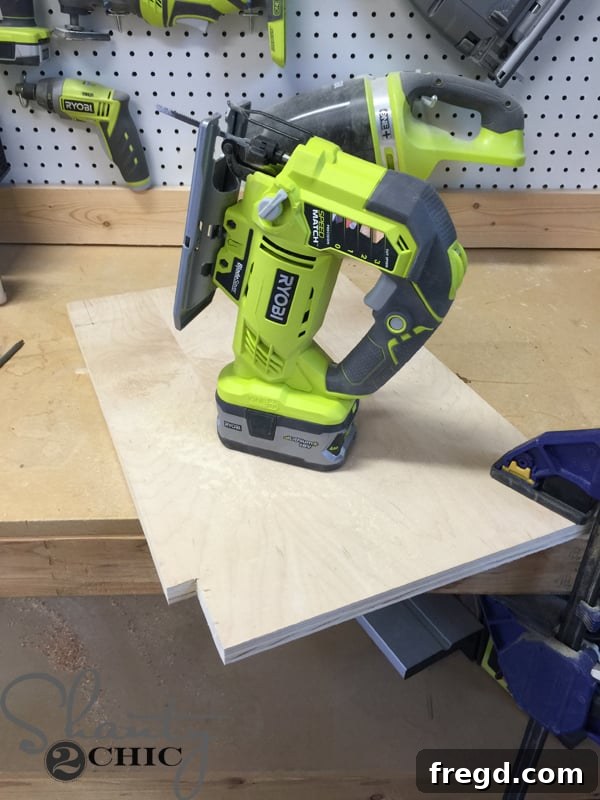
Securely clamp each shelf piece to your workbench to prevent movement while cutting. I used my Ryobi 18V Jigsaw to precisely cut out the marked notches. This ensures a clean fit within the locker. You can find excellent clamps HERE, and if you’re interested in my versatile rolling workbench, you can find the plans HERE.
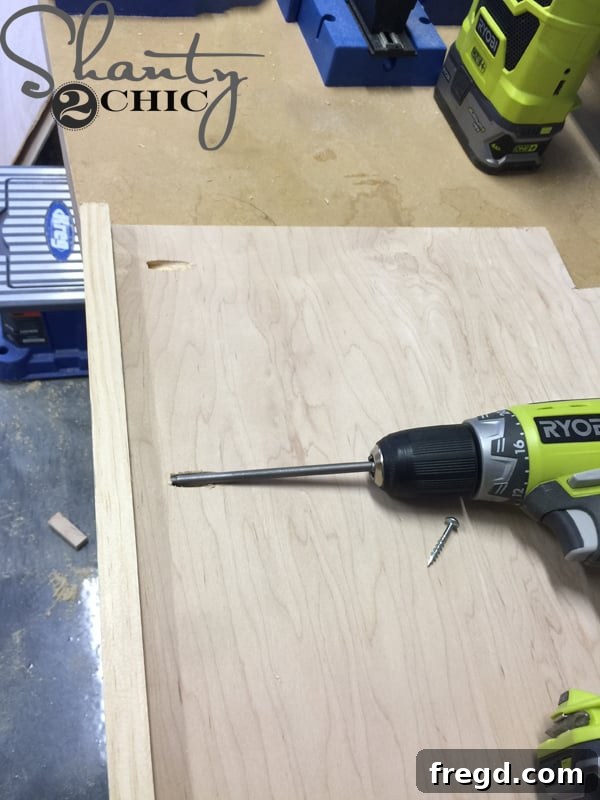
Next, drill 3/4-inch pocket holes into the underside of the shelf piece. These will be used to attach the front trim piece, giving the shelf a finished edge. Attach the trim to the front of the shelf using 1 1/4-inch pocket hole screws, ensuring a strong and seamless connection.
10. Constructing the Locker Doors
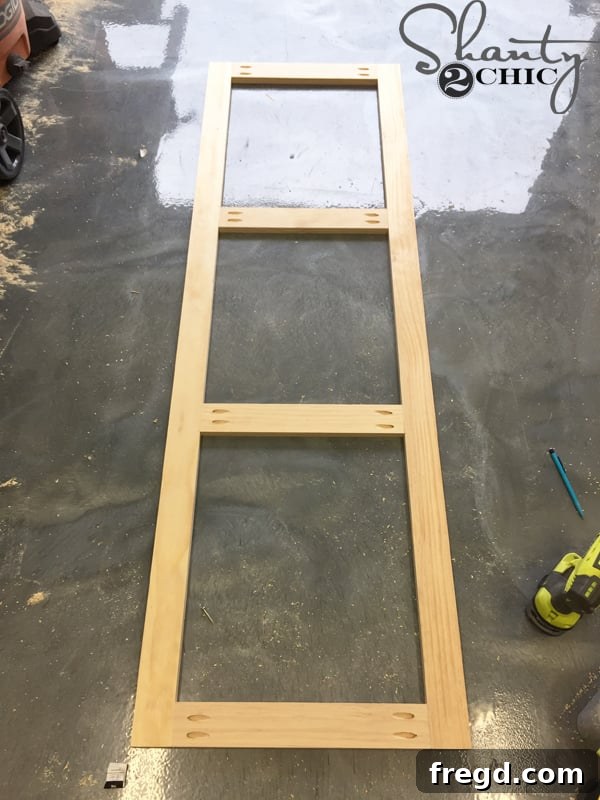
Now for the doors! Build the door frame according to the precise dimensions in your plans. Like the main locker frame, you’ll use 1 1/4-inch pocket hole screws and wood glue to create a robust and square frame for each door.
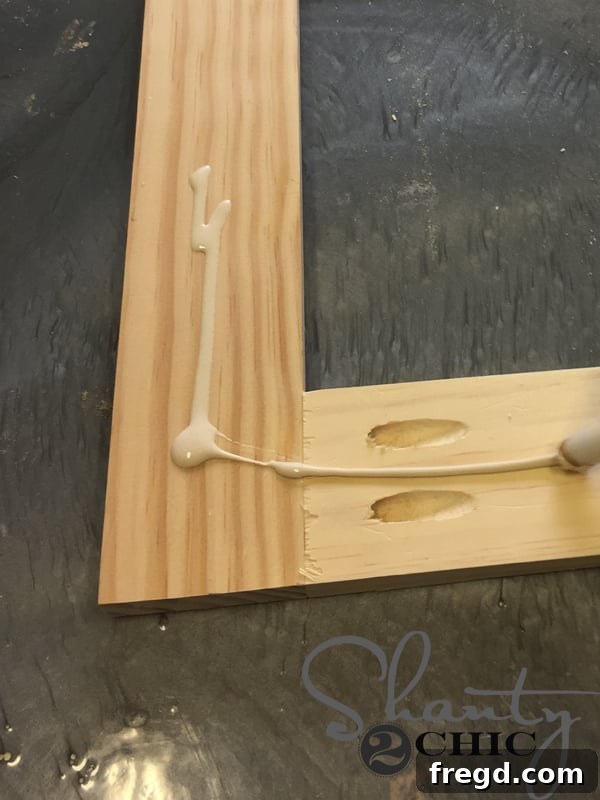
Apply wood glue to the back edges of the door frame. This glue will help secure the plywood panel.
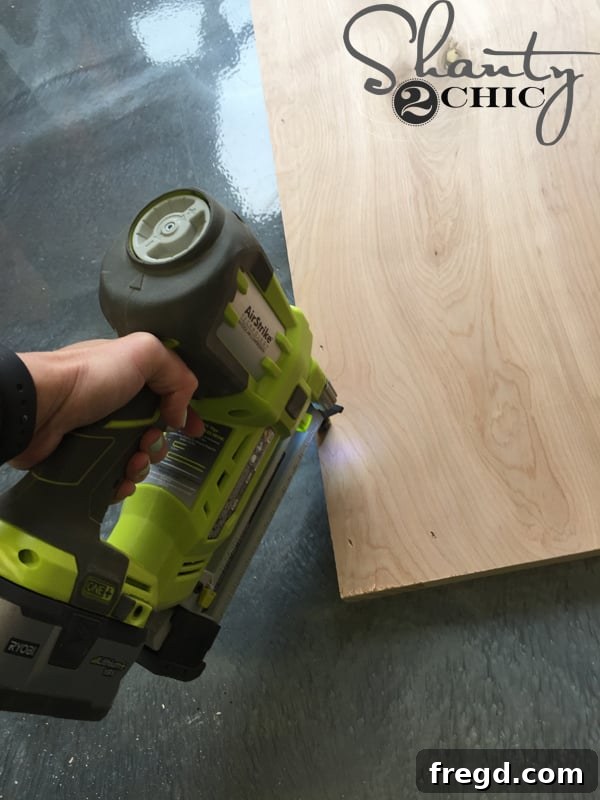
Carefully align and attach the 1/4-inch plywood panel to the door frame, using staples. Again, a brad nailer or finish nails and a hammer can also be used here, but staples are often preferred for their strong hold on thin materials, minimizing any risk of splitting the wood.
Important Tip for Multiple Lockers: If you are planning to build a modular system with several lockers joined together, hold off on attaching the final bottom trim pieces for now. However, do cut them to size so you can stain them along with all the other components. For the front trim piece, cut it slightly longer than needed. This allows you to achieve an exact, custom fit once all the locker units are securely attached to each other.
The Finishing Touches: Staining, Assembly, and Hardware
11. Applying the Stain for a Vintage Look
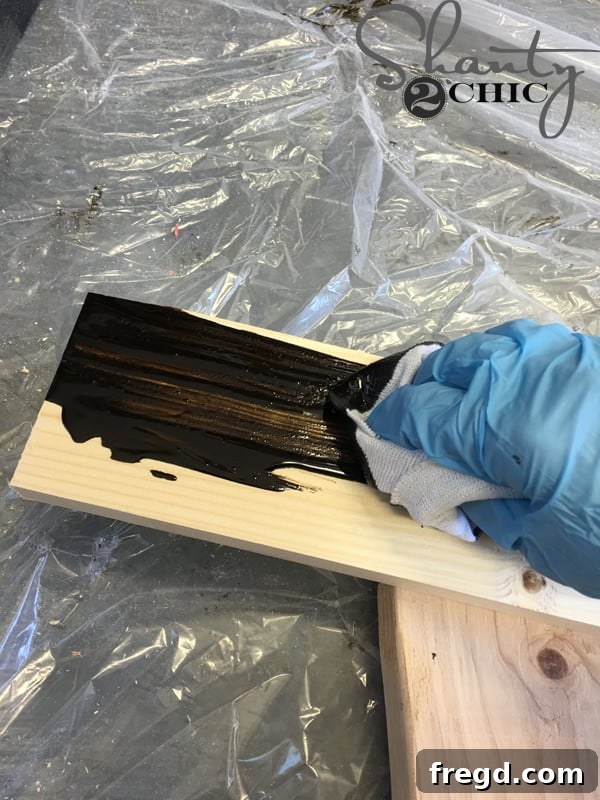
Now for the rewarding part: bringing out the natural beauty of the wood and achieving that desired vintage look! I applied one coat of Rust-Oleum Dark Walnut stain using a clean cloth. Allow the stain to penetrate the wood for about 5 minutes. This allows for rich color development. Then, with a separate clean cloth, wipe away any excess stain, blending it evenly across all surfaces for a consistent, professional finish.
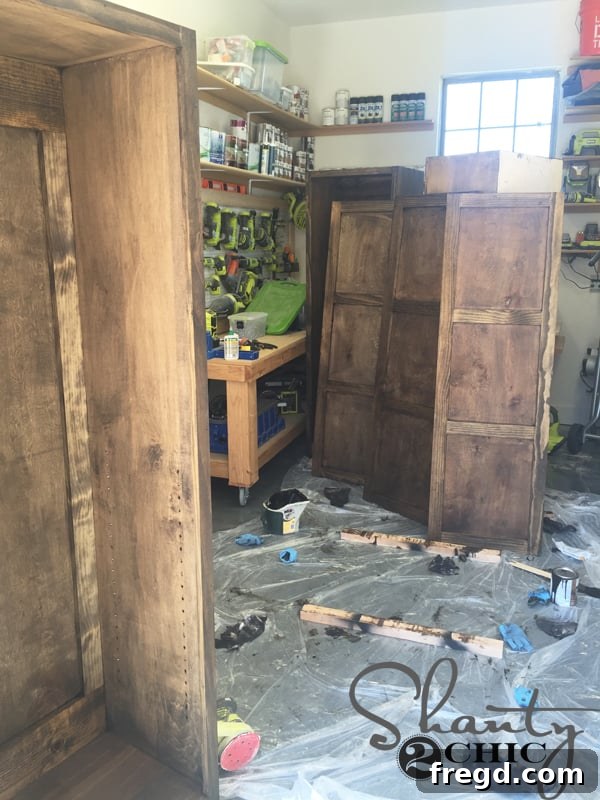
After staining all the individual components – the locker frames, doors, and shelves – let them dry completely for at least an hour, or as recommended by your stain manufacturer. Proper drying time is crucial before moving to assembly to prevent smudging or uneven finish.
12. Attaching the Modular Locker Units Together
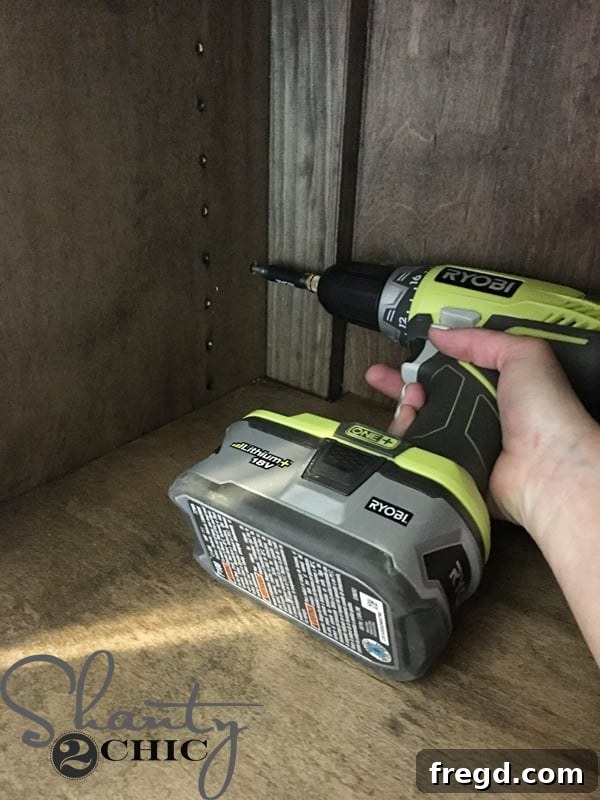
Once the stain is thoroughly dry, it’s time to bring the individual locker units inside and assemble them into your desired configuration. Align them perfectly and then join them together using 1 1/4-inch Spax screws. I typically use about four screws along the front edge of each adjoining locker and another four along the back edge. This ensures a robust and seamless connection, making your modular locker system feel like a single, cohesive piece of furniture.
13. Adding the Final Trim Pieces
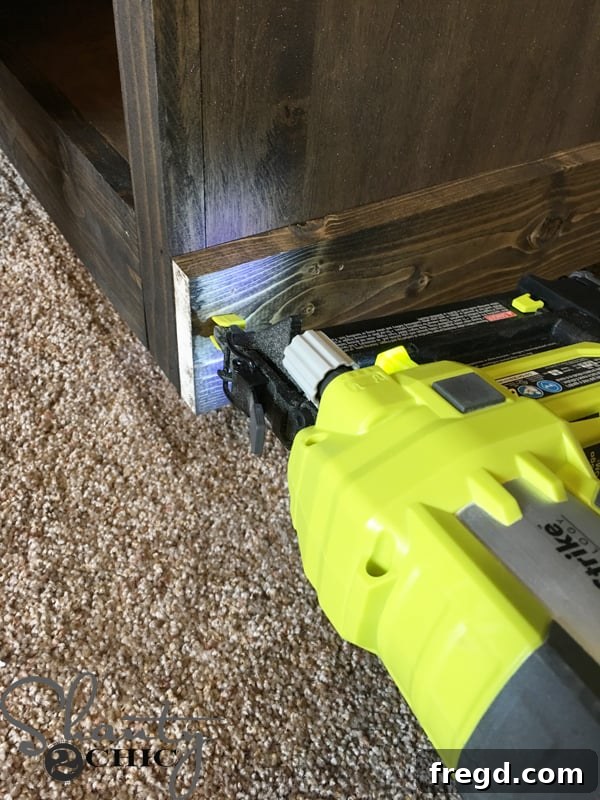
With the locker units securely attached to each other, you can now add the final bottom trim pieces. Start by attaching the side trim pieces first. Then, precisely measure the opening for the front trim piece and cut it to achieve an exact, snug fit. I opted not to miter these pieces because the lockers are positioned between two walls, meaning the ends wouldn’t be visible. However, if your lockers will have exposed sides, mitering the corners for a clean 45-degree joint would provide a more polished look. Either approach will look great depending on your placement.
14. Installing the Doors
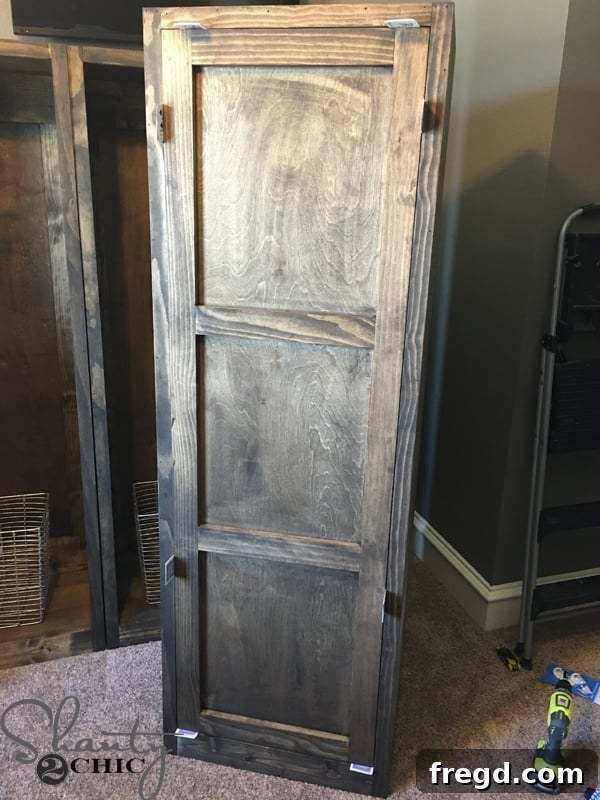
Attaching the doors can sometimes be a fiddly process, but I learned a super cool “card trick” from our friend Brad from Fix this Build that! He shared a quick video on his Instagram demonstrating this brilliant method, which ensures perfect spacing and alignment. This technique truly makes door installation a breeze.
15. Adding Hardware for Functionality and Flair
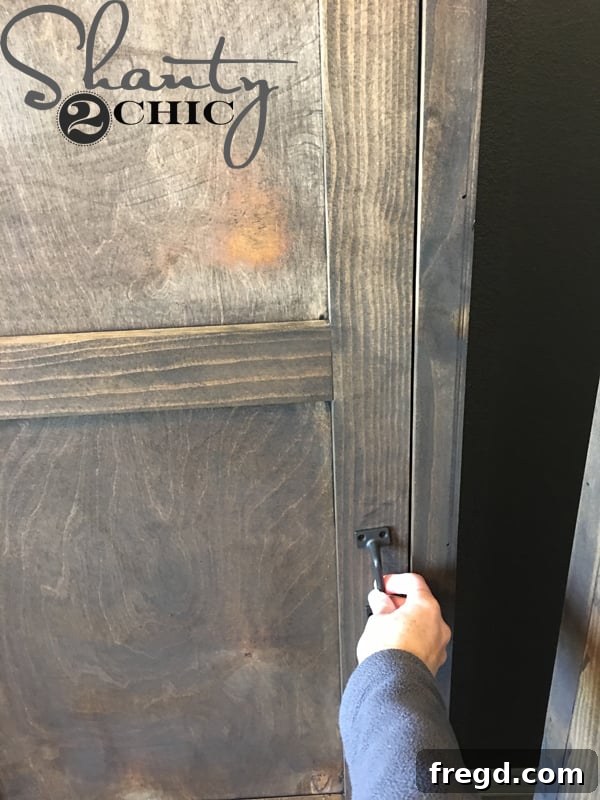
Once the doors are hung, it’s time to add the hardware that brings the whole vintage locker aesthetic to life. I attached these sturdy door pulls, which I sourced from Lowe’s, providing both functionality and a touch of industrial charm.
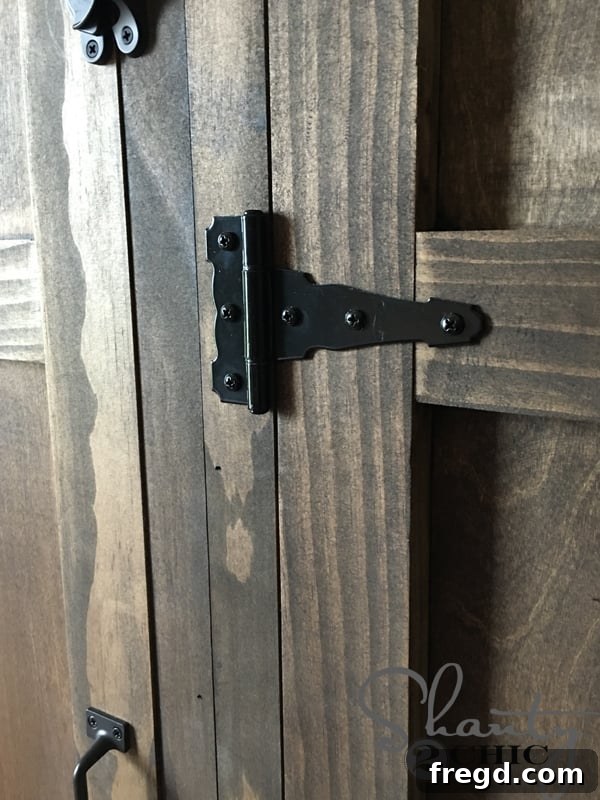
Similarly, these robust metal hinges, also found at Lowe’s, complement the vintage design while ensuring smooth and reliable door operation for years to come.
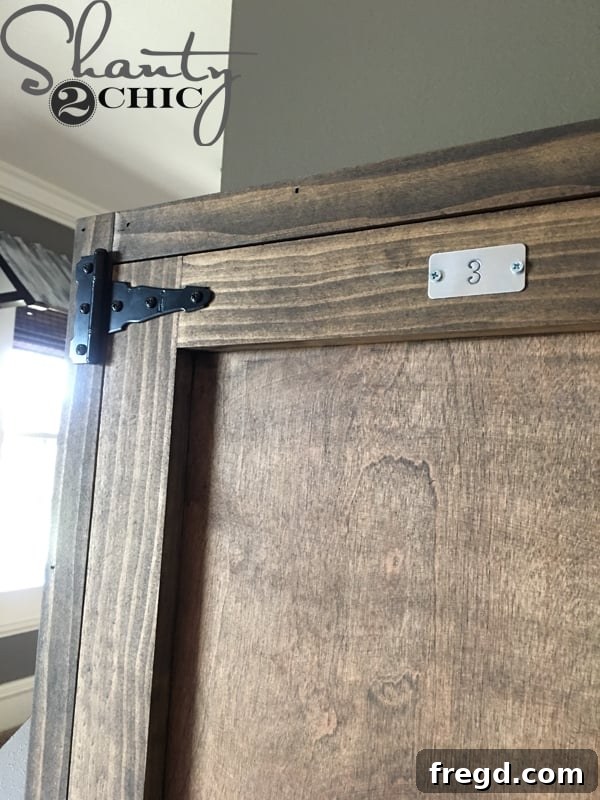
But perhaps my absolute favorite detail that truly sells the vintage locker look is these charming little metal plates! They add an authentic, old-school touch that completes the design.
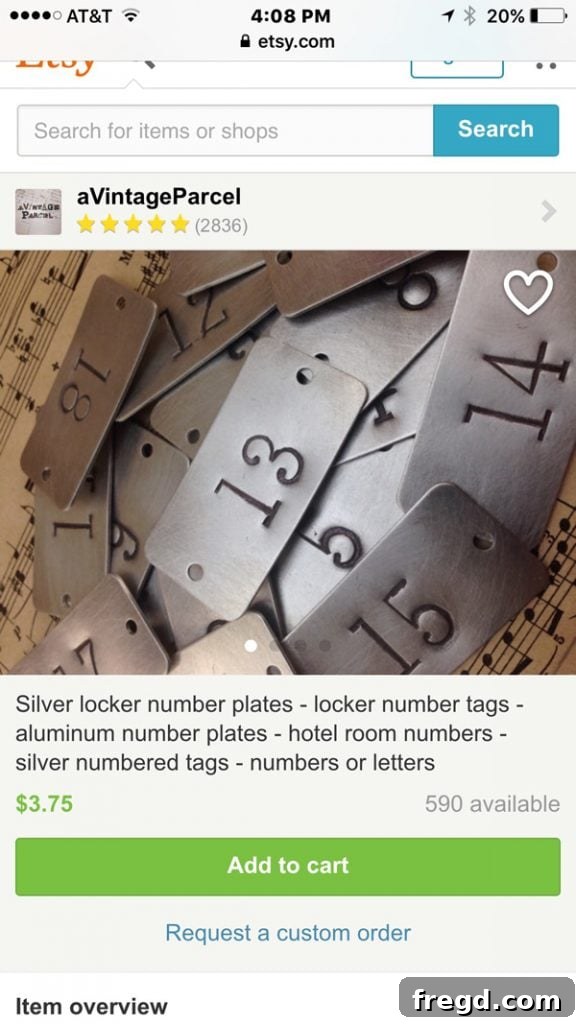
I discovered these fantastic locker tags from an excellent seller on Etsy. They were not only incredibly affordable but also arrived super fast, allowing me to quickly add this perfect finishing touch. You can find them HERE.
A Finished Masterpiece and More Room Projects
And there you have it! The DIY vintage wooden lockers are complete. I truly adore how much character these lockers add to my son’s room, and the storage capacity is simply incredible! He loves them too; he’s cleverly organized one locker for all his sports gear, another for his various “things,” and the third for clothes that don’t need to be hung in the closet. It’s a system that works perfectly for him and keeps his room tidy and stylish.
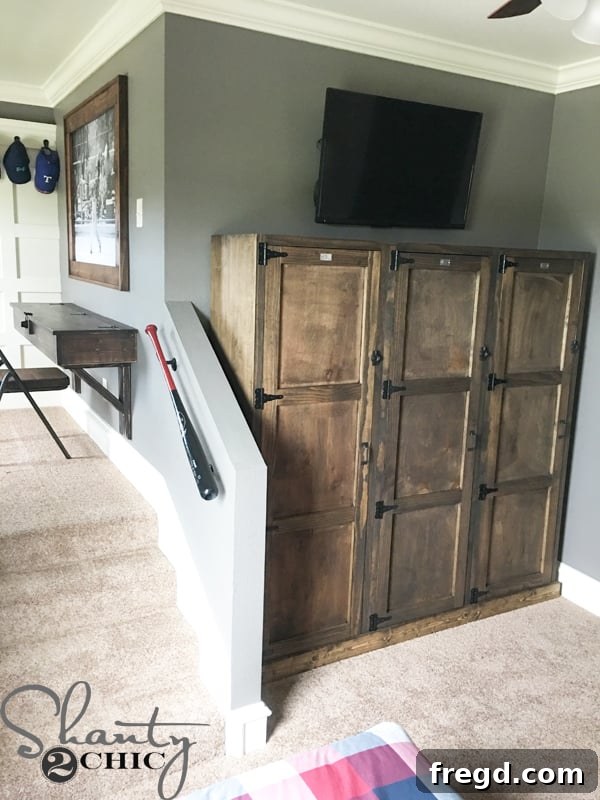
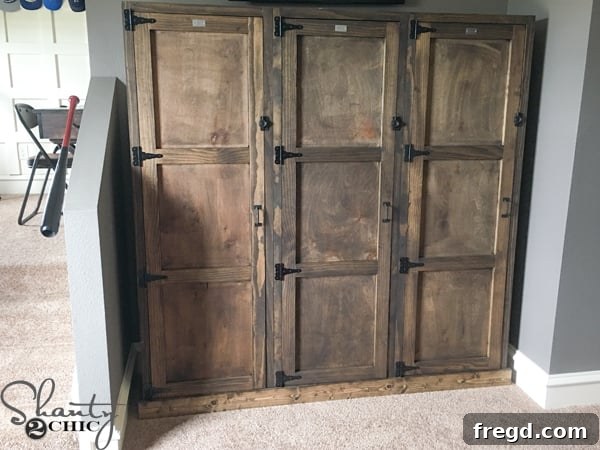
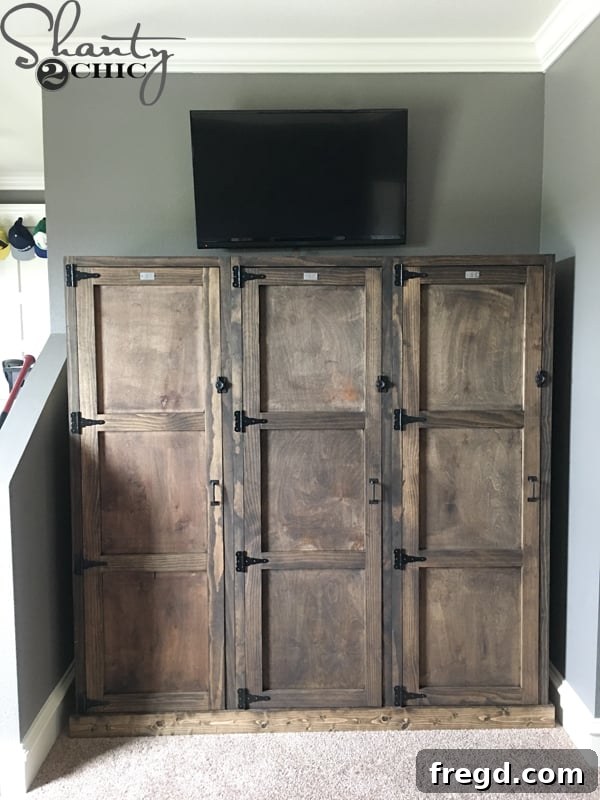
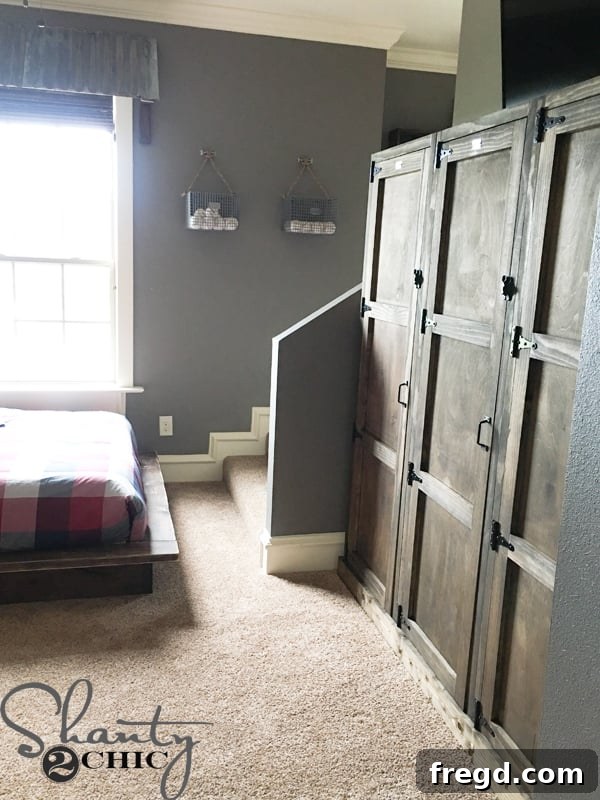
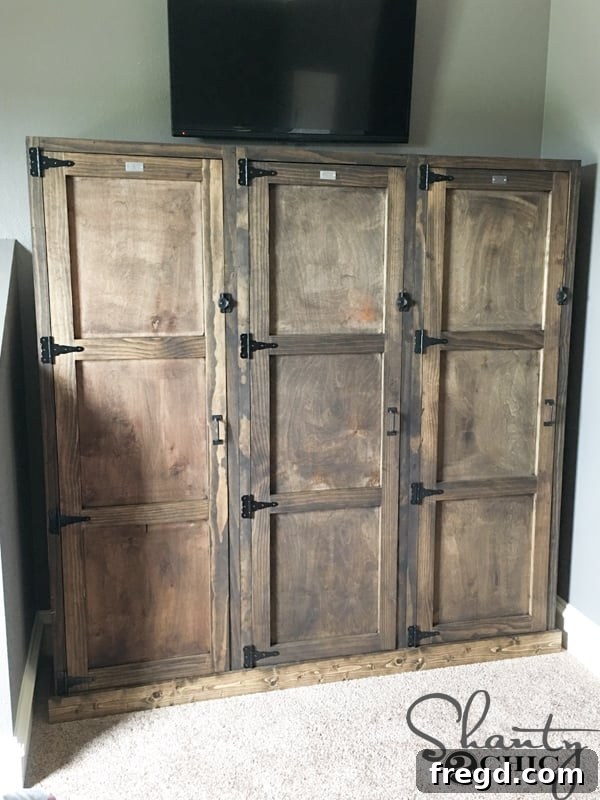
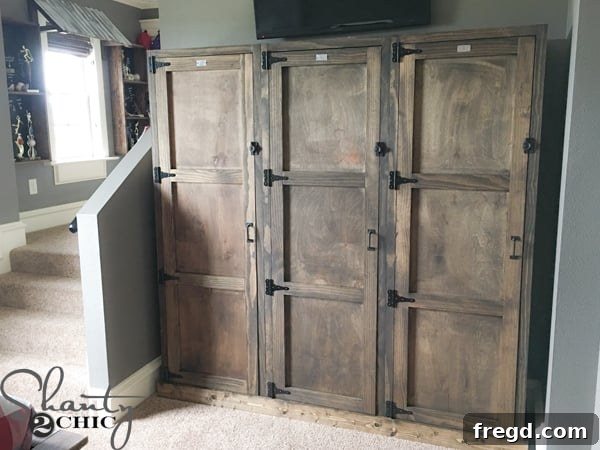
Over the past few years, I’ve built nearly everything you see in his room, and I’m thrilled to say it’s almost complete! If you’re inspired to take on more woodworking projects, you can scroll down to find tutorials for many of the other pieces in his room. The only items I haven’t shared tutorials for yet are the student desk, the large picture hanging on the wall above the desk, and the scoreboard over his bed. For those curious about the decor, the bedding is from PotteryBarn Teen, and the calming wall color is Seine by Valspar.
Thank you so much for stopping by and joining me on this creative journey! I hope this detailed guide empowers you to create your own functional and beautiful DIY wooden lockers.
Happy Building!
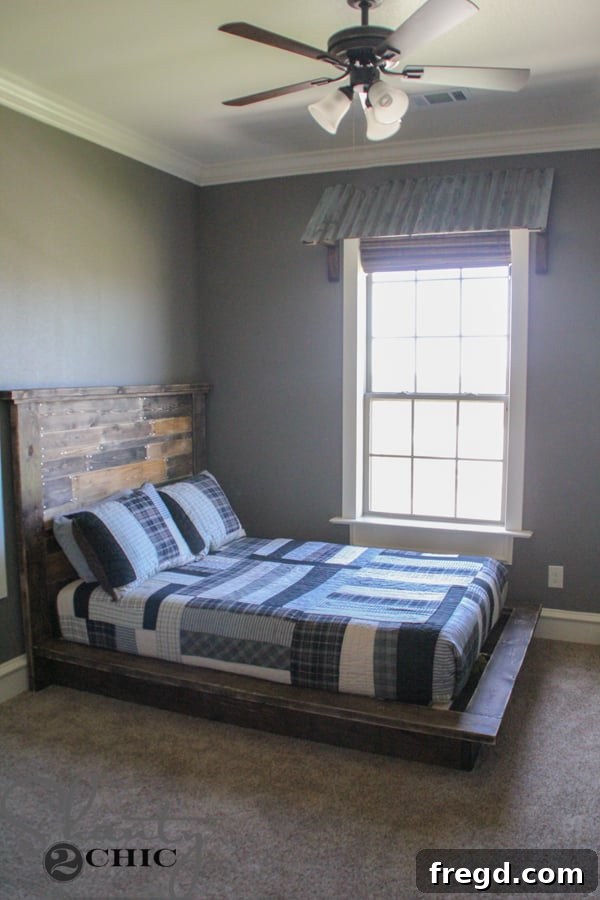
Metal Awnings Tutorial
Platform Bed Tutorial
Headboard Tutorial
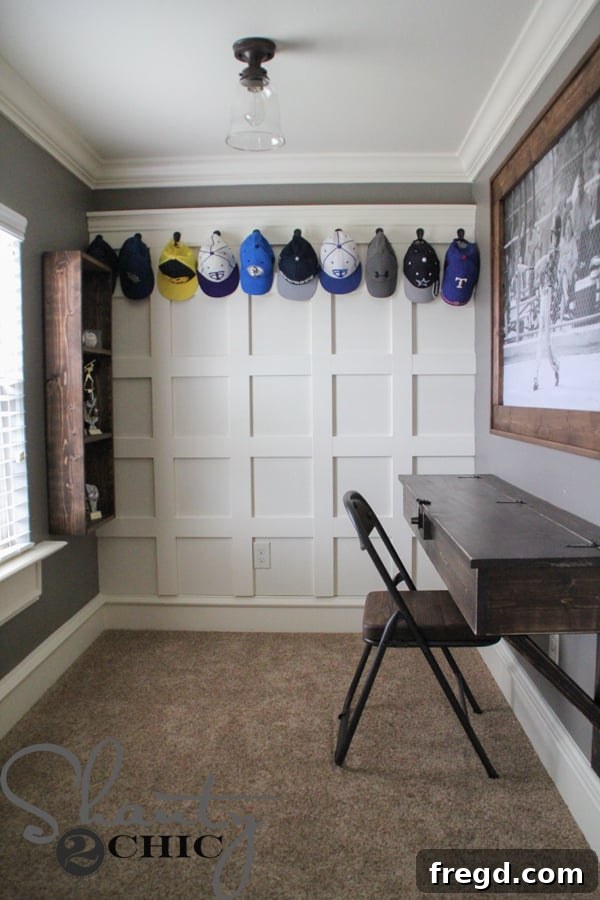
Trophy Case Tutorial
Board and Batten Hat Rack