
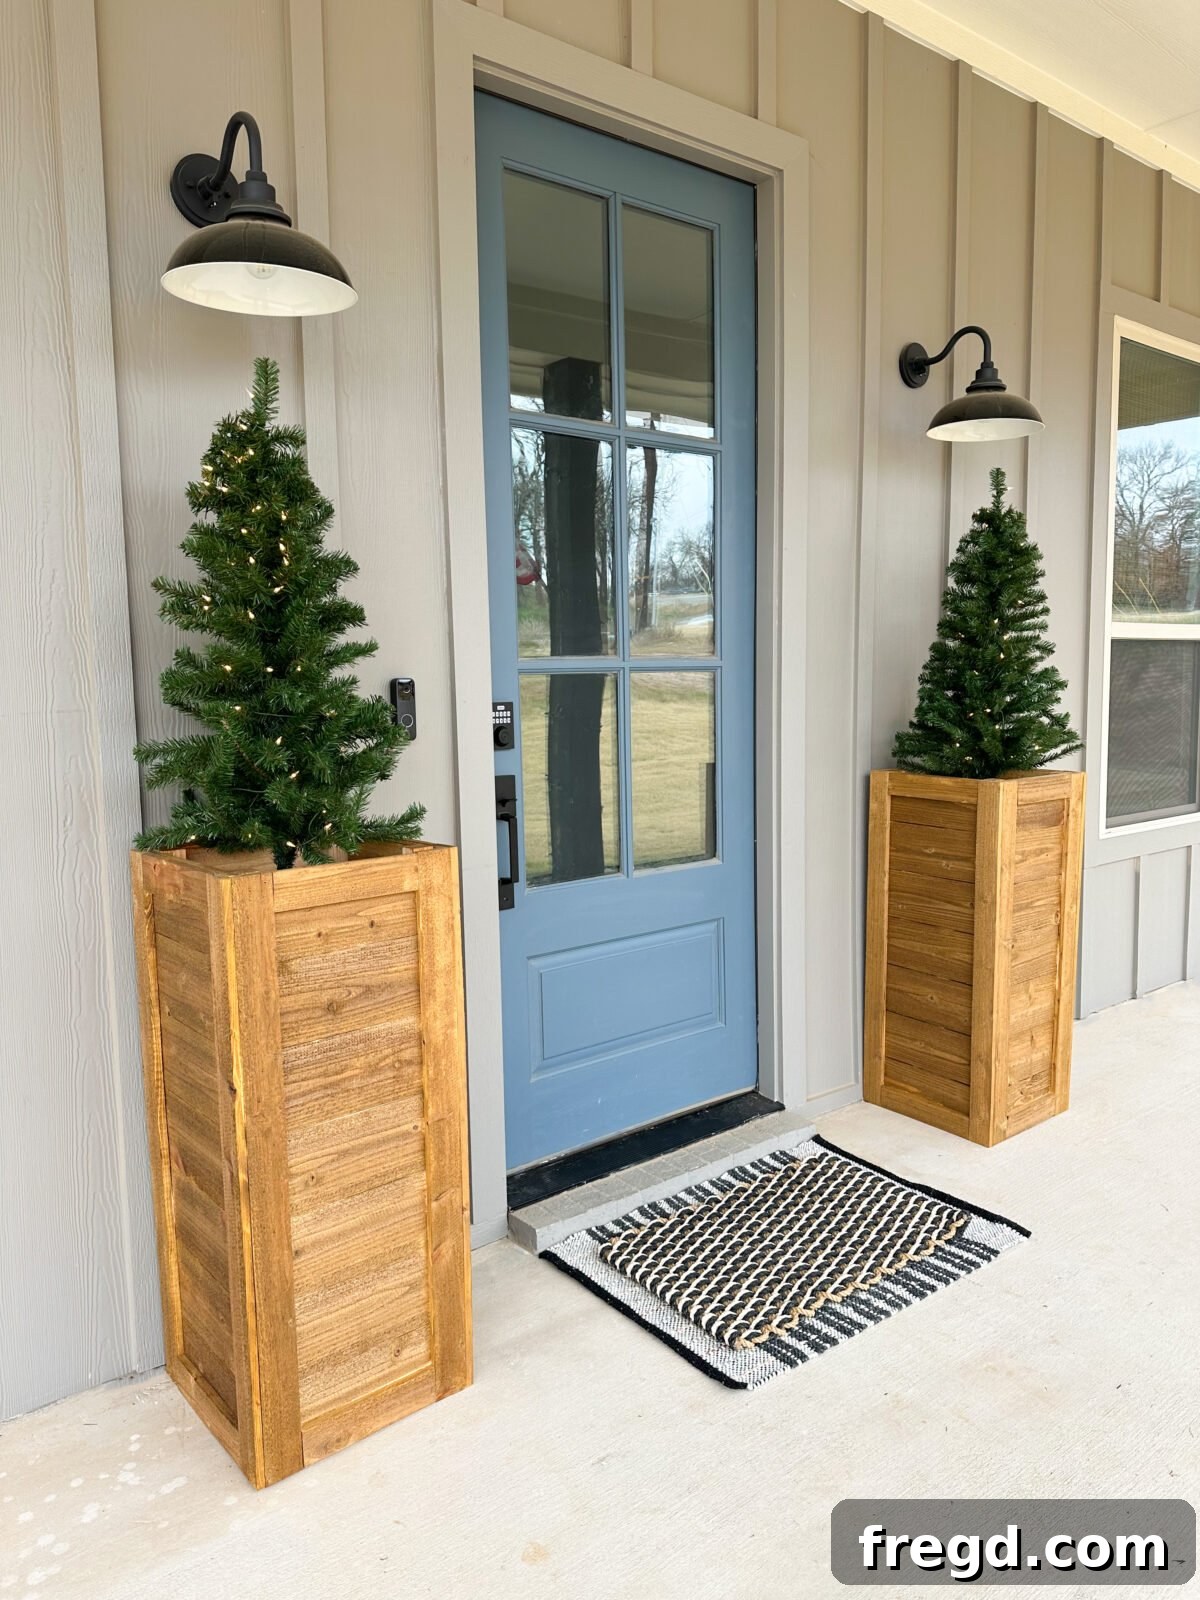
Transform your outdoor living space with a beautiful, custom-built planter box! Whether you’re looking to add a touch of greenery to your front porch, a vibrant display to your deck, or a stylish home for your indoor plants, building your own planter offers unparalleled satisfaction and significant cost savings. This comprehensive guide provides everything you need to construct a robust and elegant cedar planter box from scratch, complete with free detailed plans, an insightful how-to video, and step-by-step instructions. Building projects like this not only enhance your home’s curb appeal but also empower you with new skills and the pride of creating something truly your own. Forget about overpriced, generic store-bought options that don’t quite fit your vision. This DIY cedar planter box project is designed to be super easy, even for beginner woodworkers, allowing you to create stunning, tall planters tailored to your specific needs for around $50 in lumber per box.
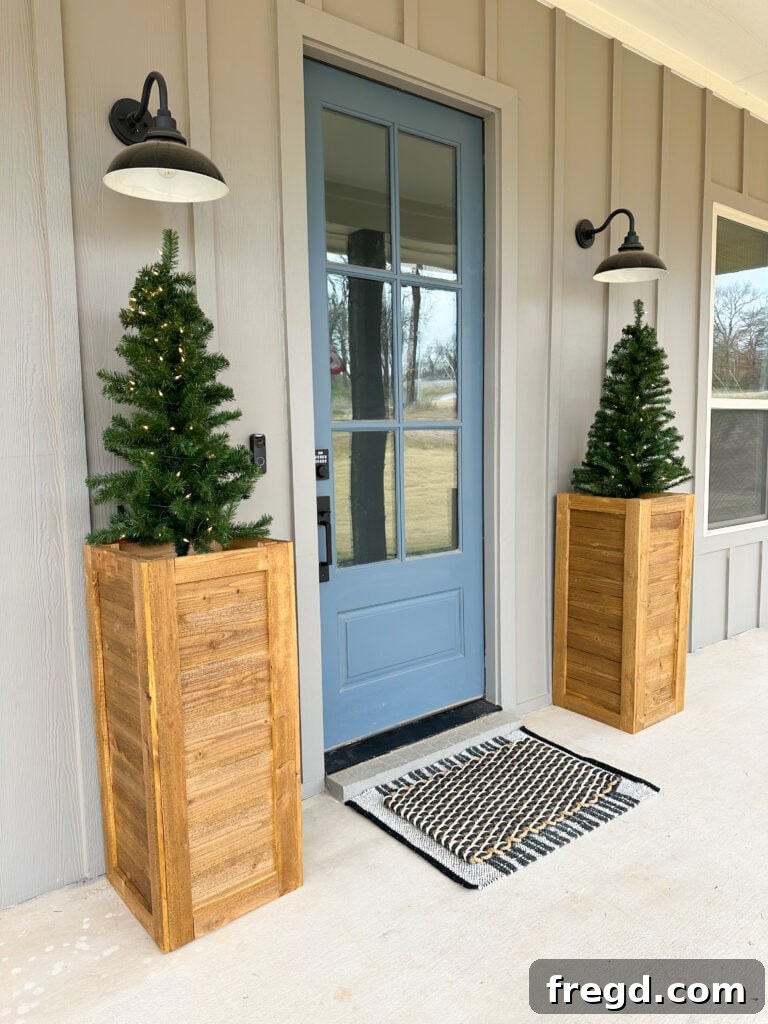
Having recently moved into my new home, I’ve been on a mission to infuse it with personal touches, slowly but surely making it truly ours. Among the many DIY projects on my to-do list, this tall cedar planter box quickly climbed to the top. My new front porch, with its charming cedar columns, expansive windows, and a generous concrete patio, has been practically begging for some bespoke outdoor decor. I envisioned a pair of striking, tall cedar planter boxes flanking the entrance, perhaps even complemented by a couple of inviting porch swings in the future. I searched high and low for planters that matched the specific dimensions and aesthetic I had in mind, but commercial options were either too small, not tall enough, or prohibitively expensive. This challenge became an exciting opportunity to design and build exactly what I imagined, proving that custom craftsmanship doesn’t have to break the bank. The result? These gorgeous, sturdy planters that I adore, built for a fraction of the cost of their retail counterparts. This is truly a beginner-friendly project, so grab your tools, pour a cup of coffee, and let’s get building!
Watching the build come together in the video makes it look incredibly straightforward, doesn’t it? And it truly is! To ensure your success, we’ve prepared a comprehensive step-by-step written tutorial below, packed with helpful tips and detailed instructions. For those who prefer working with printable documents, don’t forget to download the complete set of free plans, which includes a convenient shopping list and precise cut diagrams to guide you through every stage of the project. Simply click the link below to access your free plans and get started on your very own cedar planter box today!
Click here to download the Free Printable Plans
Now, let’s dive into the exciting process of bringing your vision to life!
Table of Contents
How to Build a DIY Planter Box: A Step-by-Step Guide
Building your own cedar planter box is a rewarding project that combines practical skills with creative expression. This guide focuses on constructing a single, durable planter, but you can easily replicate the process to create a matching set for a cohesive look. Follow these detailed steps to achieve a professional-looking result.
Materials and Tools Required
Before you begin, gather all your materials and tools. Having everything organized will make the building process smoother and more efficient. Using cedar pickets is ideal for outdoor projects due to their natural resistance to rot and insects, but you can also choose redwood or another durable wood species available in your area.
Essential Tools:
- Miter Saw: Crucial for making accurate cross-cuts for your frame and slats.
- Kreg Jig: Our preferred tool for creating strong pocket hole joints, which are key to this project’s sturdy frame.
- Drill: Essential for driving screws and creating pilot holes.
- Table Saw (optional): Useful for ripping wider boards to specific widths, though not strictly necessary if your fence pickets are already the desired size.
- Brad Nailer: For securely attaching the trim pieces with precision and speed.
Supplies You’ll Need:
- 6 – 1x6x8 Cedar Fence Pickets (or redwood/available durable wood): These will form the beautiful slatted sides of your planter.
- 2 – 2x4x8 Framing Lumber or Pine: Used for the robust internal frame structure.
- 3/4″ Outdoor Wood Screws: For attaching the slats to the frame.
- 2 1/2″ Outdoor Pocket Hole Screws: To assemble the main frame components.
- 1″ Brad Nails: For finer trim attachments.
- 1 1/4″ Brad Nails: For securing larger trim pieces.
- Wood Glue: Essential for strengthening all joints and ensuring long-lasting durability.
- Outdoor Finish: To protect your planter from the elements and enhance its aesthetic appeal.
Building the Robust Planter Box Frame
The frame is the skeleton of your planter box, providing stability and structure. This stage involves precise cutting and joining to create a sturdy foundation.
Step 1: Assembling the Core Frame
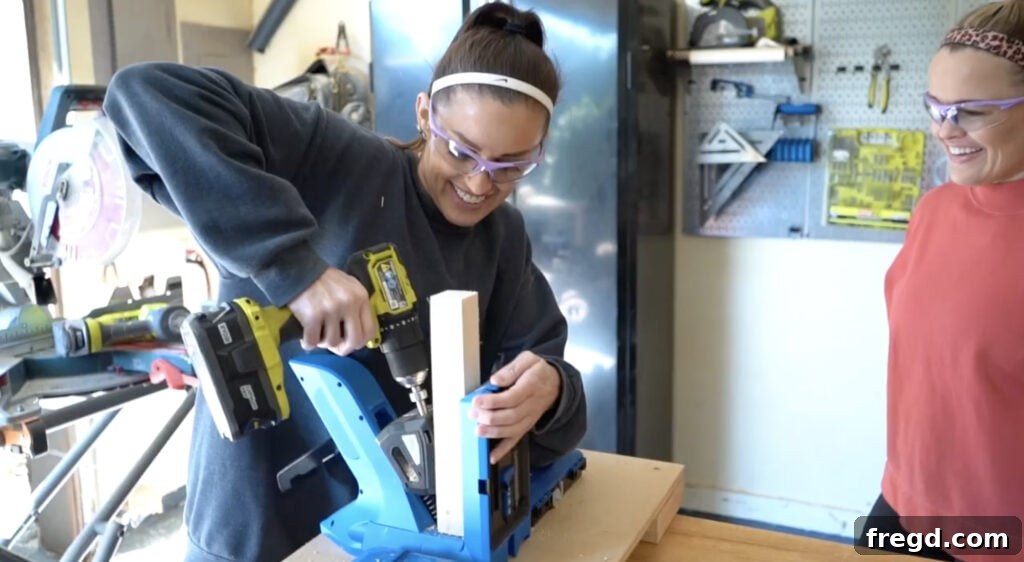
Begin by cutting all your 2×4 framing lumber pieces according to the dimensions provided in the free plans. Accuracy here is key for a square and stable planter. Once your pieces are cut, set up your Kreg Jig. Drill 1 1/2″ pocket holes at both ends of the short rung pieces (the horizontal supports that connect the legs). Pocket holes create incredibly strong joints, making your planter durable and long-lasting. If you’re new to using a Kreg Jig, it’s a fantastic tool for DIY furniture, offering concealed fasteners and robust connections.
- Find our recommended Kreg Jig model here, perfect for projects like this.
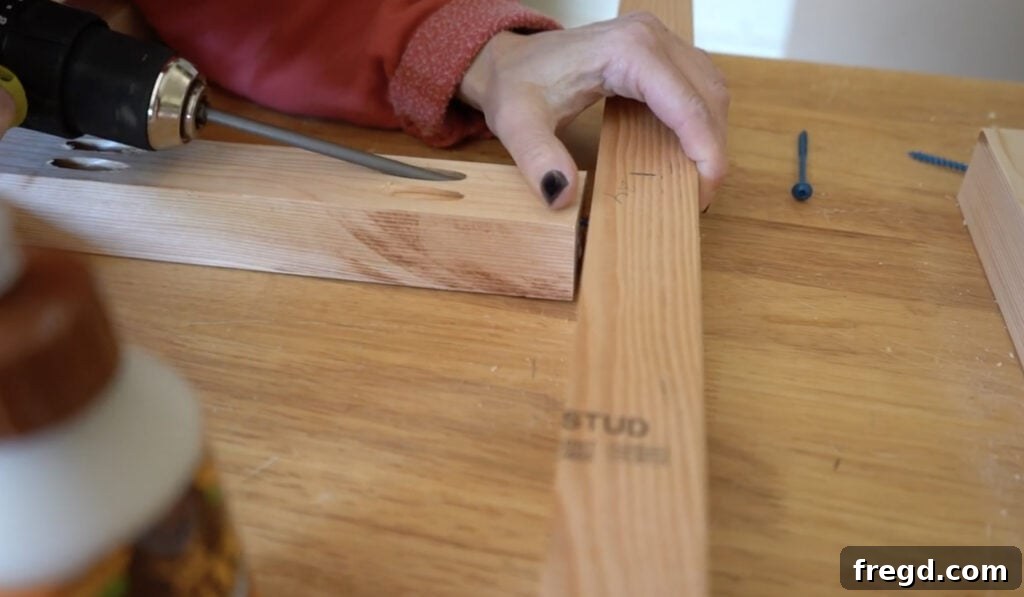
Now, it’s time to assemble the frame. Apply a generous amount of wood glue to the ends of the short rung pieces before attaching them to the legs of the frame. Secure them with 2 1/2″ outdoor pocket hole screws. The beauty of pocket holes is their versatility; you can orient them to face either inwards or outwards, as they will eventually be covered by the exterior slats. Ensure each connection is tight and square before moving on, as a solid frame is the foundation for a successful build.
Step 2: Incorporating the Adjustable Shelf Pieces
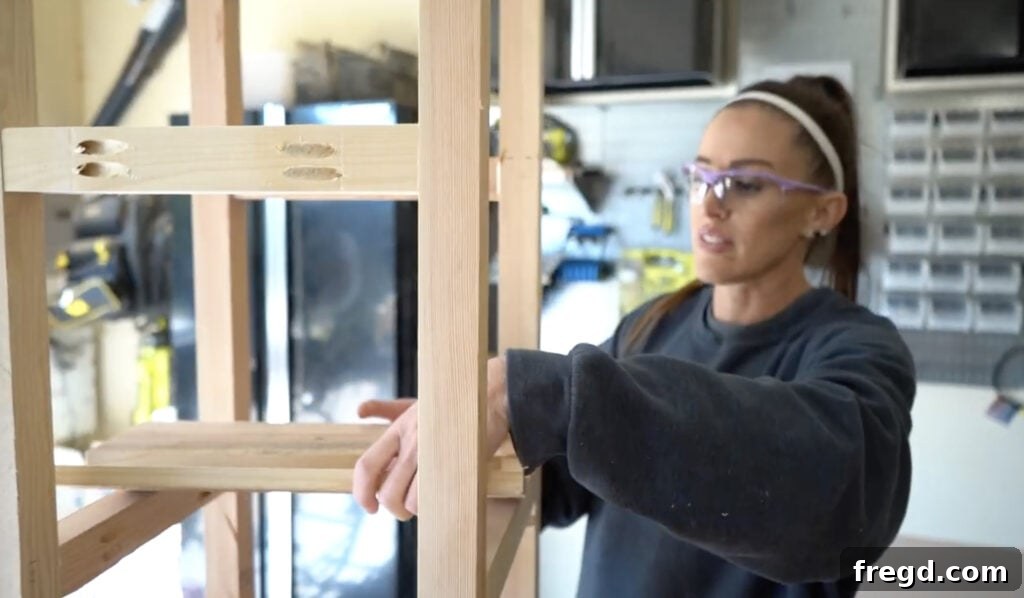
With the main frame now complete and standing strong, measure and cut your shelf pieces from your cedar pickets to fit snugly inside the frame. These pieces will create the false bottom for your planter, allowing you to use less potting soil and adjust the depth for different plant sizes. While only two shelf pieces are functionally necessary for support, I opted for four to create a more solid base, ensuring I had enough lumber. The advantage of these shelf pieces is their movability; they are not permanently attached, allowing you to easily raise or lower the planting depth as needed, or even remove them for deep cleaning or to accommodate very tall plants. This flexibility is a key design feature for a truly versatile planter.
Attaching the Cedar Slats to Form the Sides of the Planter
The cedar slats define the aesthetic of your planter, transforming the basic frame into a beautiful, finished product. This step requires careful measurement and consistent application for a clean, professional look.
Step 3: Attaching the Short Slat Pieces
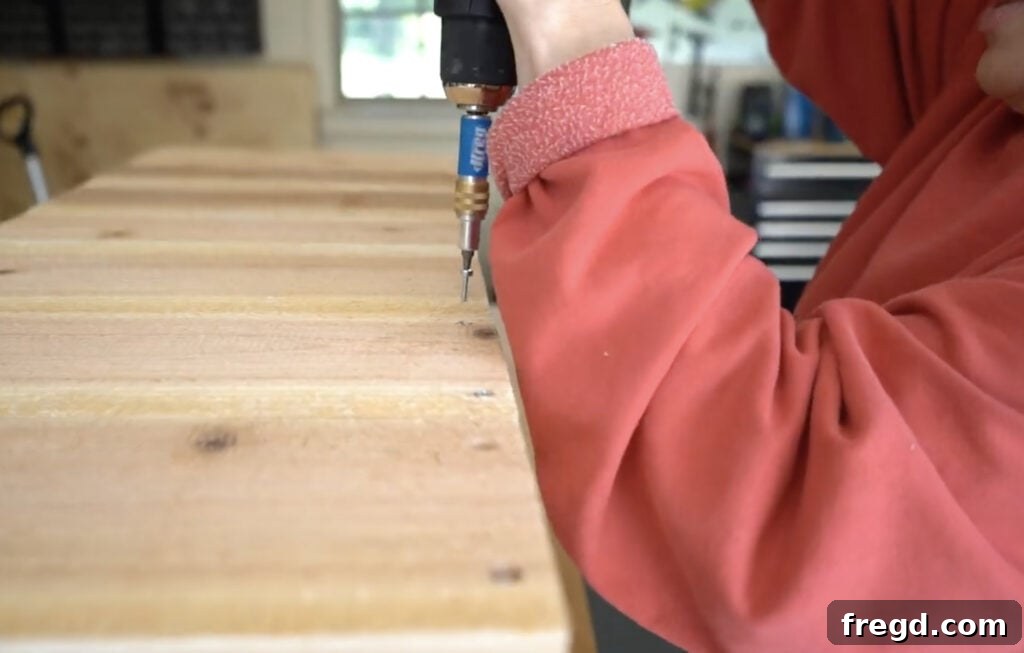
You can begin on any side, but for consistency, choose one of the shorter sides first. Measure and cut your short cedar slat pieces to the correct length as per your plans. Align these slats side-by-side, starting precisely at the top of the frame. It’s crucial that each slat is flush with the ends of the frame, creating a seamless edge. Attach them securely to the legs of the frame using 3/4″ outdoor wood screws and wood glue. The combination of glue and screws ensures a strong, weather-resistant bond. Once you’ve completed the first short side, flip the frame over to the opposite short side and repeat the process, maintaining the same careful alignment. To prevent your cedar boards from splitting, which can happen easily with softer woods, we highly recommend using a Kreg Quick Flip drill bit to pre-drill pilot holes for each screw. This small step makes a big difference in the finished quality and durability of your planter.
- The Kreg Quick Flip is an excellent tool for this task, find it here.
Step 4: Attaching the Long Slat Pieces
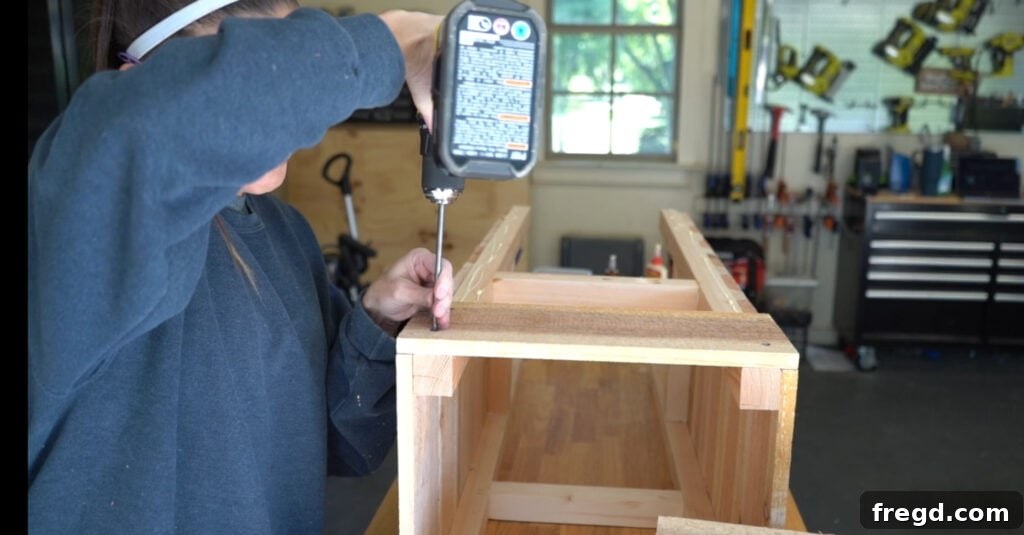
Next, measure and cut the longer cedar slat pieces for the two remaining sides of your planter box. Attach these long slats using the exact same method as before: apply wood glue, position them carefully, and secure with 3/4″ outdoor wood screws through pre-drilled pilot holes. Pay close attention to how these long slats meet the edges of the short slats you just installed. They should be perfectly flush with the edges of the short slats, creating a smooth and uniform exterior surface. This attention to detail will ensure your planter has a clean, professional finish, ready for the final touch of trim.
Adding the Decorative Trim
The trim pieces are where your planter box truly gets its polished, finished look. They conceal the exposed ends of the slats and add a beautiful decorative element, elevating your project from functional to fabulous.
Step 5: Attaching the Short Side Trim
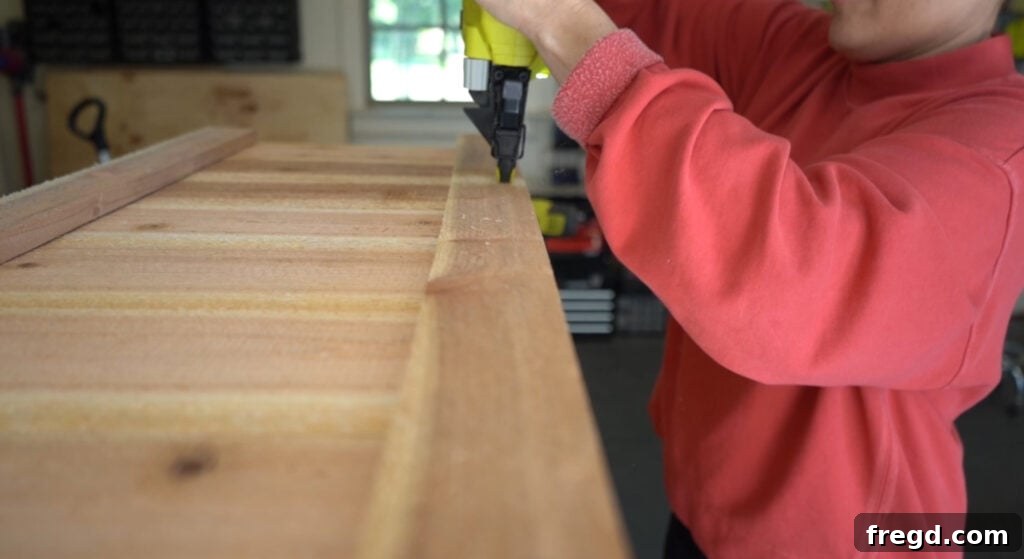
With all four sides of your planter now covered with slats, it’s time to add the trim. This step is crucial for hiding any visible end grain of the slats and giving your wooden planter box a refined, custom-built appearance. Start by measuring and cutting the trim pieces for the short sides of the planter. Apply wood glue to the back of these trim pieces and attach them to the short sides of the planter box using 1 1/4″ brad nails. The brad nailer makes this process quick and leaves minimal holes, which are easy to fill later. Ensure the trim pieces are flush with the ends of the long slats and align perfectly with the top and bottom of the frame. Repeat this process for both short trim sides.
Step 6: Attaching the Long Side Trim
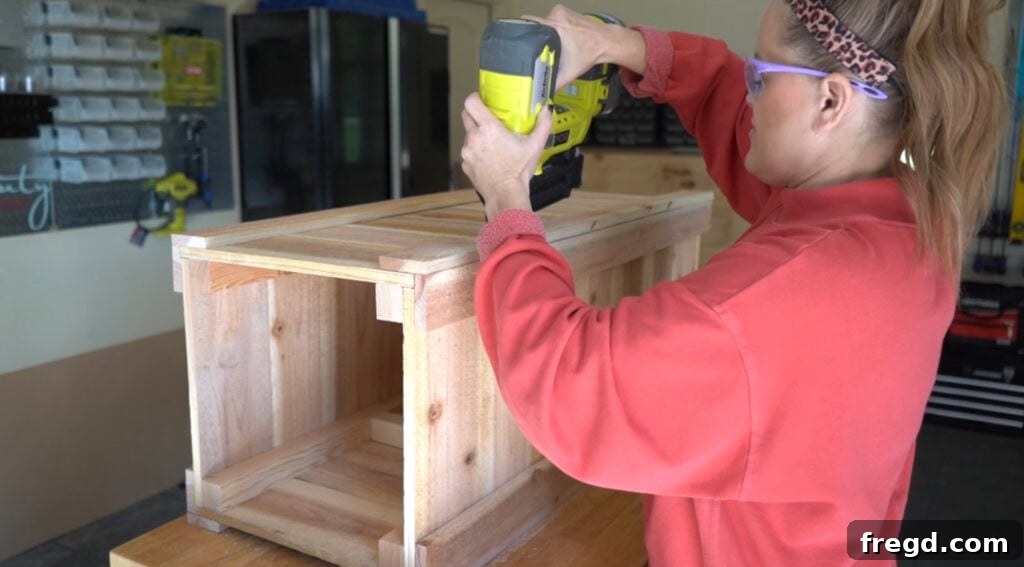
Next, turn the planter frame to work on a long slat side. Measure and cut the remaining long trim pieces. Apply wood glue and attach them to the long slat sides using 1 1/4″ brad nails. Here’s a key detail for a professional finish: these long trim pieces should be perfectly flush with the short slat trim pieces you just installed. This overlapping design ensures that they gracefully cover the raw edges of the short trim, creating clean, mitered-looking corners that are aesthetically pleasing and protect the underlying wood.
Step 7: Adding the Short Top and Bottom Trim
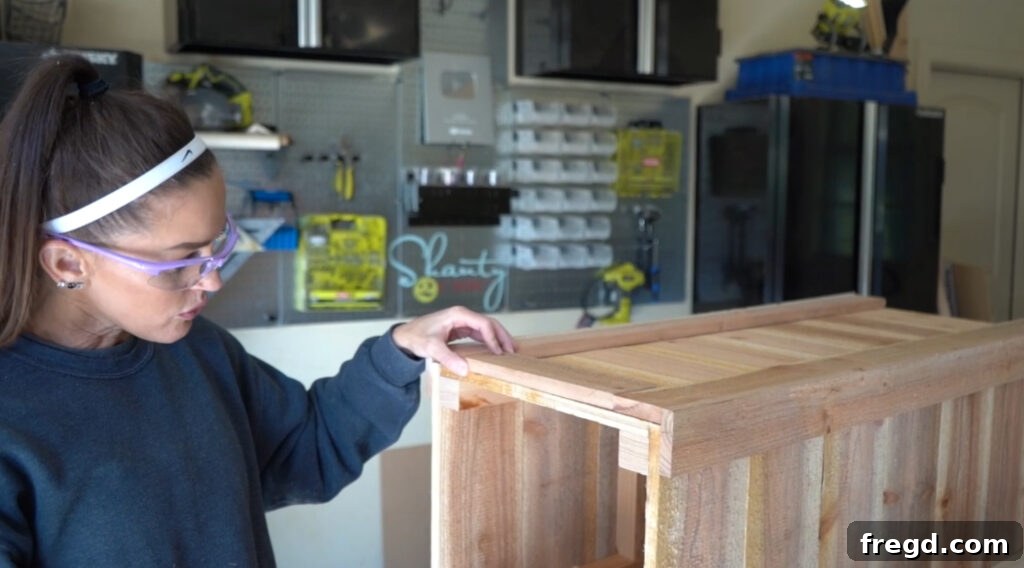
For the final trim elements, we’ll add decorative strips to the top and bottom edges. Measure and cut the short top trim pieces to size. Apply wood glue and attach them to the very top and very bottom of both short slat sides of the planter box using 1″ brad nails. These trim pieces should sit flush with the top and bottom edges of the planter frame itself, creating a clean, defined border. This small detail adds a significant amount of visual weight and sophistication to the overall design, making your planter truly stand out.
Step 8: Adding the Long Top and Bottom Trim
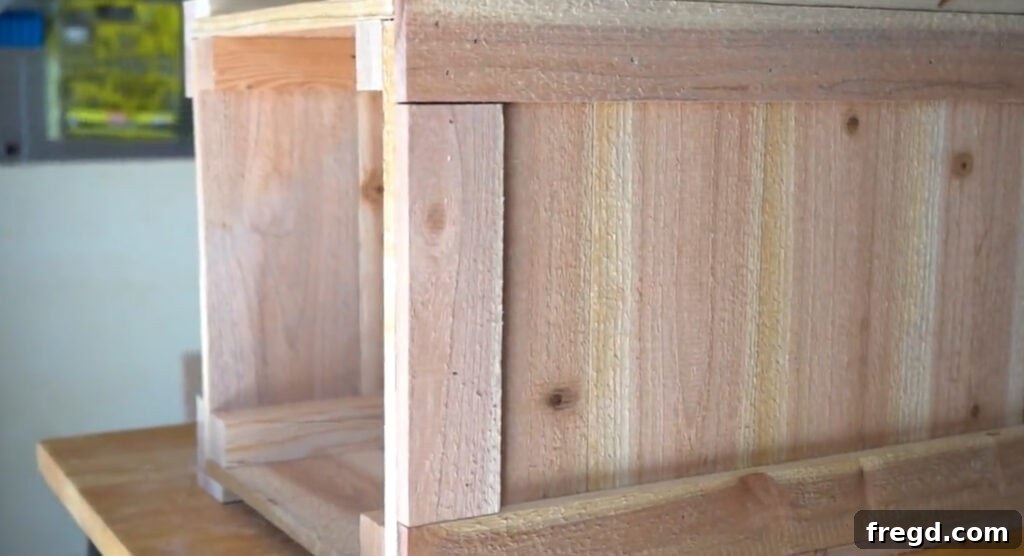
Finally, measure and cut the long top and bottom trim pieces to size. Attach them to the long sides of the planter box in the exact same manner, using wood glue and 1″ brad nails. Just like with the side trim, ensure these long trim pieces are flush with the short trim pieces, creating crisp, clean corners all around your planter. With all the trim in place, your planter box will look exceptionally professional and ready for its protective finish.
The Finishing Touches: Staining, Painting, and Protecting Your Planter
Now that your planter box is fully assembled, it’s time to apply the finishing touches that will protect it from the elements and customize its appearance to perfectly match your home’s aesthetic.
Step 9: Stain or Paint for Personalized Style
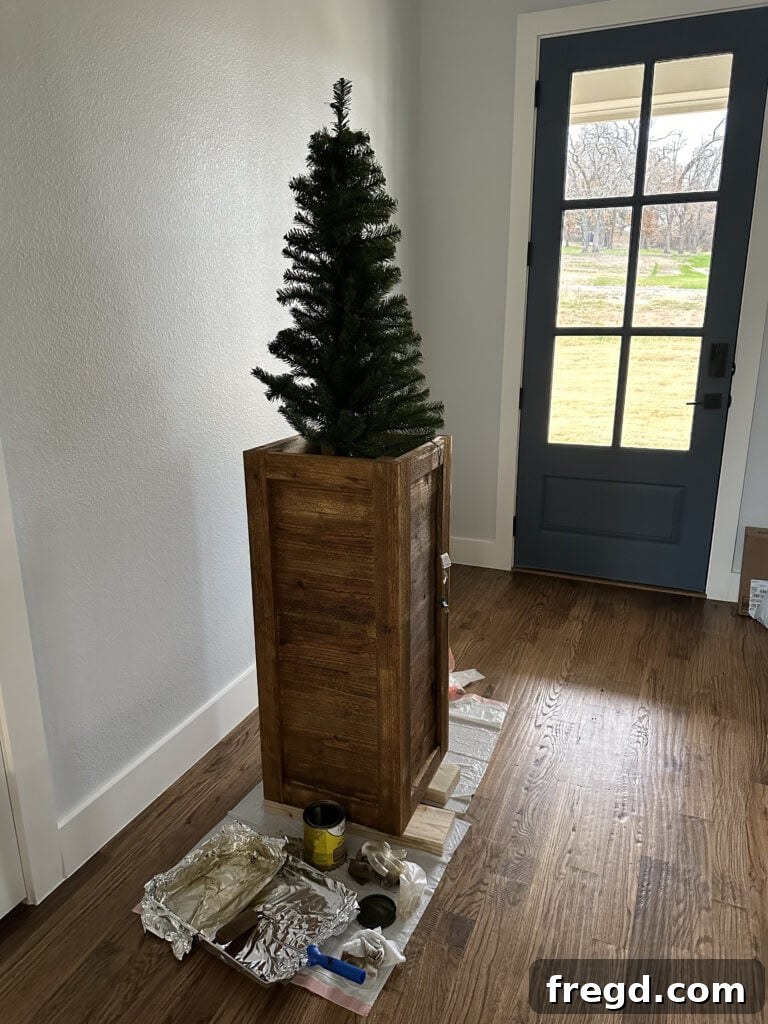
This is where your personal style truly shines! You have the option to paint or stain your planter box to complement your outdoor decor. I chose to enhance the natural beauty of the cedar with one coat of Golden Oak stain, which brings out the wood’s warm tones and grain patterns beautifully. If you prefer a bolder look, a pop of color with outdoor-grade paint can make your planter a vibrant focal point. Consider colors that either contrast or harmonize with your home’s exterior for maximum impact. Always apply stain or paint in a well-ventilated area, following the manufacturer’s instructions for application and drying times. Properly preparing the surface by sanding lightly before applying the finish will ensure a smooth, even result.
- The Golden Oak stain I used can be found here.
Step 10: Applying a Protective Outdoor Finish
Regardless of whether you choose to stain or paint your planter, adding a high-quality protective outdoor finish is absolutely crucial. This protective layer acts as a shield against moisture, UV rays, and temperature fluctuations, ensuring your planter remains beautiful and structurally sound for years to come. If you decide to embrace the natural look of cedar without stain or paint, applying an outdoor clear coat is still highly recommended. It will prevent the wood from weathering prematurely to a gray patina, preserving its rich, original cedar color while making it incredibly weather-resistant. This step guarantees the longevity and enduring beauty of your hard work, allowing you to enjoy your custom planter box through countless seasons.
- You can find the durable outdoor finish I recommend here.
And just like that, you’ve completed your stunning cedar planter box! I am absolutely in love with my new set of planters. I managed to finish them just in time to decorate for the holidays, but my plan is to switch out the plantings and decor seasonally, keeping my porch fresh and inviting all year round. The versatility of these planters means they’ll be a constant source of joy and creative expression.
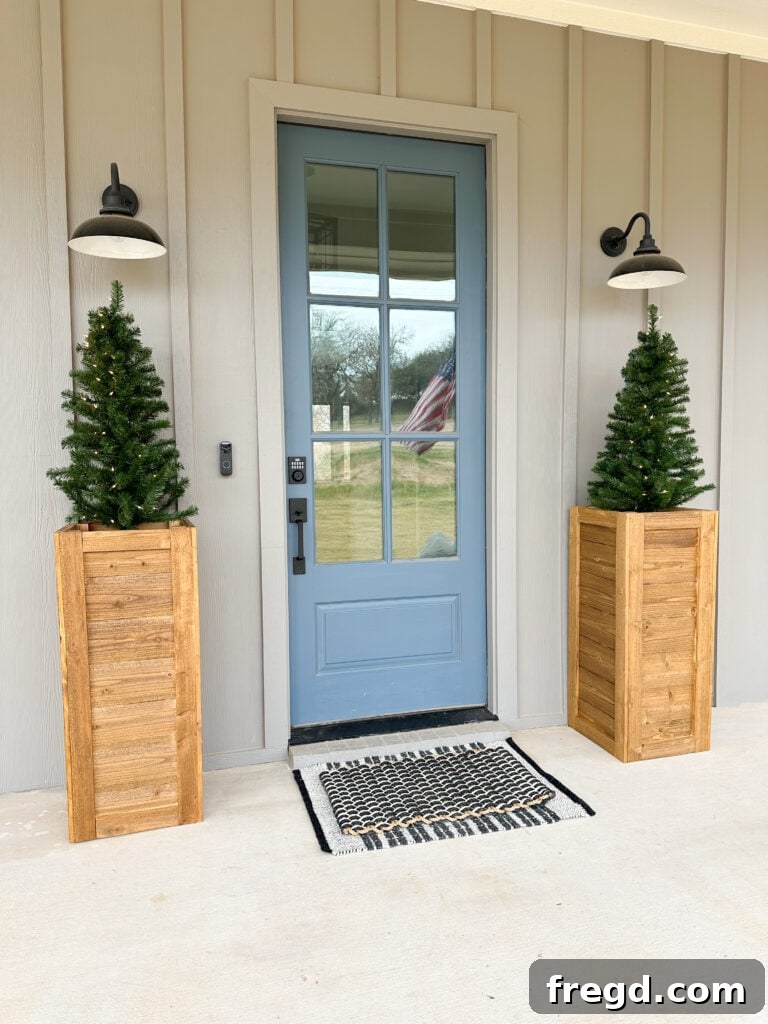
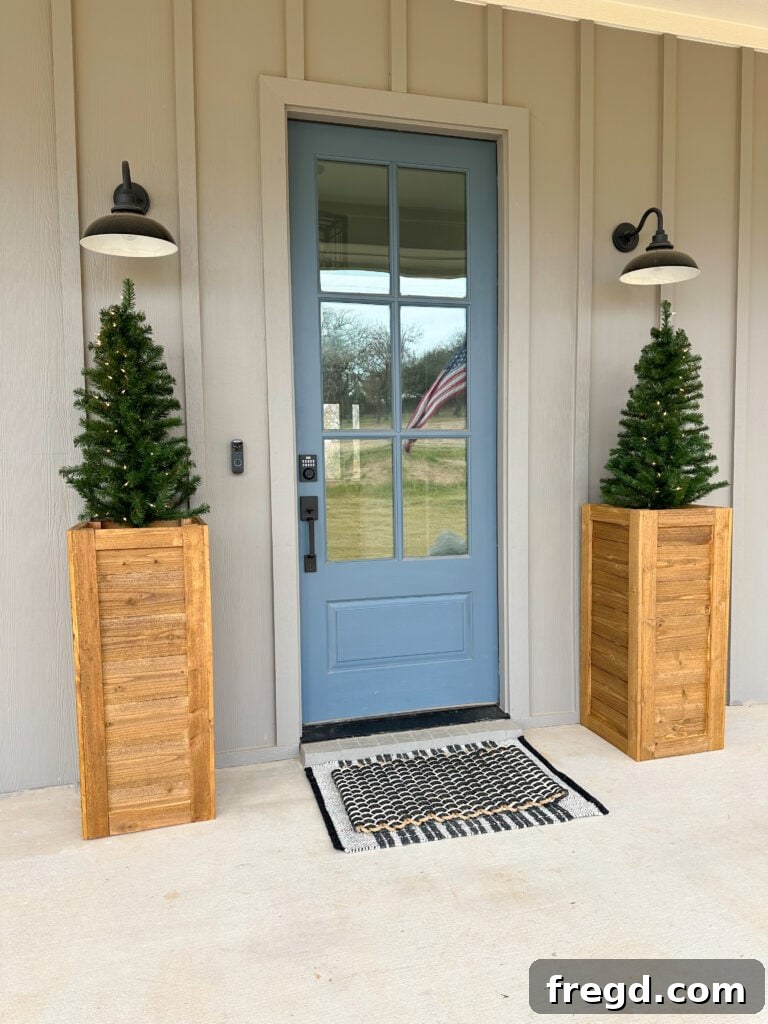
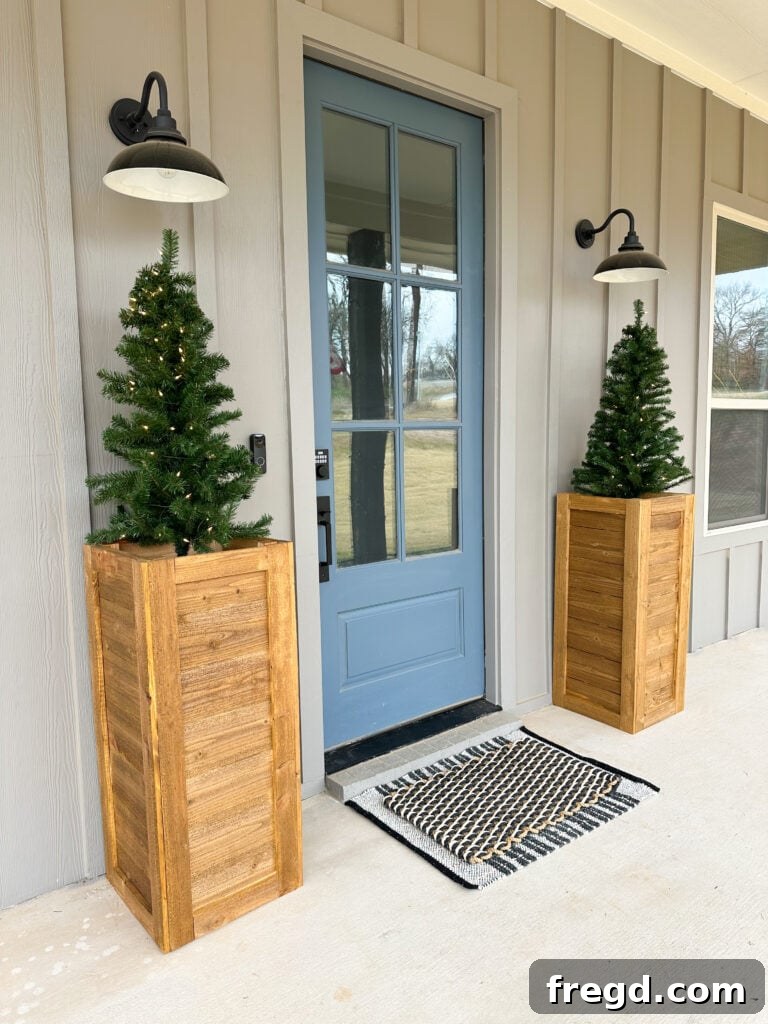
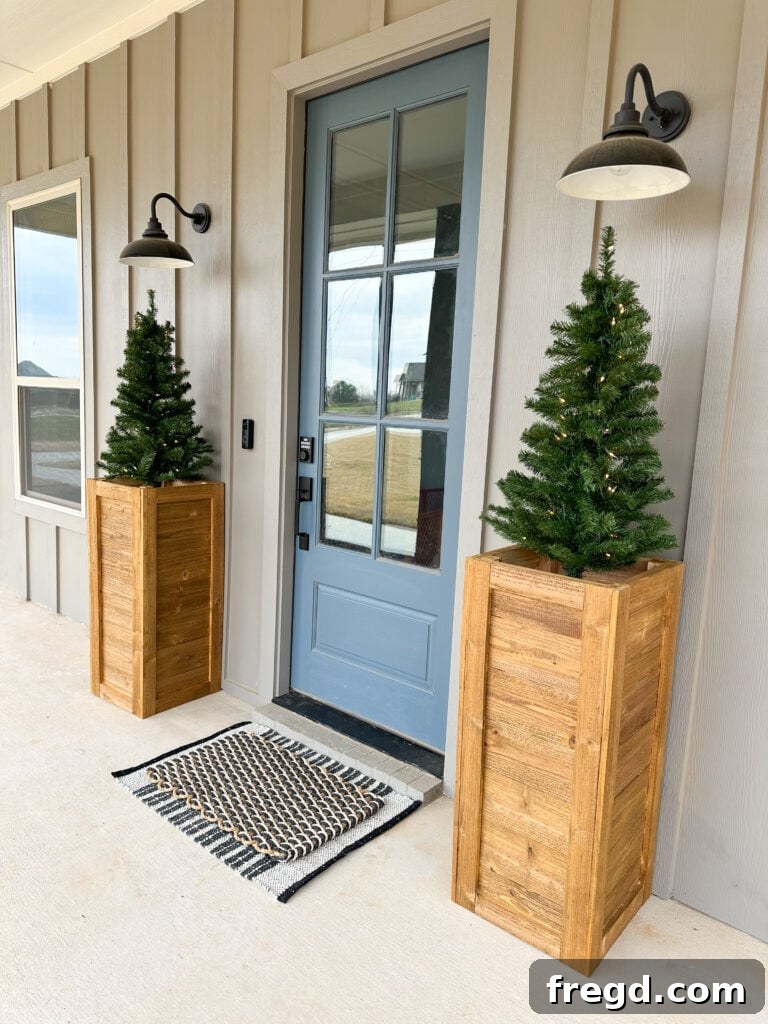
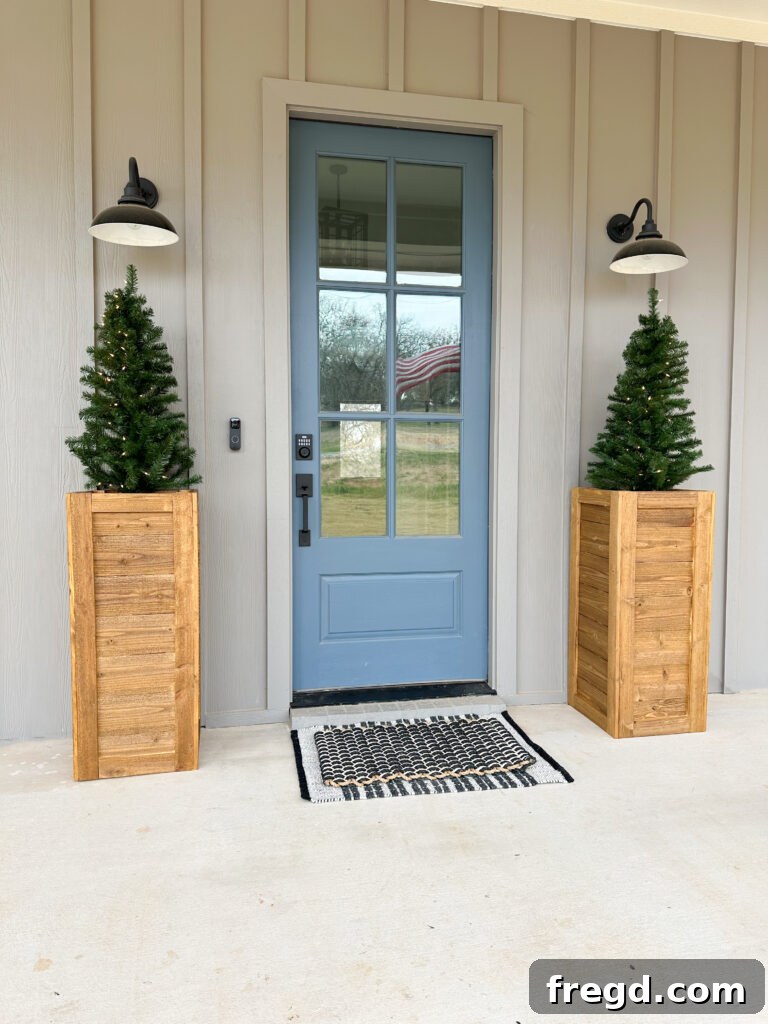
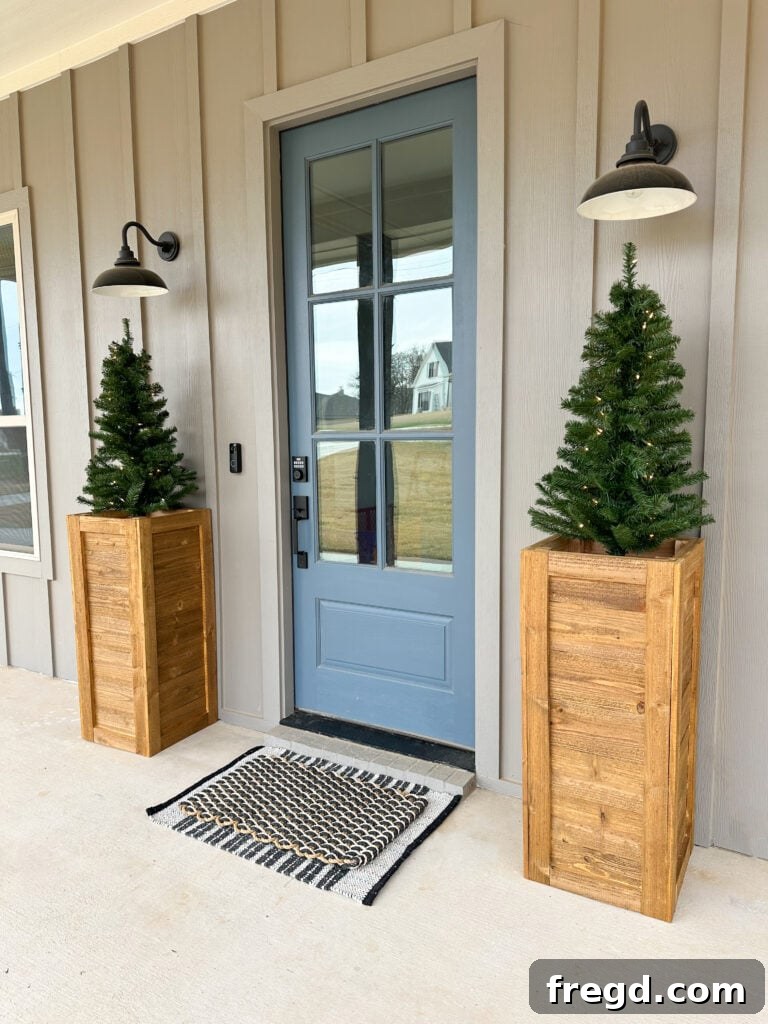
These versatile wooden planters would look absolutely perfect in a variety of settings. Imagine them enhancing your porch, adding greenery to a spacious deck, or even bringing a touch of nature inside for an impressive indoor plant display. Their simple yet elegant design allows them to seamlessly integrate into any decor style, making them a fantastic addition to almost any home. The satisfaction of building these yourself, tailored to your exact specifications and taste, is truly unmatched. Enjoy showcasing your beautiful creations!
Recommended Products and Styling Accents
To help you achieve a cohesive and stylish look for your outdoor space, here are some of the items I used to style my front porch with these new cedar planter boxes. These pieces perfectly complement the rustic elegance of the wood and help create an inviting atmosphere.
Large Outdoor Rug: Provides a warm foundation and defines your outdoor living area.
Small Outdoor Rug: Ideal for layering or accentuating specific areas, like directly in front of the door.
Mini Christmas Trees: Perfect for seasonal decorating, especially during the festive winter months, adding charming vertical interest.
We absolutely love seeing your DIY projects come to life! Make sure to share photos of your completed planter boxes with us on social media. Use the hashtag #shanty2chic so we can easily find and celebrate your incredible craftsmanship and feature your work across our platforms!
Happy Building!
Explore More Outdoor Planter Projects
If you enjoyed building this cedar planter box and are looking for more ways to enhance your outdoor spaces, we have a collection of other fantastic DIY planter projects that might inspire you. Each project comes with detailed plans and instructions to guide you. Dive into these ideas to further expand your woodworking skills and beautify your home!
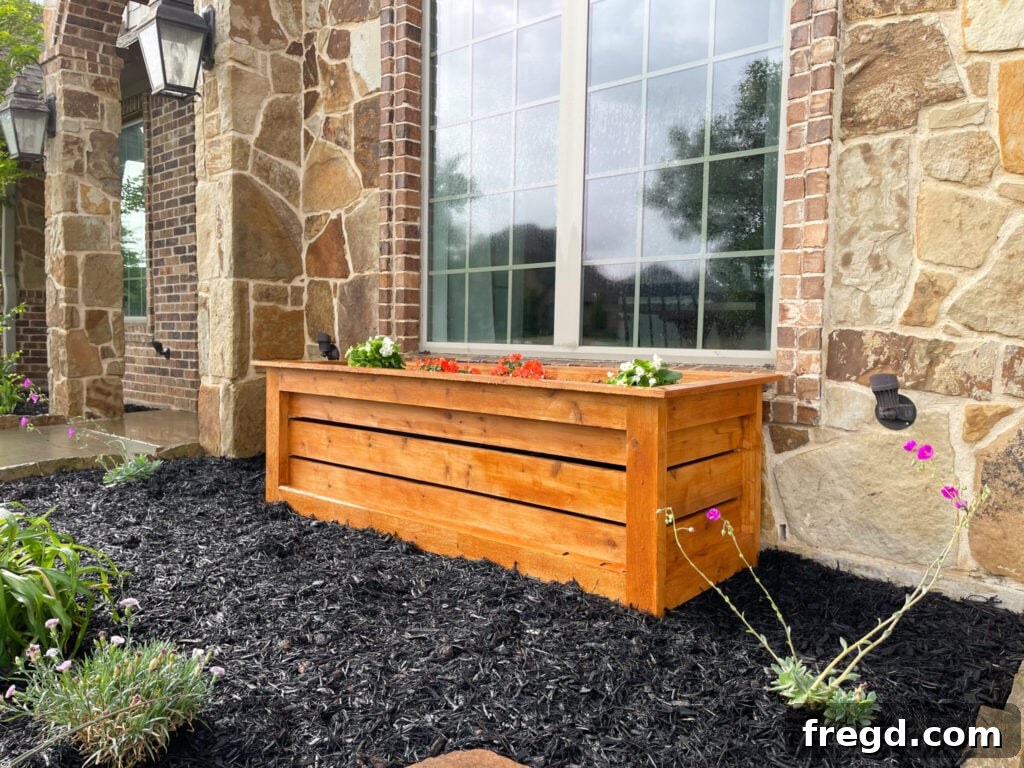
Classic Planter Box Plan: A timeless design that works in any garden or patio setting.
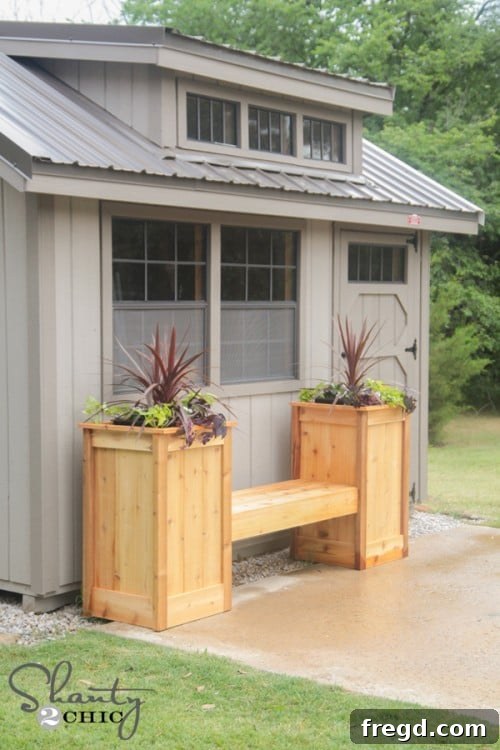
Planter Box Bench: Combine seating and vibrant plant life with this clever dual-purpose project.
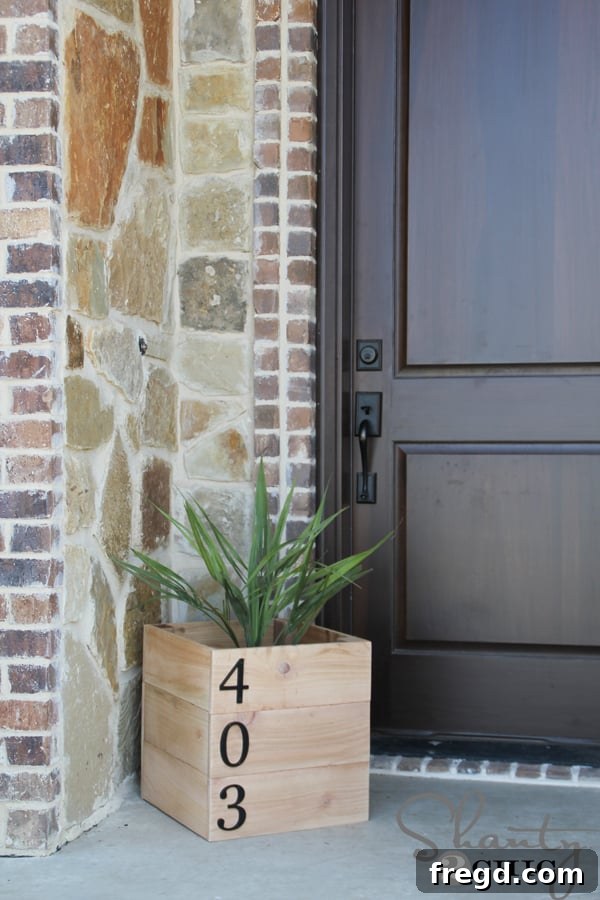
Address Planter Box: Add a personalized and welcoming touch to your entryway with this functional and decorative piece.