
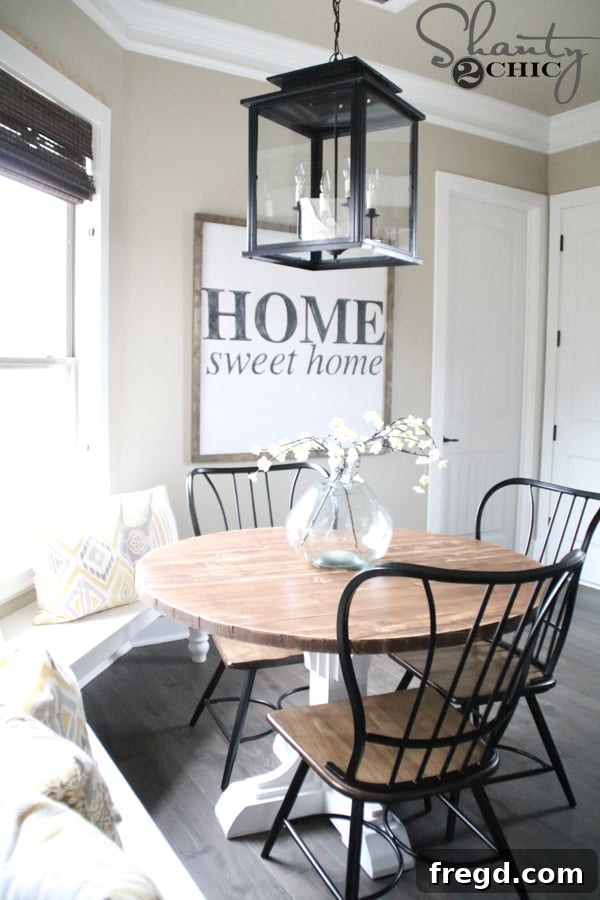
DIY Large Hand-Painted Sign: Craft Your Own Custom Home Decor Masterpiece
Are you ready to infuse your home with warmth, personality, and a touch of handmade charm? We’ve received countless requests across our social media channels for a detailed guide on creating this stunning DIY Large Hand-Painted Sign, and we’re thrilled to finally deliver! This project is not just about making a sign; it’s about crafting a statement piece that reflects your unique style and brings a cozy, inviting atmosphere to any room. Whether you’re aiming for a rustic farmhouse vibe or a simply elegant touch, a custom wood sign is the perfect addition.
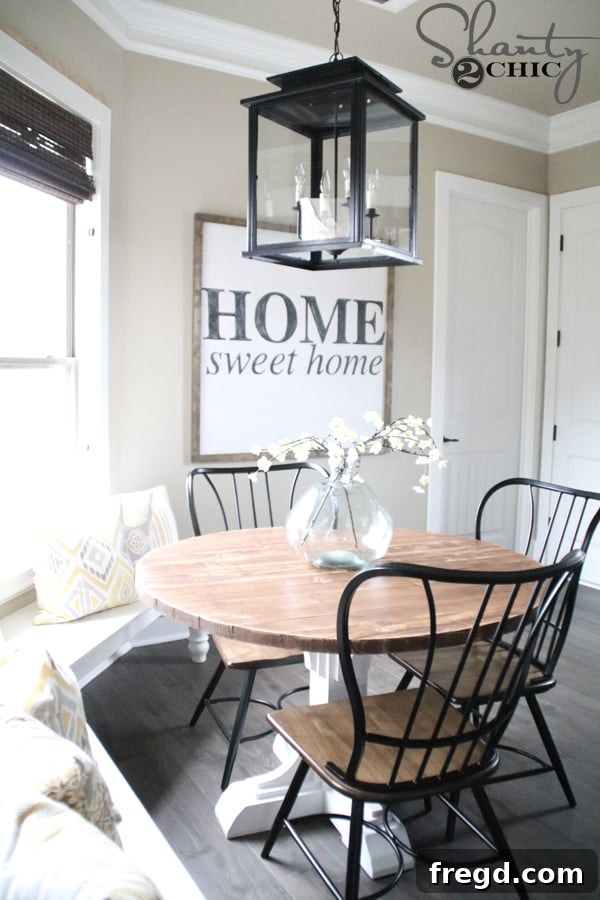
This comprehensive tutorial provides everything you need to know, from selecting the right materials to mastering painting techniques and assembling a sturdy frame. Not only will you find our free printable plans and a detailed how-to guide below, but we’ve also put together an exclusive step-by-step video tutorial on our YouTube channel. Watch us build it live in our shop – just click the image below to join us!
Ready to get started? Click HERE for the free printable plans and follow along with our detailed instructions as we embark on this exciting DIY journey. Creating your own large wall art has never been easier or more rewarding!
Why Choose a DIY Hand-Painted Wood Sign?
In a world of mass-produced decor, a hand-painted sign stands out. It offers unparalleled opportunities for personalization, allowing you to choose your favorite quotes, colors, and styles that perfectly complement your home. Beyond the aesthetic appeal, crafting your own sign provides a deep sense of accomplishment and often comes at a fraction of the cost of store-bought alternatives. It’s a fantastic project for both seasoned DIY enthusiasts and beginners looking to dive into woodworking and painting. Plus, a large sign can effortlessly become the focal point of a room, adding character and warmth to any living space, entryway, or bedroom.
Essential Materials and Tools for Your Project
Before you begin, gather all your supplies to ensure a smooth and enjoyable building process. Having everything organized will make each step more efficient.
Materials:
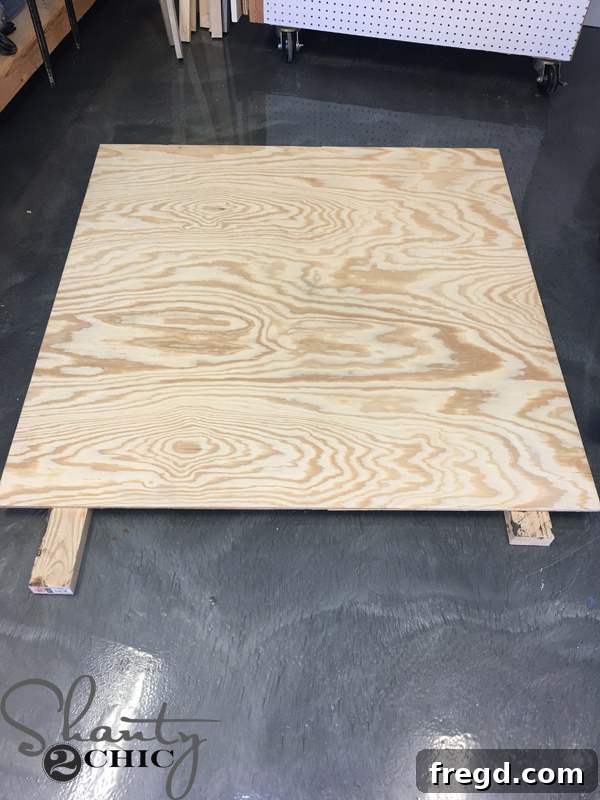
- Plywood Sheet: One 4′ x 4′ sheet of 1×2″ plywood. This size is convenient as it often requires no cutting if purchased as a pre-cut panel.
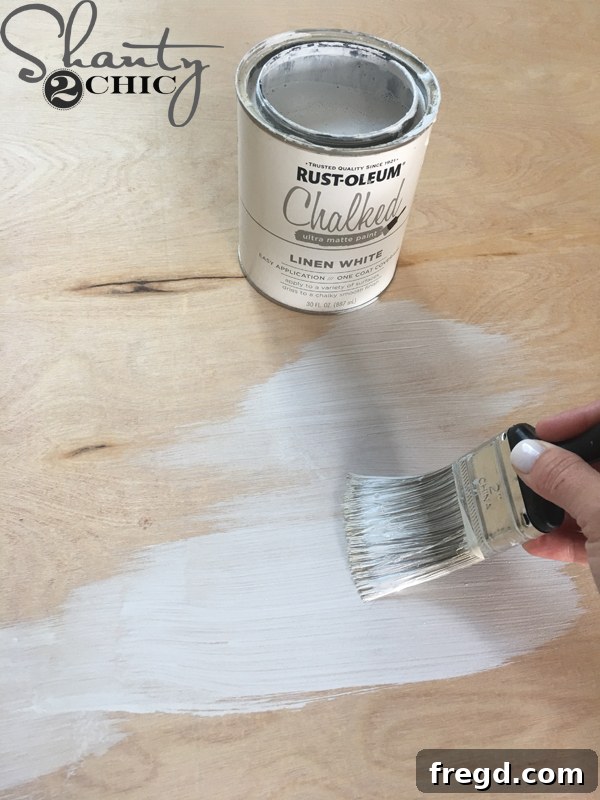
- White Chalked Paint: We highly recommend Rust-Oleum’s Linen White Chalked Paint for its excellent flat finish and ease of sanding, which is perfect for achieving a distressed look.
- Acrylic Paint: For the lettering. Choose a color that will contrast well with your white base coat.
- Wood Trim: 1×2″ pieces for the frame. The exact length will depend on your sign’s final dimensions, so it’s best to measure as you go.
- Wood Stain: Varathane Briarsmoke was our choice, offering a beautiful, rich finish that complements the white sign.
- Wood Glue: For strong, lasting frame joints.
- Brad Nails: 1 1/4″ length for securing the frame.
- Sanding Pads/Paper: 120-grit for distressing and general wood preparation.
- Safety Gear: Always wear safety glasses and gloves when cutting, nailing, and staining.
Tools:
- Projector: Essential for easily transferring your design (e.g., find the projector we use on Amazon here).
- Computer: To display your design for projection.
- Pencil: For lightly tracing the letters.
- Angled Craft Brush: Ideal for precise painting of letters.
- Paint Marker (Optional): For outlining letters before filling them in, especially helpful for unsteady hands (our preferred paint marker on Amazon).
- Brad Nailer: We used a Ryobi 18 Volt brad nailer for quick and secure frame assembly.
- Tape Measure: For accurate cutting of frame pieces.
- Miter Saw: For precise angled or straight cuts on your trim pieces.
- Drill: For hanging the sign (if using screws).
Step-by-Step Guide: Crafting Your Hand-Painted Sign
Step 1: Prepare Your Plywood Canvas
Begin with your 4′ x 4′ sheet of 1×2″ plywood. This particular size is fantastic because you can often purchase it pre-cut at your local hardware store, saving you time and effort on cutting. If you opt for a larger sheet of plywood, simply have the hardware store cut it down to a 48″ x 48″ square, or do so yourself if you have the proper tools. Ensure the surface is clean, dry, and free of any dust or debris before proceeding to the next step. A smooth, clean surface is crucial for an even paint application.
Step 2: Apply the Base Coat
Now it’s time to paint your plywood white. We chose Linen White Chalked Paint by Rust-Oleum, and for good reason! Chalk paint offers a beautiful, matte finish that adheres wonderfully to wood surfaces. It’s also incredibly forgiving and sands exceptionally well, which is a huge advantage if you plan to distress your sign later for that popular vintage look. Apply thin, even coats, allowing each coat to dry completely before applying the next. Depending on your paint and desired opacity, two to three coats typically provide excellent coverage. This white base will make your hand-painted letters truly pop.
Step 3: Download Your Sign Design Template
While your white base coat is drying, you can prepare your chosen design. For this project, we’re using the heartwarming “Home Sweet Home” phrase. You can download the printable file for this specific design by clicking HERE. Having a pre-made template simplifies the process immensely, ensuring your lettering is consistent and perfectly spaced. If you prefer a custom phrase, you can design your own using graphic software and save it as a PDF or image file.
Step 4: Project and Trace Your Design
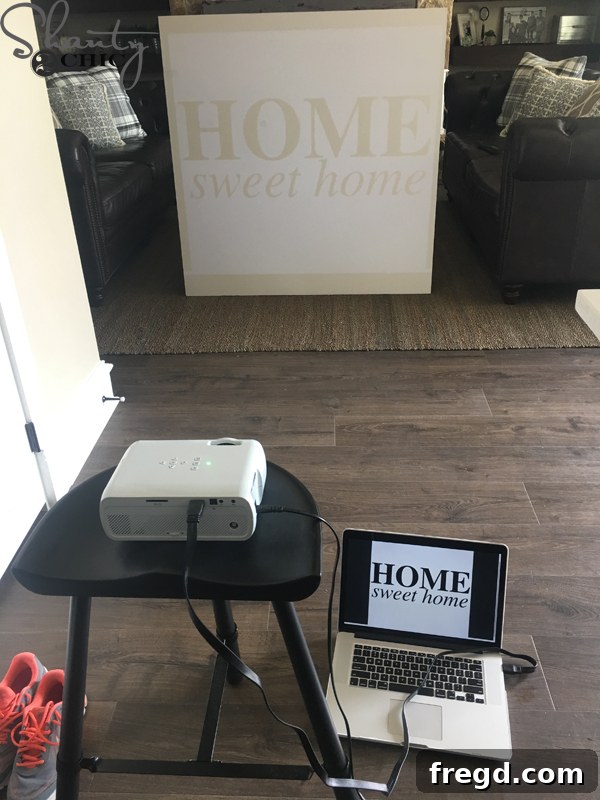
Once your paint is fully dry, connect a projector to your computer. Projecting your design onto the sign is a game-changer for achieving professional-looking results without needing exceptional freehand drawing skills. You can find the exact projector we use HERE on Amazon. Adjust the projector until the letters are perfectly positioned and sized on your sign’s surface, ensuring it’s centered and visually balanced. Once you’re satisfied with the placement, lightly trace each letter with a pencil. Don’t press too hard; a light line is easier to cover with paint and erase if needed. Take your time during this step, as precise tracing will lead to crisp, clean painted letters.
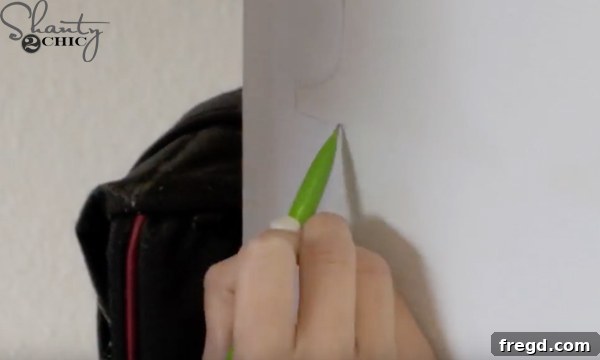
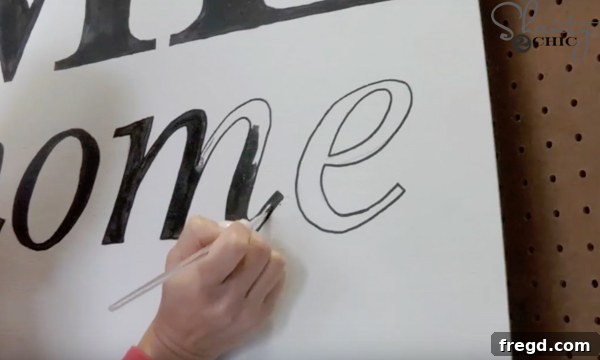
Step 5: Paint the Letters with Precision
With your design traced, it’s time to bring your sign to life with color! Use an angled craft brush and acrylic paint to carefully fill in each letter. Acrylic paint dries relatively quickly and provides vibrant colors. If you find your hand isn’t as steady as you’d like, a handy trick is to outline the traced letters with a paint marker first. This creates a clear boundary, making it much easier to stay within the lines when filling in with the brush. You can find the paint marker we used HERE on Amazon. Apply multiple thin coats rather than one thick one to avoid streaks and ensure full opacity. Allow each coat to dry thoroughly between applications.
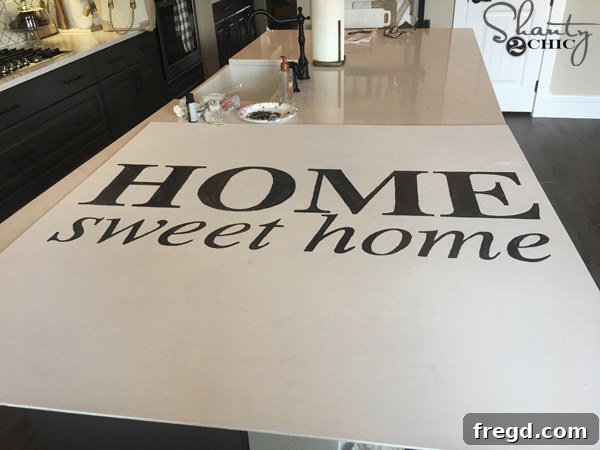
Step 6: Constructing the Rustic Frame
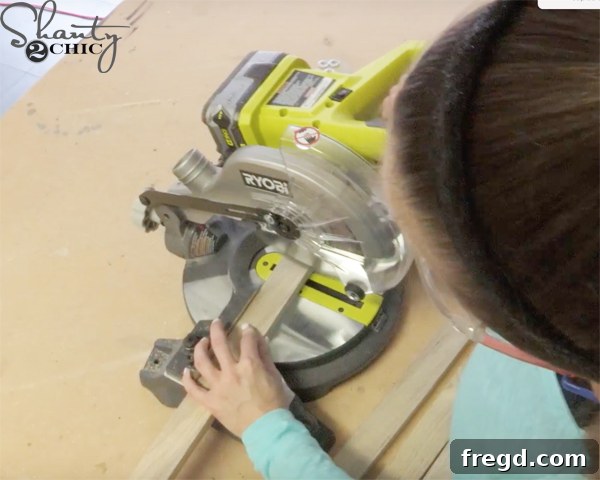
Once your letters are painted and completely dry, your sign is ready for its frame! The frame adds a beautiful rustic touch and provides a finished, polished look. Refer to our free printable plans for detailed measurements and assembly instructions. It’s crucial to measure each side of your sign accurately as you go, because not all 48″x48″ plywood sheets are exactly precise. Start by measuring and cutting the two side pieces of your 1×2″ trim. Then, measure and cut the top and bottom trim pieces. This “measure as you go” approach ensures a perfect fit. Once cut, we highly recommend staining the trim pieces *before* you attach them to the sign. This prevents stain from accidentally getting onto your beautifully painted sign surface.
Step 7: Stain Your Frame for a Beautiful Finish
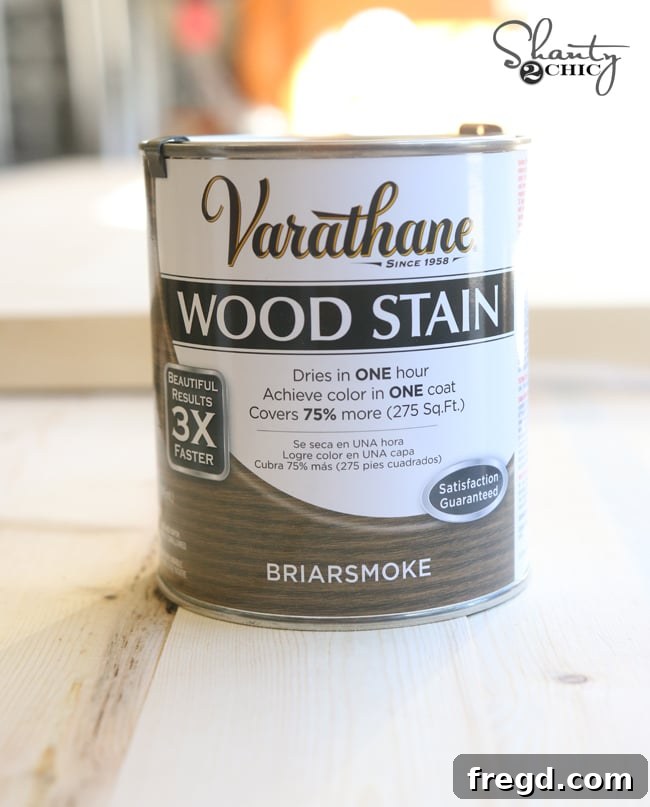
Choosing the right stain can dramatically enhance the aesthetic of your DIY sign. We selected Briarsmoke by Varathane, which imparts a rich, deep hue that beautifully complements the white base of the sign, creating a classic farmhouse or rustic appeal. Apply the stain evenly following the grain of the wood. You can apply multiple coats for a darker finish, always wiping off excess stain after a few minutes to prevent stickiness. Allow the stained trim pieces to dry completely according to the manufacturer’s instructions before assembly.
Step 8: Assemble the Frame to Your Sign
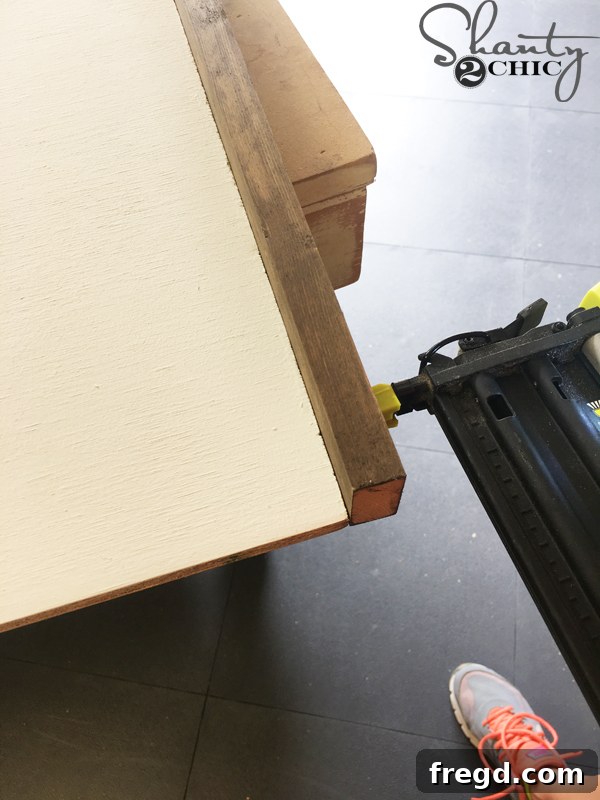
With the stained trim pieces ready, it’s time for assembly. Start by attaching the side pieces of the frame first. Apply a thin bead of wood glue along the edge of the plywood where the frame piece will sit. Then, carefully align the trim piece and secure it using 1 1/4″ brad nails with your brad nailer. We found our Ryobi 18 Volt brad nailer perfect for this task, ensuring a strong hold. Once the sides are secured, follow up by attaching the top and bottom trim pieces in the same manner, using both wood glue and brad nails. This combination provides both immediate hold and long-term durability, creating a robust and attractive frame for your hand-painted sign.
Step 9: Achieve a Vintage, Distressed Look (Optional)
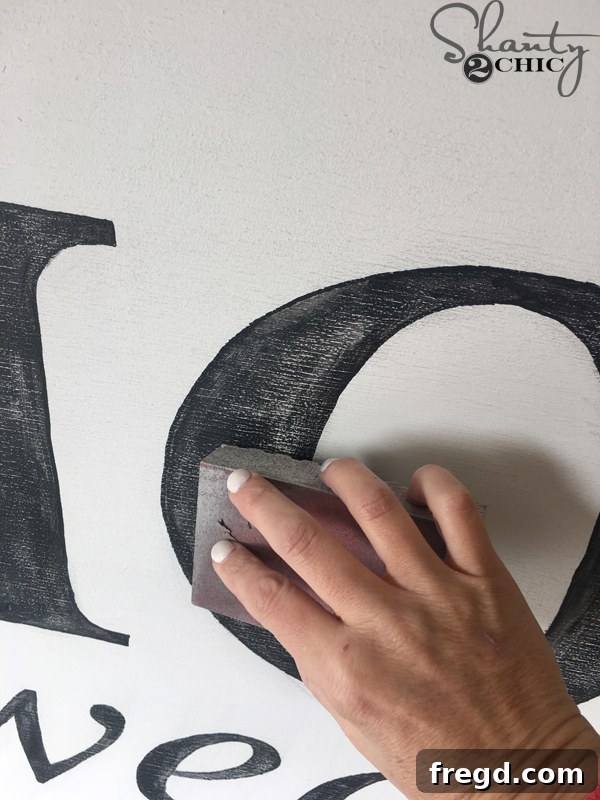
If you’re aiming for that charming vintage or farmhouse aesthetic, distressing your painted letters is the final touch. Ensure your acrylic paint is completely dry before attempting this step – patience is key! Using a sanding pad with 120-grit sandpaper, lightly sand over the painted letters. Focus on the edges and raised areas where natural wear and tear would occur. The goal is to gently remove some of the paint, revealing hints of the white base coat underneath, creating a beautifully aged and weathered effect. Be subtle at first; you can always sand more if needed, but you can’t easily add paint back once removed. This step truly personalizes your sign, giving it character and a story.
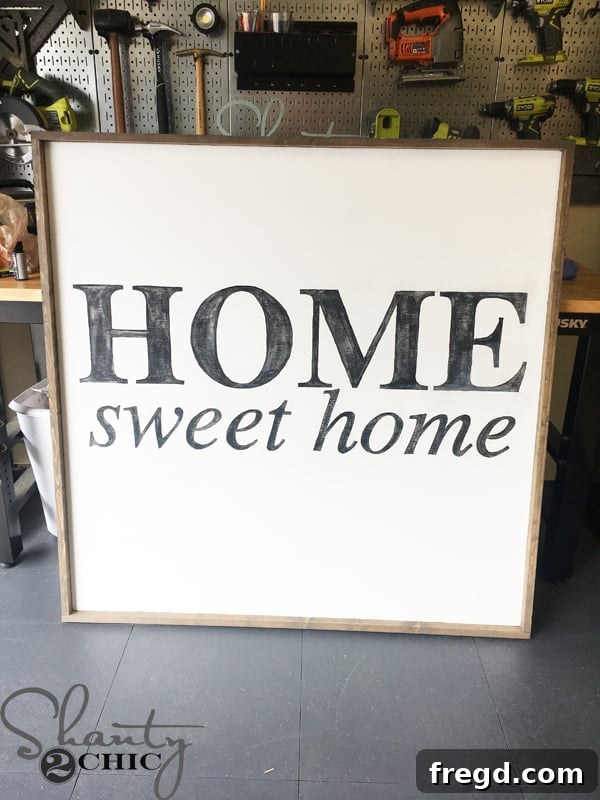
Displaying Your Masterpiece: Hanging Your New Sign
Congratulations, your beautiful DIY large hand-painted sign is complete! Now it’s time to find its perfect home and display your hard work with pride. You have a couple of excellent options for securely hanging your sign:
- Directly Mounting to Studs: For the most secure installation, especially with large signs, we recommend attaching it directly to wall studs. Use a stud finder to locate the studs behind your wall. Then, using 3″ self-tapping wood screws, drill through the frame of your sign and into the marked studs. This method ensures your sign is firmly anchored and won’t budge.
- Using a French Cleat: If you prefer not to put visible holes in your sign’s frame or want an easier hanging method that allows for slight adjustments, a French Cleat is an excellent choice. A French Cleat system, like this one on Amazon, involves two interlocking pieces of wood or metal. One piece attaches to the back of your sign, and the other mounts to the wall. They interlock to hold your sign securely and level, making hanging large wall pieces incredibly simple and often invisible from the front.
Whichever method you choose, always double-check that your sign is level and securely fastened before stepping away. Your custom home decor piece is now ready to be admired!
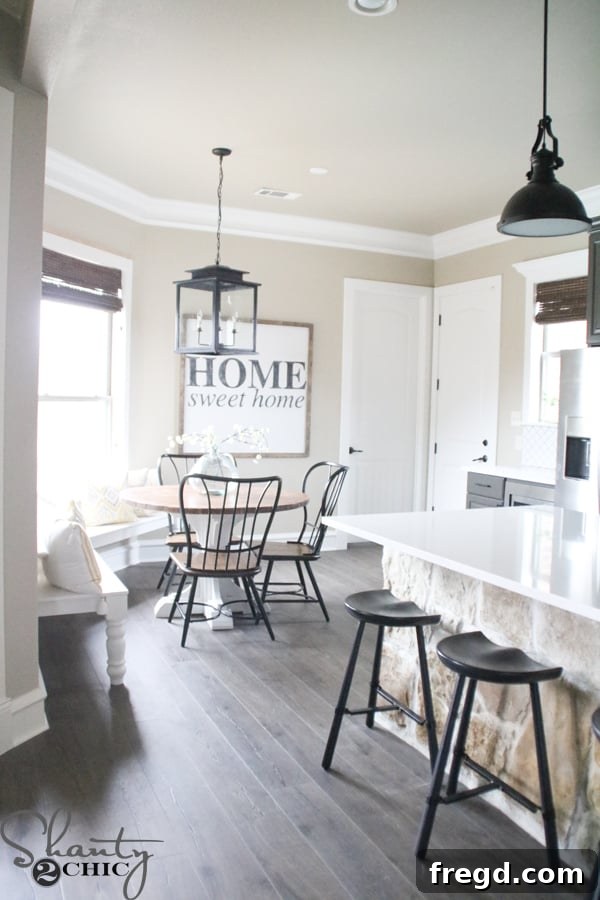
Personalization and Creative Ideas
While “Home Sweet Home” is a timeless classic, the beauty of DIY is customization! Feel free to adapt this tutorial to create a sign with your family name, a favorite quote, an inspiring word, or even a unique graphic design. Experiment with different paint colors for the base or the lettering to match your existing decor. You could also try different wood stains for the frame or even paint the frame for a more modern look. The possibilities are endless, allowing you to create truly one-of-a-kind wall art that perfectly suits your home.
Share Your DIY Success!
We absolutely love seeing your creative projects! If you make your own large hand-painted sign using this tutorial, please be sure to share it on your social media channels. Tag us and use the hashtag #shanty2chic so we can admire your work, share it with our community, and celebrate your DIY success! Your creations inspire others to pick up their tools and start building.
Shop the Look: Decor Items Featured
Inspired by the styling in our photos? Here’s more information on some of the beautiful decor items featured alongside our DIY sign:
- Glass Vase: Find it HERE
- Stems in Vase: Find them HERE
- Tassel Pillow: Get yours HERE
- Other pillows: Sourced from HomeGoods
- Chairs: Shop them HERE
- Bench: Learn how to build it HERE
- Stools: Discover them HERE
- Chandelier: See it HERE
- Paint Colors (House): Explore HERE
- Window Shades: Check them out HERE
Conclusion: Your Handmade Home Awaits
Creating a large hand-painted sign is a rewarding DIY project that adds significant character and charm to your home. With our detailed plans, step-by-step instructions, and helpful video tutorial, you have all the resources you need to build a custom piece that you’ll cherish for years to come. It’s more than just a sign; it’s a reflection of your creativity and a warm welcome to anyone who enters your space. Thank you for stopping by and embarking on this creative journey with us. Happy Building, and enjoy your beautifully personalized home!