
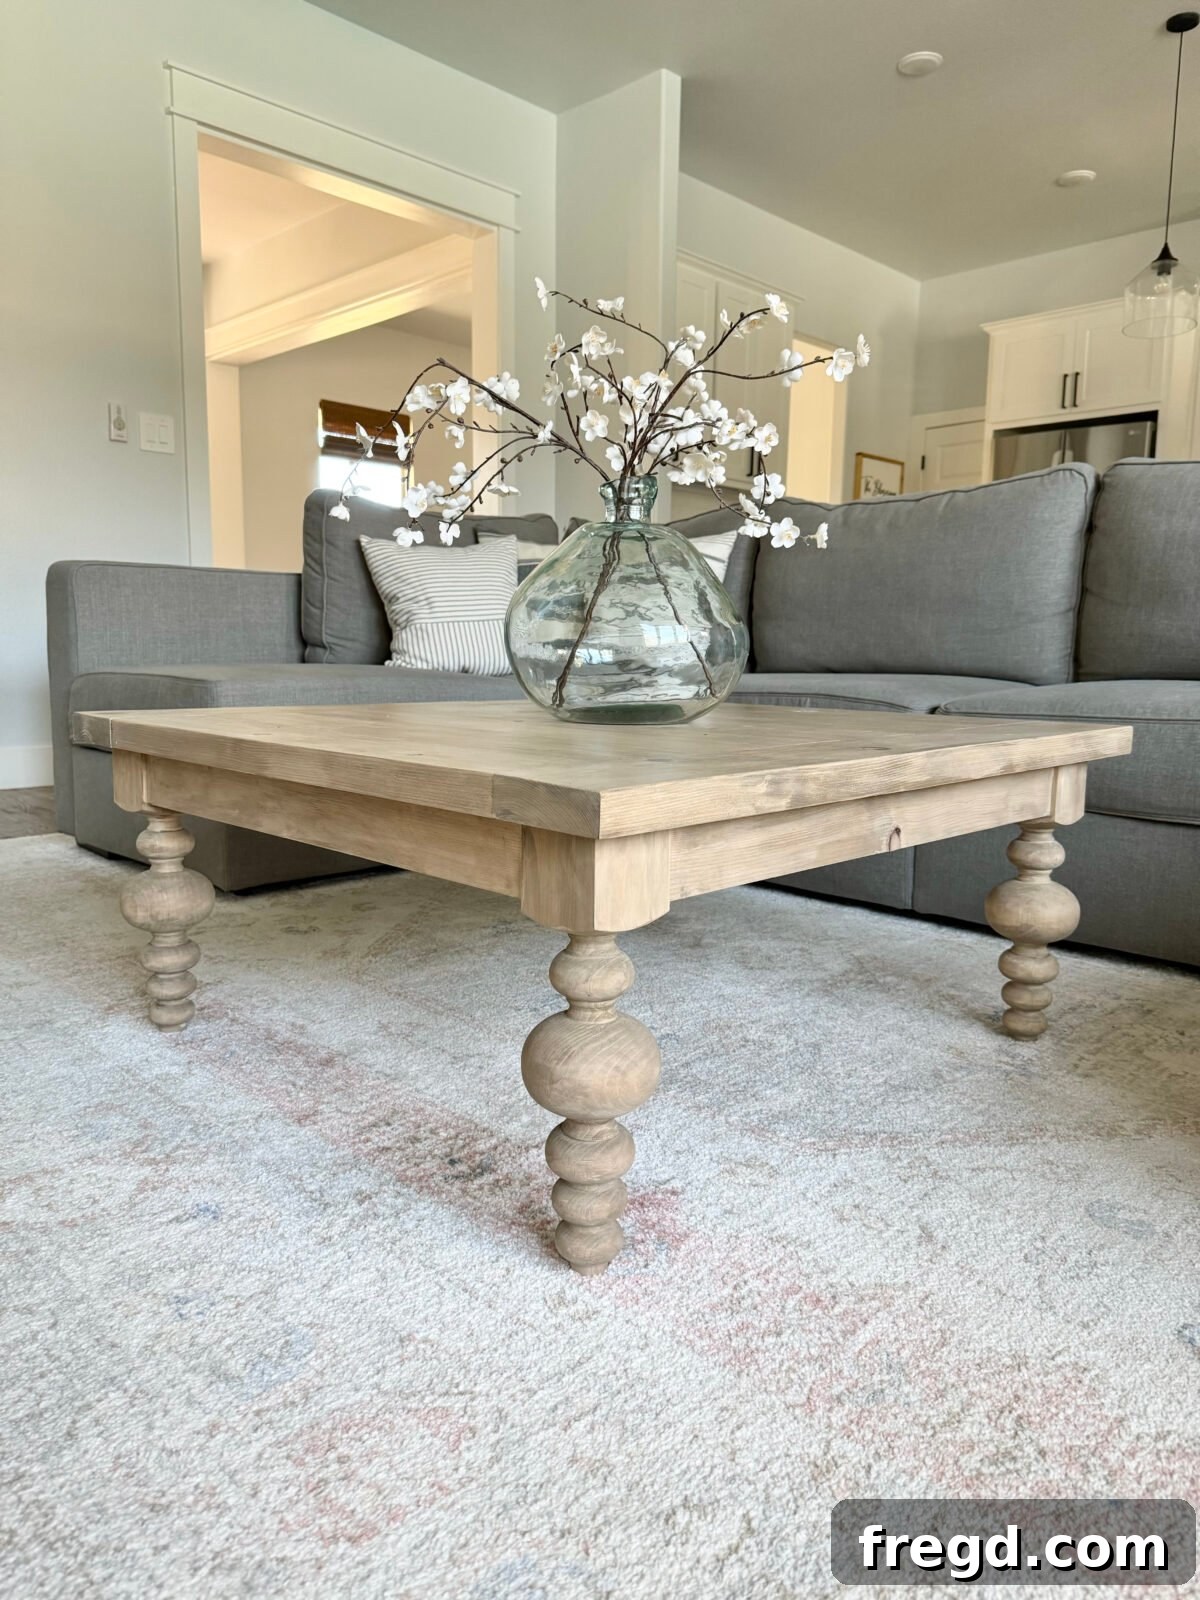
Are you ready to add a touch of handcrafted elegance to your living room? Look no further! In this comprehensive guide, you’ll learn exactly how to construct a stunning DIY Coffee Table featuring beautiful turned legs. Complete with free, easy-to-follow plans and a detailed video tutorial by the experts at Shanty2Chic, this project is perfect for enhancing your home with a custom piece.
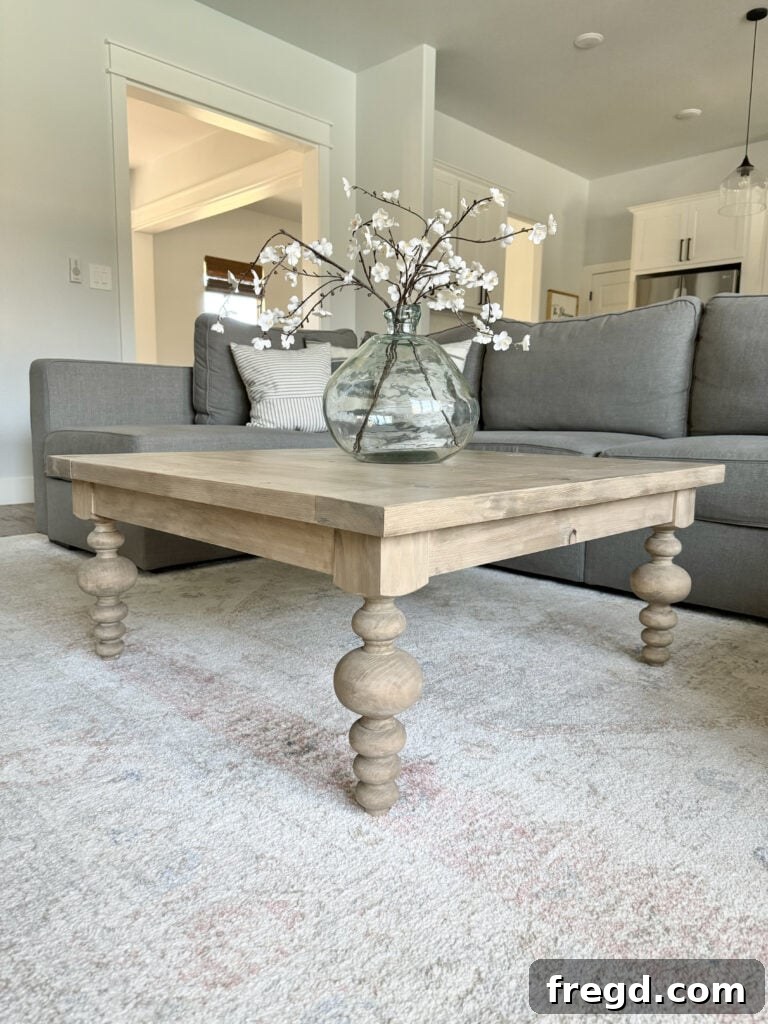
One of the first projects on my list to truly make my new house feel like home was a square coffee table. I needed a piece that would perfectly fit my new sectional, blending aesthetic appeal with practical dimensions. The moment I discovered a set of elegant turned legs, the vision for this coffee table came to life. Inspired and eager, I immediately set to work designing and building this custom piece.
Join me and Whitney as we walk you through the entire process of building this impressive coffee table. You’ll be amazed to see how this project comes together using just five common lumber boards, four turned legs, and a few basic power tools. It’s an incredibly rewarding beginner-friendly woodworking project that yields professional results. Be sure to watch our full build video below for a visual guide to every step!
Watch the Full Coffee Table Build Video Tutorial
Before you pick up your tools, get a complete visual walkthrough of the entire construction process. Our detailed video tutorial demonstrates each step, from cutting your lumber to applying the final protective finish, making it easier than ever to follow along.
Get a clear, step-by-step demonstration of building this stunning turned leg coffee table.
Click here to jump directly to the free printable plans and comprehensive cut list!
Getting Started: Your Detailed DIY Coffee Table Tutorial
Now that you’ve seen the overview, let’s dive into the specifics! This detailed tutorial will guide you through every cut, every joint, and every finishing touch, empowering you to build a coffee table you’ll be proud to showcase.
Table of Contents
1. The Charm of a DIY Turned Leg Coffee Table
Building your own furniture is an incredibly rewarding endeavor, and a DIY coffee table is an excellent project for both novice and experienced woodworkers alike. This specific design, featuring beautifully turned legs, offers a timeless aesthetic that effortlessly bridges the gap between classic farmhouse charm and modern elegance. Imagine the immense satisfaction of furnishing your home with a piece you’ve crafted with your own hands – a unique item tailored perfectly to your space and style.
Beyond the personal accomplishment, constructing your own coffee table is also a remarkably cost-effective solution. High-quality, stylish furniture can often come with a hefty price tag, but by choosing the DIY route, you can achieve a superior result for a fraction of the cost. Our design not only ensures a sturdy and durable table but also provides comprehensive instructions that make the process approachable and enjoyable.
2. Essential Materials & Tools for Your Project
Preparation is key to a successful woodworking project. Before you make your first cut, gather all the necessary tools and supplies. Having everything readily available will streamline your build, reduce frustration, and help maintain momentum. This turned leg coffee table project is designed to be accessible, requiring only a few fundamental power tools and readily available lumber.
2.1. Tools You’ll Need
- Drill: An indispensable tool for drilling pilot holes, driving screws, and using various drilling attachments. A cordless model offers maximum flexibility and convenience around your workshop.
- Miter Saw: This saw is crucial for making precise crosscuts and angle cuts on your lumber, ensuring clean and accurate joints for a professional-looking finish.
- Kreg Jig (Pocket-Hole Jig): A game-changer for creating strong, concealed joints without complex joinery techniques. This tool is especially beginner-friendly and creates incredibly robust connections.
- Table Saw (Optional): While not strictly essential for completing this project, a table saw offers the ability to rip wider boards into custom widths. This allows for more design flexibility, such as creating narrower planks for the tabletop or aprons. If you don’t own one, you can proceed with the standard lumber widths or ask your local lumberyard to rip the boards for you.
- Orbital Sander: An electric sander greatly speeds up and improves the sanding process, essential for achieving perfectly smooth surfaces ready for staining.
- Sanding Block: Ideal for detailed sanding work, especially on the intricate curves of the turned legs and for reaching tight corners that an orbital sander cannot.
- Kreg Face Clamps: Highly recommended for holding boards flush during assembly, particularly when joining tabletop planks.
- Kreg Project Blocks: These elevated supports are invaluable for staining and painting, allowing you to finish all sides of your project without waiting for one side to dry or dealing with sticking surfaces.
- Bristle Brush: A good quality brush is needed for applying protective finishes like polyurethane evenly.
- Staining Rags or Foam Brushes: For smooth and even application of wood stain.
2.2. Materials & Supplies
- 5 – 2x6x8 Framing Lumber Boards: Common pine or fir framing lumber is an excellent, affordable choice for this project. These boards will form the main tabletop planks and the structural apron.
- 4 – Turned Legs: These beautiful legs are the defining feature of our coffee table. We used these premium massive modern bench legs, but you can also find a more budget-friendly option here that delivers similar style.
- 2 1/2″ Pocket Hole Screws: These specialized screws are designed to create incredibly strong and durable joints when used with your Kreg Jig.
- Wood Glue: An essential adhesive that, when used in conjunction with screws, dramatically increases the strength and longevity of your furniture joints.
- Wood Stain: To achieve your desired color and enhance the natural grain of the wood. Our tutorial will demonstrate a beautiful two-tone technique.
- Protective Finish: A high-quality topcoat, such as polyurethane, is vital for shielding your finished table from spills, scratches, and everyday wear and tear.
3. Crafting the Table Top: Planks and Breadboards
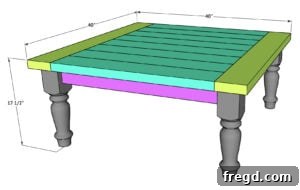
The tabletop is the most prominent feature of your coffee table, and we’ll build it to be both visually striking and incredibly robust. For this entire project, I chose to work with versatile 2×6 lumber. As an optional step for a more refined appearance, I ripped the main tabletop planks and the breadboards to a consistent 5-inch width, and the apron pieces to 3 inches. This customization creates cleaner lines and a slightly more contemporary profile. If you prefer to skip this step, simply adjust your cut list and measurements to utilize the full width of standard 2x6s (which are typically 5.5 inches wide).
3.1. Assembling the Plank Boards
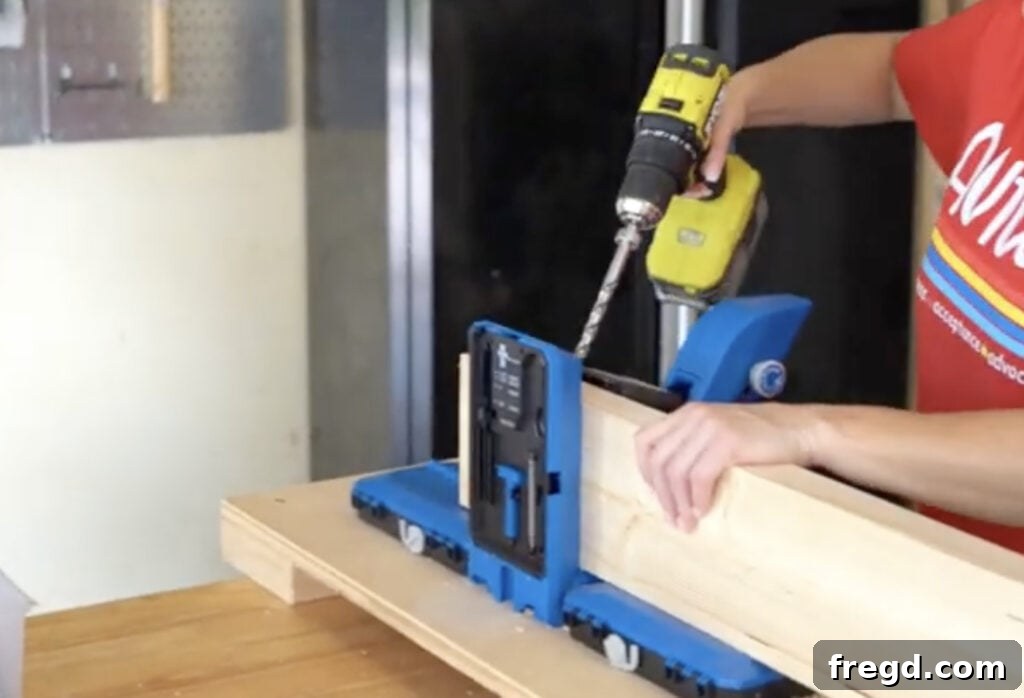
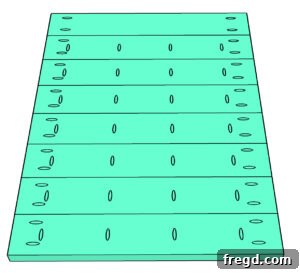
Begin by cutting your plank boards to the exact dimensions specified in your cut list. Accuracy in these initial cuts is critical for a smooth assembly. Next, set your Kreg Jig to drill 1 1/2-inch pocket holes. You’ll need to drill these holes on both ends of each plank board, which will be used to attach the breadboards. Additionally, drill pocket holes along one long edge of all but one of your plank boards. This strategic placement ensures that all boards can be securely joined to form a solid tabletop without any visible fasteners on the top surface.
Once all pocket holes are drilled, apply a liberal and even layer of high-quality wood glue along the connecting edges of your planks. Bring the boards together, ensuring they are tightly aligned. Then, using 2 1/2-inch pocket hole screws, drive them into the pre-drilled holes to create a strong, durable bond. Work systematically, tightening each screw to ensure a flush and secure joint.
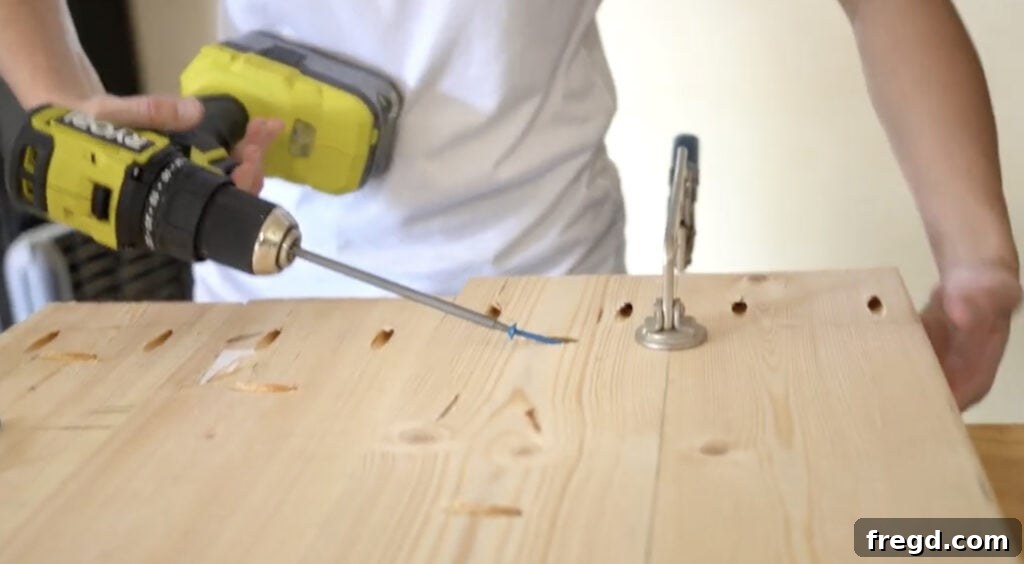
To achieve truly seamless and professional-looking joints between your planks, we highly recommend utilizing Kreg Face Clamps. These ingenious clamps are invaluable for holding your boards perfectly flush and preventing any unsightly “steps” or unevenness as you drive the pocket hole screws. With these clamps, you can achieve a wonderfully flat and smooth tabletop surface, often eliminating the need for more advanced tools like a jointer or planer.
3.2. Adding the Breadboards for a Finished Edge
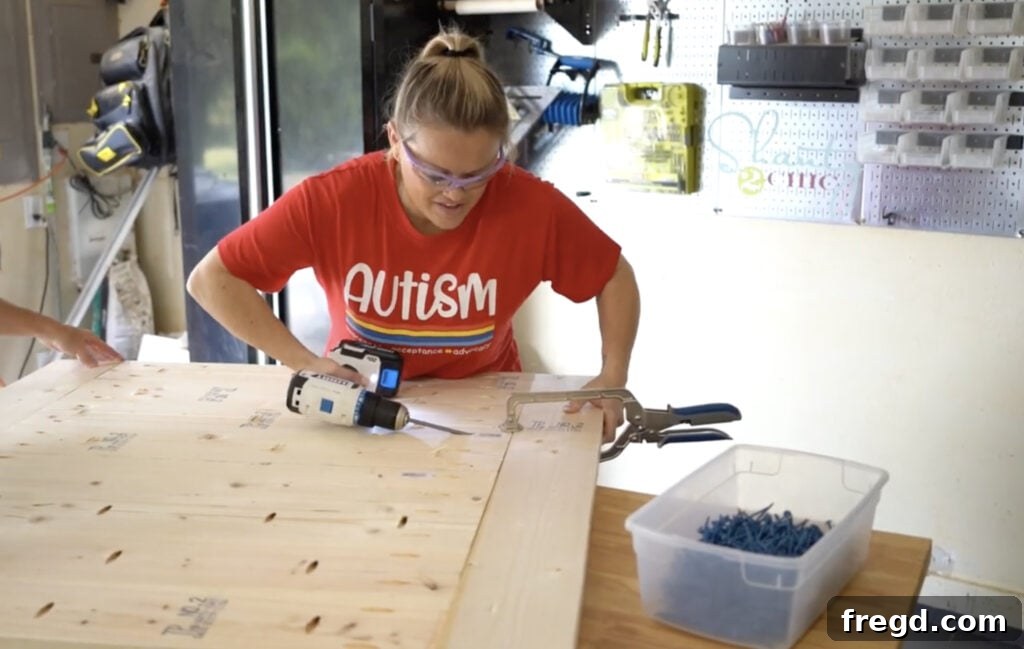
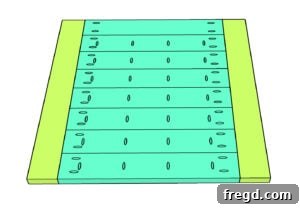
Once your main tabletop planks are firmly joined and the glue has had sufficient time to set, it’s time to add the breadboard ends. These pieces serve a dual purpose: they provide an attractive, finished frame to the tabletop, and they also offer structural integrity, helping to prevent the main planks from warping or cupping over time. Measure and cut your breadboard pieces precisely to size according to your plans.
Align the breadboards with the ends of your assembled planked top. Apply a bead of wood glue along the connecting edges for an extra strong bond. Then, using 2 1/2-inch pocket hole screws, secure the breadboards by driving the screws through the pocket holes previously drilled at the ends of the planks and into the breadboards. Ensure that the breadboards are perfectly flush with the tabletop surface and square to the main assembly before fully tightening all screws. Allow the glue to cure completely before moving to the next step.
4. Constructing the Sturdy Table Base
With the tabletop now complete and set aside, our focus shifts to building the robust foundation of your coffee table: the base. This crucial structure, composed of the apron pieces and your chosen turned legs, will provide essential support, stability, and define the overall height and footprint of your finished table.
4.1. Building the Apron Structure and Attaching Legs
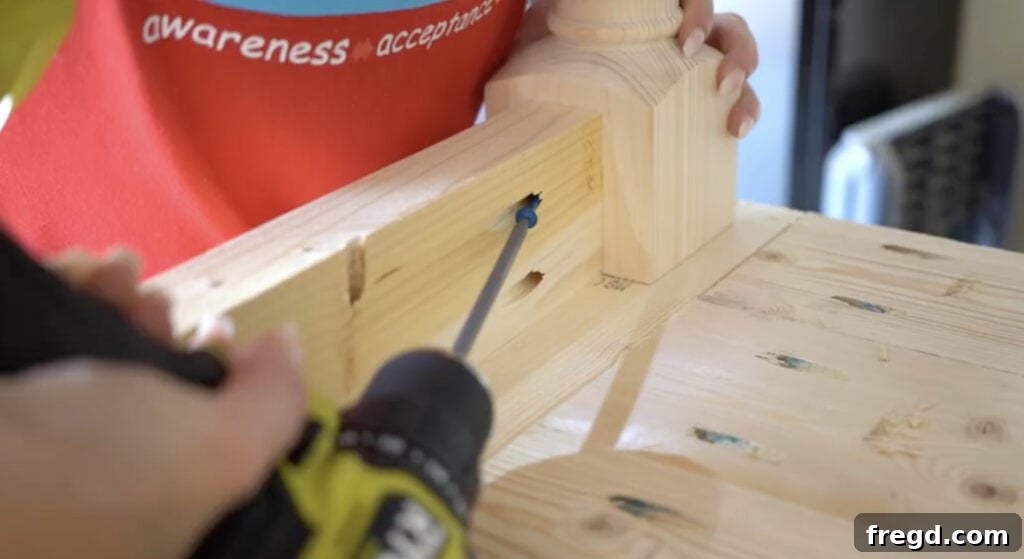
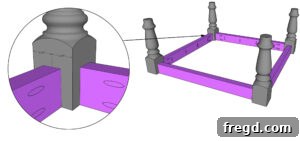
Begin by cutting your apron pieces to the precise lengths specified in your plans. These pieces will form the box-like frame that connects your turned legs. Using your Kreg Jig, drill 1 1/2-inch pocket holes at both ends of each apron piece. These holes will be used to firmly attach the aprons to the turned legs. Additionally, drill 3/4-inch pocket holes along one edge of each apron piece. These smaller holes will serve a critical purpose later when you attach the tabletop to the base, creating a strong yet invisible connection from underneath.
Once all pocket holes are drilled, it’s time to assemble the base. Take your four turned legs and the apron pieces. Apply a generous amount of wood glue to the ends of the apron pieces where they will meet the legs. Carefully center each apron piece onto its corresponding leg, ensuring that the top edge of the apron is flush with the top of the leg, or at your desired height if adjusting for a specific aesthetic. Securely attach the aprons to the legs using 2 1/2-inch pocket hole screws. The combination of strong wood glue and pocket hole screws creates an incredibly robust joint, which is paramount for the long-term stability and durability of your coffee table base. Repeat this process for all four sides, ensuring your base is square and sturdy.
5. Final Assembly: Uniting the Top and Base
Step 5: Attaching the Tabletop to the Table Base
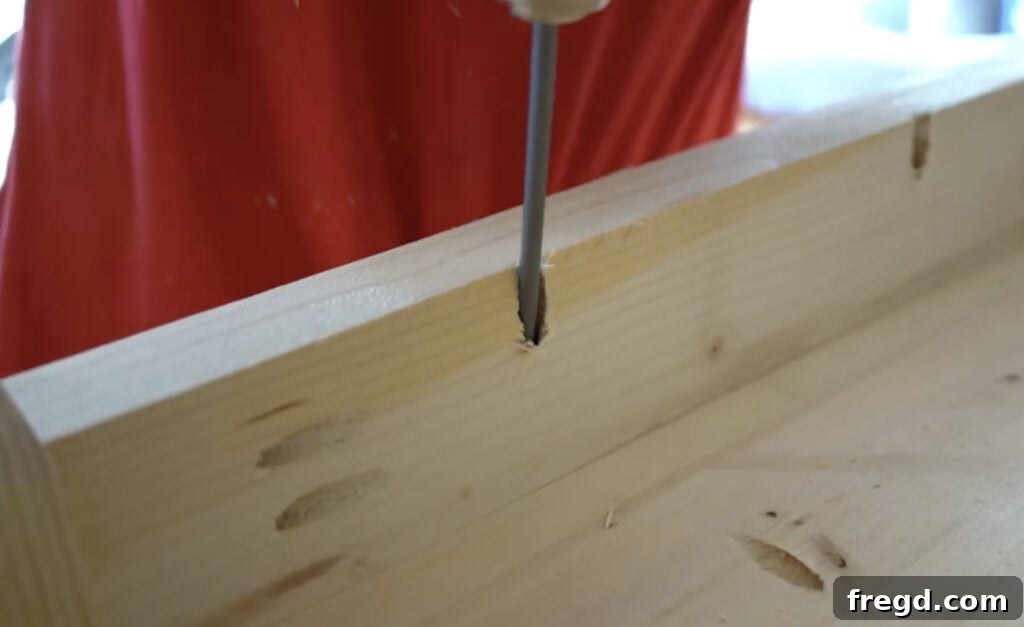
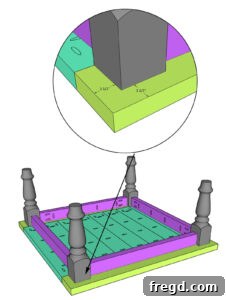
This is the moment your coffee table truly comes to life! The final structural step in this surprisingly straightforward build is to securely attach your beautifully crafted coffee table top to its sturdy base. To accomplish this with ease and precision, first, carefully flip the assembled planked tabletop upside down onto a clean, protected work surface. This allows you to easily access the underside for attachment.
Next, meticulously center the assembled table base over the inverted tabletop. Take your time during this step to ensure it is perfectly aligned and equidistant from all edges of the tabletop. Once you are satisfied with its position, apply a continuous bead of wood glue along the top edges of the apron pieces where they will make contact with the tabletop. Then, using the 3/4-inch pocket holes you previously drilled into the aprons, drive 1 1/2-inch pocket hole screws through these holes and into the bottom of the tabletop. This method creates an exceptionally strong, invisible connection that firmly joins the two main components of your coffee table. Double-check all connections to ensure maximum stability, then allow the glue to cure fully before flipping the table upright.
- Choosing Your Legs: For an elevated, premium look, we chose these stunning Carolina Leg Co. massive modern bench legs for our featured build.
- For a more budget-friendly approach that still delivers fantastic style, consider the turned legs we showcased in the how-to video here.
6. The Art of Finishing: Sanding, Staining, & Protecting Your Table
The finishing process is where your DIY coffee table truly transforms from a functional piece of wood into a beautiful piece of furniture. While it requires patience, each step – from careful sanding to applying the perfect stain and a durable protective coat – contributes to a professional, long-lasting result.
6.1. Preparing with Thorough Sanding
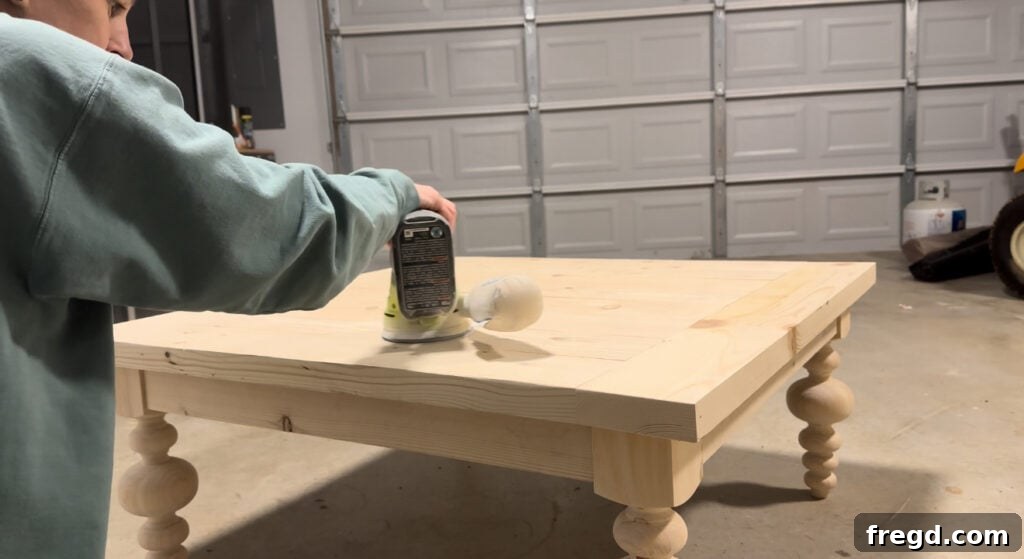
Proper surface preparation is absolutely paramount for achieving a professional-looking finish. To prep your newly assembled coffee table, begin by sanding the entire piece with 80-grit sandpaper. This coarse grit is excellent for quickly removing any imperfections, glue residue, pencil marks, and rough patches, ensuring a uniform surface across all components. Once you’ve achieved a consistent smoothness with the 80-grit, follow up with 180-grit sandpaper. This finer grit will effectively smooth out the scratches left by the coarser paper, leaving the wood feeling silky to the touch and perfectly primed for optimal stain absorption.
For large, flat surfaces like the tabletop, an orbital sander is incredibly efficient and will save you considerable time and effort. However, for the intricate curves of the turned legs and any tight corners or details, a simple sanding block provides superior control and allows you to reach all areas effectively. Always remember to thoroughly wipe down the entire table with a tack cloth or a slightly damp cloth after each sanding stage to remove all sanding dust, as even tiny dust particles can interfere with proper stain adhesion and create an uneven finish.
6.2. Applying the Perfect Stain Combination
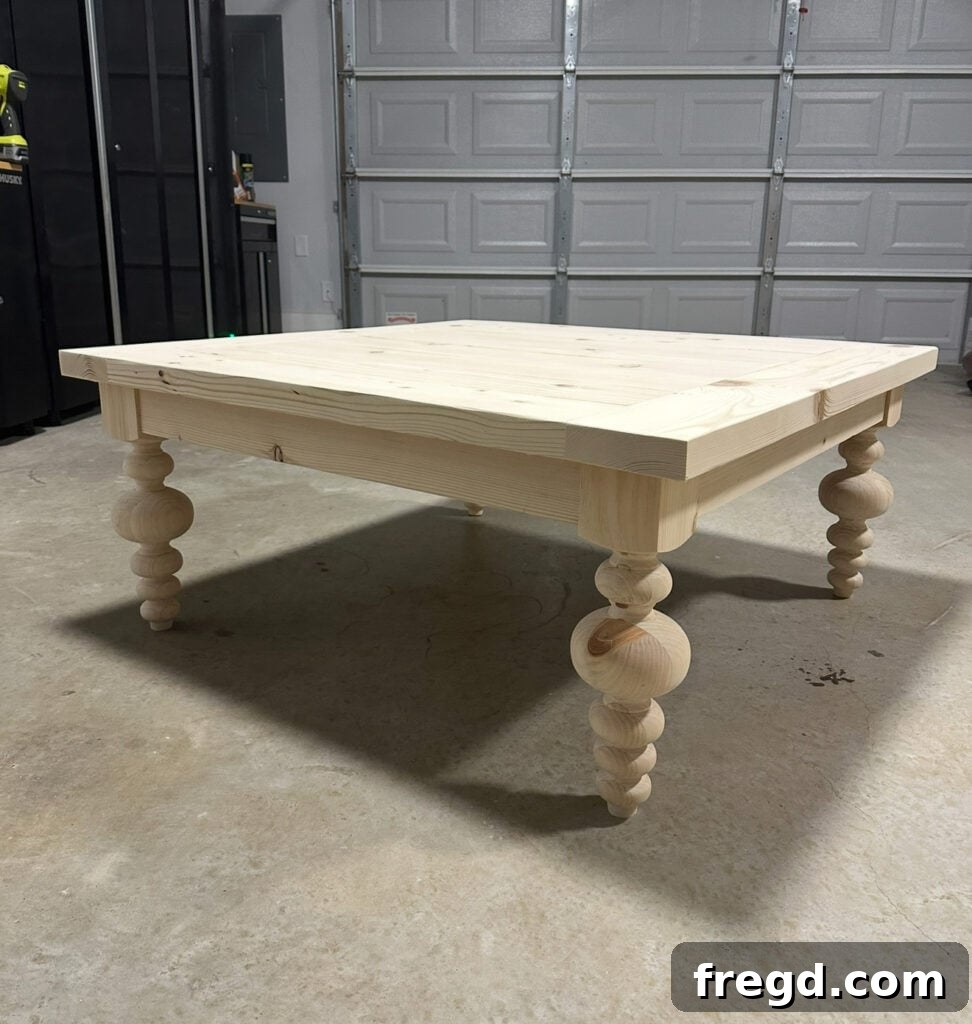
With your table perfectly sanded and free of dust, it’s time for the exciting step of applying the finish! This is where the true character of your custom coffee table begins to shine through. For unparalleled ease when staining or painting, we absolutely swear by Kreg Project Blocks. These incredibly affordable and indispensable workshop accessories allow you to elevate your project off the ground. Simply twist them to raise the “paint-points,” enabling you to easily access and finish all sides and edges of your project without the frustrating wait for one side to dry or the risk of your piece sticking to the work surface.
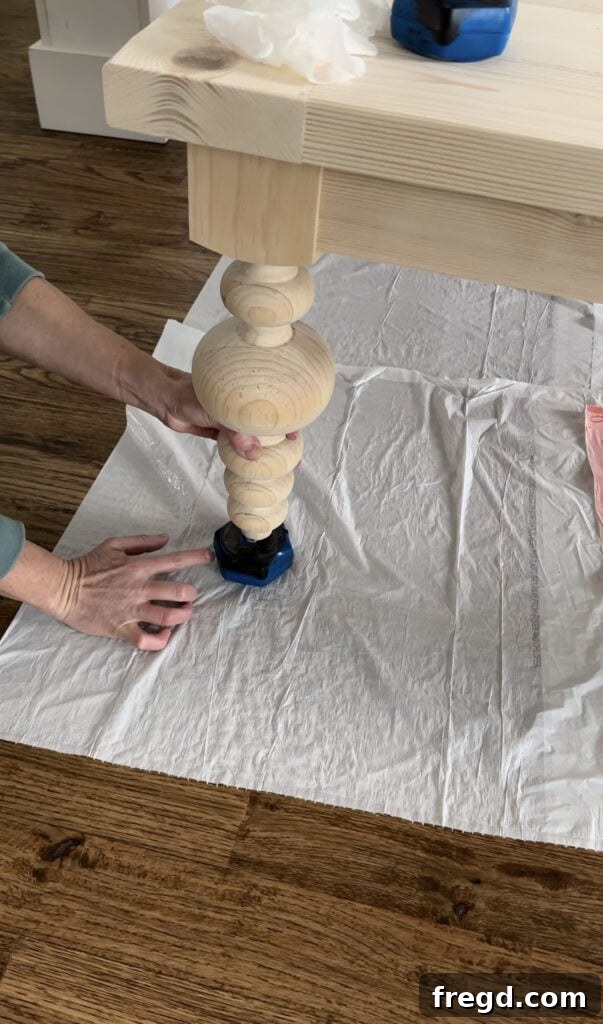
For this specific coffee table, I chose my current favorite finish combination: a unique and beautiful blend of white wash pickling stain and rustic brown stain. This layering technique creates a wonderfully muted, aged look that perfectly complements the classic lines of the turned legs and the overall farmhouse-meets-modern aesthetic.
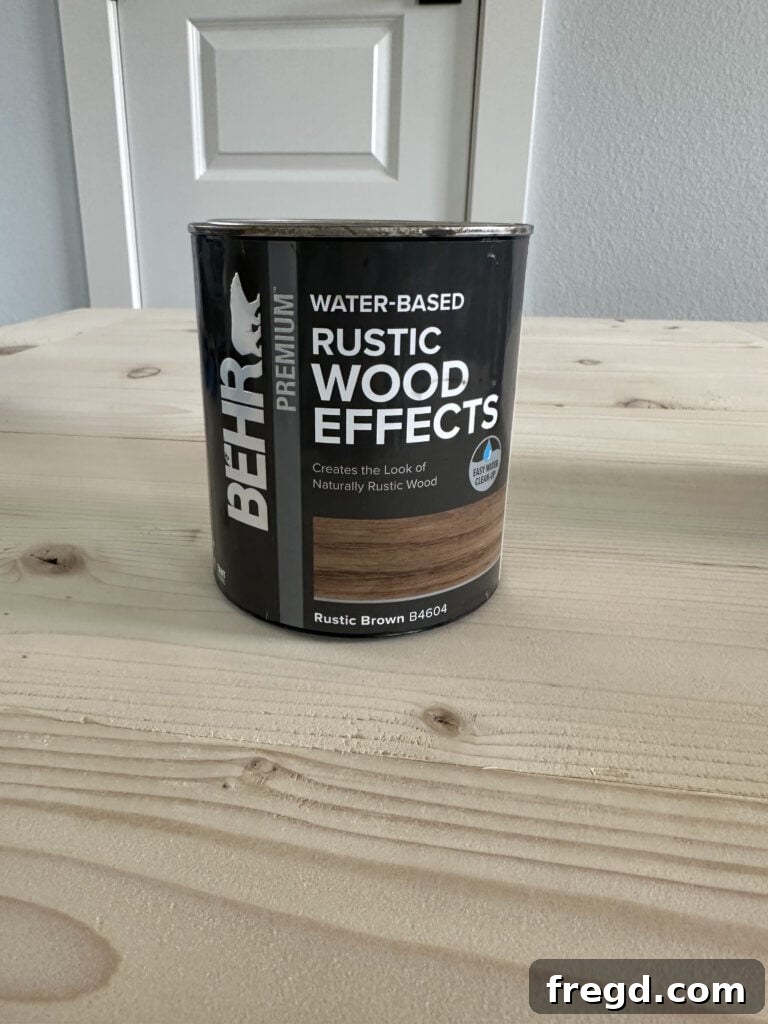
You can find the Rustic Brown stain we used for this project here.
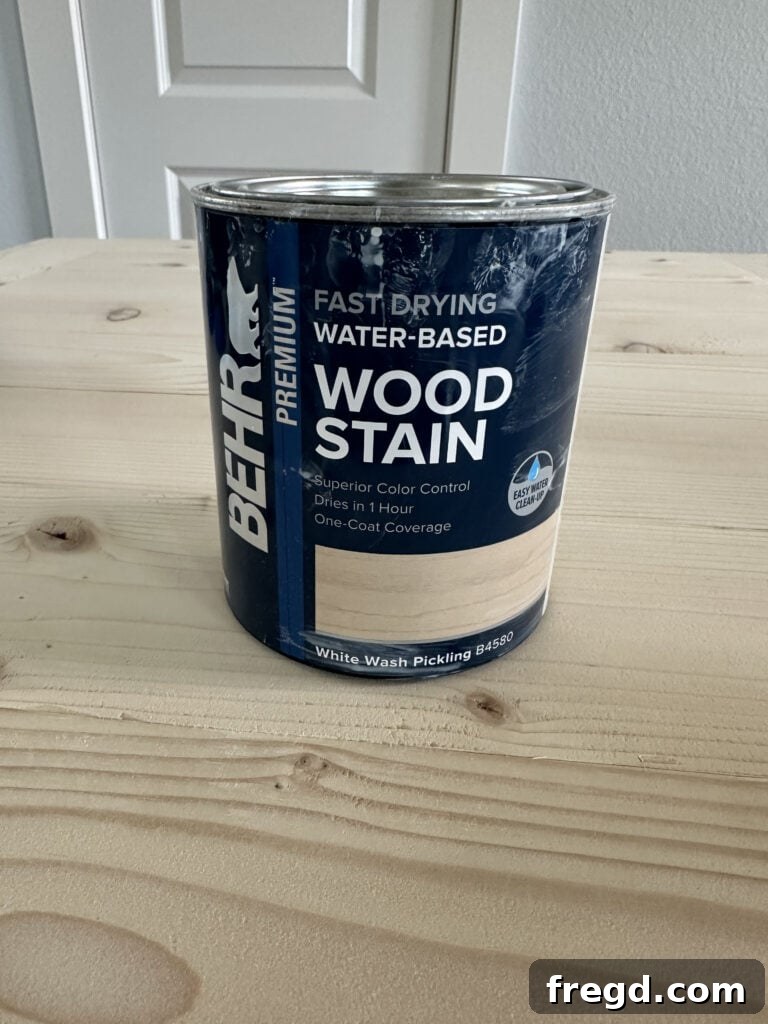
And the White Wash Pickling stain we recommend is available here.
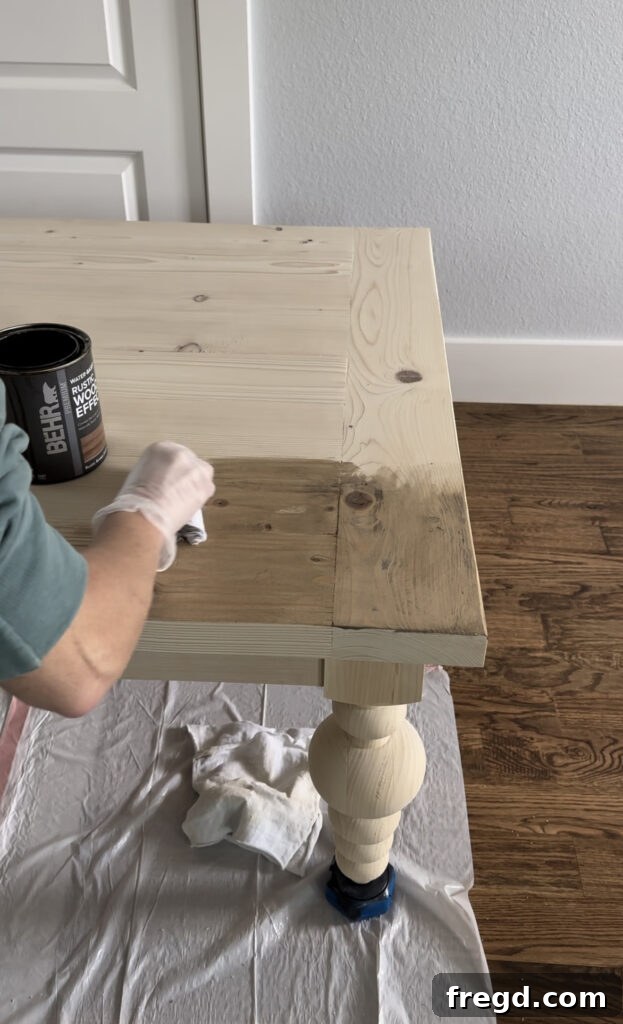
To begin, I applied one even and thorough coat of the white wash pickling stain across the entire table. Using soft staining rags, I carefully wiped it on, ensuring consistent coverage over all wood surfaces. Alternatively, you can achieve excellent results with high-quality foam brushes for this step. It is absolutely critical to allow this first coat to dry completely – typically about an hour, but always refer to the specific product’s instructions for exact drying times – before proceeding. Patience at this stage is essential for optimal results and proper adhesion of the subsequent layers.
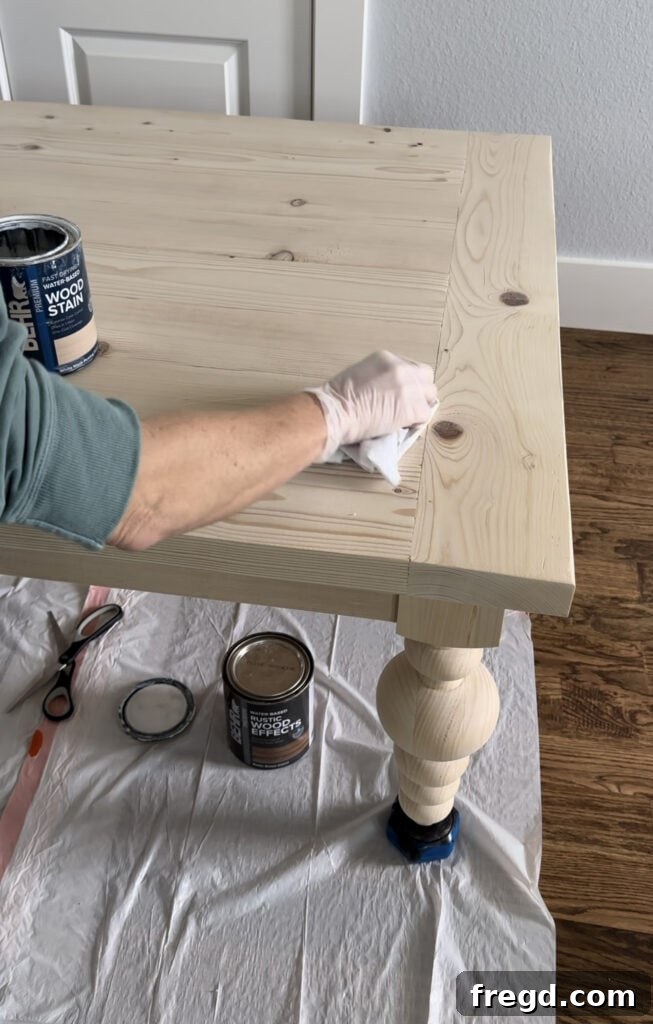
Once the initial white wash pickling coat was thoroughly dry to the touch, I proceeded to apply a single, even coat of the rustic brown stain. This is where the magic of the two-tone technique truly unfolds: the underlying layer of white wash pickling acts as a subtle filter, effectively muting the intensity of the rustic brown. The result is a beautifully understated, vintage-inspired tone that provides depth and character, and which I absolutely adore! Apply this coat evenly, and then wipe off any excess according to the stain manufacturer’s instructions to prevent a blotchy finish.
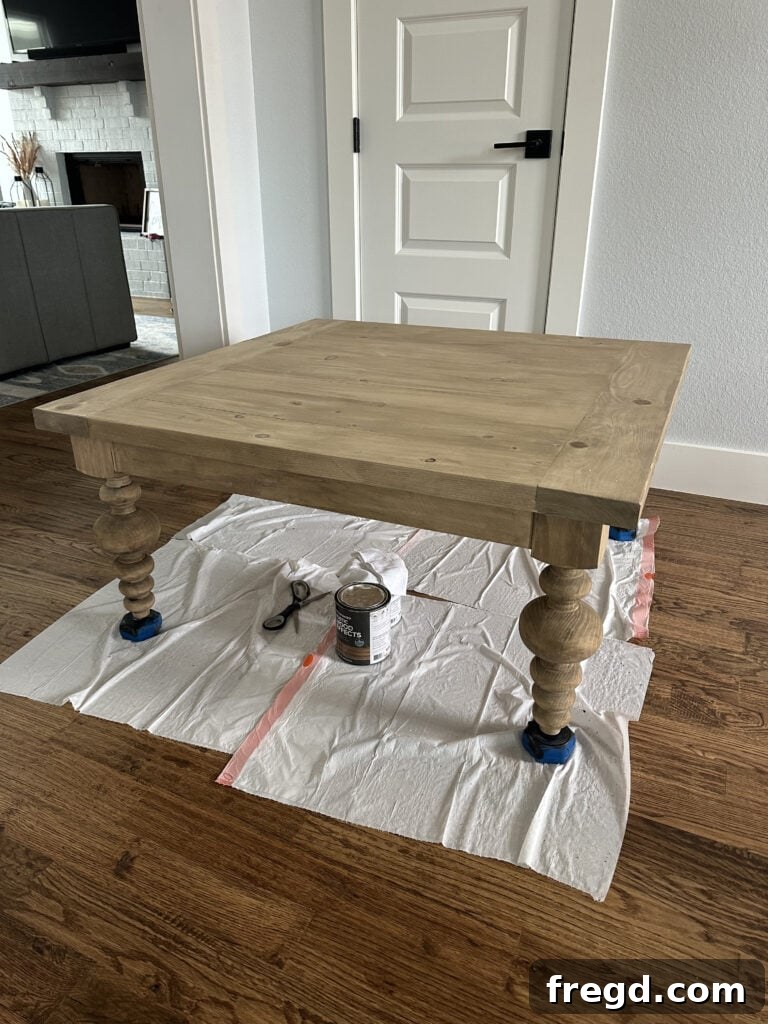
6.3. Applying a Long-Lasting Protective Finish
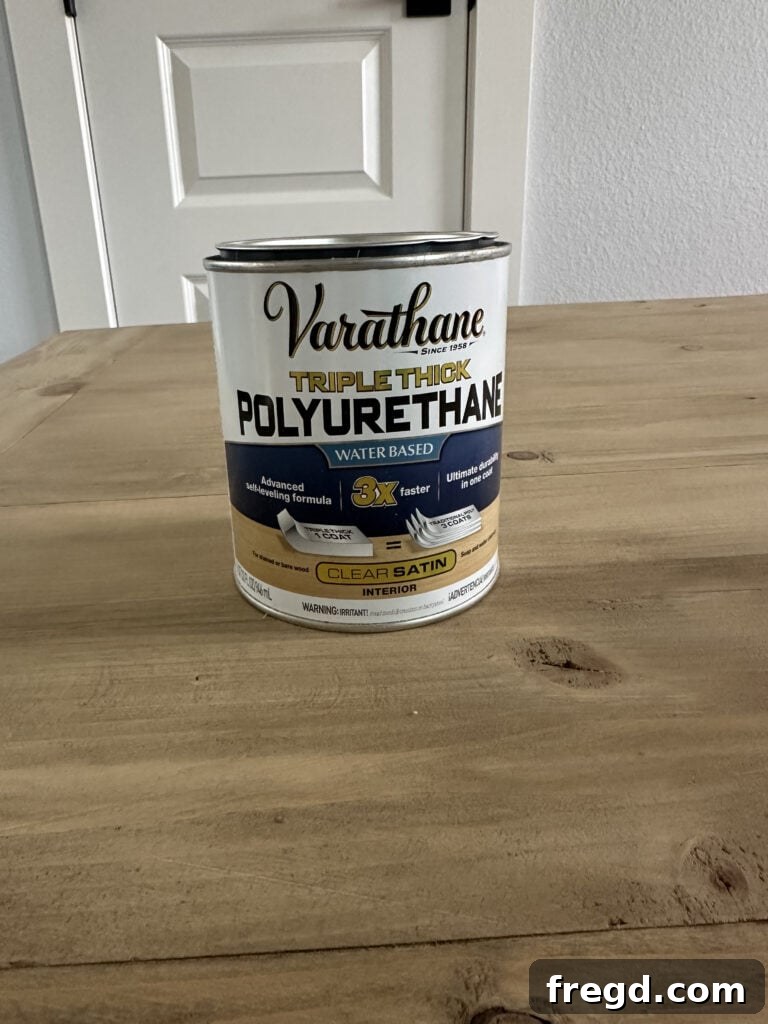
The final, and arguably most important, step in completing your DIY coffee table build is to apply a robust protective finish. This crucial layer is essential for shielding your hard work from the rigors of daily life, including spills, scratches, and general wear and tear, ensuring that the beauty of your table endures for many years to come. For this project, I opted for a Triple Thick Varathane Polyurethane, which is renowned for its excellent durability and straightforward application.
Using a high-quality bristle brush, I meticulously applied two even coats of polyurethane to both the tabletop and the turned legs. It is absolutely vital to allow the first coat to dry completely according to the product’s specific instructions before applying the second. While this particular polyurethane may appear milky or white when wet, rest assured, it dries to a crystal-clear, hard-wearing finish that beautifully seals and protects the wood underneath without altering your carefully applied stain. Always ensure you work in a well-ventilated area when applying polyurethane to ensure proper drying and for your own safety.
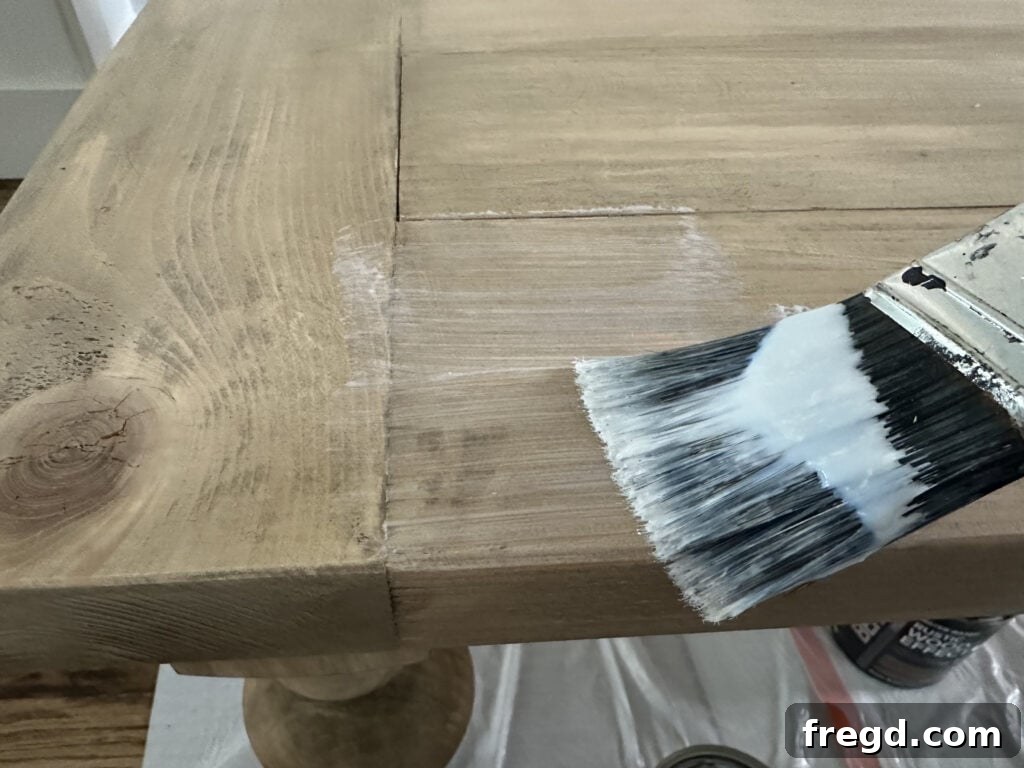
You can find the Triple Thick Varathane Polyurethane I used here. Its quick-drying formula and high level of protection make it an excellent choice for frequently used furniture pieces like a coffee table.
7. Your Stunning New Coffee Table: A Blend of Style and Savings
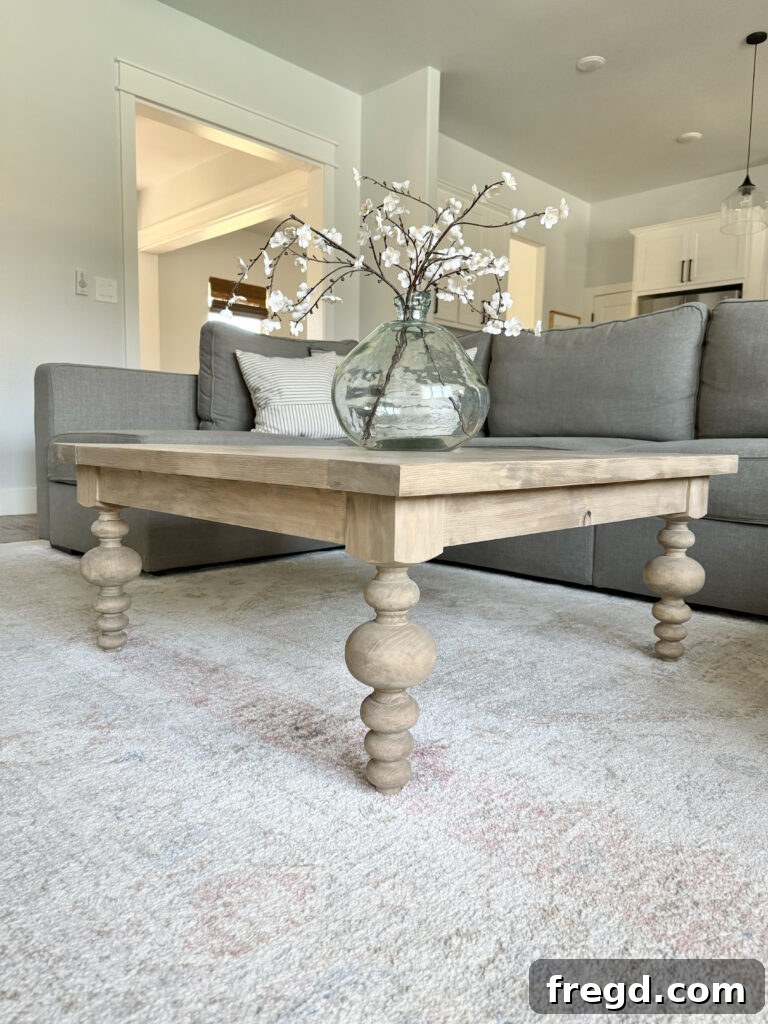
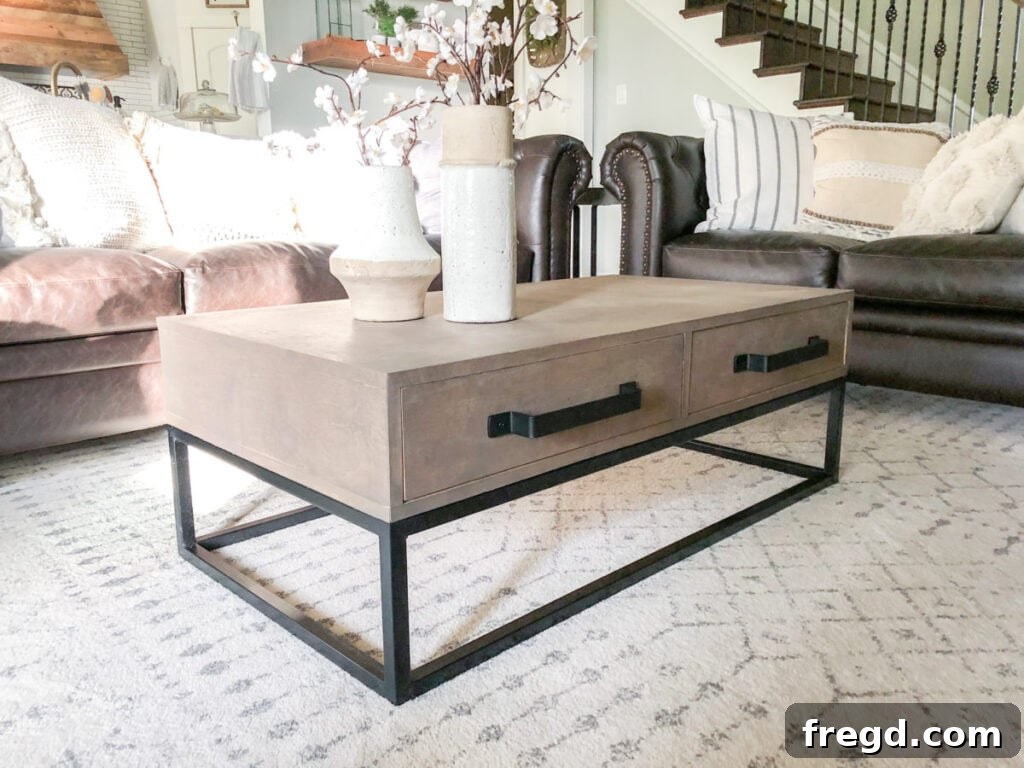
And just like that, your custom-built coffee table is complete! I am absolutely thrilled with how my new table turned out. The rustic muted brown color, combined with the timeless appeal of the turned legs, creates a perfect fusion of modern farmhouse style that instantly elevates my living room. Its square shape is an ideal fit for the sectional in my space, offering ample surface area without overwhelming the room. What makes this project even more satisfying? I built this entire masterpiece for a total cost of under $200 – and if you opt for the more budget-friendly legs, you could easily complete it for under $100! This truly exemplifies the incredible value and personal satisfaction that comes with DIY woodworking projects.
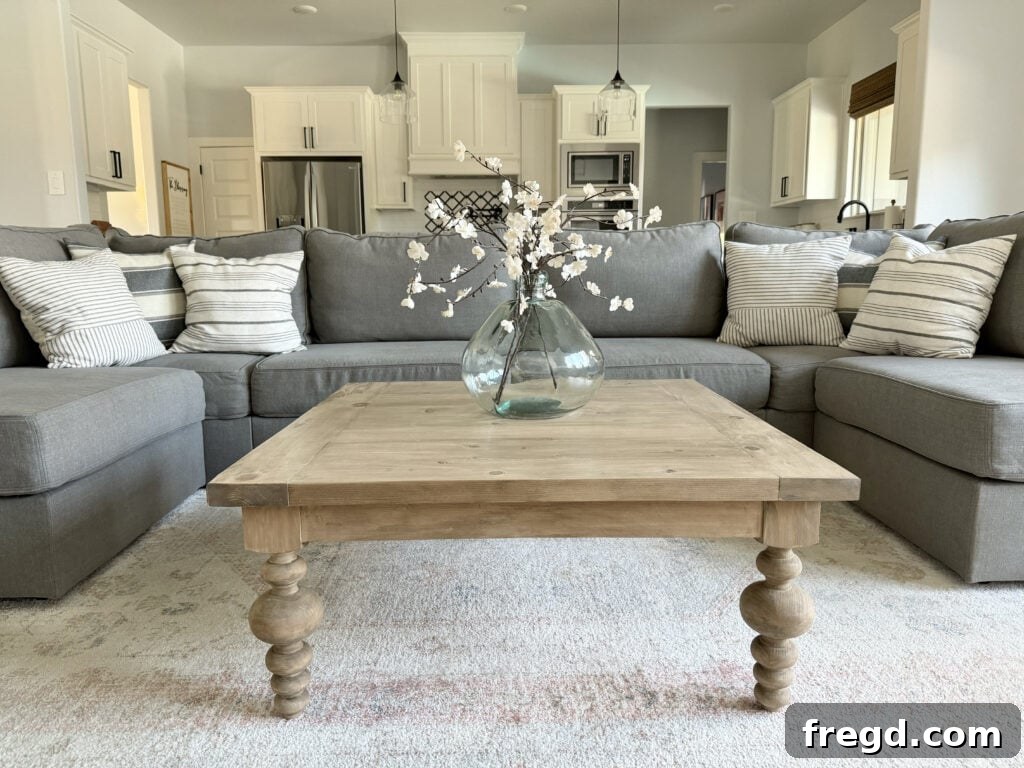
The beauty of these DIY coffee table plans lies in their incredible adaptability. If your living space requires different dimensions or a specific shape, minor modifications to the cut list are straightforward. For instance, lengthening the planks and aprons can effortlessly create a rectangular coffee table, or adjusting the overall size can make it perfect for a smaller nook. For added functionality and style, consider pairing your table with a couple of woven seagrass baskets or chic storage bins underneath. They would provide excellent, discreet storage solutions for blankets, magazines, or remote controls, helping to keep your living room tidy and organized.
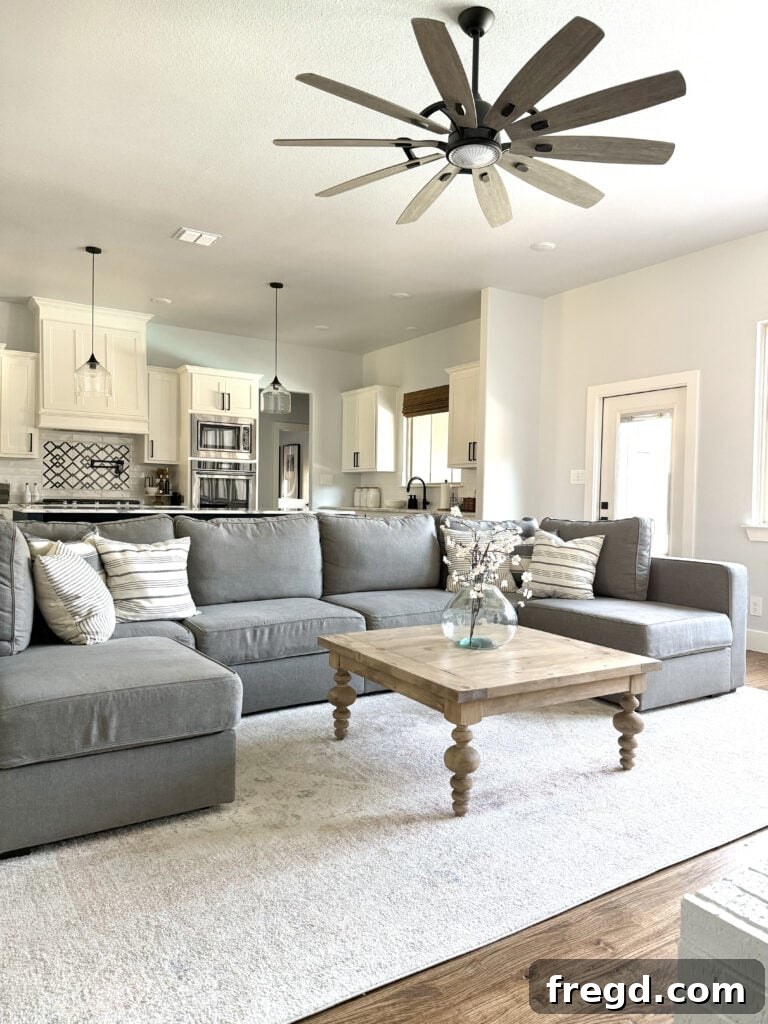
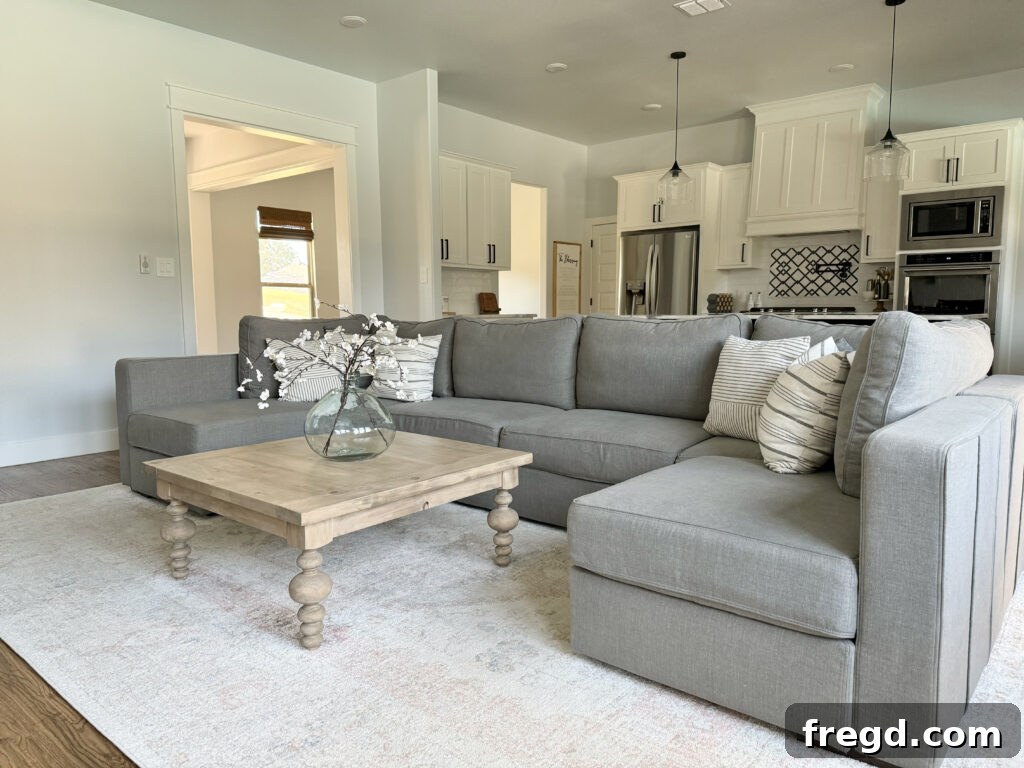
- Curious about the stunning area rug in my living room? You can find the direct link to my living room rug here. For ample coverage, I opted for the spacious 10×14 size.
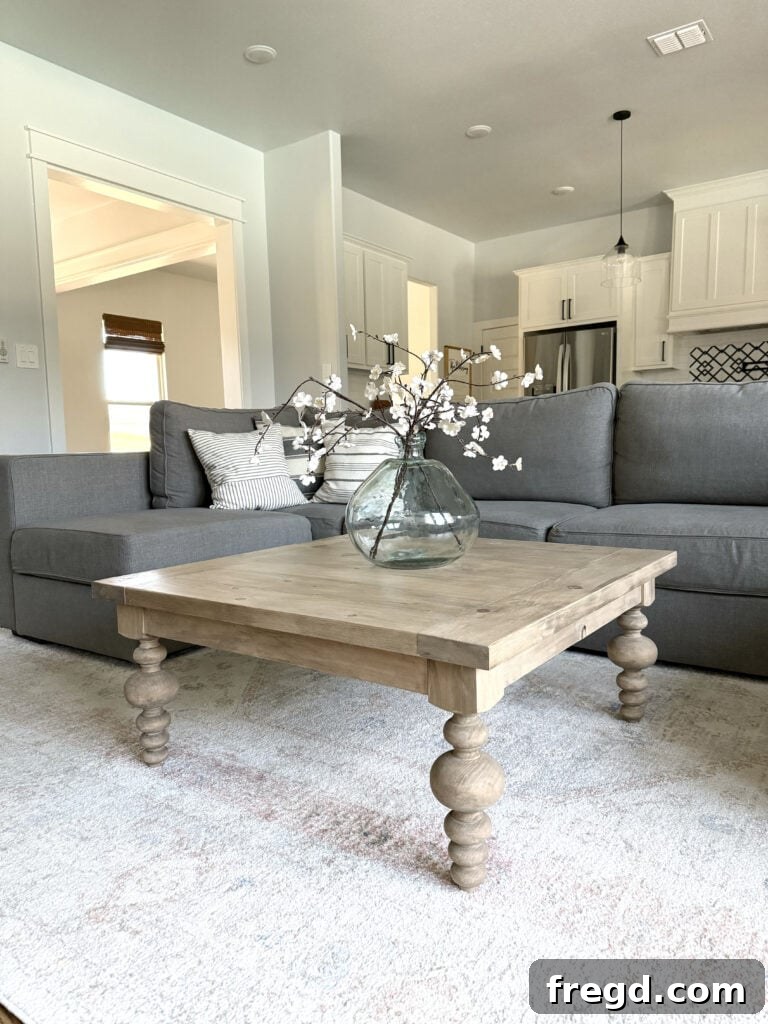
We absolutely adore seeing your creative woodworking projects! Make sure to share your finished builds with us on social media and use the hashtag #shanty2chic. We’d love to celebrate your craftsmanship and potentially feature your amazing work!
Happy Building!
Explore More Coffee Table Inspiration from Shanty2Chic!
If you thoroughly enjoyed building this elegant turned leg coffee table, or if you’re exploring different styles for your next project, be sure to browse our extensive collection of other popular DIY coffee table designs. There’s a perfect project for every taste and skill level!
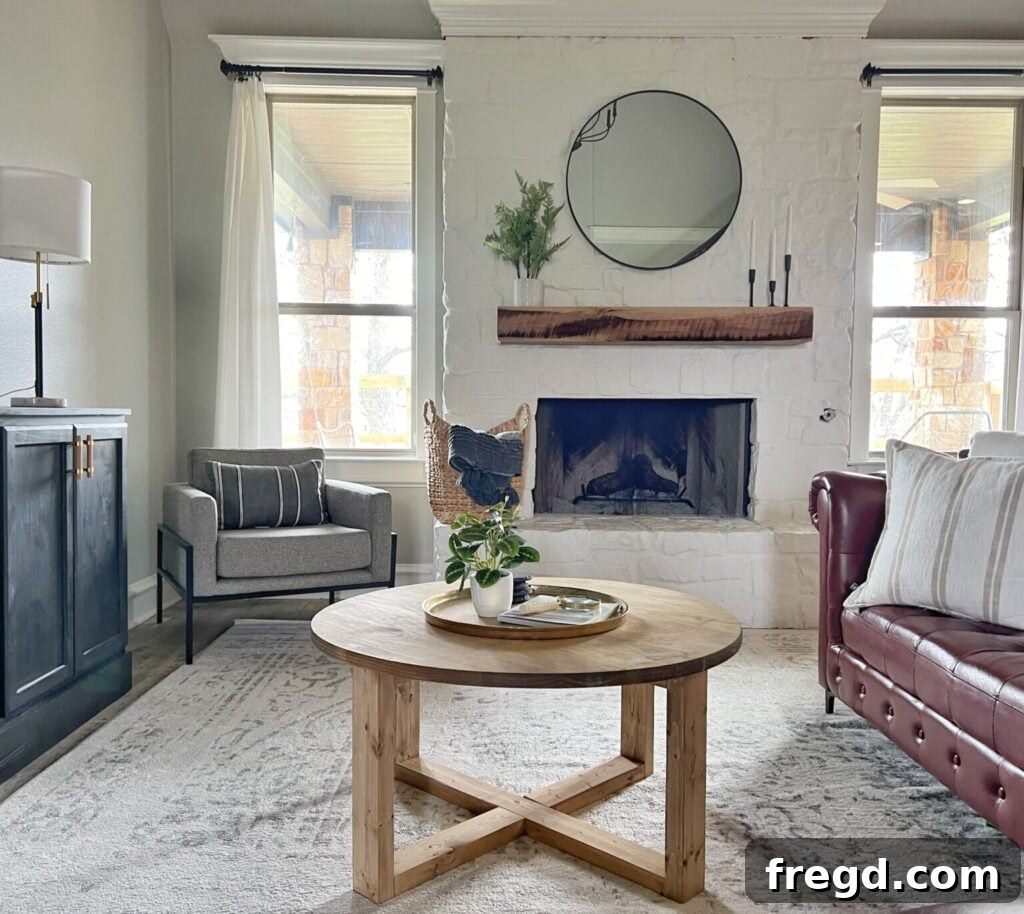
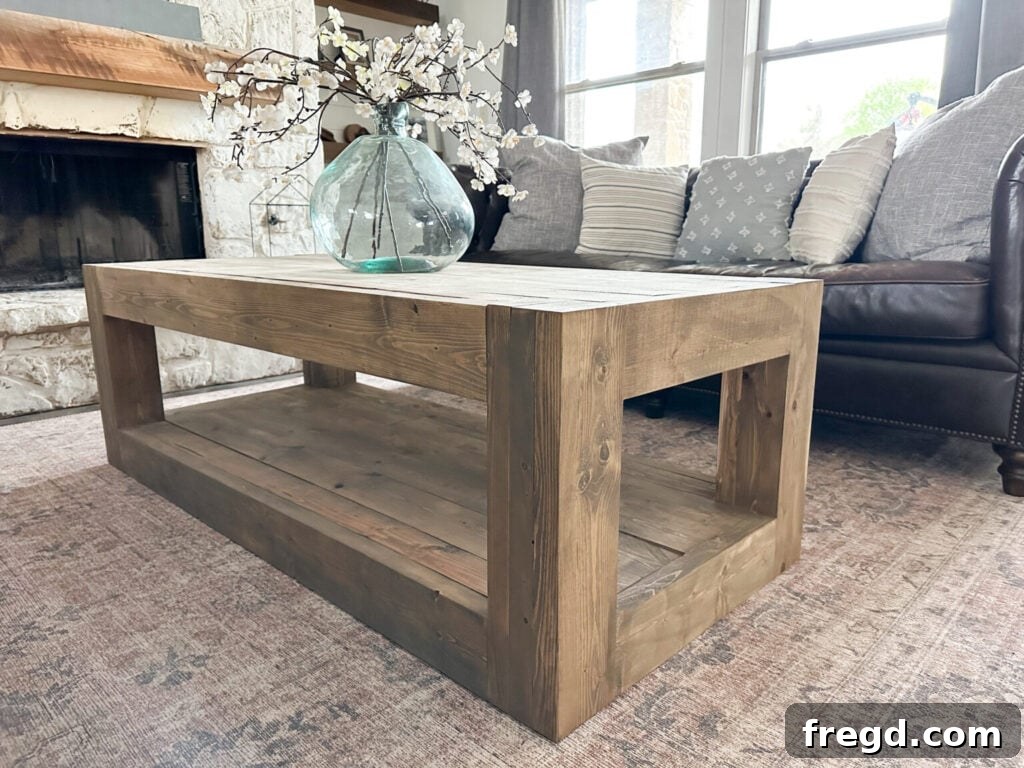
8. Comprehensive DIY Turned Leg Coffee Table Plans (Printable)
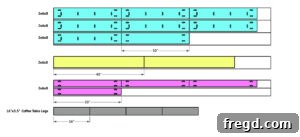
Ready to turn your woodworking dreams into reality? Access the complete, free printable plans for this DIY Turned Leg Coffee Table! These detailed plans are your ultimate resource, including a comprehensive shopping list, a precise cut list, and exploded diagrams designed to guide you through every single step of the construction process. It’s the perfect companion for visual learners and anyone who prefers to have a tangible guide right there in their workshop.

9. DIY Turned Leg Coffee Table Project Summary
Learn to build this stunning DIY Turned Leg Coffee Table using just a few basic tools and materials. This project is ideal for beginners and comes with a comprehensive how-to video and free printable plans by Shanty2Chic. Click here for the full set of printable plans, including the comprehensive shopping list, detailed cut list, and diagrams!
Tools Required for This Project
- Miter Saw
- Drill (cordless recommended for convenience)
- Kreg Jig (pocket-hole jig system)
- Table Saw (optional, for custom ripping boards)
- Orbital Sander
- Sanding Block
- Kreg Face Clamps (highly recommended for flush joints)
- Kreg Project Blocks (for elevated finishing)
- Bristle Brush (for applying protective finish)
- Staining Rags or Foam Brushes
Supply List
- 5 – 2x6x8 Framing Lumber (e.g., pine or fir for affordability)
- 4 – Turned Legs (premium option or budget-friendly alternative)
- 2 1/2″ Pocket Hole Screws
- 1 1/2″ Pocket Hole Screws (specifically for attaching tabletop to base)
- Wood Glue (a strong, waterproof variety for extra durability)
- Wood Stain (our recommendation: Rustic Brown and White Wash Pickling)
- Protective Finish (e.g., Triple Thick Varathane Polyurethane)
Step-by-Step Instructions
-
Review the Cut List: Prioritize reviewing the provided cut list in the printable plans. Accurate measurements and precise cuts are fundamental for a successful build and minimizing material waste.

The detailed cut list is your essential guide for precise material preparation. -
Assemble the Tabletop Planks: Cut your plank boards to the specified size. Drill 1 1/2″ pocket holes on both ends of each plank and along one edge of all but one board. Apply wood glue generously to the edges, then join the planks using 2 1/2″ pocket hole screws, ensuring all joints are flush with face clamps.
Carefully assemble your tabletop planks, ensuring tight and strong joints for a seamless surface. -
Attach the Breadboards: Measure and cut the breadboard pieces to their exact size. Apply wood glue along the connecting edges. Attach them to the ends of the planked tabletop using 2 1/2″ pocket hole screws, driven through the existing pocket holes at the ends of the planks. Ensure they are flush and square.
Add the breadboards for a clean, finished edge that also enhances the table’s structural integrity. -
Build the Table Apron and Attach Legs: Cut the apron pieces to size. Drill 1 1/2″ pocket holes at both ends of each apron piece (for attaching to legs) and 3/4″ pocket holes along one edge (for attaching to the tabletop later). Apply wood glue, then center and attach each apron to a turned leg using 2 1/2″ pocket hole screws, forming a sturdy base.
Construct the robust table base by joining aprons to the elegant turned legs, ensuring square and strong connections. -
Join Tabletop to Base: Flip the assembled tabletop upside down onto a protected surface. Carefully center the table base over the inverted tabletop. Apply wood glue to the top edges of the aprons. Securely attach the base to the tabletop using 1 1/2″ pocket hole screws, driving them through the 3/4″ pocket holes in the aprons and into the bottom of the tabletop.
Securely fasten the tabletop to the base, completing the main structure of your custom coffee table. -
Finishing Touches: Sand, Stain, and Protect: Your table is now structurally complete! Prepare it for a beautiful finish by thoroughly sanding the entire piece, starting with 80-grit and progressing to 180-grit sandpaper for ultimate smoothness. Apply your chosen stain (refer to Section 6.2 for our recommended two-tone technique) and allow it to dry completely. Finally, apply 2-3 coats of a durable protective finish like polyurethane to seal and protect your masterpiece, allowing adequate drying time between coats and lightly sanding with 220-grit between coats if recommended by the product. Have fun personalizing your table to match your home decor!
We absolutely love to see your projects! Share your finished builds with us on social media and tag them with #shanty2chic so we can celebrate and share your amazing work!
Happy Building!
The completed DIY coffee table, a testament to your newfound woodworking skills.
For even more inspiring furniture projects and detailed guides, explore our extensive list of over 15 incredible DIY Coffee Table Designs!