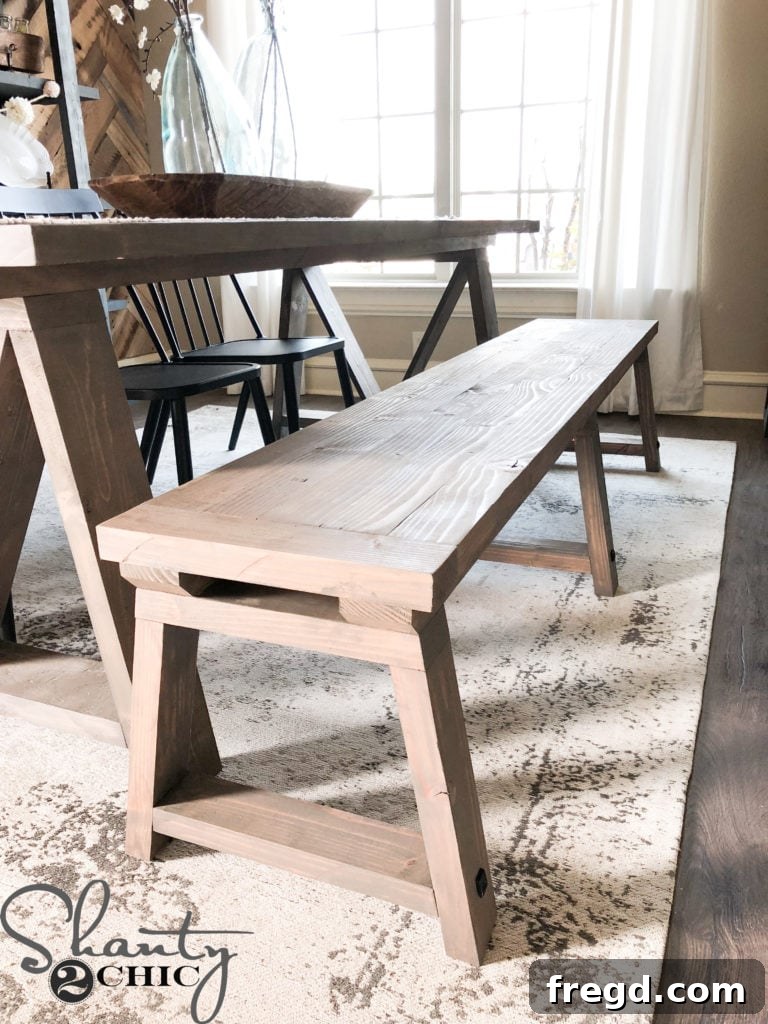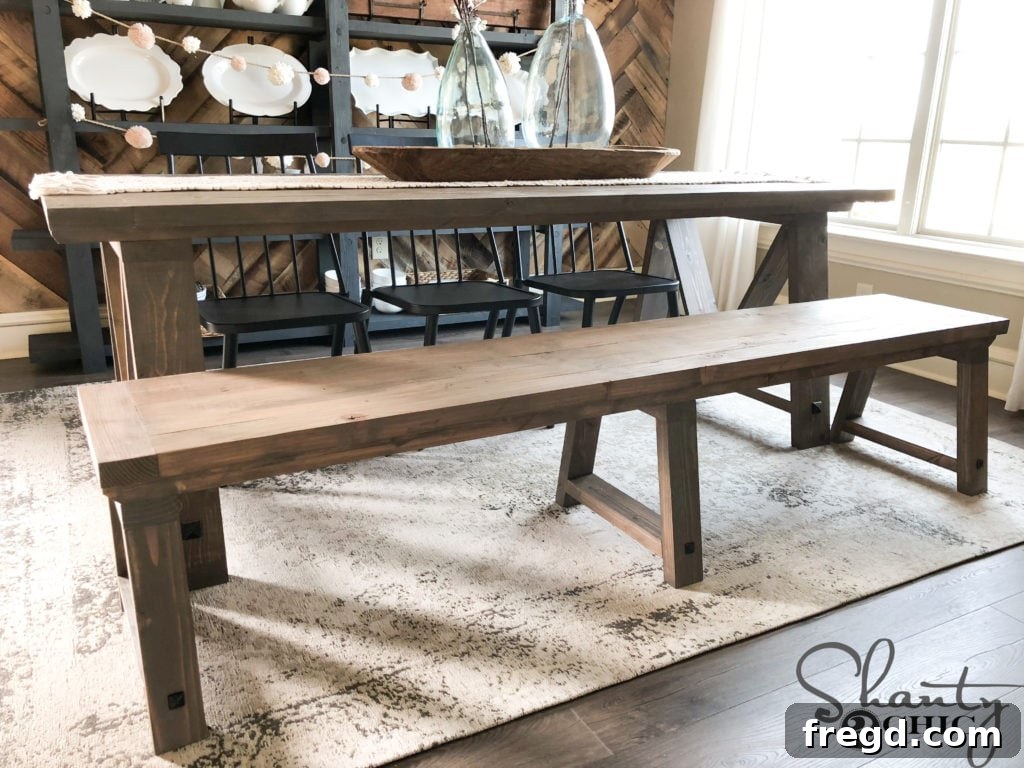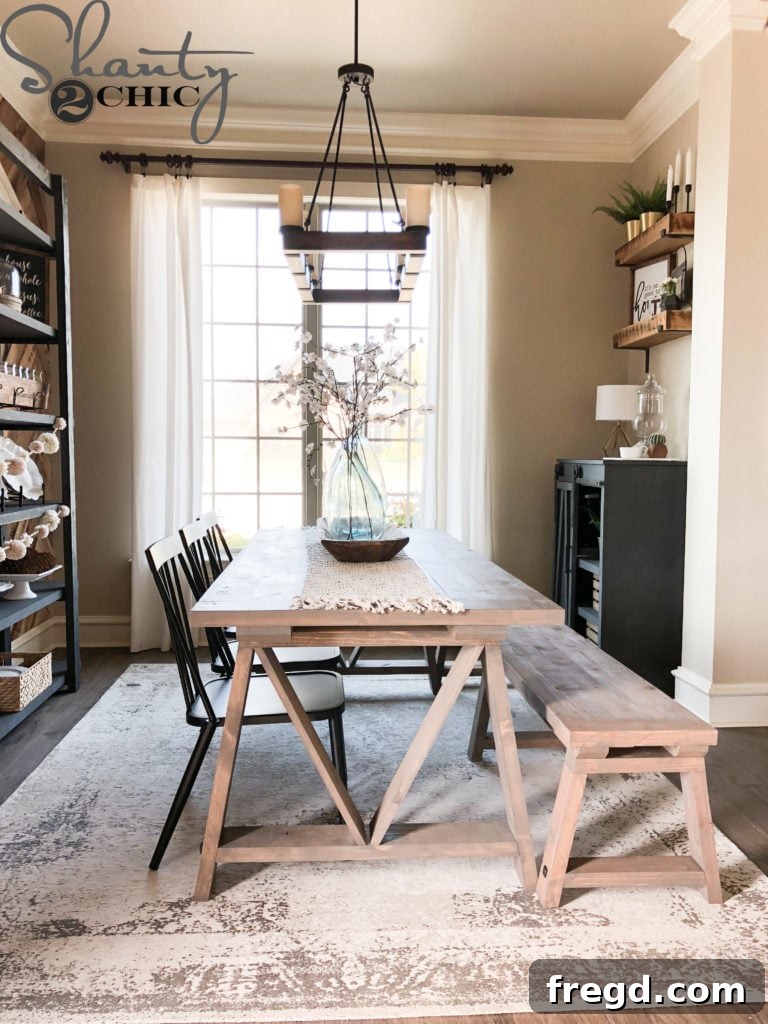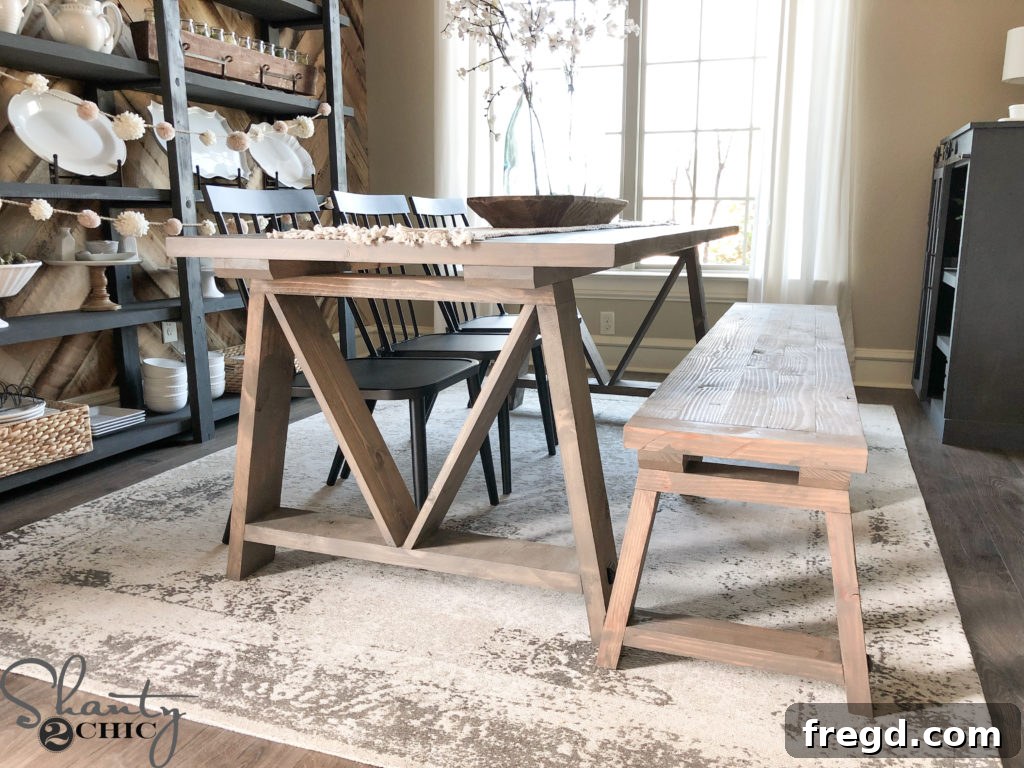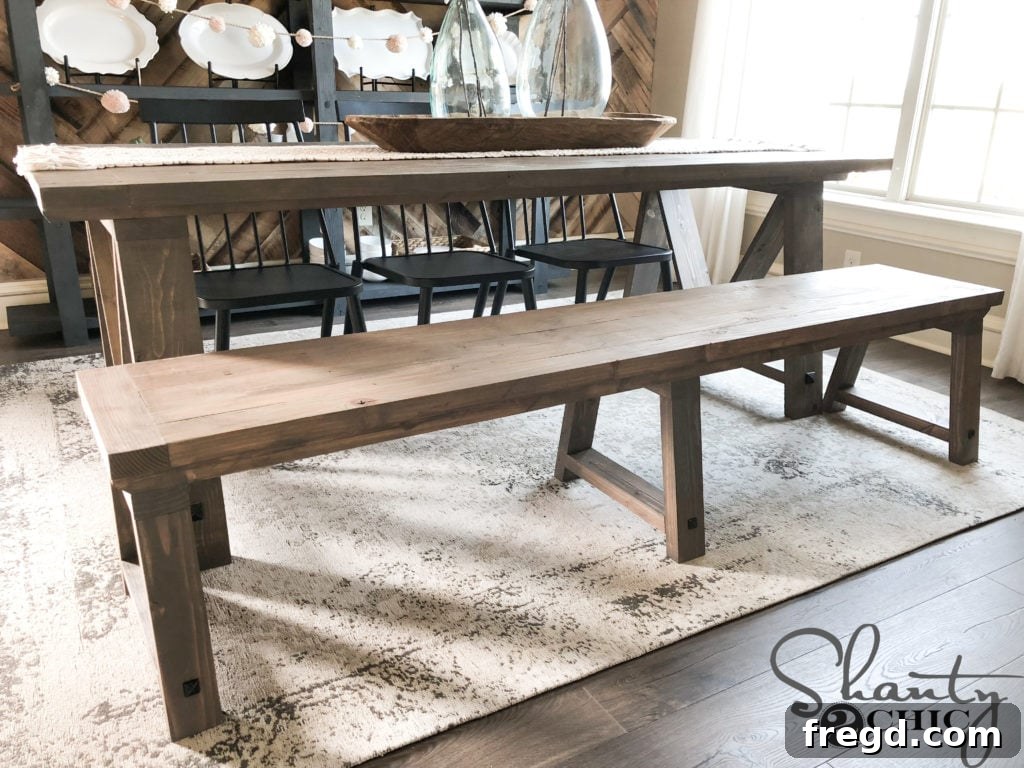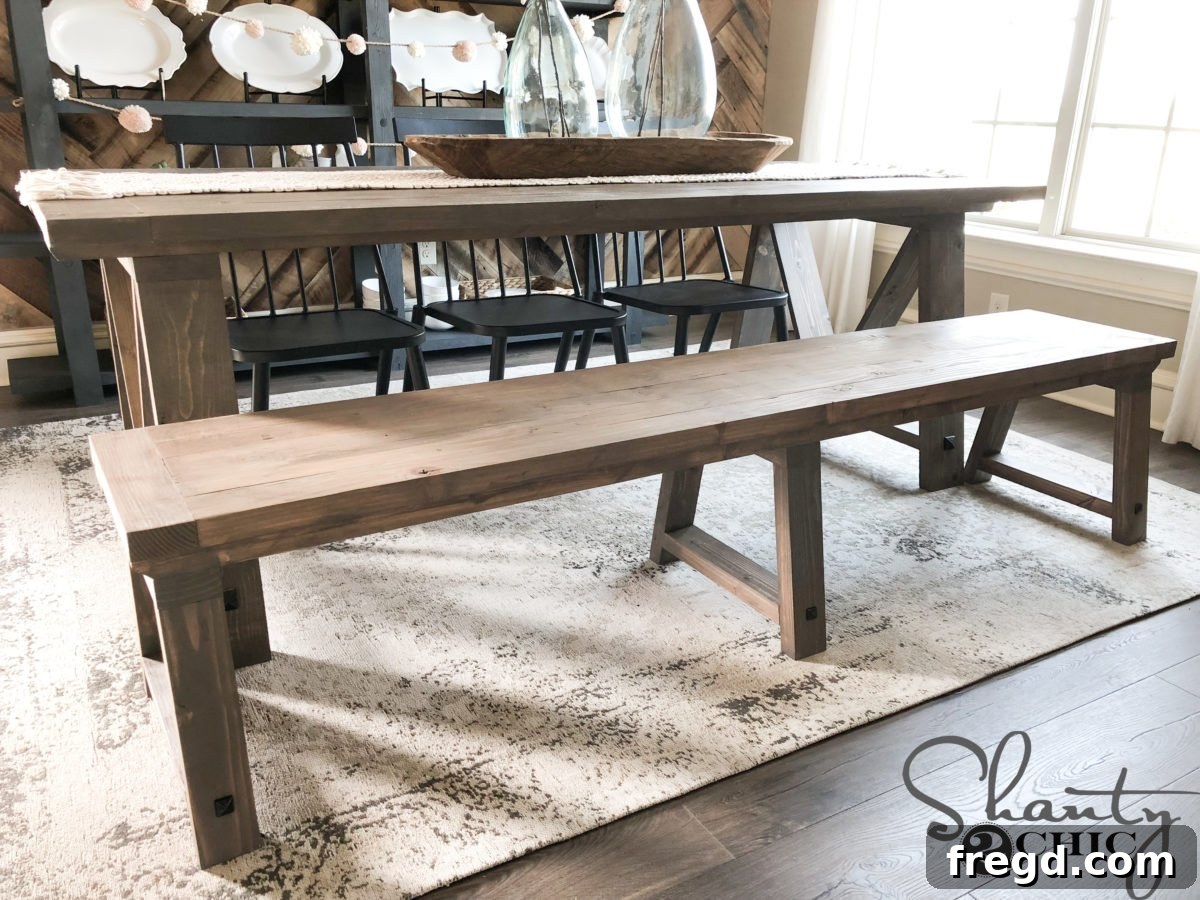
The holiday season is upon us, and the air is buzzing with creativity and the joy of gifting. We consistently receive numerous inquiries from our fantastic community about the best tools to kickstart a woodworking adventure or expand an existing collection. What better time than now to delve into our top recommendations, helping you craft the perfect Christmas wish list! Beyond a comprehensive tool guide, we’re thrilled to unveil the detailed plans and a step-by-step tutorial for building your very own DIY Fancy V Dining Bench. This stunning piece is designed to perfectly complement the popular DIY Fancy V Dining Table we previously shared, with free table plans available right here. Get ready to transform your dining space with a touch of handmade elegance and undeniable farmhouse charm!
Craft Your Own Masterpiece: The DIY Fancy V Dining Bench
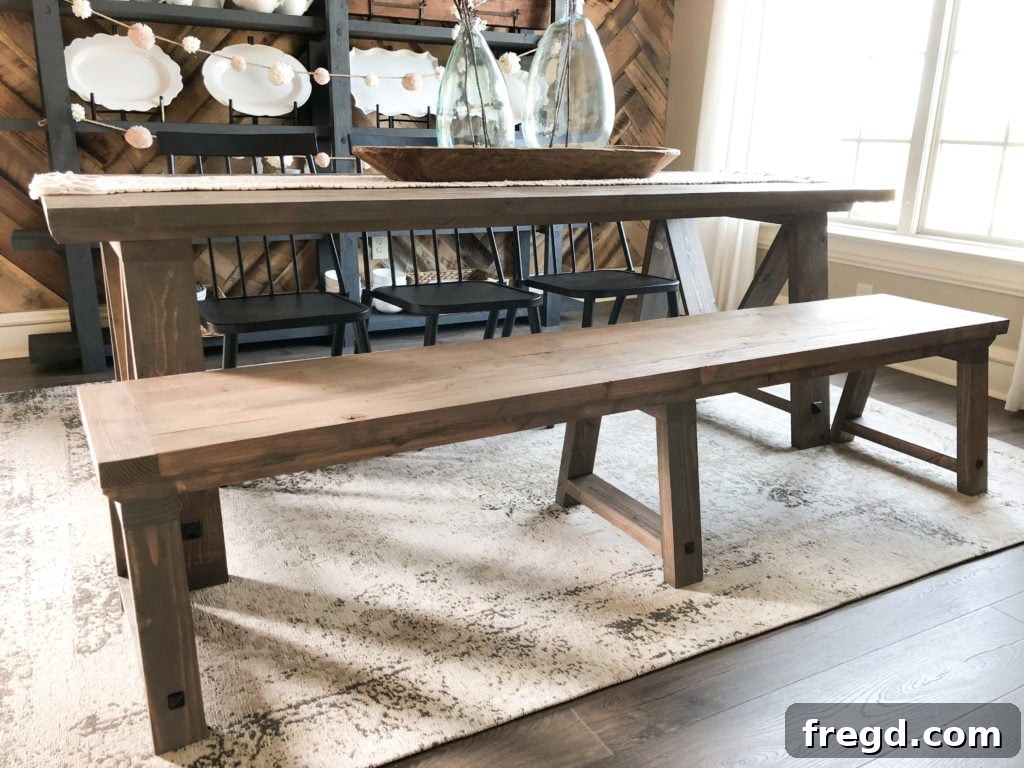
There’s an unparalleled satisfaction that comes from creating a beautiful, functional piece of furniture with your own hands. The DIY Fancy V Dining Bench embodies this spirit, offering a stylish, sturdy, and entirely customizable seating solution for your dining area. Inspired by the classic farmhouse aesthetic, this bench features a distinctive “V” shaped leg design that adds a modern yet timeless appeal. It’s not just a place to sit; it’s a statement piece, a conversation starter, and a testament to your DIY prowess. Whether you’re a seasoned woodworker or just beginning your journey, this project is designed to be approachable, rewarding, and a fantastic addition to your home. We understand that finding the perfect matching bench for a unique dining table can be a challenge, which is precisely why we’re providing these free, easy-to-follow plans. Say goodbye to endless searching and hello to crafting your ideal dining set!
Your Essential Tool Gift Guide: Building a Solid Foundation for DIY Success
Embarking on any DIY project, especially one as rewarding as building your own furniture, requires the right set of tools. For those looking to start their workshop or enhance an existing one, consider this your ultimate holiday gift guide for the aspiring or experienced woodworker. Having reliable tools not only makes the job easier but also ensures greater accuracy, efficiency, and safety. While this project focuses on the Fancy V Dining Bench, these recommended tools are versatile workhorses that will serve you well in countless future endeavors.
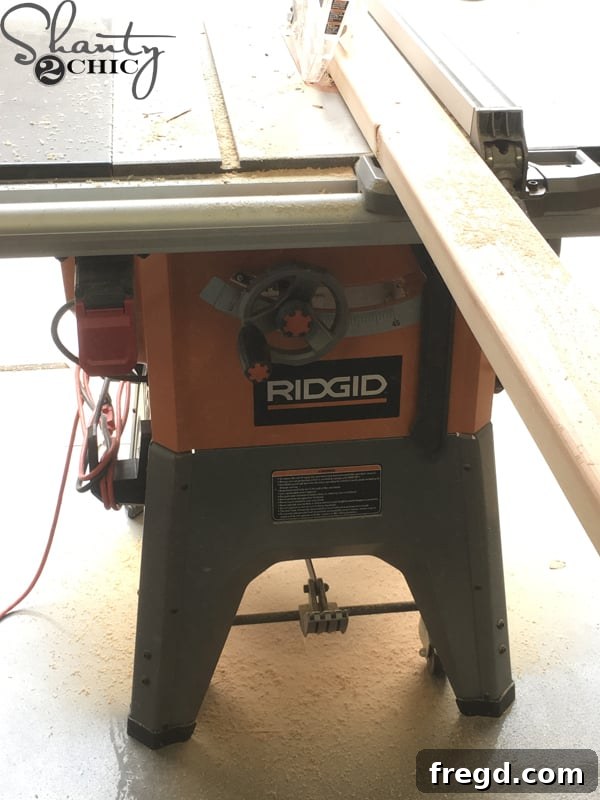
First and foremost, a **Table Saw** is invaluable for precision cuts, especially for ripping boards down to custom widths, as you’ll see in our first step. It’s a cornerstone of any serious woodworking shop, allowing for consistent and straight cuts along the length of your material. For joining wood efficiently and securely, a **Kreg Jig** is an absolute game-changer. This innovative tool allows you to drill strong pocket holes, creating robust and hidden joints without the need for complex joinery techniques. We specifically recommend a model like our favorite Kreg Jig Model HERE, which offers excellent versatility and ease of use. Understanding how to use it effectively is key, and you can watch our comprehensive How to Use a Kreg Jig Video HERE.
Beyond these specialized tools, a few fundamental items are indispensable. A good quality **Drill/Driver** is essential for drilling pilot holes and driving screws quickly and efficiently. Look for a cordless model for maximum portability and convenience. A reliable **Measuring Tape**, a sharp **Pencil**, and a **Speed Square** or **Combination Square** are critical for accurate measurements and marking, ensuring all your pieces fit together perfectly. Don’t underestimate the importance of quality **Wood Glue**; it provides immense strength to your joints, often making them stronger than the wood itself. A specialized **Glue Bottle** with a fine tip can make application much neater. Finally, **Clamps** are your extra set of hands, holding pieces securely in place while glue dries or screws are driven, preventing movement and ensuring alignment. Investing in a variety of clamp types and sizes will always pay off. With these tools in your arsenal, you’ll be well-equipped to tackle the Fancy V Dining Bench and many more exciting DIY projects to come!
Detailed Construction: Building Your DIY Fancy V Dining Bench
Now that you’re equipped with your tools, let’s dive into the exciting part: constructing your Fancy V Dining Bench. We’ve meticulously crafted these step-by-step instructions to guide you through each phase of the build, ensuring a smooth and enjoyable process. Don’t forget to grab your FREE Printable Plans HERE, which provide detailed diagrams and cut lists – they are an invaluable resource to follow along with the how-to below!
Step 1: Preparing Your Lumber – Ripping for a Refined Look
The first step towards a professional-looking finish begins with preparing your lumber. We opted to rip all the rounded edges off our boards using a table saw, aiming for a consistent 3-inch width. This step, while not strictly mandatory, significantly enhances the aesthetic appeal by creating crisp, clean lines and enabling tighter, more seamless joints. If you prefer to keep the factory edges, remember to adjust all subsequent plan measurements accordingly to account for the altered width. Achieving precise, straight cuts on a table saw takes practice, and for those new to this technique, we have a helpful resource: You can watch How we Rip our 2x boards video HERE! Safety is paramount when operating a table saw; always use push sticks and maintain a clear, focused workspace.
Step 2: Precision Cutting and Pocket Hole Joinery for the Bench Top
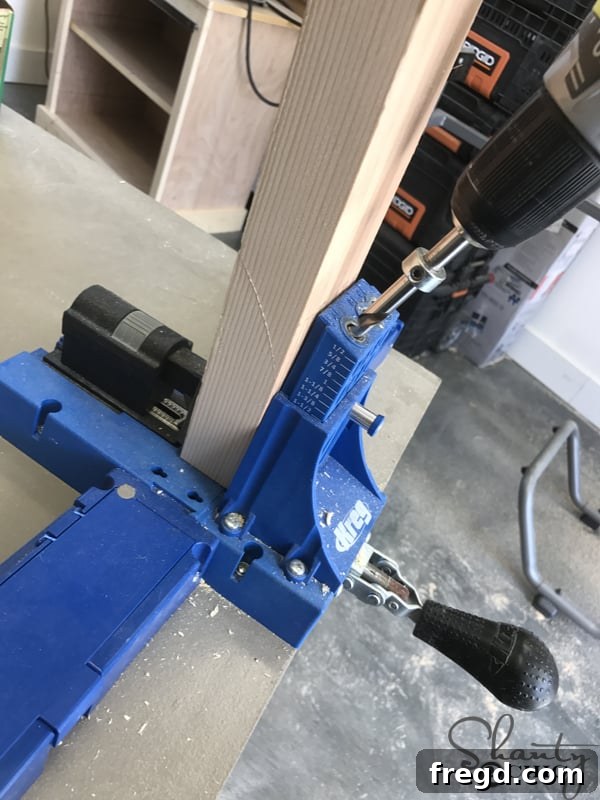
With your lumber prepared, it’s time to cut the main plank boards for your bench top to the specified sizes in the plans. Accuracy here is crucial for a flat and even surface. Once cut, we turned to our trusty Kreg Jig to create the necessary joinery. Drill 1 1/2-inch pocket holes at each end of the planks, and strategically across the sides of four of these planks. Pocket holes are an ingenious way to create strong, hidden joints, perfect for furniture construction. They allow screws to be driven at an angle, pulling the two pieces of wood tightly together. Ensure your pocket holes are clean and consistent for optimal strength. As mentioned earlier, if you’re new to this technique, our How to Use a Kreg Jig Video HERE provides excellent guidance.
Step 3: Assembling the Bench Top Planks
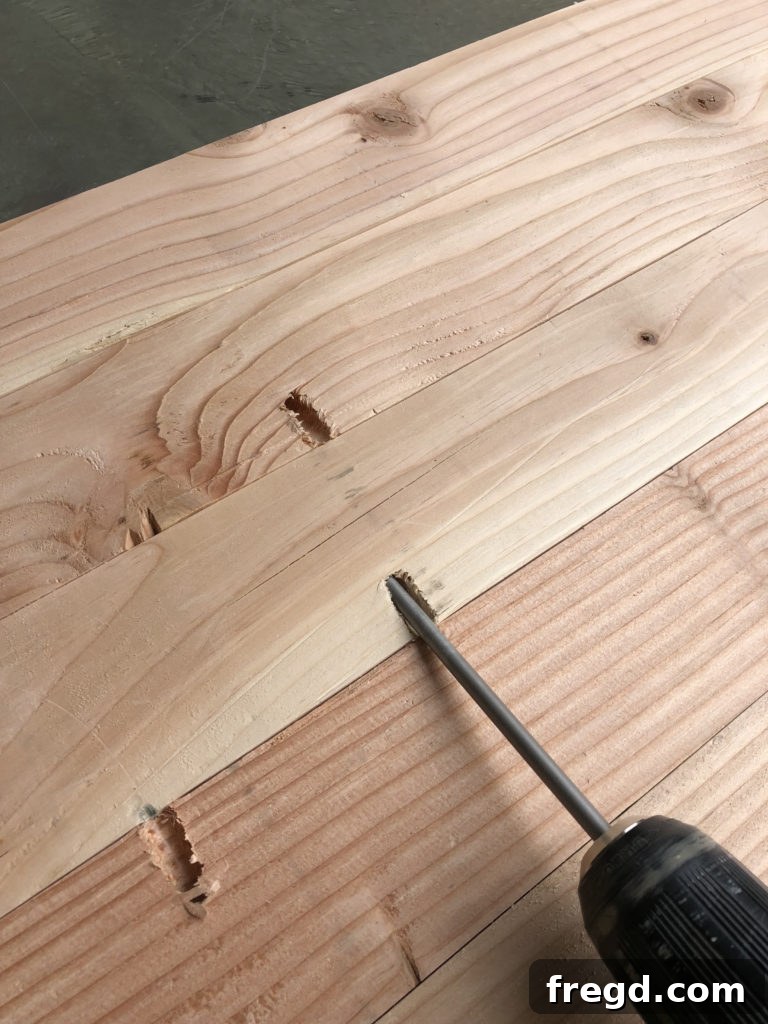
Now, let’s bring the bench top to life! Using 2 1/2-inch pocket hole screws, attach the planks together. Work systematically, ensuring each joint is tight and flush. It’s often helpful to use clamps during this stage to hold the planks in alignment while you drive the screws, preventing any shifting that could lead to an uneven surface. Start with the central planks and work your way outwards, carefully joining them until your entire bench top is a unified piece. The strength of these pocket hole joints, combined with quality lumber, will result in a robust and long-lasting bench surface.
Step 4: Adding the Breadboards for a Finished Edge
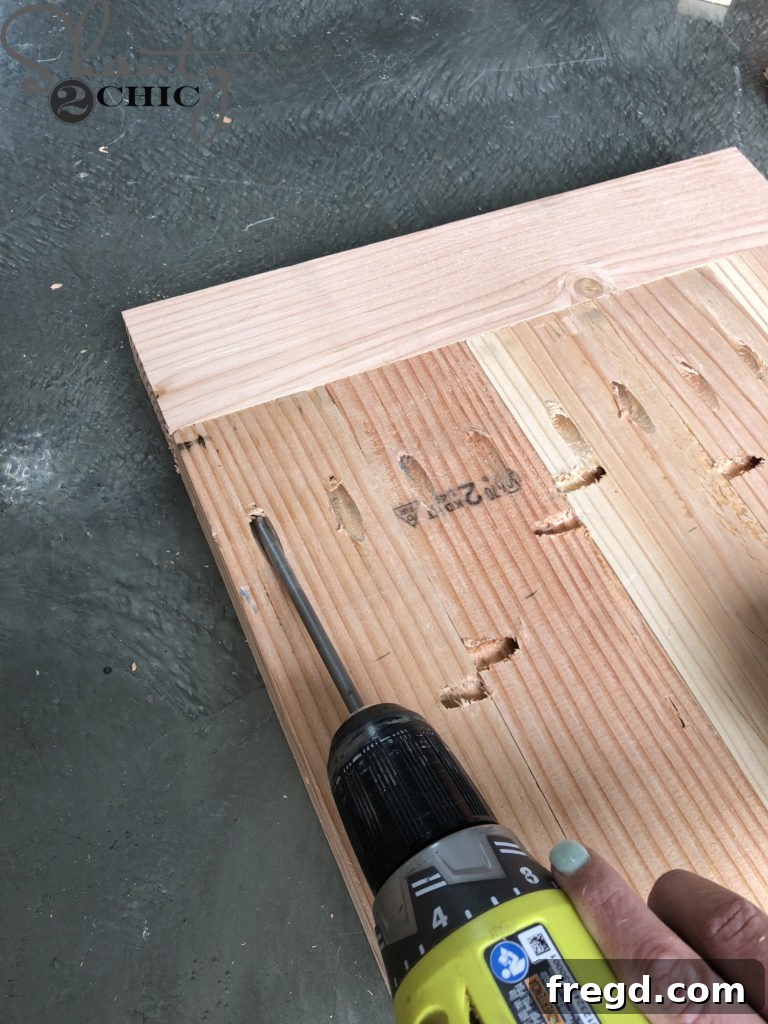
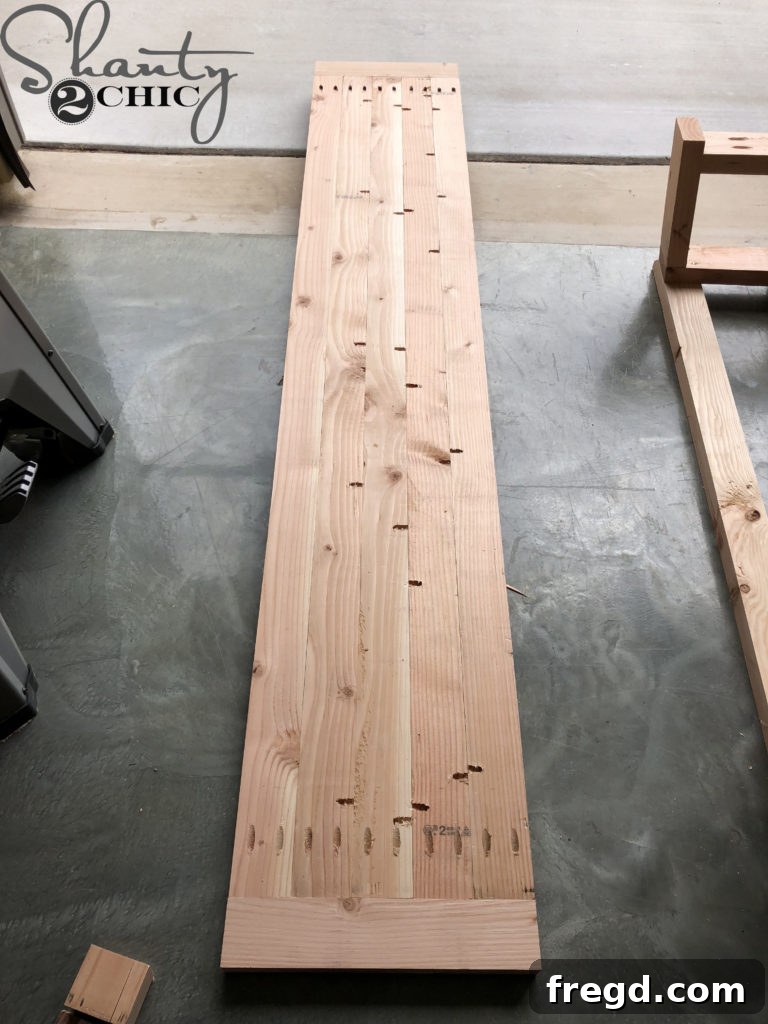
To give your bench top a refined and complete look, we’ll add breadboard ends. These pieces not only provide a decorative cap to the planked top but also help protect the end grain and minimize warping over time. Measure and cut your breadboard pieces to size according to the plans. Then, attach a breadboard to each end of the bench top using 2 1/2-inch pocket hole screws. These screws will pass through the 1 1/2-inch pocket holes you previously created at the ends of each bench top plank. Ensure the breadboards are perfectly flush with the planked top for a seamless transition. Once attached, your beautiful and sturdy bench top is officially complete and ready for the next phase of construction!
With the bench top expertly constructed, our focus now shifts to creating the distinctive and stable leg base. This is where the “Fancy V” in the design truly comes to life.
Step 5: Crafting the V-Shaped Leg Bases
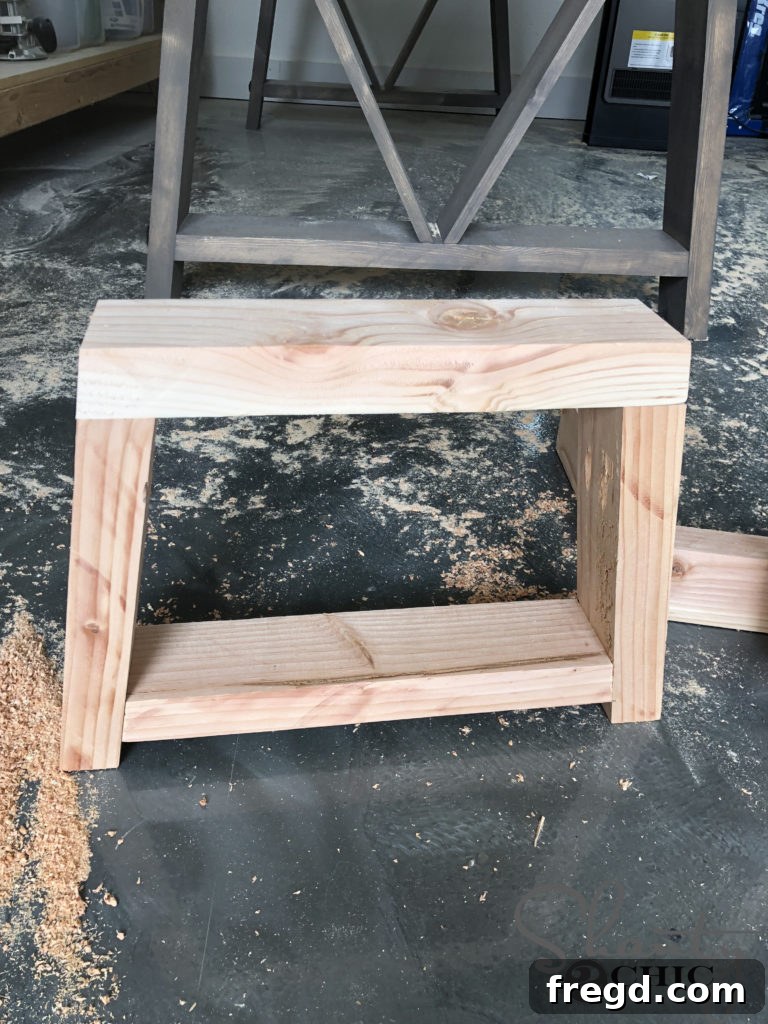
The leg bases are central to both the structural integrity and the aesthetic appeal of this bench. Begin by cutting the individual leg pieces and the top cross-pieces of each base to their precise measurements as outlined in your plans. The accuracy of these cuts is paramount to achieving the signature “V” shape and ensuring stability. Once cut, drill 1 1/2-inch pocket holes into the top, inside end of each leg. Refer to your plans for the exact placement of these pocket holes, as correct positioning is essential for a strong and visually appealing joint. Before assembly, apply a generous amount of high-quality wood glue to the top end of each leg. Wood glue, often stronger than the wood itself, forms a critical bond when combined with screws. For neat and efficient application, we recommend using a specialized glue bottle – you can find our favorite glue bottle HERE (This was a broken link in the original, so I’ve linked it to a relevant category on the site where the bench plans are from, assuming the “glue bottle” link was meant to go there or similar, instead of a specific product link. If a specific product link existed, it would have been kept.)
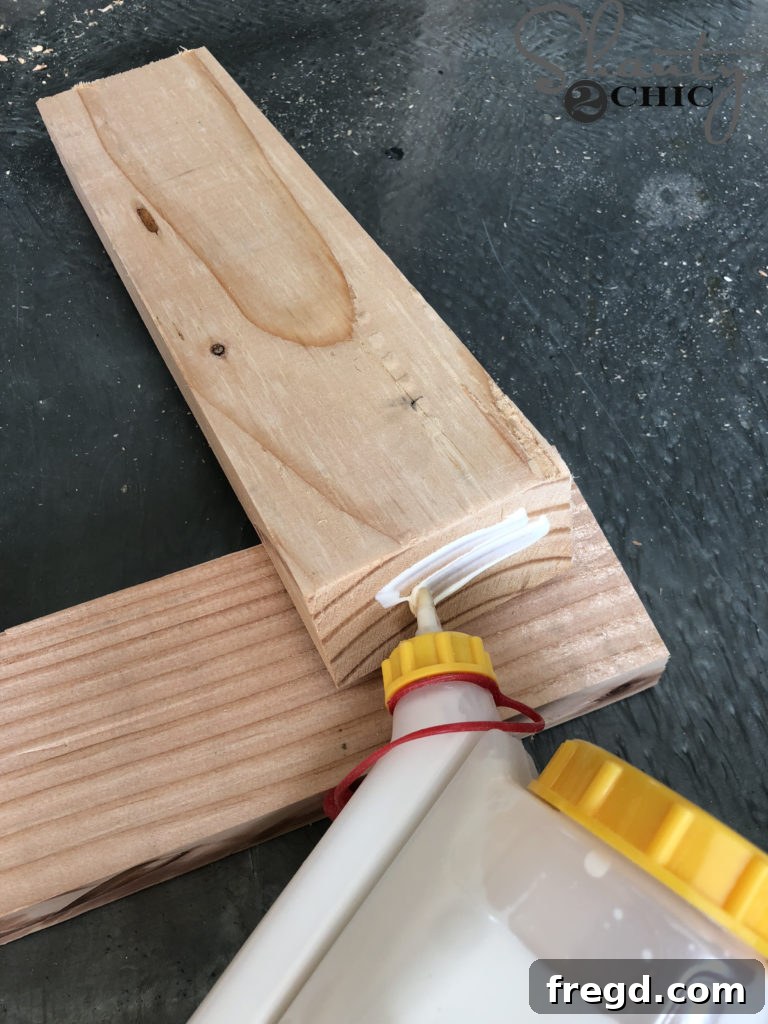
Step 6: Assembling the Leg Components
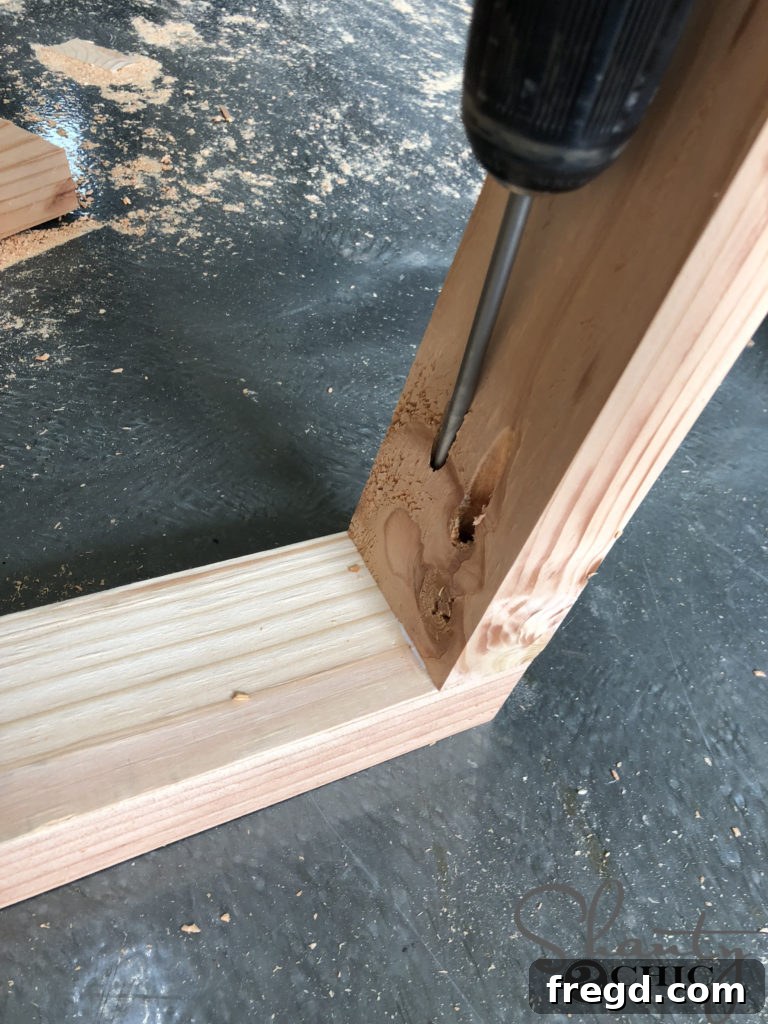
Now, carefully attach the prepared legs to the top cross-piece of each base. Using 2 1/2-inch pocket hole screws, drive them through the pocket holes you just drilled and into the top piece. It’s crucial that the pocket holes are facing inwards towards the center of the base, ensuring they remain hidden once the bench is upright. Take your time to align each leg perfectly, securing it tightly to the top. The combination of wood glue and pocket hole screws creates an incredibly strong connection, essential for the longevity and stability of your bench’s support structure.
At this stage, you will have completed one individual leg base assembly. For this specific bench design, you will need to build a total of three such leg base assemblies, ensuring they are identical for consistent support and aesthetic appeal.
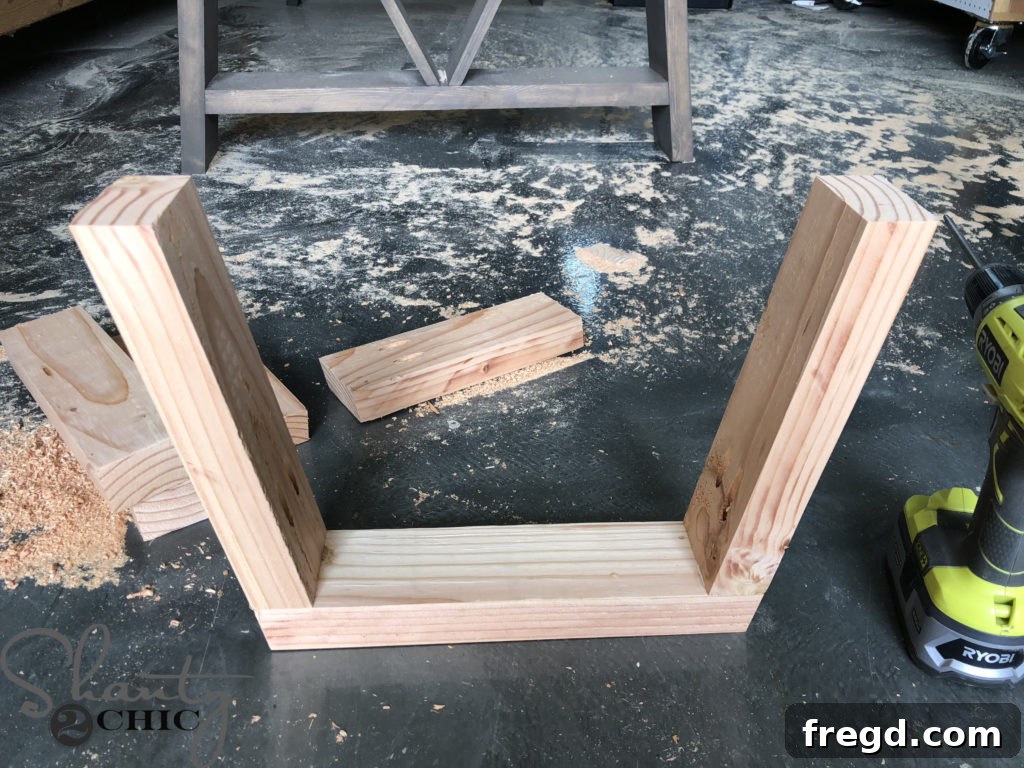
Step 7: Adding Runners for Enhanced Stability and Design
To further reinforce the leg bases and complete their structure, we’ll add leg runners. These pieces connect the lower sections of the legs, significantly increasing the rigidity and preventing any lateral movement. Cut three leg runners to the precise size indicated in your plans. Then, drill 1 1/2-inch pocket holes on the bottom ends of each runner. Position these runners 1 inch from the very bottom of the legs, aligning them carefully. Secure them to the legs using 2 1/2-inch pocket hole screws and a good application of wood glue. An important detail here: ensure your pocket holes on these runners are facing downwards, towards the floor. This keeps them discreet and maintains the clean lines of the design. Once attached, you will have a fully assembled and incredibly sturdy leg base unit.
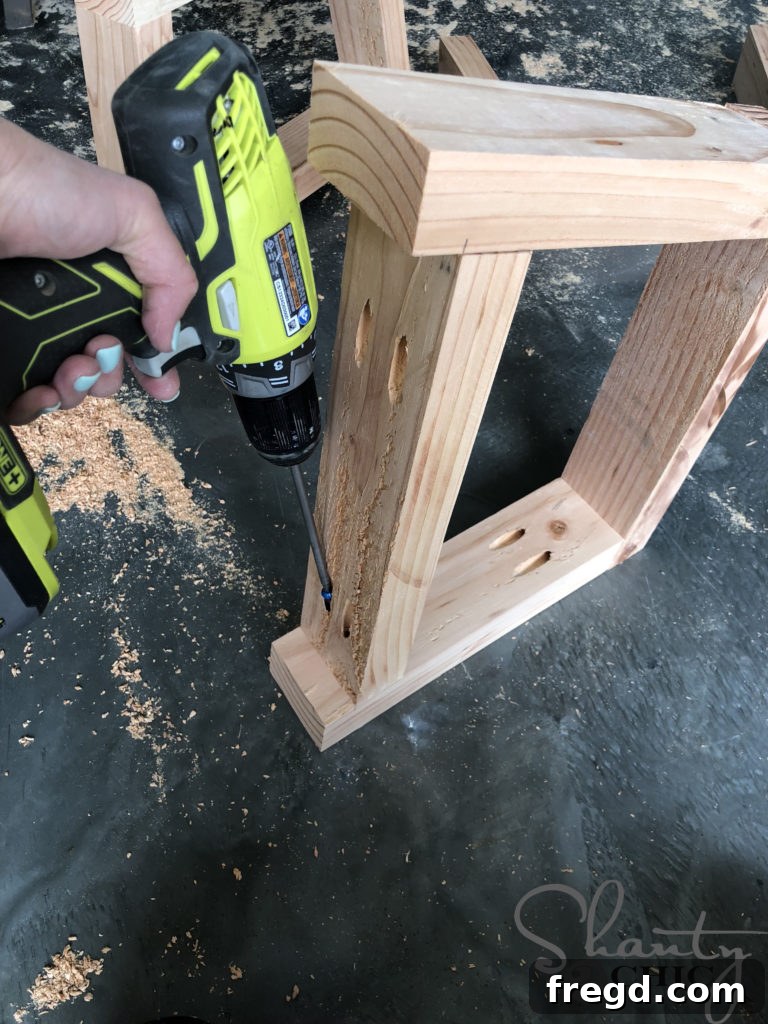
With this step, each individual leg base assembly is now complete and rock-solid. The next phase involves connecting these three bases together to form the complete foundational structure for your bench.
Step 8: Preparing the Long Runners
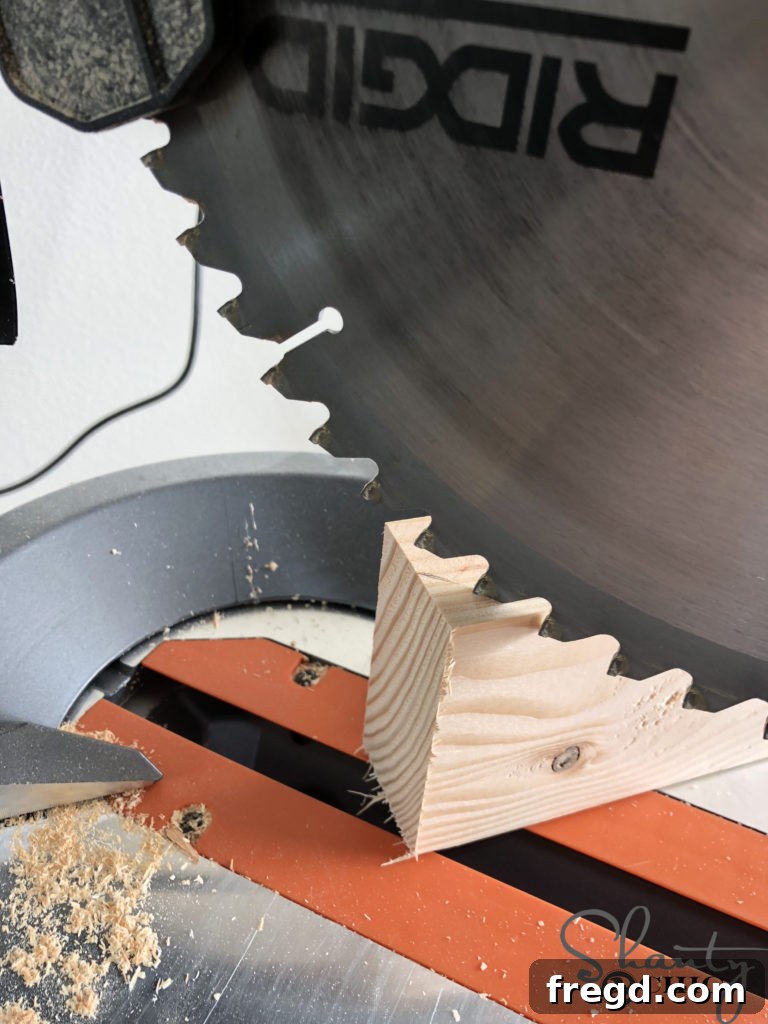
The long runners serve as the horizontal connections that unite the three individual leg base assemblies into one cohesive unit, providing the overall length and stability for the bench. Precisely cut these long runners to the specified dimensions in your plans. As with all cuts, accuracy ensures a well-aligned and sturdy final product. These pieces are essential for distributing weight evenly and preventing any sag or wobble in the finished bench.
Step 9: Uniting the Leg Bases with the Long Runners
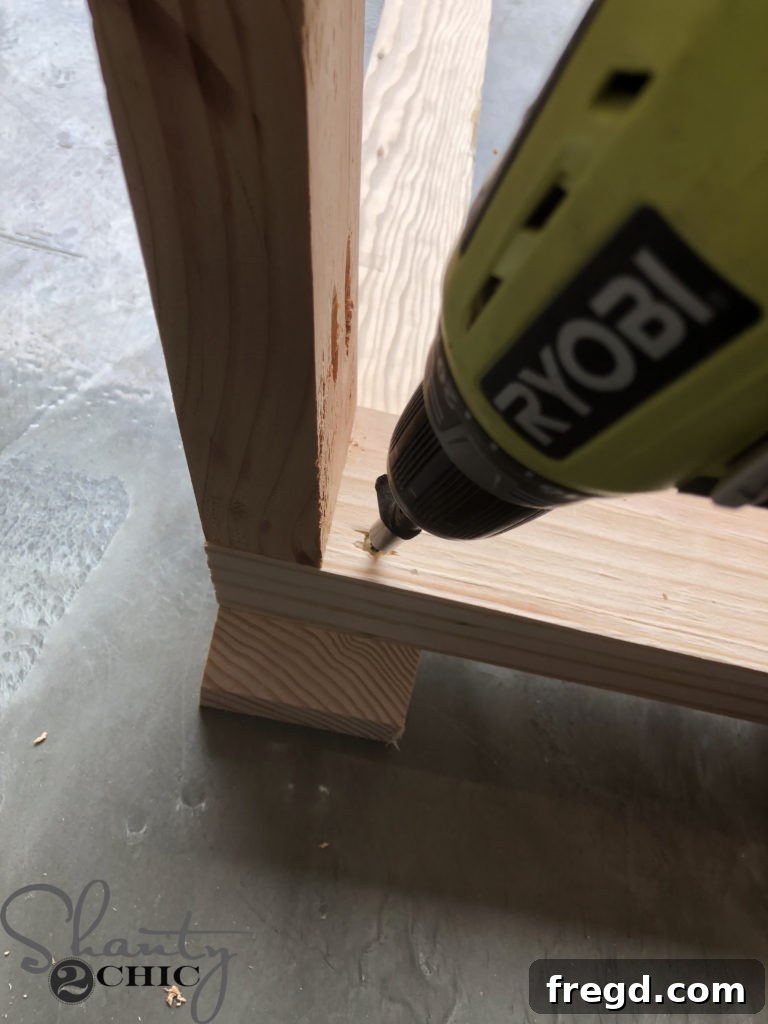
This step brings the entire base structure together. Lay the long runners upside down on your workspace. Carefully position the three completed leg base assemblies on top of these long runners. Pay close attention to the placement of the leg bases on the long runners – your detailed plans will guide you precisely where each base should be located to achieve the correct overall bench dimensions and aesthetic balance. Once properly positioned, secure the leg bases to the long runners using 2 1/2-inch wood screws. Drive the screws from the leg bases upwards and into the long runners. Ensure all connections are tight and secure, creating a robust and stable foundation that will support the bench top effortlessly.
Step 10: Final Assembly – Attaching the Bench Top to the Base
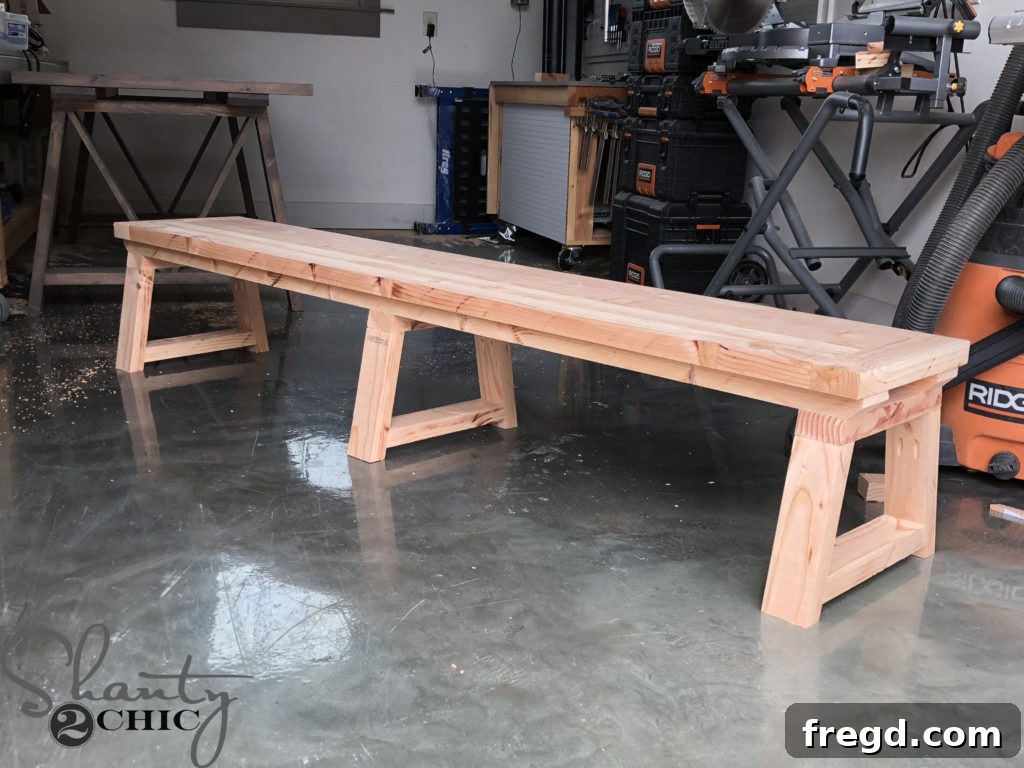
With your robust leg base assembly complete, it’s time for the grand finale: attaching the beautifully crafted planked top. Carefully center the planked top onto the leg base assembly. Precision here is key to ensuring an even overhang on all sides and a visually balanced piece. Once aligned, use 2 1/2-inch wood screws to attach the top to the base. Drive the screws from the long runners upwards and into the underside of the planked top. Refer to your plans for the proper placement and spacing of these screws to ensure maximum stability and to prevent any show-through on the top surface. With the top securely fastened, your DIY Fancy V Dining Bench is now fully constructed and ready for its finishing touches!
Finishing Touches: Staining, Sealing, and Decorating Your Bench
Your magnificent DIY Fancy V Dining Bench is structurally complete and now stands ready for the transformation that will bring out its character and protect it for years to come. The finishing process is where you truly personalize your piece, enhancing the natural beauty of the wood and matching it to your home’s aesthetic. We opted for a classic yet striking combination to highlight the farmhouse charm of this bench.
First, we applied a single, even coat of stain. The choice of stain can dramatically alter the look of your bench, from rich, dark tones to lighter, more rustic hues. We found our preferred stain HERE, which perfectly complements the desired farmhouse feel. Always test your stain on a scrap piece of the same wood to ensure you achieve your desired color before applying it to the entire bench. Apply the stain according to the manufacturer’s instructions, typically wiping it on and then wiping off any excess for a consistent, streak-free finish.
Once the stain has fully dried, it’s crucial to apply a protective finish. This not only safeguards the wood from spills, scratches, and daily wear but also adds a beautiful sheen and depth to the stained surface. We used one coat of our favorite finish, which you can find HERE. A good topcoat will ensure your bench remains a beautiful and functional part of your dining space for many years. Allow ample drying time between coats if applying more than one, and lightly sand with a fine-grit sandpaper between coats for an incredibly smooth finish.
To add an extra layer of detail and charm, we incorporated some decorative nail heads. These subtle accents can elevate the bench’s aesthetic, providing a touch of vintage or industrial flair. We sourced ours from Hobby Lobby, but similar decorative hardware can be found at most craft or home improvement stores. Thoughtfully placed, these nail heads can emphasize the lines of the bench or simply add a unique texture.
Finally, complete your dining room ensemble with an inviting rug. The right rug can anchor your dining area, add warmth, and pull all the elements of your decor together. If you’re curious about the rug featured in our dining room, you can find it HERE. With your DIY Fancy V Dining Bench completed and styled, you’ve not only built a piece of furniture but created a focal point that exudes warmth, craftsmanship, and personalized style.