
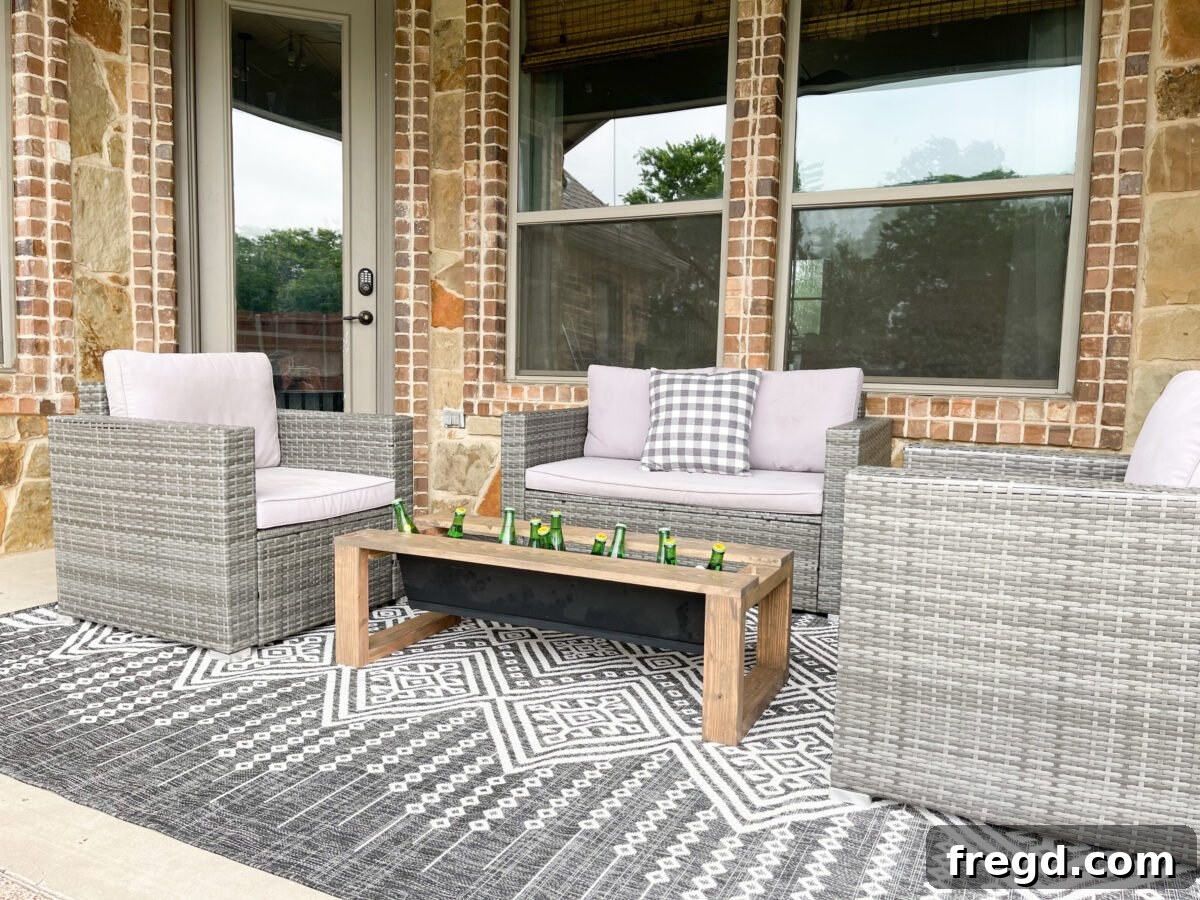
Transform your outdoor living space with a project that combines elegance, practicality, and affordability! Learn how to craft this stylish and incredibly functional DIY Cooler Coffee Table for under $65. With straightforward instructions, a minimal set of tools, and comprehensive free plans from Shanty2Chic in collaboration with KregTool, even beginner woodworkers can achieve stunning results. Imagine long summer days and evenings, with refreshing beverages always within arm’s reach, neatly concealed yet easily accessible. This project isn’t just about building a table; it’s about enhancing your outdoor entertaining experience and adding a personal touch to your patio décor.
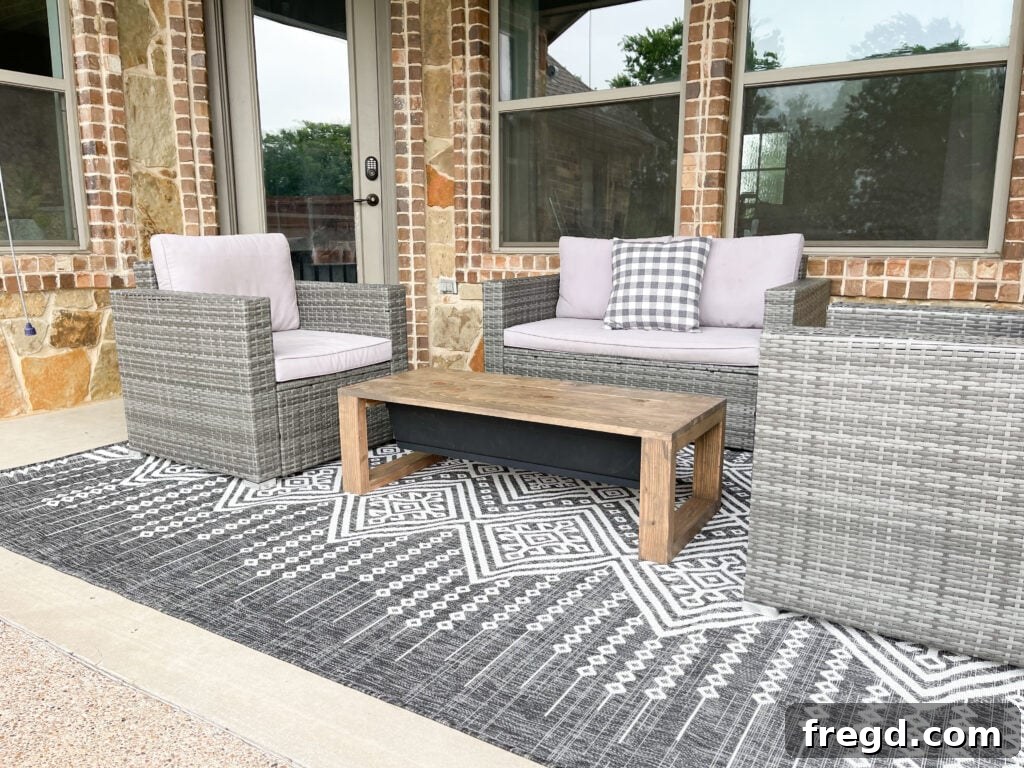
Hello fellow DIY enthusiasts! We’re absolutely thrilled to team up with our incredible friends at KregTool to bring you this fantastic project, just in time to kick off a summer filled with outdoor fun and relaxation. This isn’t just any outdoor coffee table; it’s a game-changer for anyone who loves spending time on their patio or deck.
The dream of having an outdoor coffee table with a built-in cooler has been on my wishlist for ages. My old, store-bought patio table had seen better days, looking quite worn and shabby. Instead of replacing it with another generic option, I saw it as the perfect opportunity to design and build exactly what I wanted—a truly customized piece that blends seamlessly with my outdoor aesthetic. This project allowed me to combine sleek modern design with essential outdoor functionality, proving that you don’t have to sacrifice style for utility.
This DIY Cooler Coffee Table is a prime example of form meeting function in the most delightful way. I adore the clean lines of its modern frame, which perfectly complements my existing outdoor sofa, creating a cohesive and inviting seating area. The contemporary design ensures it looks fantastic as a central piece, while its hidden feature provides unparalleled convenience for all your outdoor gatherings.
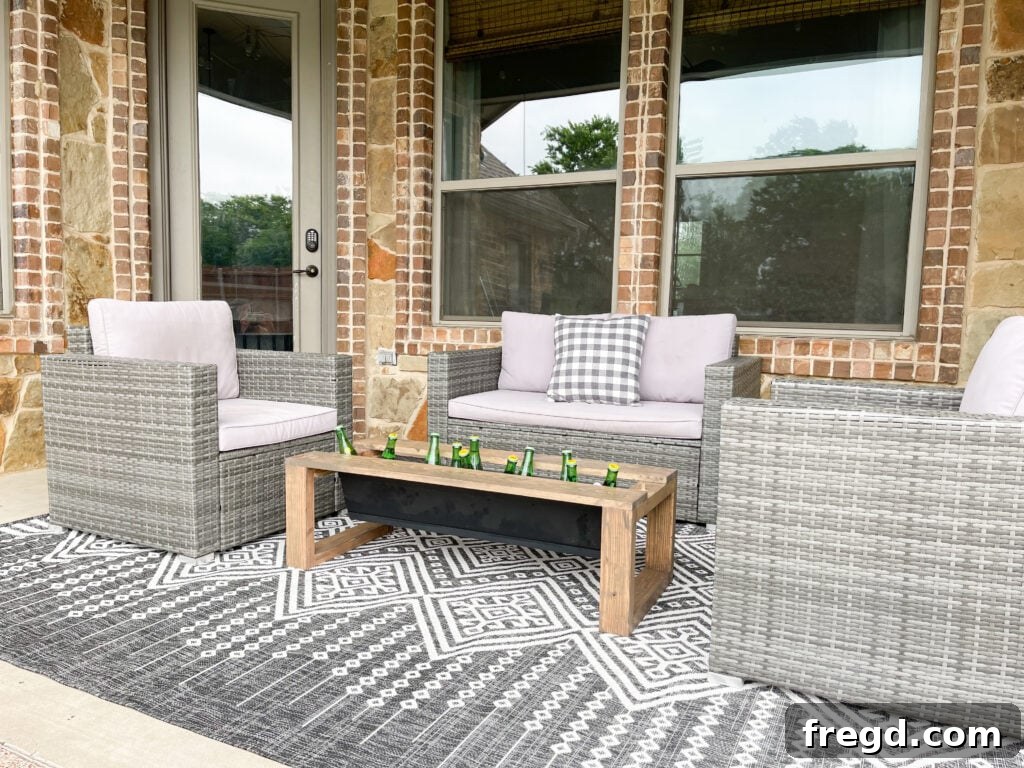
One of the most innovative features of this outdoor coffee table is its cleverly designed tabletop. I specifically engineered the middle pine board on the table top to effortlessly slide up and off of hidden dowels, unveiling a spacious storage compartment beneath. This ingenious design allows you to neatly tuck away a beverage cooler, keeping drinks frosty and within easy reach for you and your guests. No more trips back and forth to the kitchen or unsightly coolers cluttering your patio! When not in use, the sliding top securely covers the compartment, maintaining a sleek and uncluttered appearance.
Despite its sophisticated appearance and smart functionality, this is a remarkably simple build. It’s absolutely perfect for beginners who are eager to dip their toes into woodworking. You won’t need advanced carpentry skills or a workshop full of specialized equipment. With just basic woodworking knowledge and the right guidance, you’ll be able to construct this beautiful and practical piece of patio furniture. The detailed plans and video tutorial break down each step, making the process approachable and enjoyable for everyone.
Ready to bring this fantastic project to life? Join us in Whitney’s workshop as we guide you through every step of the construction process. Building alongside us is the best way to ensure success, and we’ve made it as easy as possible to follow along. Simply click the play button below to access the comprehensive how-to video tutorial, where you’ll get visual instructions and helpful tips that complement the written plans.
For those who prefer a printed guide or want to meticulously review all the measurements and cut lists, we’ve got you covered. You can find the free printable plans here! These plans are meticulously detailed, ensuring that you have all the information you need right at your fingertips to make this DIY outdoor cooler coffee table a reality for your home.
How to Build Your Own DIY Cooler Table: A Step-by-Step Guide
Building your own furniture is incredibly rewarding, and this DIY cooler table project is designed to be accessible and fun. To ensure a smooth and successful build, having the right tools and materials is key. Below is a detailed list of everything you’ll need to get started on your journey to creating the ultimate outdoor coffee table.
Essential Tools for This Project:
Equipping yourself with the proper tools will make this woodworking project not only easier but also more enjoyable. Here are the tools recommended for building your DIY Cooler Coffee Table:
- Miter Saw: A miter saw is invaluable for making precise, clean crosscuts and angled cuts on your lumber, ensuring all your pieces fit together perfectly for a professional finish.
- Kreg Jig: This is the secret weapon for strong, concealed joints. A Kreg Jig allows you to create incredibly strong pocket hole joints quickly and efficiently, essential for assembling the table’s frame without visible screws.
- Drill: An indispensable tool for any DIY project, your drill will be used for driving pocket hole screws, pre-drilling holes, and fitting various attachments.
- Brad Nailer: Perfect for attaching the smaller, more delicate pieces, like the tabletop slats, with minimal fuss and tiny, almost invisible nail heads.
- 1/2″ Drill Bit: Specifically needed for drilling the holes that will accommodate the dowels, allowing the tabletop to slide smoothly.
- Sander: A sander, whether orbital or block, is crucial for smoothing out any rough edges and preparing your wood for a flawless finish, ensuring comfort and aesthetics.
- Kreg Drilling Guide: This specialized guide assists in accurately drilling pocket holes, particularly useful when working in tight spaces or needing consistent hole placement.
- Kreg 90° Pocket Hole Driver: An angled driver can be incredibly handy for reaching pocket holes in confined areas, making assembly much easier.
- Kreg Quick Flip: This innovative tool allows you to quickly switch between drilling pilot holes and driving screws, streamlining the assembly process.
- Kreg Project Blocks: These versatile blocks provide stable support for your workpieces, making clamping and assembly more secure and convenient.
Required Supplies:
Selecting the right materials is just as important as having the right tools. Here’s a list of the lumber and hardware you’ll need to purchase for your DIY Cooler Coffee Table:
- 2 – 1x8x8 Pine or Common Board: These boards will form the beautiful top and structural elements, chosen for their workability and attractive grain.
- 2 – 2x4x8 Framing Lumber: Sturdy 2x4s will create the robust frame and legs, providing the necessary strength and stability for your outdoor table.
- 1/2″x36″ Square Dowel: Used in the unique sliding top mechanism, providing guides for smooth operation.
- 1/2″x36″ Round Dowel: Essential for the sliding feature of the tabletop, acting as pins for the removable central board.
- 2 1/2″ Pocket Hole Screws: Specifically designed for pocket hole joinery, these screws create strong, lasting connections within the table’s frame.
- 1 1/4″ Brad Nails: Perfect for securing the tabletop slats and other smaller components, leaving minimal marks.
- Wood Glue: A crucial adhesive that, when combined with screws or nails, significantly increases the strength and durability of your joints.
- 36″ Planter Box: This item will serve as your hidden cooler insert. Ensure it’s waterproof and fits the dimensions specified in the plans to function as intended.
I genuinely couldn’t be happier with how this Patio Cooler Table turned out! It not only elevated the style of my patio, making it feel more “cool,” but it also keeps my drinks *literally* cooler – a perfect double entendre! This piece truly adds a unique character to my outdoor seating area, making it a focal point for both beauty and utility. The hidden cooler compartment is a standout feature, but its versatility doesn’t end there. Imagine using that space for a beautiful planter box, showcasing vibrant flowers or lush greenery, transforming your outdoor entertaining space into an oasis. Or, if you ever decide to bring this stunning piece indoors, it could easily serve as a stylish storage solution in your living room, perhaps for blankets or magazines. The possibilities for customization and function are truly endless!
To access the complete instructions, download the free printable plans, and watch their incredibly detailed how-to video, make sure to head over to the KregTool website and their YouTube Channel. They provide all the resources you need to confidently embark on this project and achieve a professional-looking result.
Happy Building, and enjoy your new favorite piece of outdoor furniture!
Discover More DIY Outdoor Projects and Plans!
If you’ve enjoyed building this DIY Cooler Coffee Table, or if you’re looking for more ways to enhance your outdoor living space, we invite you to explore some of our other popular outdoor plans. These projects are designed with the same principles of affordability, ease of build, and stylish results, perfect for transforming your backyard into a personalized retreat.
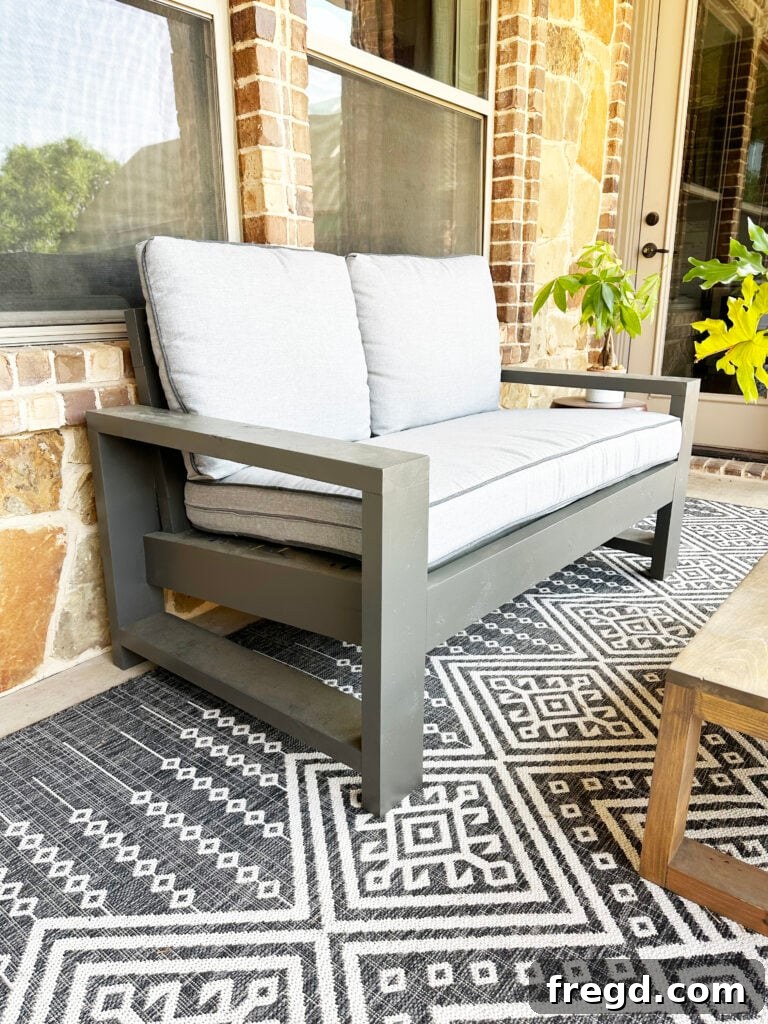
DIY Outdoor Sofa: Create a comfortable and inviting seating area with our incredibly affordable DIY outdoor sofa plans. This project will teach you how to build sturdy and stylish seating for a fraction of the cost of store-bought alternatives, perfect for lounging and entertaining.
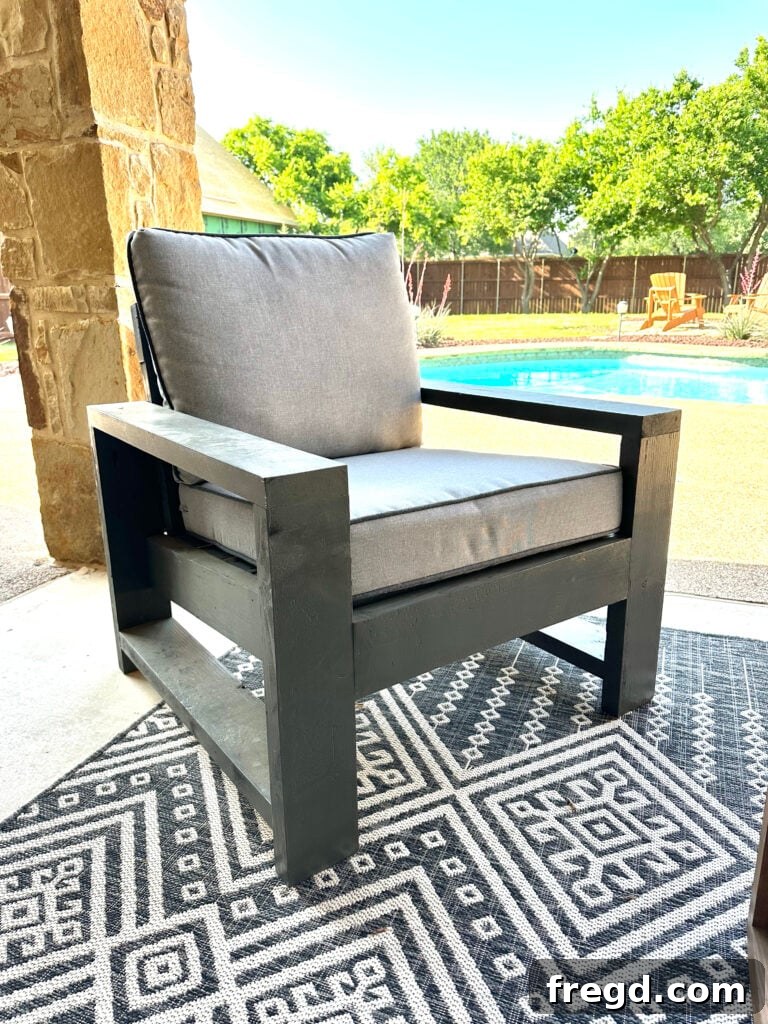
DIY Outdoor Chair: Complement your outdoor sofa or create a cozy reading nook with our easy-to-follow guide on how to build an individual outdoor chair. These chairs are durable, comfortable, and can be customized with your choice of cushions and finishes.
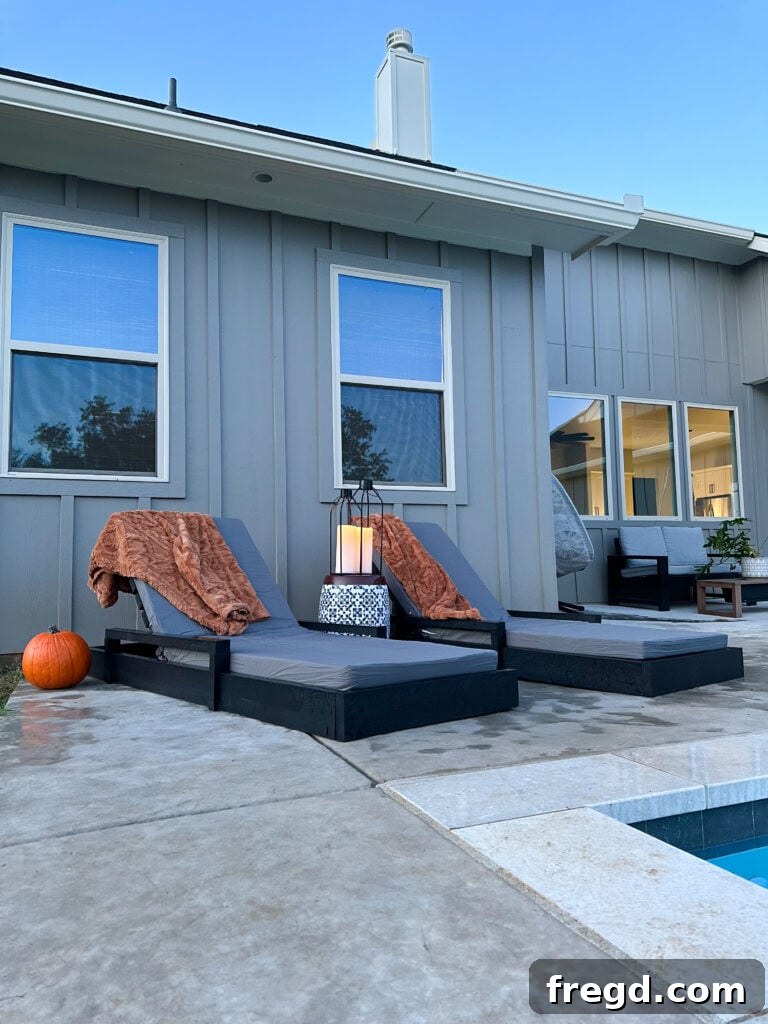
Modern Outdoor Lounge Chair: For ultimate relaxation, consider building this sleek and comfortable modern outdoor lounge chair. Perfect for sunbathing or unwinding with a good book, this project adds a touch of resort-style luxury to your patio.
Don’t stop there! Dive into our extensive collection of over 15 free DIY Coffee Table Designs. Whether you’re looking for indoor elegance or more outdoor functionality, you’ll find a project that inspires your next build and helps you create a truly custom home environment.