
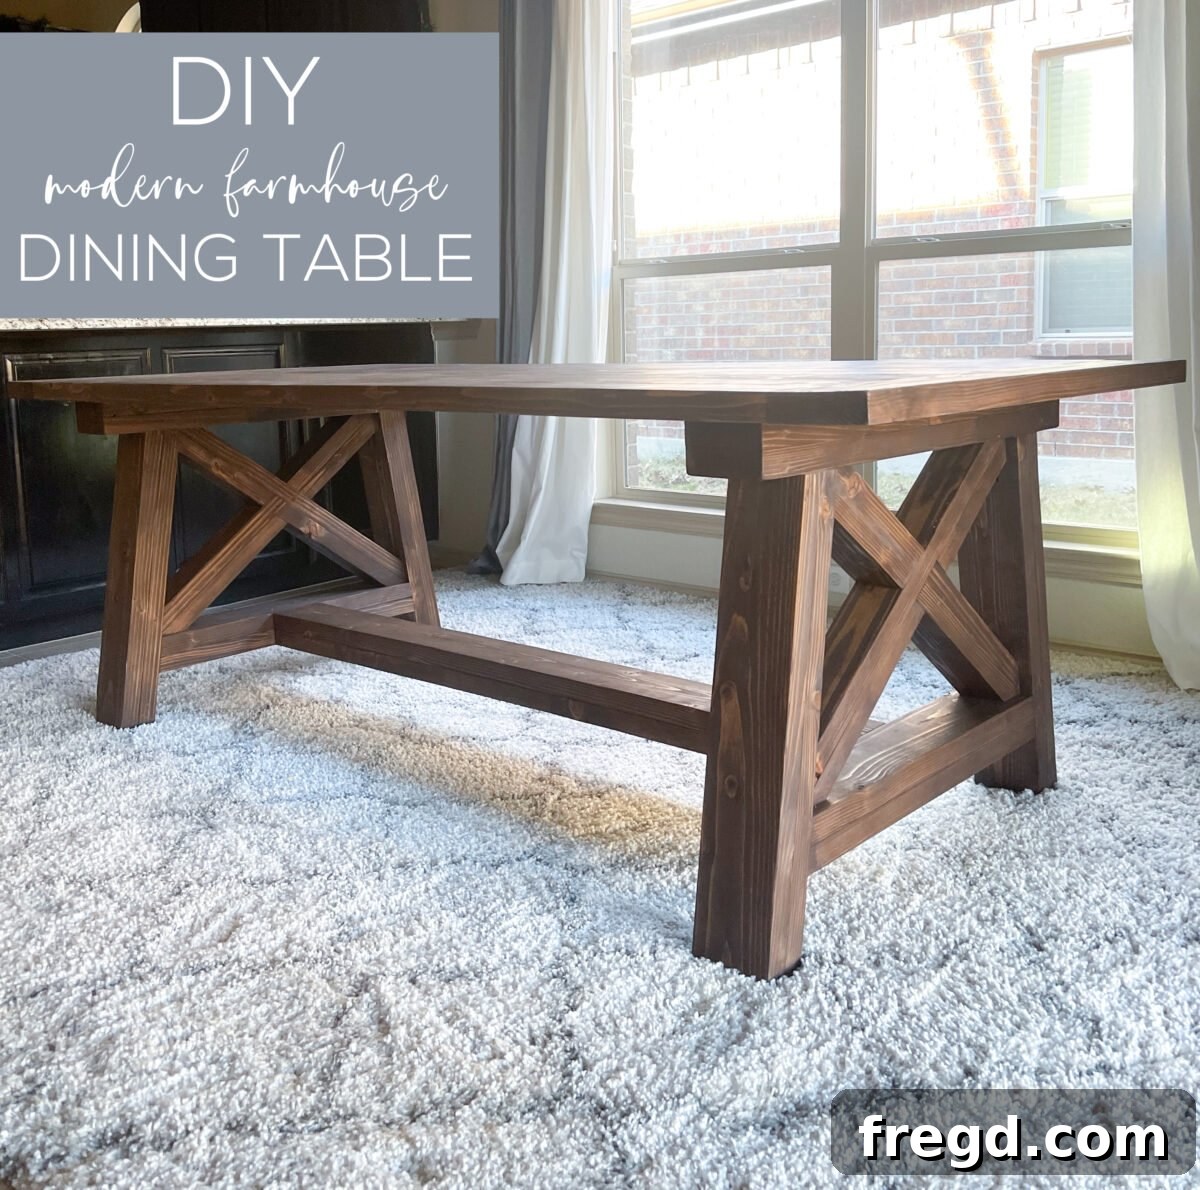
Build Your Dream DIY Farmhouse X-Base Dining Table: Free Plans & Step-by-Step Guide
Transform your dining space with a beautiful, custom-built X-base dining table, perfect for achieving that coveted rustic or modern farmhouse aesthetic. This comprehensive guide provides everything you need to know, from selecting materials to applying the final finish, along with free plans to make your woodworking journey smooth and rewarding.
Imagine gathering around a table you built with your own hands – a centerpiece designed to host cherished family meals, lively conversations, and countless memories. This project isn’t just about building a piece of furniture; it’s about crafting a focal point for your home that radiates warmth and character. I recently had the pleasure of building one for a dear friend, a foster mother who needed a spacious table to comfortably seat her growing family and the beautiful children she cares for. The result was a stunning, durable table that perfectly fit her home and heart.
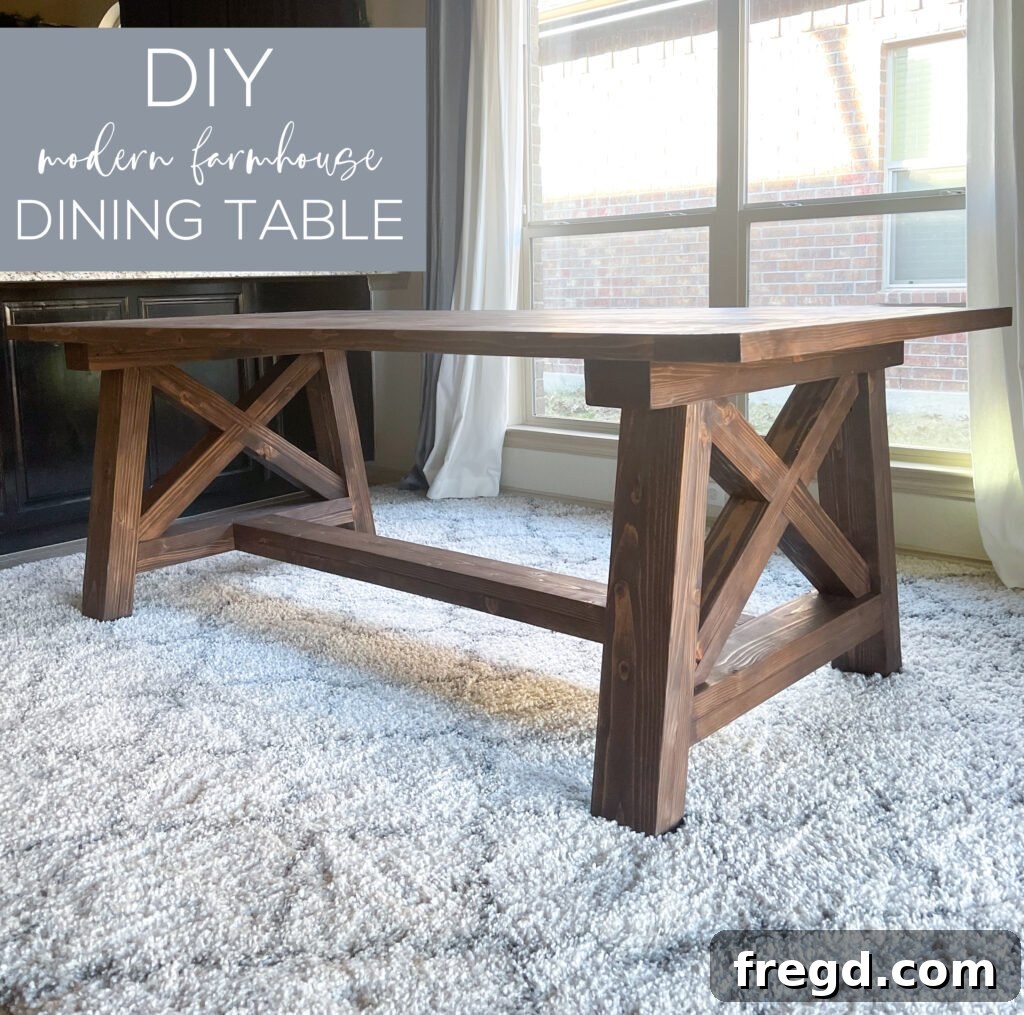
The beauty of this design lies in its simplicity and strength. Requiring primarily 19 standard 2×6 boards, this project is surprisingly approachable for intermediate DIYers and even ambitious beginners. You’ll find the free, detailed plans at the bottom of this post, and I’ll walk you through every step of the construction process here. Let’s dive in and create a stunning farmhouse X-base dining table that will serve your family for years to come!
Why Build Your Own Farmhouse X-Base Dining Table?
Choosing to build your own dining table offers a multitude of advantages over buying a pre-made one:
- Customization: You dictate the dimensions, allowing you to perfectly fit your space and seating needs. From a cozy four-seater to an expansive table for large gatherings, the power is in your hands.
- Cost Savings: High-quality solid wood dining tables can be expensive. Building it yourself significantly reduces material costs, offering exceptional value.
- Unmatched Durability: By using solid lumber and robust joinery techniques like pocket holes, you’ll create a table that’s built to last for generations, far surpassing the quality of many mass-produced alternatives.
- Personalized Style: Achieve the exact rustic, farmhouse, or even modern industrial look you desire through your choice of wood, stain, and finish.
- Sense of Accomplishment: There’s immense satisfaction in looking at a beautiful, functional piece of furniture and knowing you crafted it with your own hands.
Materials and Tools You’ll Need for This Woodworking Project
Before you start cutting, ensure you have all your materials and tools ready. Planning ahead saves time and prevents frustration during the build.
Essential Materials:
- Lumber: Approximately 19 standard 2×6 boards. It’s crucial to select straight, knot-free boards to ensure a flat tabletop and sturdy base. Consider purchasing a few extra in case of mistakes or to allow for optimal board selection.
- Wood Glue: High-quality wood glue is essential for strong, lasting joints.
- Pocket Hole Screws:
- 1.5″ pocket hole screws (for joining narrower sections and creating pocket holes).
- 2.5″ pocket hole screws (for joining thicker sections like the tabletop planks and leg assemblies).
- Wood Screws:
- 2.5″ wood screws (for laminating boards and reinforcing joints).
- 4″ wood screws (for attaching leg assemblies to the tabletop for maximum stability).
- Finish Nails: 2″ finish nails (for securing the X-bracing discreetly).
- Wood Stain & Sealer: (e.g., Varathane Dark Walnut, as used in this project) Choose a color that complements your home decor, and a durable topcoat for protection.
Key Tools:
- Table Saw: Absolutely crucial for ripping the 2×6 boards down to precise widths (5″ and 4″). Safety is paramount when using a table saw.
- Miter Saw: For making accurate crosscuts and the 10° angled cuts required for the X-base legs and supports.
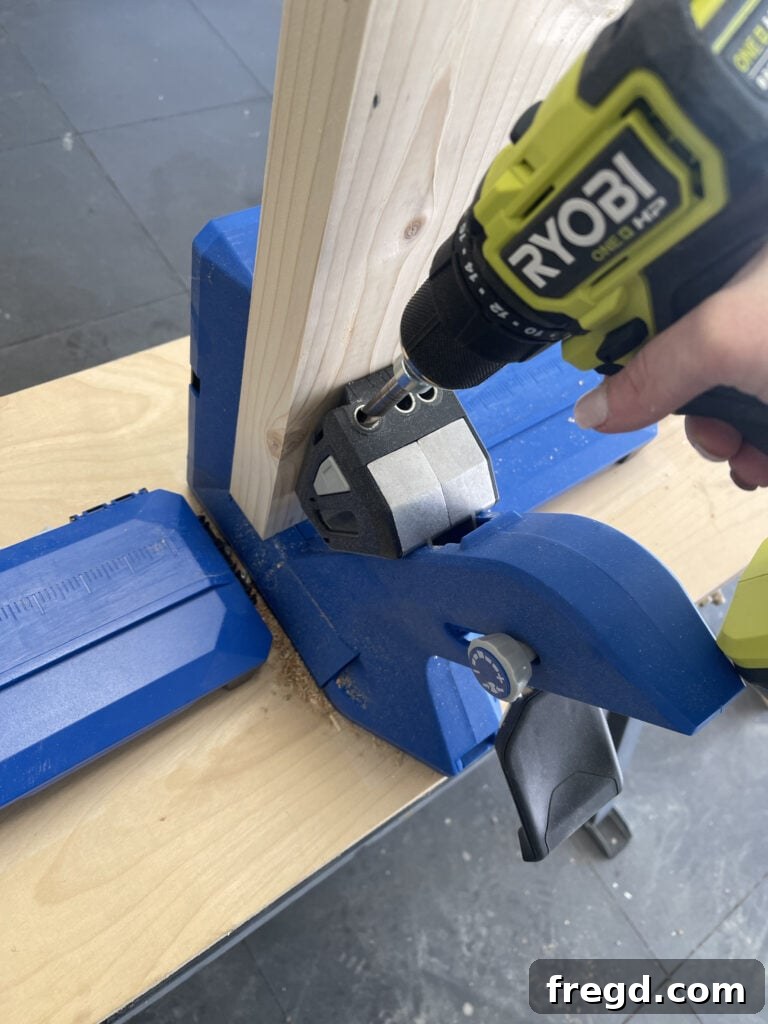
- Kreg Jig (e.g., 720Pro): This tool is central to the project, making strong, concealed joints. The Kreg Jig 720Pro is an excellent upgrade for its ease of use and clamping mechanism.
- Drill/Driver: For drilling pocket holes and driving screws.
- Wood Clamps: You cannot have enough clamps! Parallel clamps, F-clamps, and C-clamps will all be invaluable for holding pieces together while glue dries and screws are driven.
- Measuring Tape, Pencil, and Carpenter’s Square: For accurate measurements and markings.
- Orbital Sander & Sandpaper: For smoothing surfaces and preparing for finish.
- Safety Gear: Safety glasses, hearing protection, and dust mask are non-negotiable.
Step-by-Step Guide: Building Your DIY X-Base Dining Table
Follow these detailed steps carefully, and you’ll be enjoying your handcrafted dining table in no time. Remember to consult the free plans for exact measurements and cutting diagrams.
Step 1: Preparing Your Lumber for the Tabletop and Base Components
Begin by ripping your 2×6 boards. Most of the table components, including the tabletop planks, legs, and horizontal supports, will require 5″ wide boards. The decorative X-bracing will be cut from 4″ wide boards. Use a table saw for precise and consistent ripping. Always ensure your saw is properly calibrated and use push sticks for safety.
Step 2: Constructing the Sturdy Tabletop
The tabletop forms the heart of your dining table. It will be assembled from several 2×6 boards, ripped down to 5″ wide. For strong and invisible joinery, we’ll rely on pocket holes.
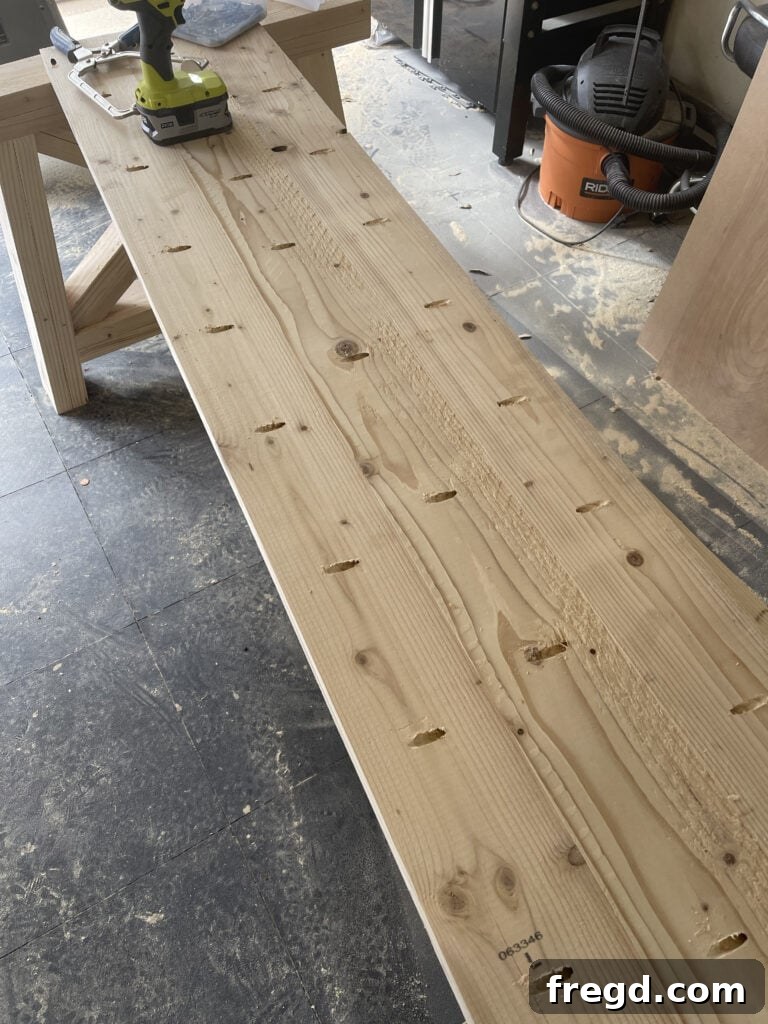
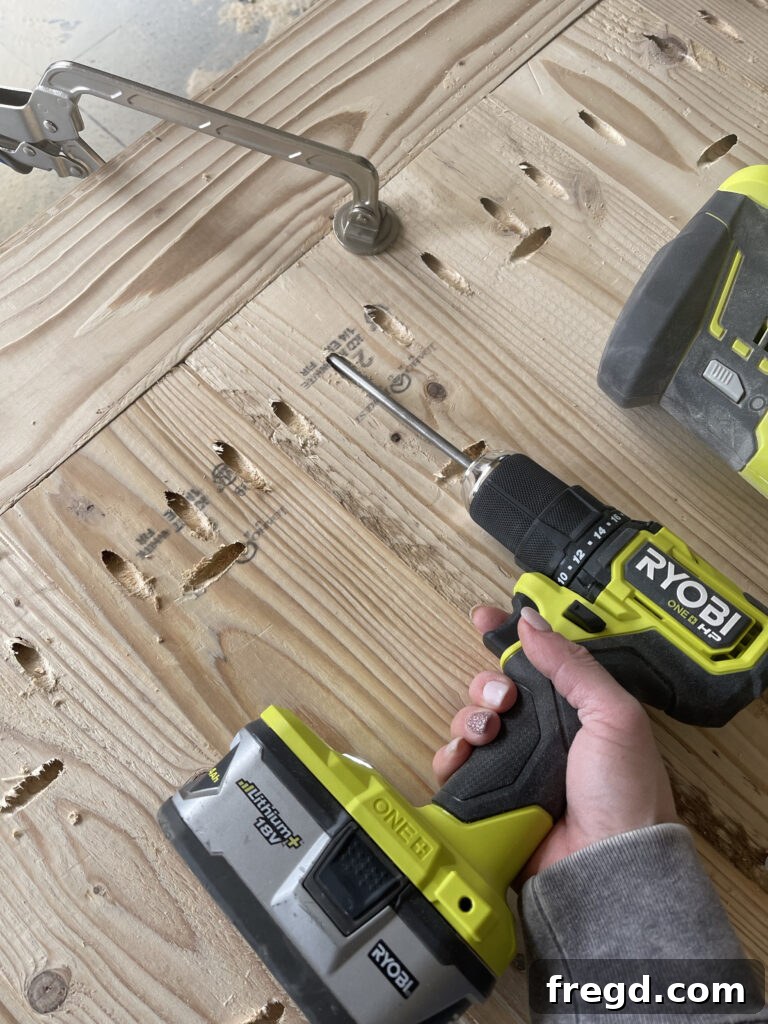
- Drill Pocket Holes: Using your Kreg Jig, drill 1.5″ pocket holes along one long edge of all but one of your tabletop plank boards. Also, drill pocket holes at the ends of each plank board. These end pocket holes are for attaching the breadboards later.
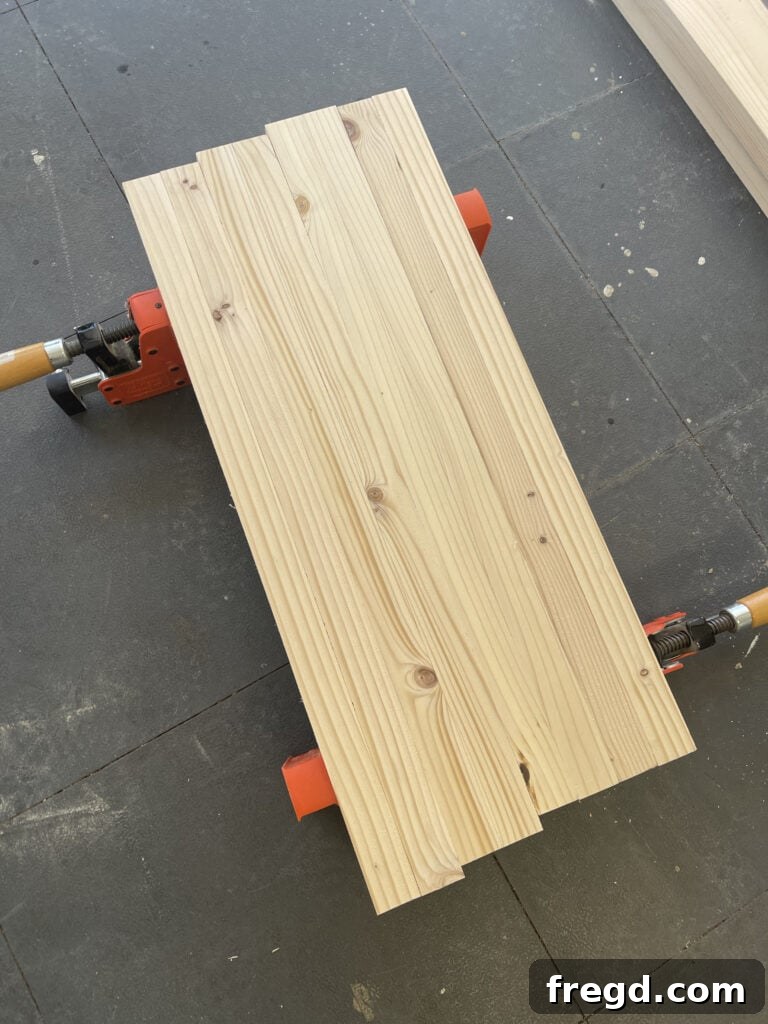
- Join the Planks: Lay out your ripped plank boards. Apply a generous bead of wood glue along the edges to be joined. Use 2.5″ pocket hole screws to firmly attach the planks together, ensuring they are flush on the top surface. Use plenty of clamps to hold the boards tightly while the glue dries and screws are driven.
- Attach the Breadboards: Once the main tabletop planks are joined and the glue has dried, measure and mark the exact length for your breadboards. These end pieces add a finished look and help prevent warping. Apply wood glue to the ends of the tabletop planks and align the breadboards. Secure them with 2.5″ pocket hole screws through the pre-drilled pocket holes on the ends of the planks into the breadboards. Ensure all surfaces are flush for a seamless finish.
Step 3: Crafting the X-Base Legs
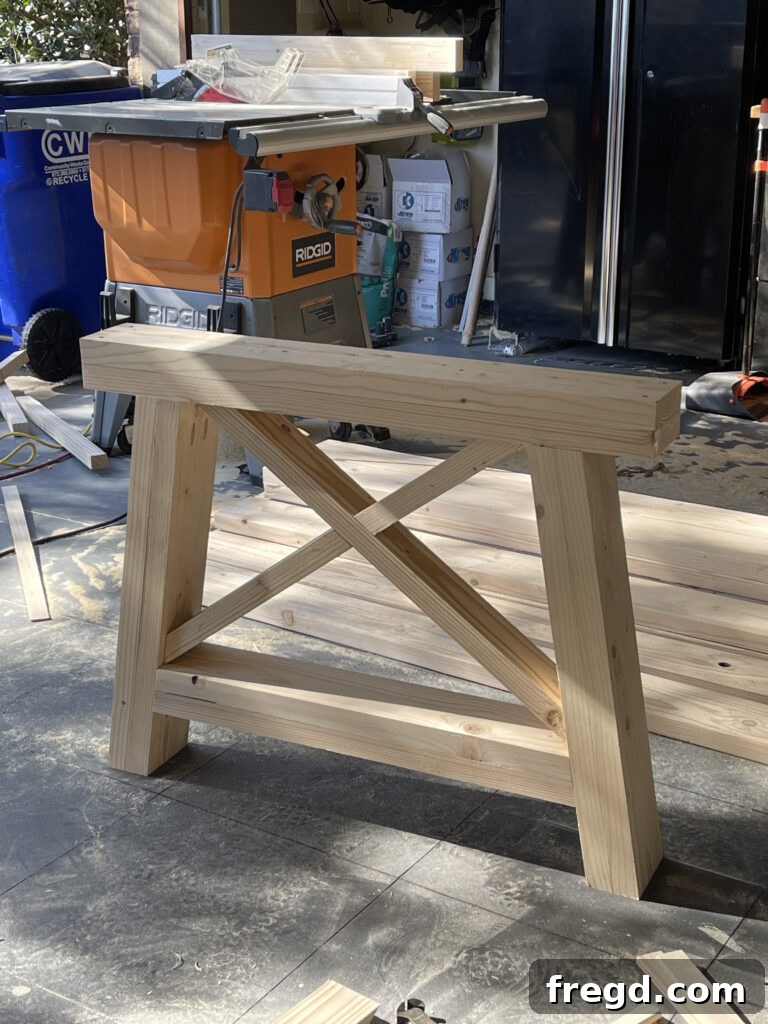
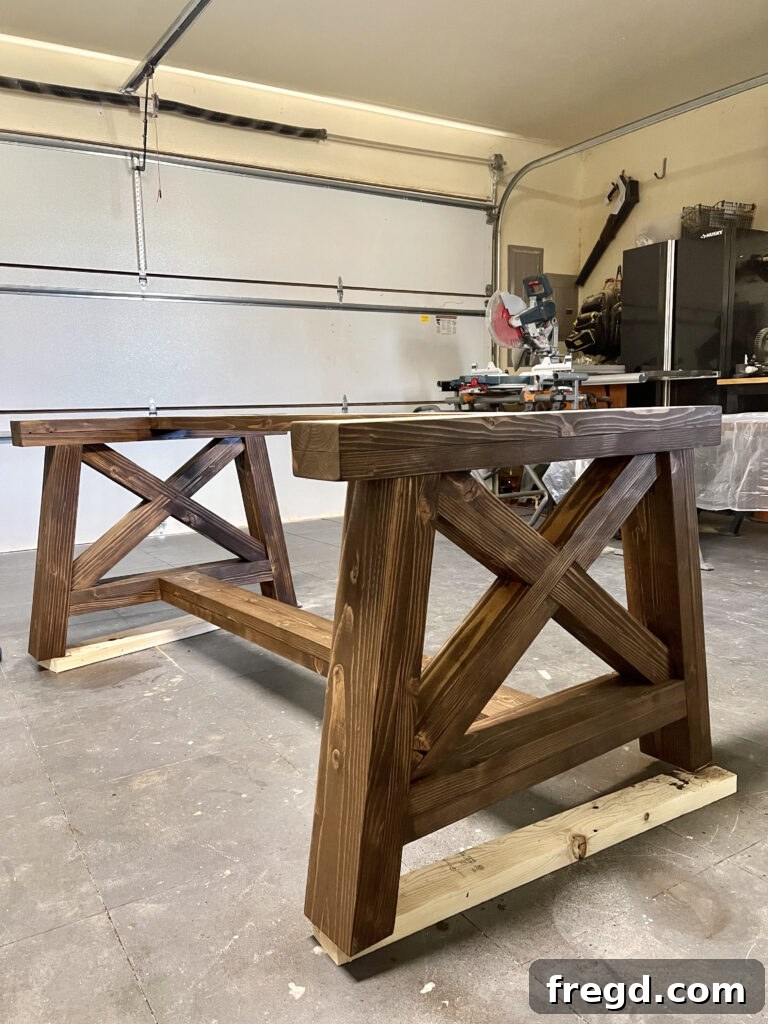
The X-base legs are the signature feature of this table. You will create two identical leg assemblies.
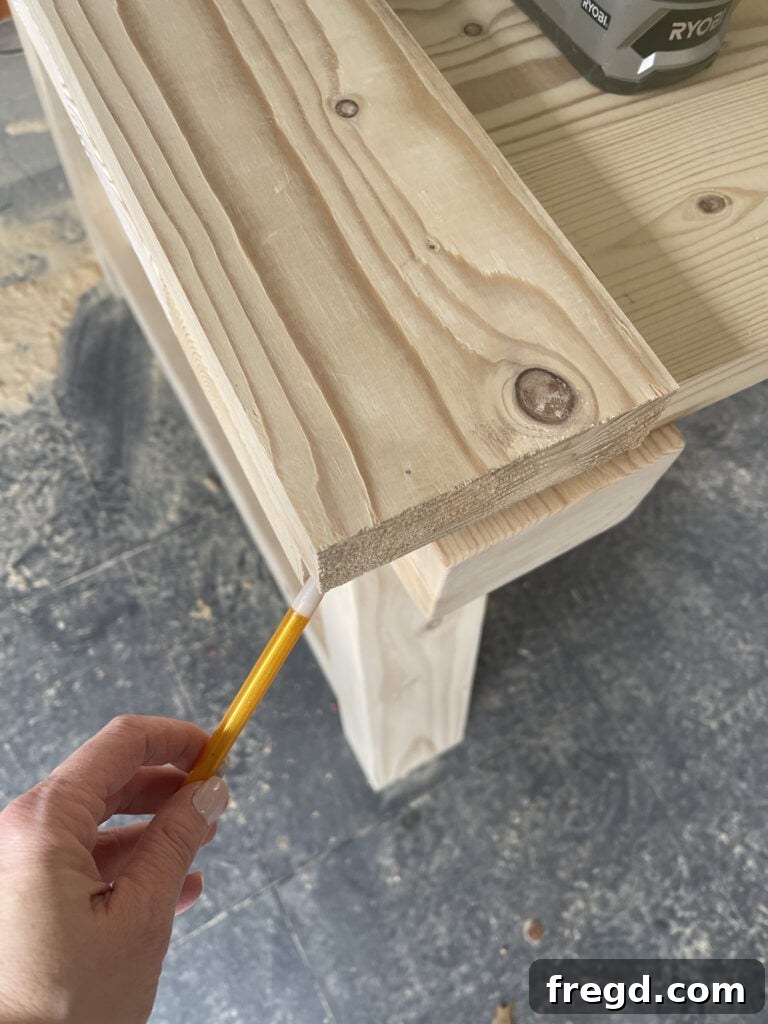
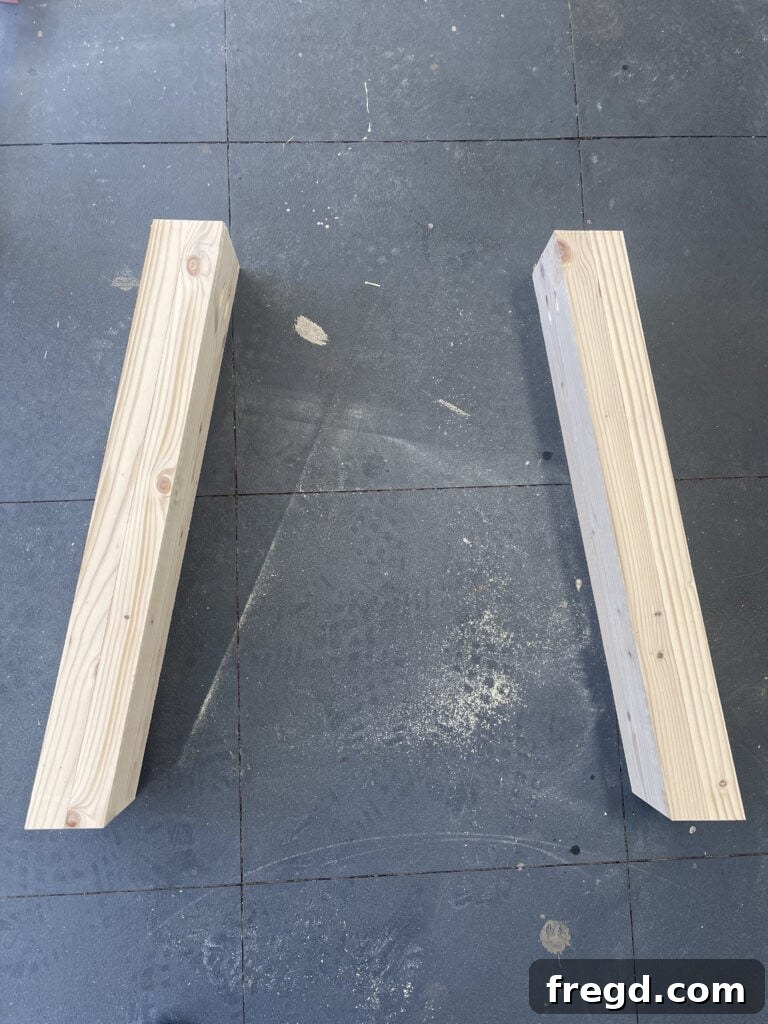
- Cut Leg Pieces: Rip 2×6 boards down to 5″ wide. Cut these boards to the specified length, ensuring each end is cut at a precise 10° angle. Accuracy here is key for the legs to sit correctly.
- Drill Pocket Holes: On one end of one board for each leg, drill 1.5″ pocket holes. These pocket holes will be strategically placed on the inside and top edges of each leg for later attachment to the horizontal supports. Pay attention to orientation before drilling.
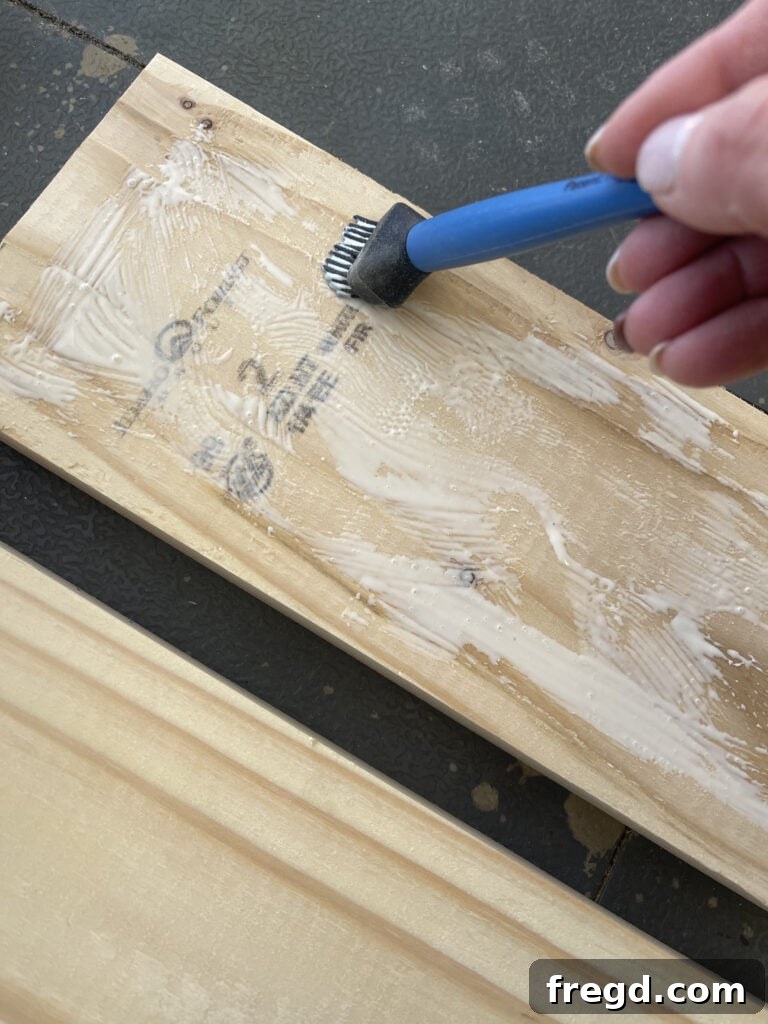
- Assemble Legs: Each leg will consist of two 5″ wide boards glued together. Apply wood glue generously to the mating surfaces. Clamp them tightly together, ensuring all ends are flush, and allow ample time for the glue to set and dry completely. You will construct four individual leg components, which will later be integrated into two X-base assemblies.
Step 4: Assembling the Top Horizontal Supports for the Leg Assemblies
These supports provide a sturdy connection point for the legs and eventually for the tabletop.
- Prepare Boards: Rip 2×6 boards to 5″ wide and cut them to the correct length as per the plans.
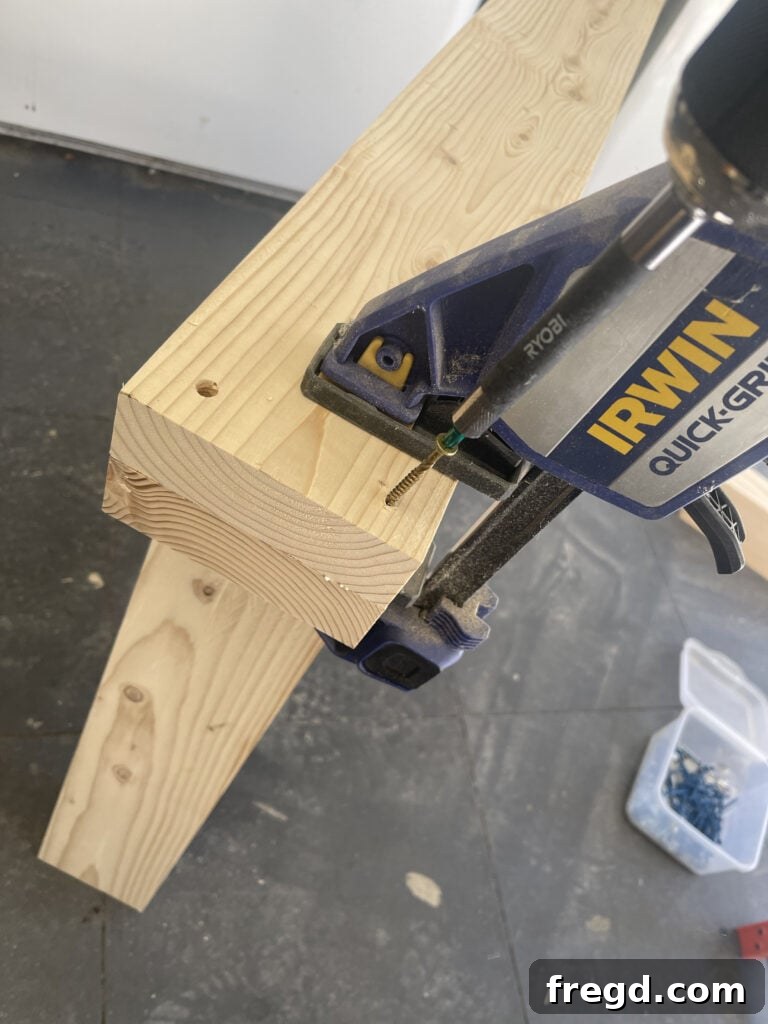
- Laminate Supports: You will create two laminated horizontal support pieces, one for each leg assembly. Apply wood glue between two of these boards and clamp them together. For added strength, drive 2.5″ wood screws through the top board into the bottom board. These screws will be concealed by the tabletop, so aesthetics are less of a concern here than strength. Ensure all ends remain flush during this process.
Step 5: Joining the Legs to the Top Horizontal Supports
Now, connect your individual leg components to the top horizontal supports to begin forming the X-base assemblies.
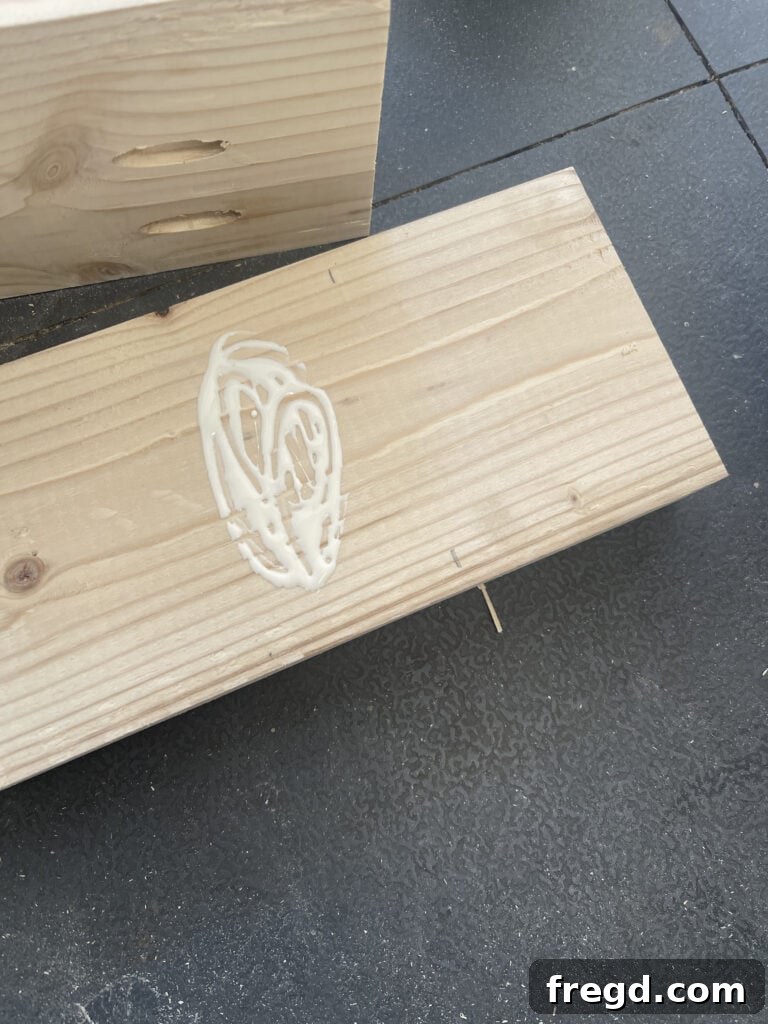
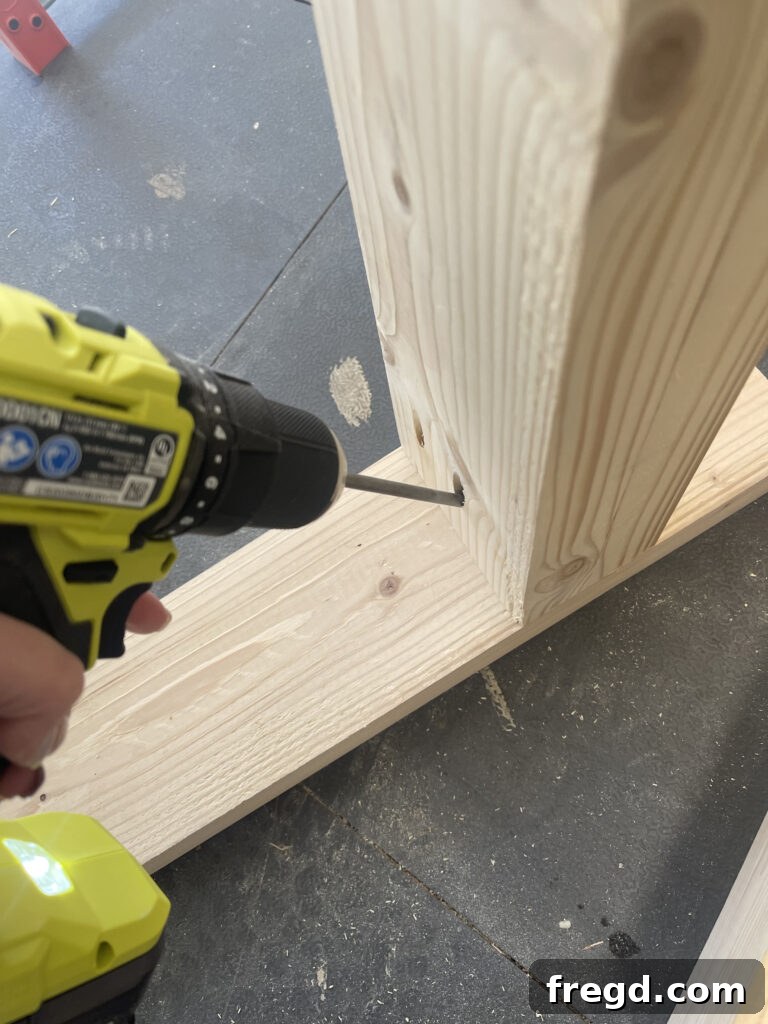
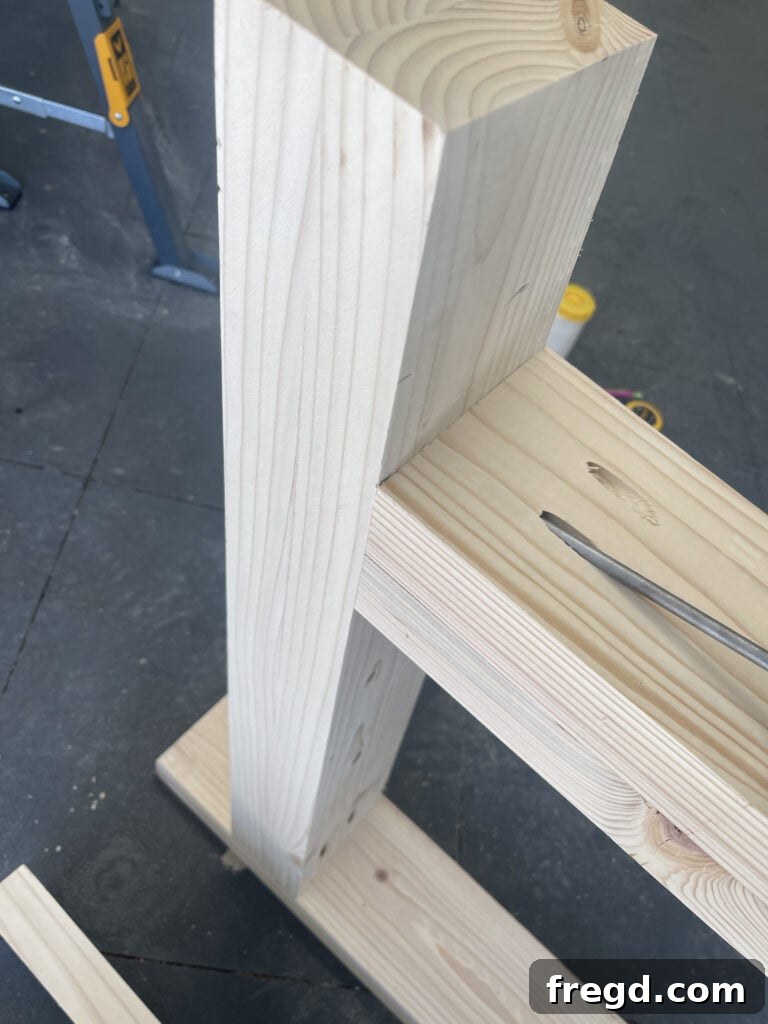
- Attach Legs: Apply wood glue to the mating surfaces. Align the pocket holes on each leg with the horizontal support boards. Secure them firmly using 2.5″ pocket hole screws.
- Reinforce Connection: For maximum stability, drive long 4″ wood screws down through the top of the horizontal support boards and into each leg. This creates an incredibly strong joint, crucial for the table’s overall robustness.
Step 6: Building and Attaching the Bottom Horizontal Supports
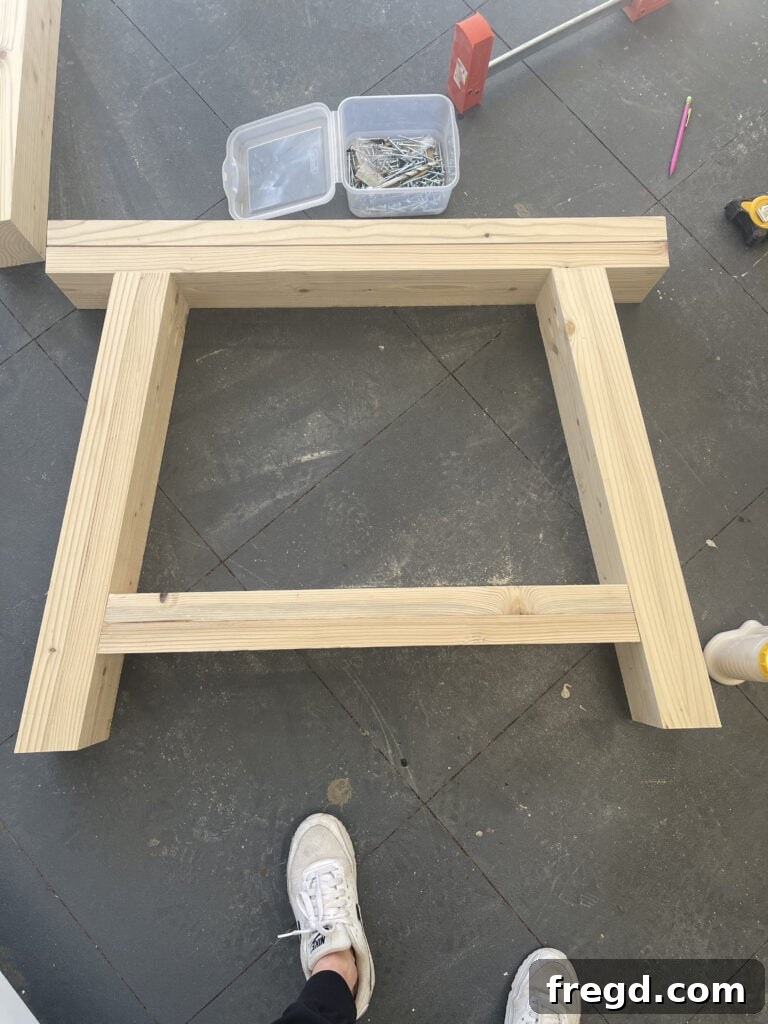
These supports mirror the top ones, adding stability and completing the frame for your X-bracing.
- Prepare Boards: Rip 2×6 boards to 5″ wide and cut them to the specified length, with each end cut at a 10° angle.
- Laminate Supports: Drill 1.5″ pocket holes into the bottom longer boards. Apply wood glue to the mating surfaces of the top and bottom boards for each support. Drive 2.5″ wood screws through the bottom board into the top board to create strong, laminated pieces.
- Attach to Legs: Apply wood glue to the ends of the laminated bottom supports. Position them on the inside of each leg assembly, ensuring they line up 4 inches from the base of each leg. Secure them using 2.5″ pocket hole screws through the pre-drilled holes into the leg components.
Step 7: Installing the Decorative X-Bracing
The “X” is what gives this table its distinctive look. This step requires a bit more trial and error, but the results are worth it.
- Prepare X-Pieces: Rip 2×6 boards down to 4″ wide.
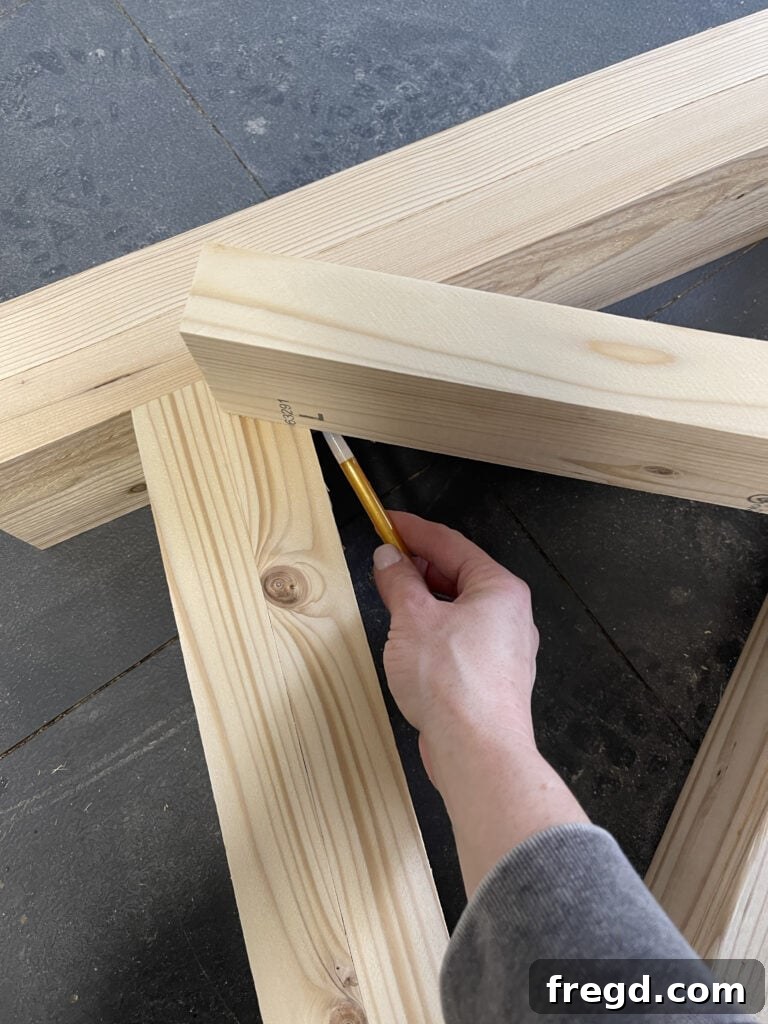
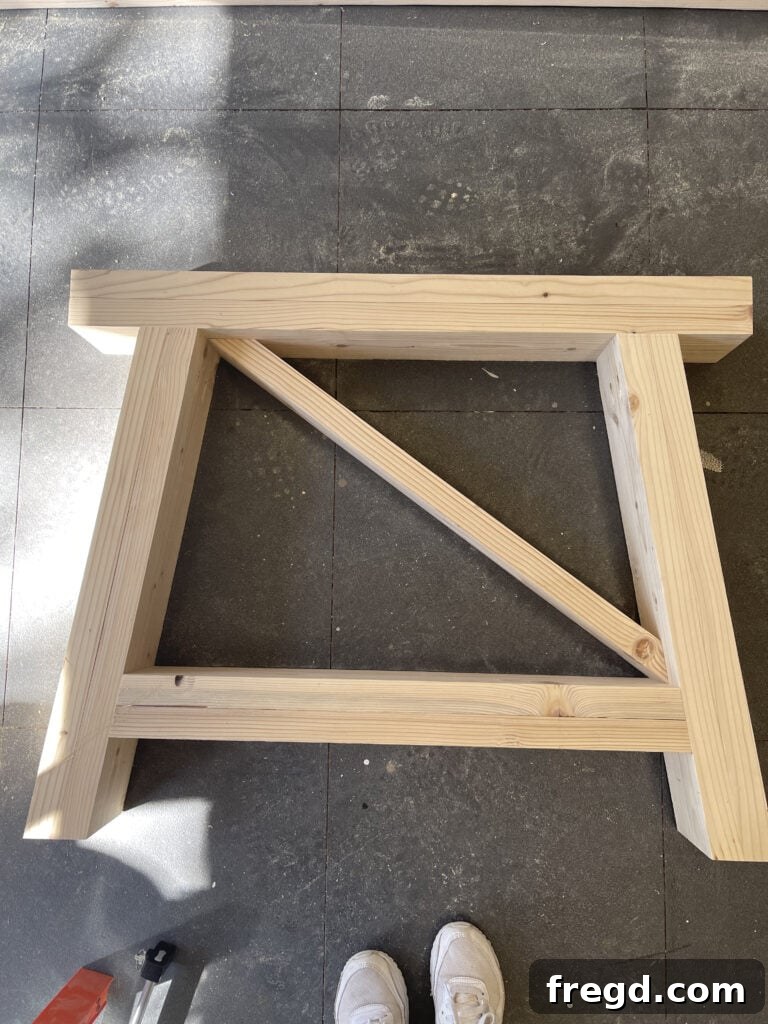
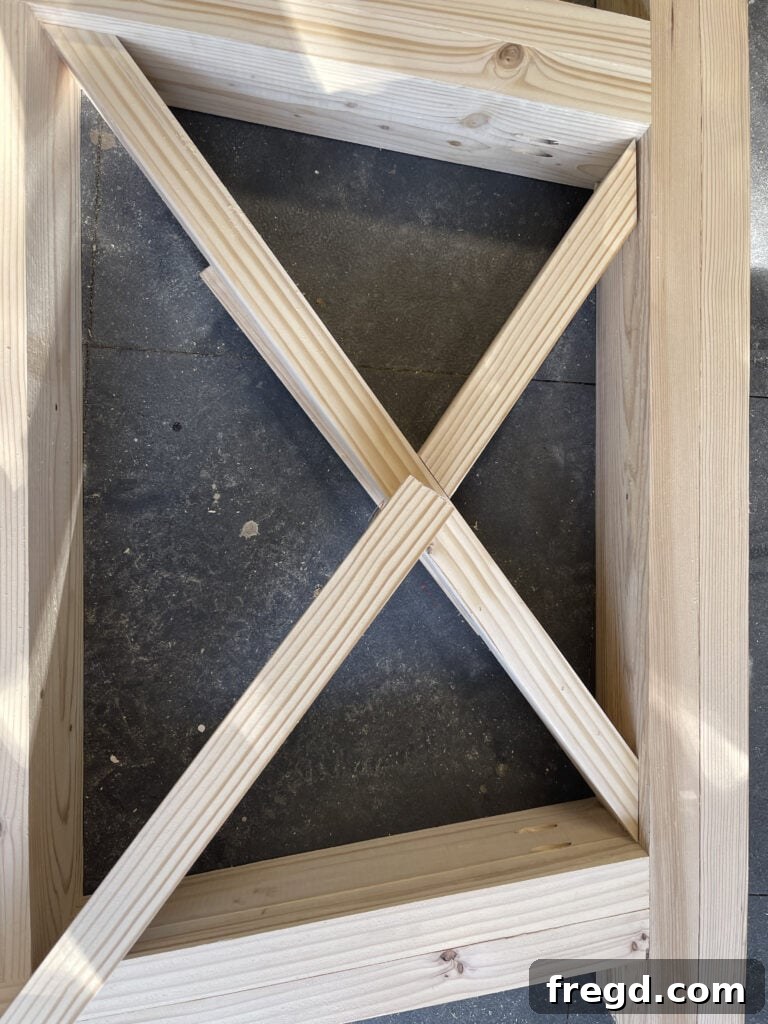
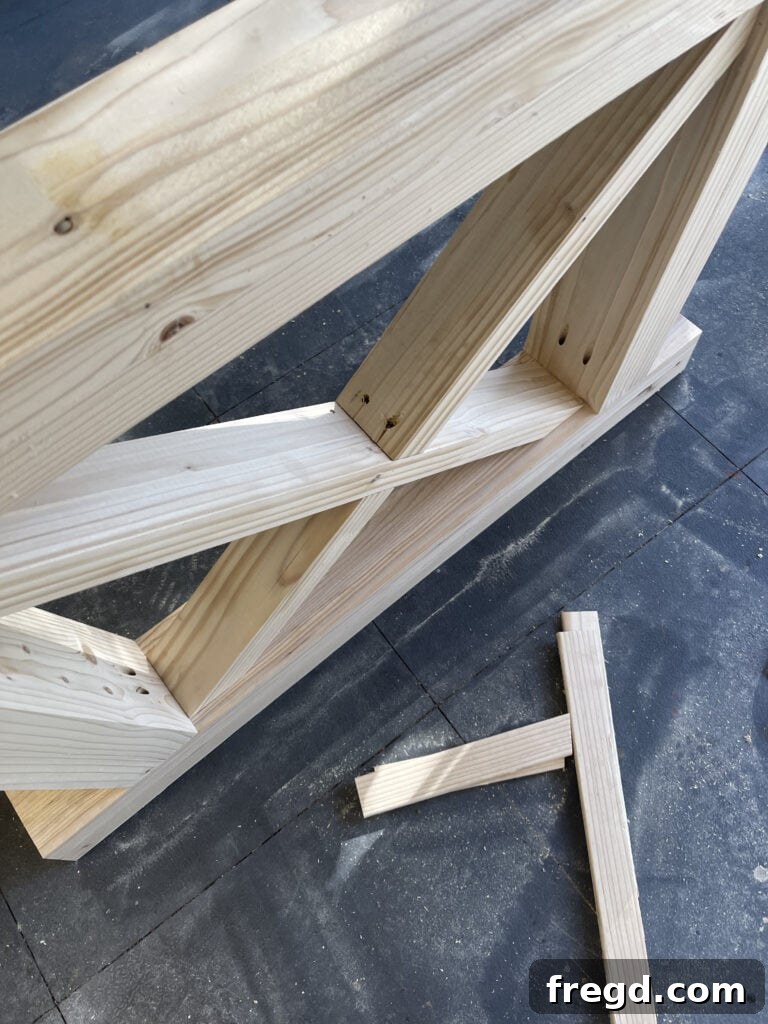
- Cut and Fit: Instead of relying on specific measurements and angles from the plans (which can vary slightly due to wood inconsistencies), the most effective method is to cut and fit as you go. Lay a 4″ wide board across the opening of one leg assembly. Mark the exact angles and lengths needed with a pencil. Cut the piece, test the fit, and trim as necessary until it sits snugly. Repeat this process for all pieces of the X-bracing.
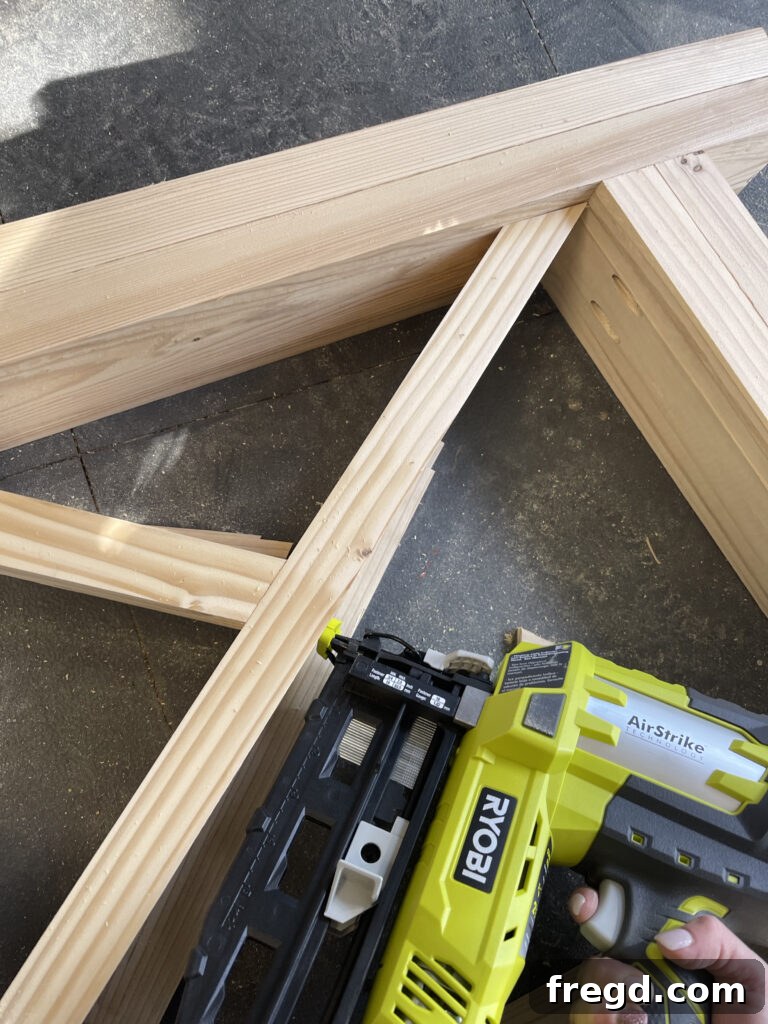
- Attach X-Pieces: Once all X-pieces are perfectly cut and fitted, apply wood glue to all mating surfaces. Secure them in place using 2″ finish nails for a clean look. Where possible and without compromising aesthetics, add hidden wood screws for extra reinforcement. Repeat for both X-base leg assemblies.
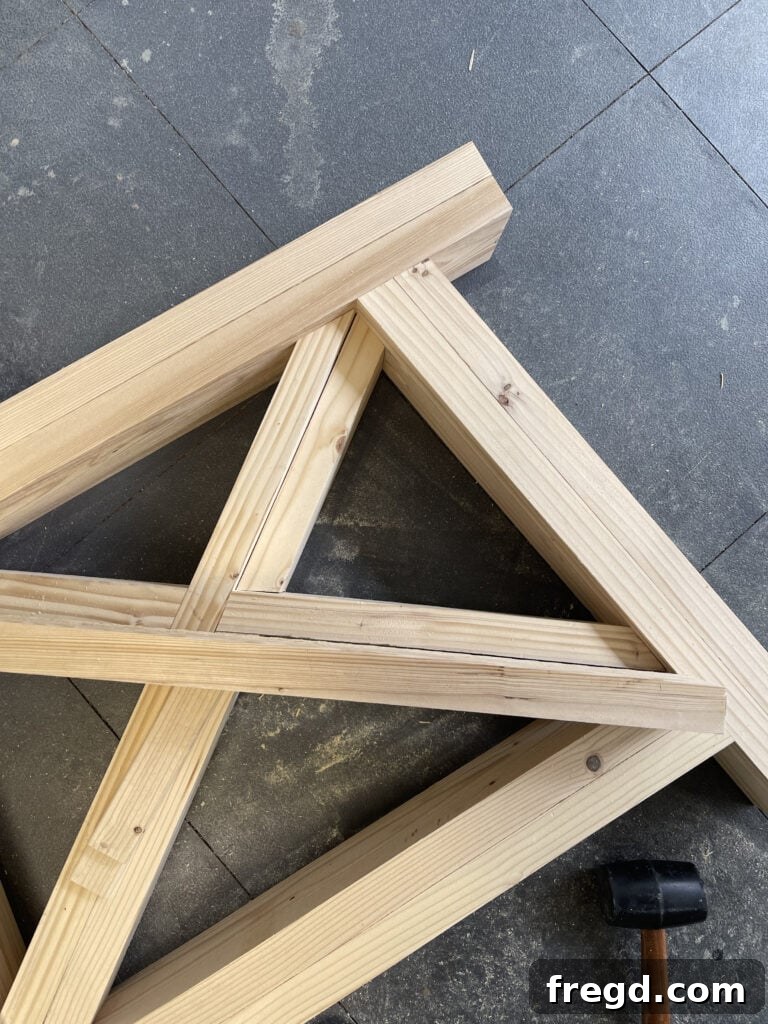
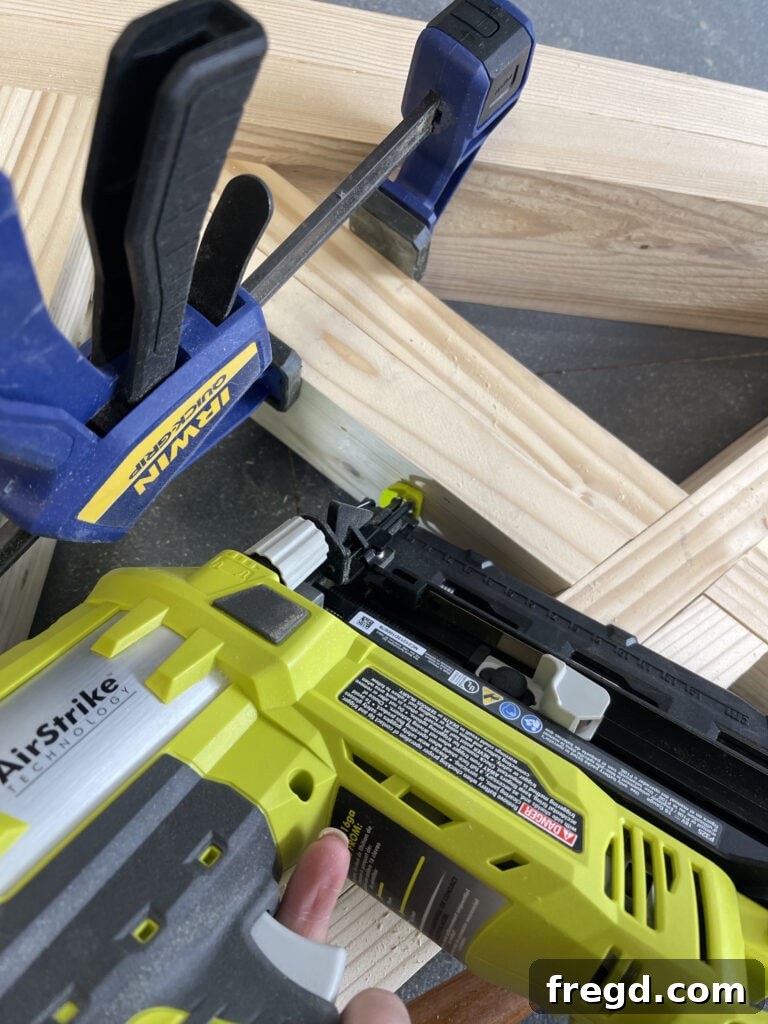
Step 8: Connecting the Leg Assemblies with Runners
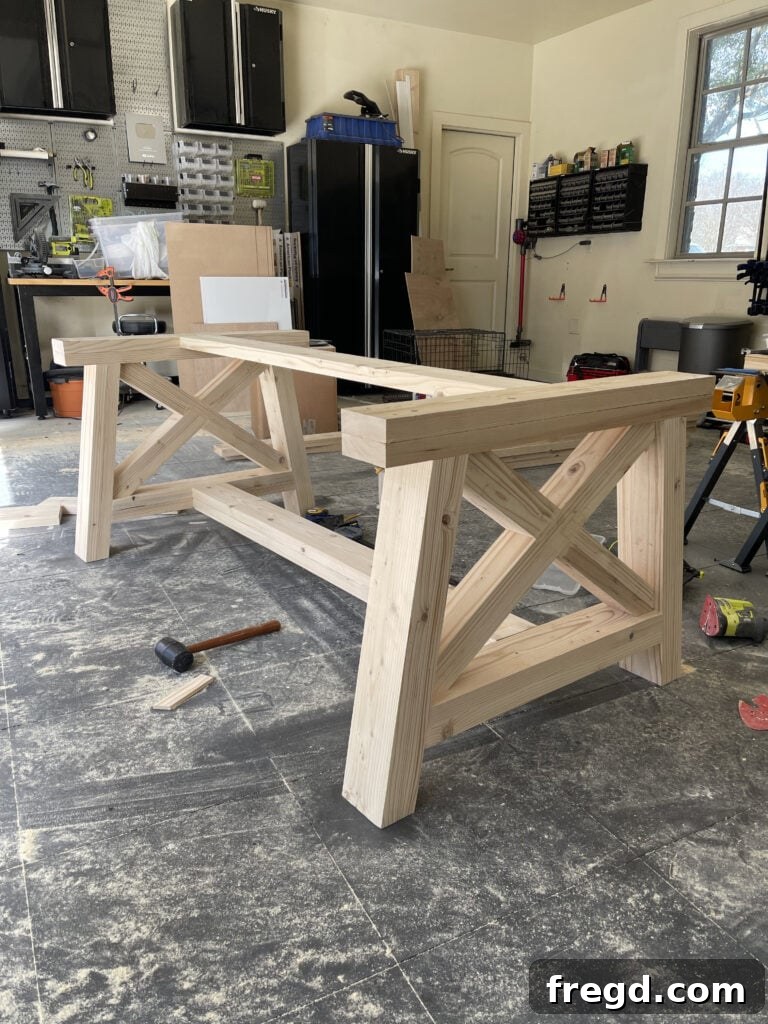
The runners provide structural integrity and connect the two X-base leg assemblies, forming the complete table base.
- Prepare Runners: Rip 2×6 boards to 5″ wide. Cut three runners, all to a length of 59″.
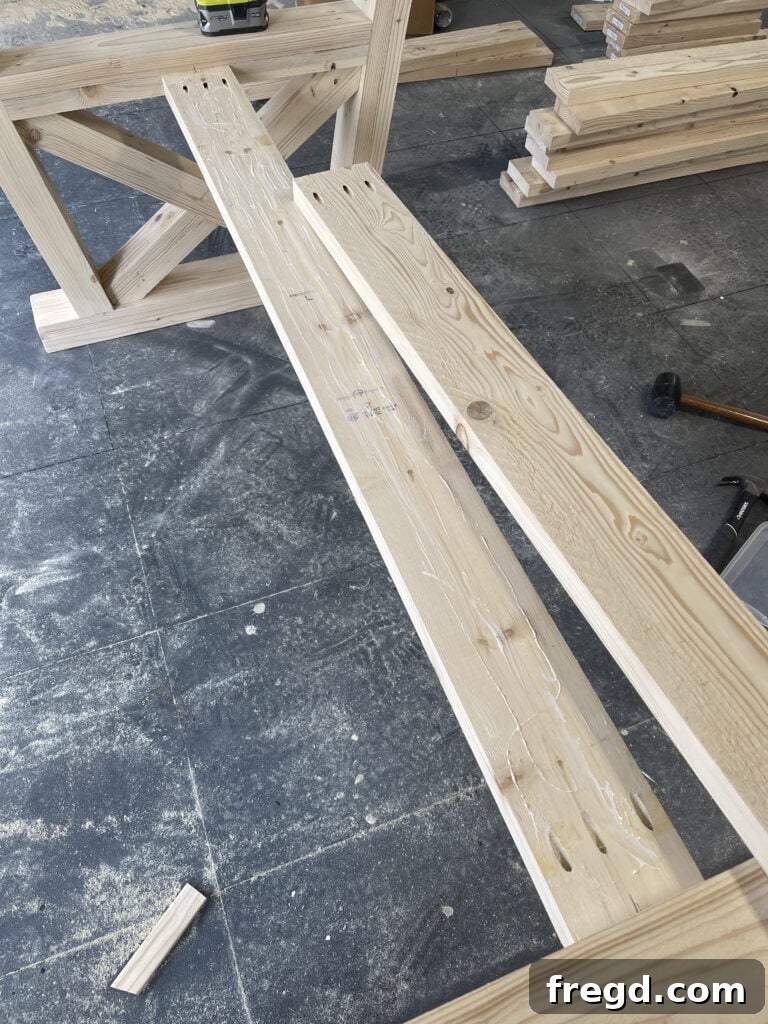
- Attach the Top Base Runner: Drill 1.5″ pocket holes on each end of the top base runner, ensuring they face downwards (will be hidden by the table top). Apply wood glue to the mating surfaces of the leg assemblies and the runner. Secure the top base runner using 2.5″ pocket hole screws.
- Attach the Bottom Base Runner: Apply wood glue to the mating surfaces. Use 2.5″ pocket hole screws through 1.5″ pocket holes on the end of the runner into each leg assembly. For robust strength, also add wood glue between this bottom runner and the top runner, then secure them together using 2.5″ wood screws driven through the bottom runner into the top runner.
- Add the Final Runner: The last runner attaches at the very top of each leg assembly, spanning between them. Apply wood glue to the ends and use 2.5″ pocket hole screws through 1.5″ pocket holes on the end of the runner to secure it to the leg assemblies.
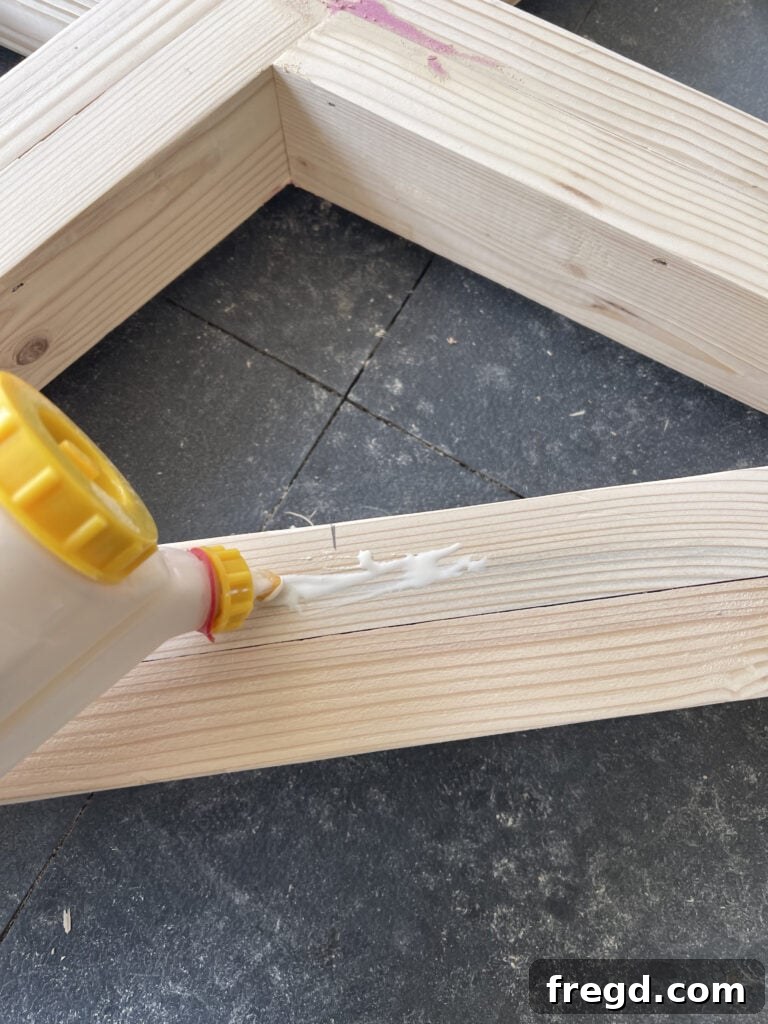
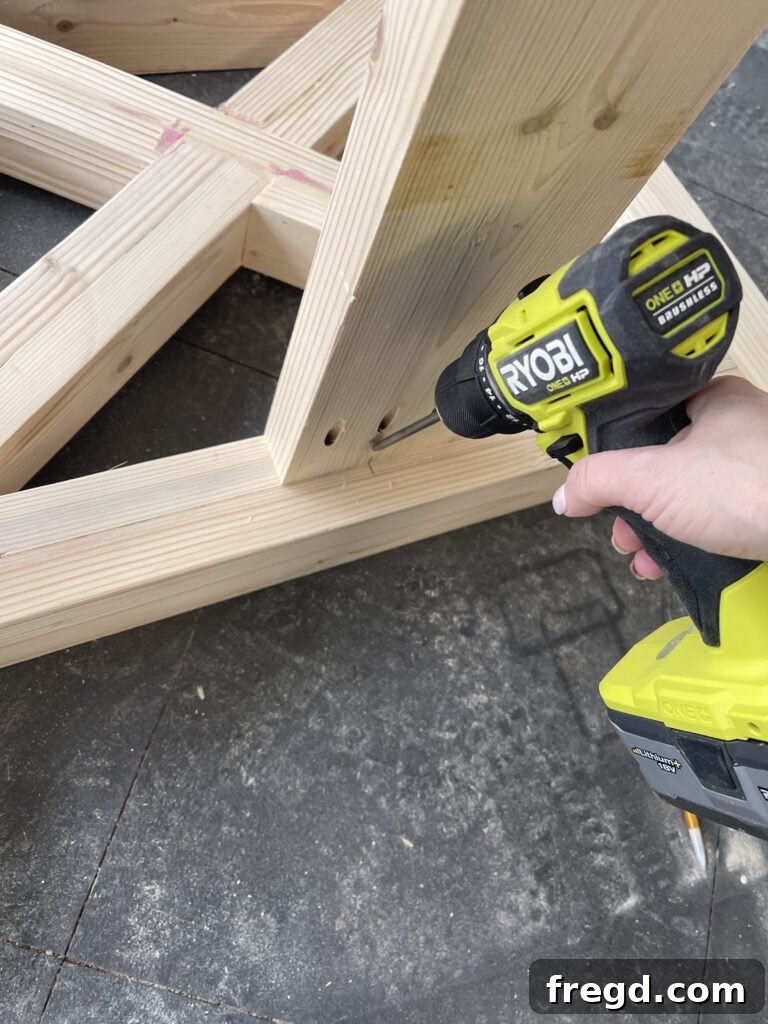
Step 9: Attaching the Tabletop to the Table Base
The final structural step is to unite the tabletop with your meticulously crafted X-base.
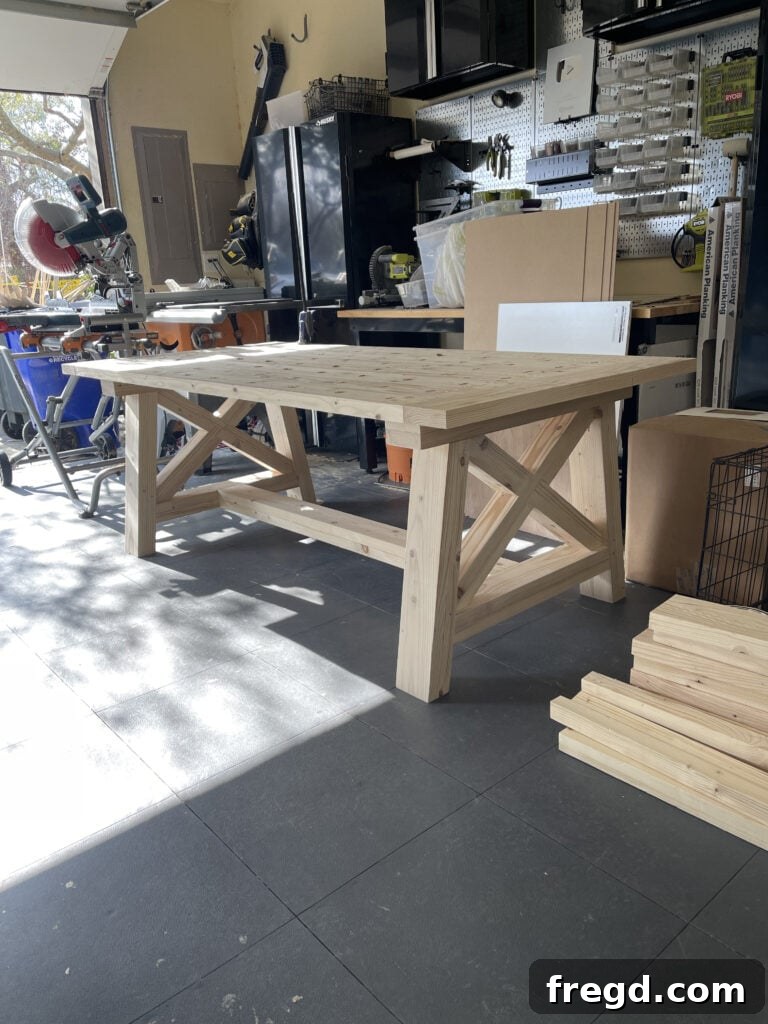
- Position the Tabletop: Carefully place the tabletop onto the assembled base. Ensure there is a 2.5″ overhang on the longer sides of the table and a 7.5″ overhang on each end. Take your time to center it perfectly.
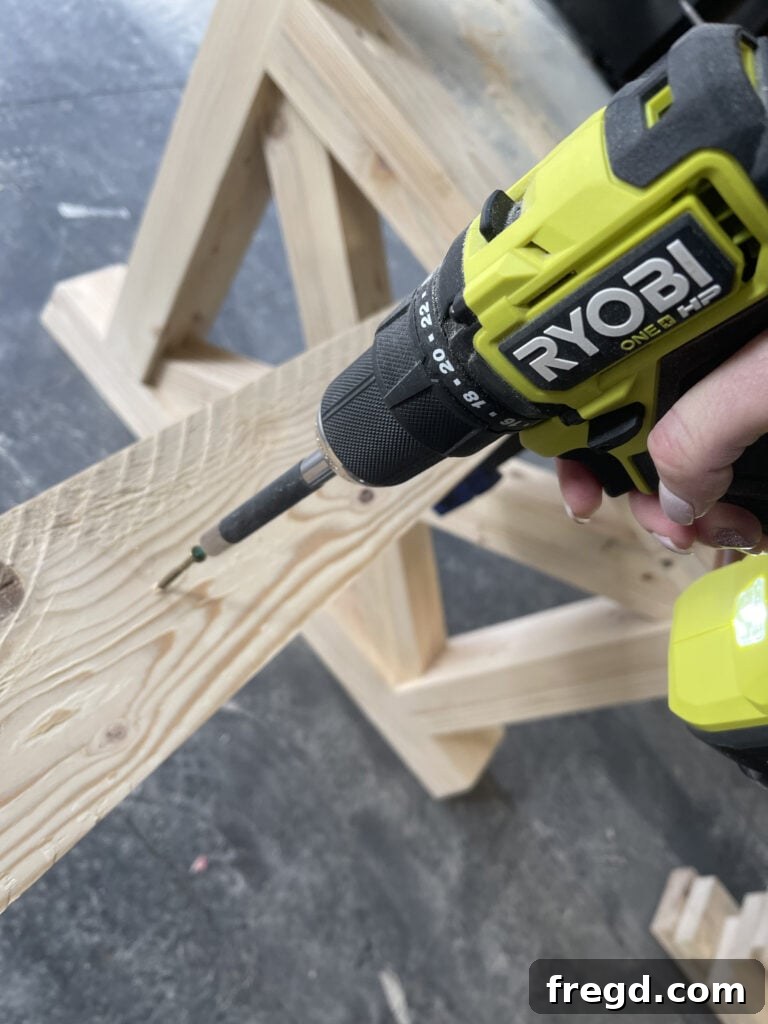
- Secure the Tabletop: Drive 4″ wood screws down through the top of the leg assemblies into the underside of the tabletop. Additionally, use 2″ wood screws through the middle runner into the tabletop. These different screw lengths ensure maximum grip and stability.
- A Note on Glue: If you anticipate needing to disassemble the table for future moves, refrain from using glue when attaching the tabletop. Screws alone will provide sufficient strength and allow for easier breakdown.
Finishing Touches: Stain and Seal Your Farmhouse Table
With the construction complete, it’s time to bring out the true beauty of the wood with your chosen finish. For the table featured here, Varathane Dark Walnut wood stain was used, which beautifully accentuates the grain and delivers a rich, inviting hue.
- Sanding: Before staining, thoroughly sand the entire table, working your way up through progressively finer grits of sandpaper (e.g., 100, 150, 220). This ensures a smooth surface for an even stain application and a professional feel.
- Pre-Stain Conditioner (Optional but Recommended): For softer woods or if you want to minimize blotchiness, apply a pre-stain wood conditioner.
- Staining: Apply your chosen wood stain according to the manufacturer’s instructions. Use a rag or brush, wiping off excess for an even color. Allow sufficient drying time between coats if you desire a deeper color.
- Topcoat/Sealer: Once the stain is fully dry, apply several coats of a durable topcoat, such as polyurethane, polycrylic, or a conversion varnish. This protects the wood from spills, scratches, and daily wear and tear. Sand lightly with very fine grit sandpaper (e.g., 320) between coats for a silky-smooth finish.
I found it much easier to apply the finish to the base and tabletop separately before the final attachment, especially when moving the base into the house.
Your New Farmhouse Dining Table Awaits!
Congratulations! You’ve successfully built a stunning, custom X-base dining table. This DIY project not only saves you money but also provides a deeply satisfying sense of accomplishment. Your new table is ready to become the heart of your home, bringing warmth, style, and functionality to your dining area.
Ready to start building? Download the detailed, step-by-step FREE PLANS FOR THIS TABLE HERE!
We absolutely love seeing your creations! Be sure to share your finished X-base dining table builds with us on social media using the hashtag #shanty2chic, and we might just feature your amazing work!