
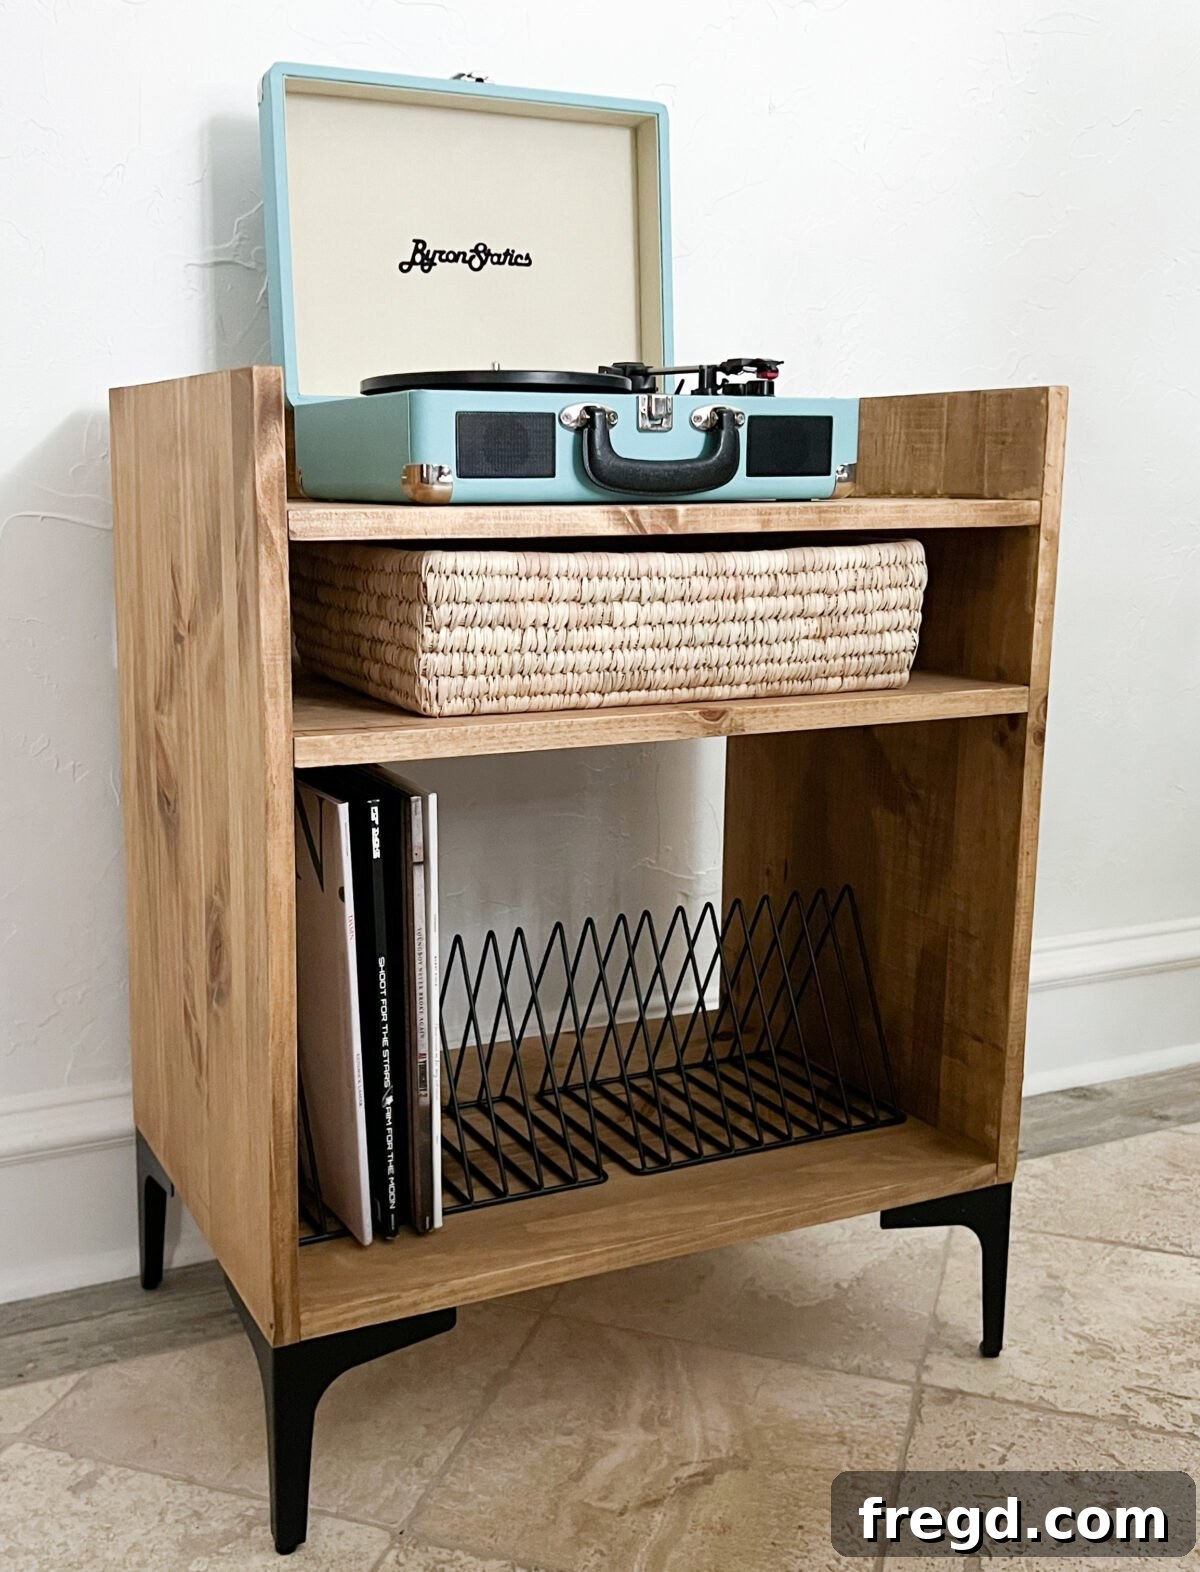
There’s a special joy that comes with the crackle of a needle hitting a vinyl record. For many, it’s a nostalgic journey, a tangible connection to music in an increasingly digital world. When my oldest son expressed a desire for a record player this past Christmas, I was thrilled! This wasn’t just about a new gadget; it was an opportunity to foster a love for music and create a dedicated space for his budding vinyl collection. Naturally, a record player deserves a fitting home, a piece of furniture that is both functional and aesthetically pleasing. That’s why I embarked on a DIY journey to build him the perfect record player stand, and today, I’m excited to share the free plans, complete with step-by-step instructions, and a video tutorial, so you can build your very own.
Whether you call it a turntable stand, an audio cabinet, or simply a record stand, these pieces of furniture are essential for any vinyl enthusiast. As I scoured the internet for inspiration, I noticed a strong lean towards vintage and mid-century modern designs – a look I absolutely adore. However, the challenge was to integrate this classic aesthetic seamlessly into his room’s existing decor, ensuring it felt custom-made and personal. The result is a charming, robust stand that not only houses his record player but also provides ample storage for his growing collection of LPs and accessories.
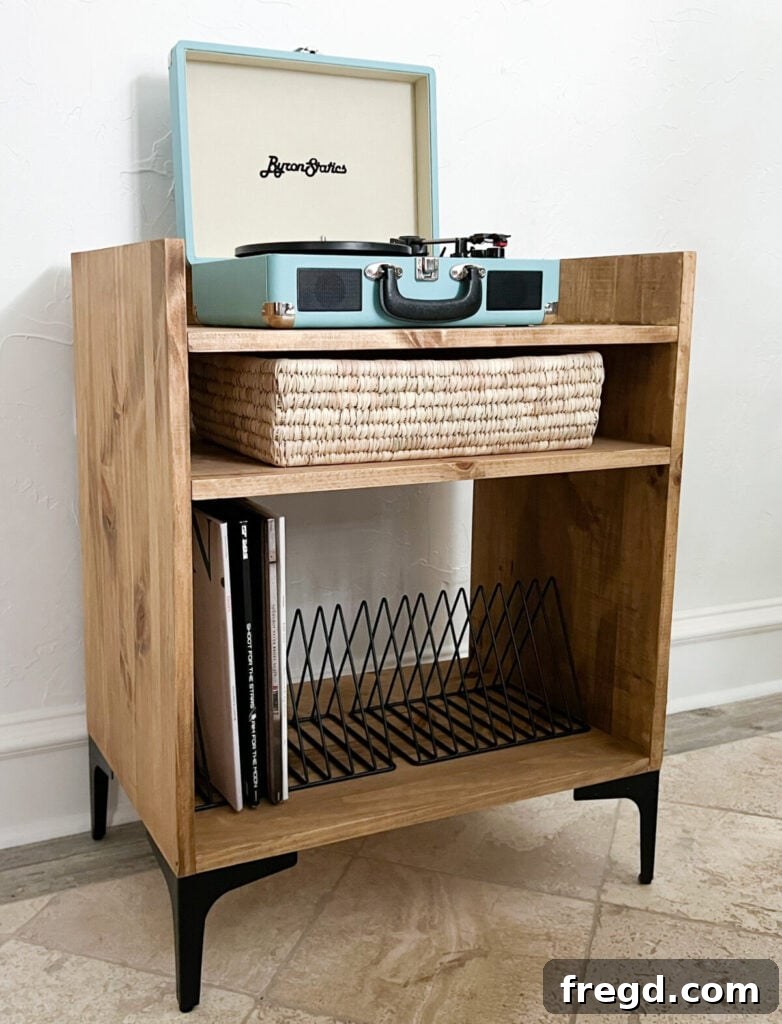
Table of Contents
DIY Record Player Stand Video Tutorial
To make this project as straightforward as possible, we’ve put together a comprehensive video tutorial. It walks you through each step of building this sturdy and stylish record player stand, offering visual guidance that complements the written instructions. Watching the video before you begin can help you visualize the process and confidently tackle each phase. Don’t forget to grab the free printable plans, detailed below, to guide your cuts and measurements!
Watch our detailed video tutorial for step-by-step guidance on building your own record player stand!
Selecting the Perfect Wood for Your Record Stand
The foundation of any great woodworking project is the material you choose. For this DIY record player stand, I opted for laminated pine boards. These boards are an excellent choice for several reasons: they are readily available at most hardware stores, they offer a consistent and attractive grain, and they are relatively easy to work with, making them ideal for both seasoned DIYers and those new to woodworking. You’ll typically find them alongside other dimensional lumber. For this particular design, I purchased two 16” x 48” laminated pine boards. When selecting your wood, look for boards that are straight, free from significant warps or twists, and have minimal knots, especially on surfaces that will be visible. While pine is cost-effective, you could also consider plywood for stability or even solid hardwood for a more premium finish, depending on your budget and desired aesthetic. Remember, the quality of your wood directly impacts the final look and durability of your custom audio cabinet.
Precision Cutting the Side Panels
The first physical step in constructing your record player stand is to prepare the side panels. These form the vertical structure of your stand and will support the shelves. From your laminated pine boards, you will need to cut two identical side pieces, each measuring 24 inches in length. Accuracy is key here, as perfectly cut sides ensure a level and stable finished product. I used a table saw for these cuts, which provides excellent precision for long, straight lines. However, a miter saw or even a circular saw with a reliable guide can also achieve accurate results. Take your time, measure twice, and cut once. It’s important to note that these side boards will not require any pocket holes, as the pocket holes will be strategically placed on the shelf boards for a clean, hidden attachment.
Preparing the Shelf Boards
With the side panels ready, your next task is to cut the boards that will form the shelves of your record player stand. This design calls for three identical shelf pieces. These shelves will provide the surface for your record player, an additional display area, and dedicated storage for your vinyl collection. Ensure your measurements are consistent across all three boards to guarantee a balanced and cohesive look. Using the same cutting tools and techniques as for the side panels, make these cuts with precision. The uniform size of these shelves is crucial for the structural integrity and aesthetic appeal of your DIY turntable stand. Once cut, set these aside, as we’ll be adding pocket holes to them in a subsequent step.
Mastering Pocket Hole Joinery with a Kreg Jig
For the next phase of this build, we turn to one of our absolute favorite woodworking tools: the Kreg Jig! If you’re serious about building furniture and creating strong, concealed joints, a Kreg Jig is an invaluable addition to your workshop. For this project, we relied on the Kreg Jig 720PRO, which is, hands down, our top pick for a pocket hole jig. What makes the 720PRO so exceptional? Its Automaxx dual-clamp technology self-adjusts to the thickness of your material, eliminating tedious manual adjustments and drastically speeding up the furniture-building process. This efficiency is a game-changer when you’re working on multiple joints or various material thicknesses.
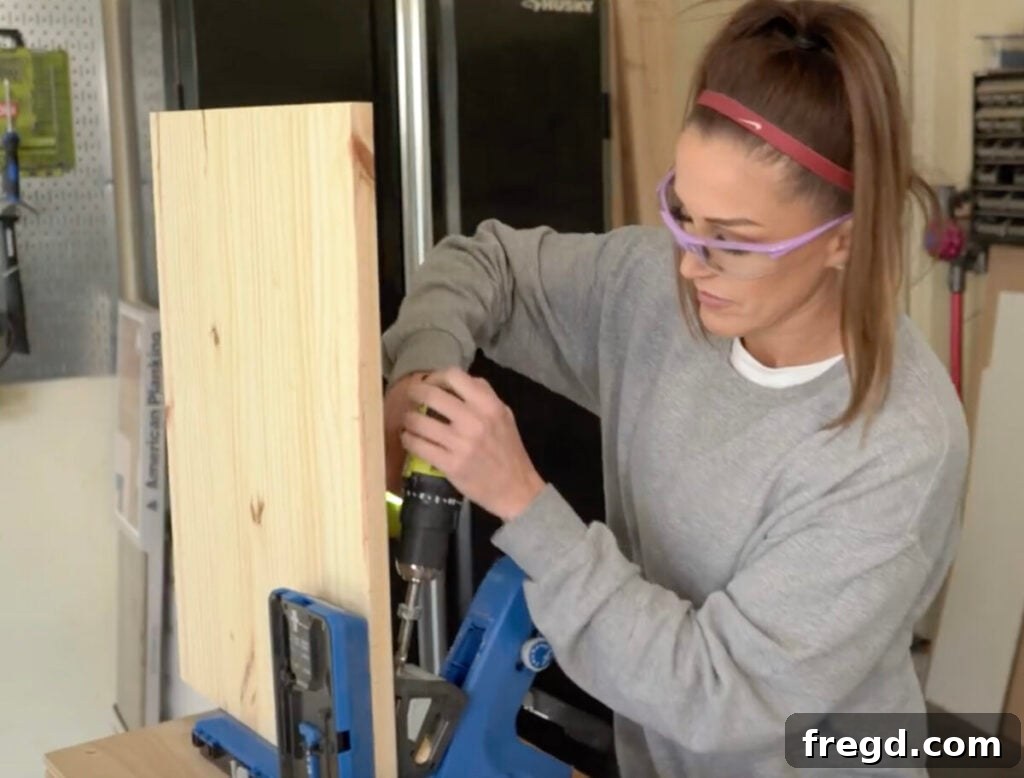
Beyond its clamping prowess, the Kreg Jig 720PRO boasts integrated material support wings on its docking station, perfect for securely handling larger panels like plywood or the laminated boards we’re using. It also offers excellent storage features for bits and screws, keeping your workspace organized. The included clamp further ensures that your jig stays firmly in place on your workbench, allowing for steady, precise drilling. Accessories like a dust port with a vacuum adaptor keep your workspace clean, and it comes with 160 pocket hole screws to get you started. Plus, its compact, foldable design makes it ideal for smaller shops or for easy storage when not in use. If you’re curious about other models and which Kreg Jig might be best suited for your needs, we highly recommend checking out our detailed post HERE.
Drilling Pocket Holes for Strong Shelf Attachments
Now it’s time to put your Kreg Jig to work! Pocket holes are a fantastic method for creating strong, hidden joints, perfect for the clean lines we want in our DIY record player stand. Using your drill, create 3/4-inch pocket holes along the shorter sides of all three of your shelf boards. It’s crucial that these pocket holes are placed on the side of the board that will face downwards once assembled. This ensures that the screws will be concealed on the underside of the shelves, maintaining the stand’s sleek appearance. Follow the Kreg Jig instructions for setting the drill bit collar and depth stop to match your material thickness (3/4 inch in this case). Consistent spacing of the pocket holes will provide maximum stability when the shelves are attached to the side panels, making your audio cabinet robust and ready to hold a growing collection of records.
Assembling the Structure: Attaching Shelf Boards to Sides
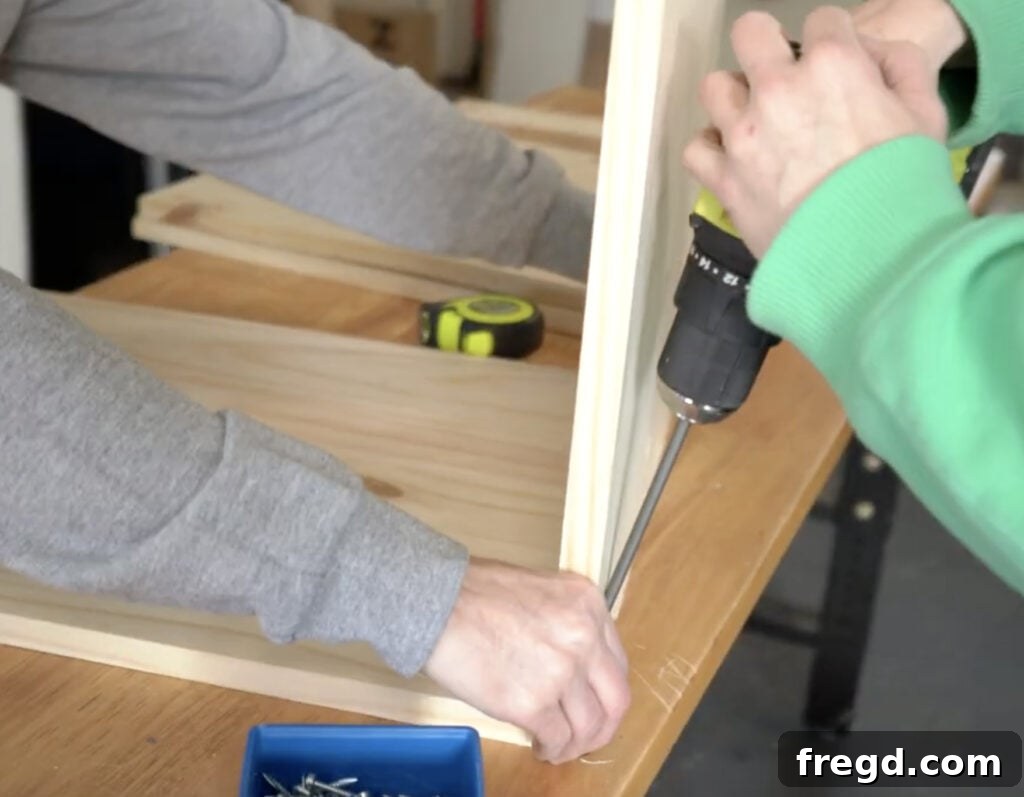
With all your boards cut and pocket holes drilled, it’s time to bring your record player stand to life! This is where the assembly process begins. Carefully align each shelf board with the side panels. For a strong and lasting bond, always use wood glue in addition to your screws. Apply a thin, even layer of wood glue along the edges where the shelf boards will meet the side panels. Then, secure the shelf boards through the pocket holes and into each side panel using 1.25-inch pocket hole screws. A helpful tip for assembly: start by attaching the top shelf first. This often makes it easier to access the pocket holes and ensures that your initial connections are solid and square, providing a stable framework for the rest of the build. Work your way down, ensuring each shelf is level and firmly attached. Use clamps to hold pieces in place while you drive the screws for extra stability and accuracy.
Securing the Top Trim Piece
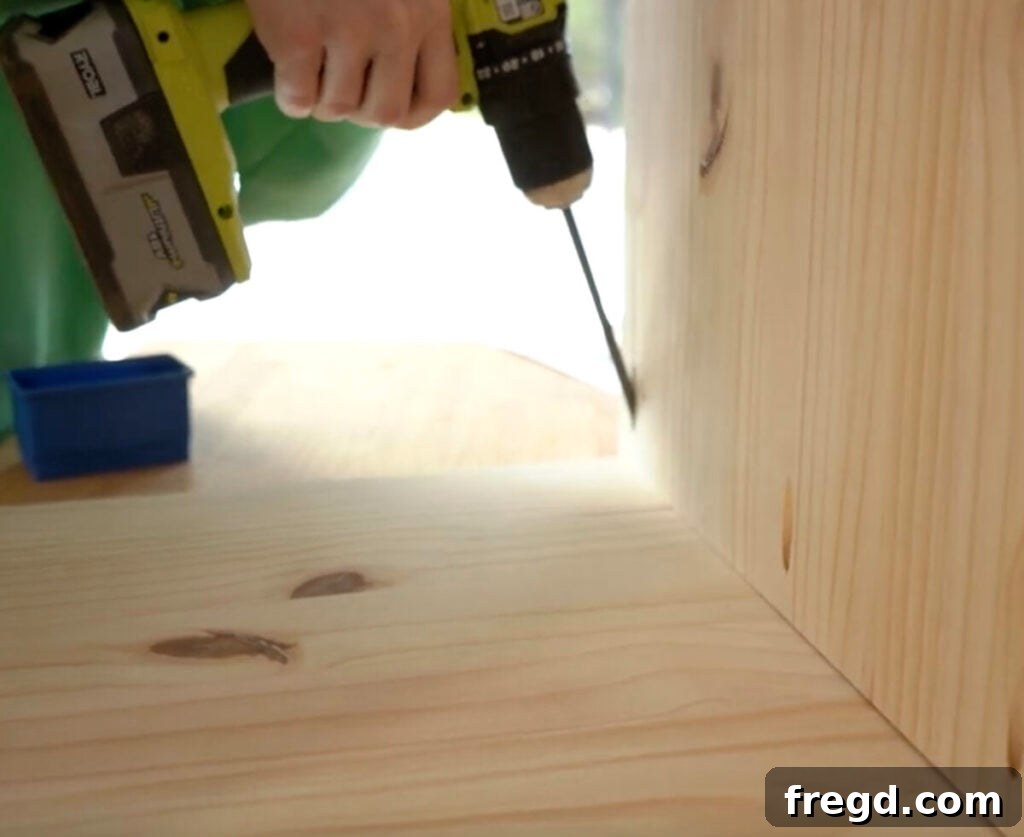
The final structural component to attach is the top trim piece. This element adds a finished edge to your record player stand, enhancing its aesthetic appeal and providing a clean, polished look. To attach it, first, create 3/4-inch pocket holes on one long side and both short sides of the trim piece. These strategically placed pocket holes will allow you to discreetly fasten the trim from the underside or back, ensuring no visible screw heads detract from the stand’s design. Once the pocket holes are drilled, apply a generous amount of wood glue to the corresponding edges of the stand. Carefully position the trim piece, ensuring it aligns perfectly, then secure it using 1.25-inch pocket hole screws driven through the pocket holes and into the main structure of the stand. This step completes the primary construction, preparing your custom audio cabinet for its finishing touches.
Finishing Touches: Staining Your Record Player Stand
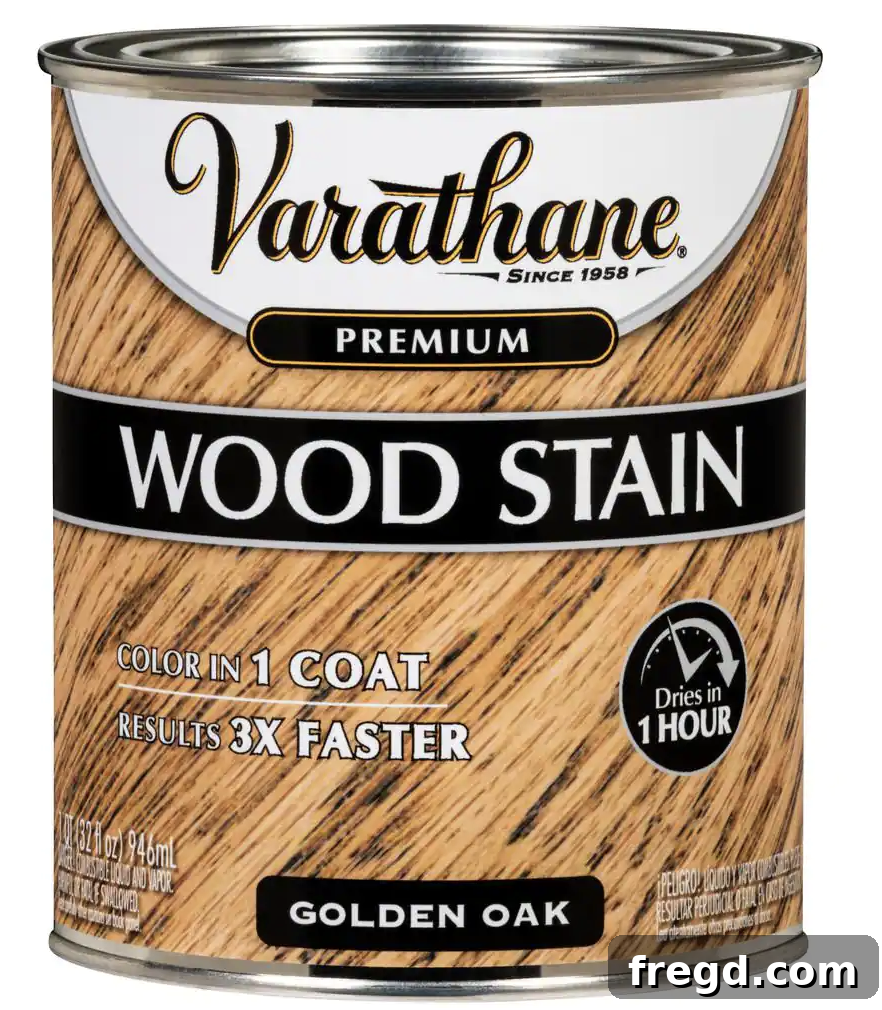
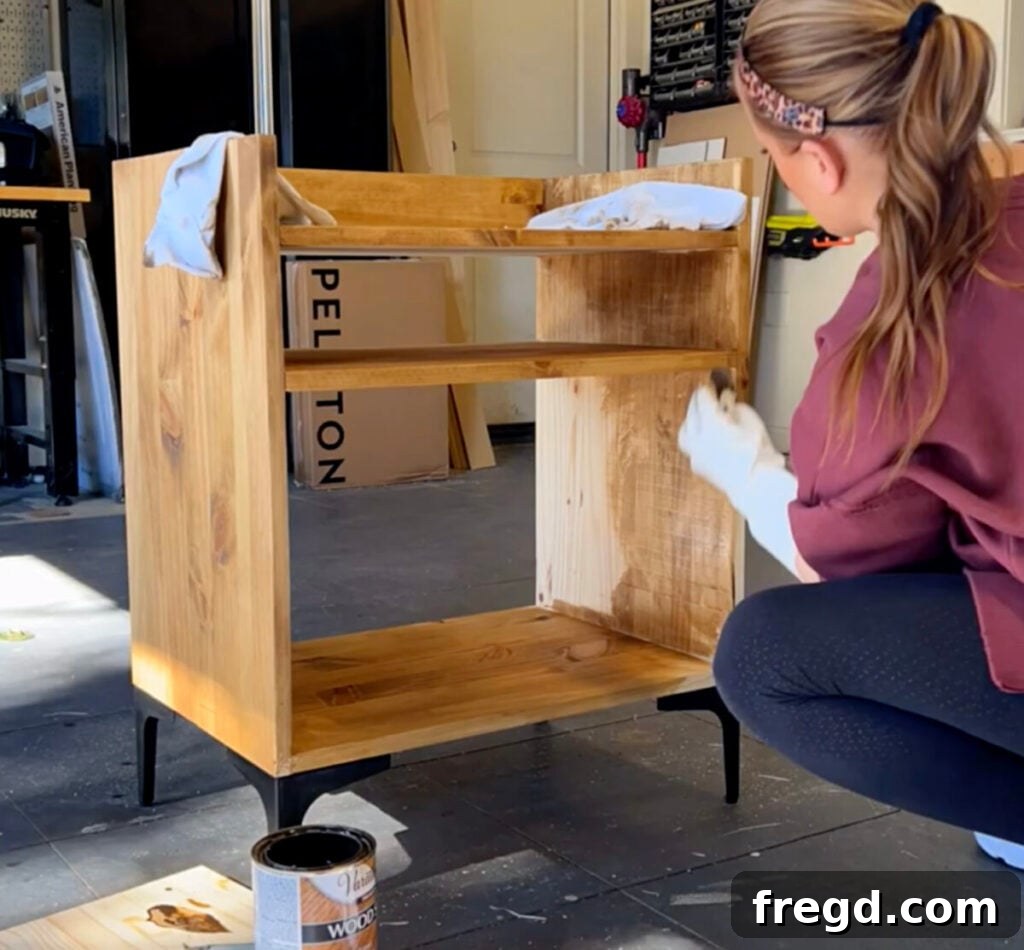
Once your DIY record player stand is fully assembled, the real transformation begins with the finishing process. This step allows you to personalize the look of your piece and protect the wood for years to come. For this project, I chose to stain the record player stand with Golden Oak stain. This particular shade offers a warm, inviting tone that beautifully highlights the natural grain of the pine, giving the stand a timeless and classic appeal. You can find this stain HERE. I’m particularly fond of this stain because of its ease of application – it goes on incredibly evenly with just one coat – and its remarkably fast drying time, which is a huge benefit for impatient DIYers!
After the stain has thoroughly dried, you might consider adding a top coat. A top coat provides an extra layer of protection against spills, scratches, and everyday wear and tear, ensuring your custom turntable stand remains beautiful. If you choose to add a top coat, I highly recommend using THIS ONE. It offers durable protection without altering the stain’s color. Apply it according to the manufacturer’s instructions, usually in thin, even coats, allowing adequate drying time between each application. Proper sanding before staining and between top coats (if recommended by the product) will yield the smoothest, most professional finish. This final step not only enhances the durability but also brings out the depth and richness of the wood, making your record storage furniture truly shine.

Elevate the Design: Adding Stylish Feet
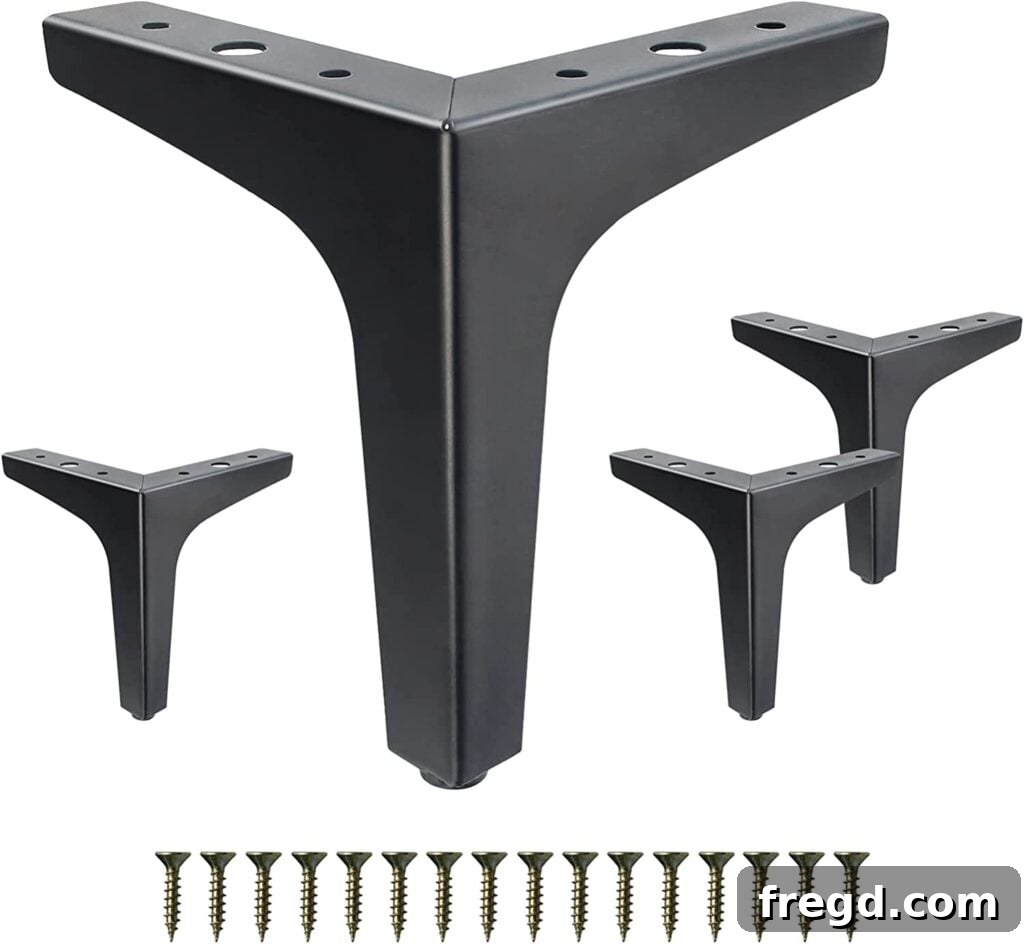
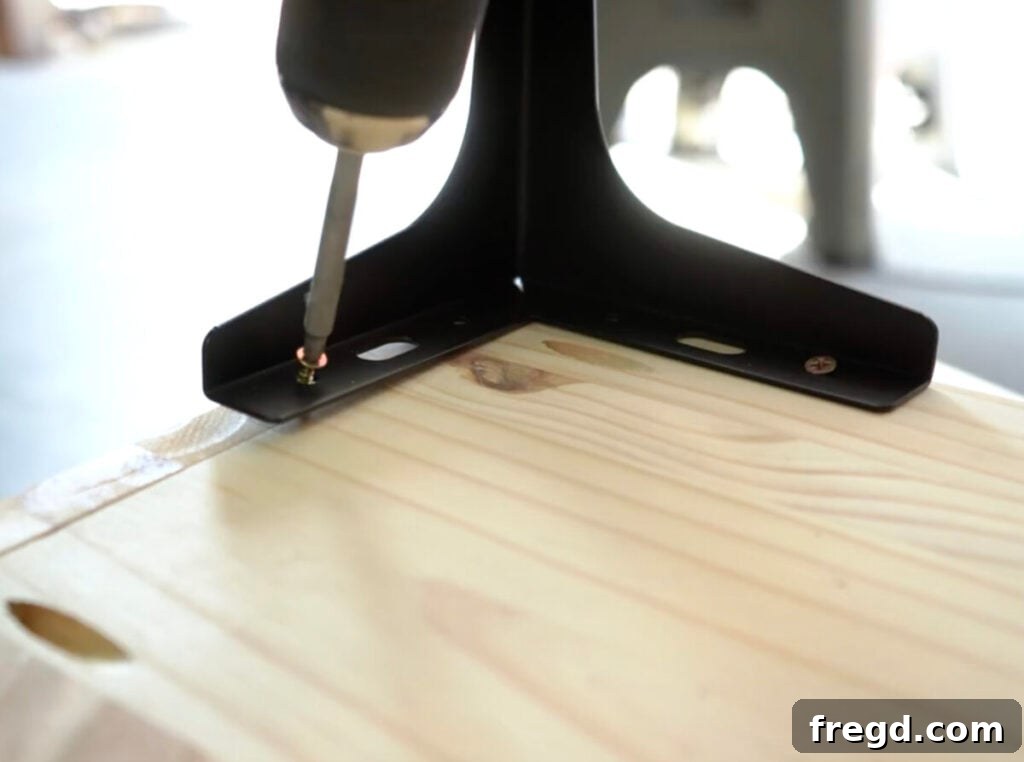
Small details can make a huge impact on the overall design and perceived quality of your DIY record player stand. One such detail is the addition of appropriate feet. I spent some time searching for the perfect feet to complement this record player cabinet, and I discovered the cutest ones on Amazon! They truly elevate the piece, both literally and aesthetically, giving it a distinctive character. You can find these exact feet HERE on Amazon! What I particularly love about them is their design – they remind me of classic hairpin legs but with a slightly more robust, industrial feel, striking a perfect balance between vintage charm and modern durability. They also come with the necessary screws, making installation incredibly simple. Just position them at each corner of the base, mark your pilot holes, and screw them in securely. These feet not only add to the visual appeal but also lift the stand off the floor, providing better airflow and protecting the base from potential moisture.
Smart Vinyl Record Storage Solutions
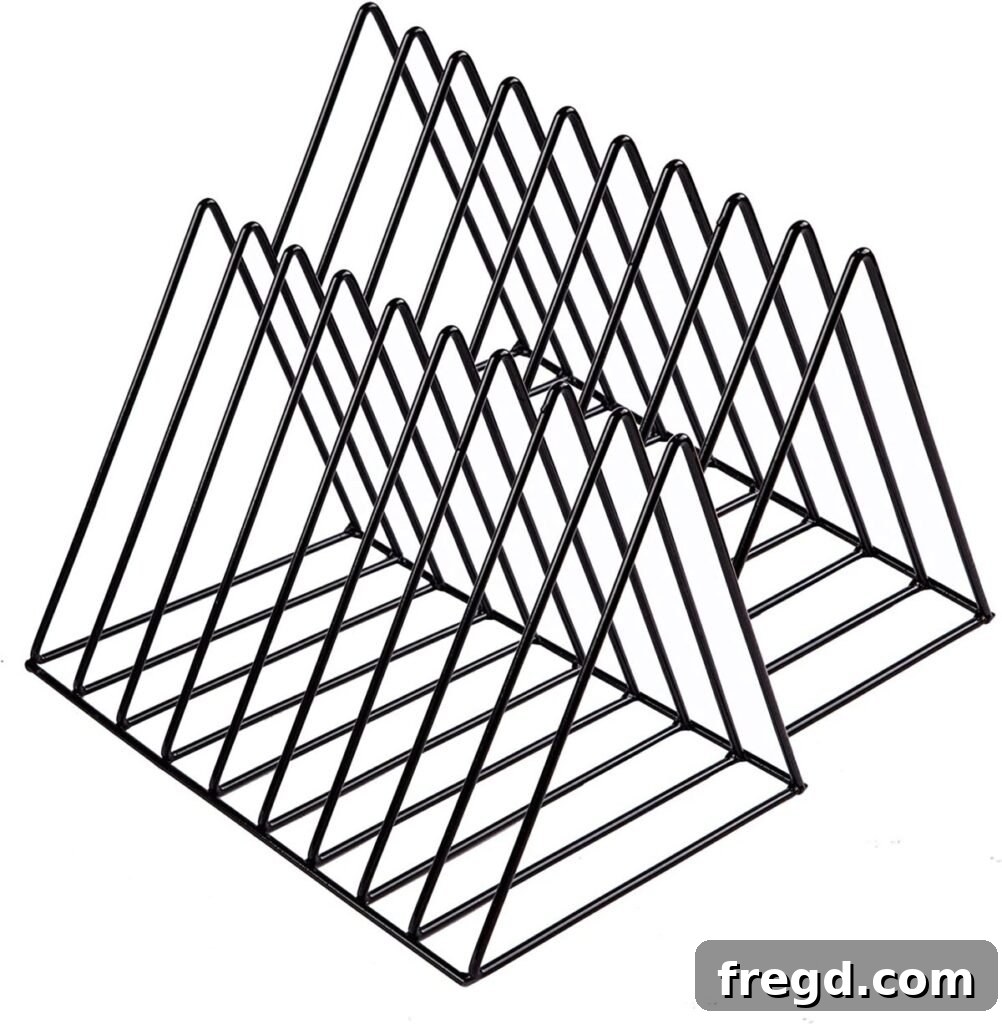
A record player stand isn’t complete without intelligent storage for your cherished vinyl collection. I wanted to find a solution that not only organized the albums but also enhanced the overall aesthetic of the stand, ideally complementing the unique feet I had chosen. After some searching, I discovered THESE fantastic dividers on Amazon! They turned out to be a perfect fit for the dimensions of the stand, neatly creating compartments that hold vinyl records upright and easily accessible. The design of these dividers beautifully accents the industrial-meets-modern feel of the feet, creating a cohesive and stylish look. Beyond their visual appeal, these dividers serve a crucial functional purpose: they prevent records from leaning excessively, which can cause warping over time, and they make browsing through a collection a joy. Seeing my son’s record collection neatly housed within these dividers truly completed the vision for this custom record player stand, making it a functional and beautiful piece of home audio furniture.
The Utility Shelf for Accessories
Beyond the primary function of holding a record player and vinyl records, a truly well-designed audio cabinet considers all the little necessities. That’s why I incorporated an additional shelf, complete with a basket, into the design. This dedicated utility shelf is perfect for storing various accessories that often accompany a record player setup. It provides a convenient and discreet space for cables, headphones, record brushes, cleaning cloths, or any other small items your music enthusiast might need. Keeping these accessories organized and out of sight helps maintain a tidy listening station and ensures that everything is within easy reach when it’s time to spin a favorite album. This thoughtful addition enhances the functionality of the stand, making it a comprehensive solution for any vinyl setup.
The Finished Masterpiece
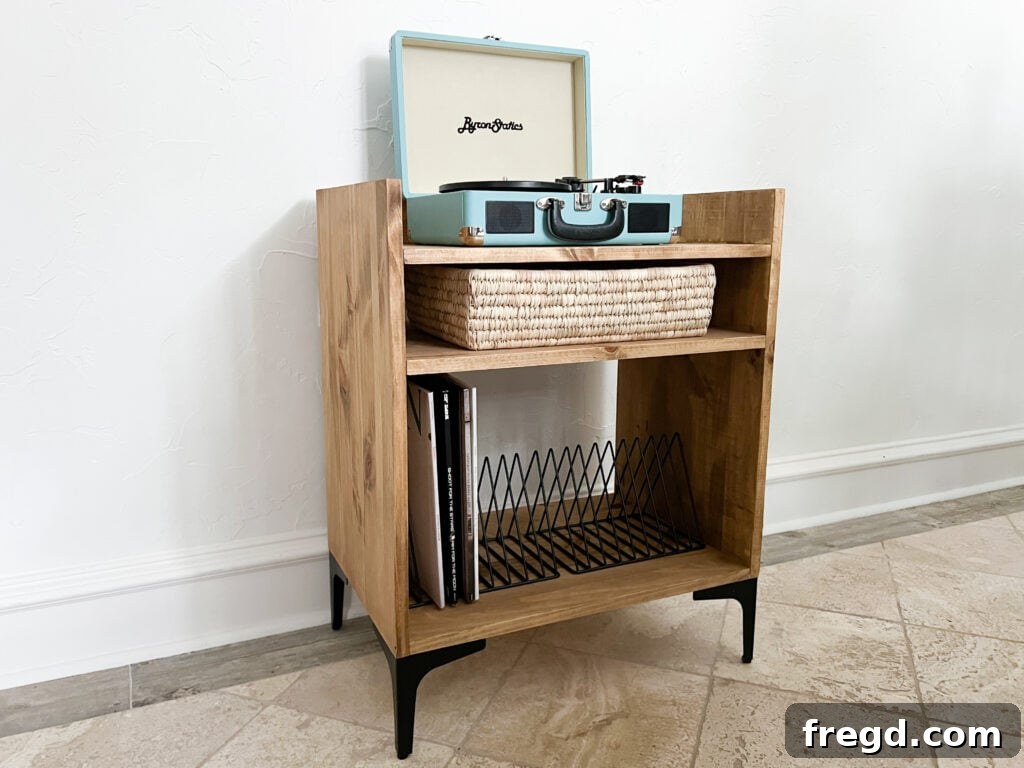
Witnessing the transformation of raw wood into a beautiful, functional piece of furniture is incredibly rewarding. The final record player stand exceeded all my expectations. It stands as a testament to the charm and practicality of DIY projects. The unique design, blending vintage inspiration with contemporary simplicity, makes it a truly cute and distinctive piece of furniture. More importantly, it provides my son with ample space not only for his current record player but also for his ever-expanding vinyl collection. The open shelving design ensures easy access to all his LP albums, encouraging him to explore and enjoy his music. This custom audio cabinet is more than just a stand; it’s a personal statement, a functional art piece, and a focal point for his musical journey. It demonstrates how a custom-built item can perfectly meet specific needs while adding significant character to a room.
Download Your Free Record Player Stand Plans
Ready to create your own custom record player stand? We’ve made it easy for you with detailed, printable plans. These free plans include all the necessary measurements, cut lists, and step-by-step diagrams to guide you through the construction process. Whether you’re a seasoned woodworker or tackling your first furniture project, these plans will provide the clarity and confidence you need to succeed. Don’t hesitate to embark on this rewarding DIY journey – imagine the satisfaction of building a beautiful and functional piece for your home audio setup. Grab the FREE PLANS HERE! Happy building!