Shanty 2 Chic
DIY Stenciled Wall Art: Effortlessly Create Rustic Charm for Your Home
Hey there, fellow DIY enthusiasts! Are you staring at a blank wall, dreaming of a statement piece that perfectly captures your unique style but feeling overwhelmed by the cost or the challenge of finding ‘just the right thing’? You’ve come to the right place! Today, I’m thrilled to share a project that will not only fill that empty space but also bring a huge sense of accomplishment and creative joy. Get ready to transform your living room wall with this absolutely adorable DIY Stenciled Wall Art!
I recently teamed up with our friends at Purdy to bring this super cute and incredibly simple project to life. The best part? Most of you will already have a good portion of the necessary supplies tucked away in your craft stash or garage. This isn’t just a project; it’s an invitation to unleash your inner artist and craft something truly personal for your home.
Why Choose DIY Stenciled Wall Art?
In a world of mass-produced decor, creating your own wall art offers unparalleled advantages. It allows for complete customization, ensuring your piece perfectly matches your existing decor and personal aesthetic. Beyond that, DIY projects are incredibly budget-friendly, often costing a fraction of what a similar store-bought item would. Stenciling, in particular, is a fantastic technique for beginners, offering professional-looking results with minimal artistic skill. Plus, there’s an undeniable satisfaction that comes from pointing to a beautiful piece in your home and proudly saying, “I made that!” This project is designed to be accessible, rewarding, and a fantastic way to add character to any room.
Gather Your Essential Supplies: What You’ll Need
Before diving into the fun part, let’s ensure you have all the necessary materials. One of the joys of this project is its simplicity and the likelihood that you already own many of these items. For those you don’t, they are readily available at most hardware or craft stores.
- Plywood: A scrap piece of ¾” sanded plywood (we used a 23” x 23” piece). Sanded plywood is crucial for a smooth base.
- White Chalk Paint: For the base coat. Chalk paint offers excellent coverage and a beautiful matte finish.
- Stencils: Your chosen design. I found mine super inexpensively on Amazon; it even came with two, making the process faster!
- Painter’s Tape: Essential for securing your stencil and preventing paint bleed.
- Black Acrylic Craft Paint: For the stenciled design. Inexpensive and effective.
- Purdy Jumbo Mini 4” Roller: This compact roller is perfect for detailed work and ensures even paint application.
- Purdy 4” Jumbo Mini White Dove Roller Cover: Designed for smooth, lint-free finishes, it’s ideal for stenciling on smooth surfaces like plywood.
- 120 Grit Sandpaper: For distressing your finished piece, giving it that beloved rustic look.
- 1×2 Boards: For creating the frame (measurements will depend on your plywood size).
- Wood Stain (or Paint): To finish your frame boards.
- Wood Glue: For securely attaching the frame.
- 1.25” Brad Nails & Brad Nailer: For extra frame reinforcement.
Step-by-Step Guide: Crafting Your Stenciled Masterpiece
Step 1: Preparing Your Plywood Base
Our journey begins with the foundation of your artwork: the plywood. For this project, I opted for a ¾” sanded plywood cut to a perfect 23” x 23” square. The “sanded” part is key here; it provides a much smoother surface than traditional plywood, which is essential for achieving a crisp stencil and a professional finish. If you’re cutting the plywood yourself, always prioritize safety by wearing appropriate protective gear. A clean, smooth surface is the secret to a flawless paint job, so ensure your plywood is dust-free before moving on.
Our sanded plywood base, ready for its transformation.
Step 2: Applying the Base Coat of White Chalk Paint
With your plywood prepped, it’s time for the base coat. I chose white chalk paint for a few reasons: it offers fantastic coverage, often requiring fewer coats than other paints, it adheres beautifully to wood without extensive priming, and it dries to a lovely, matte finish that is perfect for a rustic aesthetic. Apply a good, even coat across the entire piece. Don’t rush this step; smooth, consistent strokes will ensure an immaculate canvas for your stencil. Allow the paint to dry completely according to the manufacturer’s instructions before proceeding. Patience here prevents smudges later!
Applying a smooth, even layer of white chalk paint to the plywood.
The base coat fully dried and ready for the next step.
Step 3: Positioning and Securing Your Stencil
Now for the design! Once your white base coat is thoroughly dry, carefully place your chosen stencil onto one corner of the plywood. Take your time to align it perfectly, ensuring it’s straight and exactly where you want it. This is where painter’s tape comes into play – firmly attach the stencil to the board along all its edges. This prevents any movement during painting and, more importantly, minimizes paint bleed underneath the stencil, giving you sharp, clean lines. As a bonus tip, if your stencil design is repetitive, consider investing in multiple stencils or a larger one to speed up the process, as I did with my Amazon find.
Carefully positioning the stencil and securing it with painter’s tape.
Step 4: Stenciling with Black Acrylic Paint and Purdy Tools
This is where the magic truly happens! Grab your Purdy Jumbo Mini 4” roller and attach the Purdy 4” Jumbo Mini White Dove roller cover. These Purdy tools are a game-changer for stenciling; the White Dove cover is renowned for its smooth, lint-free finish, which is absolutely crucial for sharp stencil lines and a professional look on a smooth surface like plywood. Dip your roller lightly into some inexpensive black acrylic craft paint, ensuring you remove any excess paint by rolling it on a paper towel or paint tray. Apply the paint over the stencil with light, even pressure. It’s better to apply several thin coats than one thick coat, as this further helps prevent bleed. The Purdy roller made this step incredibly quick and satisfying!
Using the Purdy Jumbo Mini roller to apply black paint through the stencil.
The stenciled pattern beautifully revealed after removing the stencil.
Step 5: Drying and Distressing for a Rustic Aesthetic
After carefully peeling back your stencil to reveal the beautiful design, let the black paint dry completely. This is a critical step before moving on to distressing. Once dry, grab your 120 grit sandpaper. Now for my favorite part: distressing! Gently sand the entire piece, focusing on the edges and corners, and lightly over the stenciled design. The goal here isn’t to remove the paint, but to create subtle wear and tear, revealing hints of the white base coat and the natural wood beneath. This technique instantly adds character, depth, and that coveted rustic, vintage feel that elevates this piece from simple art to a unique statement. Experiment with pressure until you achieve your desired level of rustic charm.
Distressing the stenciled art with 120 grit sandpaper to achieve a rustic look.
Step 6: Adding the Perfect Wooden Frame
The final touch that truly elevates this DIY art piece is a custom wooden frame. Measure the outside dimensions of your plywood piece precisely. Then, cut your 1×2 boards to size, ensuring mitered corners for a seamless look if you prefer. A pro tip: stain (or paint) your frame pieces *before* attaching them to the plywood. This makes the staining process much cleaner and easier, especially when working with the inner edges. Once the stain is dry, apply a generous amount of wood glue along the edges of your plywood where the frame will sit. Carefully position your stained 1×2 boards, then secure them using 1.25” brad nails through the frame and into the side of the plywood. The wood glue provides long-term adhesion, while the brad nails offer immediate hold. This simple addition completely transforms the piece, giving it a polished, finished look.
Attaching the stained wooden frame to complete the artwork.
The Final Reveal: A Masterpiece Made by You
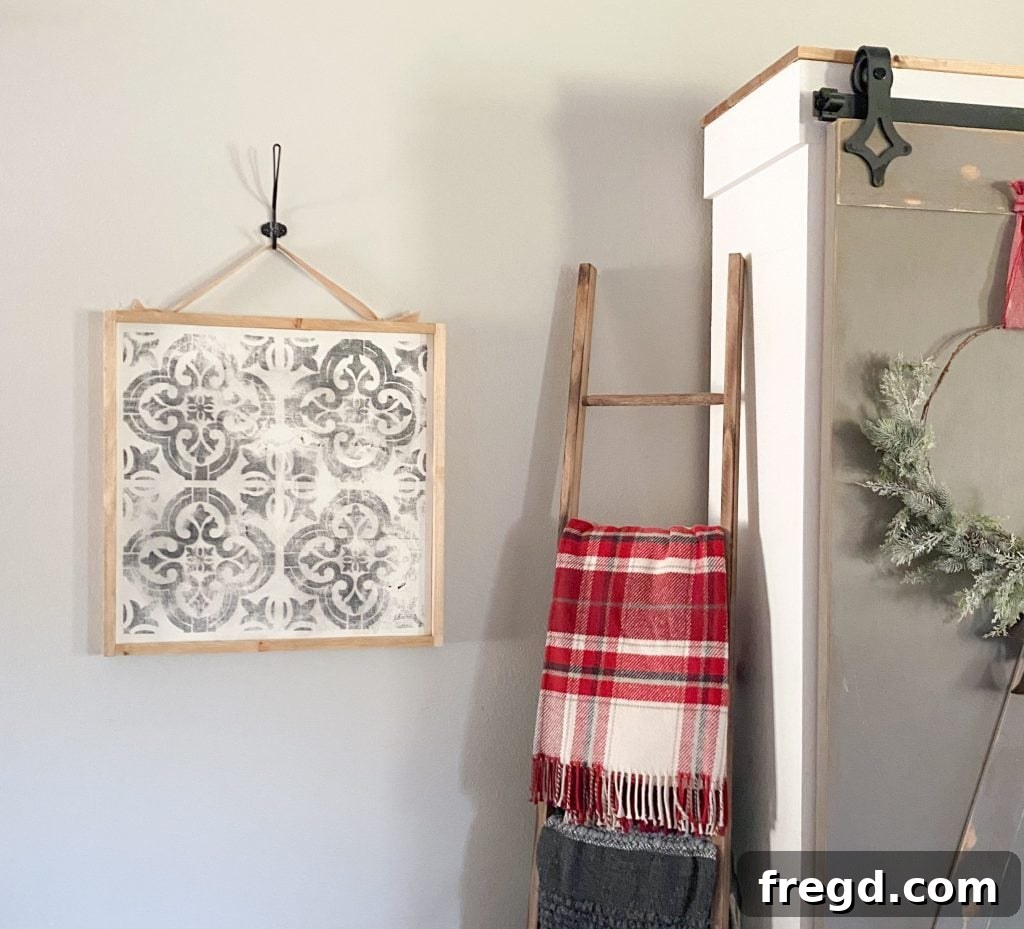
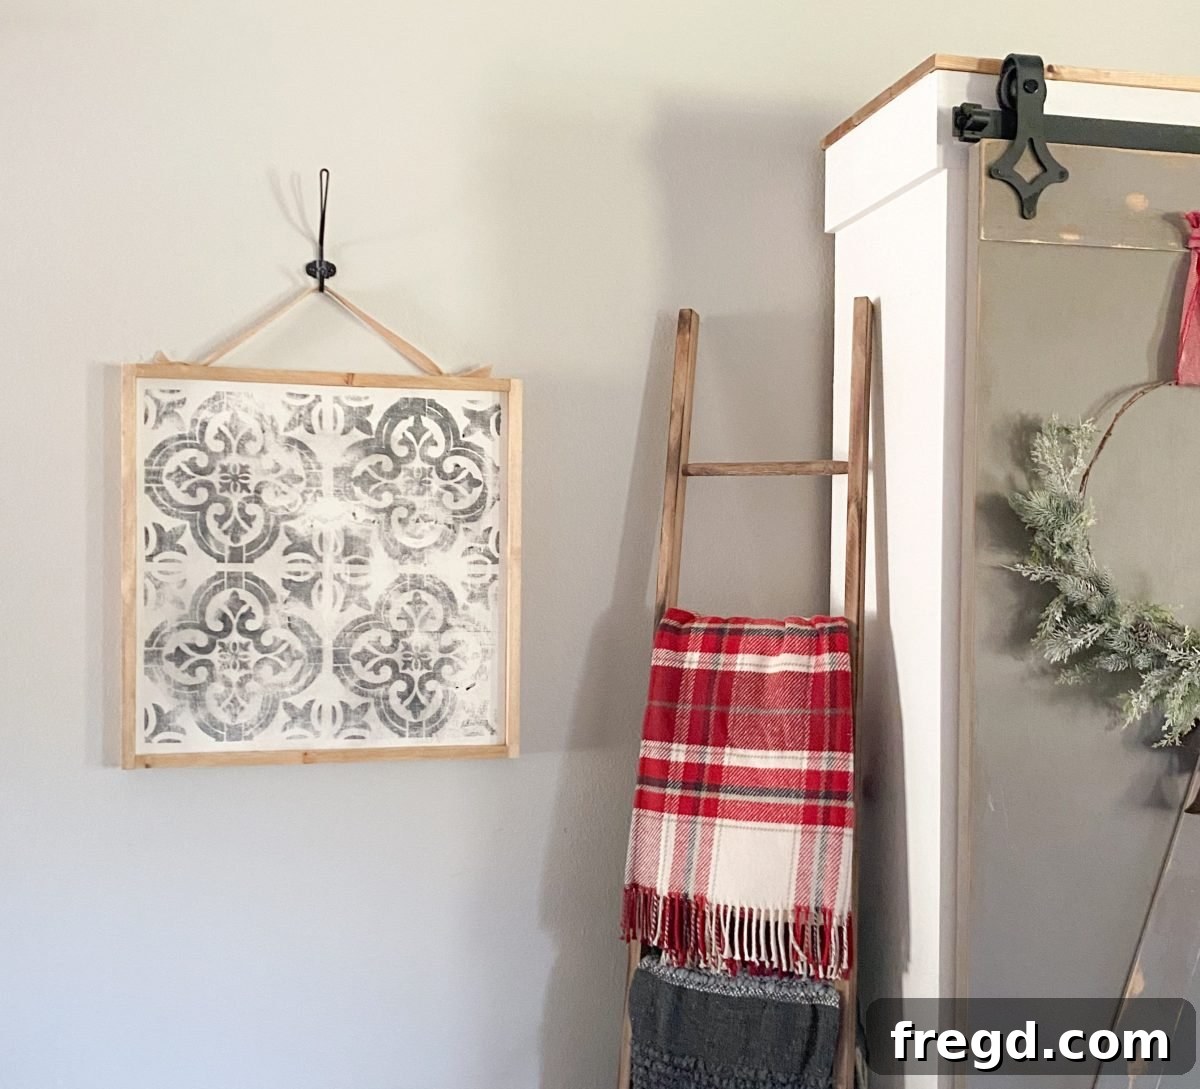
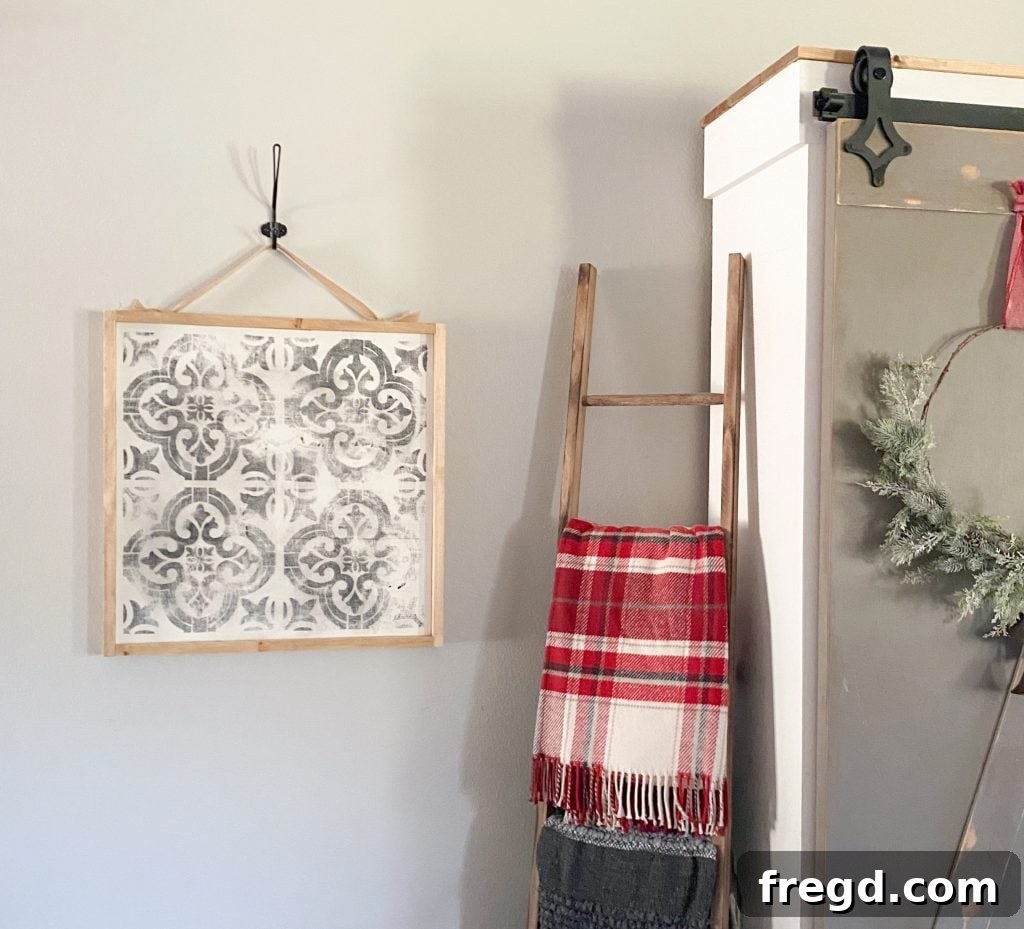
I absolutely LOVE how this project turned out! It perfectly filled that empty spot on my living room wall, injecting a much-needed dose of personality and charm. It was genuinely such a fun, easy, and incredibly rewarding project – proving that you don’t need to be an expert to create stunning home decor. The combination of the crisp stencil, the beautiful chalk paint base, the rustic distressing, and the custom frame creates a piece that looks far more expensive than it actually was. It’s a testament to the power of DIY and the quality of good tools.
The completed DIY Stenciled Wall Art displayed proudly in the living room.
Why Purdy Tools Make a Difference
Throughout this project, the quality of Purdy paint tools truly shone. Their rollers and roller covers are designed for durability and superior performance, consistently delivering smooth, lint-free finishes that are essential for projects like stenciling. When you’re striving for professional-looking results in your DIY endeavors, investing in high-quality tools like Purdy makes all the difference. They truly simplify the painting process and elevate the final outcome. To find out where you can purchase your own Purdy tools and experience the quality for yourself, click here.
This project was sponsored by Purdy Paint Tools, but please know that all opinions, experiences, and enthusiasm are entirely my own! I genuinely love their paint tools; they consistently make every job so much easier and help achieve a professional finish every single time.