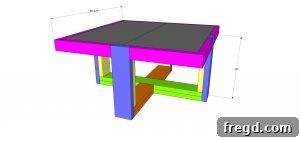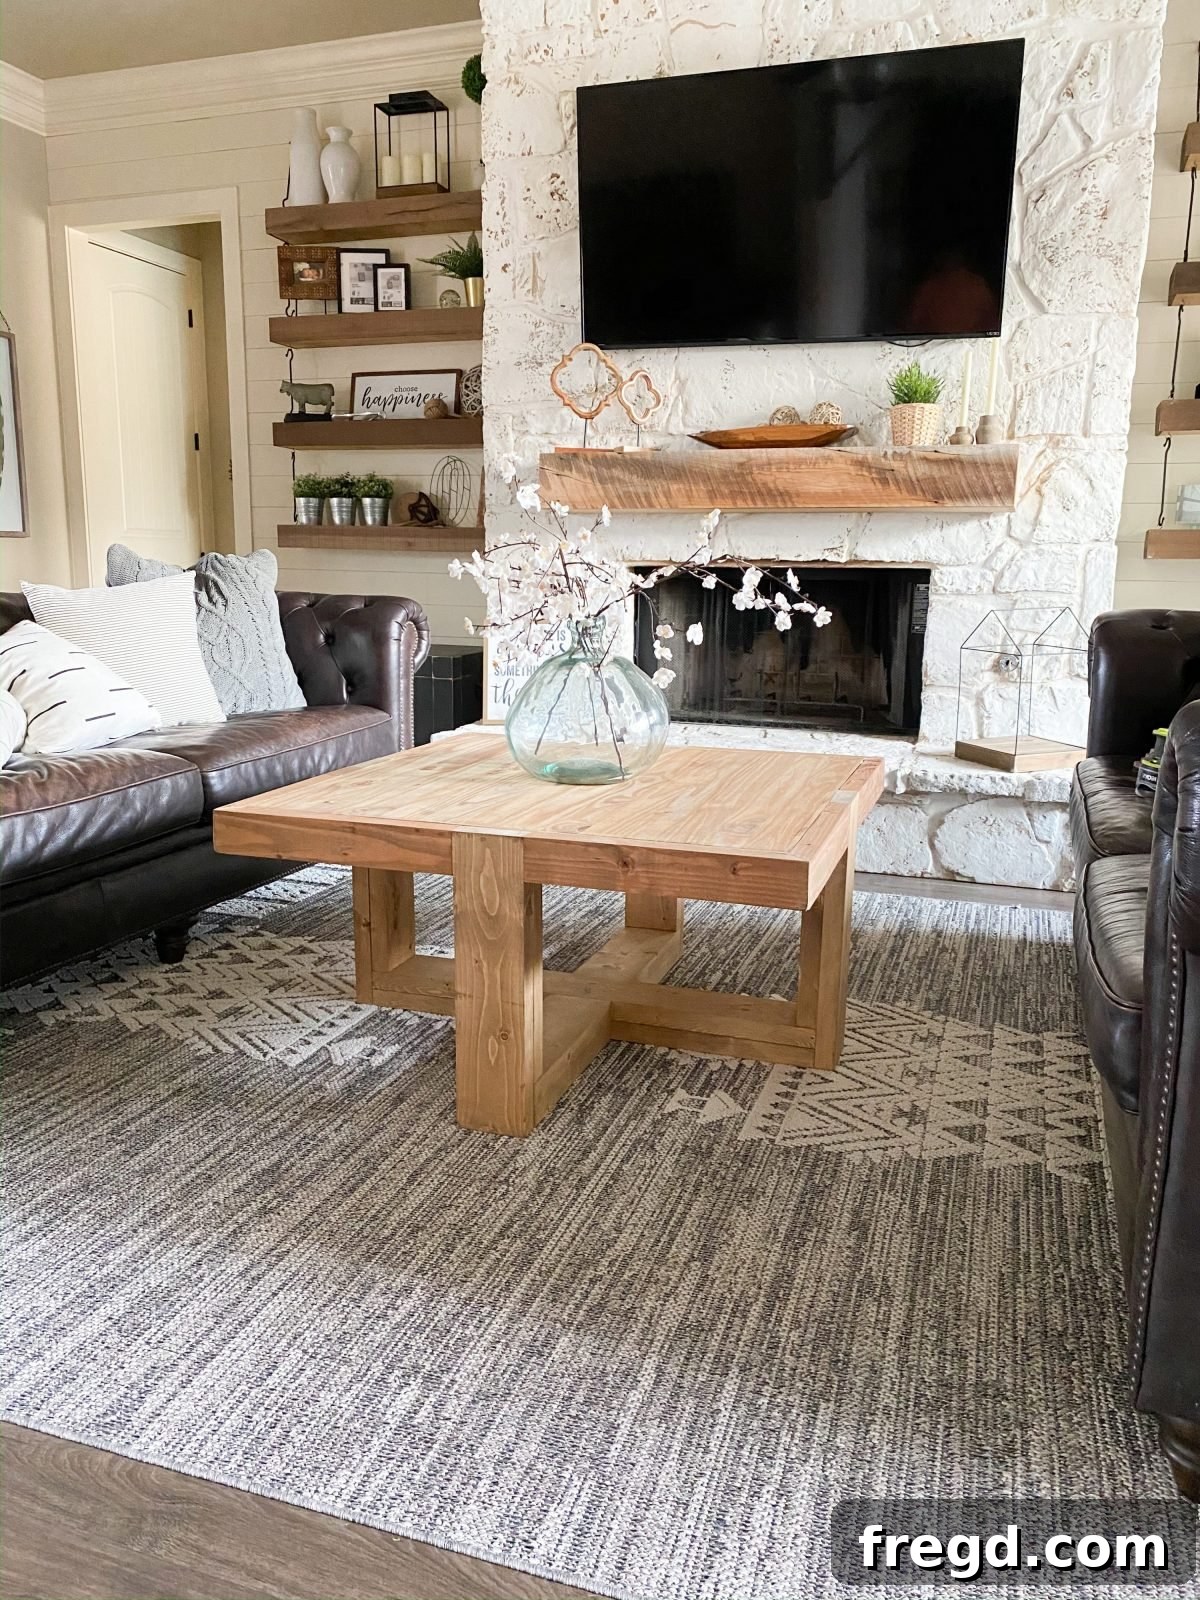
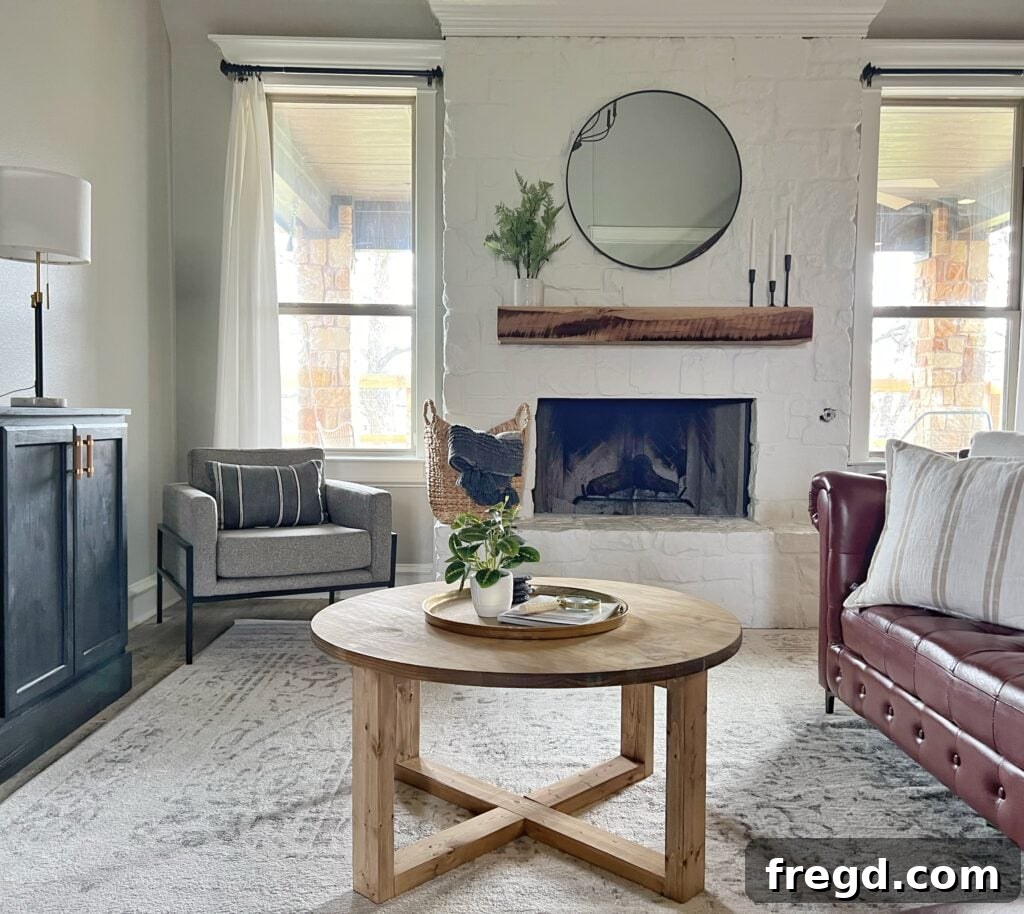
Transform your living space with a stylish and functional centerpiece you built yourself! Learning how to build a DIY Square Coffee Table is an incredibly rewarding project, perfect for anyone looking to add a personal touch to their home decor. Whether you’re a seasoned woodworker or just starting your DIY journey, this comprehensive guide, complete with free plans and a step-by-step tutorial, will walk you through creating a beautiful and sturdy coffee table that will be the envy of your guests. Say goodbye to mass-produced furniture and hello to custom craftsmanship!
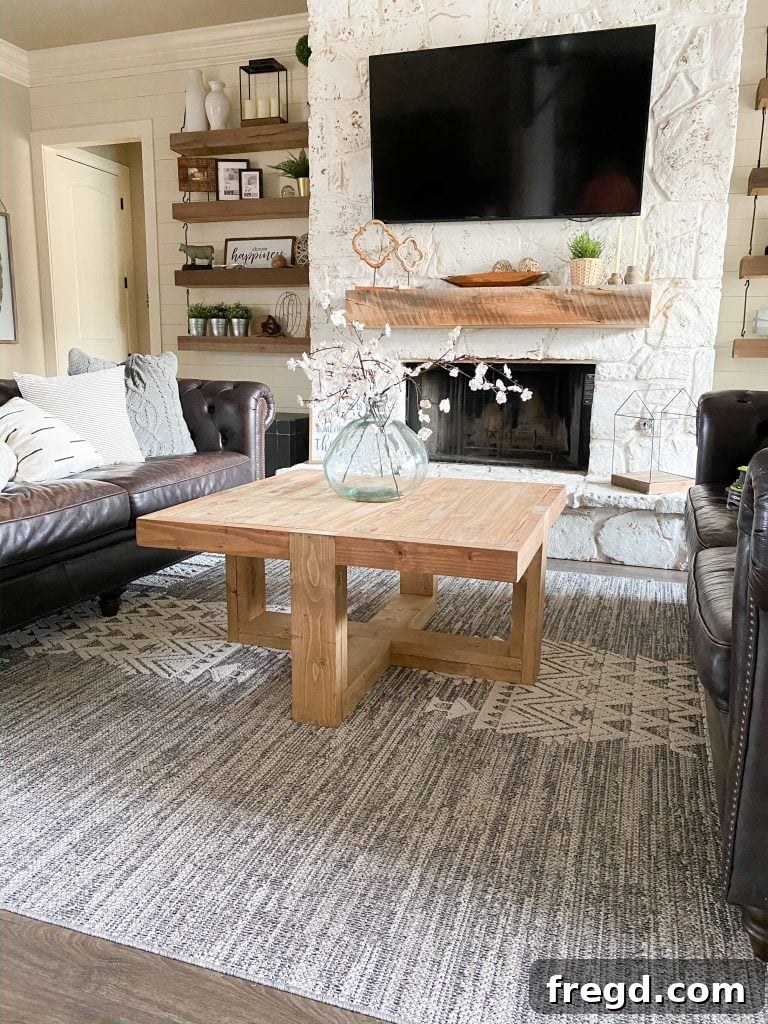
I recently embarked on a mission to revitalize various rooms in my home, and the living room was high on the list. A new coffee table was the perfect starting point, especially after my previous one suffered a few too many puppy-related ‘modifications.’ This project isn’t just about replacing furniture; it’s about infusing character and warmth into your home through the satisfaction of building something with your own hands. This DIY square coffee table design offers both durability and a timeless aesthetic, making it an excellent upgrade for any living area.
Ready to roll up your sleeves and get building? Follow along with our detailed instructions and make sure to download the free plans linked below for a seamless building experience. Our goal is to make this project accessible and enjoyable for everyone, ensuring you end up with a high-quality piece of furniture that stands the test of time.
Click here to jump to the free printable plans and cut list!
How to Build Your Own DIY Square Coffee Table: A Comprehensive Guide
Creating your own square coffee table is a rewarding endeavor that can significantly enhance your living room’s appeal. This guide outlines every step, from gathering your materials to applying the final finish, ensuring a smooth and successful build. We’ll focus on precision, efficiency, and achieving a professional-looking result.
Essential Tools for This DIY Coffee Table Project
Having the right tools is paramount for any woodworking project. For this DIY square coffee table, a few key pieces of equipment will make the process much smoother and more accurate. Here’s what you’ll need:
- Table Saw (optional but recommended): While optional, a table saw provides unparalleled precision for ripping lumber to width and making consistent crosscuts, especially useful if you need to dimension your own lumber.
- Miter Saw: Essential for making accurate, repeatable crosscuts and angled cuts for your lumber, ensuring your pieces fit together perfectly.
- Drill: A cordless drill is indispensable for pre-drilling holes and driving screws, particularly for pocket hole joinery.
- Kreg Jig (Pocket Hole Jig): This tool is a game-changer for creating strong, concealed joints quickly and easily, simplifying the assembly process for your coffee table.
- Brad Nailer: Perfect for quickly securing trim pieces, temporary clamping, and adding structural support where smaller fasteners are appropriate.
- Sander (Orbital or Belt): Critical for achieving a smooth, professional finish. You’ll need it to prepare the wood for staining and finishing, ensuring a flawless surface.
Materials and Supplies You’ll Need
Selecting the right materials is crucial for the durability and aesthetic of your square coffee table. This project utilizes common lumber types that are both affordable and easy to work with. Gather these supplies before you begin:
- 5 – 2x6x8 Pine or Framing Lumber: These will form the robust framework and structural components of your coffee table. Pine is a popular choice for its workability and cost-effectiveness.
- 2 – 2x4x8 Pine or Framing Lumber: Used for additional support and specific structural elements.
- 2 – 1×24″x48″ Project Panels: These pre-sized panels will form the surface of your coffee table top, offering a smooth and stable foundation.
- 1 1/4″ Pocket Hole Screws: For securing the table top panels together and attaching the top to the base.
- 2 1/2″ Pocket Hole Screws: For assembling the sturdy base frame, providing strong and reliable connections.
- 1 1/4″ Brad Nails: For various trim and finishing applications where a smaller, less visible fastener is desired.
- 2″ Brad Nails: Used for attaching runners and other base components, offering quick and secure temporary or permanent holds.
- Wood Glue: An essential component for any strong joint. Always use wood glue in conjunction with screws or nails for maximum strength and longevity.
Part 1: Building the Robust Base of Your Coffee Table
The base is the foundation of your DIY square coffee table, providing stability and support. Taking your time and ensuring accuracy in these initial steps will pay off in the final product’s strength and appearance.
Step 1: Preparing and Assembling the Legs and Bottom Runner
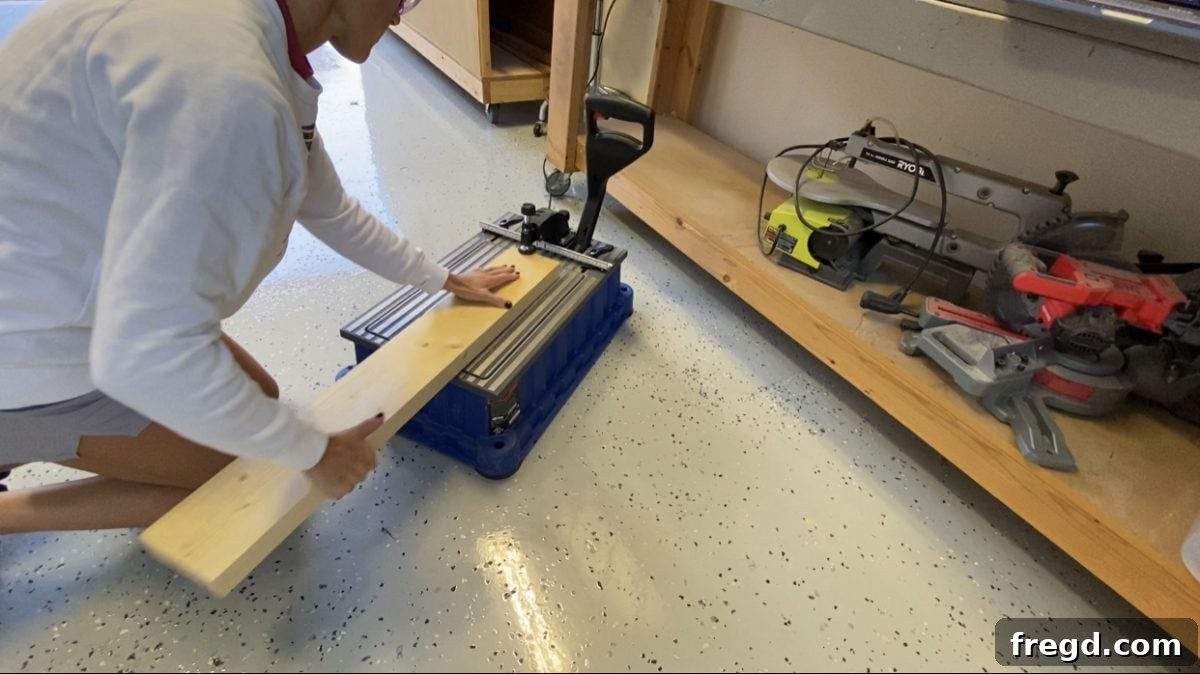
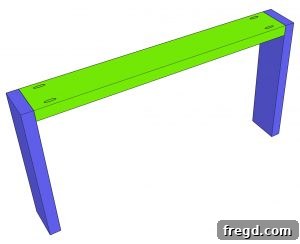
Begin by cutting all your leg pieces to the specified sizes according to the detailed cut list found in the free plans. Once cut, use your Kreg Jig to drill 1 1/2″ pocket holes into the designated areas of the leg pieces. For those tackling numerous large projects, a tool like the Kreg Foreman can significantly speed up the process, making it a fantastic investment for serious DIYers.
- You can find the Kreg Foreman here for high-volume work!
If you’re building for your home and need a reliable, user-friendly pocket hole tool, we highly recommend the Kreg Jig K5. It’s excellent for a wide range of household projects.
- Discover the versatile Kreg Jig K5 here!
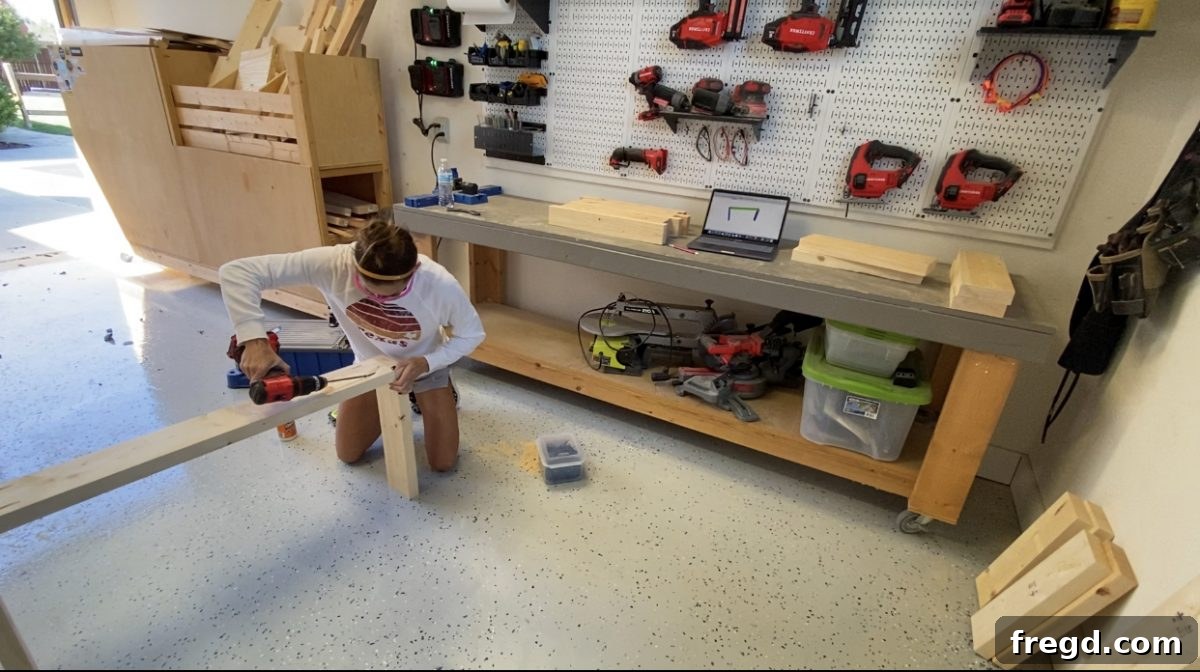
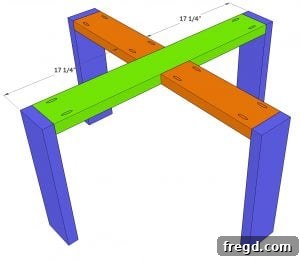
With your pocket holes drilled, it’s time to assemble. Apply a generous amount of wood glue to the joining surfaces, then attach the bottom runner piece to two of the leg pieces. Use 2 1/2″ pocket hole screws to create a strong, durable joint. Ensure the pieces are flush and square before fully tightening the screws.
Step 2: Connecting the Short Runners to the Base Structure
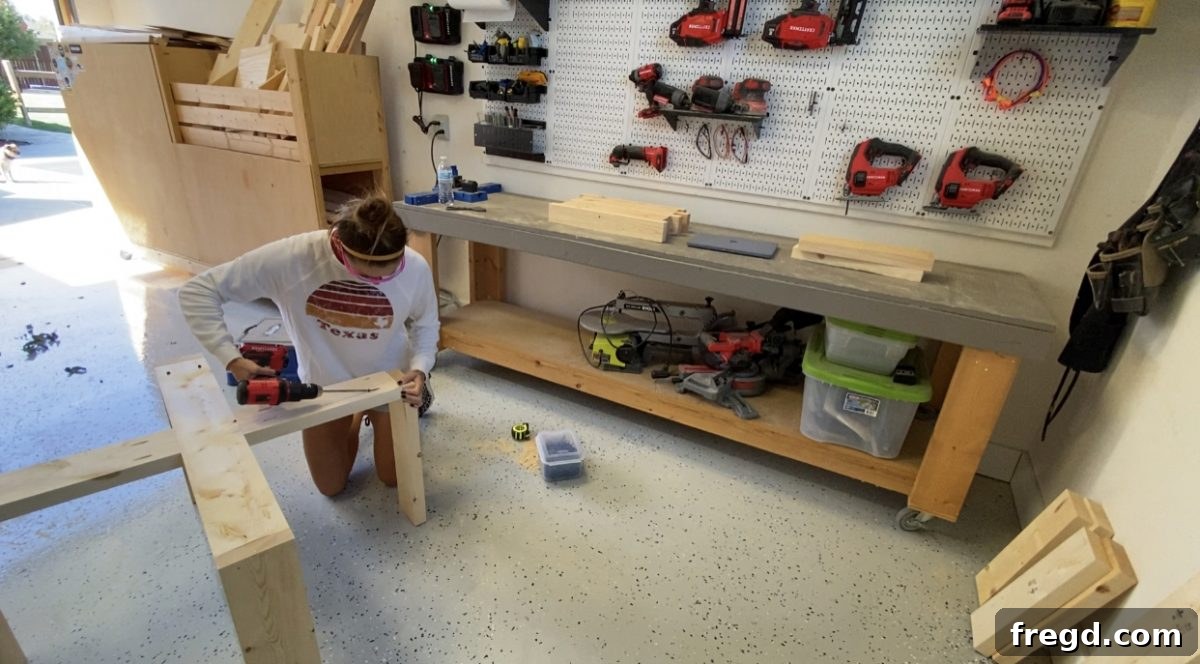
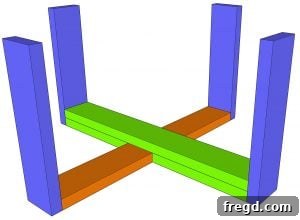
Next, take two of your bottom short runners. Attach one end of each short runner to a leg, and then connect the opposite ends of these short runners to the center of the long runner you assembled in Step 1. Again, use 2 1/2″ pocket hole screws along with wood glue. This step begins to define the square footprint of your coffee table’s base, so meticulous measurement and alignment are crucial.
Step 3: Integrating the Second Long Runner for Enhanced Stability
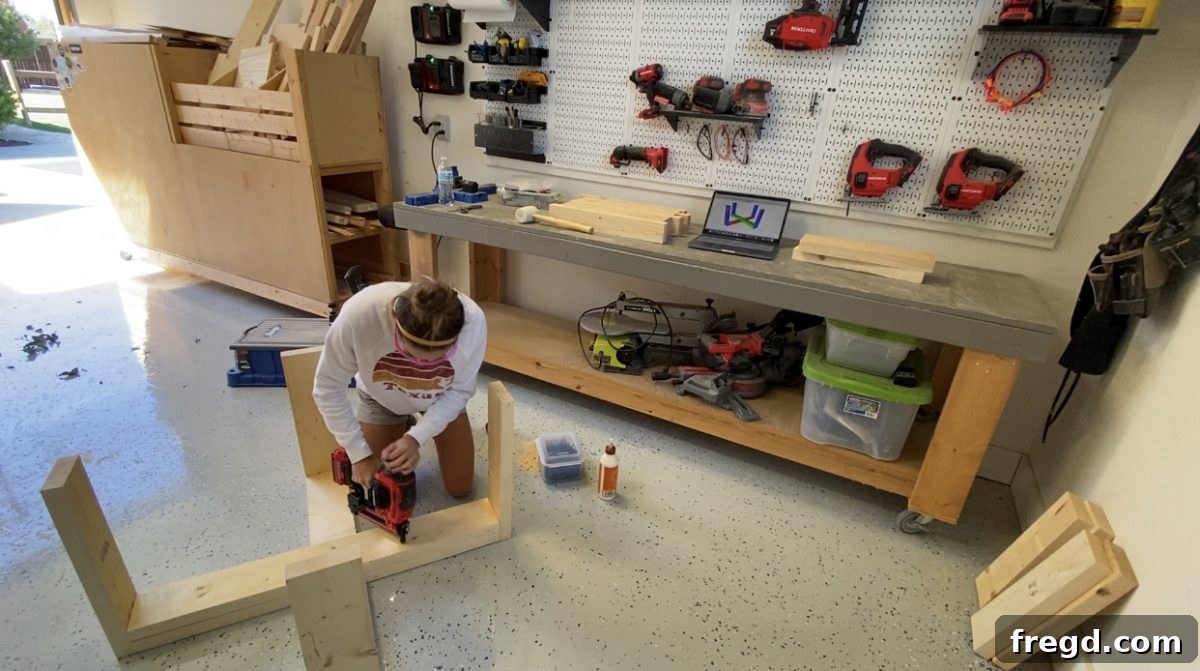
Carefully flip the assembled table base right-side-up. Now, position the second long runner on top of the bottom runner, ensuring it’s perfectly aligned. Secure this piece using 2″ brad nails and wood glue. The brad nails will hold it firmly in place while the glue dries, creating an incredibly strong bond that prevents any shifting or weakening over time. This step significantly boosts the stability of your DIY square coffee table’s base.
Step 4: Adding the Second Set of Short Runners
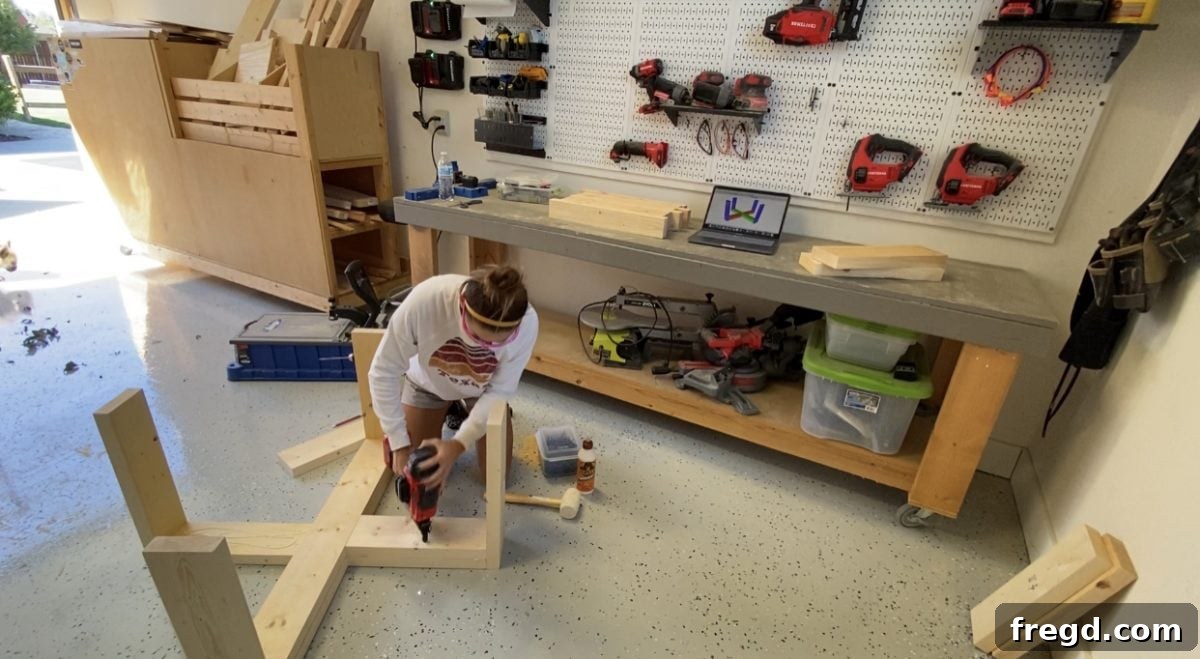
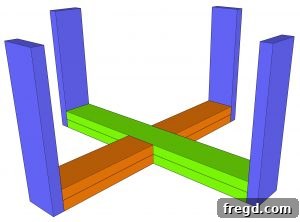
Similar to Step 3, attach the second set of short runners to the top of their corresponding bottom short runners. Use 2″ brad nails and wood glue for this connection. These runners reinforce the square shape of the base and provide additional support for the table top, ensuring a robust and stable structure.
Step 5: Finalizing the Leg Assembly
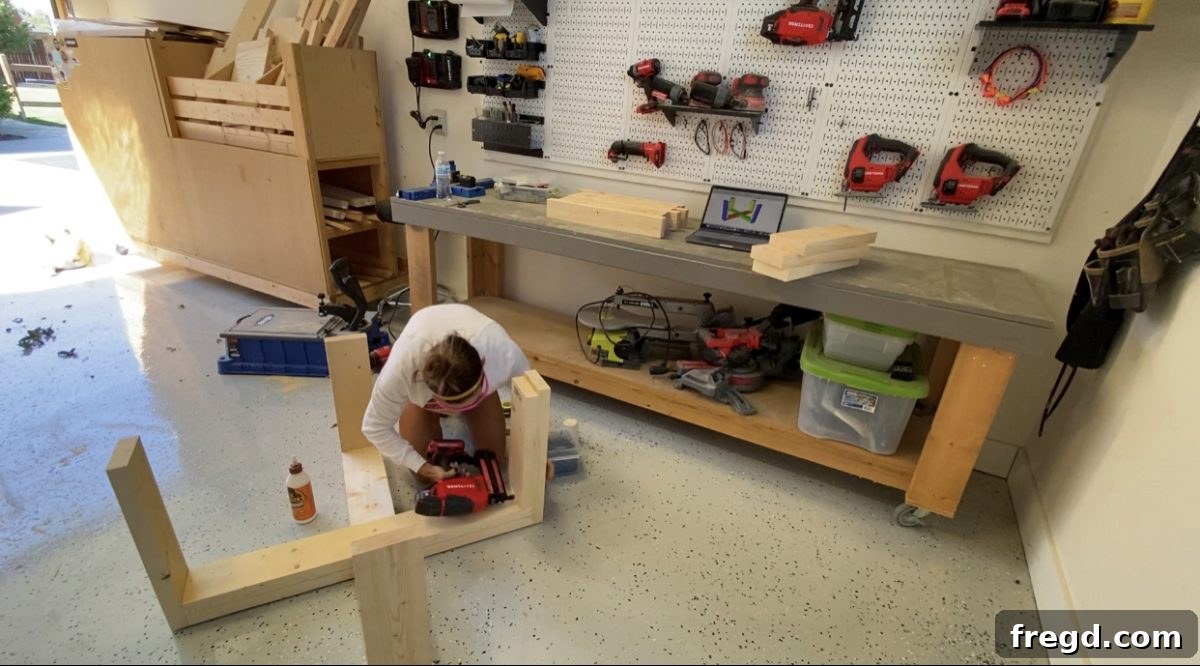
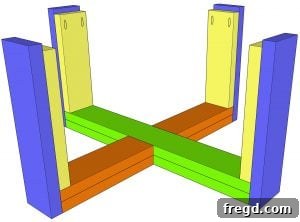
To complete the base, attach the short legs to the long legs using 2″ brad nails and wood glue. It is critically important that the bottom of the short legs are flush with the top of the long runner. This precise alignment guarantees that the table top will rest evenly and securely, contributing to the overall integrity and levelness of your finished DIY square coffee table.
Part 2: Crafting the DIY Square Coffee Table Top
The table top is the most visible component of your coffee table, so attention to detail here will truly make your project shine. These steps focus on creating a smooth, strong, and visually appealing surface.
Step 1: Assembling the Project Panels for the Table Top
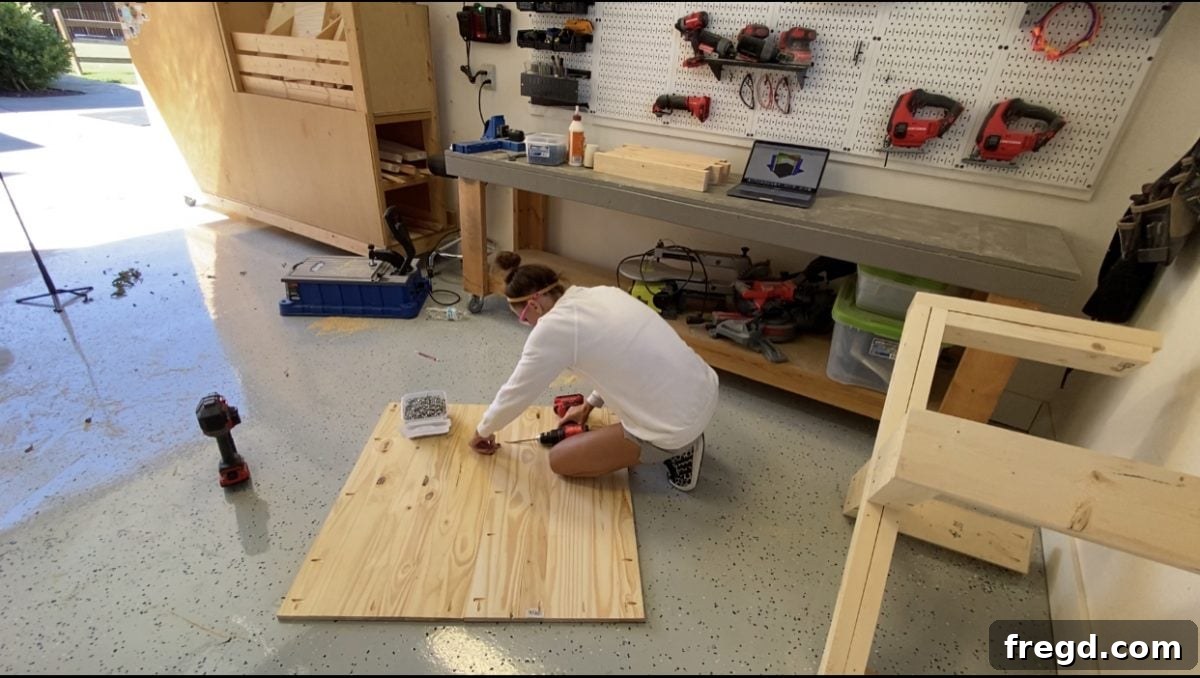
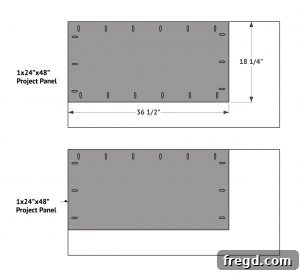
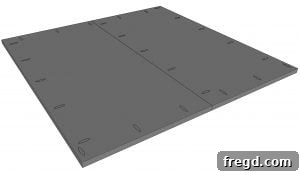
Start by cutting your project panels to the required size as per your plans. For optimal strength and a seamless look, you’ll need to drill 3/4″ pocket holes. Drill these holes around all four edges of one panel and along three edges of the other. Apply wood glue to the joining edges and then carefully attach the two panels together using 1 1/4″ pocket hole screws. This creates a larger, unified table top surface that is both sturdy and beautiful.
Step 2: Attaching the Table Top to the Base
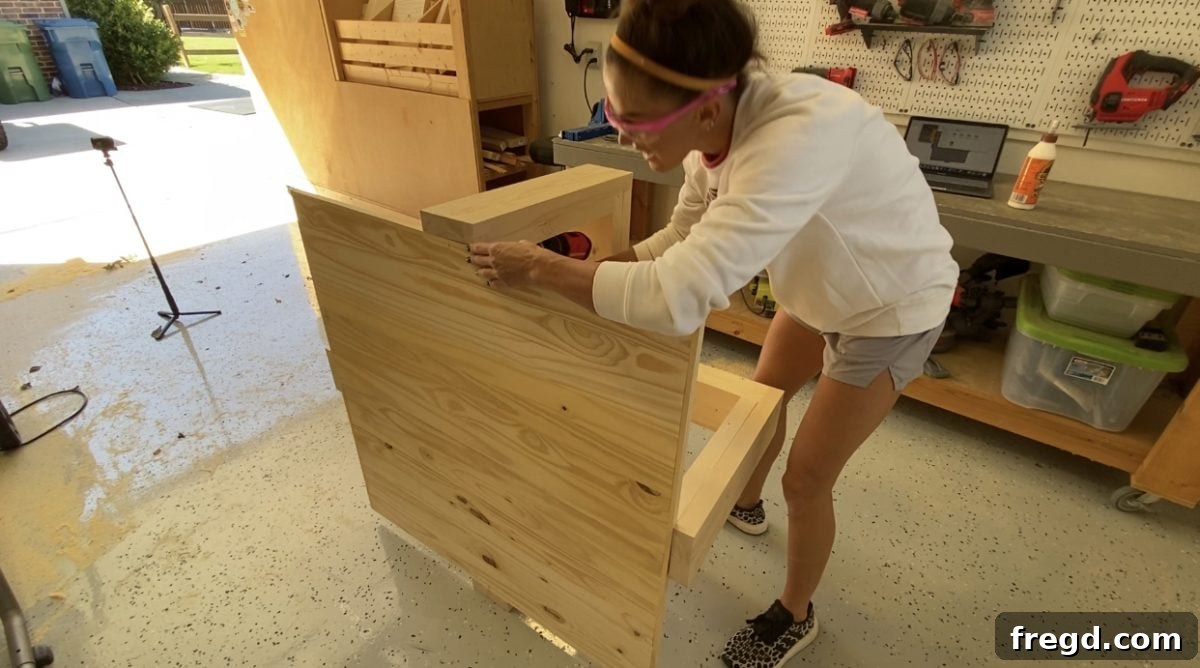
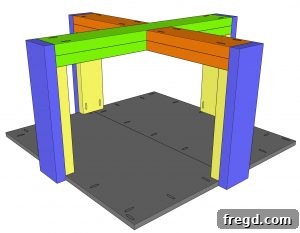
With your table top now assembled, gently flip it upside down on a clean, protected surface. Then, carefully invert the table base and position it upside down on top of the table top. Ensure that the short legs of the base are resting directly on the table top. Apply wood glue to the contact points between the short legs and the table top, then securely attach the table top to the short legs using 1 1/4″ pocket hole screws. This method provides a very strong attachment while keeping fasteners hidden on the finished top surface.
Step 3: Installing the Central Support Piece
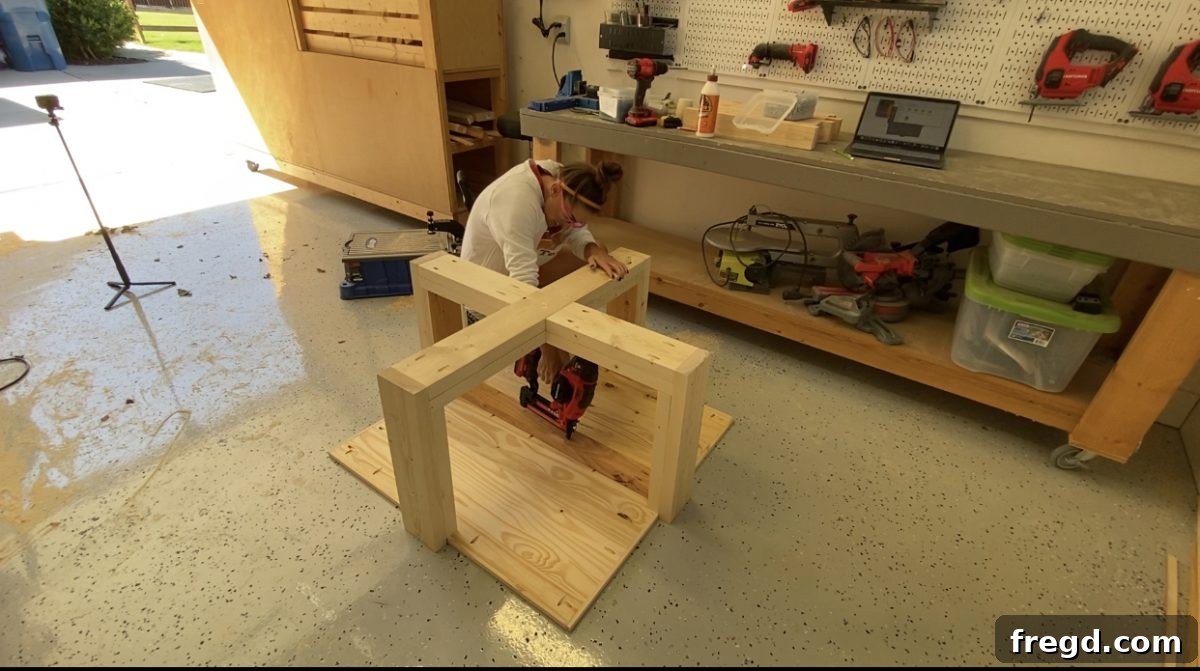
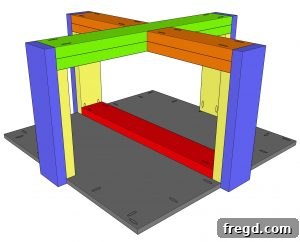
Cut your support piece to the appropriate size and drill 1 1/2″ pocket holes at both ends. This piece is vital for reinforcing the seam where your two project panels meet, preventing any future bowing or separation. Position the support piece over the table top seam and attach it to the legs using 2 1/2″ pocket hole screws and wood glue. Additionally, secure it to the table top itself with 2″ brad nails. This multi-point attachment ensures maximum stability and durability for your DIY square coffee table’s top.
Part 3: Adding the Finishing Touches with Table Top Trim
Trim pieces not only enhance the aesthetic appeal of your coffee table but also provide protection for the edges of your table top. Careful measurement and mitered cuts are key for a seamless finish.
Step 1: Measuring, Cutting, and Attaching the Trim Pieces
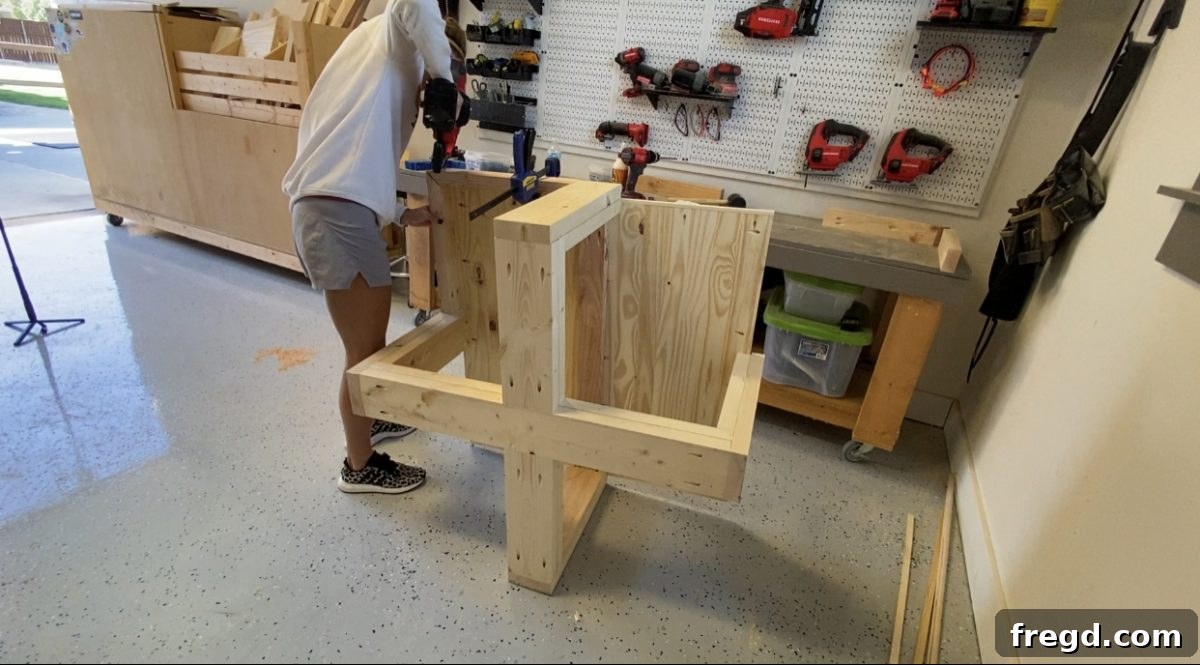
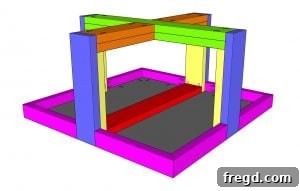
Measure and cut the trim pieces to size, ensuring that any corner joints are cut at a precise 45° angle for a clean, mitered look. Drill 1 1/2″ pocket holes into each square end of the trim pieces. Apply wood glue to the edges of the table top and to the joining surfaces of the trim. Attach the trim to the table top using 1 1/4″ pocket hole screws and further secure it to the table legs with 2 1/2″ pocket hole screws and wood glue. For the mitered corners, add a few 2″ brad nails and wood glue to firmly join the 45° angles together, creating a beautiful and cohesive perimeter for your DIY square coffee table.
Part 4: The Finish – Elevating Your Coffee Table to Perfection
The finishing process is where your hard work truly comes to life. A well-applied finish not only protects the wood but also enhances its natural beauty, giving your DIY square coffee table a professional, polished appearance.
Step 1: Preparing the Surface with Filling and Sanding
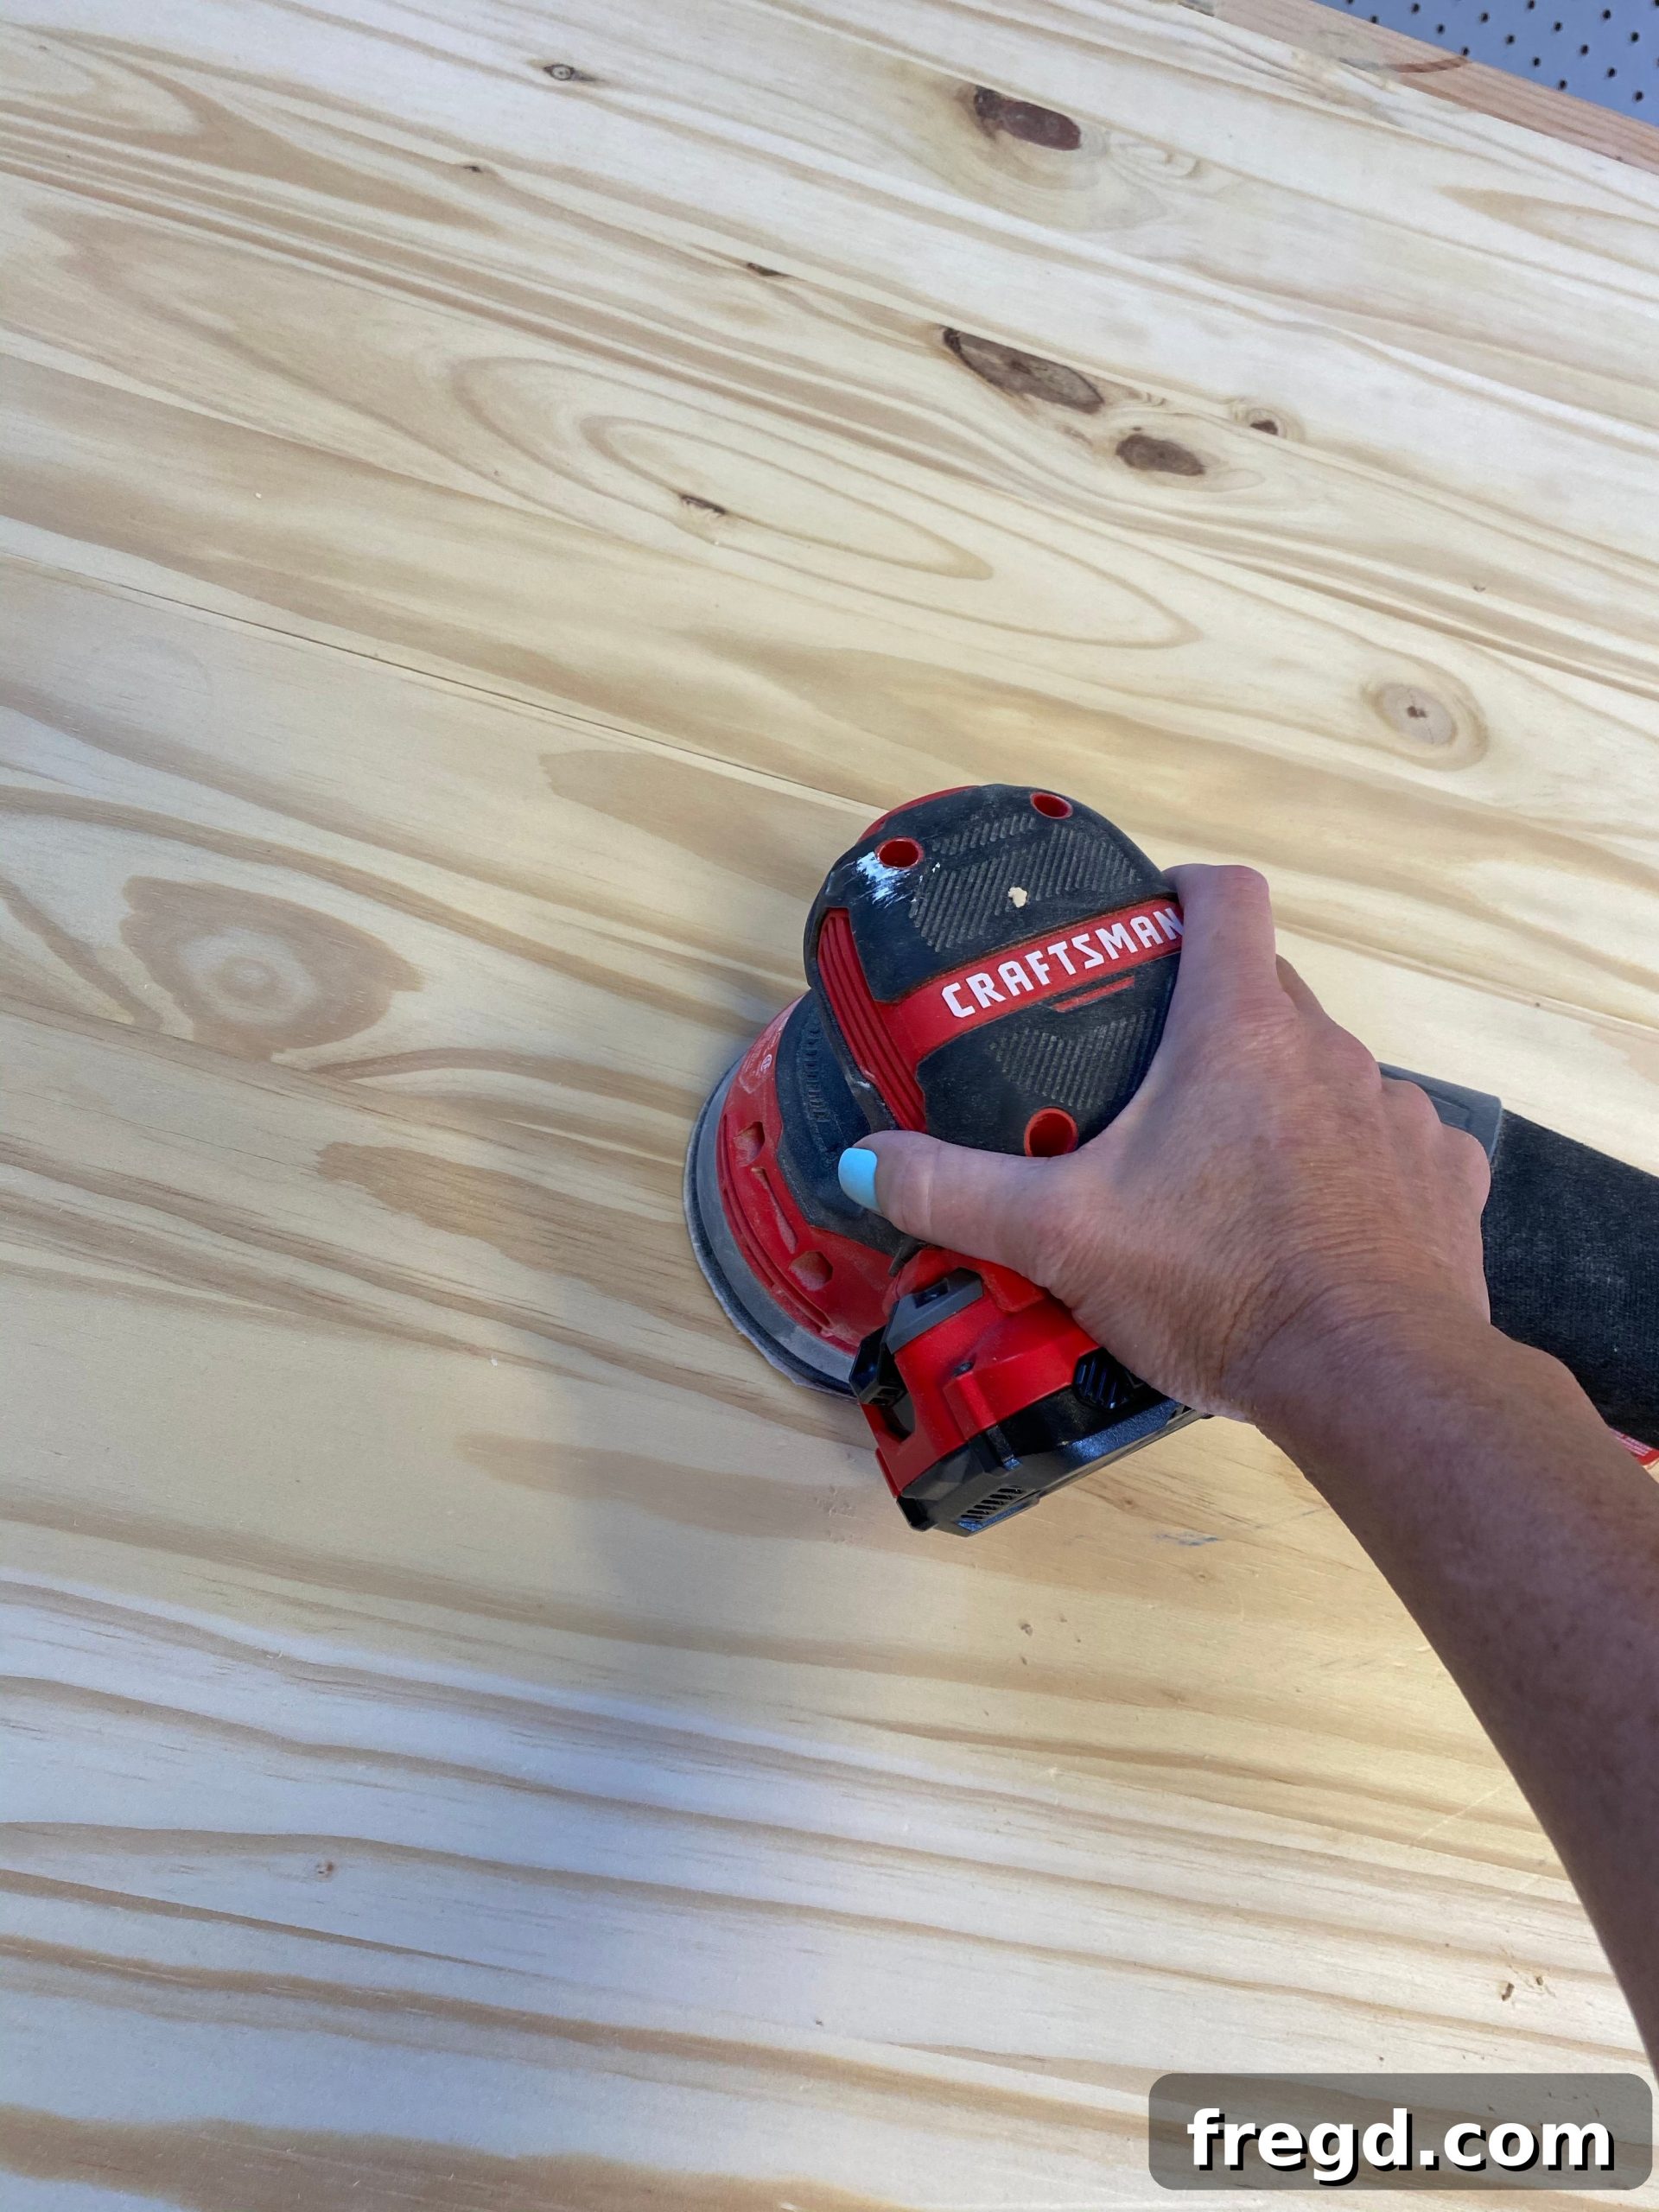
Once the table is fully assembled and the glue has had ample time to dry, it’s time for surface preparation. Fill any visible pocket holes and nail holes with a quality wood filler, allowing it to dry completely. Then, begin sanding the entire table. Start with 80-grit sandpaper to remove any major imperfections or tool marks, followed by 120-grit for further smoothing, and finally, finish with 220-grit sandpaper for a silky-smooth surface. After thorough sanding, wipe down the table to remove all dust. To ensure an even stain application, apply a Minwax pre-stain wood conditioner. This step is crucial for preventing blotchiness, especially on pine, and ensures a beautiful, consistent color.
Step 2: Custom Staining for a Unique Look
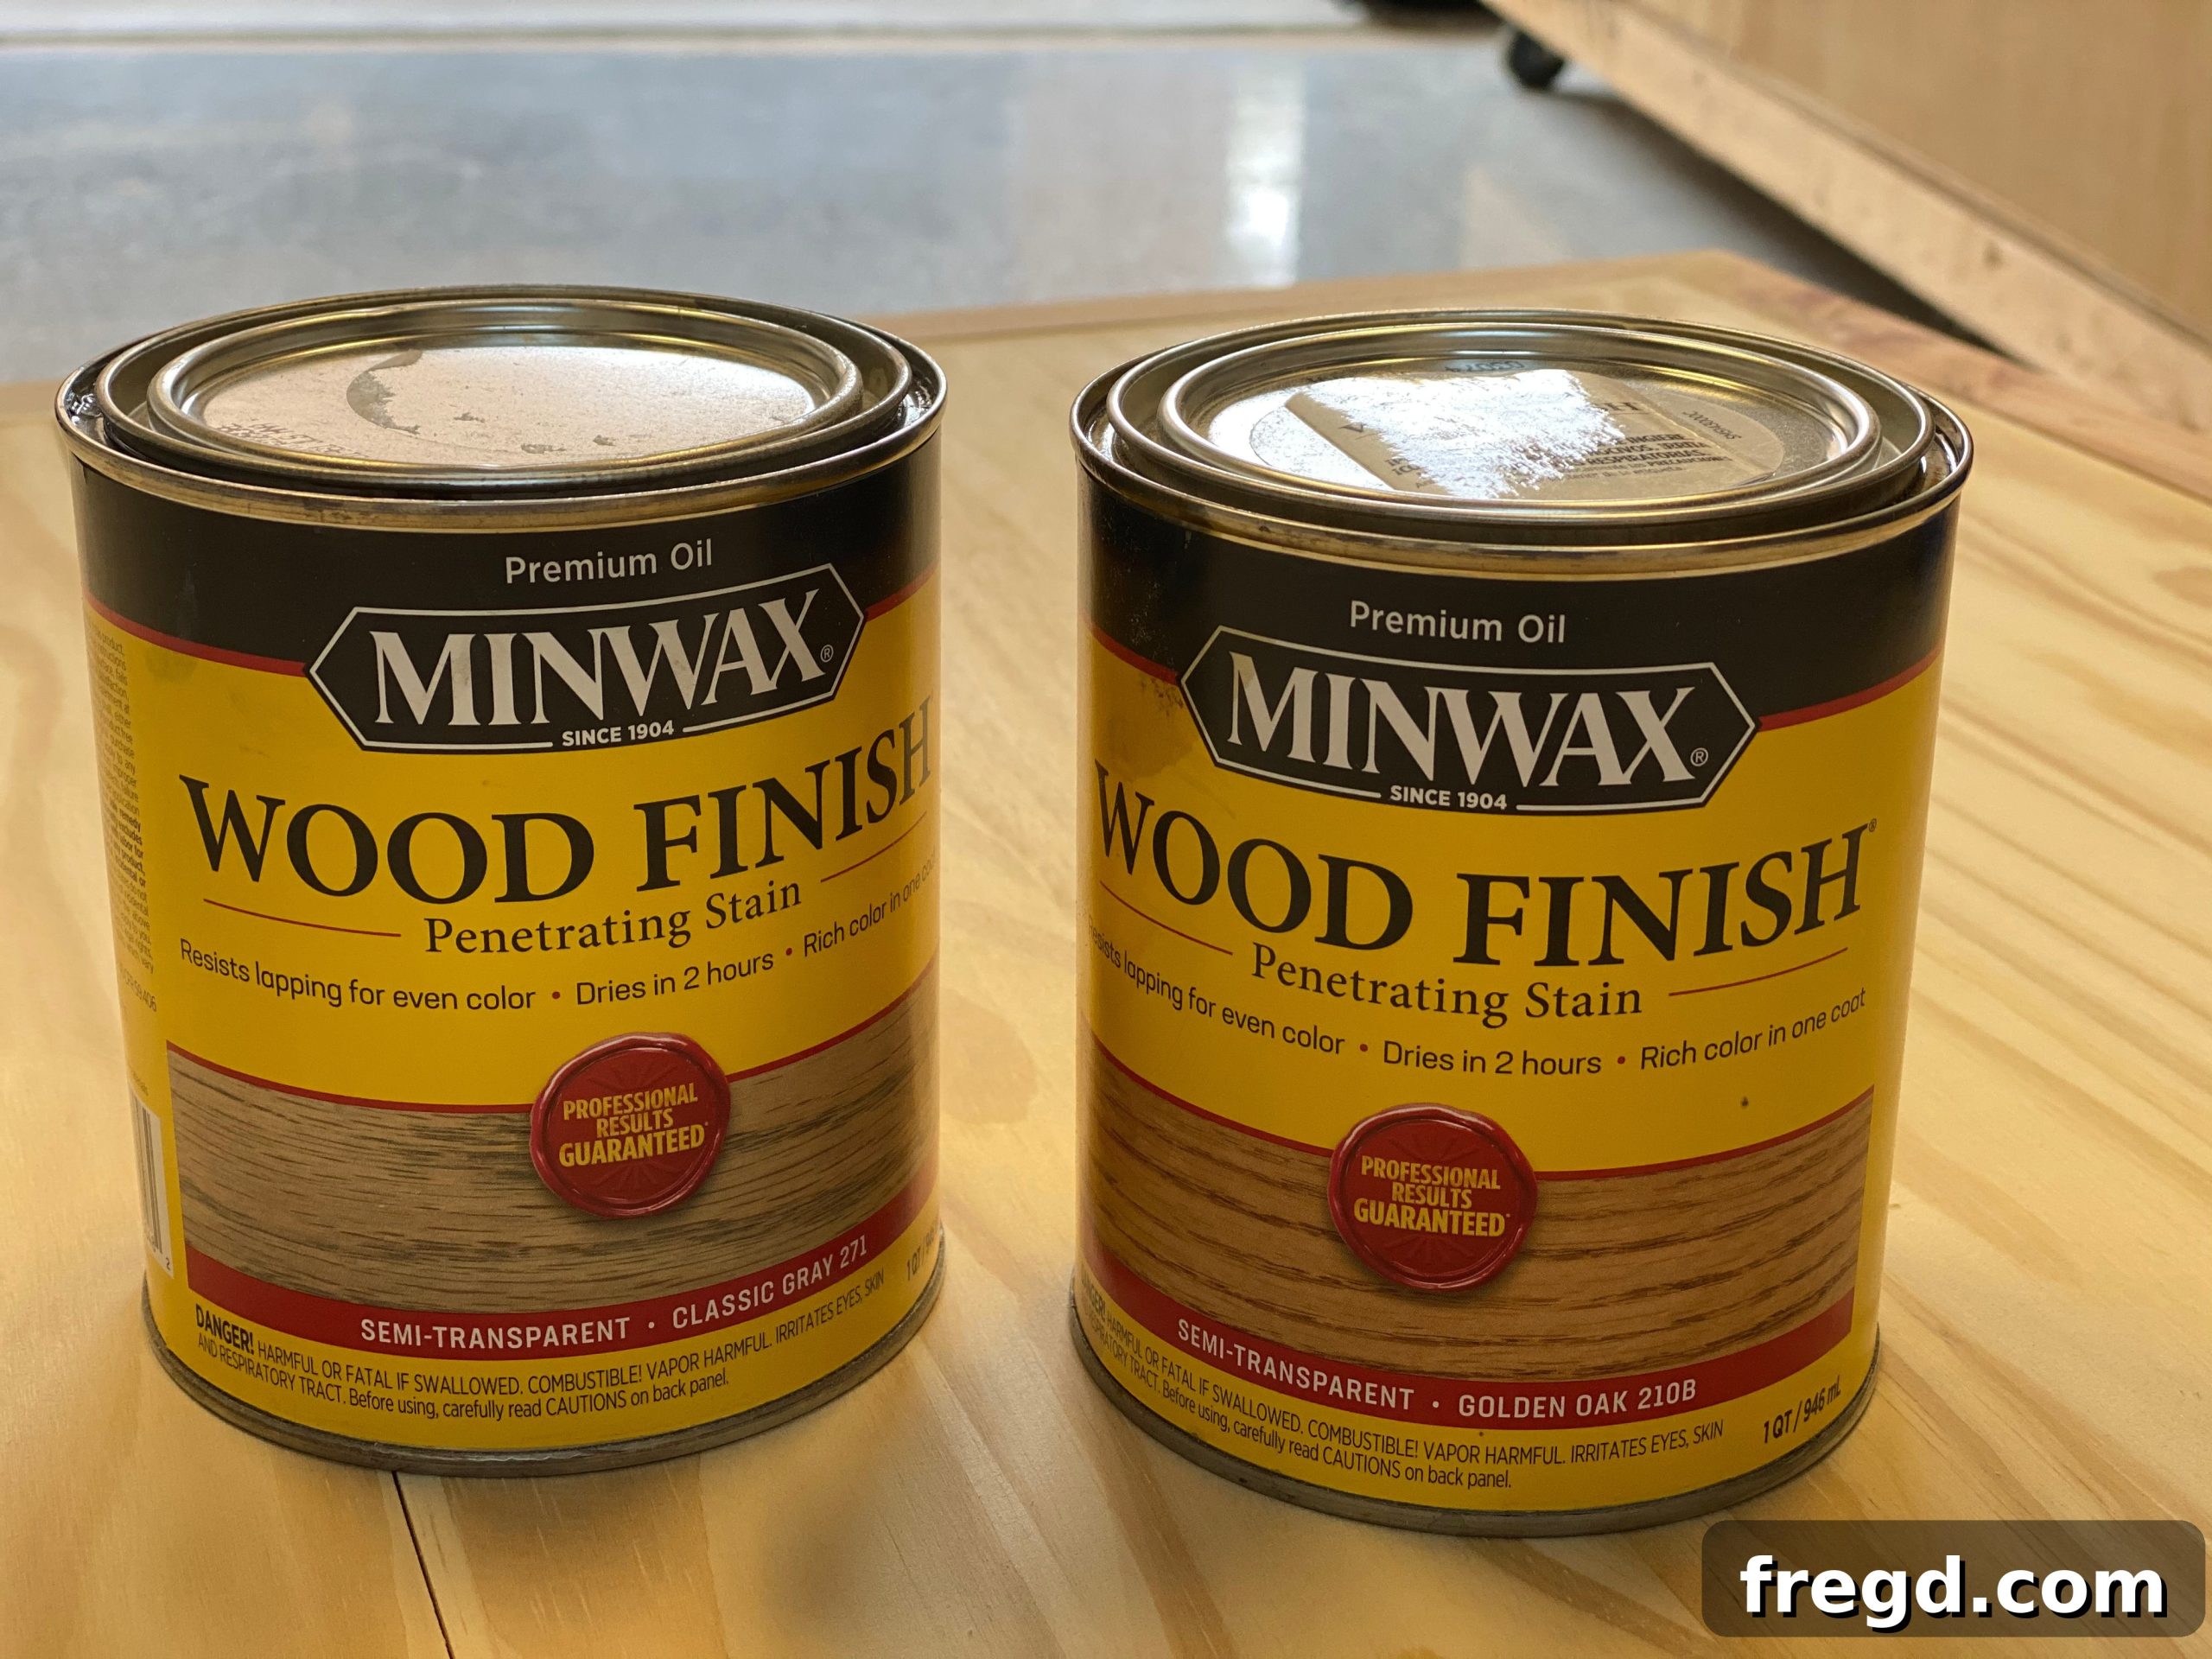
For a truly custom look, consider mixing your own stain. For this square coffee table, I combined two parts Minwax Wood Finish in Golden Oak with one part Classic Gray. This blend creates a warm, rich tone with subtle gray undertones, perfect for a modern rustic aesthetic.
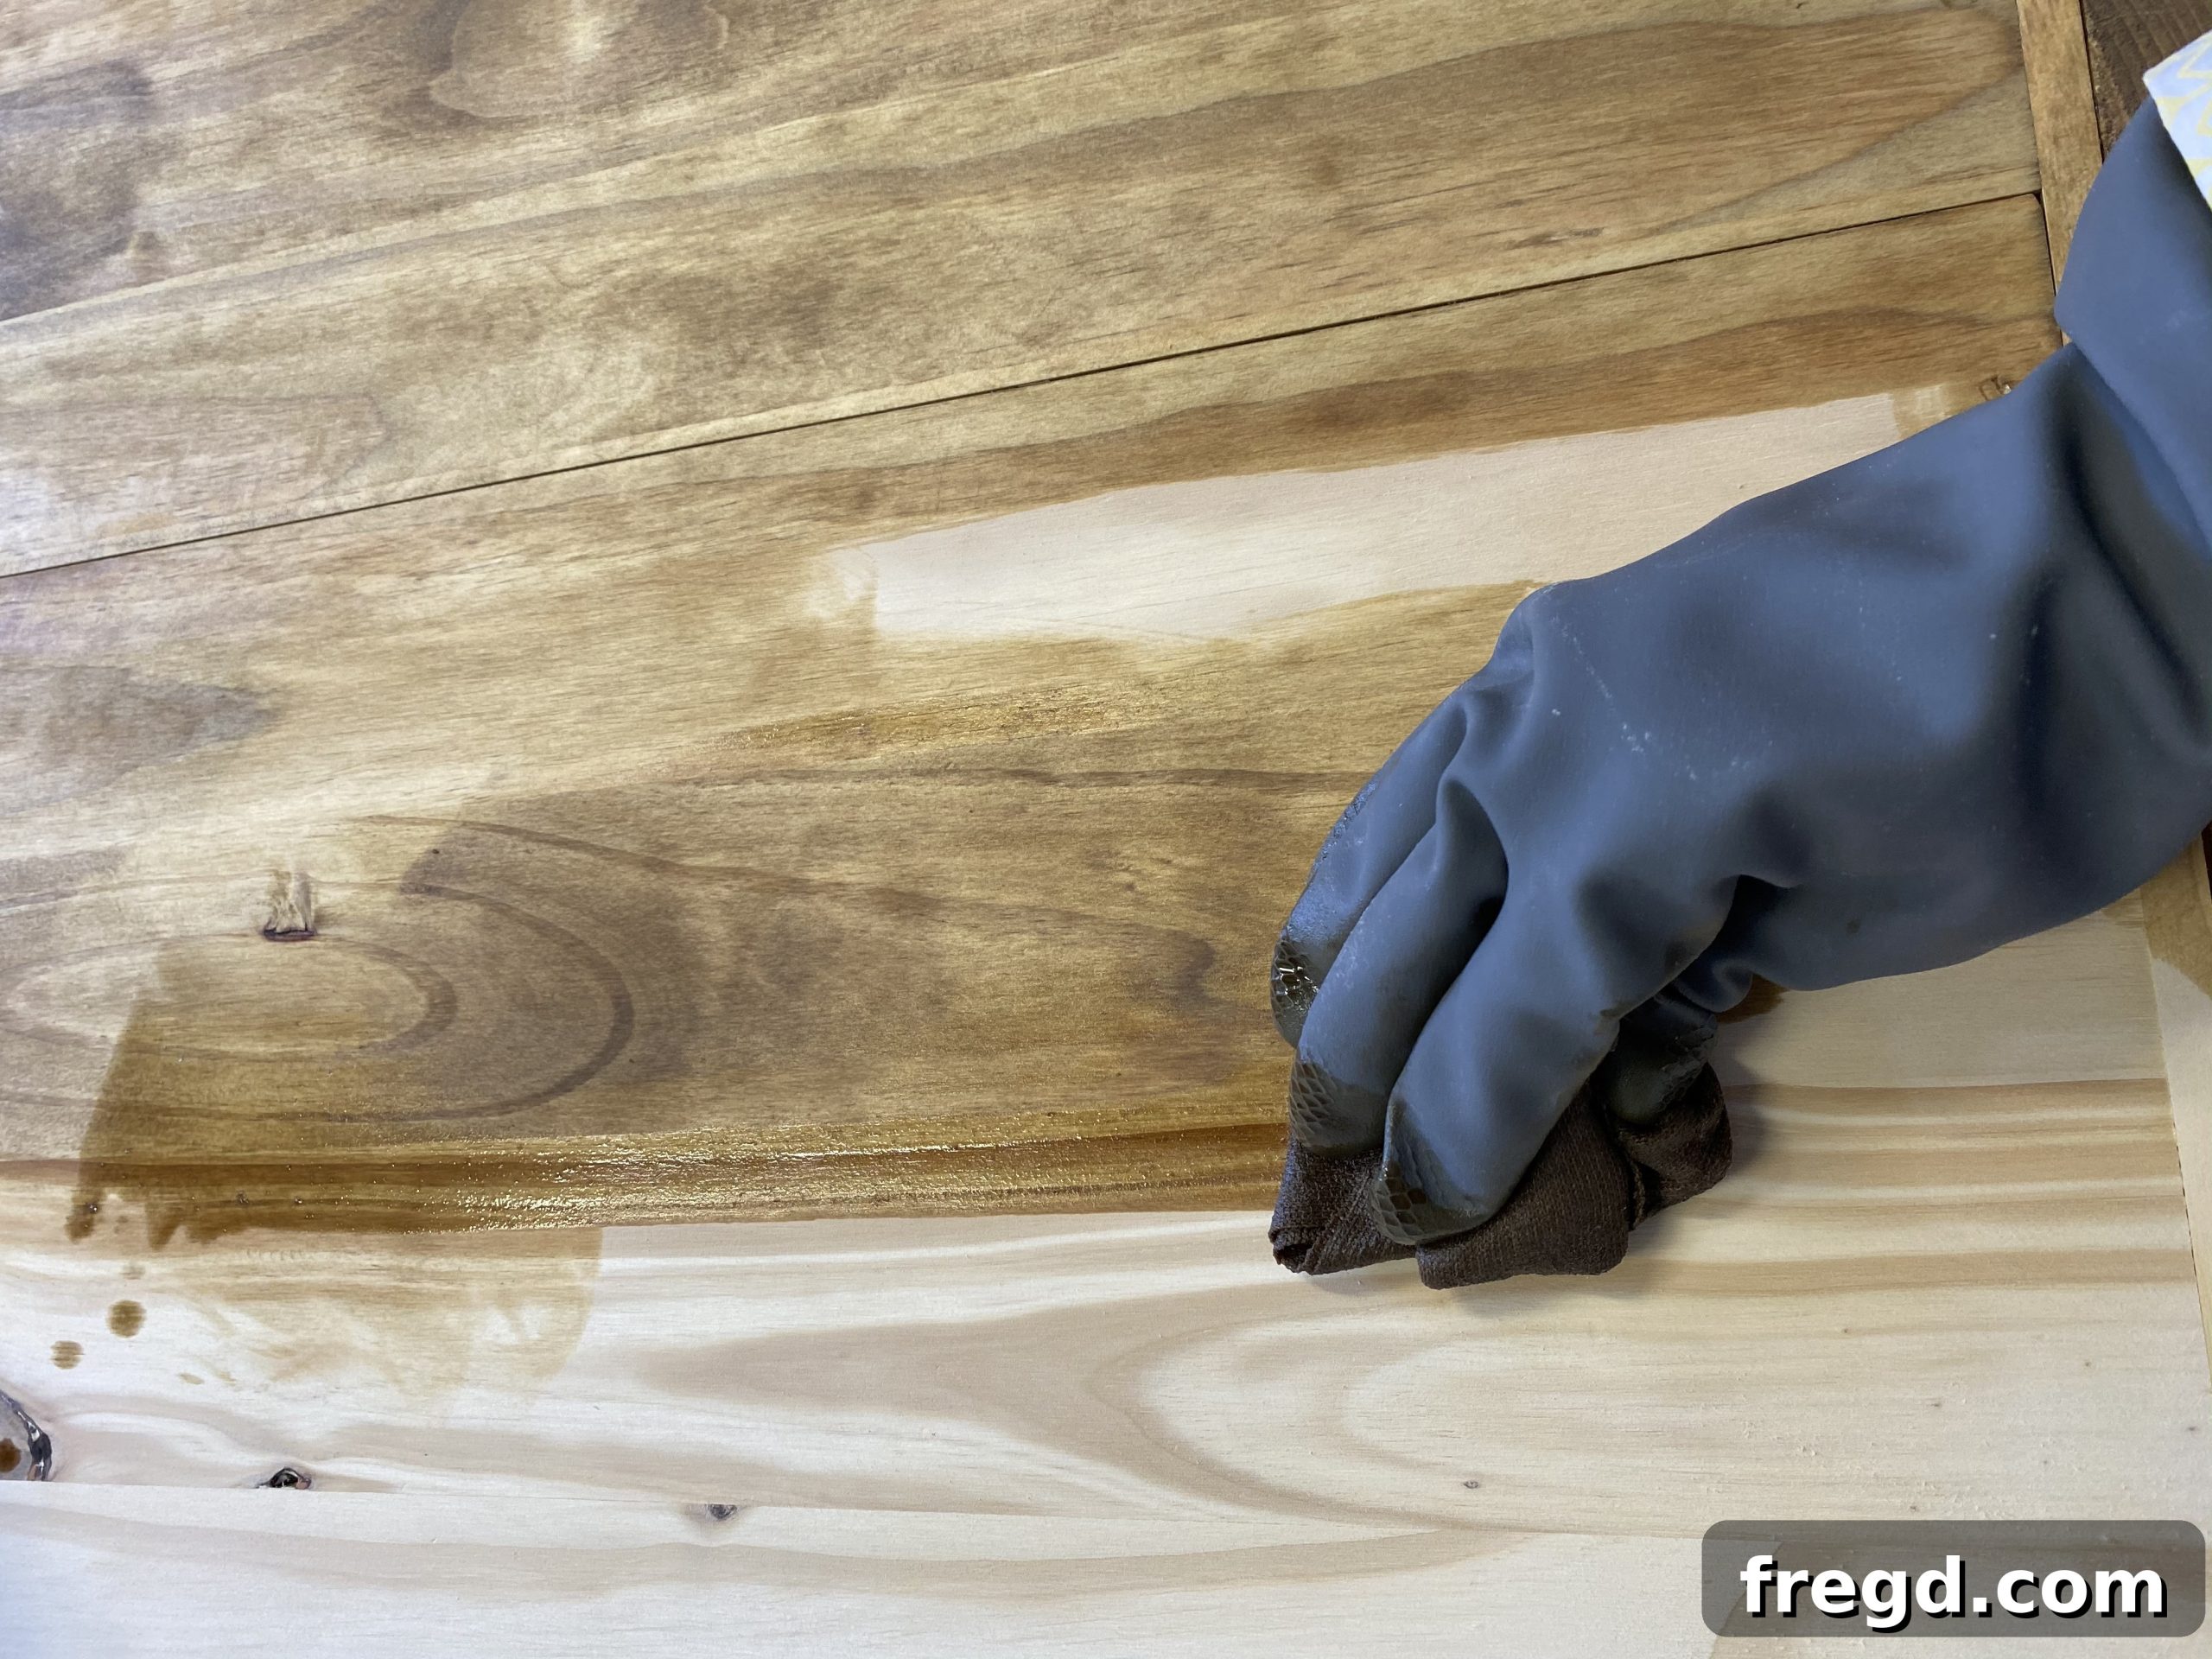
Minwax’s new Wood Finish line is incredibly user-friendly. Simply apply the stain with a clean rag, wiping it evenly over the wood surface. The formula typically requires only one coat and dries completely within a few hours, allowing you to move quickly to the next step of protecting your beautiful new DIY square coffee table.
Step 3: Applying a Protective Finishing Wax
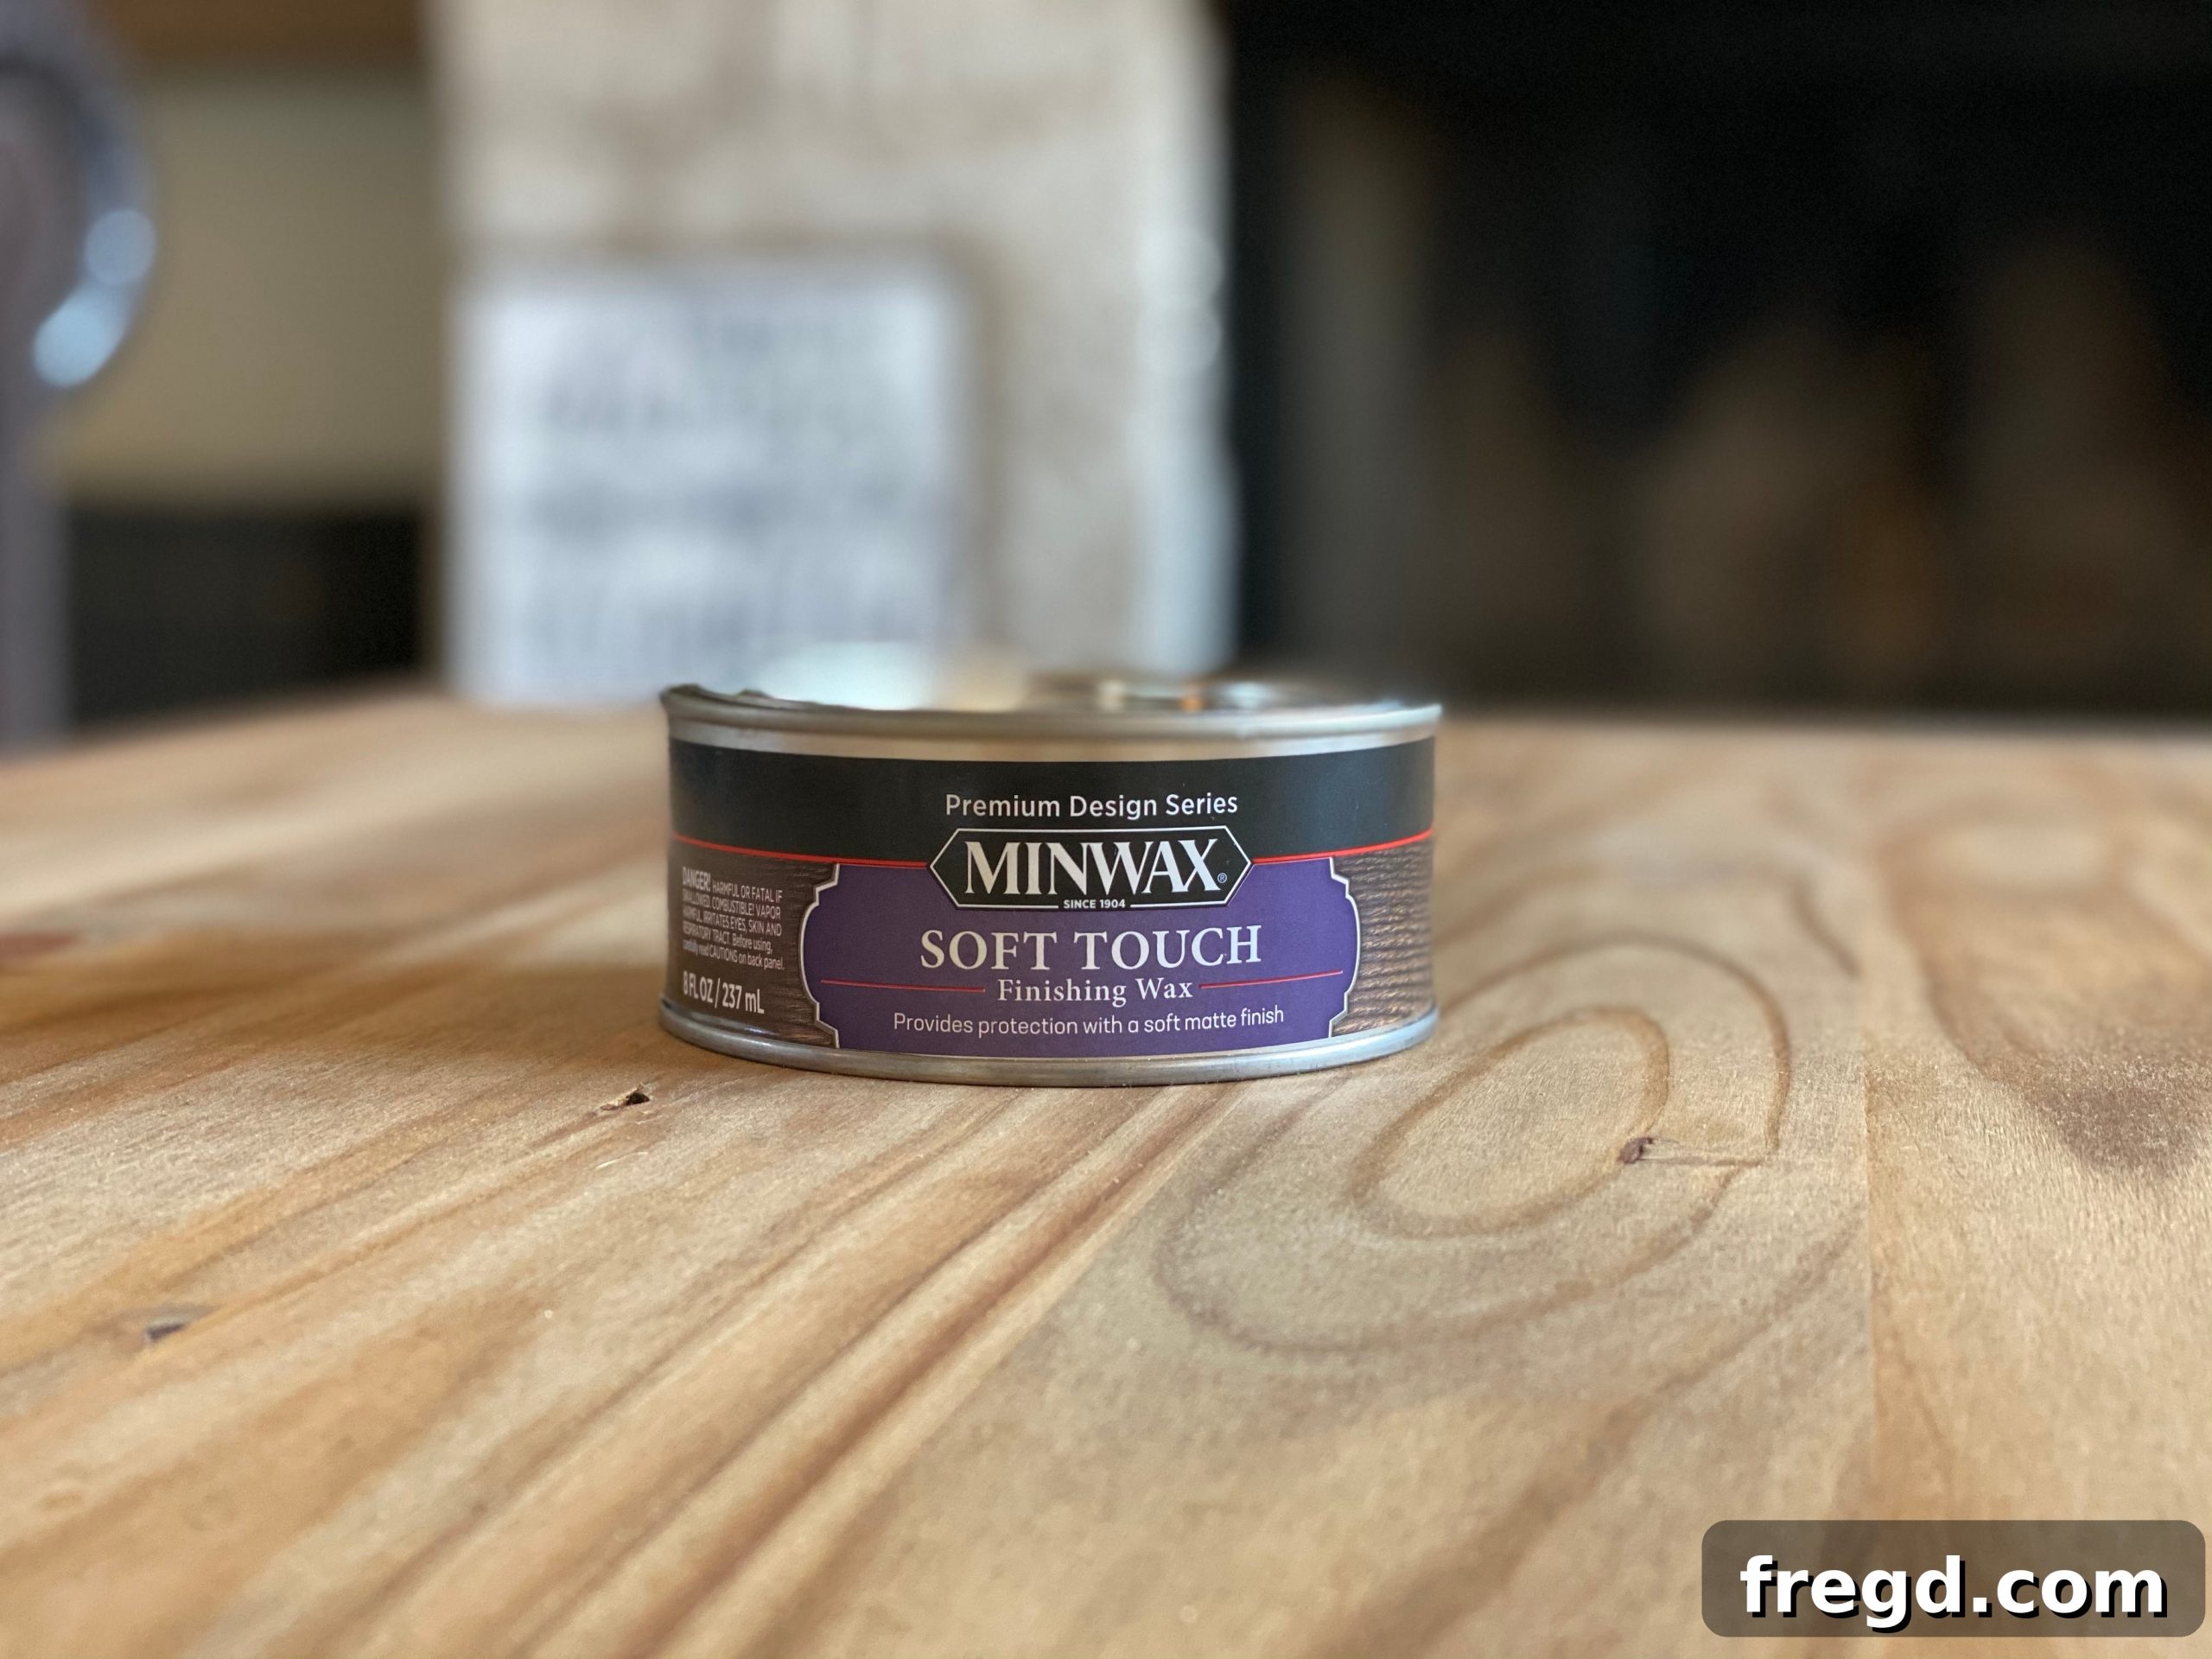
To ensure your coffee table withstands daily use and maintains its beauty, a protective topcoat is essential. For this project, I experimented with Minwax Soft Touch Finishing Wax, and the results were exceptional. This product is incredibly easy to use and provides a fantastic matte finish.
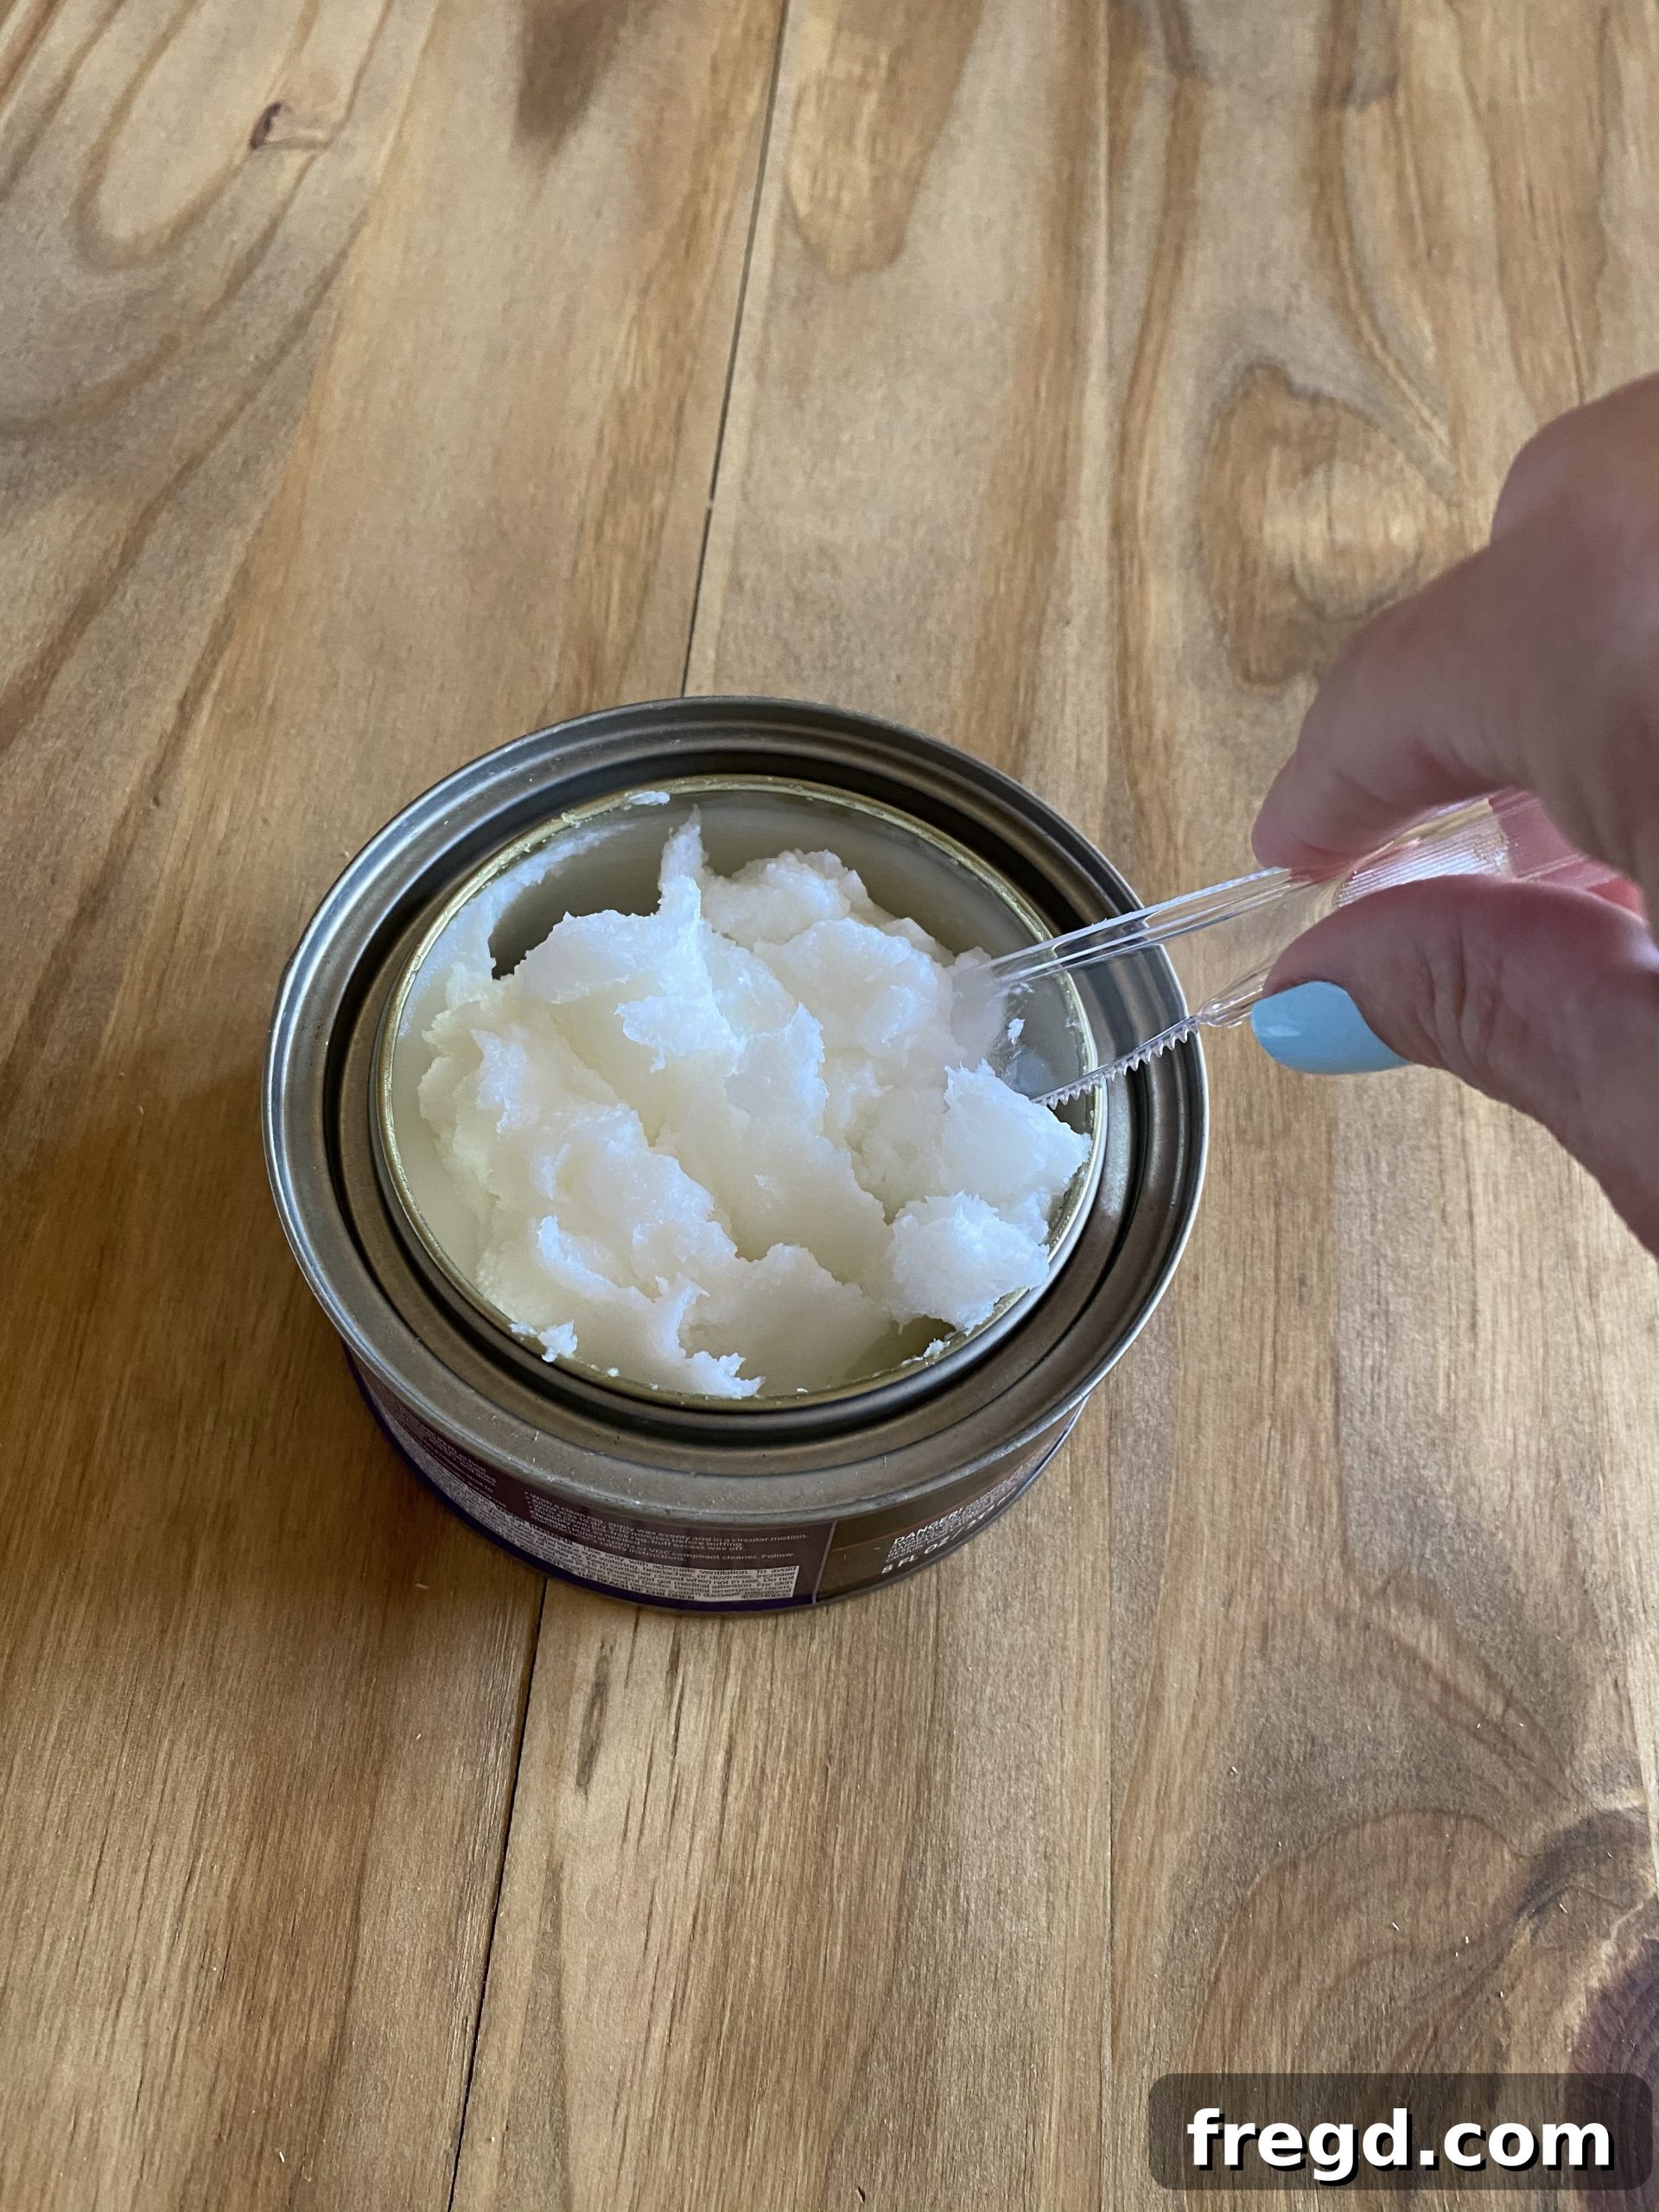
Begin by opening the lid and giving the wax a good stir to ensure a consistent texture.
Then, using a clean cloth, gently wipe the wax over the wood surface in a circular pattern. Aim for even coverage, making sure to work it into the grain.
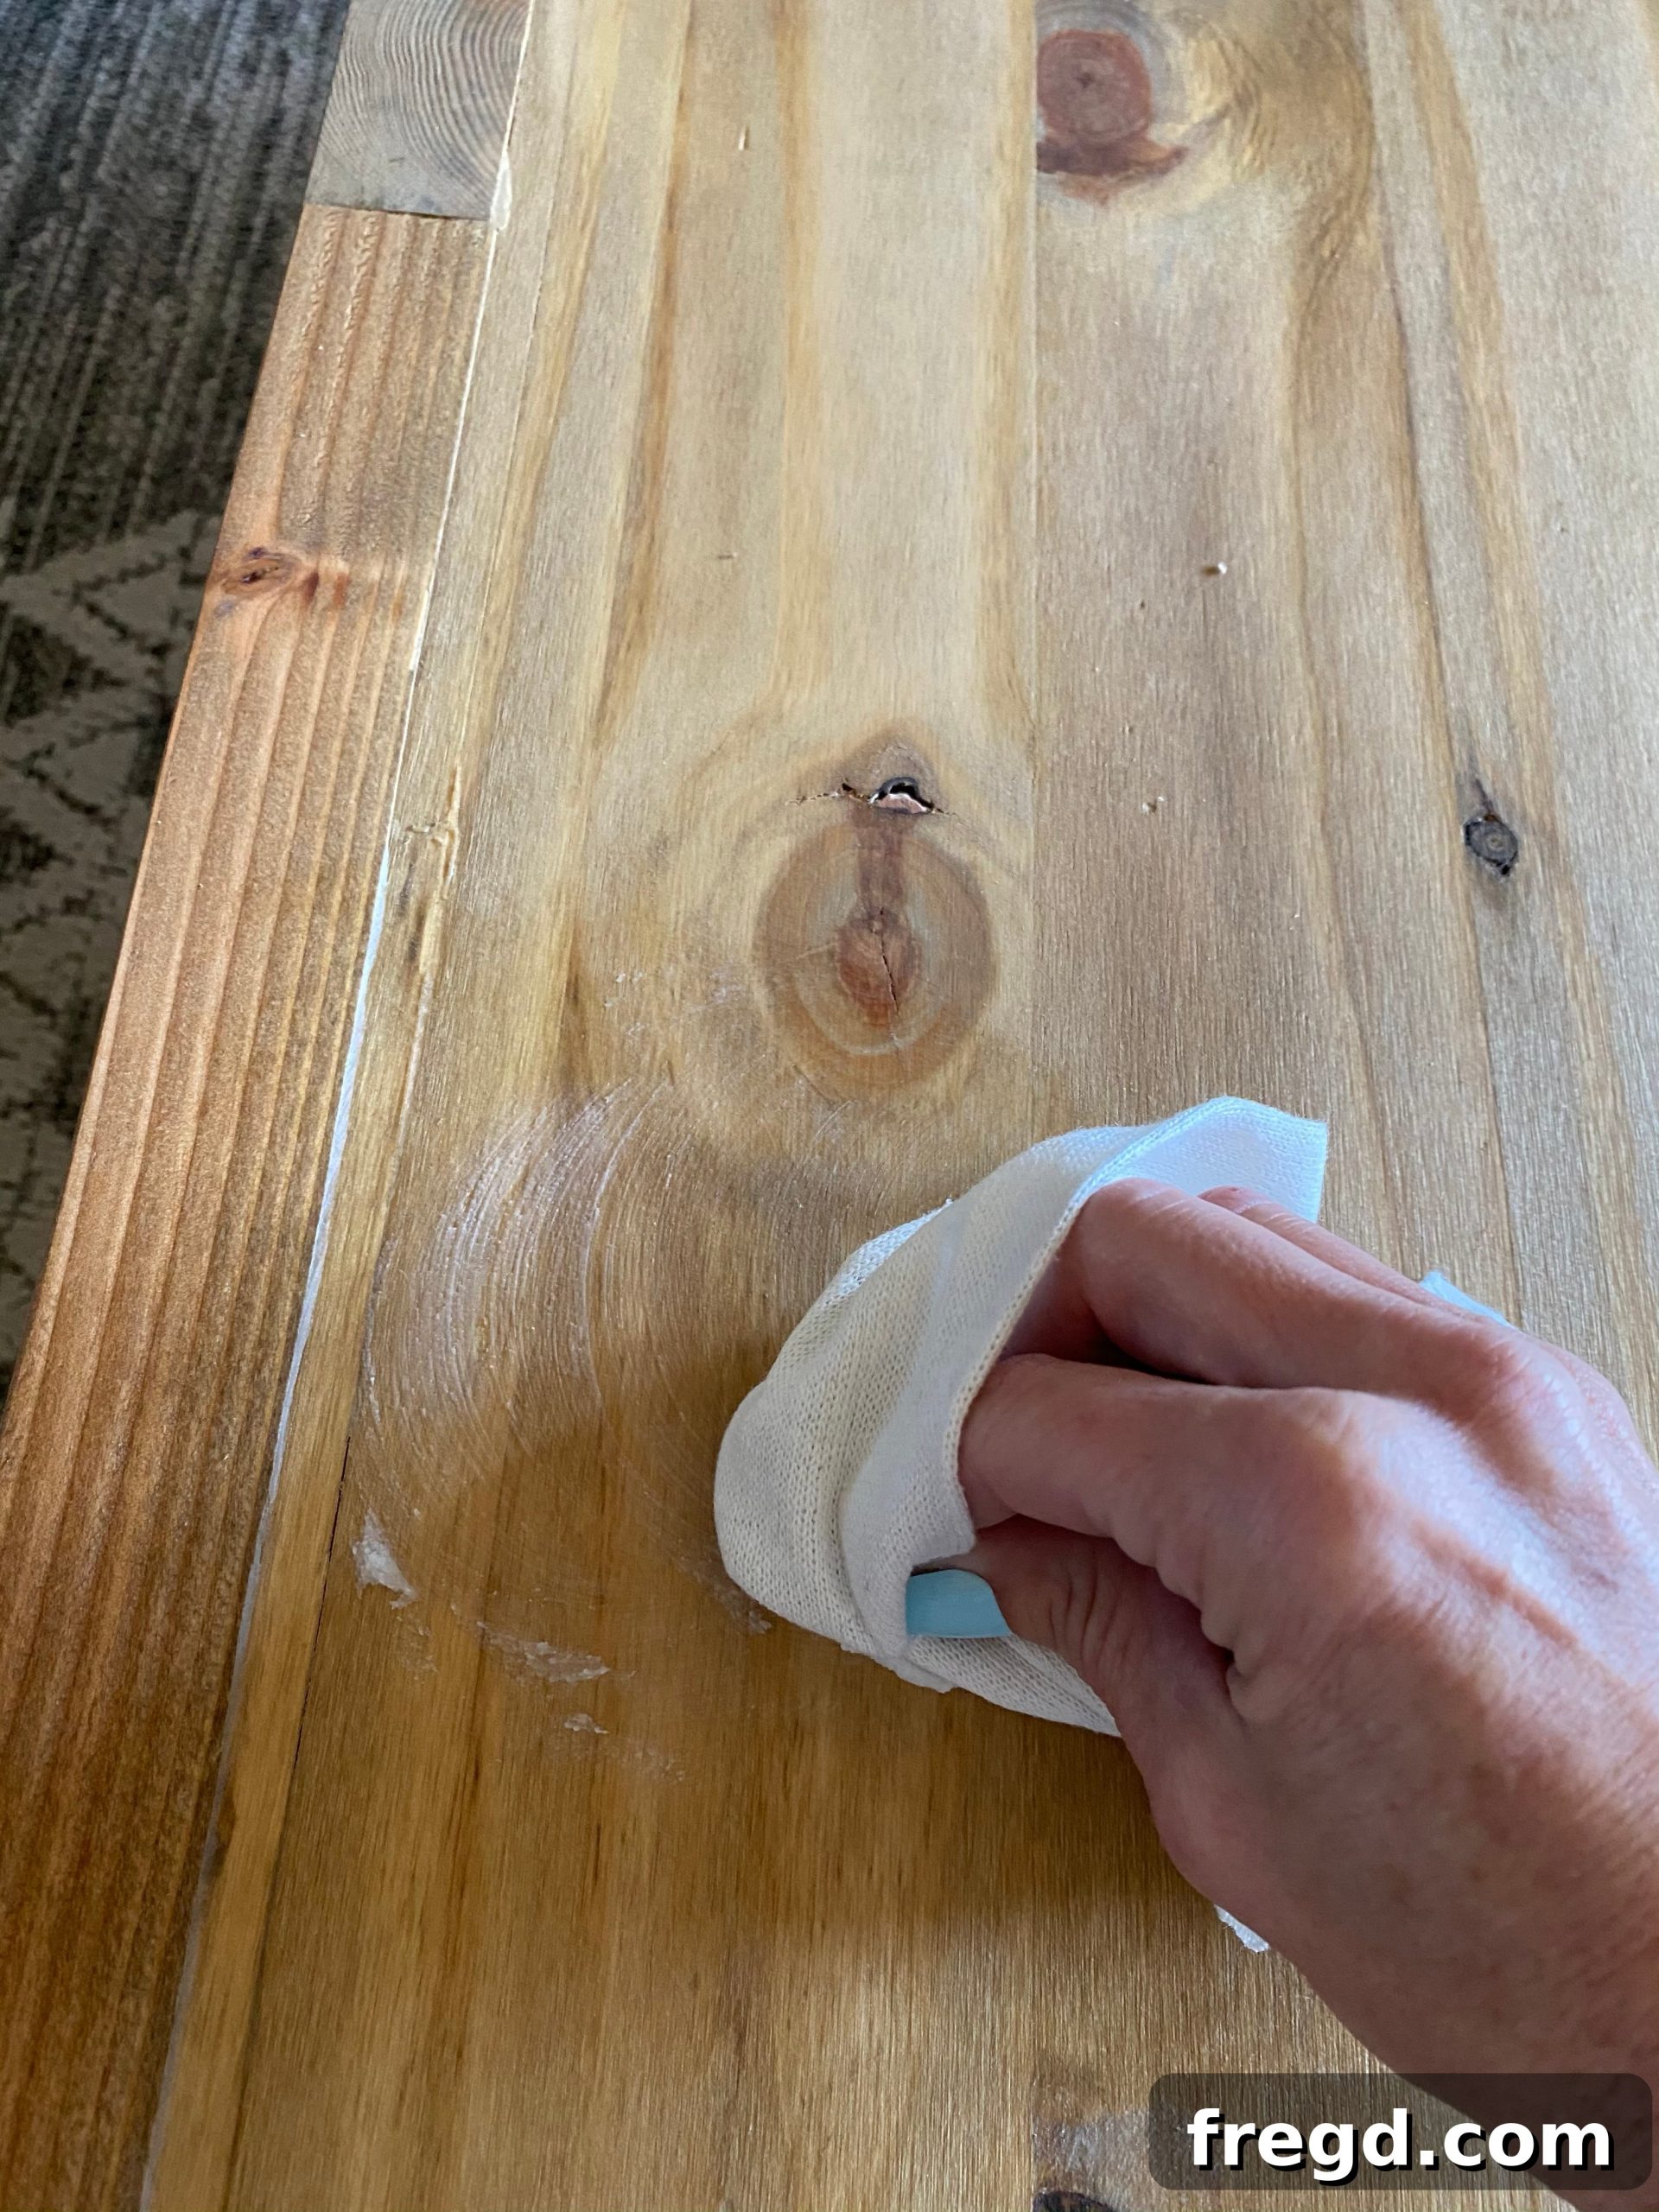
Allow the wax to sit and penetrate the wood for about 5 to 15 minutes, depending on the humidity and desired sheen.
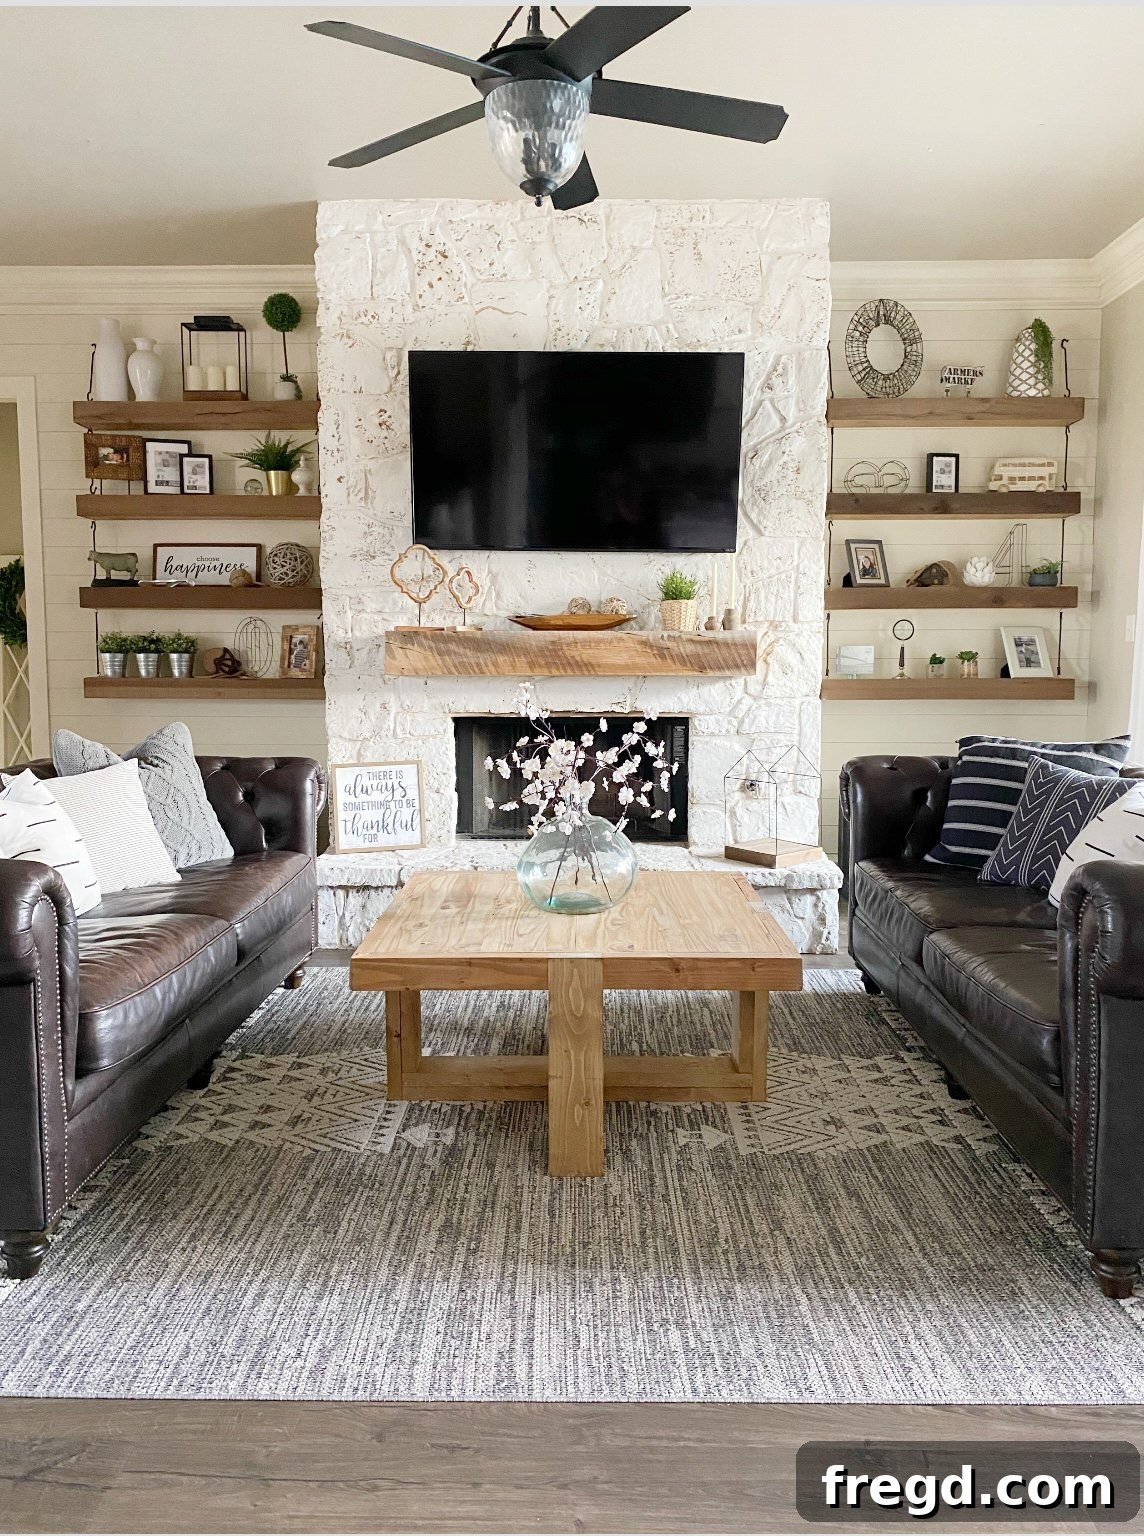
Finally, with a separate clean cloth, buff the waxed surface until it achieves your desired smooth, matte finish. It’s truly that simple! This finishing wax delivers a beautiful, low-sheen look and is incredibly easy to apply with virtually no mess. It’s also versatile, working wonderfully on stained, painted, or even raw wood surfaces, making it a fantastic choice for protecting your new DIY square coffee table.
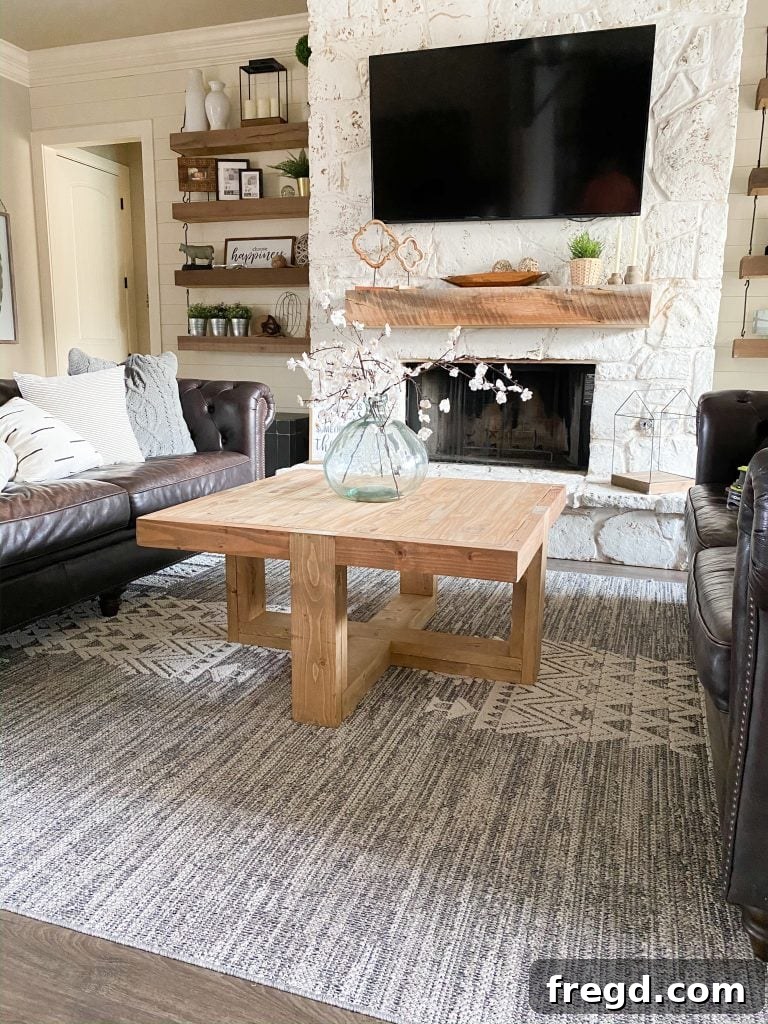
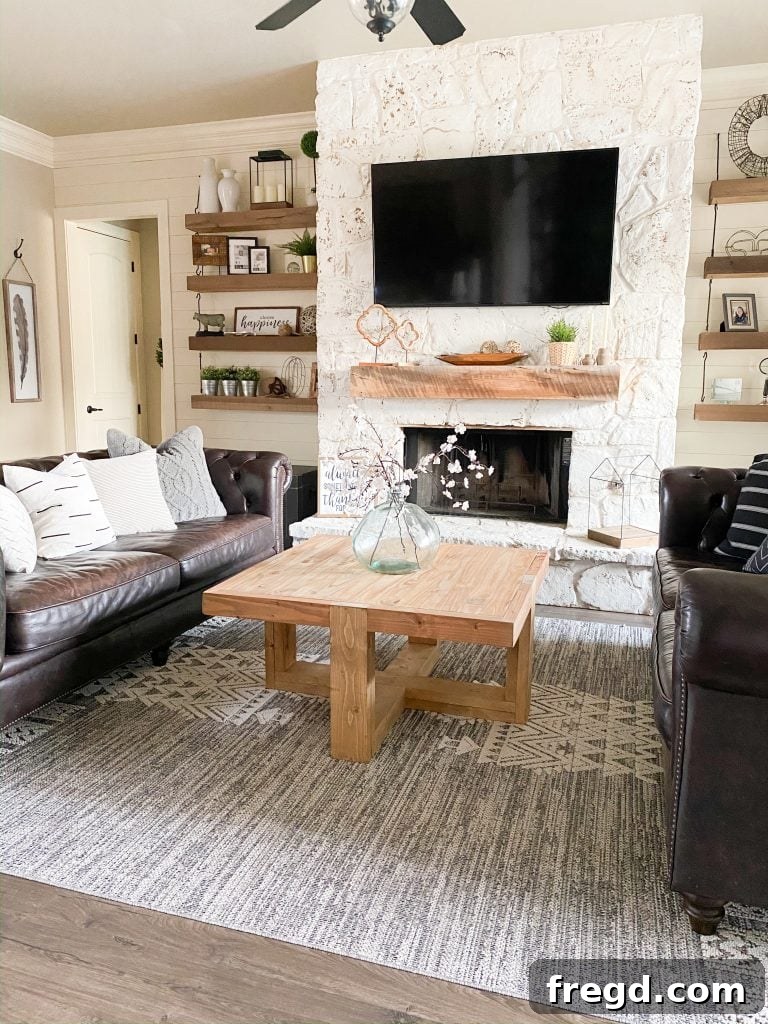
And there you have it – your very own handmade DIY square coffee table! Building your own furniture is not just about saving money; it’s about the immense satisfaction of creating something beautiful and functional that perfectly fits your home and style. This coffee table is durable, stylish, and built to last. We truly appreciate you stopping by and joining us on this woodworking adventure.
Happy Building, and don’t forget to share your amazing creations with us on social media using #shanty2chic!
Looking for More Coffee Table Inspiration?
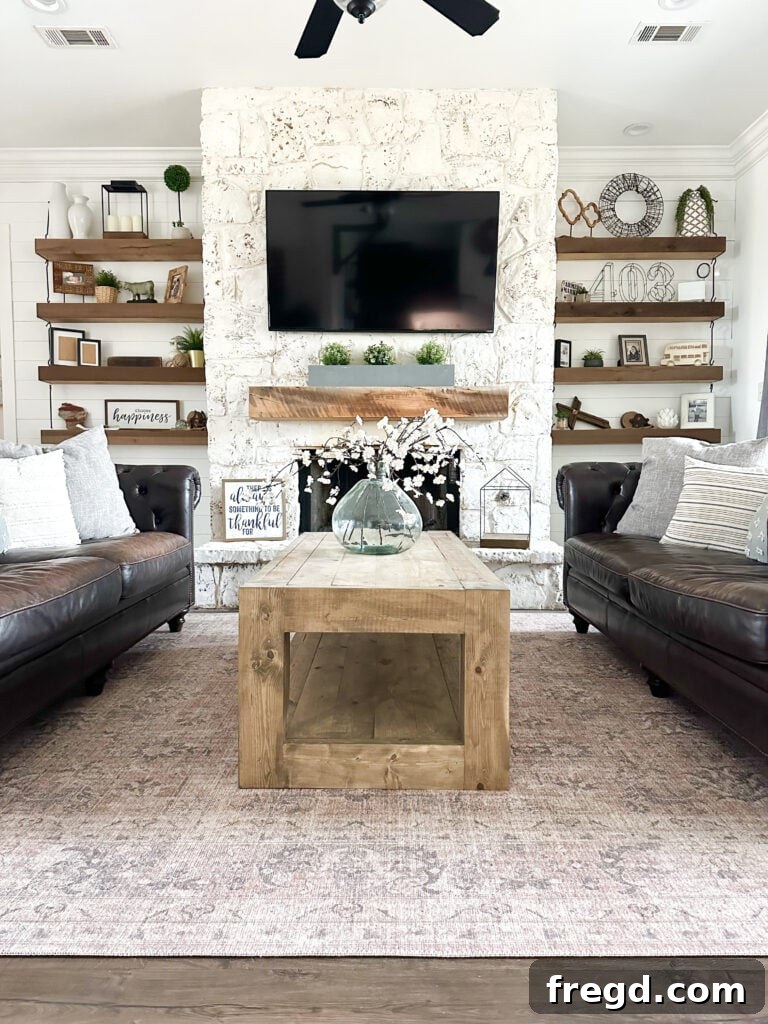
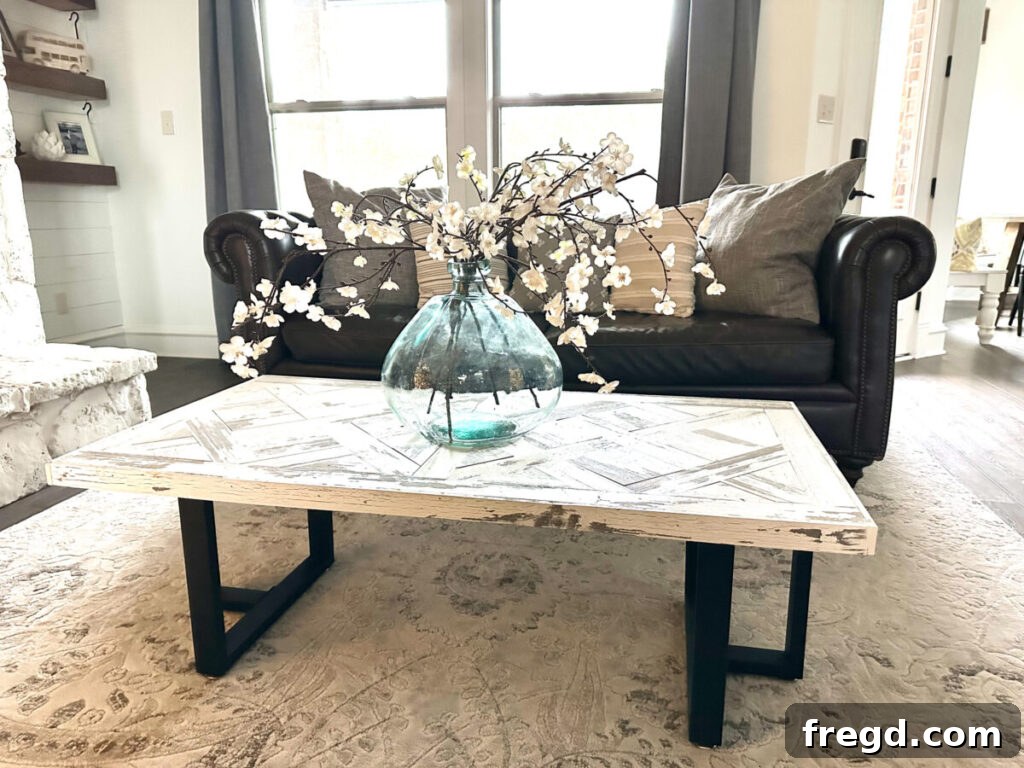
If you’ve enjoyed building this DIY Square Coffee Table and are hungry for more projects, explore some of our other popular coffee table builds:

DIY Square Coffee Table: Free Plans & Step-by-Step Guide
Tools Required
-
Table Saw (optional)
-
Miter Saw
-
Drill
-
Kreg Jig
-
Brad Nailer
-
Sander
Detailed Instructions
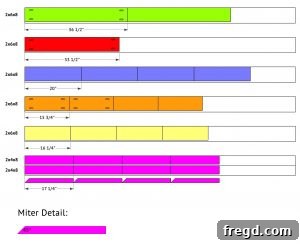
Cut List Overview
-
Refer to Cut List 1 in the free plans for initial cuts.

-
Consult Cut List 2 for subsequent lumber dimensions.
Phase 1: Building the Sturdy Base
-
Cut leg pieces to size and drill 1 1/2″ pocket holes as indicated in the cut list. Attach the bottom runner to two legs using 2 1/2″ pocket hole screws and wood glue.
-
Connect two bottom short runners to a leg and then attach the short runners to the center of the long runner, utilizing 2 1/2″ pocket hole screws and wood glue.
-
Flip the table base upright. Attach the second long runner directly on top of the bottom runner using 2″ brad nails and wood glue.
-
Secure the second short runners to the top of the bottom short runners with 2″ brad nails and wood glue.
-
Attach the short legs to the long legs using 2″ brad nails and wood glue. Ensure the bottom of the short legs aligns flush with the top of the long runner.
Phase 2: Building the Elegant Table Top
-
Cut the top project panels to size. Drill 3/4″ pocket holes around all edges of one panel and three edges of the other. Attach them together with 1 1/4″ pocket hole screws and wood glue.
-
Flip the table top upside down. Invert the base and position it on top of the table top so the short legs rest on the surface. Attach the table top to the short legs with 1 1/4″ pocket hole screws and wood glue.
-
Cut the support piece to size and drill 1 1/2″ pocket hole screws at both ends. Attach it over the table top seam to the legs with 2 1/2″ pocket hole screws and wood glue, and to the table top with 2″ brad nails.
Phase 3: Adding Table Top Trim
-
Measure and cut trim pieces to size, drilling 1 1/2″ pocket hole screws to each square end. Attach them to the table top with 1 1/4″ pocket hole screws and to the table legs with 2 1/2″ pocket hole screws and wood glue. Add 2″ brad nails and wood glue at the corners for strong 45° angle joints.
Phase 4: The Final Finish
-
Fill all pocket holes and nail holes with wood filler, sand thoroughly, and apply your chosen finish (wood conditioner, stain, and protective wax). Don’t forget to share your finished DIY square coffee table with us on social media using #shanty2chic so we can celebrate your craft! Happy Building!