
Build Your Own Stunning DIY Modern Farmhouse Plate Rack: Free Plans Included!
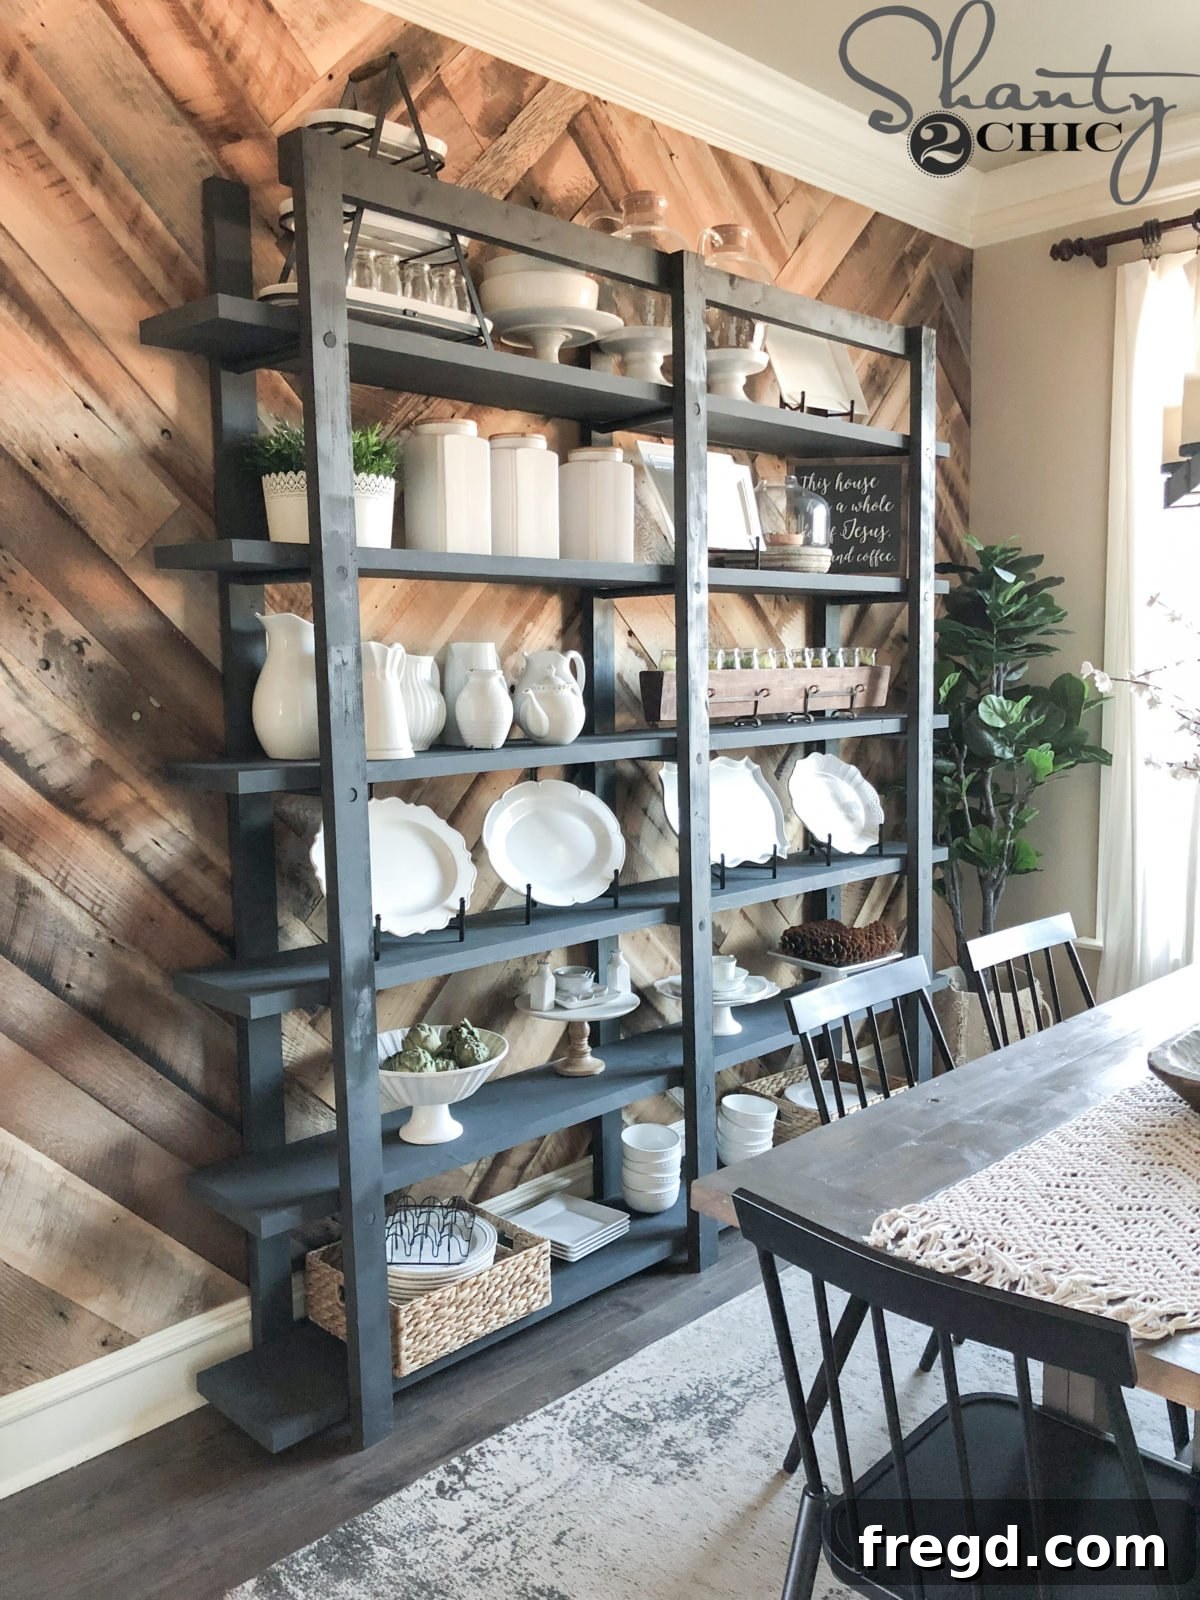
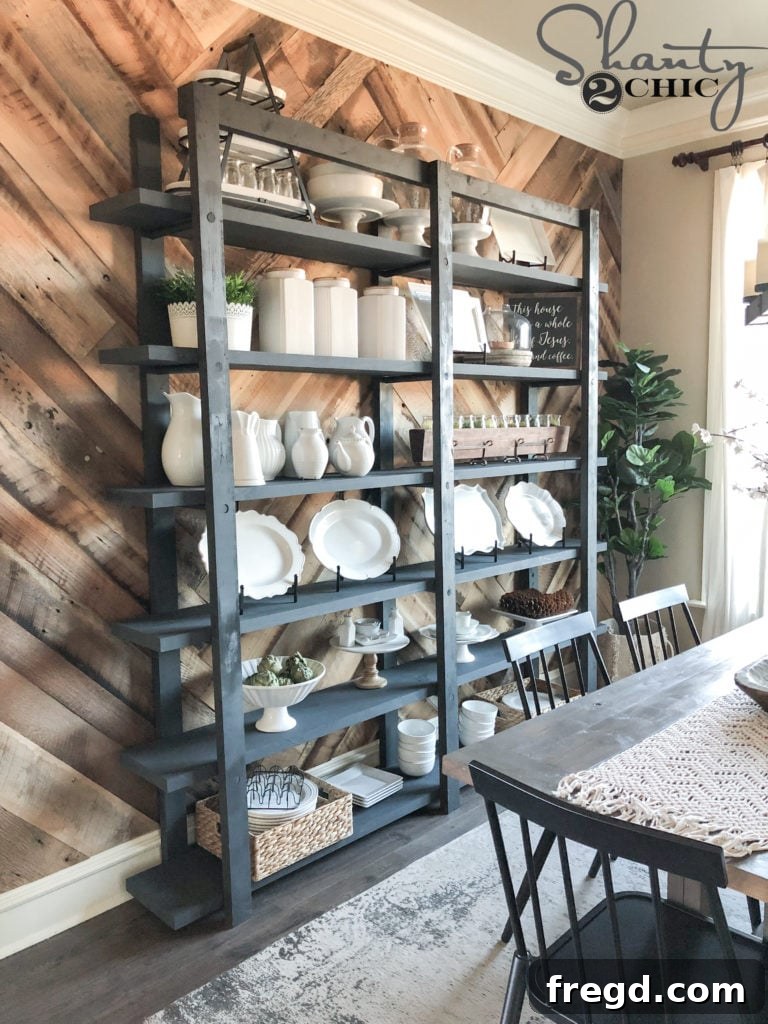
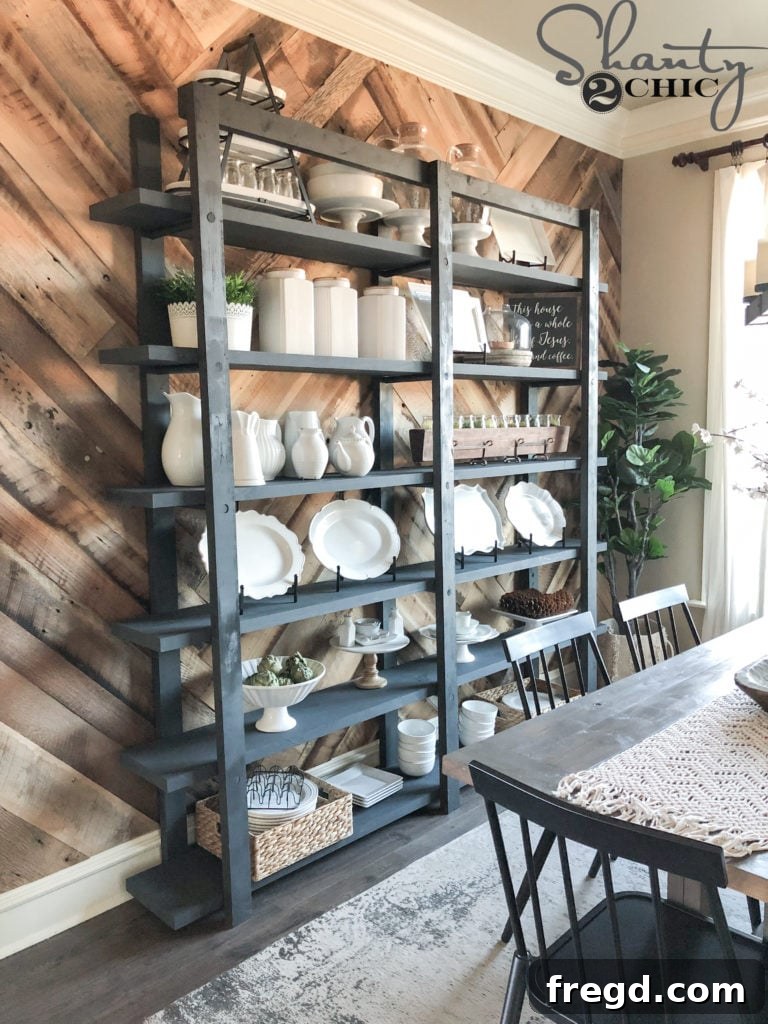
Are you ready to transform your dining room with a piece that perfectly blends style, function, and affordability? Look no further! We’re thrilled to finally share the comprehensive, free plans for this highly requested DIY Modern Farmhouse Plate Rack. It’s been a beloved feature in our dining room for over a year now, and we’re still absolutely captivated by its charm and utility. This project was not only an incredibly rewarding build but also provided an entire wall of much-needed storage and an exquisite decorative focal point, all for approximately $100 in lumber! That’s an unbeatable return on investment for such a significant home upgrade.
If you’ve been dreaming of adding a touch of rustic elegance and practical storage to your home, this project is for you. Imagine displaying your cherished plate collections, favorite cookbooks, or seasonal decor on beautiful, custom-built shelving. This plate rack embodies the essence of modern farmhouse design – combining clean lines with the warmth and character of natural wood. Get ready to enhance your living space with a statement piece that truly reflects your style and craftsmanship!
Why Build a DIY Modern Farmhouse Plate Rack?
Beyond its undeniable aesthetic appeal, a DIY plate rack offers numerous benefits for your home:
- Unparalleled Storage Solution: In many homes, dining room walls often go underutilized. This plate rack transforms a blank wall into a vertical storage powerhouse, perfect for dinnerware, serving platters, glassware, or even decorative items.
- Charming Farmhouse Aesthetics: The modern farmhouse style is renowned for its inviting and comfortable feel, blending rustic elements with contemporary touches. This plate rack, with its ladder-inspired design, captures that essence perfectly, adding warmth and character to any dining space.
- Cost-Effective Home Improvement: Store-bought large-scale shelving or display units can be incredibly expensive. By choosing the DIY route, you significantly cut down on costs, often spending just a fraction of the retail price for a custom piece built to your exact specifications.
- Personalized Design: Building it yourself allows for complete customization. You can choose your preferred wood species, stains, paints, and finishes to perfectly match your existing decor or create a bold new statement.
- Rewarding Project: There’s immense satisfaction in creating something beautiful and functional with your own hands. This project is accessible to many DIY enthusiasts, offering a sense of accomplishment and a conversation starter for guests.
Ready to embark on this exciting woodworking journey? Let’s gather our tools and materials and start building!
Download the FREE Printable Plans HERE to follow along with the detailed how-to guide below. These plans are your essential companion, providing precise measurements and diagrams for every cut and assembly step.
Essential Materials and Tools for Your Plate Rack Project
Before you begin, gathering all necessary materials and tools will ensure a smooth and efficient building process. While the exact quantities may vary based on your desired dimensions, these lists provide a comprehensive overview:
Materials List:
- Lumber:
- 2x boards (e.g., 2×12 for shelves, 2×4 for ladder rails and rungs). The original project used 2x12s and 2x4s. Refer to the printable plans for exact cuts and quantities.
- 3/4″ scrap wood (for shims, if needed, to compensate for base trim).
- Adhesives:
- High-quality wood glue (for strong, lasting joints).
- Fasteners:
- 1 1/2″ pocket hole screws.
- 2 1/2″ pocket hole screws.
- 2″ wood screws.
- 3 1/2″ wood screws (for attaching to wall studs).
- 2″ finish nails (for attaching shims).
- Finish:
- Sandpaper (various grits, 80-220 for smooth finish).
- Primer (optional, but recommended for consistent paint adhesion).
- Paint or wood stain (e.g., gray spray paint as used in this project, or your preferred color/finish).
- Clear protective topcoat (optional, for added durability).
Tools You’ll Need:
- Cutting Tools:
- Table saw (essential for ripping board edges consistently, though a circular saw with a guide can work).
- Miter saw (for precise crosscuts on lumber).
- Drilling & Fastening Tools:
- Power drill/driver.
- 1″ Forstner bit (for drilling clean holes for rungs).
- Kreg Jig (our favorite model can be found on Amazon) for creating strong pocket hole joints.
- Mallet (optional, but very helpful for tight-fitting rungs). You can find mallets like ours HERE.
- Measuring & Marking Tools:
- Measuring tape.
- Pencil.
- Speed square or combination square.
- Safety Gear:
- Safety glasses (always!).
- Hearing protection.
- Dust mask.
- Wall Mounting Specifics:
- Stud finder (crucial for securely mounting). Our favorite stud finder is available on Amazon.
- Level.
- Miscellaneous:
- Wood clamps (for holding pieces during assembly).
- Glue bottle dispenser (for precise glue application). Find our favorite on Amazon.
DIY Modern Farmhouse Plate Rack: Step-by-Step Building Guide
The design inspiration for this plate rack was to create the illusion of three separate, vintage-style ladders supporting elegant shelves. Let’s dive into bringing this vision to life!
Step 1: Preparing Your Lumber – The Foundation
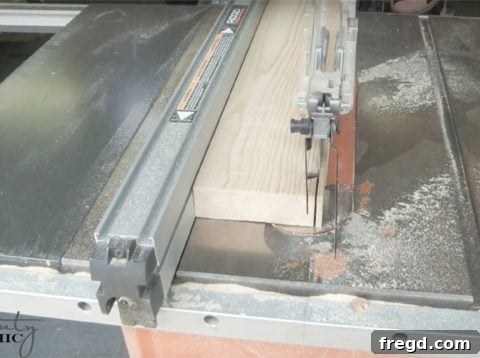
The initial step for this build involves carefully preparing your lumber. We began by ripping the rounded edges off all our 2x boards using a table saw. This process squared off the edges, resulting in the 2x12s becoming 11″ wide and the 2x4s narrowing to 3″ wide. While this step isn’t strictly necessary for structural integrity, it lends a much cleaner, more refined, and custom look to the finished piece. If you opt not to rip your edges, be sure to adjust your measurements and plans accordingly to account for the standard board widths.
For a visual guide on how to efficiently rip the round edges off your boards, check out our helpful video HERE!
Once your boards are prepped, proceed to cut all the ladder rails, rungs, cleats, and shelf pieces to their precise lengths as detailed in your free printable plans. Accuracy in this stage will greatly contribute to the overall success and stability of your plate rack.
Step 2: Crafting the Ladder Rails – The Distinctive Feature
With your lumber cut to size, it’s time to create the signature ladder rails that give this plate rack its unique character. You will have six “ladder rail” pieces. For each rail, accurately mark the positions for your rung holes according to the spacing indicated in the diagram in your plans. Precision here is key for evenly spaced shelves later on.
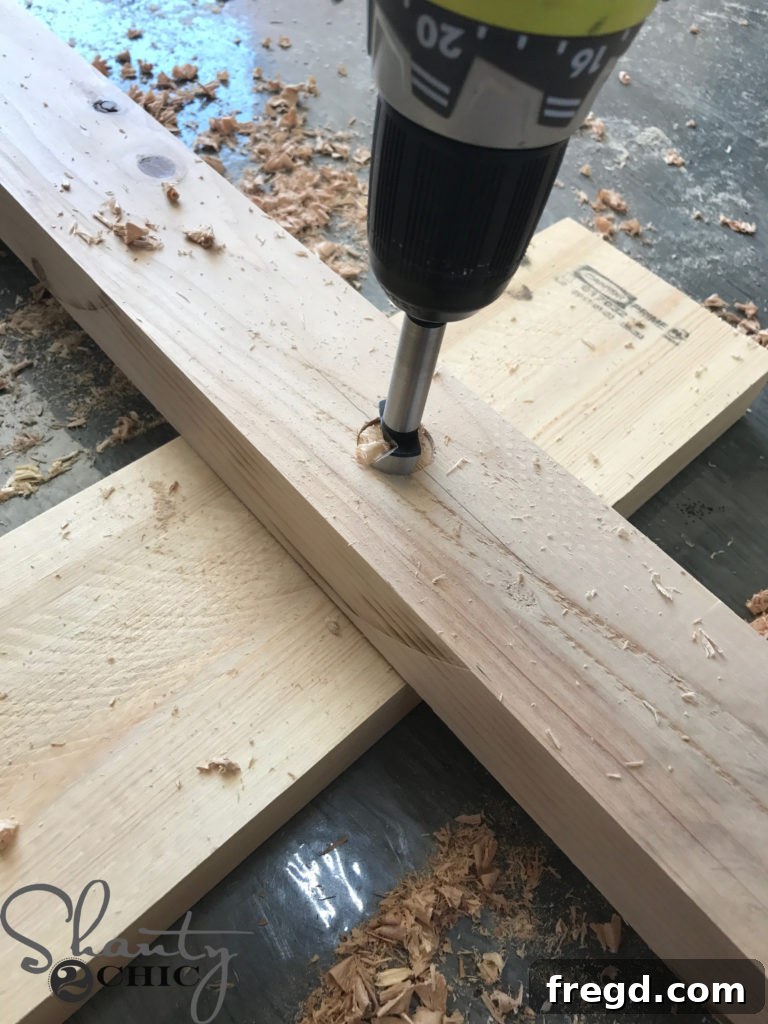
Once marked, use a drill equipped with a 1″ Forstner bit to drill each hole. The Forstner bit ensures clean, flat-bottomed holes, which are ideal for securely seating the rungs. Always place a scrap board underneath your ladder rail while drilling to prevent damage to your workbench or floor. Repeat this process meticulously for all six ladder rails.
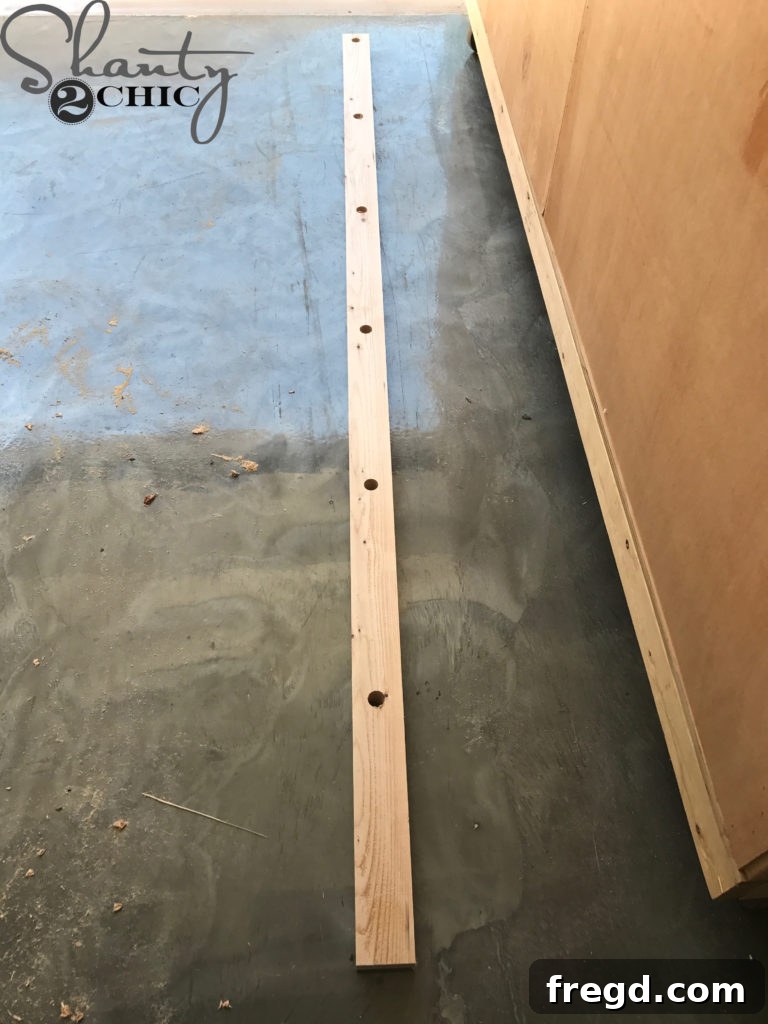
After drilling, you should have six ladder rails, each with a series of perfectly spaced 1-inch holes. Take a moment to inspect your work for accuracy and consistency.
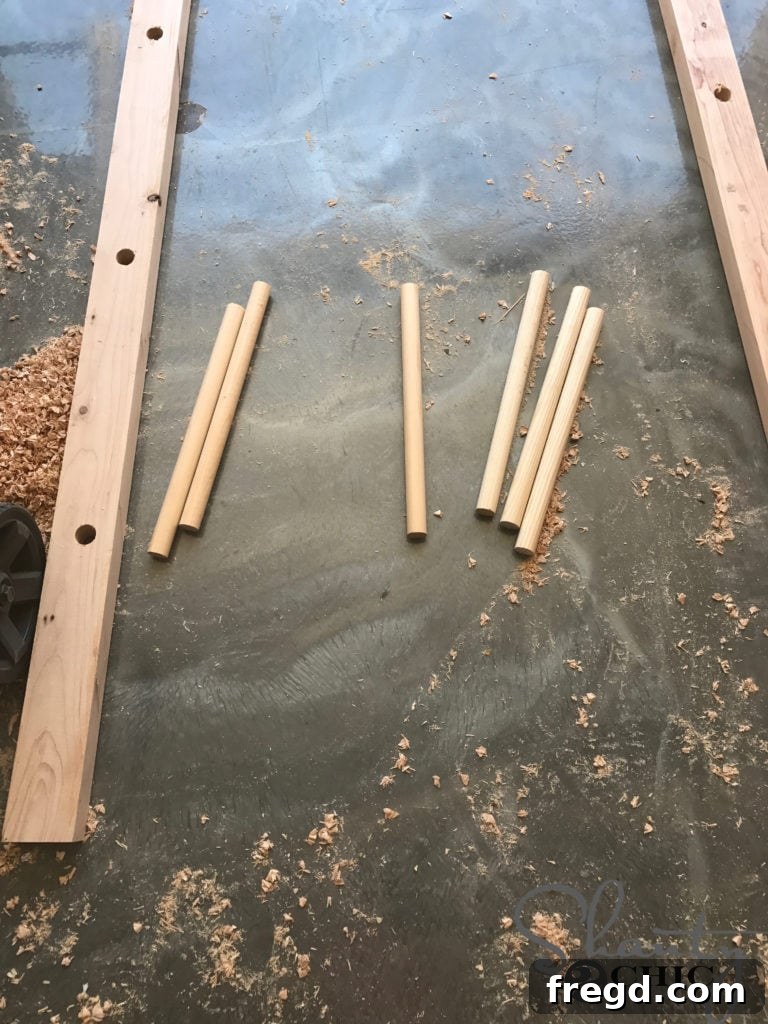
Step 3: Assembling the Ladder Rungs – Bringing it Together
Next, cut your rung pieces to the specified size from your 2×4 lumber. These will form the steps of your decorative ladders.
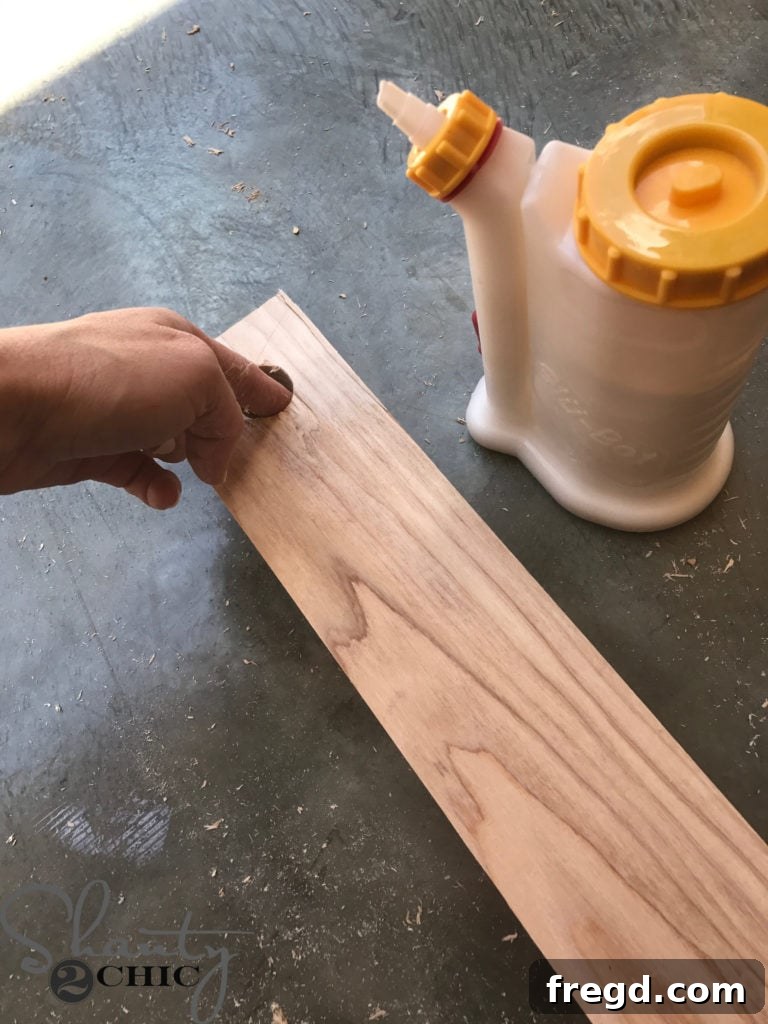
Apply a small amount of wood glue inside each drilled hole on one ladder rail. Our favorite glue bottle dispenser, which allows for precise application, can be found HERE on Amazon.
Carefully slide a rung into each glued hole. Once all rungs are in place on one rail, attach the second ladder rail to the other end of the rungs in the same manner. This will form your first complete ladder. If the rungs fit very tightly, a rubber mallet can be incredibly useful to gently tap them into place without damaging the wood. The mallets we use are available HERE.
Repeat this process until you have successfully built all three ladders, which will serve as the core structural and decorative elements of your plate rack.
Step 4: Integrating Cleats for Support – Structural Integrity
Now, cut the back cleat pieces to their specified dimensions. These cleats will be crucial for connecting your ladders and securely attaching the entire unit to the wall. Using your Kreg Jig, drill 1 1/2″ pocket holes into the ends of each cleat. Pocket holes create strong, hidden joints that are perfect for this type of application, ensuring a clean finish.
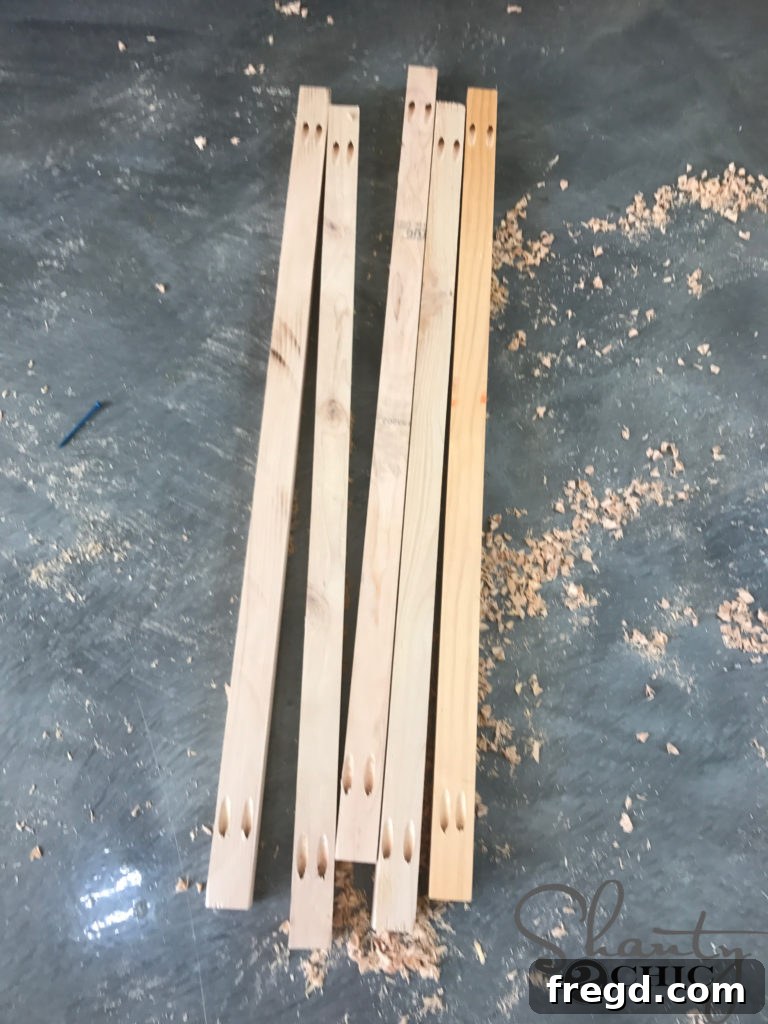
Our favorite Kreg Jig model, which makes these steps straightforward and efficient, is available HERE on Amazon.
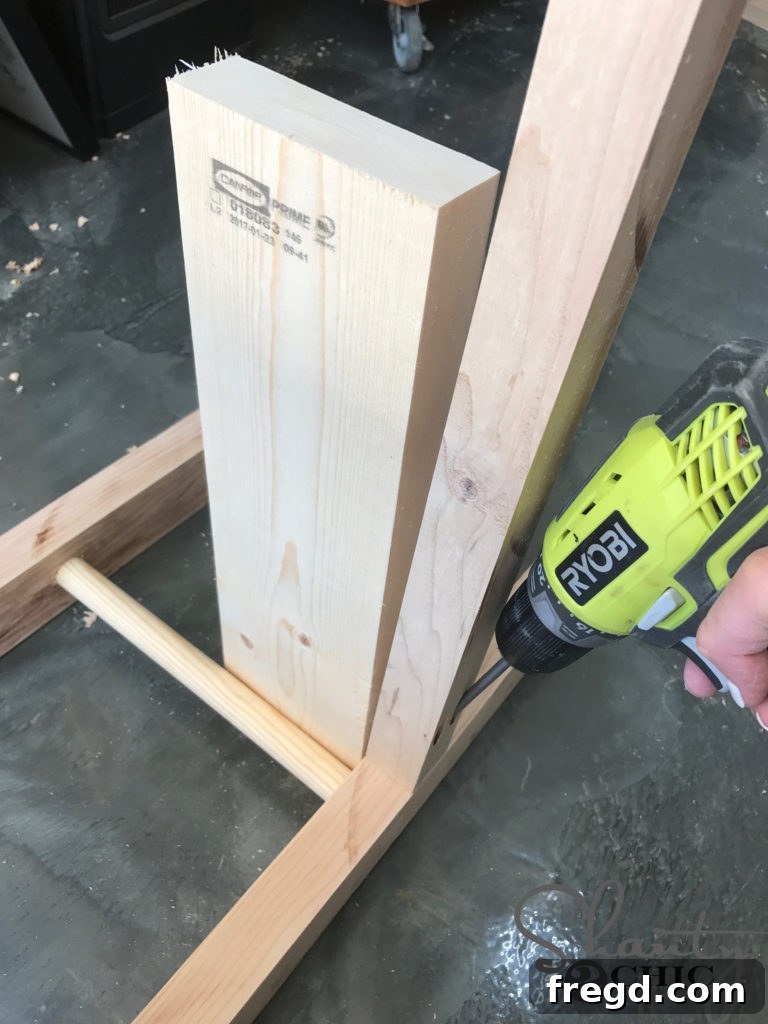
Next, attach these cleats to the back of each ladder. Apply wood glue to the mating surfaces, then secure them with 2 1/2″ pocket hole screws. Ensure they are aligned correctly and flush with the edges of the ladder rails.
Step 5: Assembling the Main Frame – The Plate Rack Skeleton
Begin by attaching the first ladder to the cleats. Then, position your second ladder, ensuring proper spacing as indicated in the plans, and attach it to the cleats, creating the start of your continuous frame.
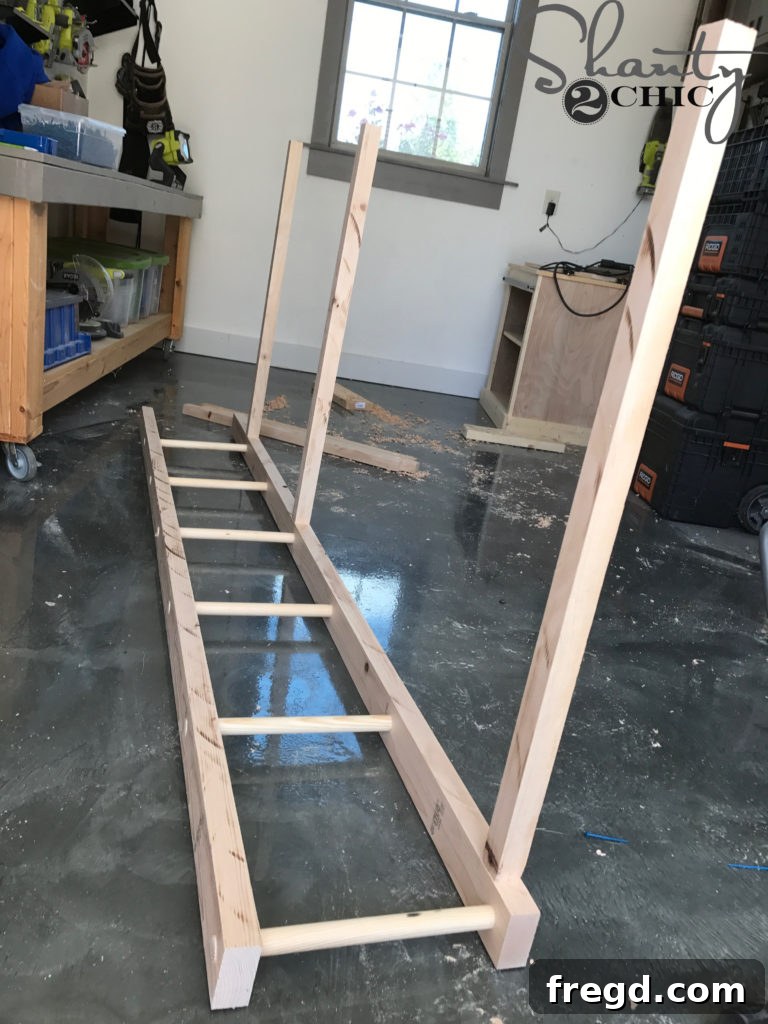
Continue this process, attaching all three ladders together using the cleats. This forms the essential framework of your plate rack. The cleats provide stability and also serve as the mounting points to your wall.
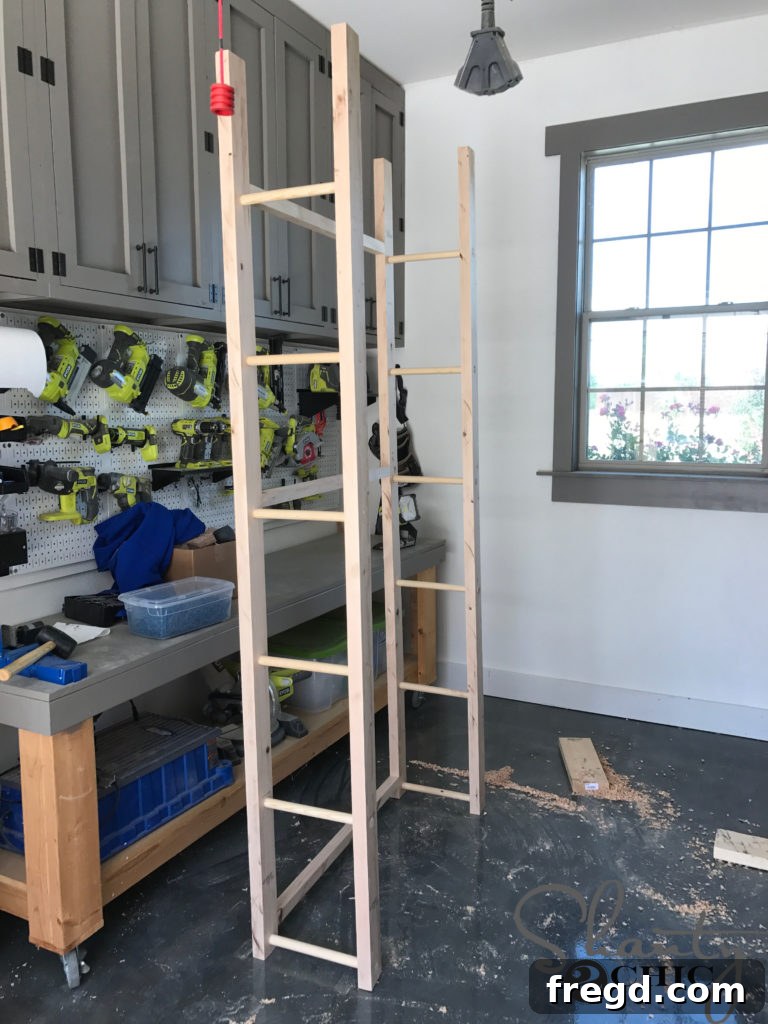
At this point, you should have one complete side of the plate rack frame assembled. Now, it’s time to attach the other side, bringing the full width of the rack together. Refer to your free plans for the exact spacing and placement of the cleats to ensure structural integrity and visual balance.
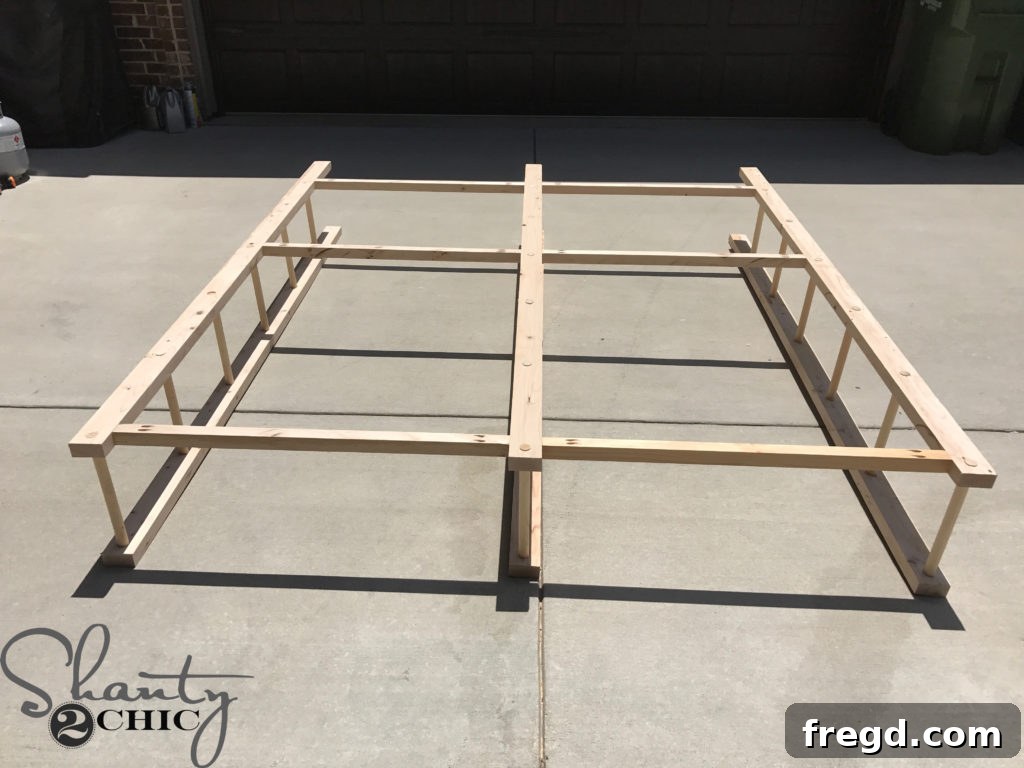
With all three ladders securely attached via the cleats, your plate rack frame is taking shape beautifully. Double-check that all connections are tight and secure.
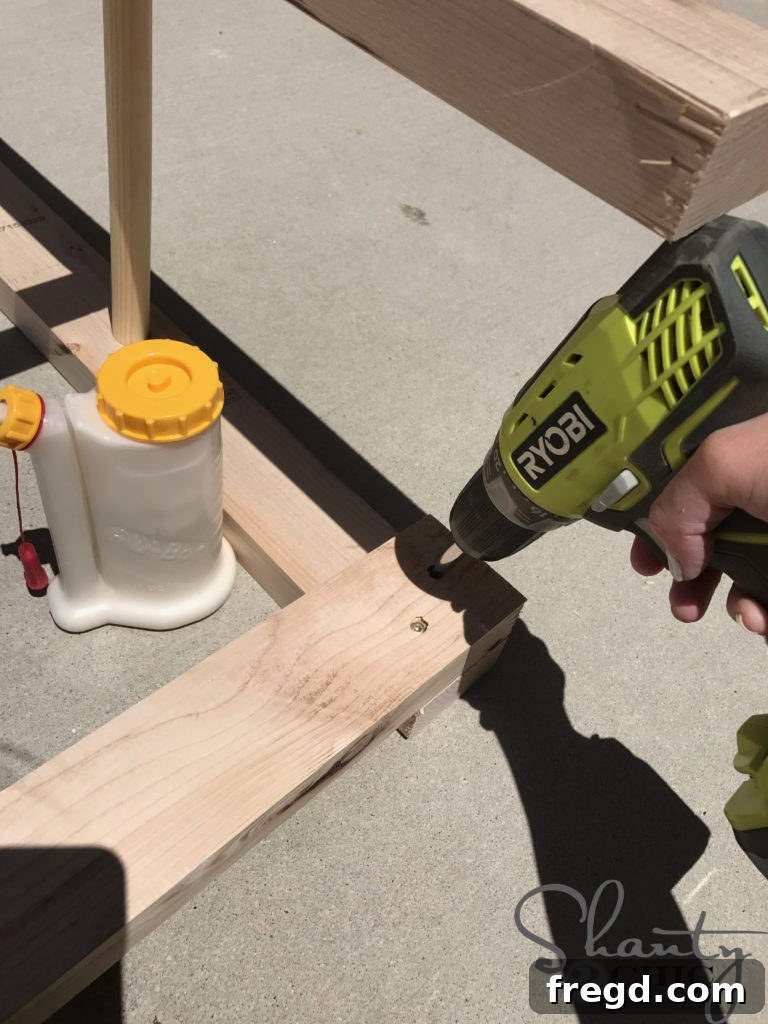
Finally, cut the top support piece to size. This piece adds extra stability and helps square up the entire frame. Attach it to the back side of the front of the ladders using 2 1/2″ wood screws and wood glue. Ensure the top edge of the support board is perfectly flush with the top of the ladders for a clean, finished look.
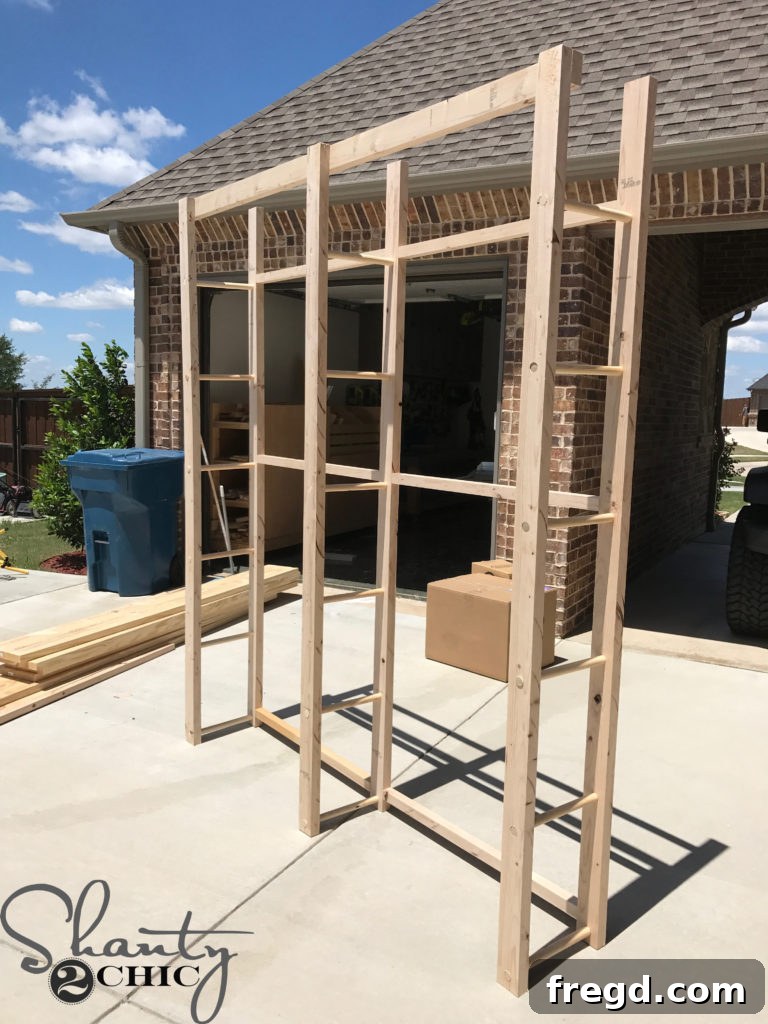
Step 6: Finishing Touches and Wall Mounting Prep – Aesthetic & Security
Before mounting the plate rack, now is an excellent time to apply your chosen finish. Thoroughly sand the entire frame, starting with a coarser grit (like 80 or 120) to smooth out imperfections, then moving to a finer grit (180 or 220) for a silky smooth surface. Wipe away all dust before applying paint or stain.
We opted for two coats of gray spray paint, which beautifully complements the modern farmhouse aesthetic. You can find the specific spray paint we used HERE! Alternatively, you might choose a wood stain to highlight the natural grain, or a different color paint to match your decor. Allow sufficient drying time between coats and before proceeding to the next step.
Once the finish is dry, carefully bring the plate rack frame inside your home and position it against the wall where it will be installed. To ensure maximum stability and safety, it’s paramount to attach the entire piece directly into the wall studs.
Step 7: Securely Attaching the Plate Rack to Your Wall – Crucial for Safety
The first critical step in mounting is to locate the studs behind your wall. A reliable stud finder is indispensable for this. Our favorite stud finder, which effectively located studs even through our wall treatment, can be found HERE on Amazon.
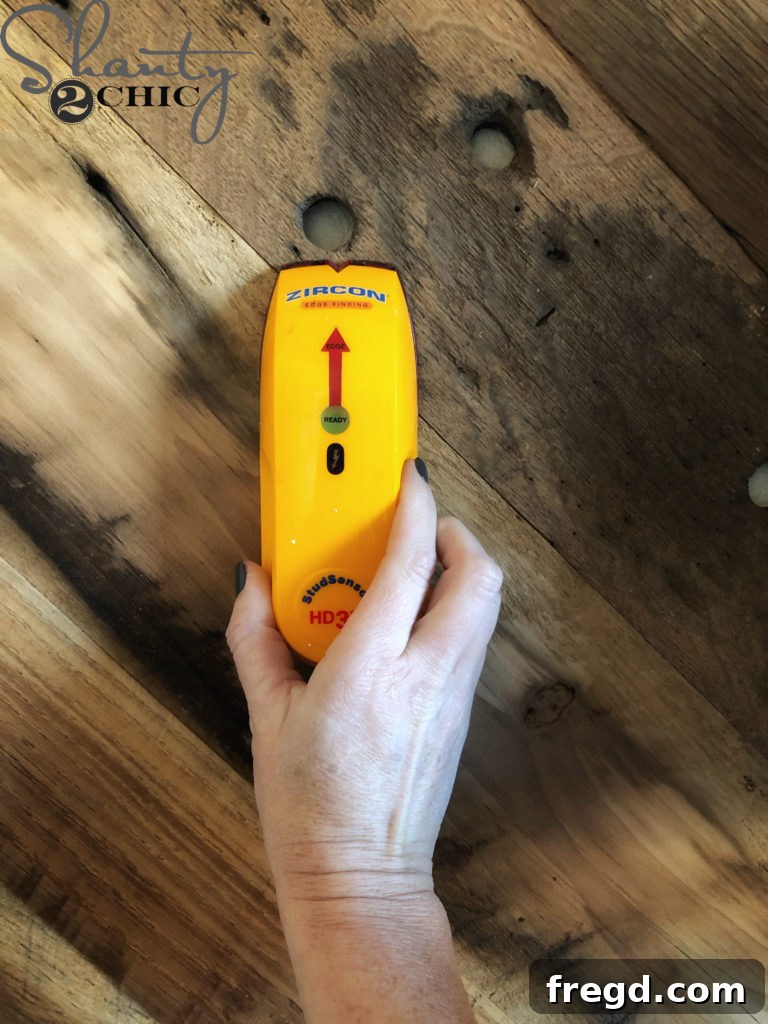
Carefully mark the center of each stud you identify. These marks will guide where you drive your screws to ensure a secure attachment.
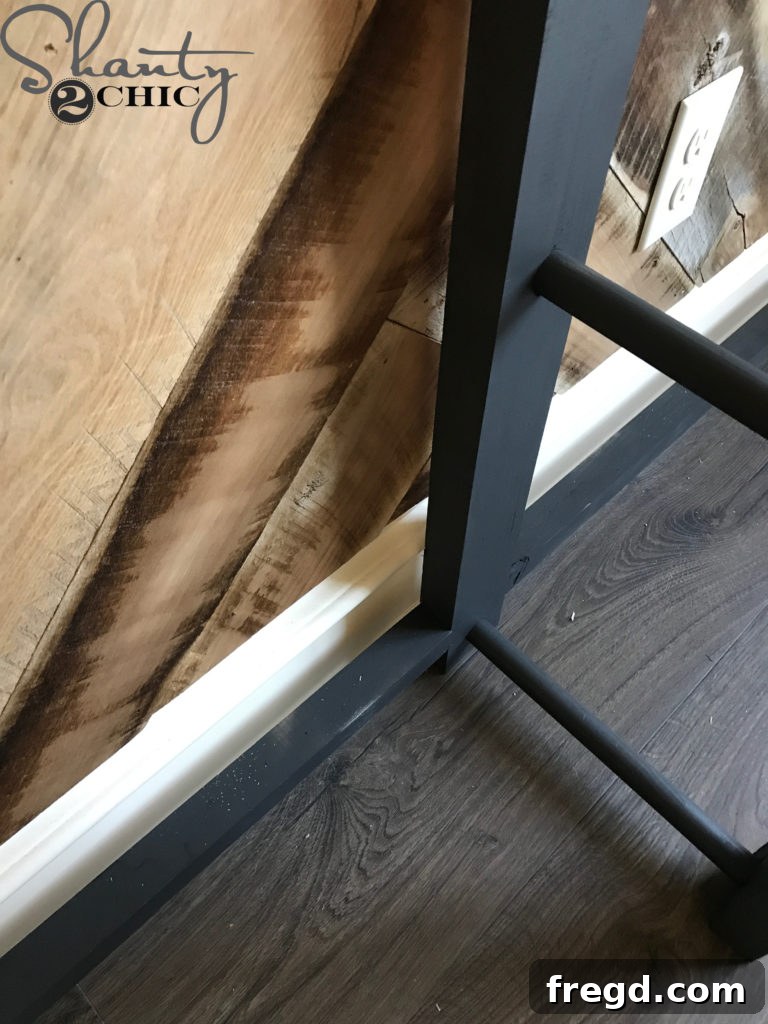
As we prepared to mount our plate rack, we encountered a common issue: our base trim extended about 3/4″ from the wall. This meant the plate rack couldn’t sit flush, preventing a proper, secure attachment. This is a crucial detail that often gets overlooked in DIY projects!
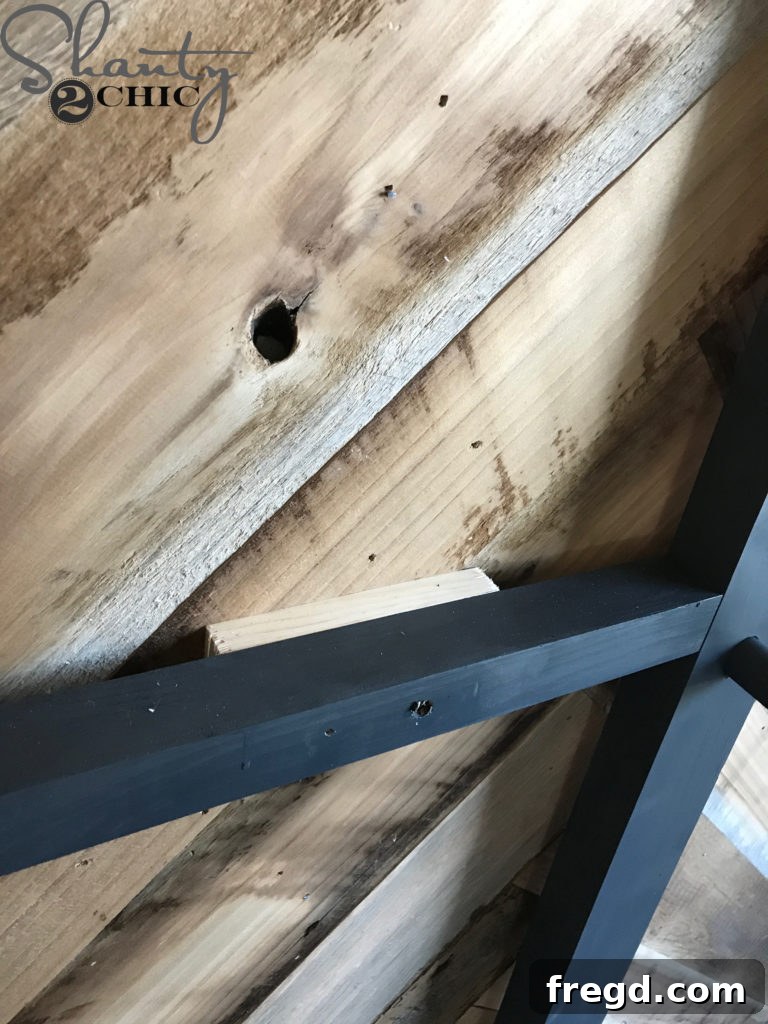
To overcome the base trim obstruction, we employed 3/4″ scrap wood shims. For every stud located behind the wall, we placed a shim directly behind the plate rack cleats. To secure each shim in place, we applied wood glue to the cleat side and then used a few 2″ finish nails to temporarily hold it. A hammer and nails would also work perfectly here.
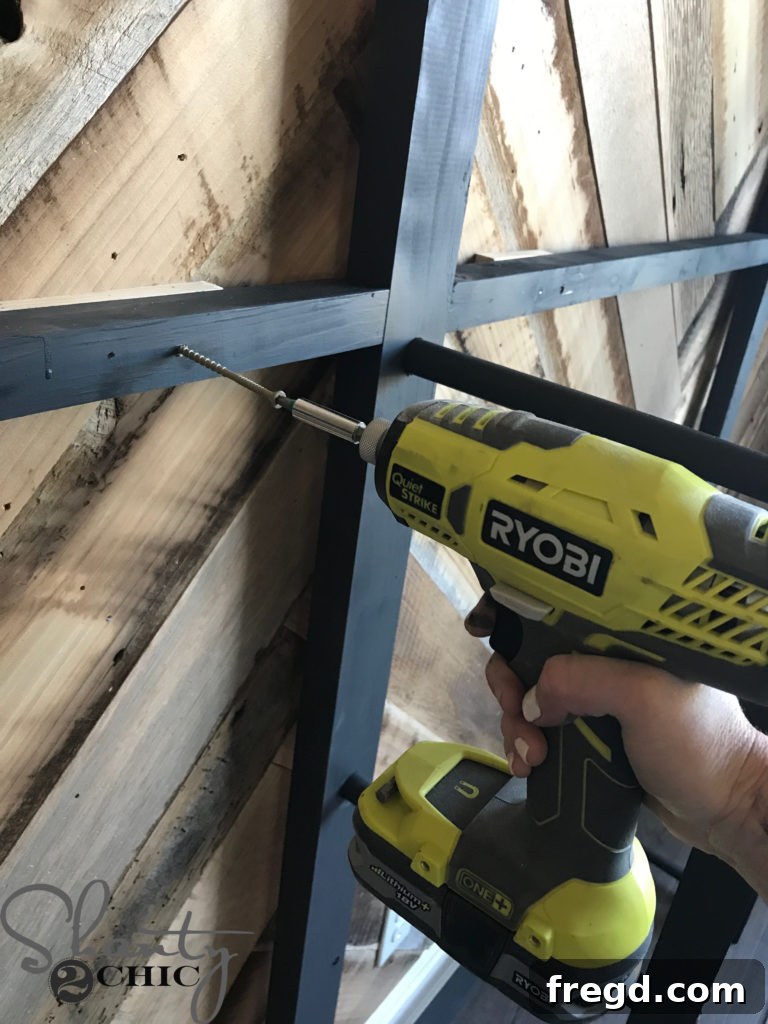
Once the shims were firmly attached and dried, we drilled 3 1/2″ wood screws directly from the cleats, through the shims, and deeply into the wall studs. This ensures an incredibly strong and secure attachment. We made sure to hit as many studs as possible per cleat for maximum stability, distributing the weight evenly across multiple anchor points.
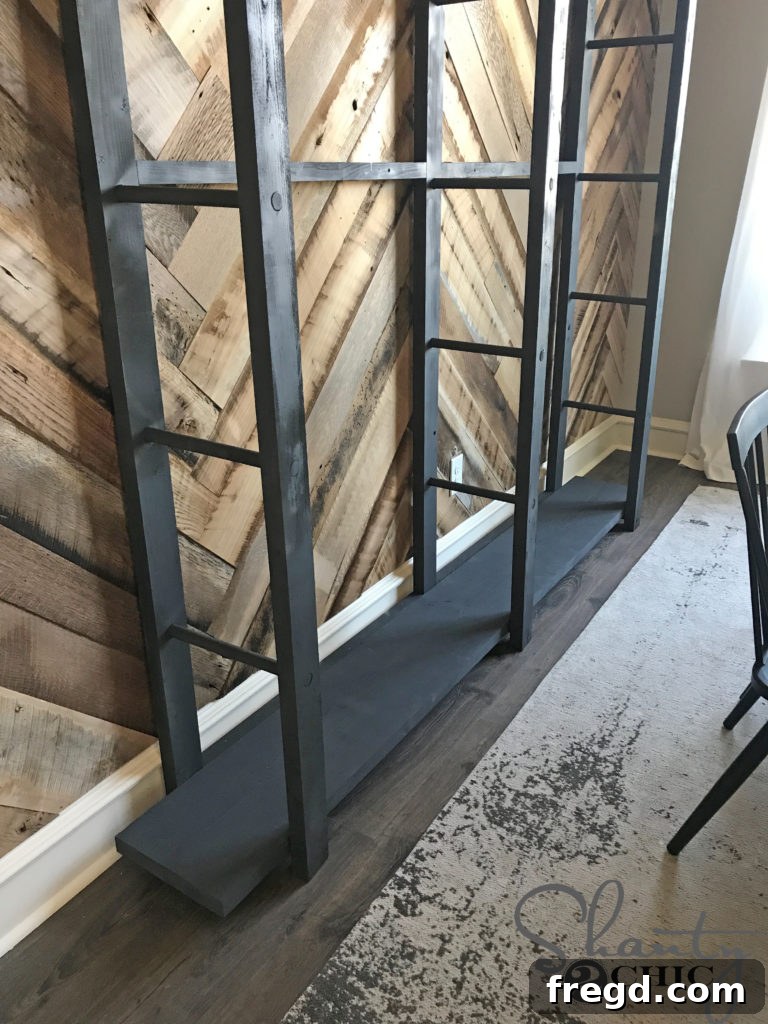
Step 8: Installing the Shelves – Ready for Display
With the main plate rack frame now securely anchored to your wall, it’s time for the exciting part: bringing in the shelves and completing the unit!
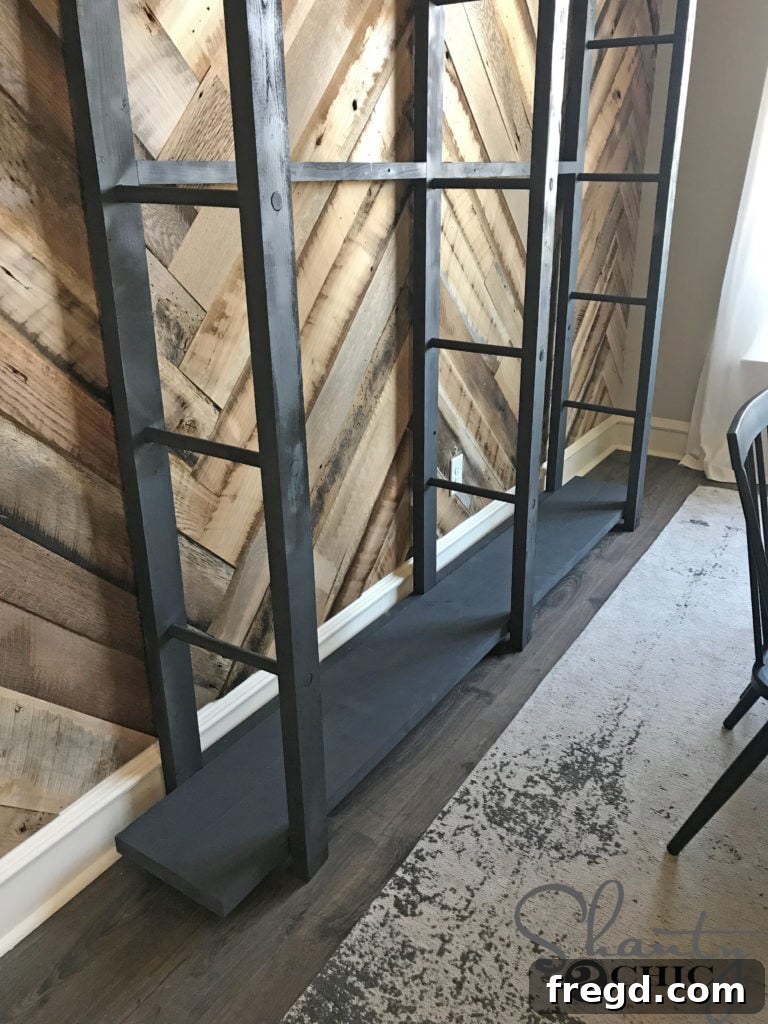
Carefully slide your pre-cut shelves into position. We found it easiest to start with the bottom shelf and work our way up, ensuring each shelf rests firmly on the rungs of the ladders.
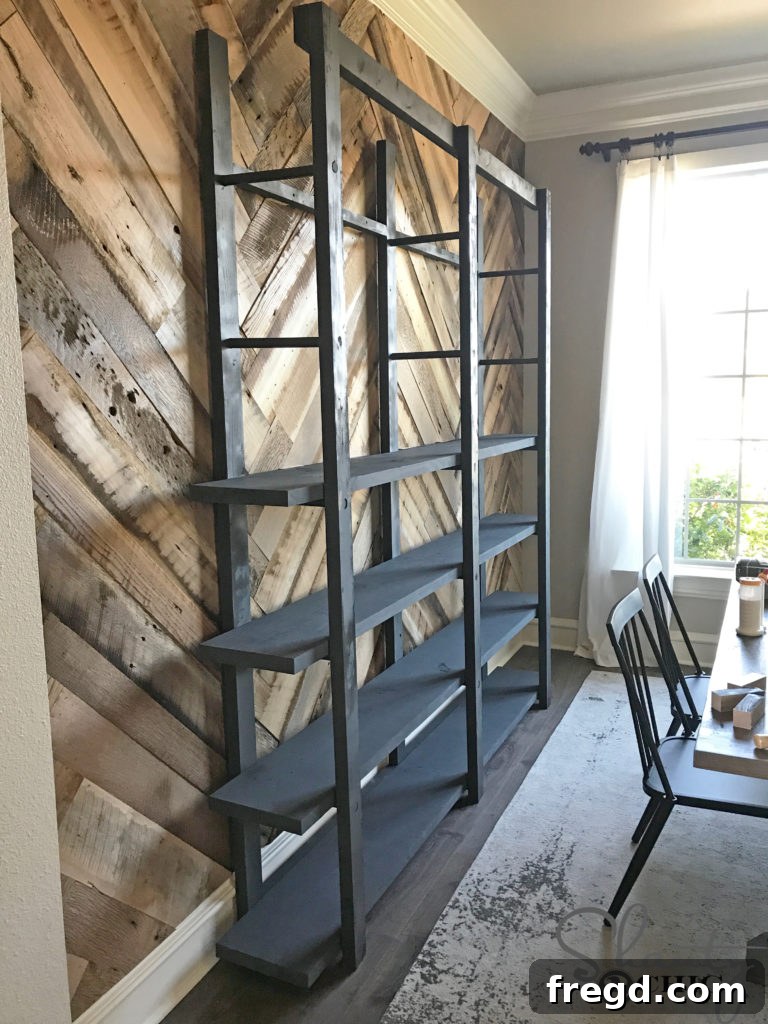
Continue placing each shelf into its designated slot. As you install them, visually check that they are level and properly seated on the ladder rungs.
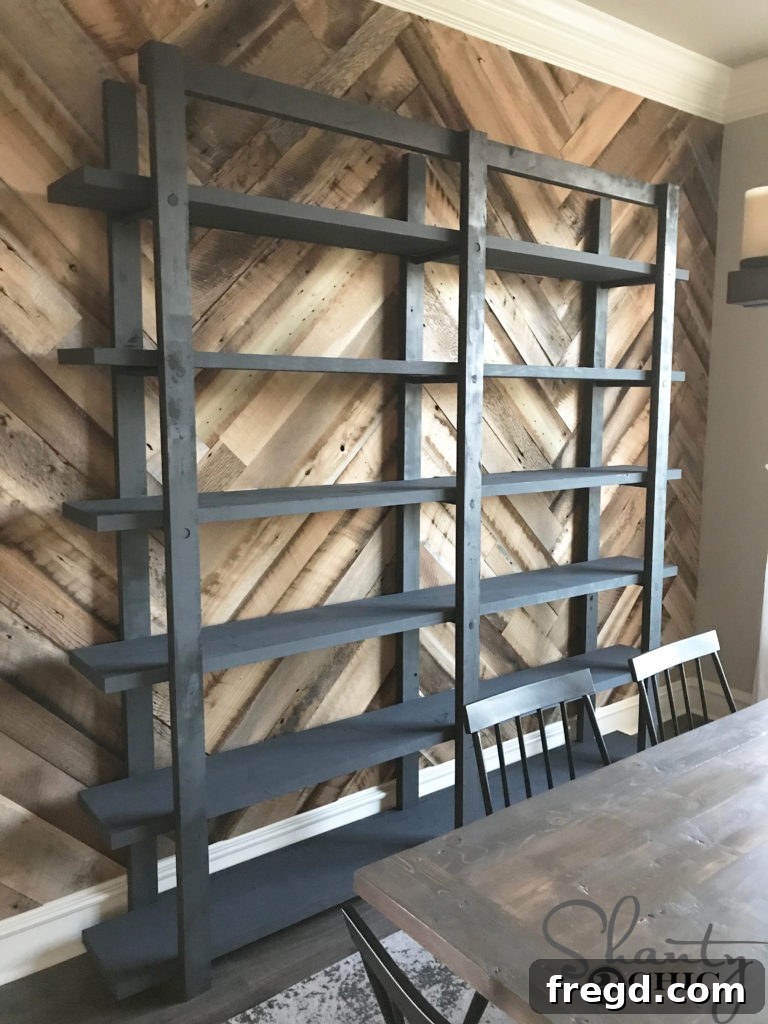
Once all shelves are in place, take a moment to measure and ensure they are evenly spaced. This attention to detail will greatly enhance the finished look of your plate rack. After confirming the spacing, permanently secure each shelf. For most shelves, we drilled a 2″ wood screw from the bottom of each rung directly into the shelf, effectively locking it into place. For the very bottom shelf, we reversed the process, drilling from the top of the shelf down into the rung for a secure hold.
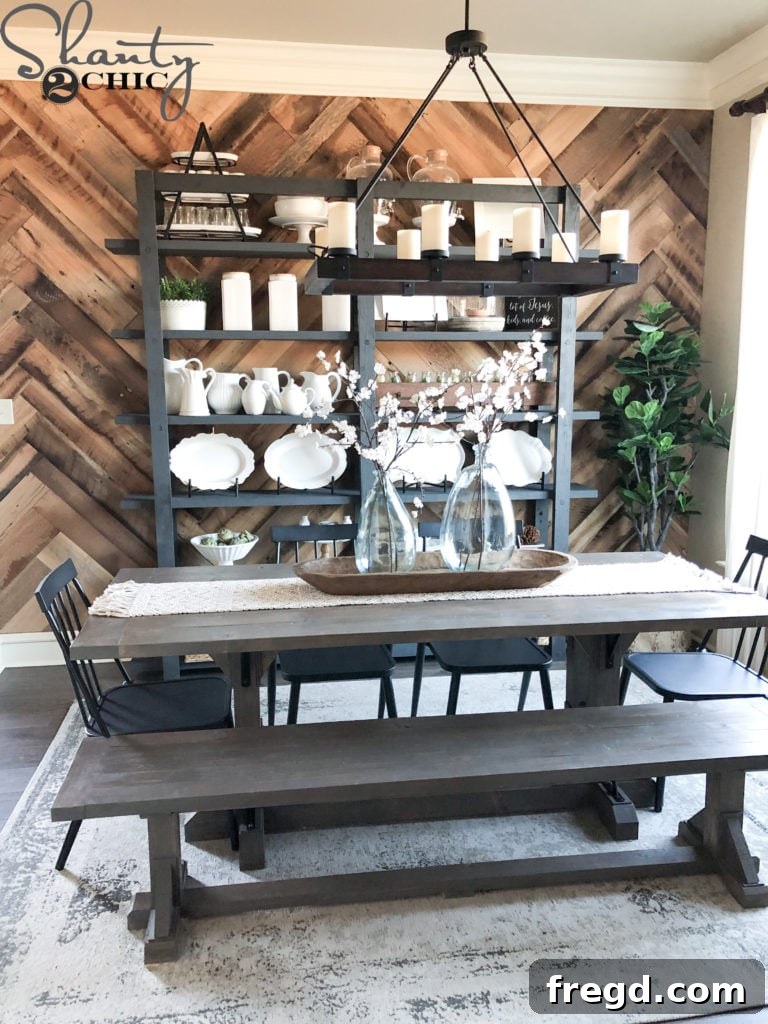
Decorating and Enjoying Your New Modern Farmhouse Plate Rack
Congratulations! Your stunning DIY Modern Farmhouse Plate Rack is complete! Now comes the most enjoyable part: loading it up with your favorite plates, cherished decorative items, and anything else you wish to display. Step back and admire the nearly 8′ x 8′ of versatile storage and captivating wall decor you’ve created for just about $100! This project truly embodies the perfect combination of form and function, adding immense value and style to your home.
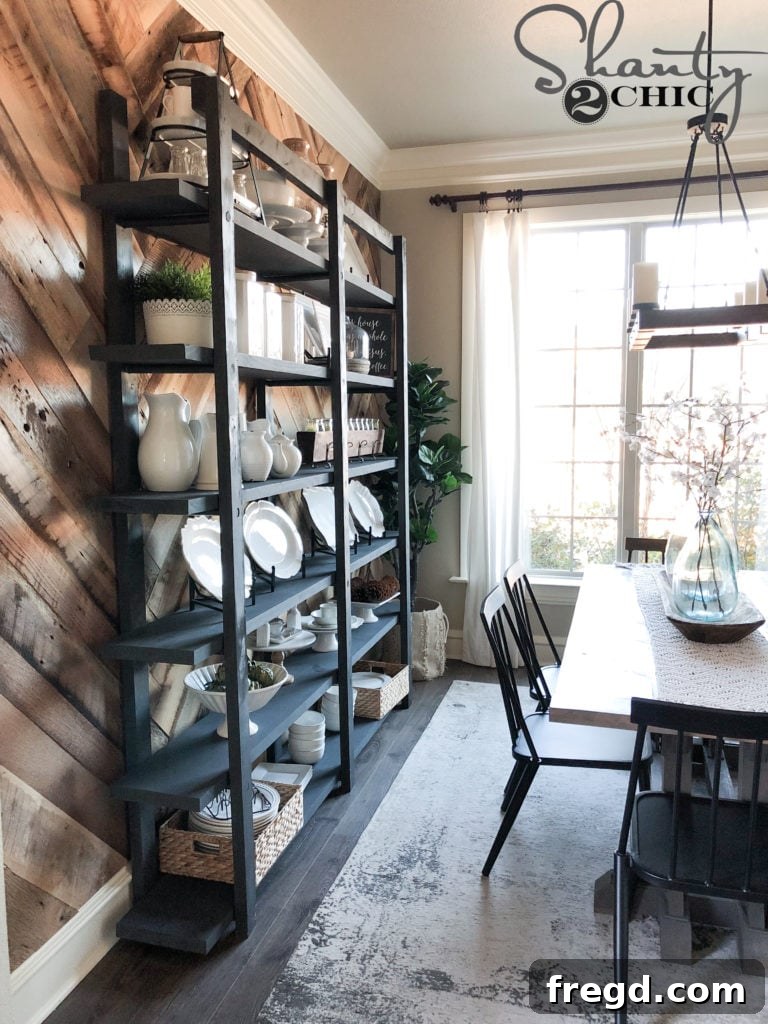
Enhance Your Dining Space: Related DIY Projects & Decor Links
If you loved building this plate rack, you might be interested in other DIY projects that complement this modern farmhouse aesthetic. Explore the links below to find plans and information on other items featured in this dining room, helping you create a cohesive and beautifully handcrafted space:
- Free Table Plans: Create a matching dining table with our detailed plans HERE.
- Free Bench Plans: Add comfortable seating with these free bench plans HERE.
- DIY Coffee Cabinet: Expand your storage with a rustic barn door coffee cabinet, plans found HERE.
- DIY Chunky Shelves: For additional wall display, check out our chunky industrial shelves HERE.
- Chairs: Find similar dining chairs HERE.
- Table Runner: Accessorize your table with a runner like ours HERE.
- Vases: Discover beautiful vases similar to those used in the decor HERE.
- Stems: Get information on the decorative stems HERE.
- Bread Bowl: Our bread bowl was a unique vintage shop find in Tennessee!
- Chandelier: Find a stunning chandelier to complete your dining room ambiance HERE.
- Rug: Anchor your dining space with a beautiful rug available HERE.
- Herringbone Wall Treatment: Learn how to create the impressive herringbone wall treatment HERE.
- Curtains: Find similar curtains for your windows HERE.
- Flooring: Get details on the durable and stylish flooring HERE.
- Paint Colors: The wall color is Soft Stones by Valspar, and the trim is Ivory Lace by Valspar.
Thank you so much for stopping by and exploring this exciting DIY project! We hope this detailed guide empowers you to create a beautiful and functional Modern Farmhouse Plate Rack for your own home. Don’t forget to download the free plans for all the exact measurements and diagrams.
Happy Building!