
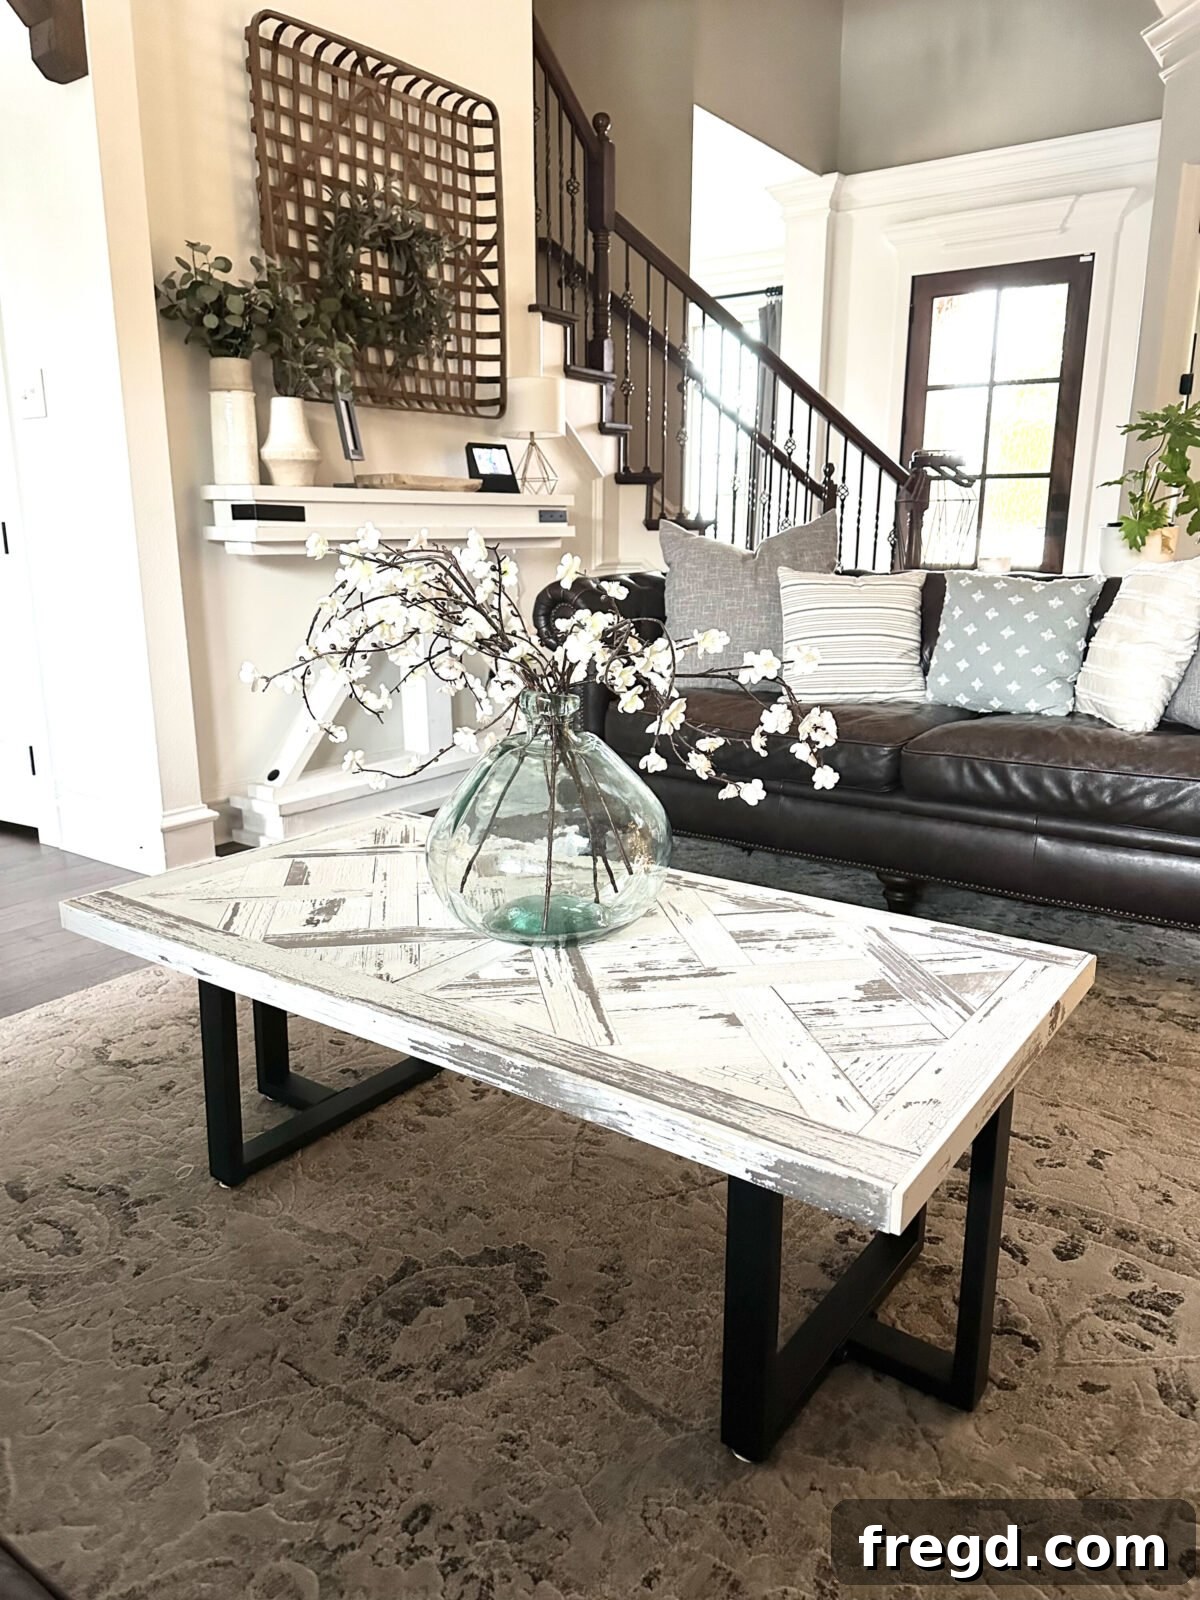
Unlock your inner craftsman and embark on an exciting DIY journey to build a stunning coffee table that will become the centerpiece of your living space! With this comprehensive guide, you’ll discover how to construct a beautiful, custom coffee table featuring an eye-catching parquet top and stylish metal legs, all while utilizing just three fundamental woodworking tools. We’re providing free, easy-to-follow woodworking plans, designed to make this project accessible and enjoyable for beginners and seasoned DIY enthusiasts alike. Get ready to transform ordinary materials into an extraordinary piece of furniture.
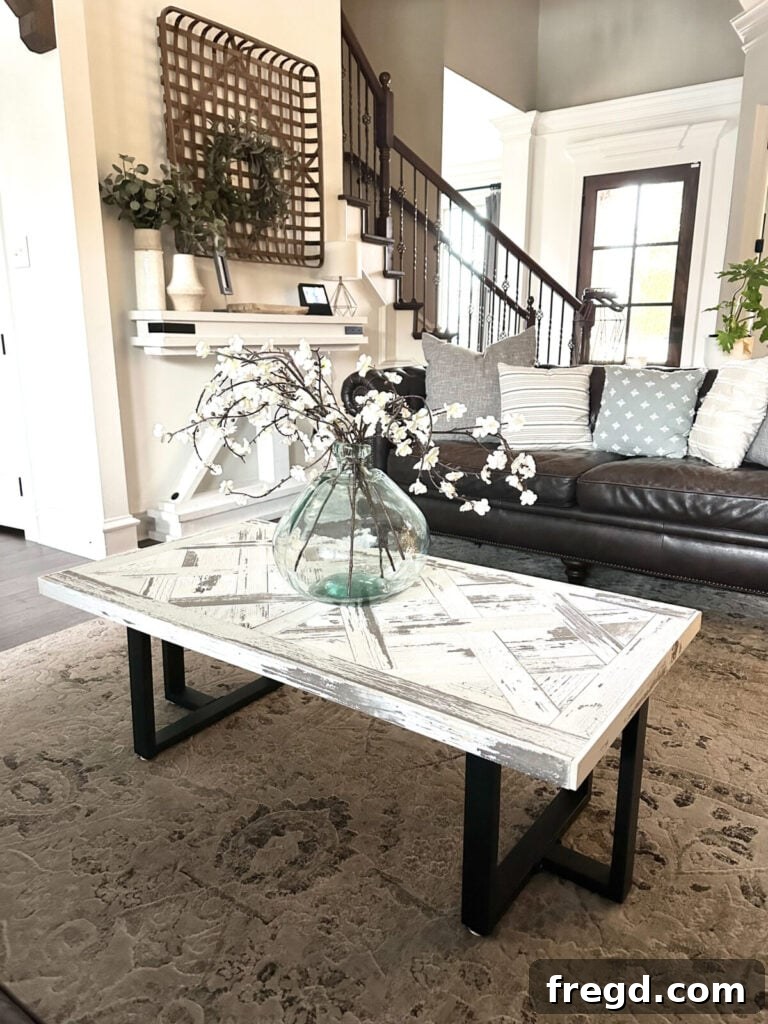
This particular DIY coffee table was a special commission for a friend residing out-of-state, and it proved to be an incredibly rewarding and straightforward build. The unique parquet table top provided an ample canvas for creative expression, allowing for a distinctive design that stands out. Beyond its visual appeal, this project is an excellent entry point for anyone new to woodworking, offering a manageable challenge that yields impressive results. Its versatile style effortlessly complements a wide range of living room aesthetics, from modern farmhouse to industrial chic. Best of all, you only need three essential tools to bring this vision to life!
One of the most satisfying aspects of this build was the ability to utilize reclaimed materials. I repurposed barn wood scraps from previous projects, specifically my DIY Canopy Bed and the matching DIY Barn Wood Nightstands, alongside leftover ½” plywood. This resourceful approach significantly reduced material costs, making the metal table legs the only new purchase required – a truly triumphant saving!
Ready to create your own bespoke furniture masterpiece? Let’s dive into the building process!
Important Note: The intricate parquet design inherently requires precise measurement and custom fitting of each individual piece to your specific table top dimensions. While the forthcoming cut list diagrams serve as an invaluable guide, expect to take your own measurements and cut pieces incrementally as you progress, ensuring a perfect, snug fit for every element of your design. This method ensures accuracy and minimizes waste for your unique build.
DIY Parquet Coffee Table Plans: Build Your Custom Centerpiece
Essential Tools for Your Coffee Table Project
Equipping yourself with the right tools is the first step towards a successful DIY project. For this custom coffee table, we’ve streamlined the process to require just a few versatile tools:
- Drill: An indispensable tool for pre-drilling holes and securely fastening screws, especially when attaching the metal legs.
- Miter Saw: Crucial for making precise, angled, and straight cuts on your wood planks, vital for both the frame and the intricate parquet pattern.
- Pin Nailer (or Brad Nailer): Perfect for attaching the smaller wood pieces of the parquet design and trim, providing a strong hold with minimal visual impact.
- Table Saw (optional): While not strictly necessary, a table saw can greatly expedite the process of ripping larger planks into uniform widths, especially if you’re working with raw lumber or need specific dimensions for your frame and parquet pieces. If unavailable, a circular saw with a guide can serve as an alternative.
Materials You’ll Need for a Parquet Coffee Table
Gathering your materials before you begin ensures a smooth and uninterrupted building experience. Here’s a detailed list of what you’ll need for your DIY coffee table:
- 7 – ½” x 6” x 48” Barn Wood Planks: These reclaimed planks will form the charming parquet top and frame elements. Their unique character and texture add an authentic farmhouse aesthetic. If barn wood is not readily available, you can substitute with 1×3 lumber; just remember to adjust the width of your trim pieces accordingly, as new lumber dimensions may vary.
- 1 – ½” x 48” x 48” Hardwood Plywood: This piece will serve as the robust base for your table top, providing a stable foundation for the parquet design and overall structure.
- 2 – Metal Legs: These modern industrial-style legs will provide sturdy support and a contemporary contrast to the rustic wood top. Choose a style and finish that complements your desired aesthetic.
- 1” Pin Nails or Brad Nails: Essential for securing the wood pieces, especially for the intricate parquet pattern, where discreet fasteners are desired.
- Wood Glue: A vital component for strengthening all wood-to-wood joints, providing a long-lasting and durable bond that enhances the structural integrity of your coffee table.
Step-by-Step: Building the Coffee Table Top Frame
The foundation of your DIY coffee table begins with a well-constructed table top frame. This section guides you through creating a sturdy and level base for your distinctive parquet design.
Step 1: Precisely Cut the Plywood to Size
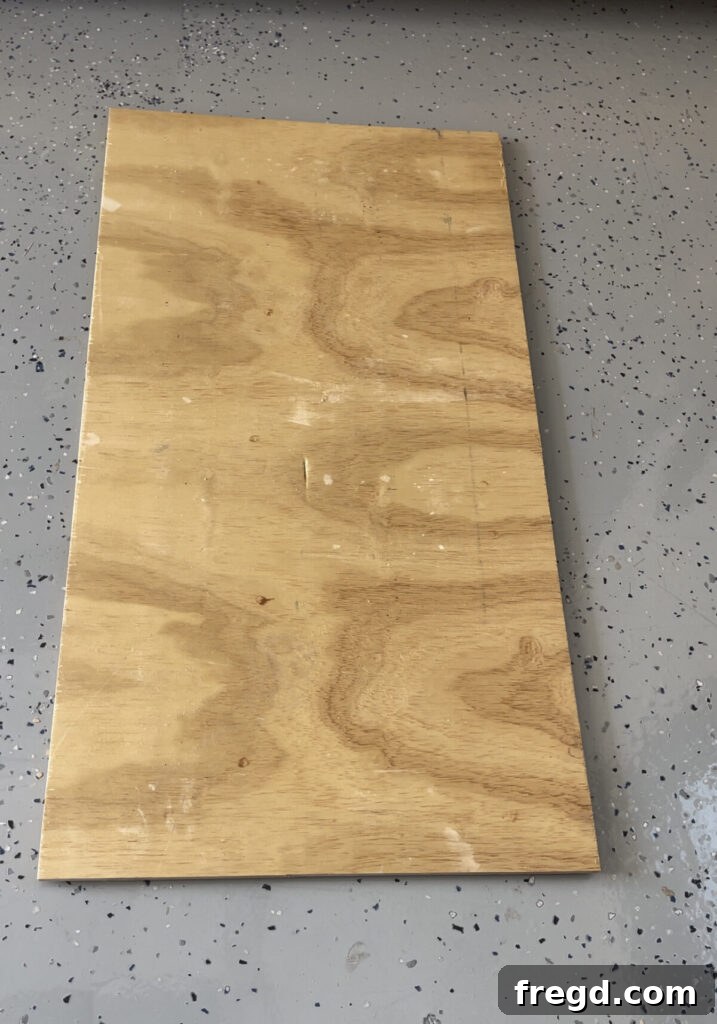
To begin, meticulously measure and cut your ½” hardwood plywood to the desired dimensions for your coffee table top. This forms the essential base for your entire project, so accuracy here is paramount for a perfectly square and stable surface. Use a straight edge and a circular saw or a table saw for the cleanest and most precise cut.
Step 2: Attaching the Long Frame Boards
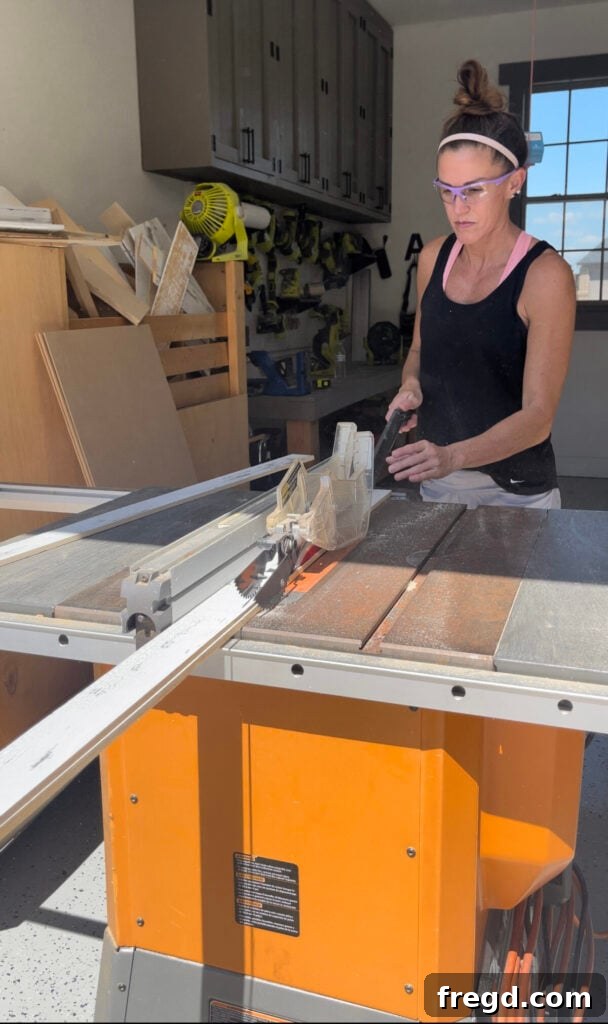
Next, prepare your barn wood planks for the table top frame. I ripped my scrap barn wood pieces to widths of 2 ½” and 2 ¼”. This slight variation can add character, or you can aim for uniform widths. If you opt to use standard 1×3 lumber instead of barn wood, ensure you adjust the dimensions of your trim boards accordingly, as barn wood planks are typically ½” thick, which might differ from standard lumber measurements.
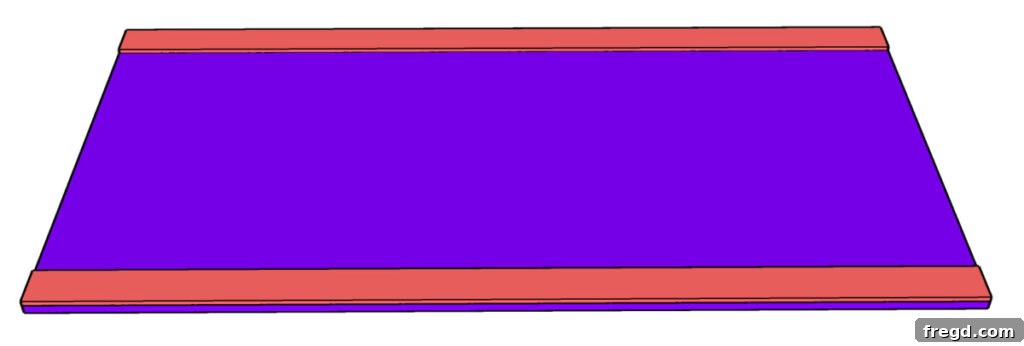
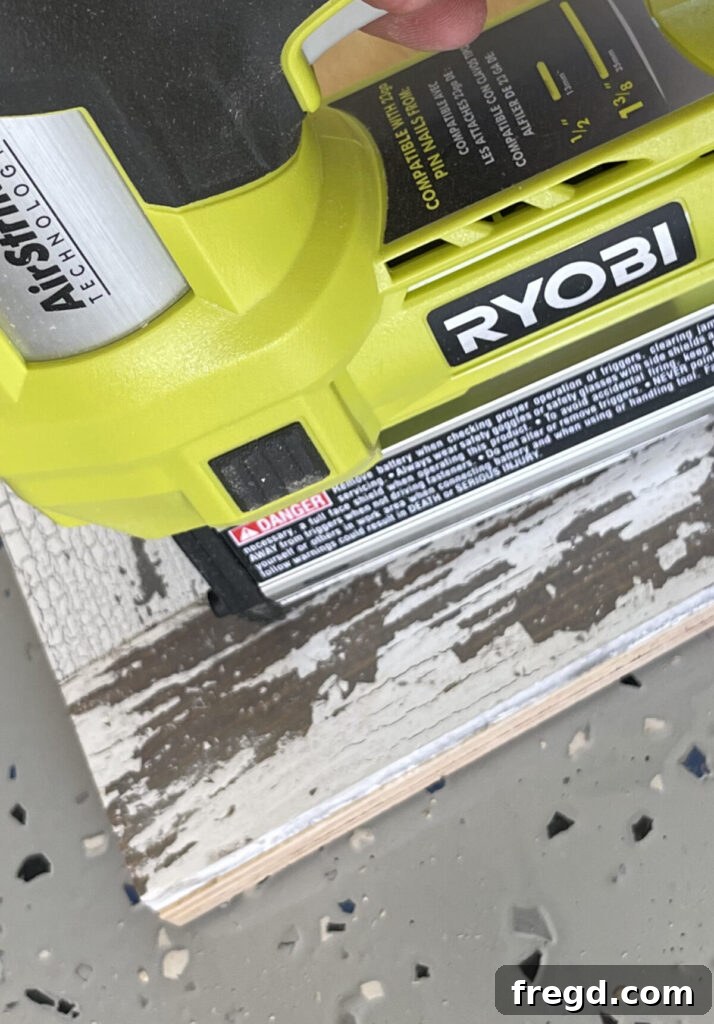
With your boards prepped, it’s time to construct the table top frame. Begin by cutting the two long frame boards to the exact length of your plywood base. Apply a generous bead of wood glue along the edges of the plywood where these boards will sit, then carefully align and attach them. Use 1” pin nails (or an 18-gauge brad nailer if you don’t have a pin nailer) to secure the boards firmly. The combination of wood glue and nails provides a strong, lasting bond, ensuring the frame’s integrity.
Step 3: Adding the Short Frame Boards to Complete the Perimeter
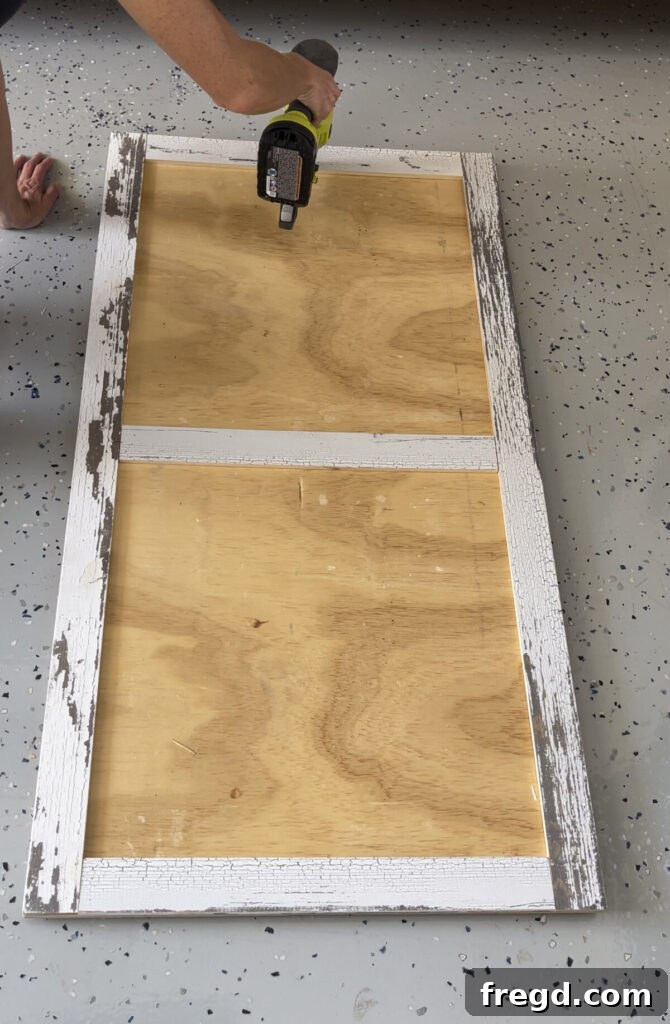
Once the long frame pieces are securely in place, measure the exact distance between them to determine the length for your short frame pieces. Cut these boards to size, ensuring a snug fit. Apply wood glue to the mating edges and attach them using 1” pin nails, mirroring the method used for the long boards. This completes the sturdy rectangular perimeter of your table top frame, preparing it for the captivating parquet design.
Mastering the Parquet Design: A Detailed Guide
The parquet design is the defining feature of this coffee table, offering a rich texture and visual interest. This section walks you through creating this intricate pattern, piece by piece.
Step 1: Crafting the First Corner Pieces for the Parquet Pattern
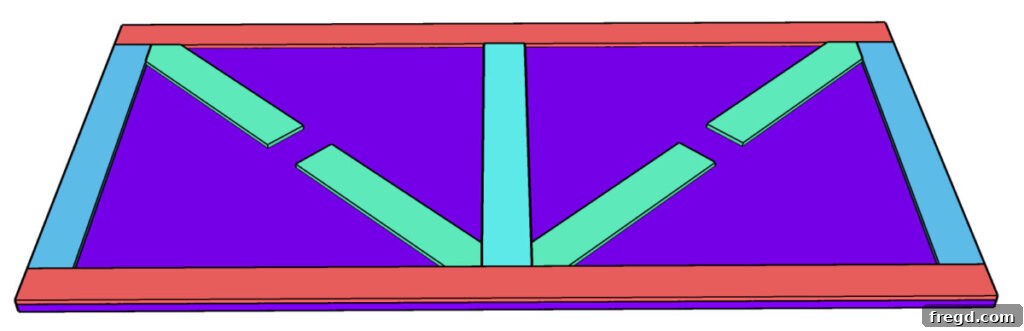
To embark on the parquet pattern, begin with the corner pieces. These segments require precision: cut one end at a 45° angle, while the opposite end remains a straight cut. This specific angle is crucial for the pattern to seamlessly interlock. Apply wood glue to the underside of each piece, carefully position them in the corners of your table top frame, and secure with 1” pin nails. Take your time to ensure tight joints for a professional finish.
Step 2: Attaching the Second Set of Corner Pieces
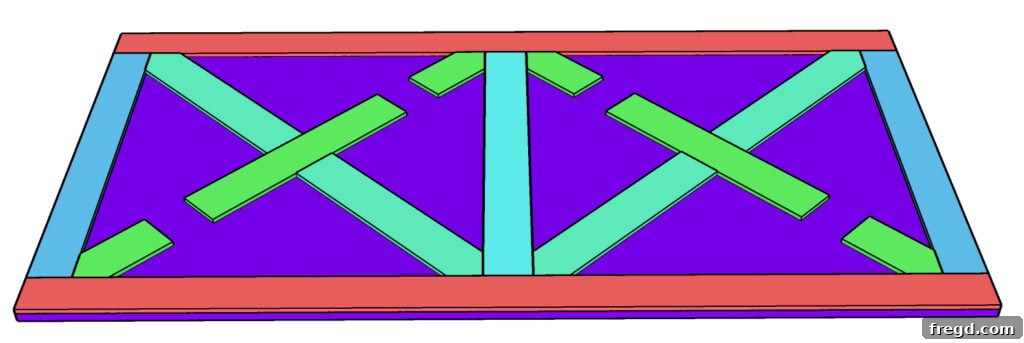
With your initial corner pieces firmly in place, proceed to cut and attach the second set of corner pieces. These will butt up against the first set, extending the angled design. Follow the same meticulous process: measure, cut at 45° where needed, apply wood glue, and secure with 1” pin nails. As you work, continuously check your angles and alignment to maintain the pattern’s integrity and visual harmony.
Step 3: Integrating the Long Diagonal Pieces into the Pattern
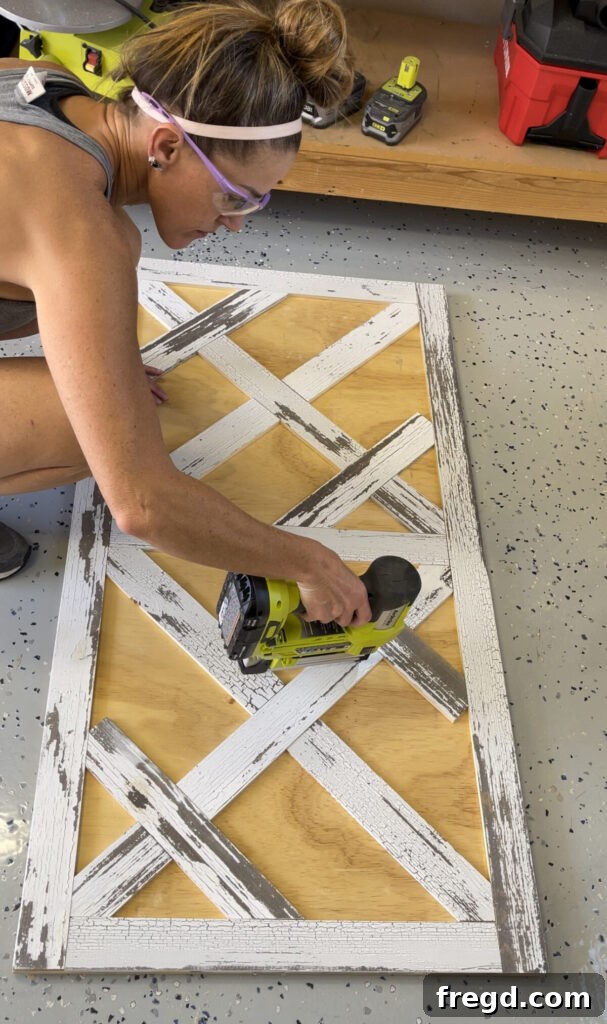
The next phase involves installing the long diagonal pieces that form the larger sections of the parquet. Carefully measure the space for each piece, taking into account the angles created by the corner sections. Cut these boards to size, applying wood glue to their undersides. Position them accurately, ensuring they fit snugly against the existing pieces, and fasten them with 1” pin nails. This step significantly builds out the central design of your table top.
Step 4: Incorporating the Short Diagonal Pieces for Detail
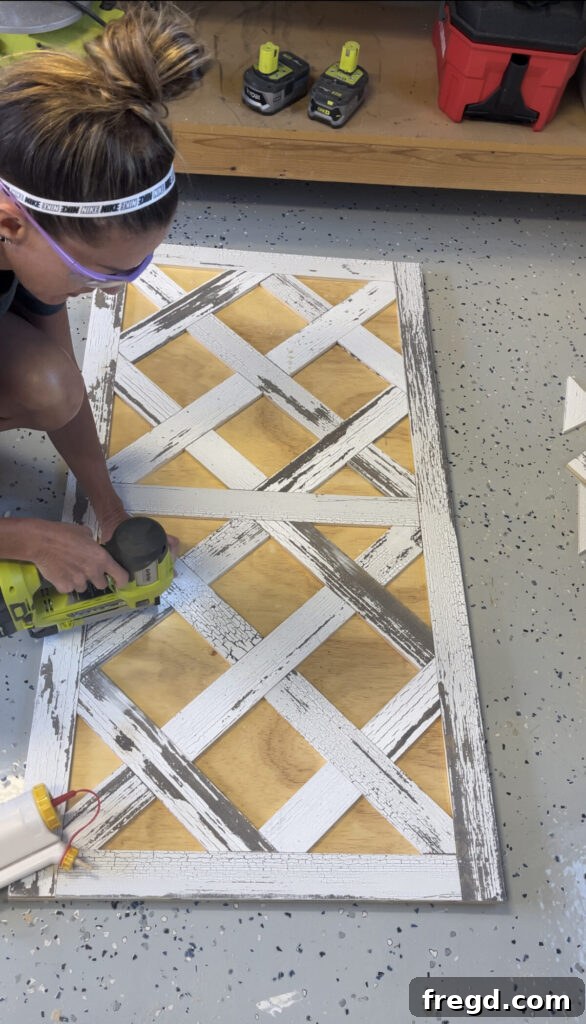
After the long diagonal pieces are securely attached, shift your focus to the short diagonal pieces. These smaller elements are crucial for completing the intricate geometric pattern. Measure each space individually, as slight variations can occur, and cut the pieces to fit precisely. Apply wood glue and use 1” pin nails to secure them, ensuring they align perfectly with the surrounding wood for a seamless and polished parquet finish.
Step 5: Filling the Gaps with Square Pieces
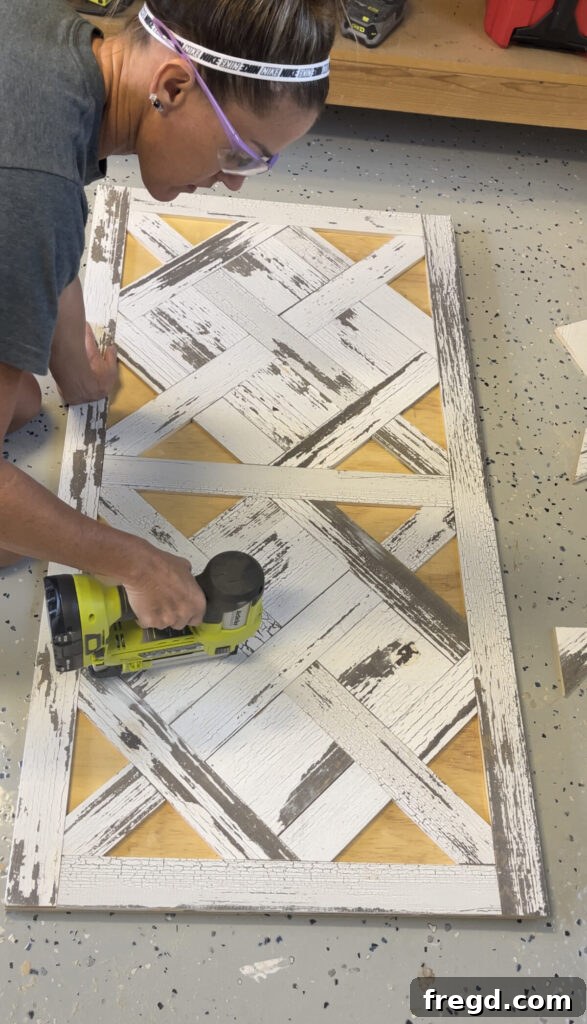
With the diagonal pieces forming the main flow of the pattern, it’s time to fill in the remaining square-shaped gaps. Carefully measure each square opening on the tabletop, ensuring your cuts are perfectly square for a tight fit. Apply wood glue to the back of each piece and secure them firmly with 1” nails (pin or brad). This step brings a sense of completion to the central parquet design, highlighting the beautiful geometry.
Step 6: Completing the Design with Triangle Pieces
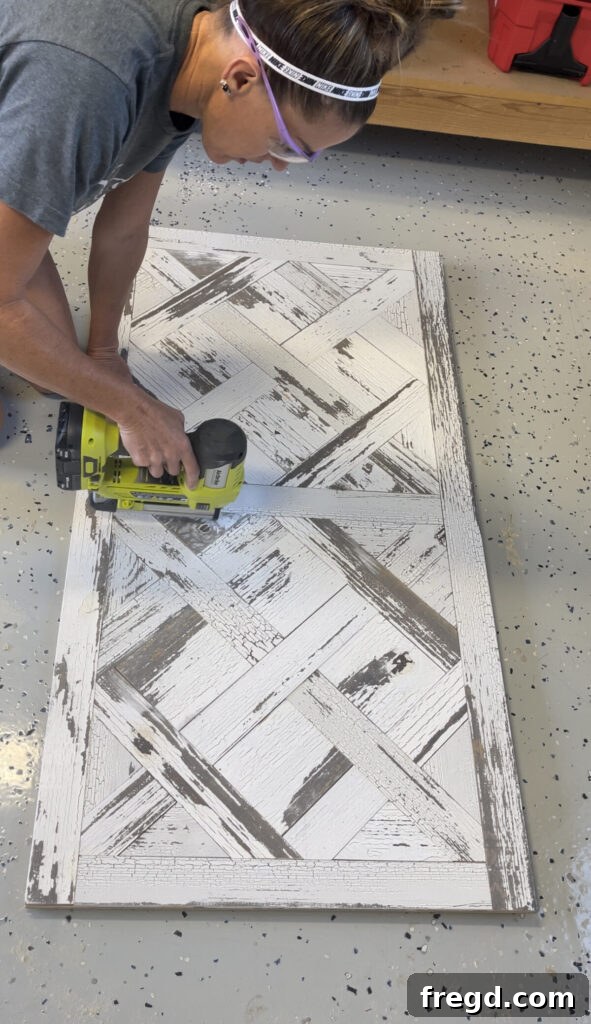
The final, delicate step in perfecting your parquet design involves fitting the triangle pieces. These small, often irregularly shaped, pieces will complete the pattern, especially along the edges or in the final corners. Take precise measurements for each individual triangle, as they may vary slightly. Cut them carefully to ensure a perfect fit, then apply wood glue and attach them to the table top. This meticulous attention to detail will result in a truly stunning and professional-looking parquet surface.
Finishing Touches: Adding the Table Top Trim
Adding the trim not only frames your beautiful parquet design but also provides a clean, finished edge to your coffee table. This step is crucial for both aesthetics and protecting the edges of your plywood base.
Step 1: Installing the Long Trim Pieces
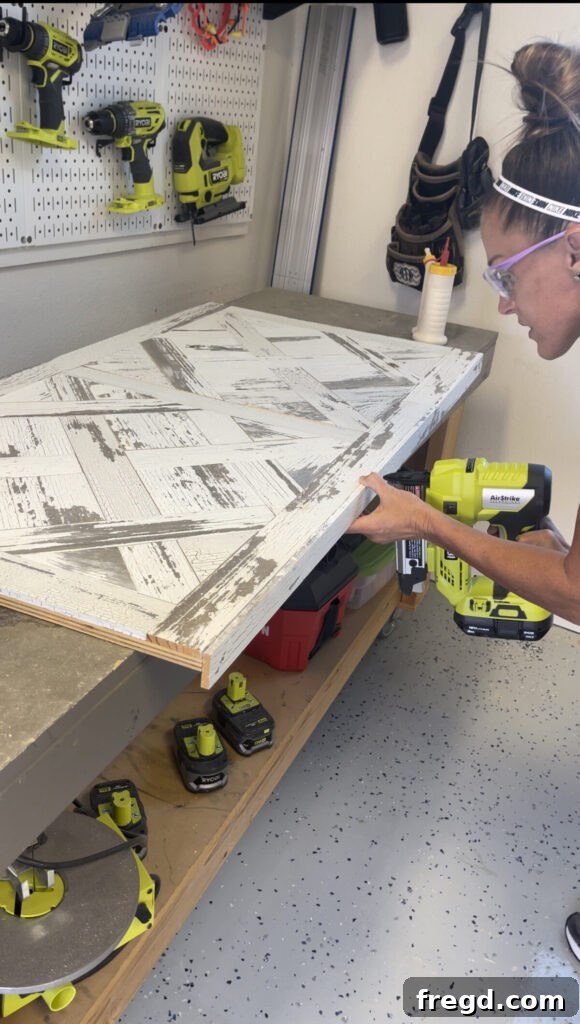
Measure the length of the long edges of your table top precisely. Cut your trim pieces to these measurements. Apply wood glue along the edges of the table and carefully position the long trim pieces so their top surface is perfectly flush with the top of your parquet design. Secure them using 1” pin nails. If you’re using barn wood planks, a neat trick is to rip your trim pieces so that one edge retains its original painted finish, then attach this painted edge facing upwards for a cohesive look. If this isn’t feasible, a touch of white chalk paint on the exposed unfinished wood end will provide an equally polished appearance.
Step 2: Attaching the Short Trim Pieces to Complete the Perimeter
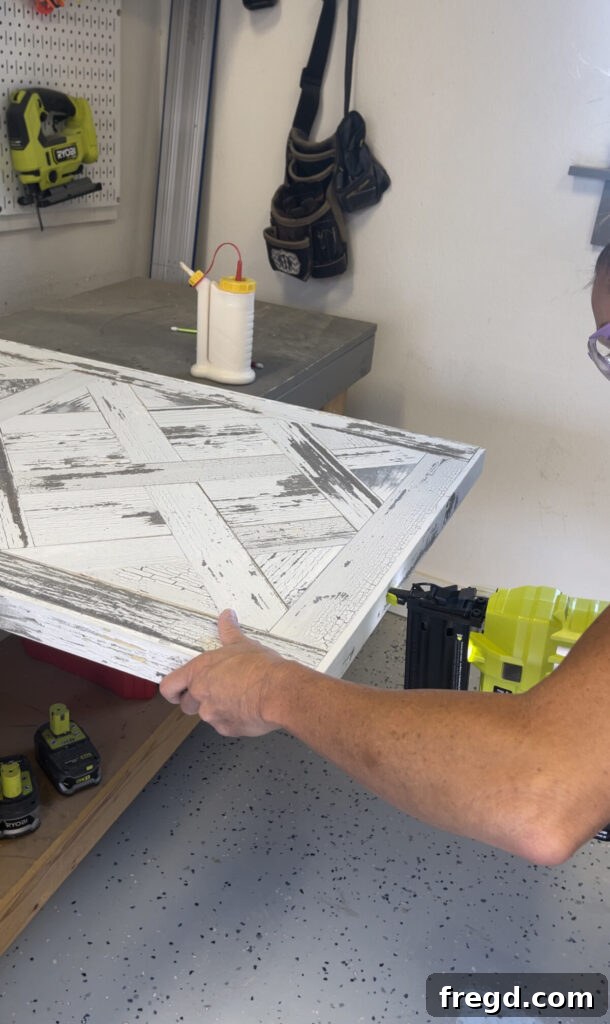
Once the long trim pieces are secured, measure and cut the short trim pieces to fit snugly between them. Apply wood glue and attach these pieces in the same manner, using 1” pin nails. Pay close attention to achieving clean, tight corners where the long and short trim pieces meet. If you are using barn wood planks, you might notice small, unfinished wood ends on the short pieces. These can be easily disguised with a dab of white chalk paint, blending seamlessly with the rustic aesthetic.
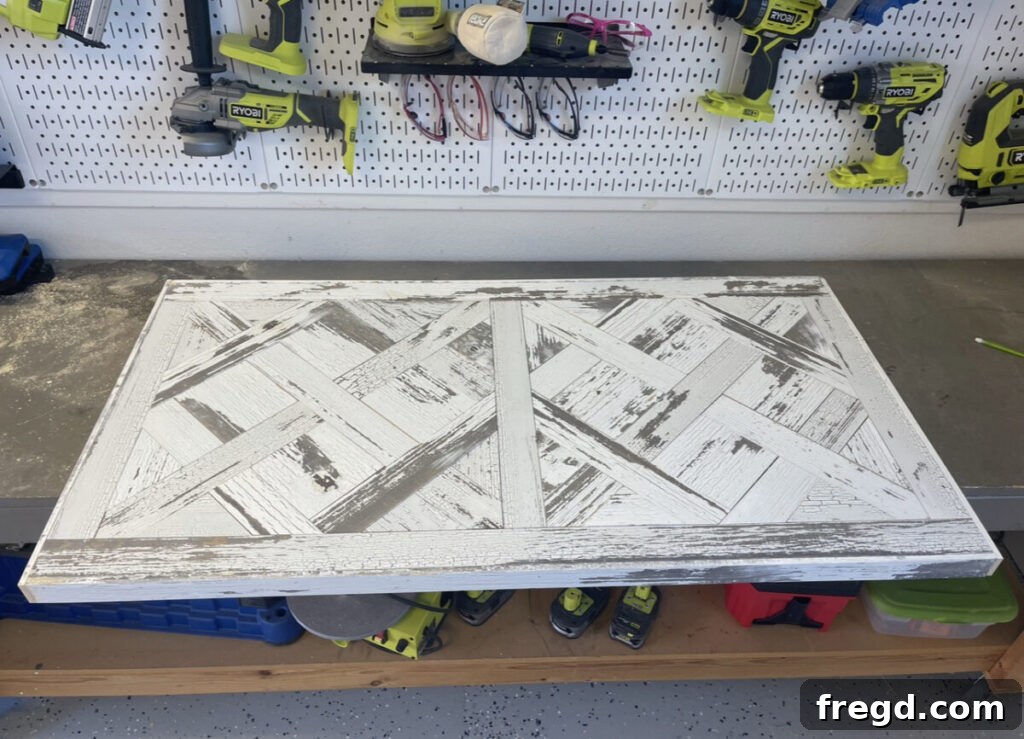
Congratulations! Your stunning parquet table top is now completely finished, a testament to your meticulous craftsmanship. The intricate design and neatly framed edges are truly a work of art. Now, let’s move on to giving it a sturdy and stylish base!
Securely Attaching the Modern Metal Table Legs
With the tabletop complete, the final structural step is to attach the metal legs, which will elevate your coffee table and give it its modern industrial appeal. This is a straightforward process that brings the entire project together.
Step 1: Firmly Attach the Metal Table Legs
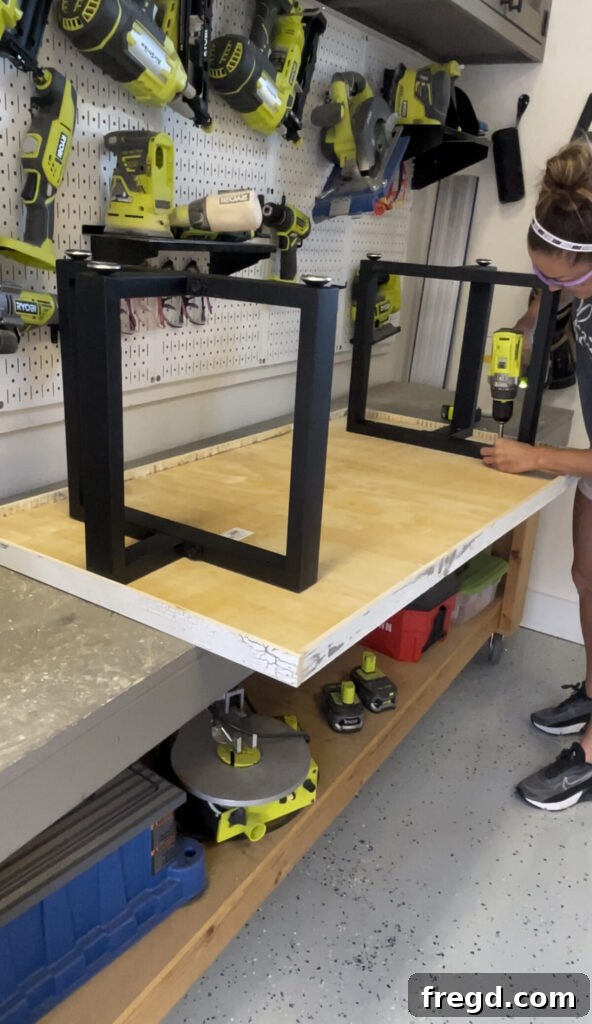
Once your exquisite table top is fully assembled and the glue has dried, carefully flip it upside down on a clean, protected surface. Position the metal table legs on the underside of the plywood base, ensuring they are centered and evenly spaced for optimal stability and aesthetic balance. Use your drill to attach the legs securely with the provided screws, following the manufacturer’s instructions. Ensure all screws are tightened firmly to prevent any wobbling.
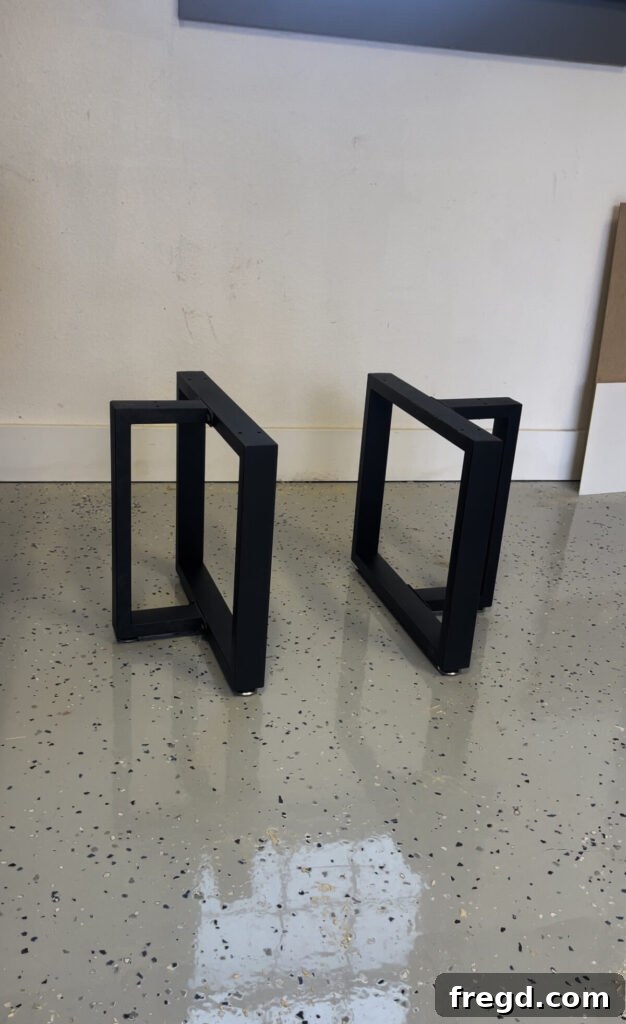
- You can find the specific style of metal table bases that I used for this project here, offering a sleek and contemporary contrast to the rustic wood.
Applying the Perfect Finish to Your DIY Coffee Table
The finishing touches are what truly bring your DIY coffee table to life, protecting the wood and enhancing its natural beauty. Whether you choose to stain, paint, or simply seal, this step is crucial for durability and aesthetics.
Step 1: Add Stain or Paint for a Personalized Touch
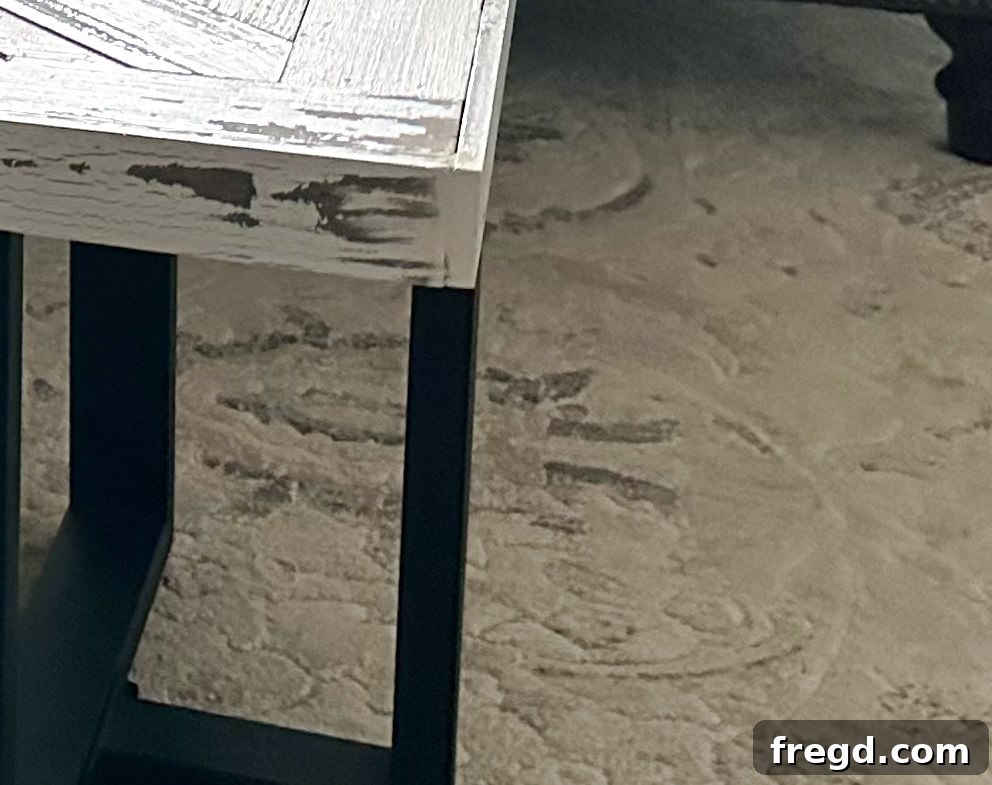
If you’ve utilized reclaimed barn wood planks for your table top, you might find some exposed, unfinished wood on the cut edges, particularly where the trim pieces meet. A quick and easy solution is to simply touch up these areas with white chalk paint. This not only covers the raw wood but also beautifully complements the rustic charm of the barn wood, adding to its authentic, weathered look.
- You can find the high-quality white chalk paint that I personally used for this project here, ensuring a consistent and beautiful finish.
Alternatively, if you opted for new 1×3 lumber instead of barn wood, you have a broader range of finishing options. Consider applying a coat of wood stain to bring out the natural grain and achieve your desired color depth, or choose a paint color that perfectly matches your home decor. Regardless of your choice, it is absolutely essential to seal your finished table with a durable protective topcoat. This final layer will shield the wood from spills, scratches, and daily wear, ensuring your beautiful DIY coffee table remains a stunning focal point for years to come.
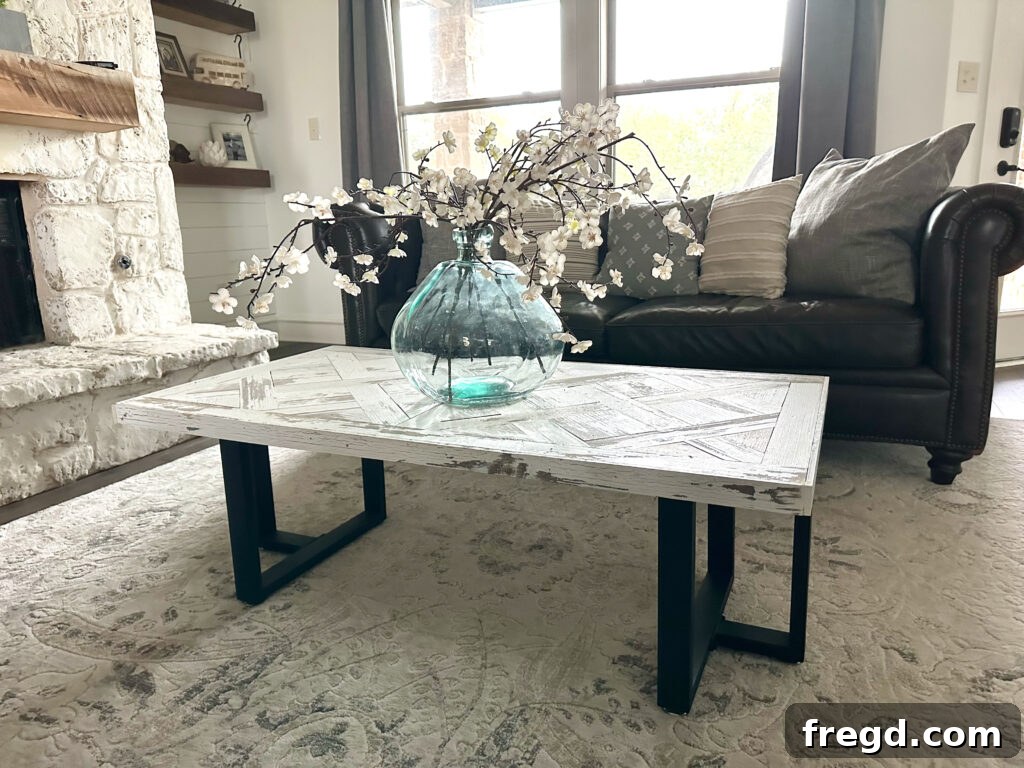
And just like that, you’re all done! I truly adore how this coffee table enhances my own living room’s aesthetic with its unique charm. However, this particular piece is sadly not for me; it’s destined to be shipped off to my friend for her new home. The blend of the farmhouse-style barn wood planks, providing a rich, rustic texture, and the sleek black metal base, offering a contemporary edge, creates a truly captivating modern farmhouse coffee table that perfectly balances two distinct design philosophies.
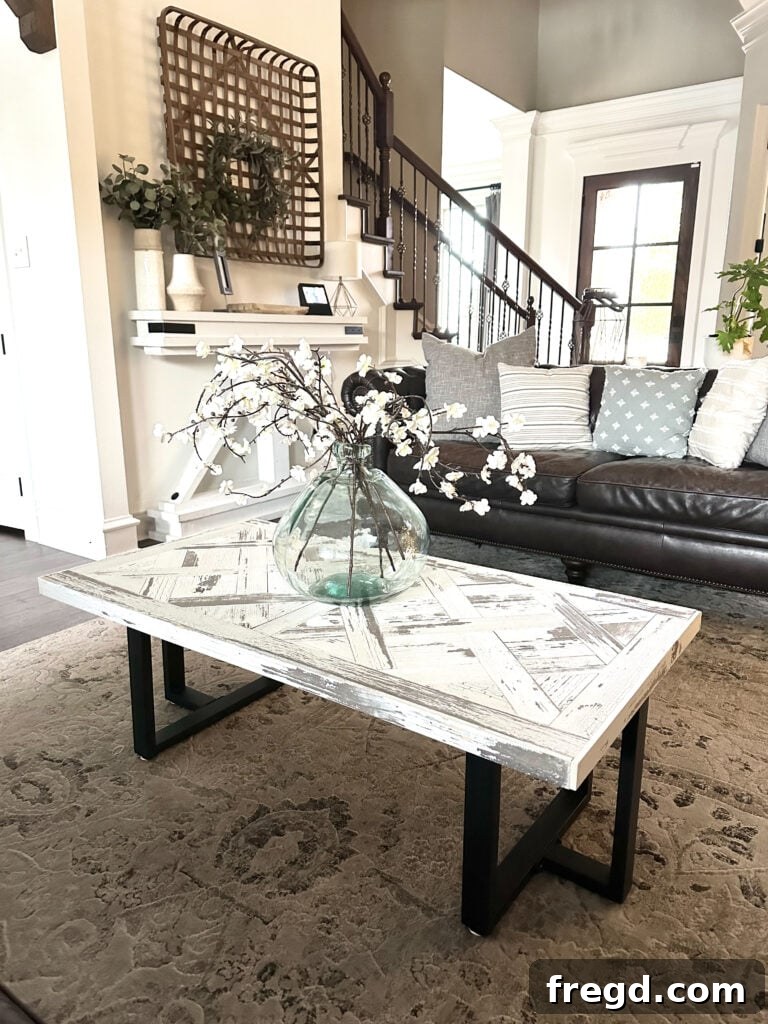
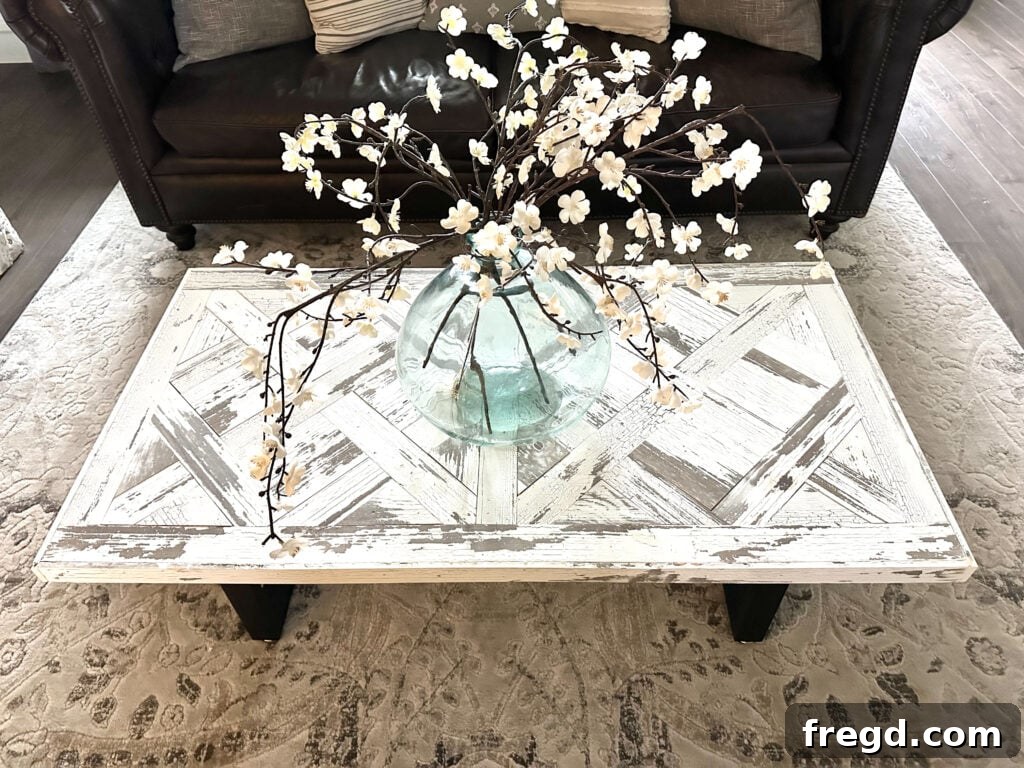
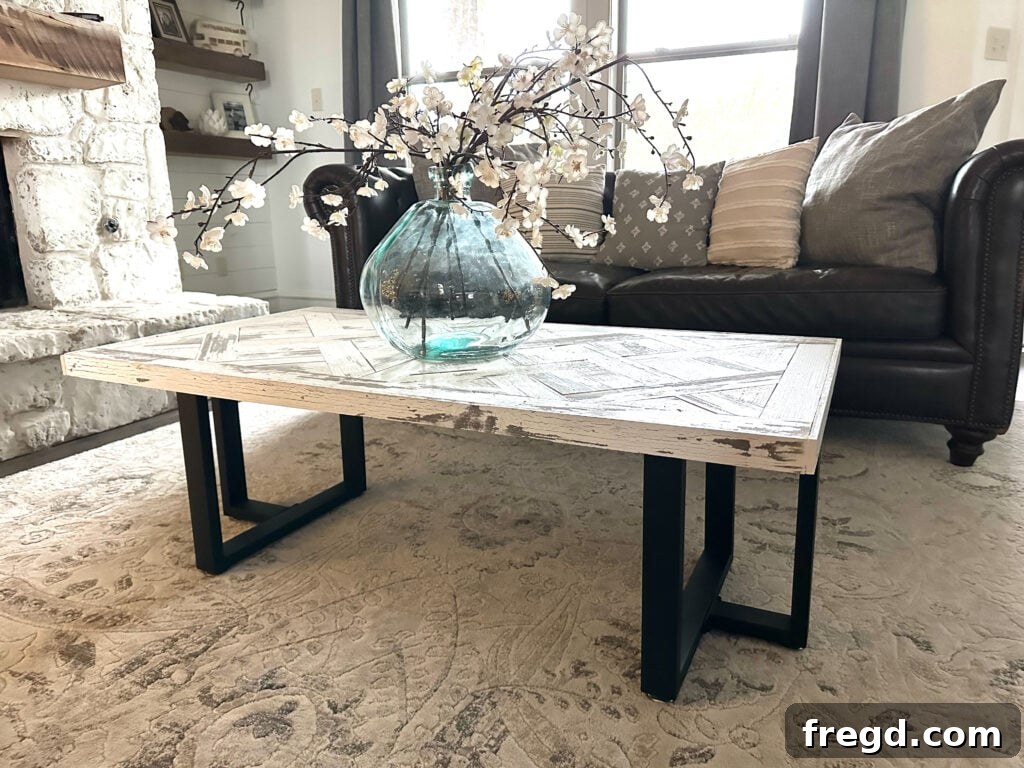
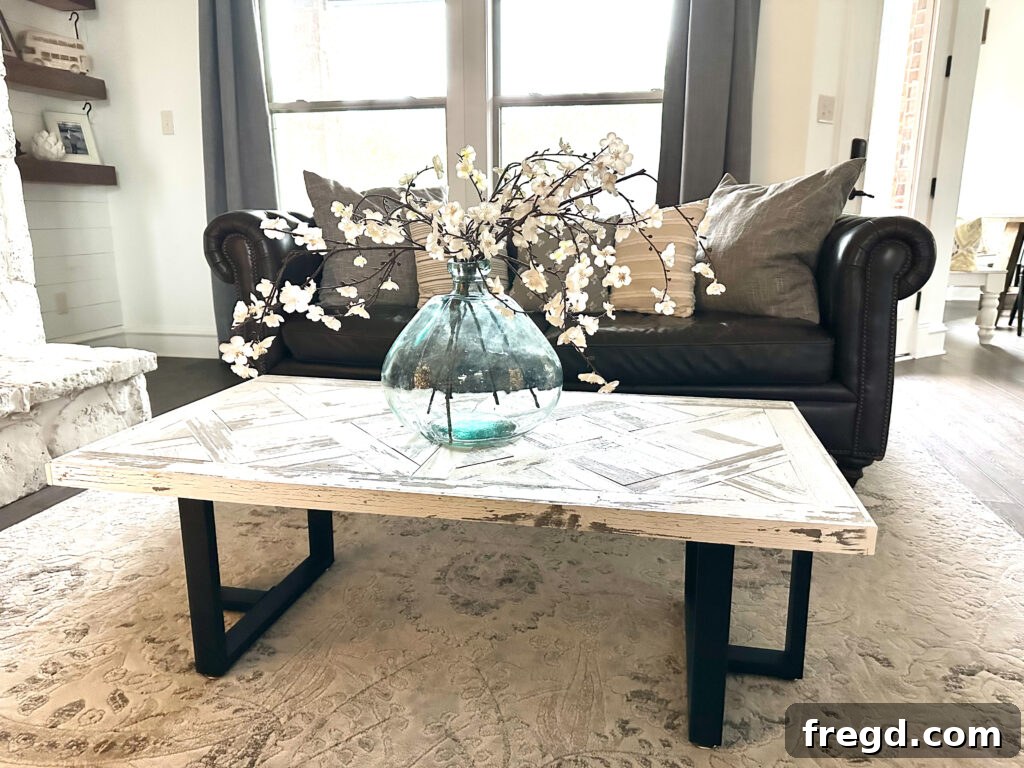
This DIY coffee table plan offers an exceptional opportunity to unleash your creativity, particularly when selecting materials for the stunning parquet design. Imagine the possibilities: reclaimed pallet wood for an even more rustic feel, different shades of pine scraps for a subtle variation, or even exotic hardwoods for a luxurious touch. The potential for customization is truly endless, allowing you to create a unique piece that perfectly reflects your personal style and complements your home decor. Embrace the journey of discovery and craftsmanship!
We absolutely love seeing your completed projects! Please make sure to share your incredible builds with us on social media. Use the hashtag #shanty2chic so we can easily find and proudly share your inspiring creations with our community!
Happy Building!
Explore More Popular DIY Coffee Table Projects
If you enjoyed building this parquet coffee table, you might be interested in expanding your woodworking skills with other fantastic coffee table designs from our collection. Each project offers unique challenges and styles to suit different tastes and skill levels.
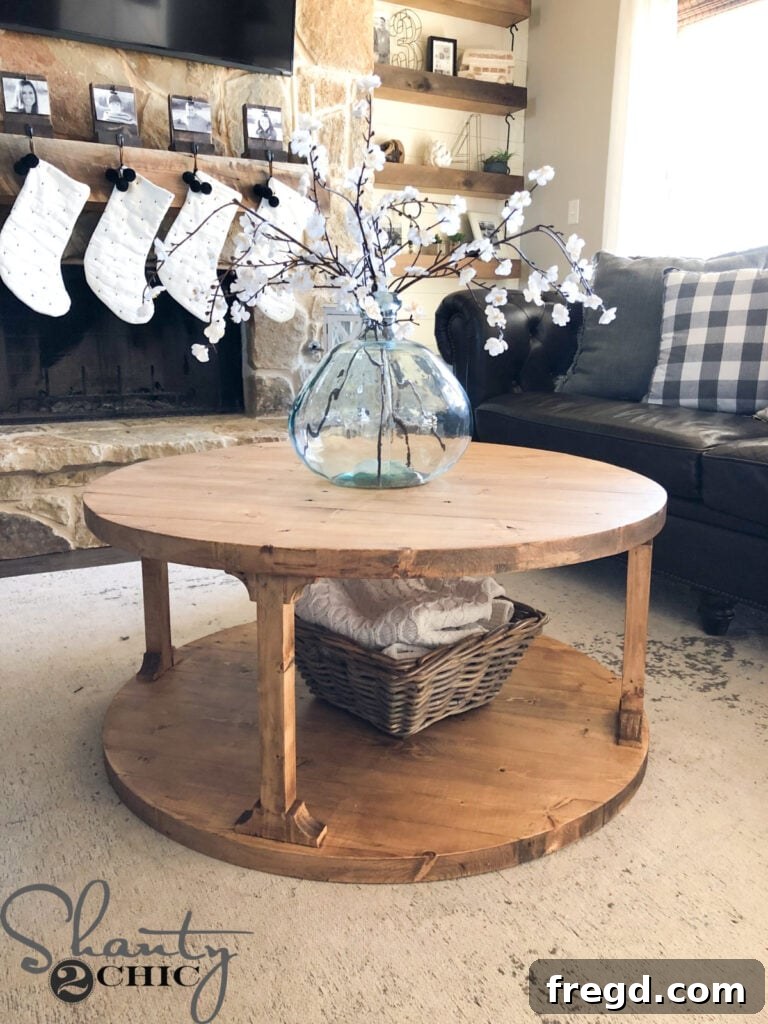
DIY Round Coffee Table
Discover how to build a charming round coffee table, perfect for softening the lines of any living space. This design often features a robust base and a spacious circular top, offering both functionality and a unique aesthetic appeal.
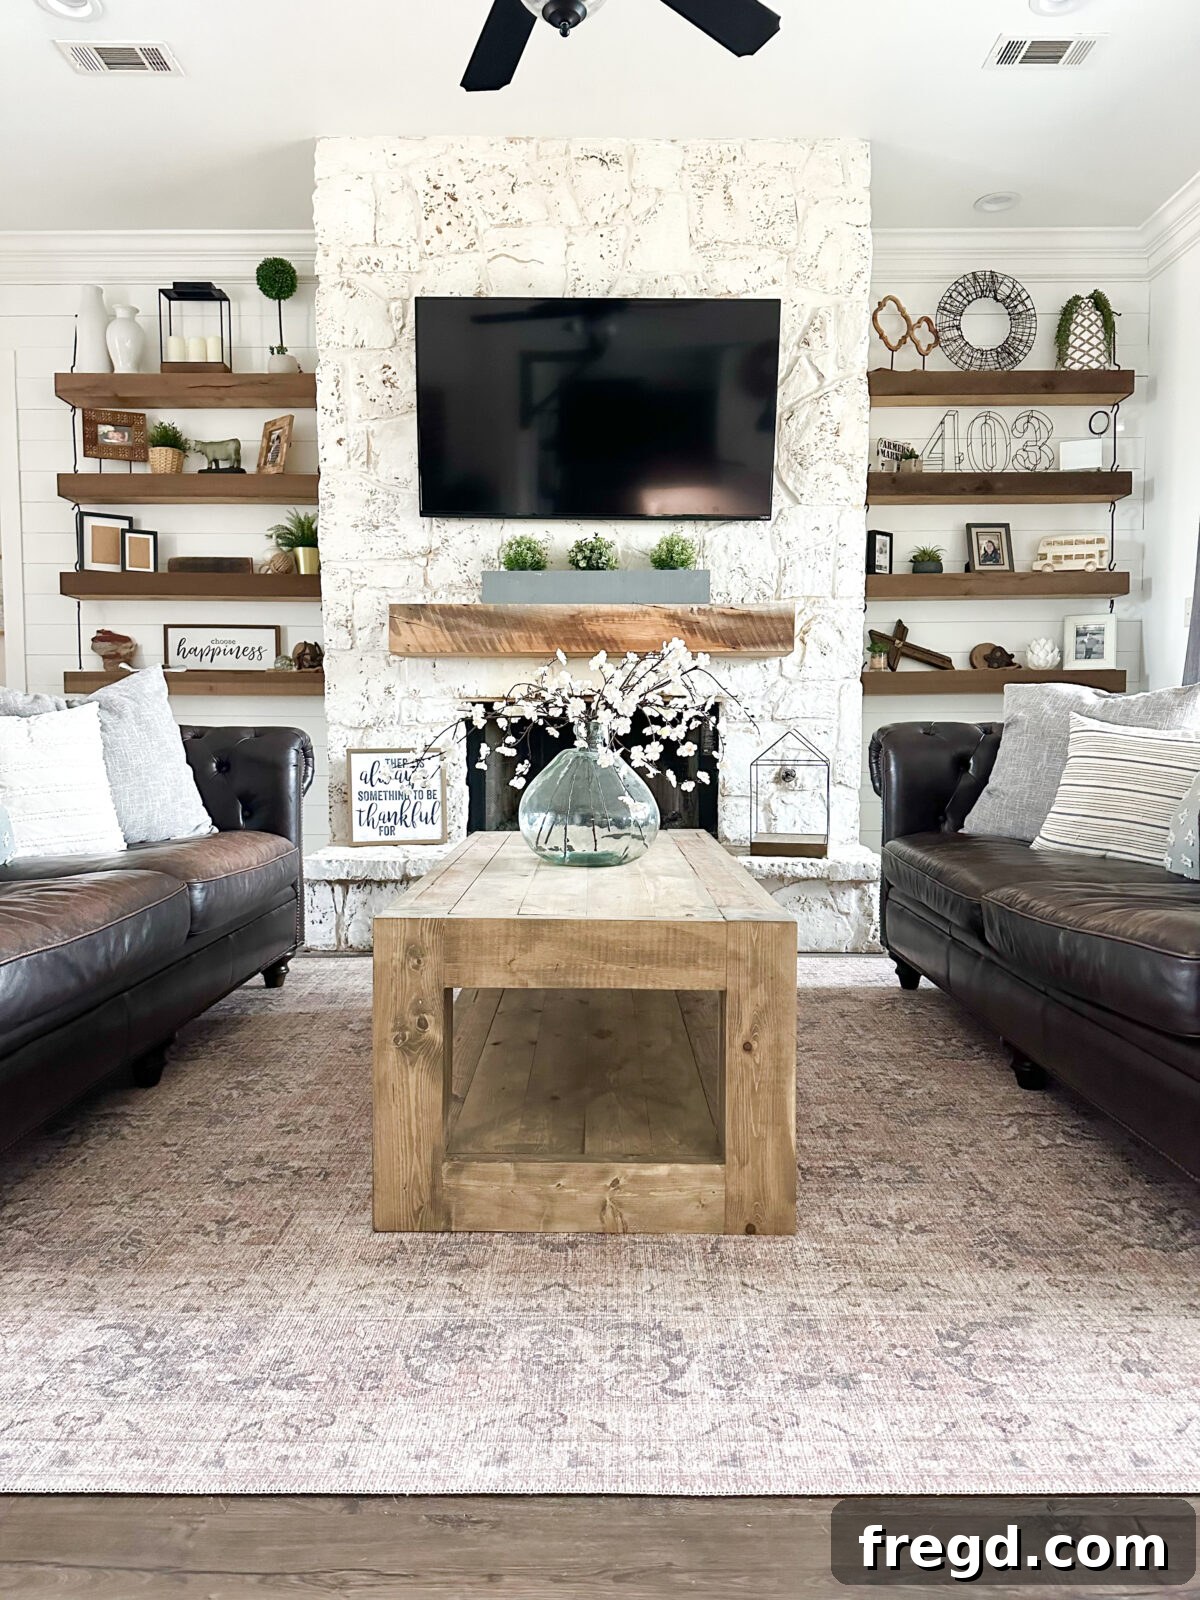
Rustic Coffee Table
Embrace the warmth and character of natural wood with our rustic coffee table plans. This project emphasizes simple, strong lines and often highlights the inherent beauty of distressed or reclaimed lumber, bringing a touch of country charm to your home.
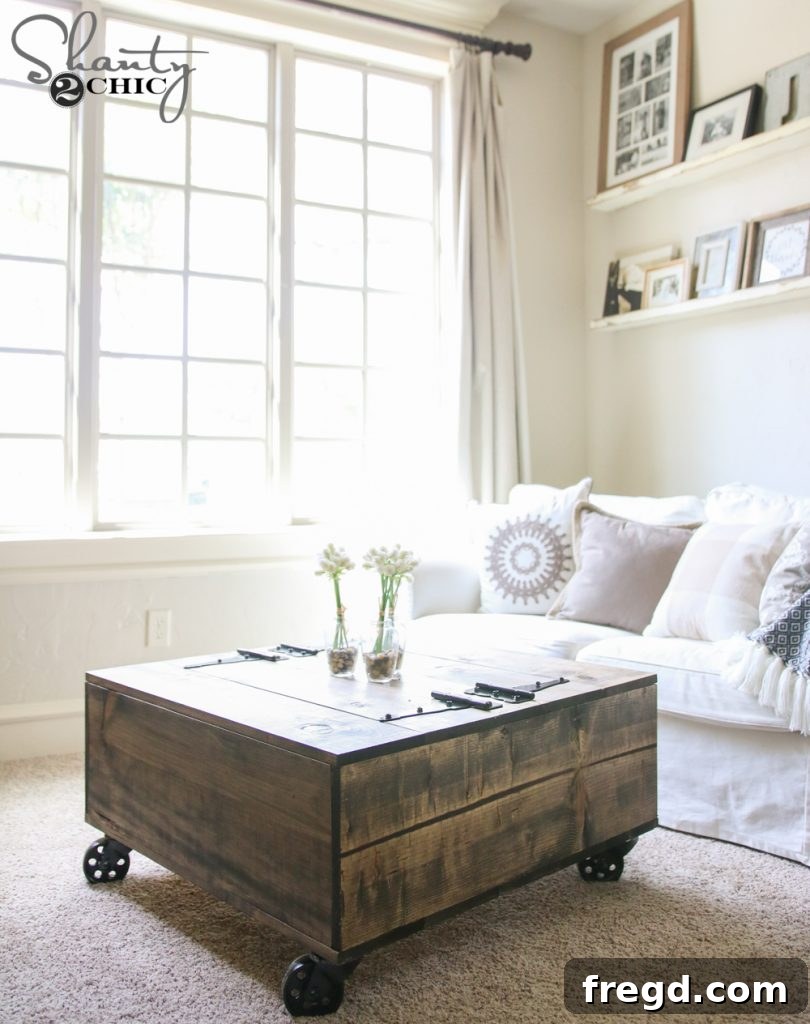
Storage Coffee Table
Maximize your living room’s functionality with a clever storage coffee table. This design often incorporates hidden compartments or drawers, making it ideal for stowing away remote controls, magazines, or blankets, keeping your space tidy and organized.