
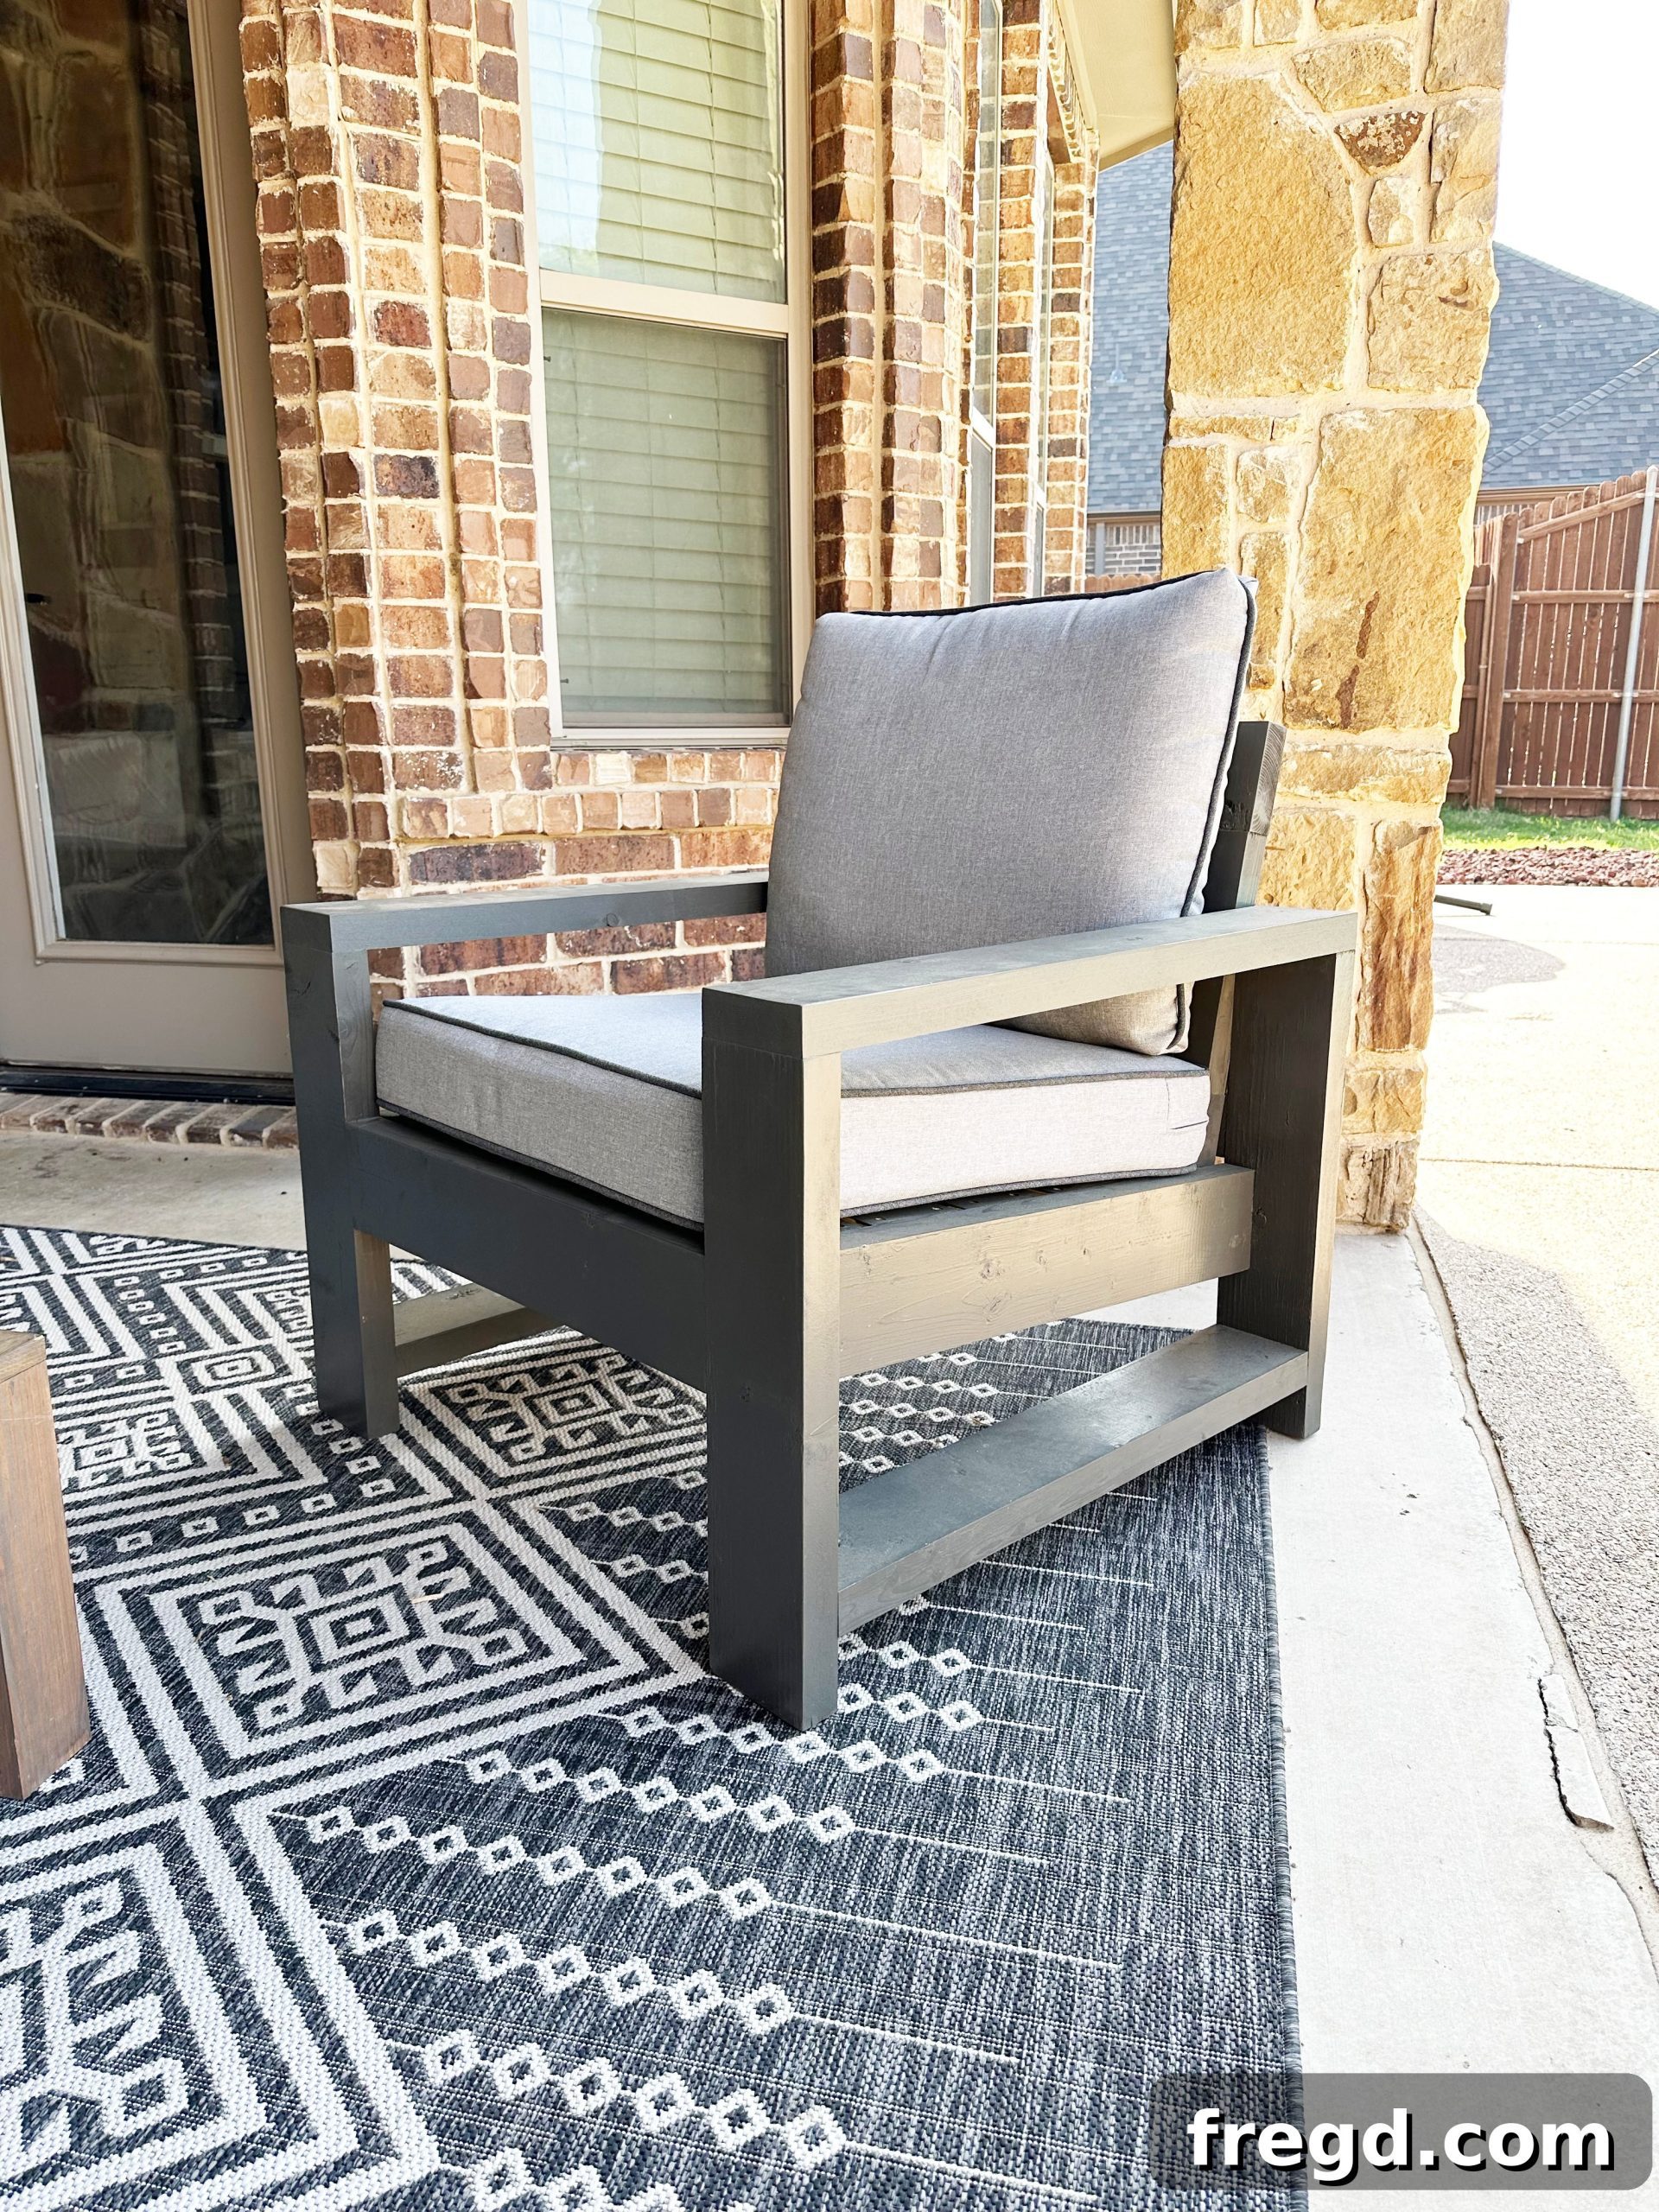
Transform your outdoor living space with stunning, handcrafted furniture that won’t break the bank! Learn exactly how to build a durable, comfortable, and beautiful outdoor chair using just six standard boards and a few essential tools. This comprehensive guide, complete with free plans and a detailed video tutorial by Shanty2Chic, empowers even beginner woodworkers to create a high-quality piece that rivals expensive store-bought alternatives.
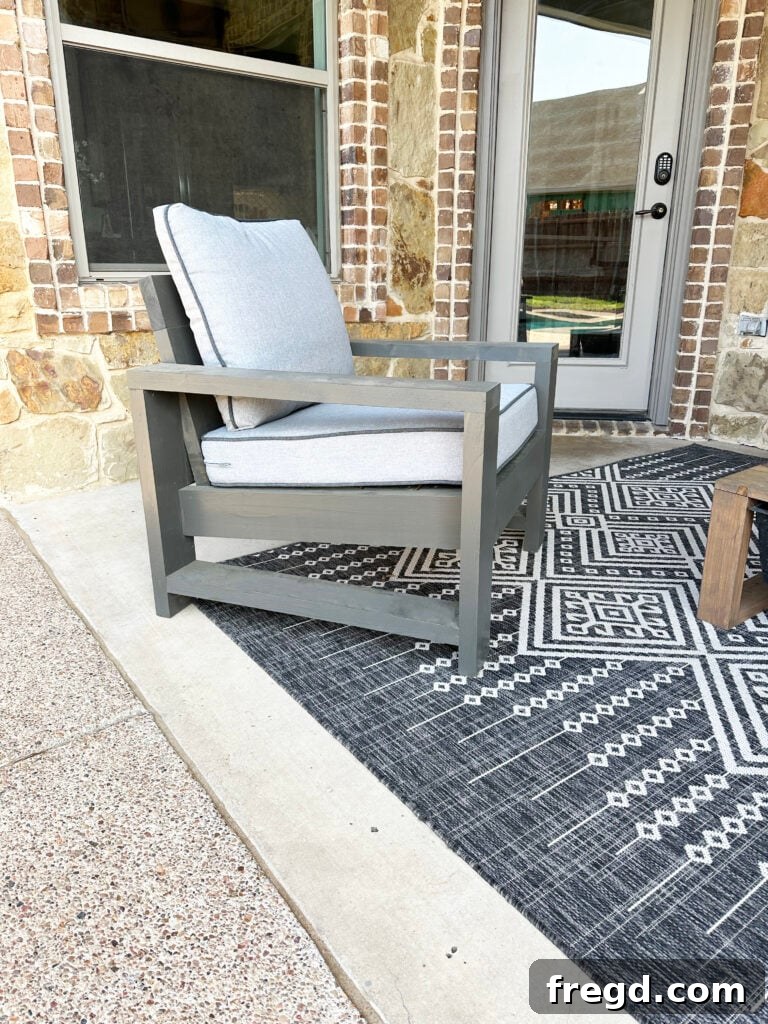
Once you experience the satisfaction and cost savings of building your own outdoor furniture, you’ll never look back! We are absolutely thrilled with our new outdoor patio set, and it all started with a desire to give our outdoor space a well-deserved glow-up. After successfully building a fantastic DIY Outdoor Sofa (you can find those free plans here), we were so inspired that we designed and constructed a set of matching patio chairs.
These new outdoor chairs aren’t just aesthetically pleasing; they are incredibly comfortable, remarkably strong, and exude a rustic charm that complements any backyard oasis. Would you believe that each chair is crafted from just six 2x6x8 boards? That translates to under $50 in lumber per chair, making this an exceptionally budget-friendly project!
This project is intentionally designed to be straightforward and accessible, making it an ideal venture for aspiring woodworkers. To ensure your success, we’ve prepared a comprehensive how-to video that walks you through every step of the process. Simply click the box below to watch us build it from start to finish!
Ready to dive into the world of DIY outdoor furniture? Let’s get to building your dream patio chairs!
Table of Contents
DIY Outdoor Chair Plans
To ensure you have all the precise measurements, cut lists, and detailed diagrams at your fingertips, make sure to download our free printable plans. These plans are your essential companion throughout this building journey, guiding you through each cut and assembly step for a flawless finish. They include a comprehensive shopping list to make your preparation even easier.
Click Here to Jump to the Free Plans
How to Build a DIY Patio Chair – How to Video
Visual learners, rejoice! We’ve created an in-depth video tutorial that walks you through every single step of building this fantastic outdoor chair. Watching the process unfold can be incredibly helpful for understanding techniques and ensuring your confidence. Simply click the box below to watch us build it and get ready to create your own!
Why Choose DIY Outdoor Chairs?
Embarking on a DIY project like building your own outdoor chairs offers a multitude of benefits beyond just having a new piece of furniture. Firstly, the cost savings are substantial. As highlighted, each chair can be built for under $50 in lumber, a fraction of the price of comparable quality furniture in stores. This allows you to furnish your entire patio or deck without straining your budget, leaving more room to invest in high-quality cushions or other outdoor décor.
Secondly, DIY gives you unparalleled control over the quality and customization. You select the wood, ensure strong joinery, and apply a finish tailored to your climate and aesthetic preferences. This means a more durable, long-lasting product that perfectly matches your home’s style. Want a specific shade of stain or paint? You got it! Need slightly different dimensions to fit a unique space? That’s the beauty of building it yourself.
Finally, there’s immense satisfaction in creating something with your own hands. Every time you relax in your custom-built chair, you’ll feel a sense of accomplishment and pride. It’s a fantastic way to learn new skills, hone existing ones, and create memories in your workshop (or garage!).
Essential Tools and Supplies for Your DIY Outdoor Patio Chair
This set of plans is designed for building one comfortable and sturdy outdoor chair. While the project is beginner-friendly, having the right tools makes a significant difference in efficiency and precision. Here’s what you’ll need:
Tools:
- Miter Saw: Indispensable for making accurate crosscuts for all your board lengths. A good miter saw ensures clean, square, or angled cuts crucial for strong joints.
- Kreg Jig: This tool is a game-changer for creating strong, concealed pocket-hole joints, giving your furniture a professional, seamless look without visible screws. We highly recommend this for durable outdoor furniture.
- Drill: Essential for drilling pilot holes and driving screws. A cordless drill offers maximum flexibility around your workspace.
- Table Saw (optional): While not strictly necessary, a table saw is incredibly useful if you choose to “rip” your boards (more on this below) to achieve perfectly straight, clean edges and specific widths.
- Tape Measure & Pencil: For accurate marking and measuring.
- Safety Glasses & Hearing Protection: Always prioritize safety when working with power tools!
Supplies:
- 6 – 2x6x8 Framing Boards: These are the backbone of your chair. Choose good quality, straight boards.
- 2 1/2″ Pocket Hole Screws: Specifically designed for pocket hole joinery, these screws create incredibly strong connections.
- 2 1/2″ Outdoor Wood Screws (deck screws will work too): These are for visible connections and general assembly, chosen for their weather resistance.
- Wood Glue: Always use a high-quality, waterproof wood glue designed for outdoor use. It significantly strengthens every joint, creating a more robust and long-lasting piece of furniture.
- Outdoor Wood Filler: For concealing screw holes and minor imperfections before finishing.
- Sandpaper (120-grit and 220-grit): For preparing the wood surface for finishing.
- Outdoor Stain, Paint, or Sealer: To protect and beautify your finished chair.
Selecting the Best Wood for Outdoor Furniture
Choosing the right wood is paramount for outdoor furniture that will withstand the elements and provide years of enjoyment. While there are many options, we’ll focus on two popular choices:
Cedar boards are often considered an excellent choice due to their natural resistance to rot, decay, and insect infestation. They have a beautiful grain and a distinct aroma. However, cedar is significantly more expensive than pine, which can quickly drive up the project cost.
For budget-conscious builders who don’t want to compromise on durability, we highly recommend using pine framing lumber. Pine is readily available, much more affordable, and works wonderfully for outdoor pieces, provided you give it proper protection. The key to making pine outdoor furniture last is to apply a high-quality outdoor wood stain, paint, or finish. This protective layer seals the wood against moisture, UV rays, and temperature fluctuations, effectively preventing rot, warping, and mildew. Look for products specifically labeled for outdoor use and marine applications for the best protection.
Another option to consider is pressure-treated lumber. This wood has been chemically treated to resist rot and insects. While very durable, it often has a greenish tint and can be wet when purchased, requiring drying time before finishing. For a cleaner, more aesthetically pleasing initial build, untreated pine with a robust outdoor finish is an excellent choice for this project.
The Art of Ripping Boards: Enhance Your Woodworking Finish
You might notice that standard framing lumber (like the 2x6s we use) often comes with slightly rounded edges. While perfectly functional, these rounded edges can give a DIY project a more “rustic” or less refined look. To achieve a crisp, clean, and professional appearance, we like to “rip” these rounded edges off using a table saw.
What is ripping a board? Ripping involves cutting a board lengthwise, typically to reduce its width or to create a perfectly straight edge. When we talk about ripping the rounded edges, we’re essentially taking off a small strip from each long edge of the board, leaving you with sharp, 90-degree corners.
Why do we do it? This simple step transforms the look of the wood. It makes your finished piece look less like it was built from standard construction lumber and more like fine furniture. The clean, straight edges allow for tighter joints and a more polished aesthetic.
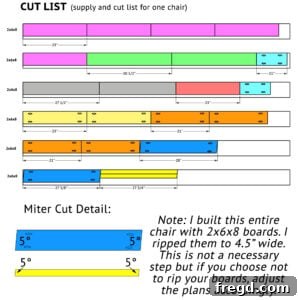
Is it necessary for this build? No, ripping your boards is entirely optional. Your chair will be just as strong and functional with the rounded edges. However, if you choose not to rip your boards, please remember to adjust your plans accordingly for the slightly different dimensions. If you’re interested in learning this technique, you can watch our “How We Rip Our Boards” video for a detailed demonstration and safety tips. If you don’t have a table saw, you can skip this step or even use a circular saw with a straight-edge guide, though a table saw provides the best results for ripping.
Step-by-Step Guide: Building Your DIY Patio Chair
Now that you have your materials and tools ready, let’s get down to the exciting part: building your comfortable new outdoor chair! Remember, patience and precision are your best friends here. These instructions are for one chair. If you plan to build more than one, consider batching your cuts for efficiency.
DIY Outdoor Chair
Phase 1: Crafting the Arm Assemblies
Cut List
Before you begin assembling, refer to the detailed cut list in your free downloadable plans. Accuracy here is key to a sturdy and square chair. The image below provides a visual reference for the various pieces and their initial dimensions.
Step 1: Preparing Legs and Arms
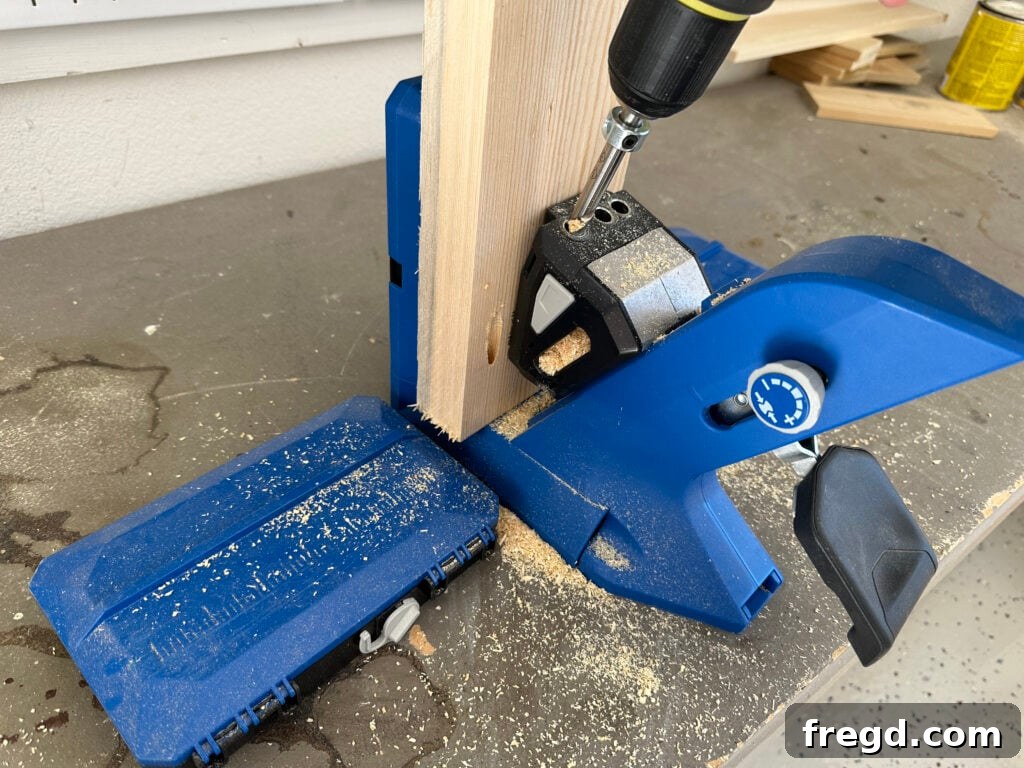
Begin by cutting your leg and arm pieces to the specified lengths from your 2×6 boards. Once cut, take each leg piece and use your Kreg Jig to drill 1 1/2″ pocket holes at one end. These holes will allow you to create strong, concealed joints. If you’re new to pocket holes, practice on scrap wood first to get a feel for the settings and technique. You can find our favorite Kreg Jig Model here for reliable results.
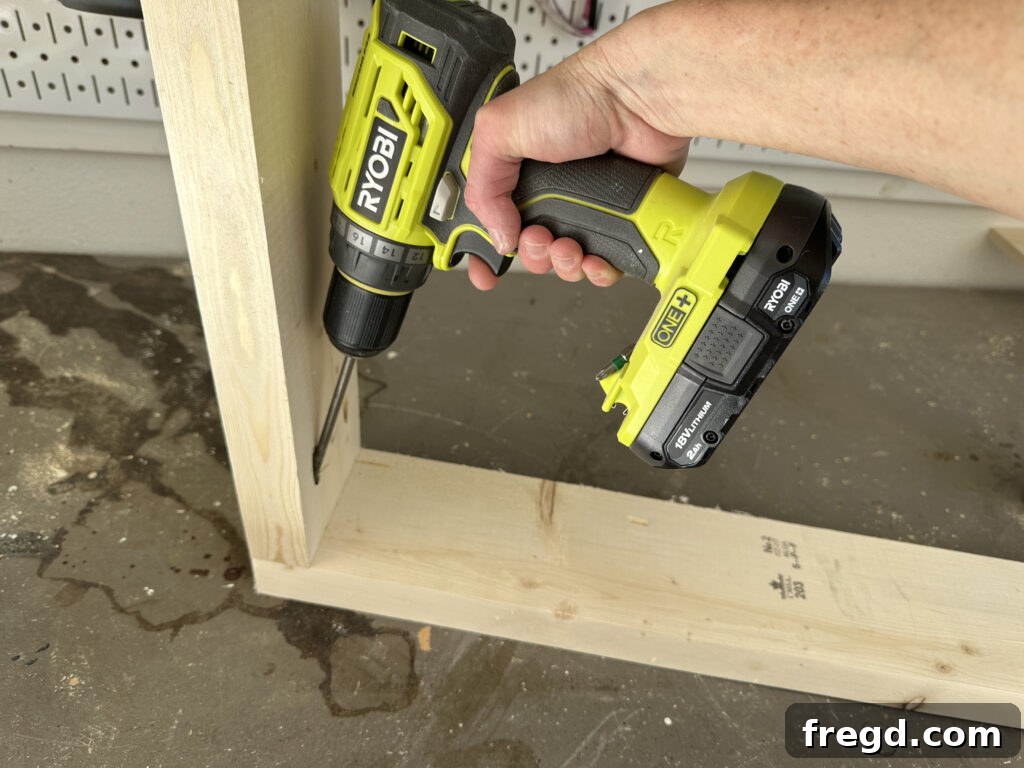
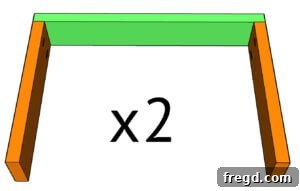
Next, apply a generous amount of outdoor wood glue to the end of the leg piece, aligning it with the arm piece. Secure these together using 2 1/2″ pocket hole screws. Ensure the joint is flush and square. Repeat this process to create two identical arm assemblies, which will form the sides of your chair.
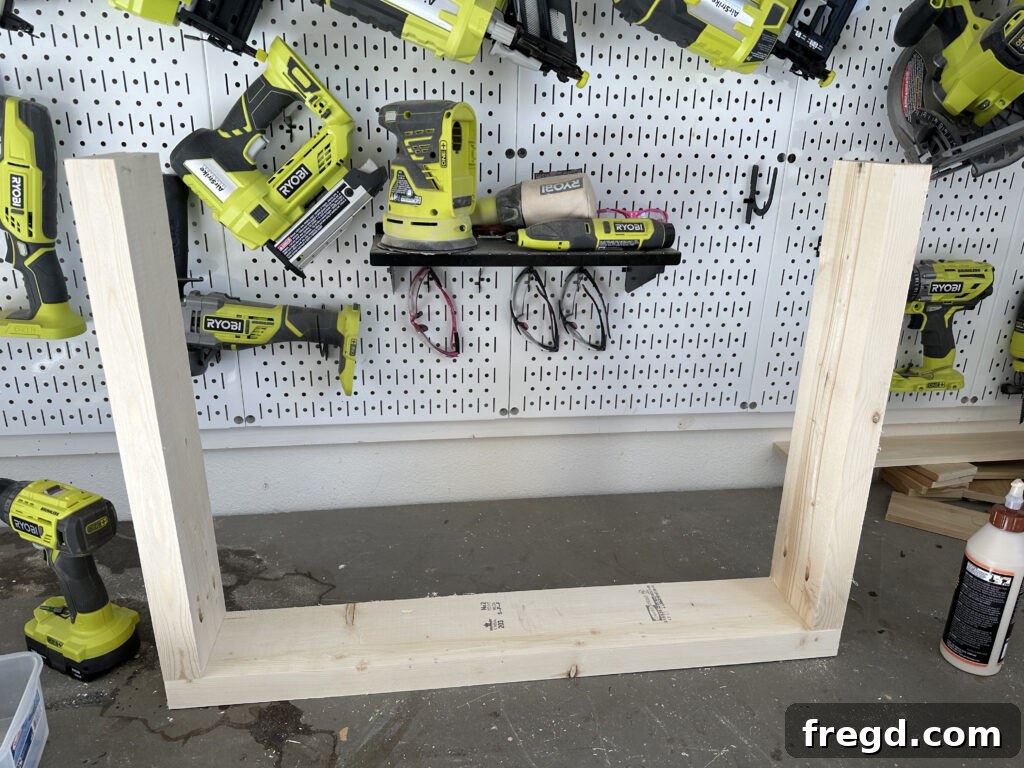
Step 2: Adding the Side Seat Supports
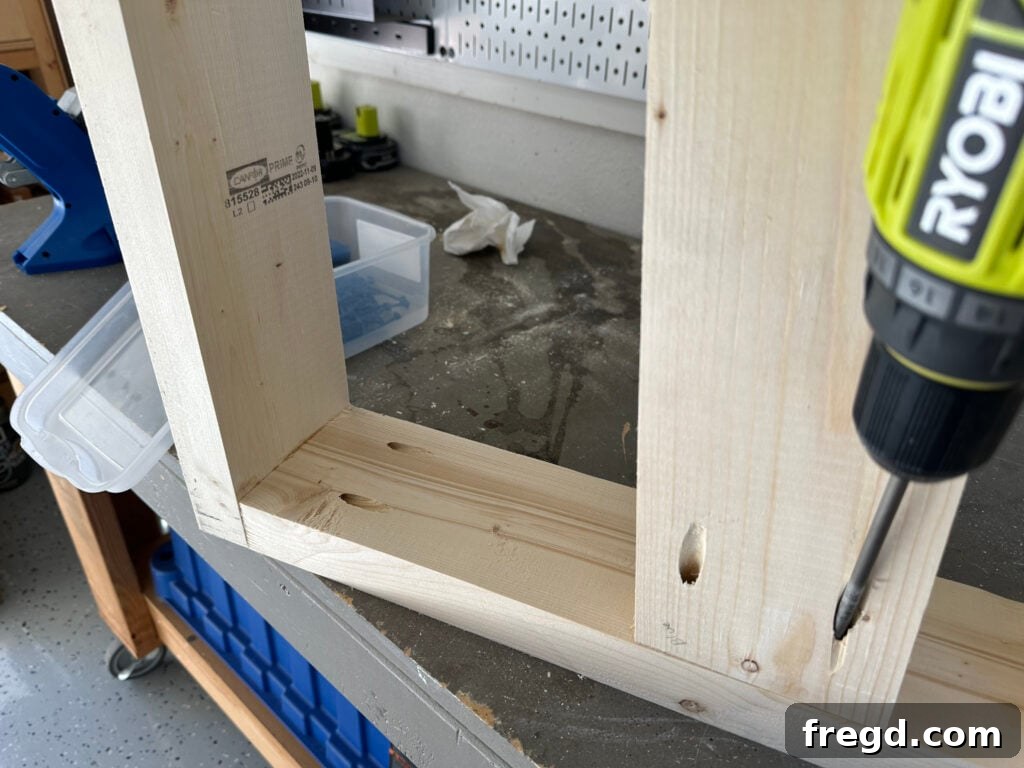
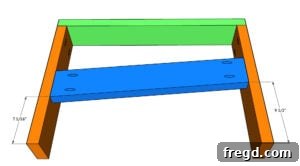
With your arm frames built, cut the side seat supports to size as indicated in the plans. Drill 1 1/2″ pocket holes at both ends of these support pieces. Apply wood glue, then attach them securely between the legs of each arm assembly using 2 1/2″ pocket hole screws. These supports are crucial for the stability of your seat frame.
Step 3: Installing the Bottom Runners
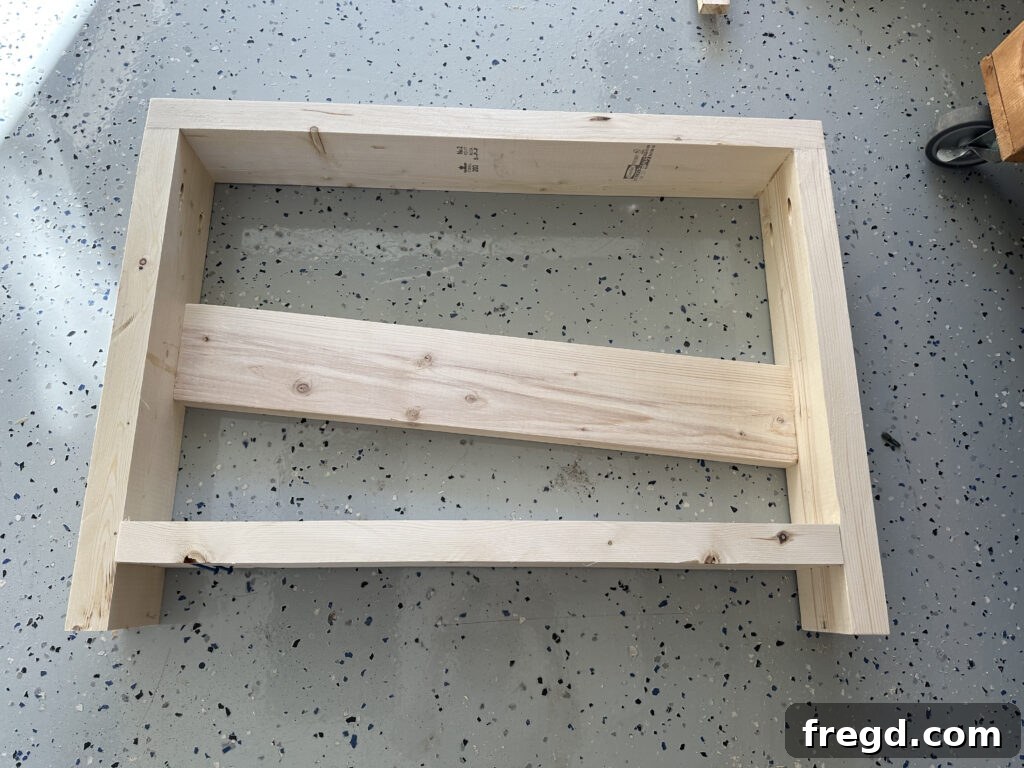
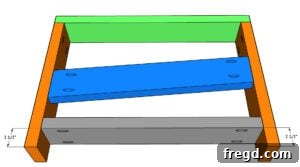
Now, let’s strengthen the base with the bottom runners. Cut these boards to their specified size. Drill 1 1/2″ pocket holes at both ends of each runner. Apply wood glue to the connecting surfaces, then attach them firmly at the bottom of each side assembly using 2 1/2″ pocket hole screws. These runners provide additional stability and help tie the entire structure together.
Building the Arm Assemblies (Recipe Instruction Visual)
Step 4: Securing the Cleats
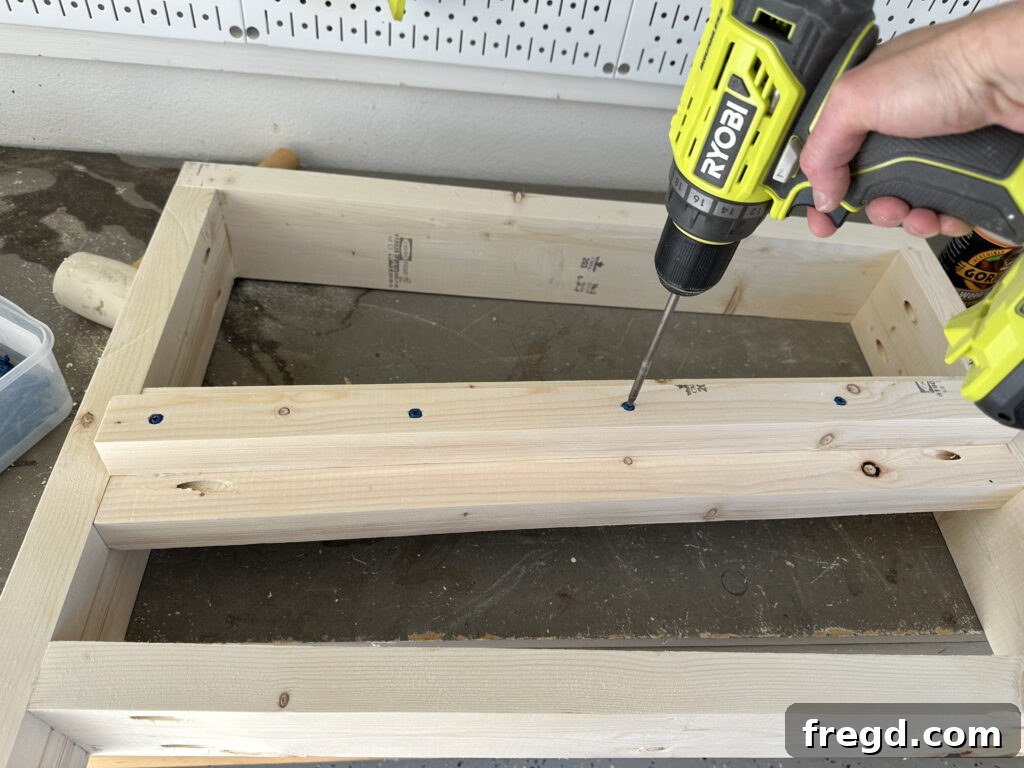
Measure and cut the cleats to the precise size indicated in your plans. These cleats are vital as they will support your seat slats. Attach them to the inside of the side seat supports using 2 1/2″ outdoor wood screws and wood glue. Ensure they are flush and level, providing a strong foundation for the seat. If you have chosen to rip your boards, ensure your measurements account for the slightly reduced width of the main boards.
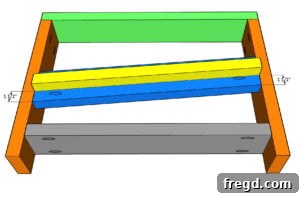
Phase 2: Assembling the Chair Frame
Step 5: Attaching the Back Stretcher
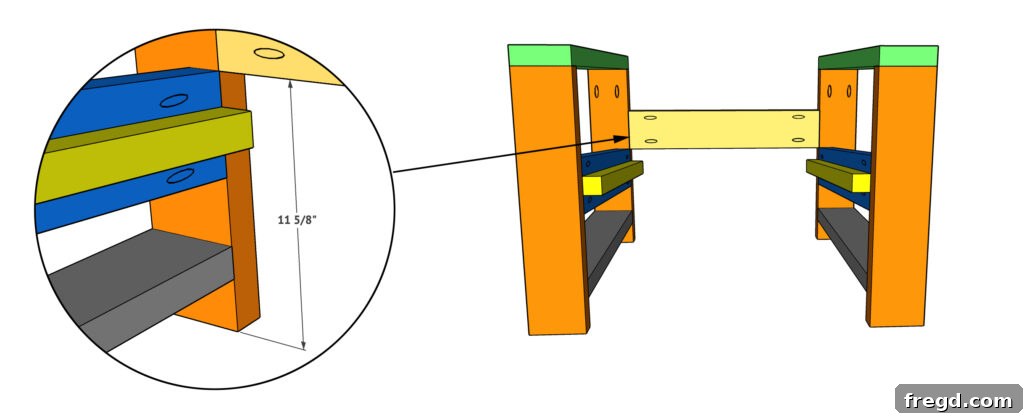
Now, let’s connect the two arm assemblies to form the basic frame of your chair. Cut the back stretcher to size according to your plans. Drill 1 1/2″ pocket holes at both ends of this board. Apply wood glue to the connecting surfaces. Then, attach it to the inside of both arm assemblies using 2 1/2″ pocket hole screws and wood glue. Make sure your frame is square as you tighten the screws.
Step 6: Installing the Front Stretcher
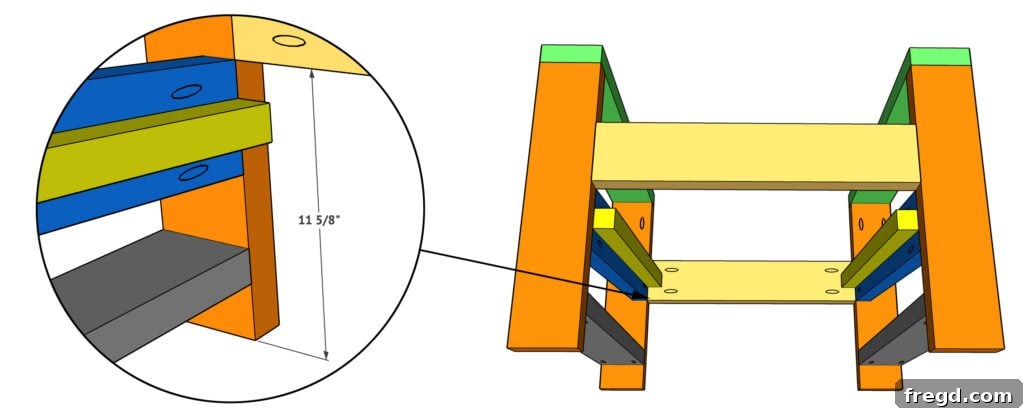
Moving to the front of the chair, cut the front stretcher to its designated size. Drill 1 1/2″ pocket holes at both ends. Apply wood glue and attach it to the inside of the arm frames, parallel to the back stretcher, using 2 1/2″ pocket hole screws and wood glue. With both stretchers in place, your chair’s main frame is now complete and should feel very stable.
Phase 3: Constructing the Backrest
Step 7: Building the Backrest Frame
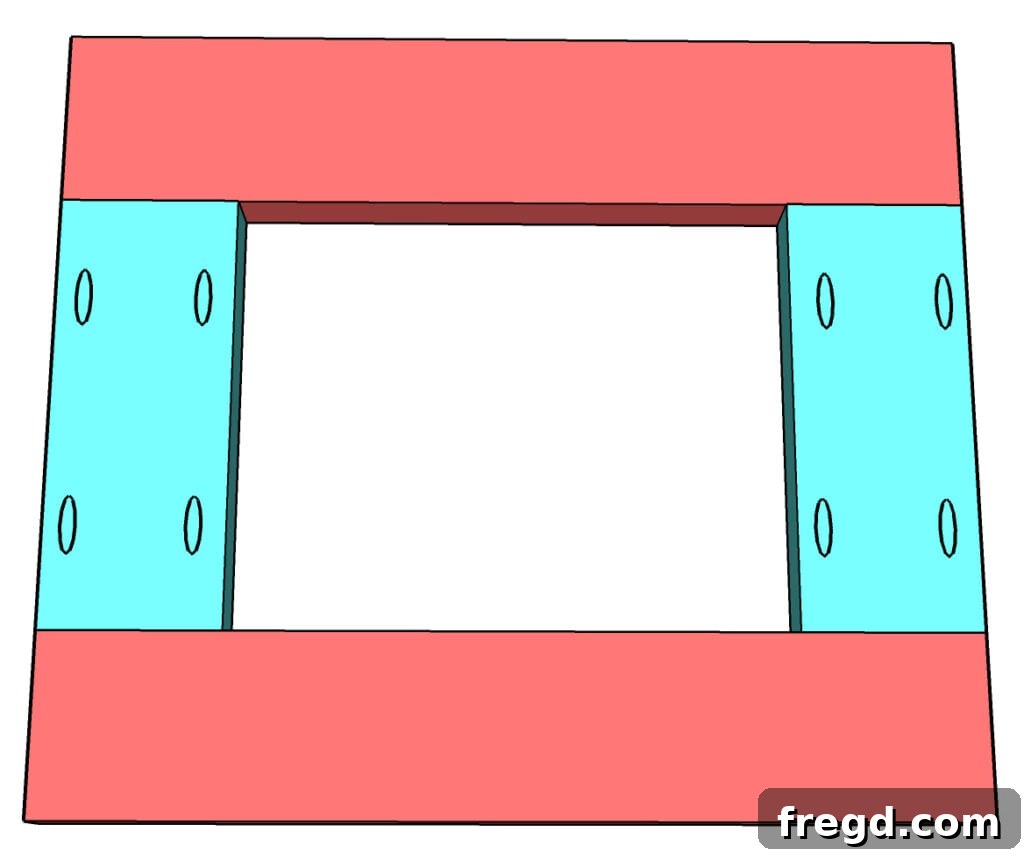
With the chair frame fully assembled, it’s time to build the backrest, which is often the most visually impactful part of the chair. Cut the back slats to size according to your plans. For the shorter boards, drill 1 1/2″ pocket holes at both ends. Apply wood glue to the connecting edges and attach these shorter boards to the longer vertical boards using 2 1/2″ pocket hole screws. Ensure all slats are evenly spaced and perfectly aligned, creating a strong and comfortable backrest assembly.
Step 8: Attaching the Backrest to the Chair
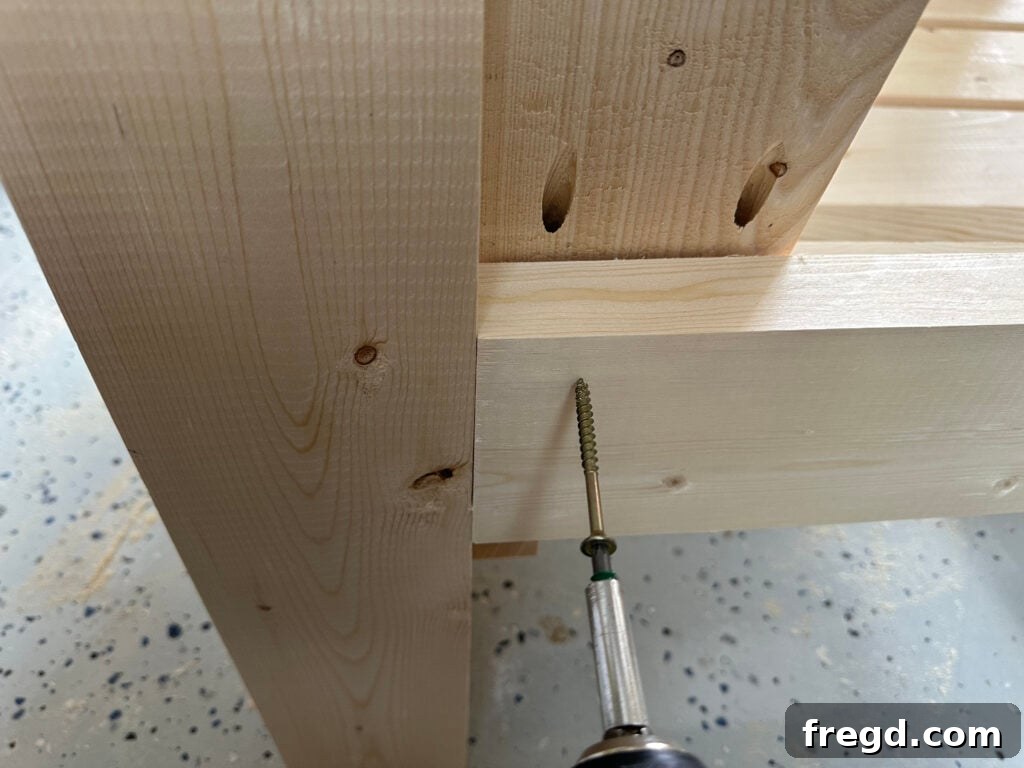
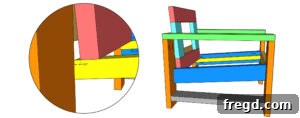
Carefully place the assembled backrest onto the cleats, ensuring it rests flush with the 5° angle of the cleats. This angle is crucial for comfortable reclining. From the bottom of the cleats, drive 2 1/2″ outdoor wood screws upward into the base of the backrest to secure it. For extra strength and stability, drive additional 2 1/2″ outdoor wood screws from the back of the back stretcher (the one you installed in Step 5) into the backrest. This dual attachment point creates an incredibly sturdy and safe back for your chair.
Phase 4: Completing the Seat
Step 9: Installing the Seat Slats
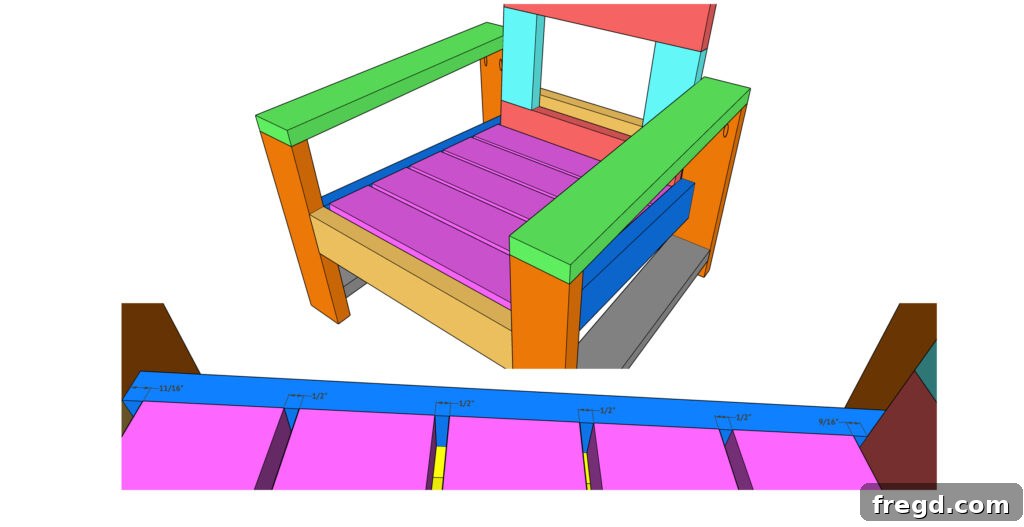
With the main frame and backrest in place, your chair is nearly complete! Now it’s time to install the seat slats. Cut these slats to size, ensuring clean, straight edges. Carefully place them on top of the cleats, following the specified spacing in your plans. Even spacing is important not only for aesthetics but also for comfort and proper water drainage. Use your Kreg Quick Flip (or a standard drill bit) to drill pilot holes for each screw, preventing wood splitting. Then, attach each slat securely to the cleats with 2 1/2″ outdoor wood screws and wood glue.
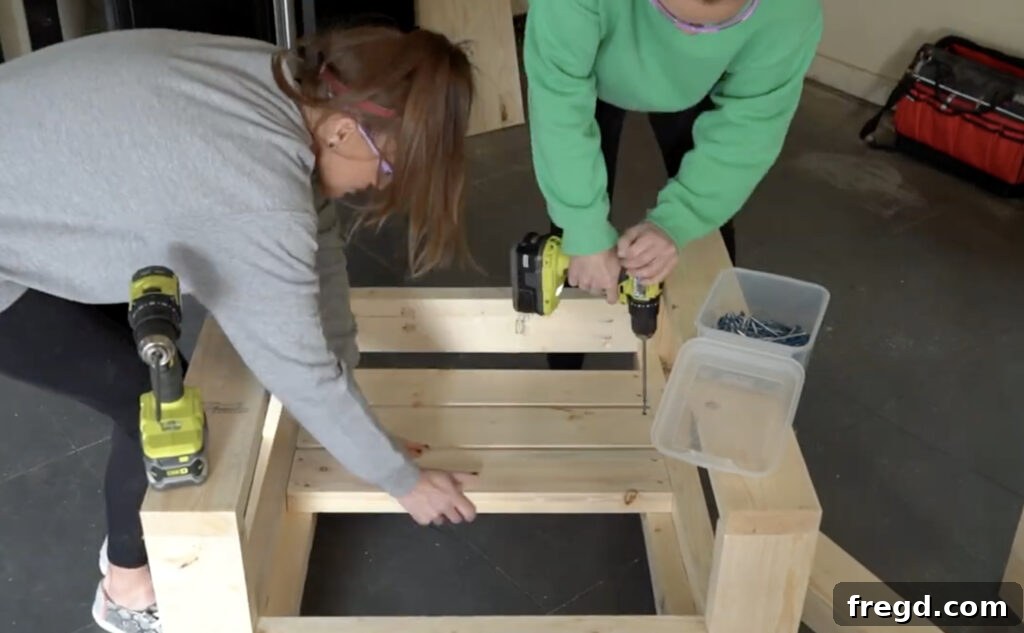
We highly recommend the Kreg Quick Flip for drilling pilot holes and countersinking in one easy step. It makes quick work of this phase and ensures a neat finish for your screws. Once all slats are attached, the structural build of your outdoor chair is complete!
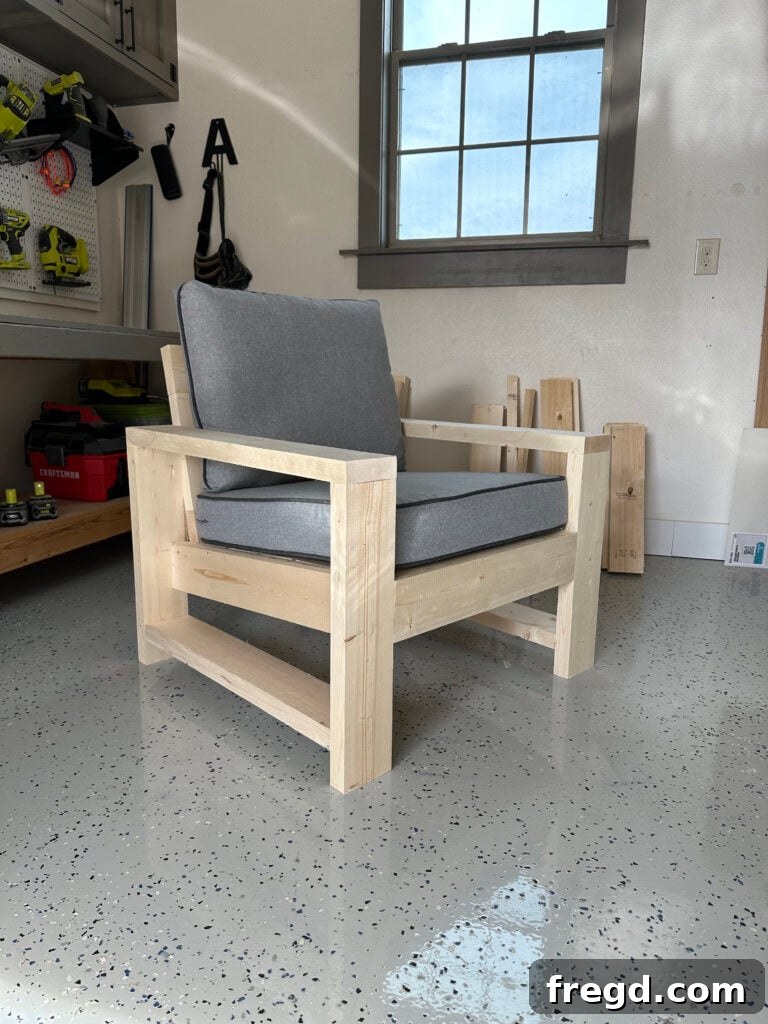
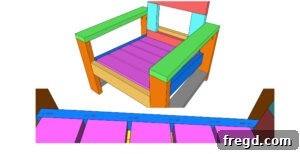
Before moving on to the finish, it’s always a good idea to test-fit your cushions! We designed these chairs to accommodate standard-sized outdoor cushions, meaning you’ll have a wide variety of options available to choose from. This allows for great flexibility in personalizing the look and comfort of your chairs. The cushions we used are readily available and can be found here.
The Perfect Finish: Protecting and Beautifying Your Outdoor Chair
The finish you choose is not just about aesthetics; it’s absolutely crucial for protecting your outdoor chair from the harsh elements. A proper finish will ensure your chair lasts for many seasons, resisting moisture, UV damage, and everyday wear and tear.
The Finish (Recipe Instruction Visual)
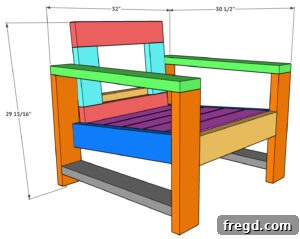
Step 10: Hiding Screw Holes with Wood Filler
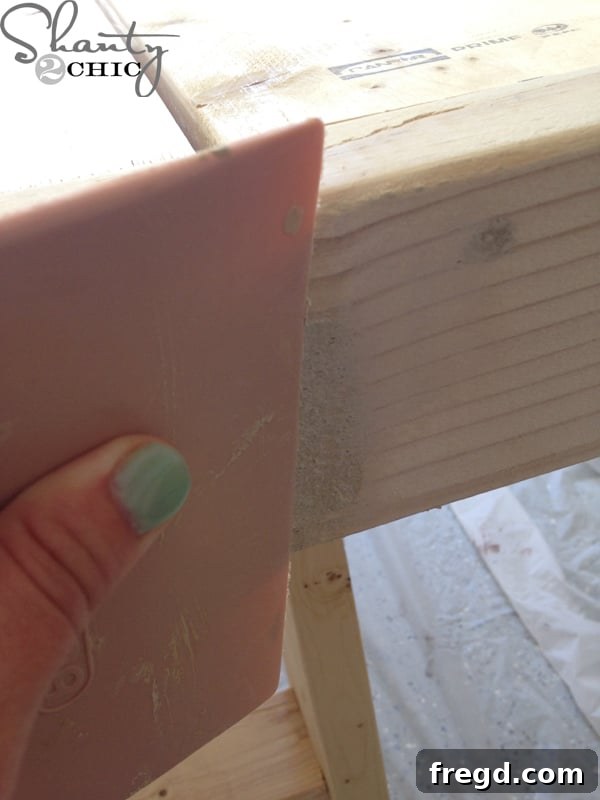
For a seamless, professional look, you’ll want to hide any exposed screw holes. We used an outdoor wood filler for this task. Apply the filler with a putty knife, ensuring it’s pressed firmly into the holes and slightly overfilled. A good putty knife is an invaluable tool for this, allowing you to achieve smooth, clean applications. Allow the wood filler to dry completely according to the manufacturer’s instructions, which typically takes a few hours.
Step 11: Sanding for a Smooth, Professional Look
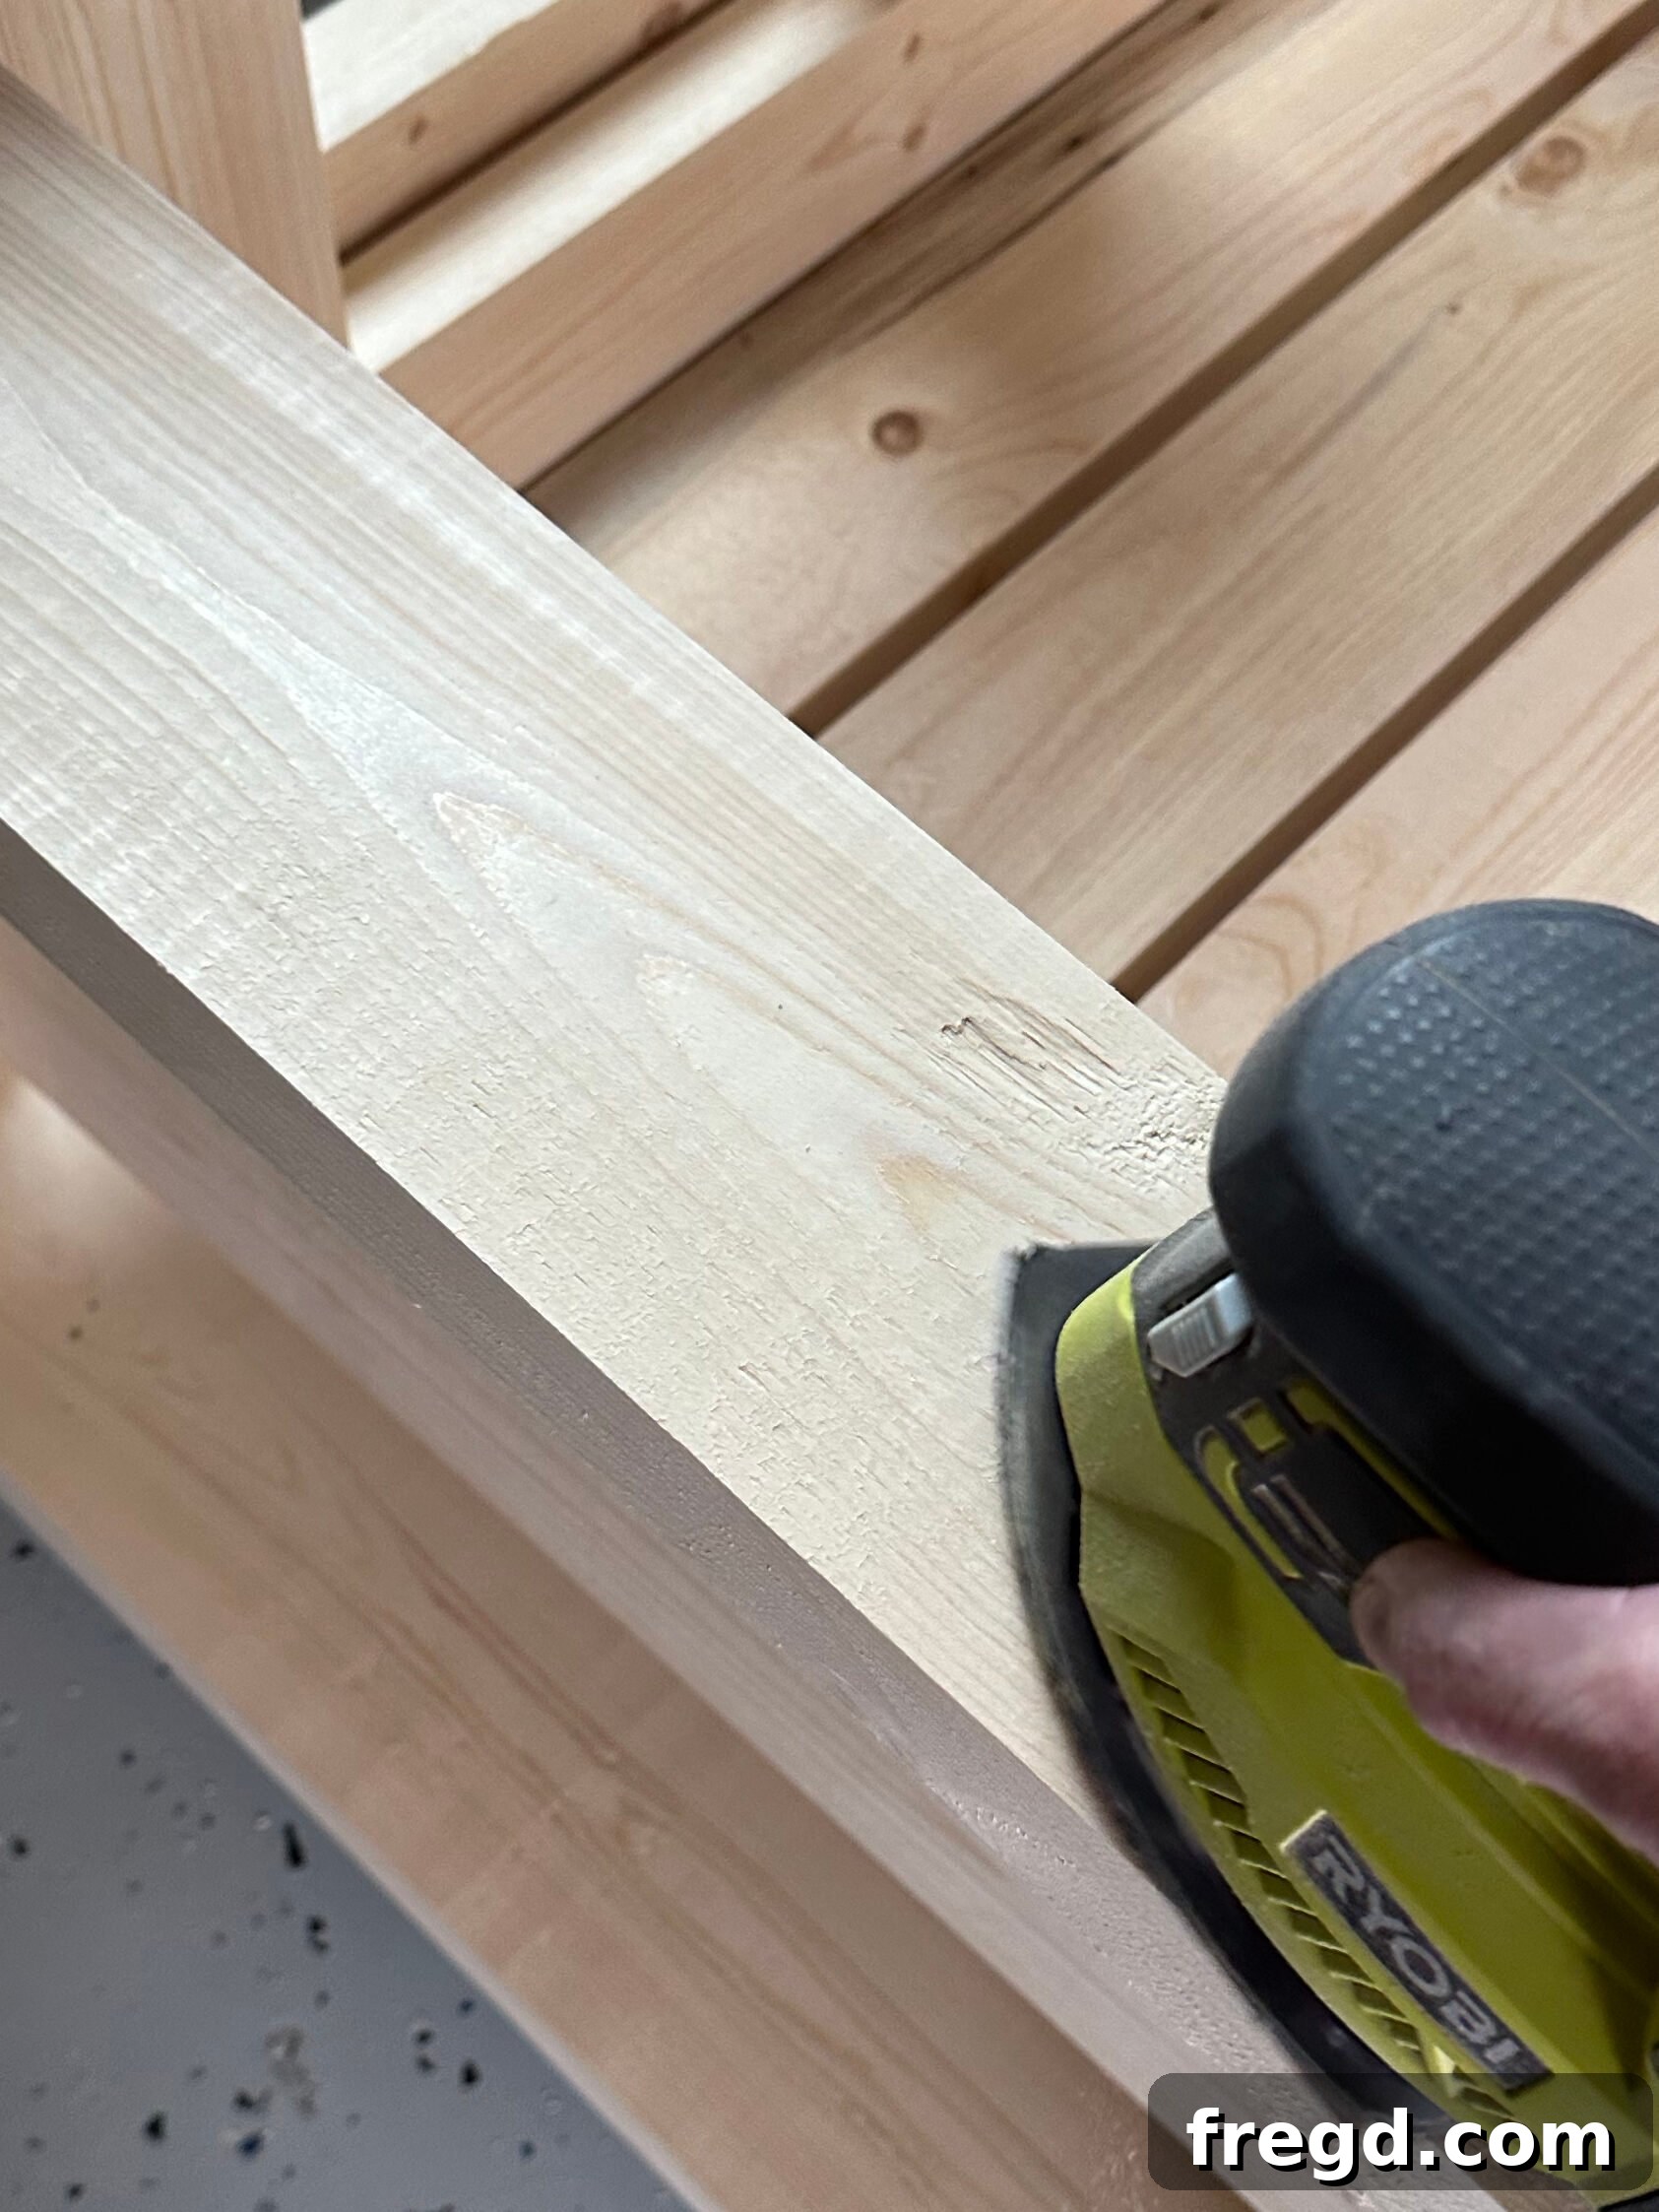
Once the wood filler is dry, it’s time to sand the entire chair. Start with 120-grit sandpaper to remove any excess filler, smooth out imperfections, and prepare the wood surface. After achieving a uniform texture, switch to 220-grit sandpaper for a final, silky-smooth finish. This fine sanding is crucial for ensuring your chosen finish adheres beautifully and looks flawless.
You can use a power sander like a corner cat sander (which is fantastic for reaching tight spots) or an orbital sander for larger surfaces. If you don’t have power tools, good old sandpaper and some elbow grease will also get the job done, just be prepared for a bit more effort. Remember to sand with the grain of the wood for the best results.
Step 12: Applying Your Chosen Outdoor Finish
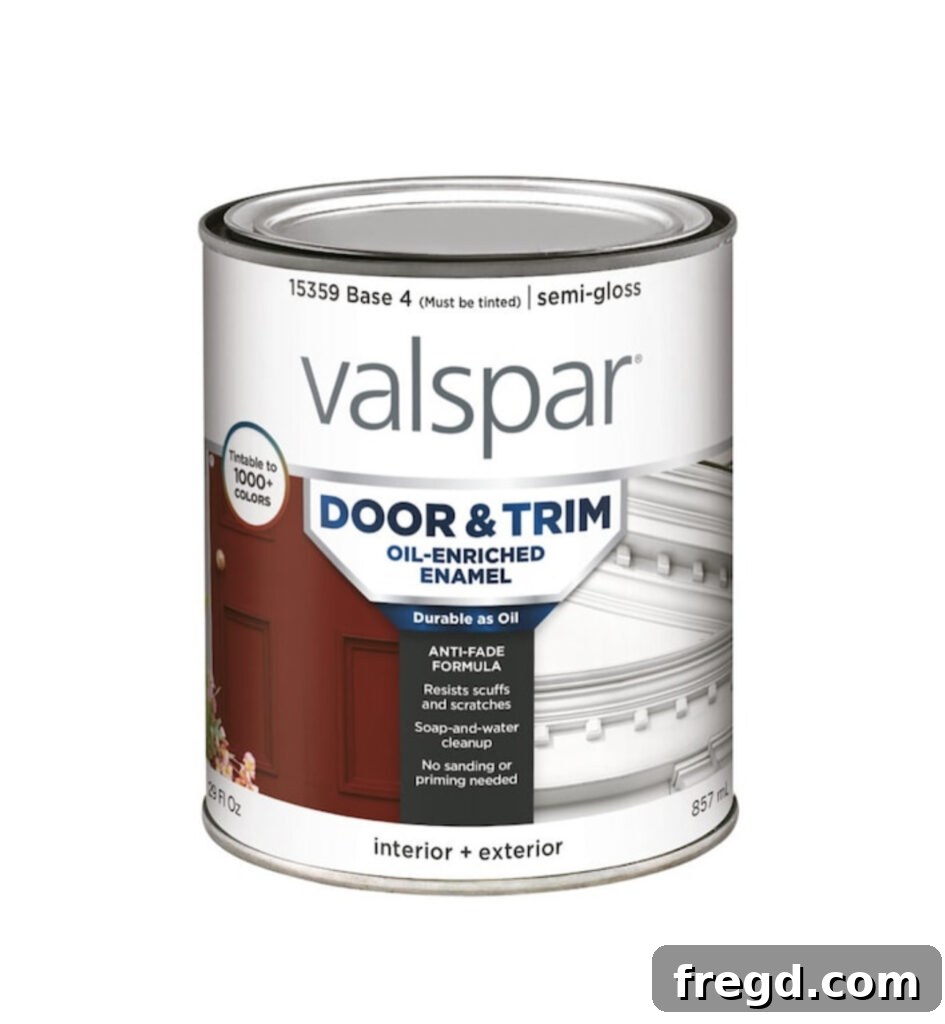
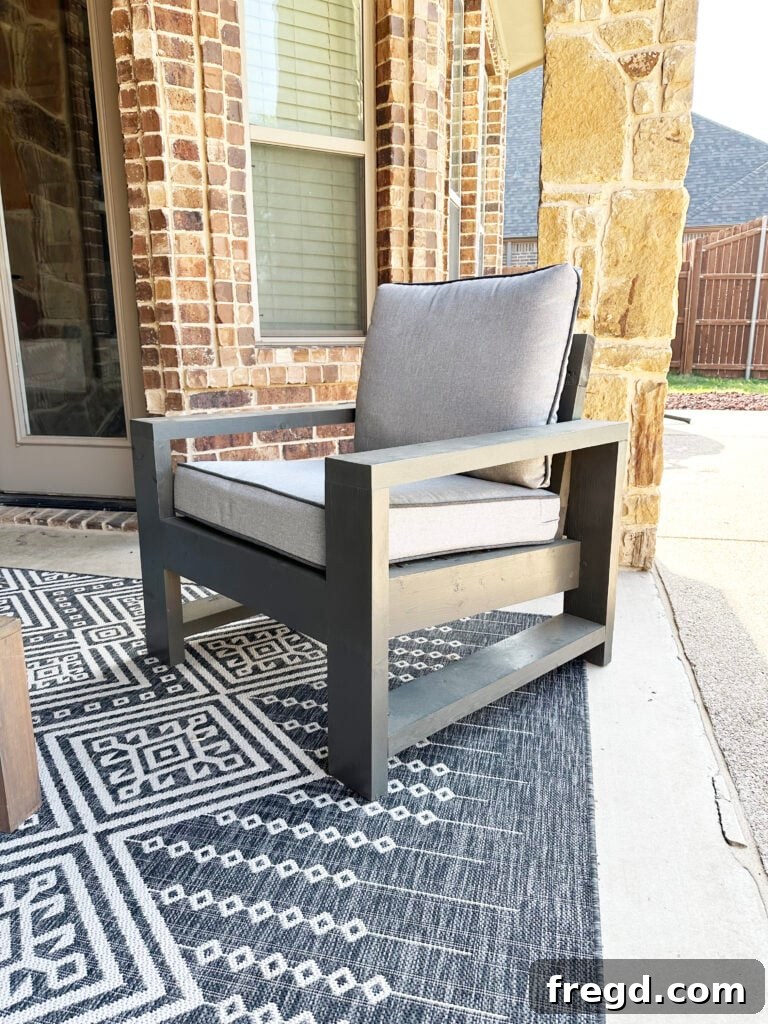
The final step is to apply your protective finish. For these chairs, we opted for our favorite door and trim paint, which is now conveniently available as an indoor/outdoor formula. The color we chose is a rich, elegant Urbane Bronze, and we absolutely adore it! This paint not only offers exceptional durability and weather resistance but also provides a chic, modern aesthetic. We loved the color so much that we decided to update the finish on our matching Outdoor Couch with it too!
Ensure you apply several thin coats, allowing adequate drying time between each coat, as per the product’s instructions. This layered approach provides maximum protection and a professional-looking finish. Whether you choose paint, stain, or a clear sealant, selecting a product specifically designed for outdoor use is paramount for longevity and resistance against the elements. A high-quality outdoor finish will keep your chairs looking beautiful and performing well for years to come.
Your New Outdoor Oasis: Affordable and Stylish
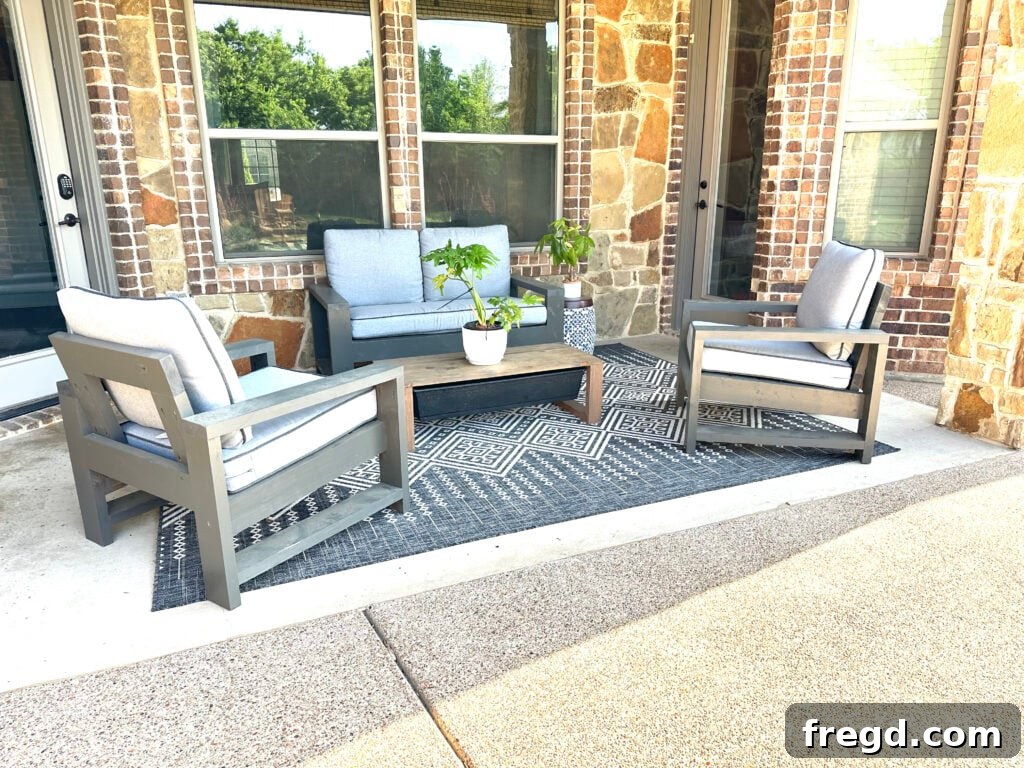
We couldn’t be more delighted with our new modern outdoor chairs! The transformation of our patio space is truly remarkable. By building an entire patio set, including both the Outdoor Sofa and these accompanying Outdoor Patio Chairs, for roughly $175 in lumber, we had plenty of budget left to splurge on those amazing, plush outdoor cushions that really elevate the comfort and style. This project proves that high-end outdoor living doesn’t have to come with a high-end price tag!
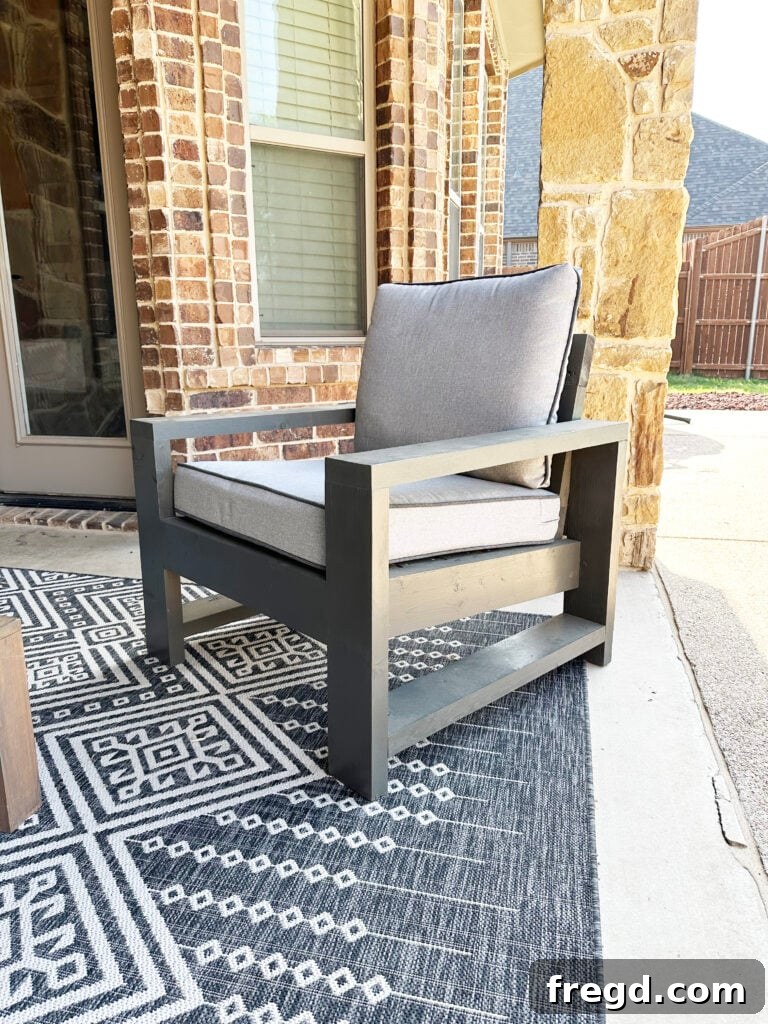
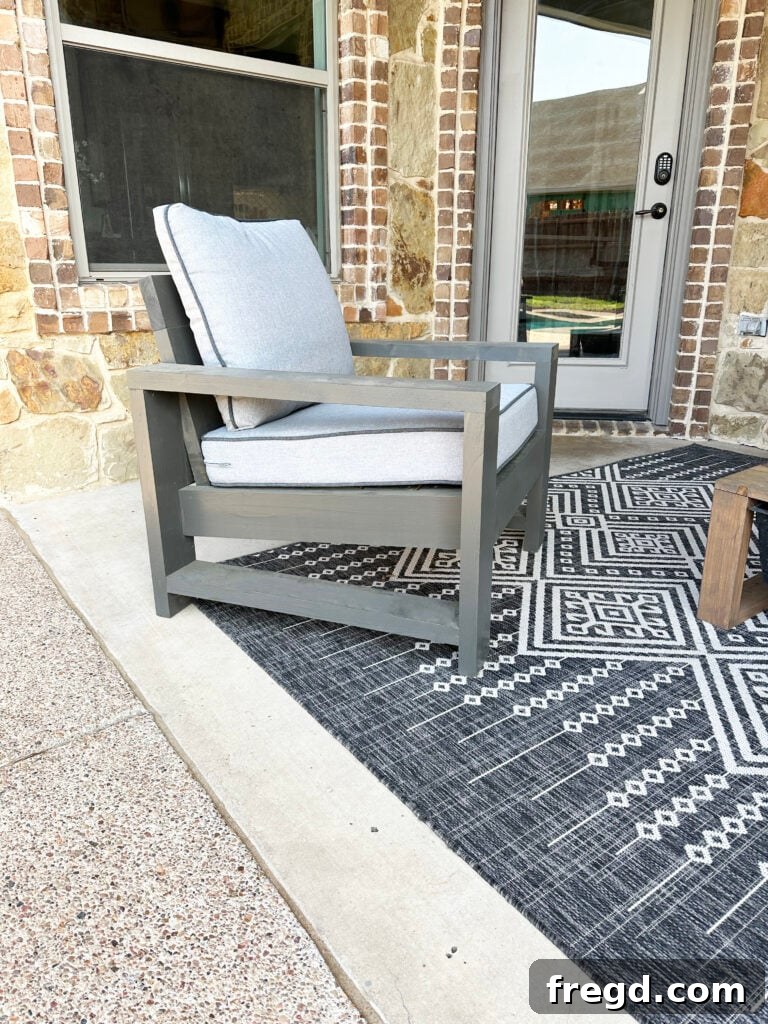
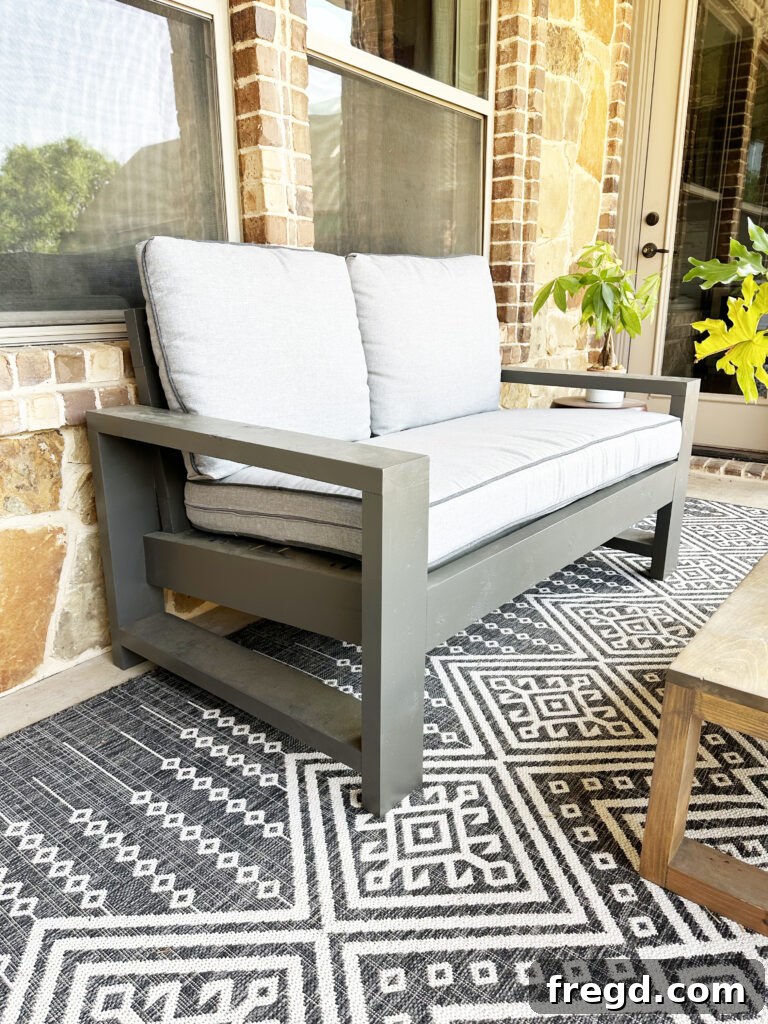
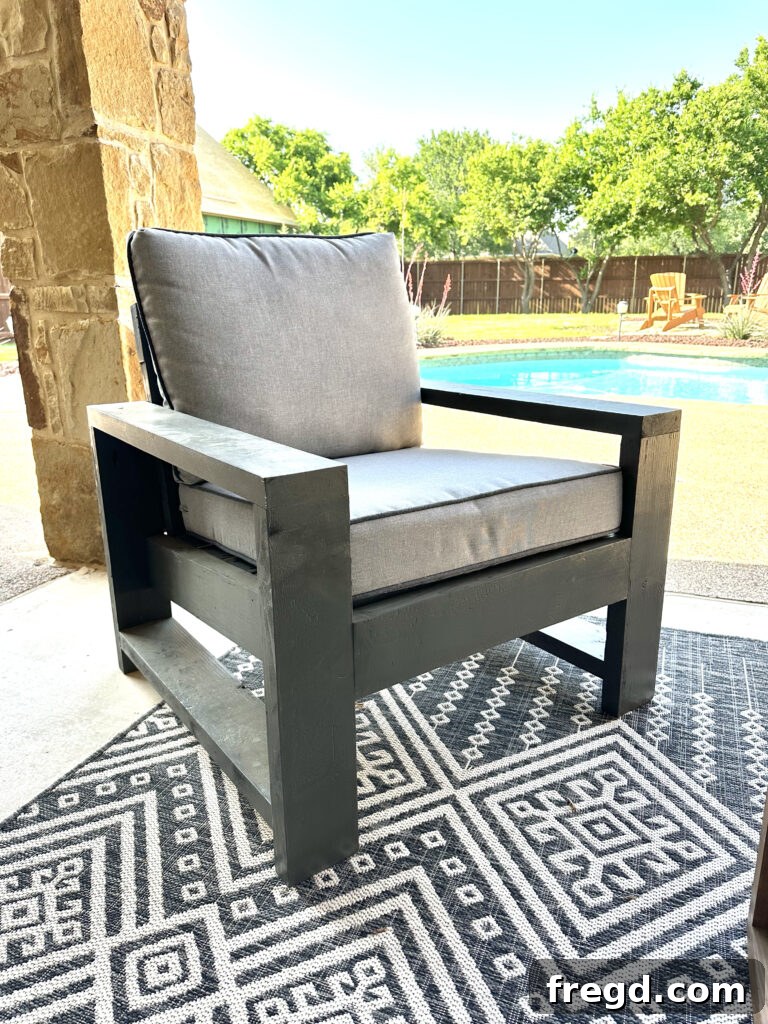
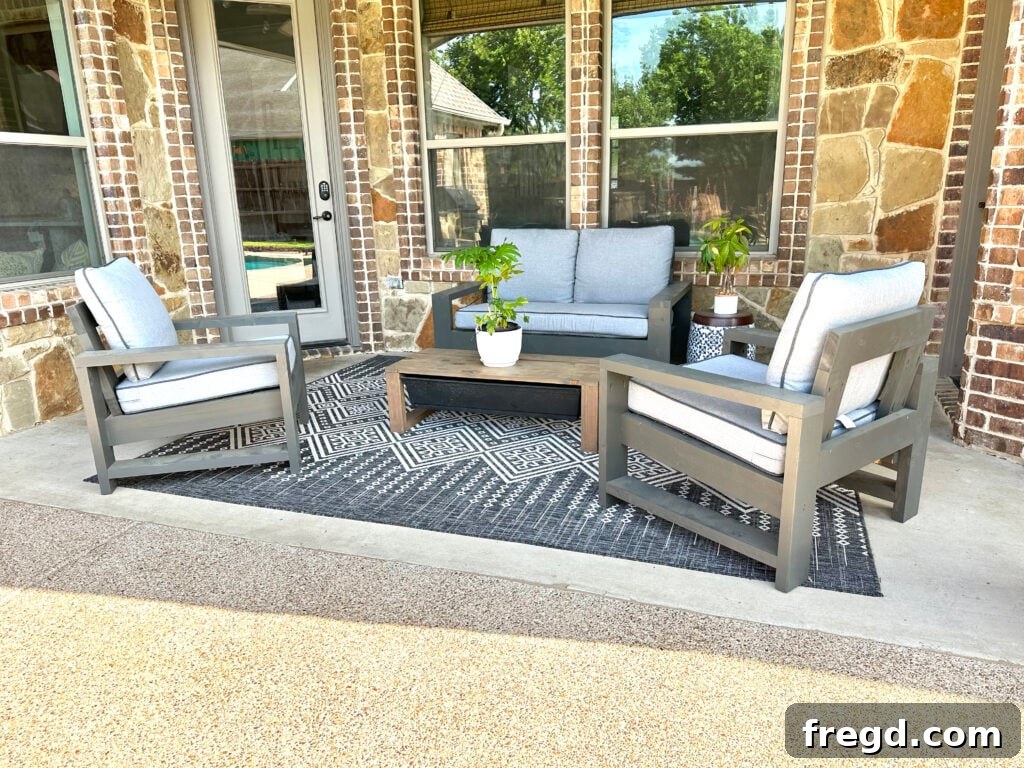
We hope this detailed guide inspires you to take on your own outdoor furniture project. The journey from raw lumber to a beautiful, functional piece of furniture is incredibly rewarding, and the end result speaks for itself. Your new outdoor chairs will provide a comfortable and stylish spot for enjoying warm days and starry nights for years to come.
Thanks so much for stopping by and learning with us! We encourage you to share your creations. Happy Building!
More Inspiring Outdoor DIY Projects
If you enjoyed building this outdoor chair, you’re in luck! We have a treasure trove of other fantastic outdoor furniture plans to help you complete your patio oasis. Explore these additional projects and continue enhancing your outdoor living space with your woodworking skills!
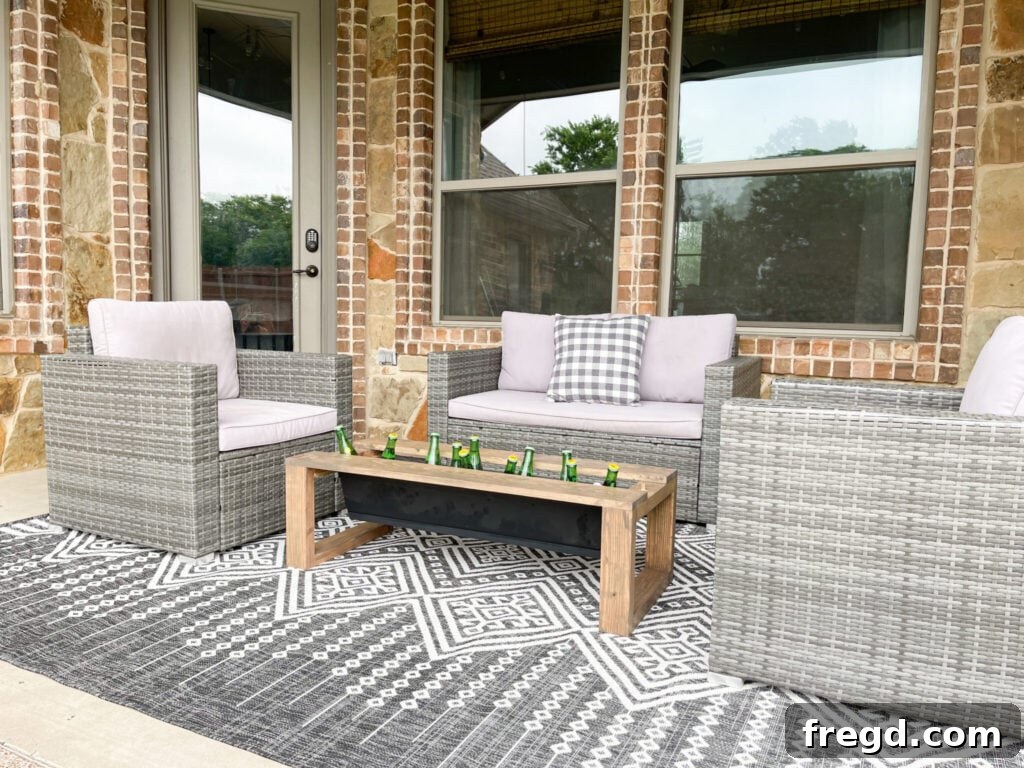
Cooler Coffee Table: Perfect for keeping drinks cold while serving as a convenient surface!
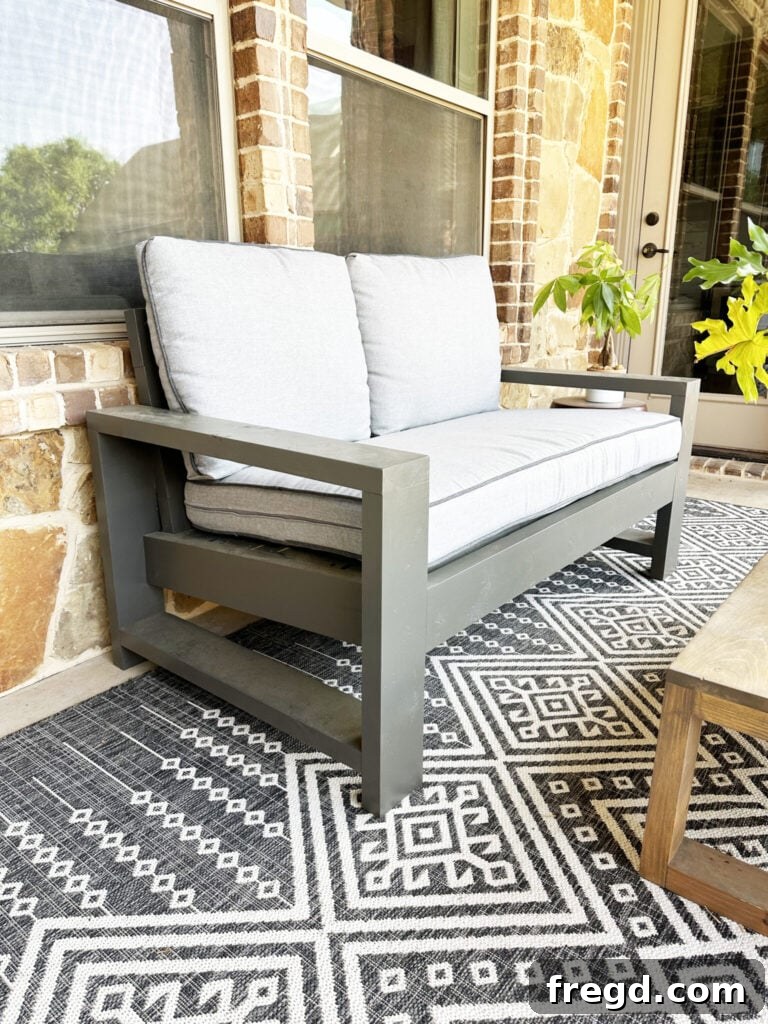
Outdoor Couch: Build a matching sofa to complete your lounging area with ample seating.
Outdoor Lounge Chairs: For those moments when you want to truly kick back and relax, these lounge chairs are a must-have.