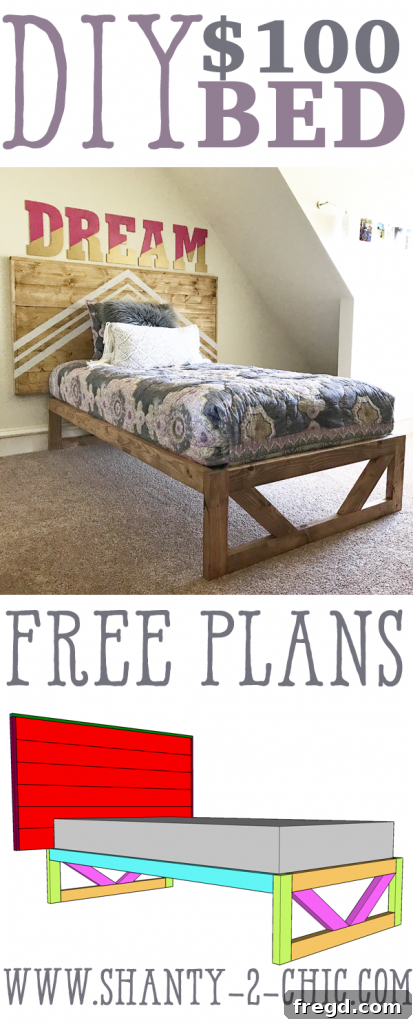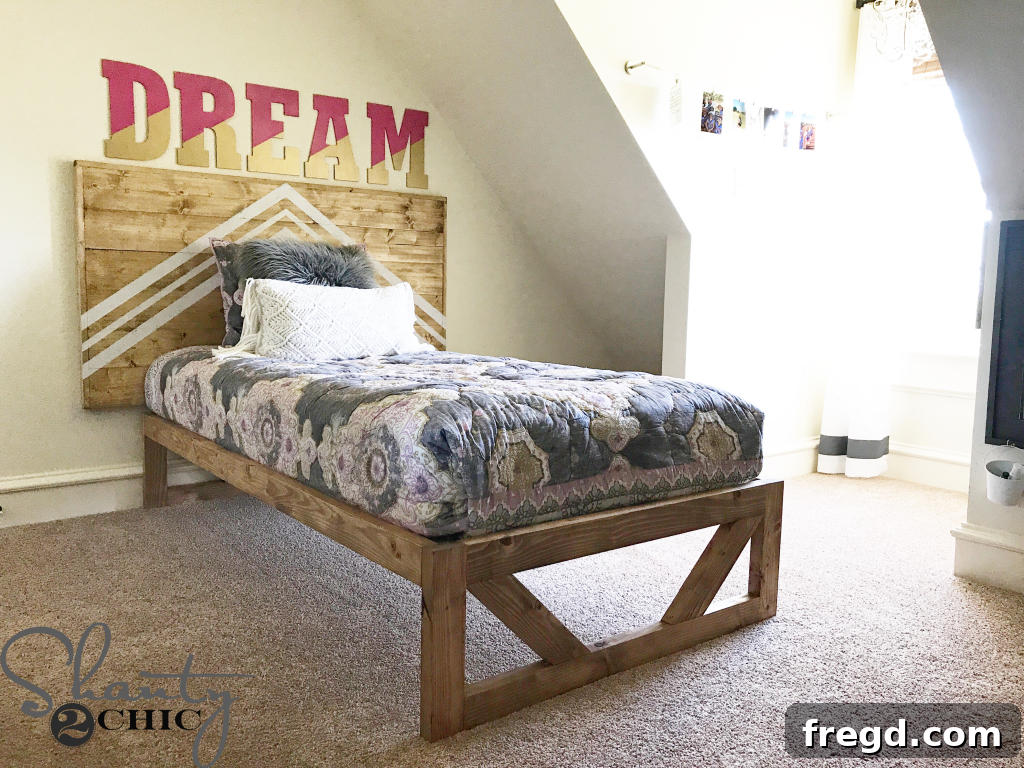
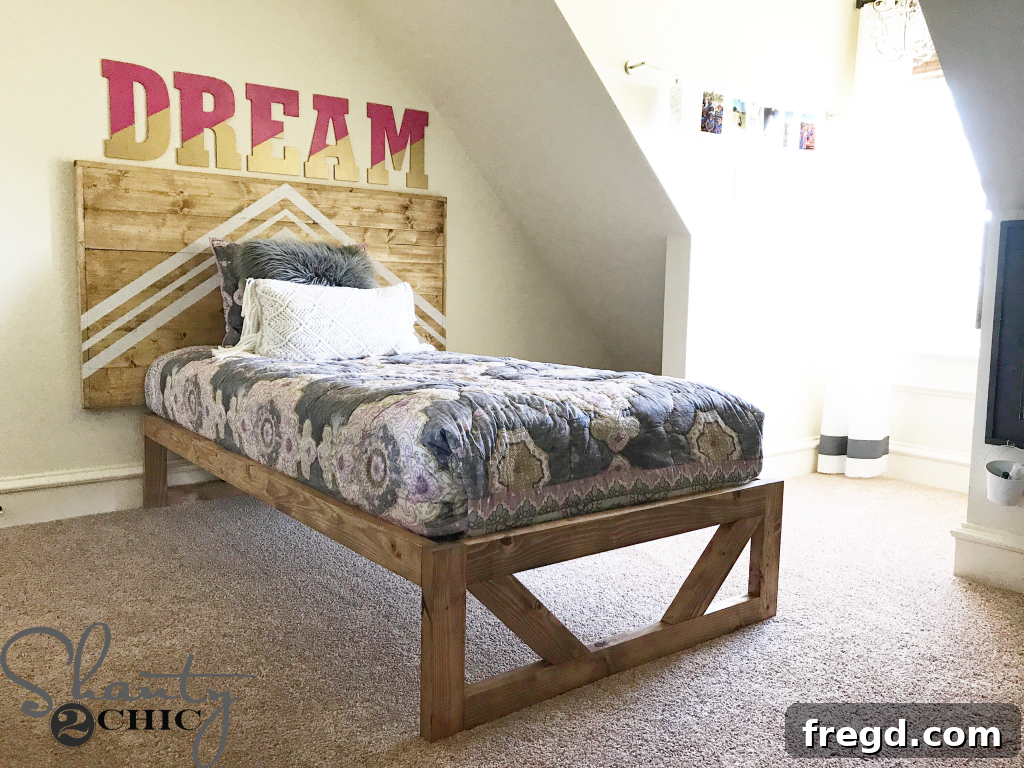
Welcome back, DIY enthusiasts! Today, we’re diving into an exciting project that promises to transform any bedroom: the DIY Modern Platform Bed. This stylish and sturdy bed frame was designed to perfectly complement the DIY Planked Headboard we previously tackled. If you missed that step-by-step guide and our free plans, make sure to check them out!
Building your own furniture can seem daunting, but this modern platform bed is surprisingly simple, making it an ideal project for both seasoned woodworkers and eager beginners. You don’t need a massive workshop or an arsenal of specialized tools. In fact, this project primarily relies on just three essential tools that many DIYers already own: a drill, a Kreg Jig, and a miter saw. These powerhouses will help you achieve clean cuts and strong, hidden joints, ensuring a professional finish.
We believe everyone should have access to quality plans for their DIY dreams. That’s why we’re offering our detailed, printable plans for this modern platform bed absolutely FREE! Grab your free plans HERE and get ready to join us in the workshop. For those who prefer a visual guide, we’ve put together a comprehensive video tutorial walking you through every single step. Just click HERE or on the image below to watch the build unfold!
Table of Contents
DIY Modern Platform Bed Tutorial: A Step-by-Step Guide
Ready to get your hands dirty? Let’s dive into the detailed tutorial for building this stunning modern platform bed. We’ll break down each step, providing tips and insights to ensure your project is a resounding success.
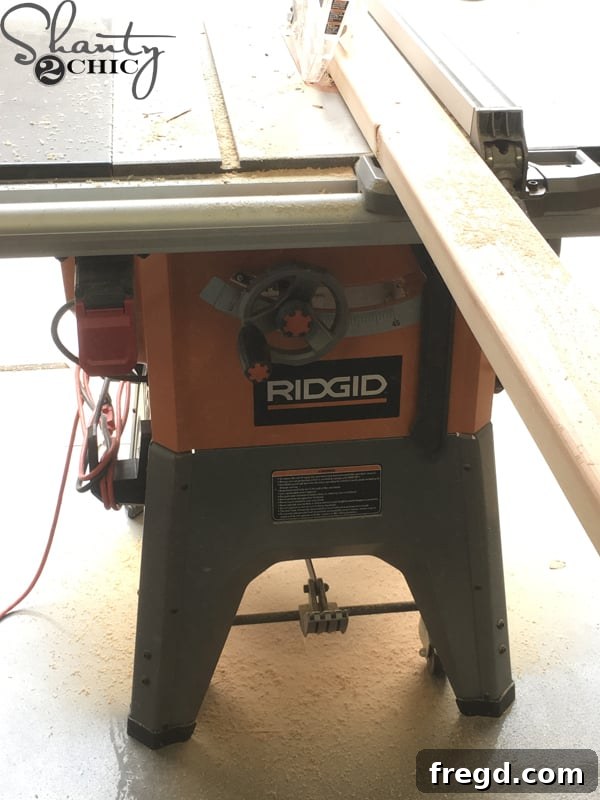
To begin, I chose to modify my 2×4 boards slightly to achieve a more refined, modern aesthetic. I carefully ripped off the rounded edges of all the 2x4s, reducing their width to a precise 3 inches. This extra step helps create crisp, clean lines that elevate the overall look of the bed. While this is an optional modification, it’s highly recommended if you’re aiming for that sleek, contemporary feel. Be aware that if you opt for this step, it will subtly alter the measurements for the longer pieces in your base assemblies. If you prefer to keep the standard 2×4 dimensions, simply adjust your measurements accordingly as you work through the build, ensuring a custom fit. Always measure twice, cut once!
Mastering Pocket Holes for a Flawless Finish
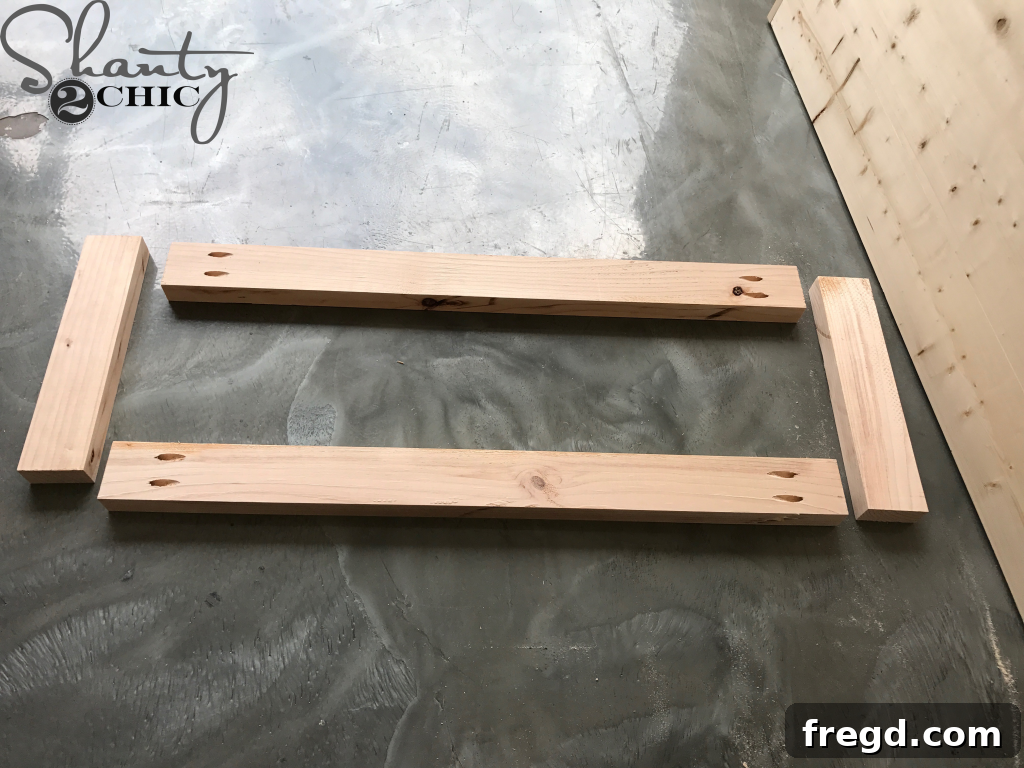
The secret to strong, invisible joinery in this platform bed lies in pocket holes, a favorite technique among DIY furniture builders. After making all the necessary cuts for the base assemblies according to the plans, I proceeded to drill 1 1/2-inch pocket holes into the ends of the longer board pieces. This method creates a sturdy connection without visible screws on the exterior, resulting in a cleaner, more professional finish. For this step, a reliable Kreg Jig is indispensable. If you’re looking to invest in this incredibly versatile tool, you can find our favorite Kreg Jig model HERE on Amazon, which makes drilling precise pocket holes a breeze.
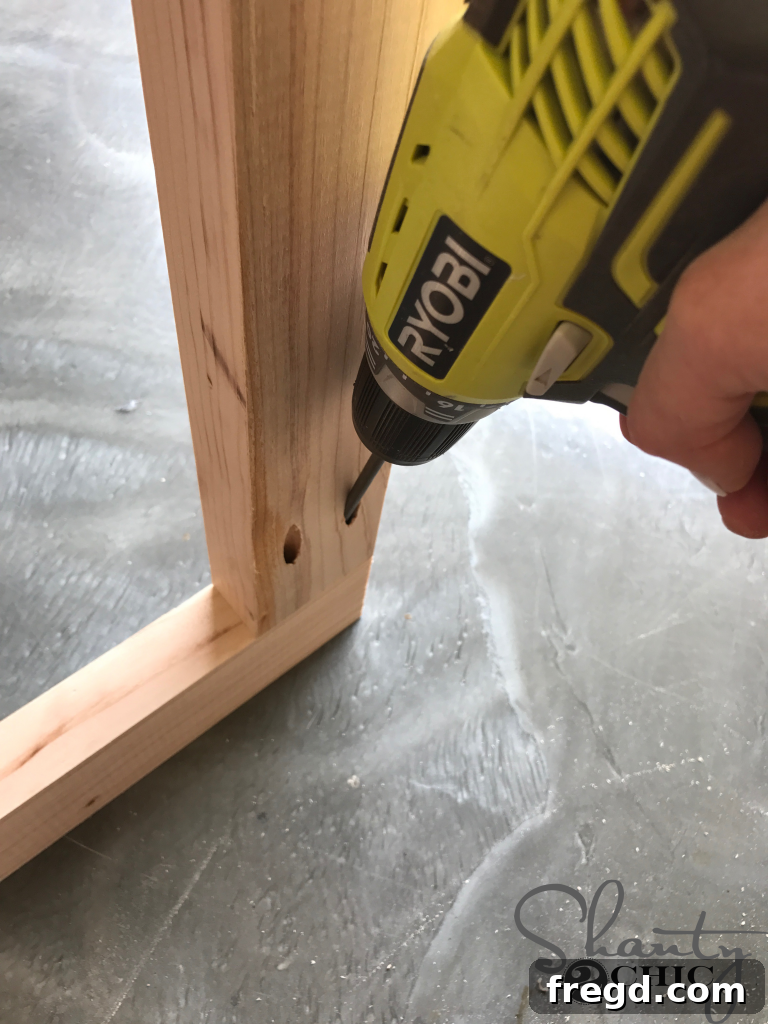
Once the pocket holes were drilled, I began assembling the base sections. I meticulously attached the long pieces to the shorter pieces using 2 1/2-inch pocket hole screws. To ensure maximum durability and stability, I also applied a generous amount of wood glue to each joint before fastening the screws. The combination of pocket hole screws and wood glue creates a bond that is incredibly strong, ready to support years of peaceful slumber.
Assembling the Sturdy Base of Your Platform Bed
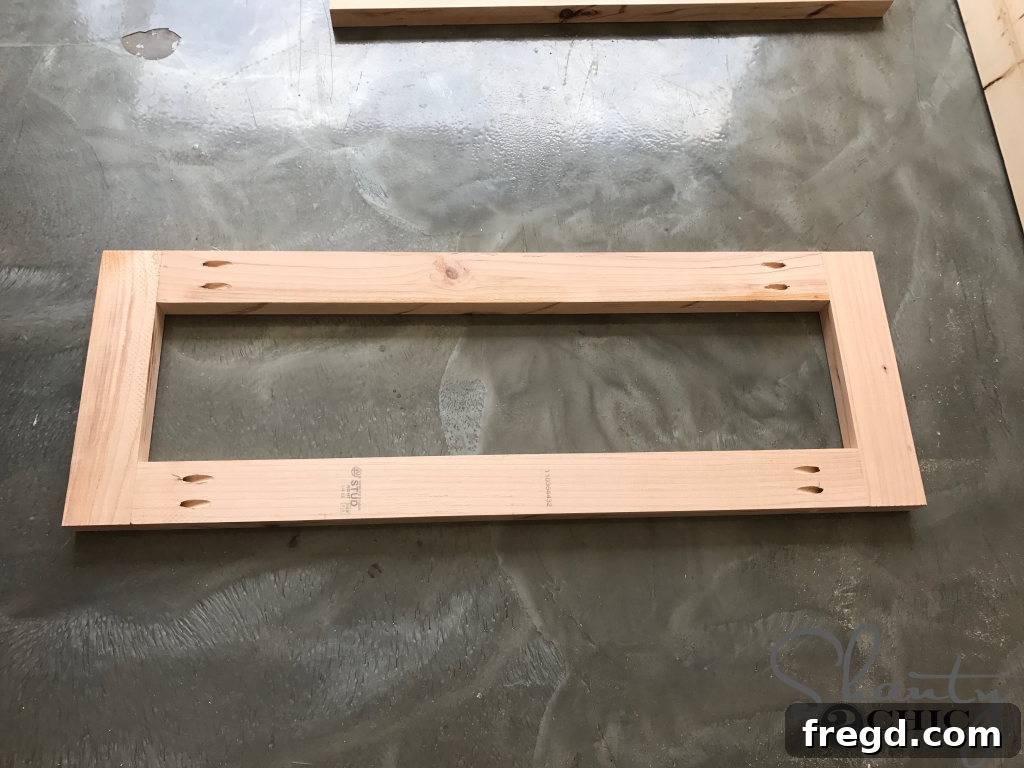
The foundation of your modern platform bed consists of two identical base assemblies. Here you can see one completed base assembly. The structural integrity of these bases is crucial for the overall stability and longevity of your bed frame, so take your time and ensure all joints are tight and square. I constructed two of these sturdy units to form the main support structure.
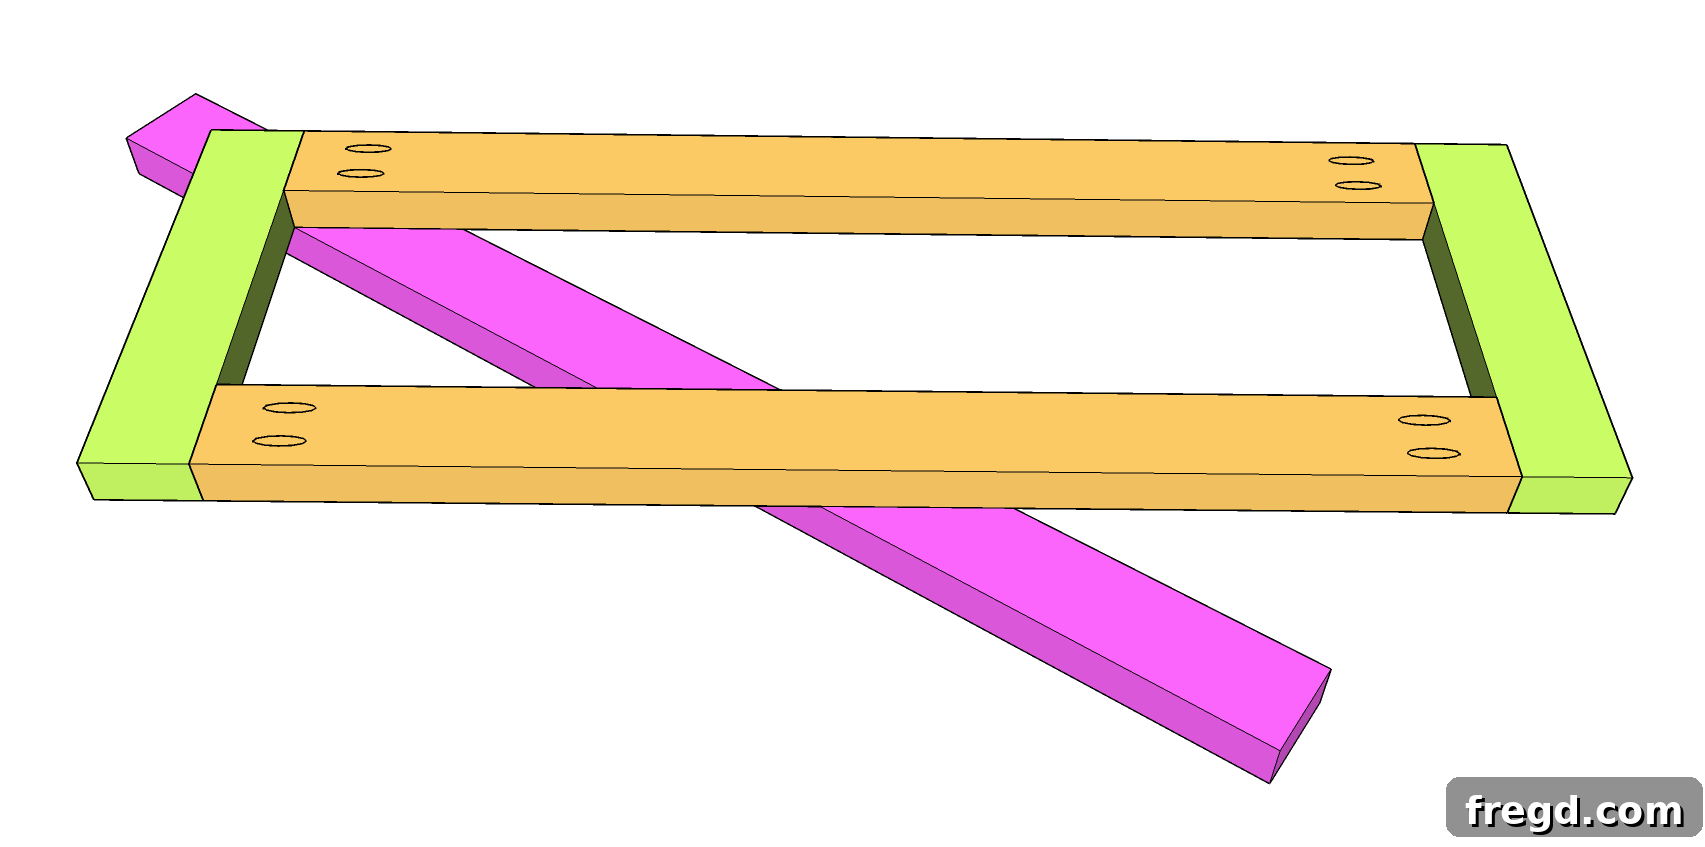
Next, it was time to add the diagonal support pieces, which not only contribute to the modern aesthetic but also provide significant structural reinforcement. Achieving the perfect fit for these angled cuts requires a precise approach. I found it easiest to cut the diagonal pieces slightly longer than what the cut list specifies. This provides some room for error and allows for custom fitting. I then marked the exact center point on the base assembly. By carefully lining up the oversized board beneath the assembly and marking the exact points where the angles would meet, I could achieve a flawless fit. Using my miter saw, I aligned the blade precisely with these marks and made the clean, accurate cuts. This method ensures that your diagonal supports integrate seamlessly with the rest of the frame.
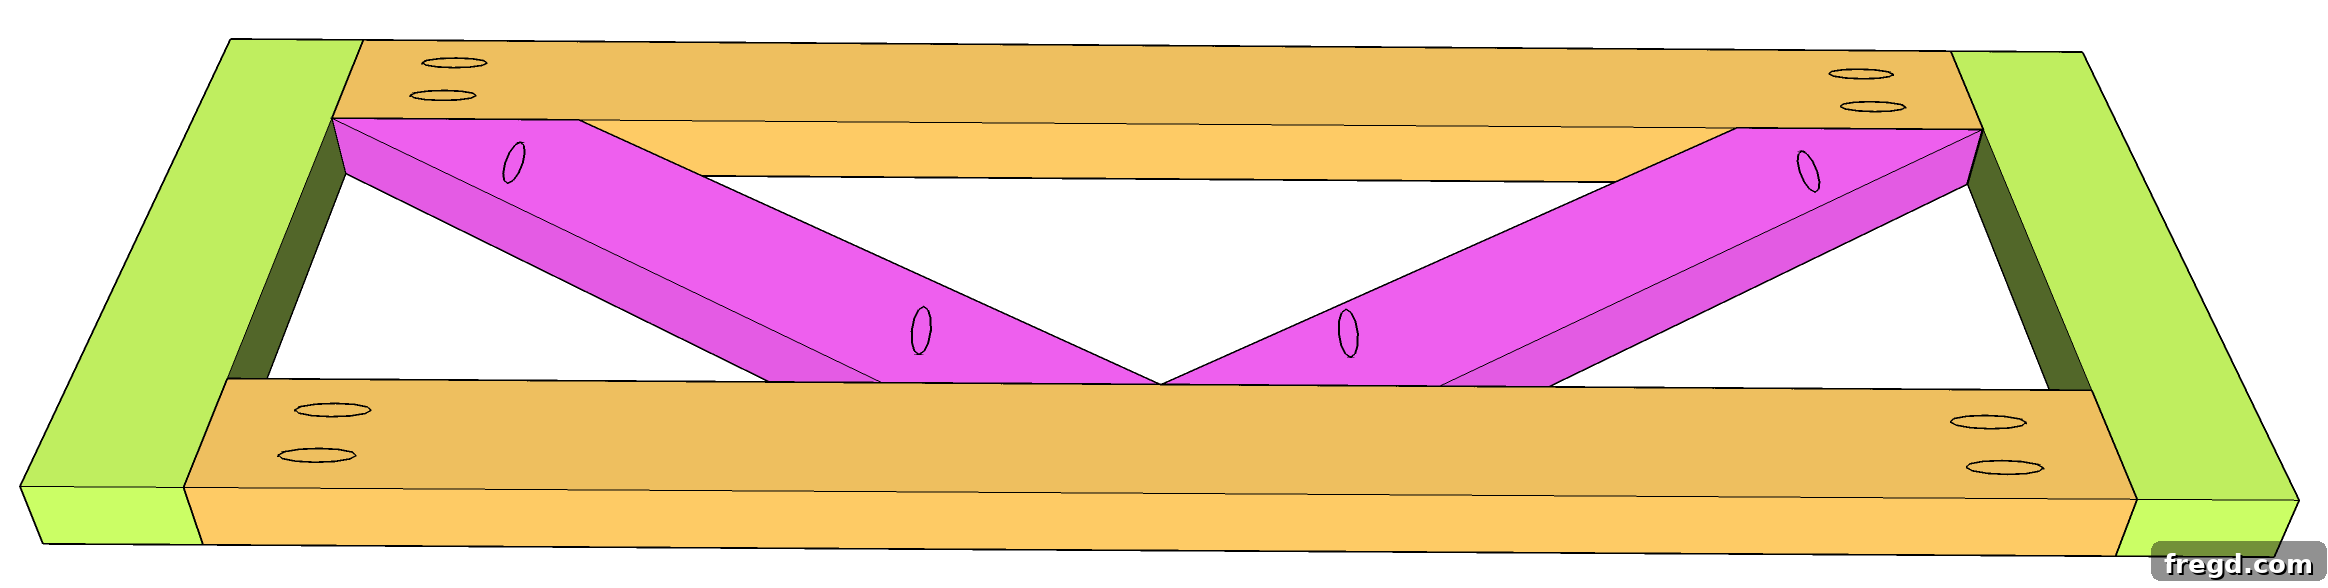
With the diagonal boards perfectly cut, I drilled 1 1/2-inch pocket holes into each of their ends. If you’re unsure about drilling pocket holes at an angle or on irregularly shaped pieces, our accompanying video tutorial provides an in-depth demonstration of this technique. Finally, I securely attached these diagonal supports to the base assemblies using 2 1/2-inch pocket hole screws and a generous application of wood glue, reinforcing the entire structure.
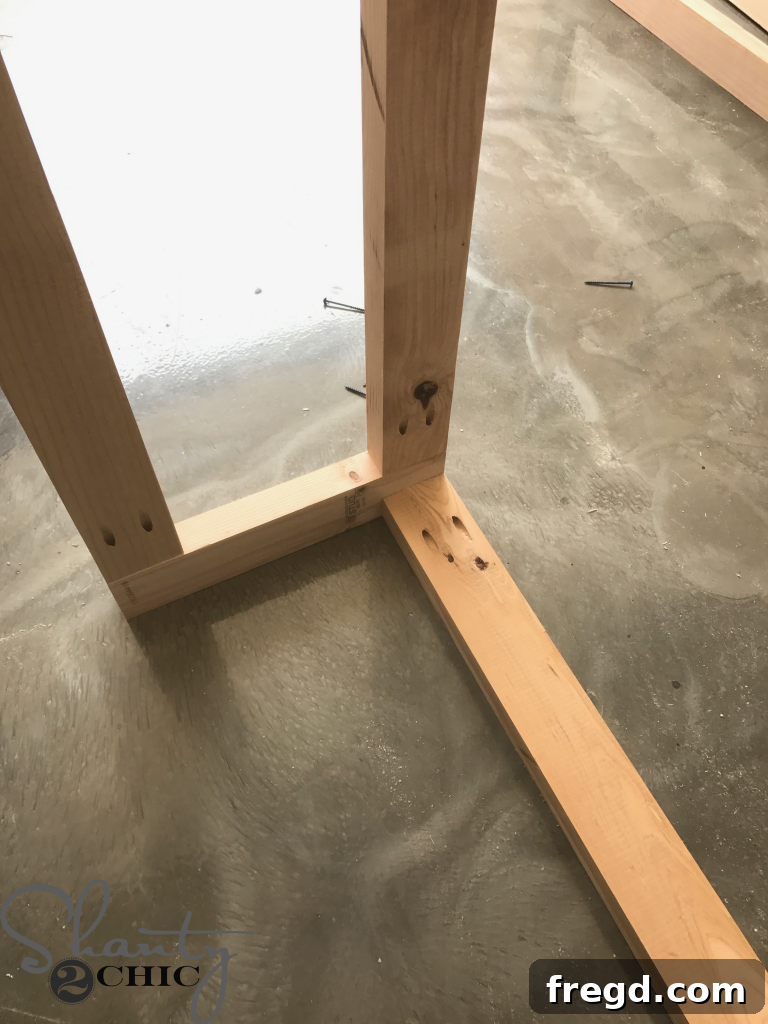
The next critical step involves cutting and attaching the side rails, which will connect the two base assemblies and ultimately support your mattress. After cutting the side rails to their specified length, I drilled 1 1/2-inch pocket holes into both ends of each rail. These rails are then attached to the top edge of the base assemblies using 2 1/2-inch pocket hole screws. It’s crucial that the top surface of the side rail is perfectly flush with the top surface of the base assembly. An important note here: do not use wood glue when attaching the side rails. This is a design choice that significantly simplifies disassembly, should you ever need to move the bed. This allows for easy breakdown and reassembly without damaging the wood.
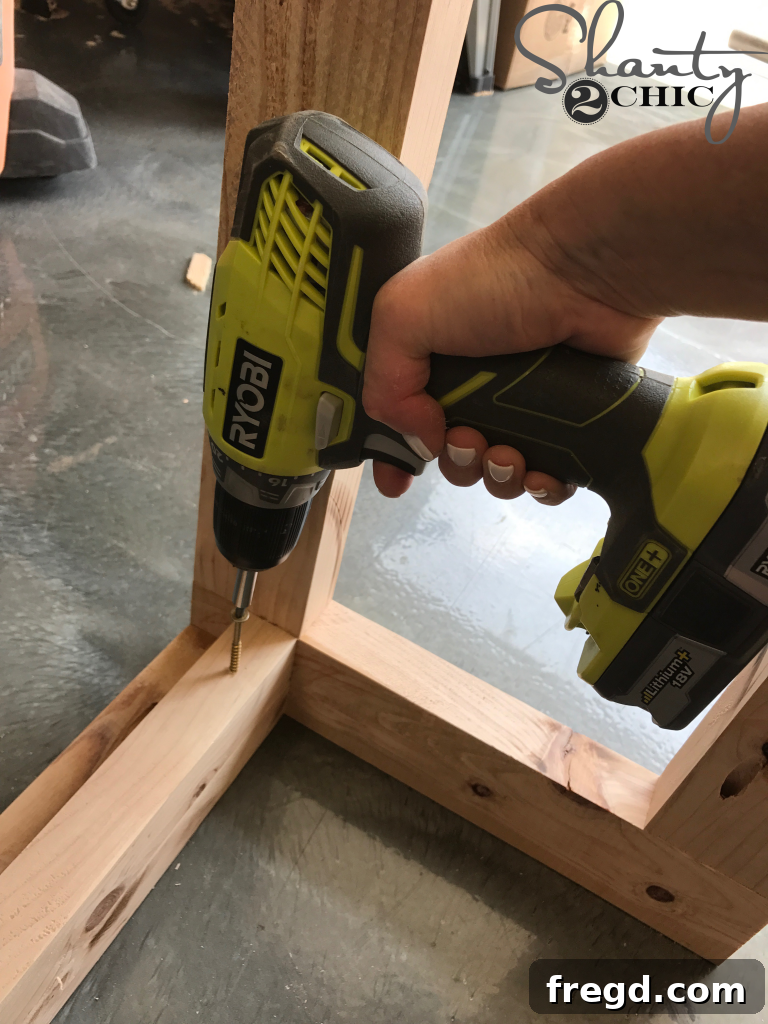
Following the side rails, I cut the cleat pieces to size. These cleats are essential as they will provide direct support for your mattress slats. I attached them along the inside of the side rails, positioning them exactly 1 inch down from the very top edge of the rails. This creates a recess for your mattress slats, ensuring the mattress sits snugly within the frame. For attachment, I used 2-inch wood screws. Again, avoid using glue here. Just like with the side rails, maintaining the ability to easily disassemble these components will prove invaluable if you ever need to move or store your beautiful new platform bed.
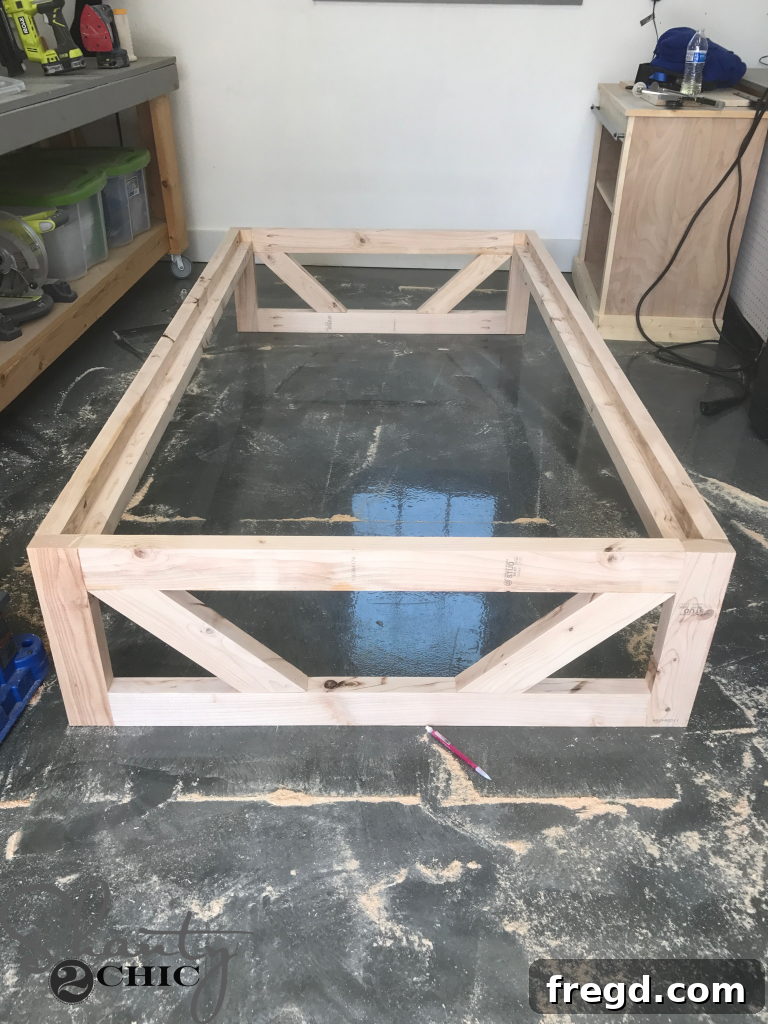
The Art of Staining: Adding Personality to Your Bed Frame
Once the main structure of your modern platform bed is assembled (without the slats), now is the absolute perfect time to apply your chosen finish! Staining or painting at this stage, before adding the slats, makes for much easier application and ensures complete coverage without awkward angles or missed spots. This is where your bed truly starts to come to life, reflecting your personal style and complementing your bedroom decor.
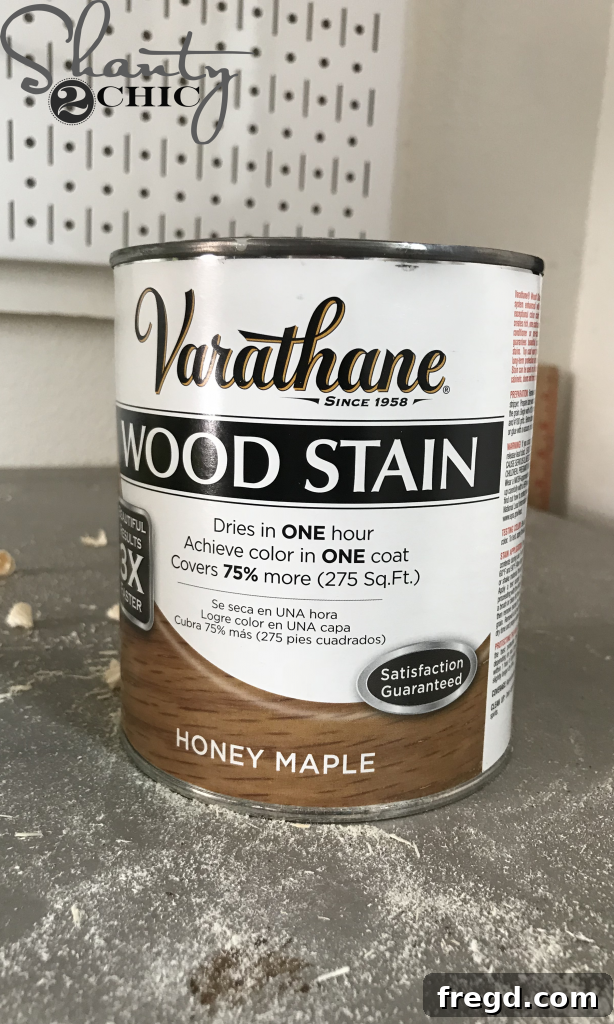
For this specific modern platform bed, I opted for a single coat of Varathane’s Honey Maple Stain. This beautiful warm tone enhances the natural grain of the wood, providing a rich, inviting finish that perfectly suits the contemporary design. When staining, always apply in the direction of the wood grain, wiping off excess stain to prevent a blotchy appearance. Ensure adequate ventilation and allow the stain to dry completely according to the manufacturer’s instructions before proceeding to the next steps.
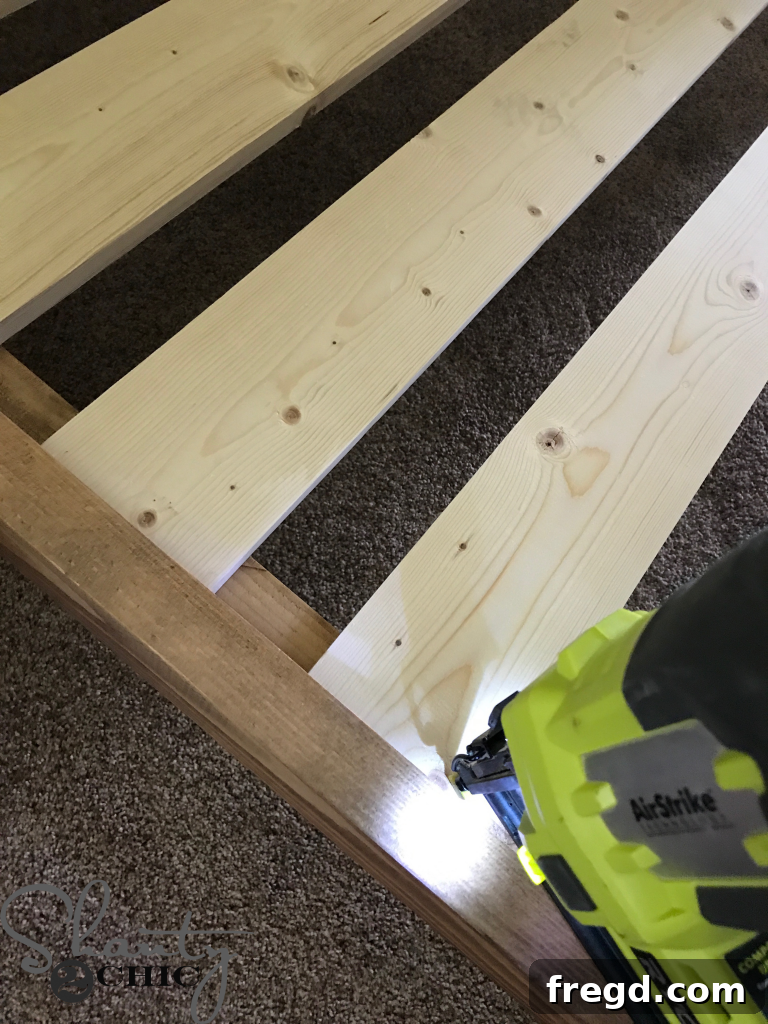
While the stain was drying to a beautiful, rich finish, I used that time efficiently to cut all the mattress slats to their appropriate lengths. These slats are crucial for providing firm, even support for your mattress, eliminating the need for a bulky box spring that often detracts from a modern aesthetic. Once the stain was thoroughly dry and cured, I carefully moved the assembled bed frame into its permanent position within the room. I then attached the precut slats to the cleats using my 18-gauge nailer with 1 1/4-inch nails. If you prefer, or if you anticipate needing to disassemble the bed frequently, you can also use 1 1/4-inch wood screws for this step, as they offer the same robust support but allow for easier removal.
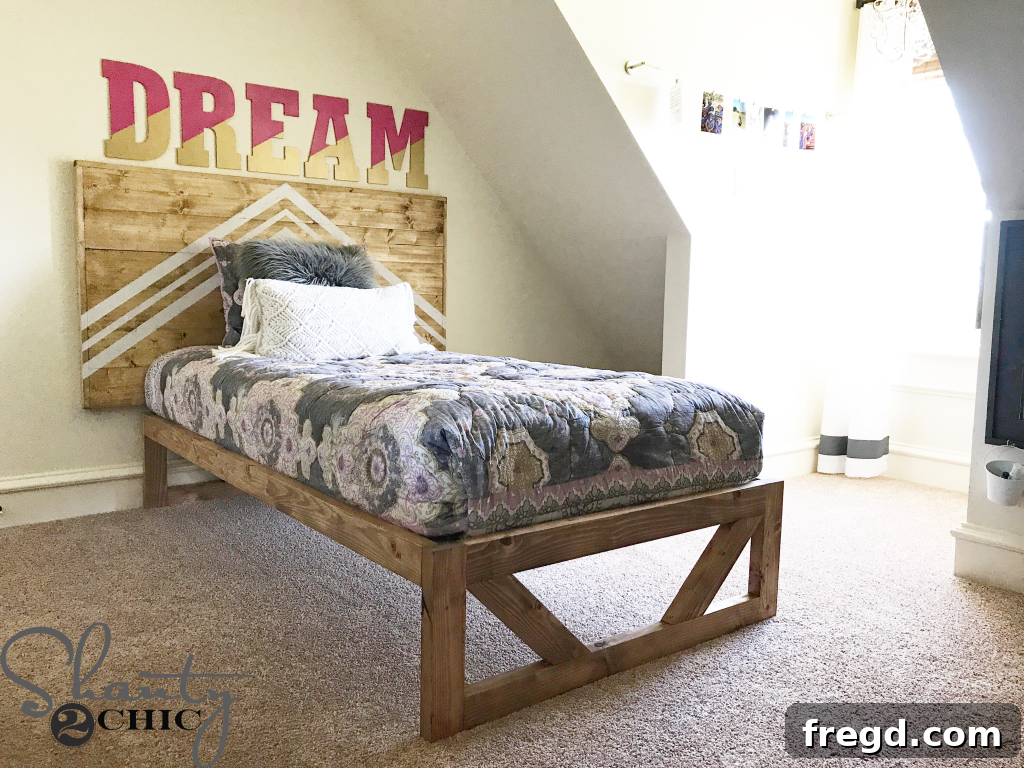
And just like that, the DIY Modern Platform Bed was complete! The joy of building something with your own hands, especially for a loved one, is truly unparalleled. My daughter, Tenley, absolutely adores her new “big girl” room, and I couldn’t be happier with how this project turned out. This platform bed brings a touch of sophisticated simplicity to her space, creating a serene and stylish environment. It’s a testament to how accessible and rewarding woodworking can be, even for projects that look professionally made.
Curious about the other delightful elements that complete this charming room? We’ve gathered all the details for you! Just click on the links below to explore the other DIY projects and stylish decor pieces featured:
- Matching Planked Headboard Plans
- Cozy Bedding Collection
- Elegant White Crochet Pillow
- Luxurious Gray Faux Fur Pillow
- Watch our video for more insights on the beautiful wall letters and stylish curtains!
Thank you so much for joining us on this woodworking journey. We hope this tutorial inspires you to pick up your tools and create something beautiful for your home. Remember, every great project starts with a single step, and the satisfaction of a finished DIY piece is truly priceless!
Happy Building!