
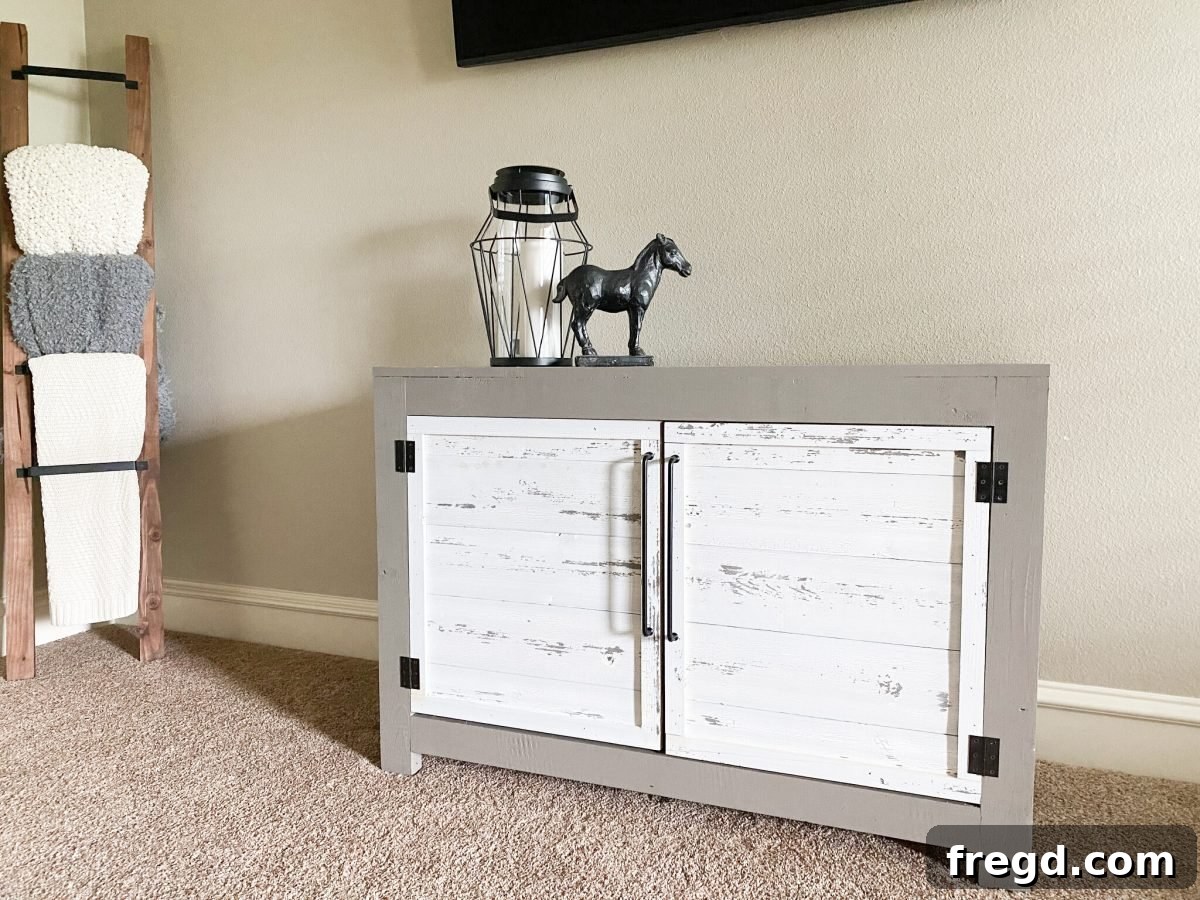
Transform your living space with a custom-built DIY TV Console that perfectly blends functionality with rustic charm. This comprehensive guide, inspired by the talented creators at Shanty2Chic, provides free plans and a detailed, step-by-step tutorial to help you construct a stunning media console that will become a focal point in any room of your home. Building your own furniture is a rewarding experience, allowing for personalized style and significant cost savings. This project, featuring the beautiful contrast of gray paint and distressed white barn wood, is surprisingly straightforward and incredibly satisfying to complete.
For years, our game room remained an uninspired corner of the house, lacking that essential piece of furniture to tie everything together. It’s where the kids enjoy their TV shows and video games, and I struggled to envision the perfect addition. That all changed with this project. The need for a stylish and practical TV console to organize video games, movies, and other media essentials sparked an idea. Serendipitously, I had a collection of scrap barn wood planks remaining from a previous project – a beautiful planked wall we built for a relative’s house. These reclaimed materials provided the perfect foundation for a unique design.
Inspired by the rustic beauty of the barn wood, I set out to design and build a custom DIY TV Console. The vision came to life with a striking contrast: elegant gray paint complementing the charming, distressed white barn wood. The result is a piece that not only offers ample storage but also adds significant character and warmth to the room. We’re thrilled to share our journey and empower you to build your own. Dive into our free printable plans and detailed instructions, and let’s start building your dream entertainment center!
Ready to jump straight into the project? Our detailed plans are available for immediate download. Click here for the FREE Printable Plans and comprehensive supply list!
Essential Supplies for Your DIY TV Console
Gathering all your materials before you begin ensures a smooth and efficient building process. Here’s a detailed list of everything you’ll need to construct this beautiful media console. We’ve included links to make your shopping experience easier, but feel free to source materials from your local hardware store.
- 1 – 1x2x6 Whitewood or Common Board
- 2 – 1x2x8 Whitewood or Common Boards
- 1 – 1x3x8 Whitewood or Common Board
- 1 – 1x4x8 Whitewood or Common Board
- 4 – 1x6x6 Boards
- 4 – 2x4x8 Framing Lumber
- 1 – 3/4″x48″x96″ Hardwood Plywood (Birch recommended)
- 1 – 1/4″x48″x48″ Hardwood Plywood (Birch recommended)
- Barn Wood Planks (for door fronts)
- 1 1/4″ Brad Nails
- 3/8″ Staples
- 1 1/4″ Pocket Hole Screws
- 2 1/2″ Pocket Hole Screws
- Wood Glue
- 4 – 3″ Hinges
- 2 – Decorative Pulls (Handles)
- 3/4″ Pin Nails (for door trim)
Recommended Tools for Your Media Console Project
Having the right tools is key to a successful DIY project. While some items are optional, they can significantly enhance the precision and ease of your build. Here’s what you’ll need:
- Miter Saw: Essential for accurate crosscuts.
- Drill: For pre-drilling holes and driving screws.
- Kreg Jig: Indispensable for creating strong, concealed pocket hole joints.
- Nailer (Brad Nailer recommended): For quickly attaching trim and plywood.
- Kreg Rip Cut (optional but recommended): Simplifies ripping plywood and wider boards.
- Table Saw (optional): Offers precise ripping capabilities for larger lumber.
- Stapler (optional): Useful for attaching thinner plywood backs.
- Measuring Tape, Pencil, Safety Glasses, Ear Protection.
Building Your DIY TV Console: Step-by-Step Guide
Let’s get started on bringing your custom TV console to life! Follow these detailed instructions carefully for the best results. Always prioritize safety by wearing appropriate protective gear.
Step 1: Prepare Your 2×4 Lumber
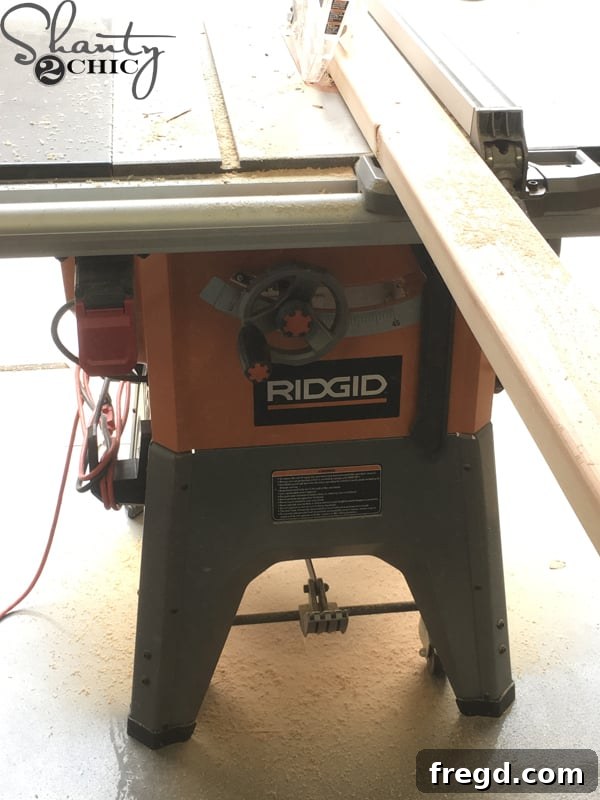
The first crucial step involves preparing your 2×4 boards. These typically come with rounded edges, which might not be ideal for a flush, finished look. To achieve a crisp, square edge, rip off the rounded edges, effectively making your 2x4s approximately 3 inches wide. While this step is not strictly necessary, it significantly improves the aesthetic and fit of your console. If you choose to skip this, remember to adjust all subsequent measurements to account for the original width of your 2x4s. For a visual guide on this technique, you can find a helpful how-to video on our YouTube channel HERE!
Step 2: Construct the Side Panels
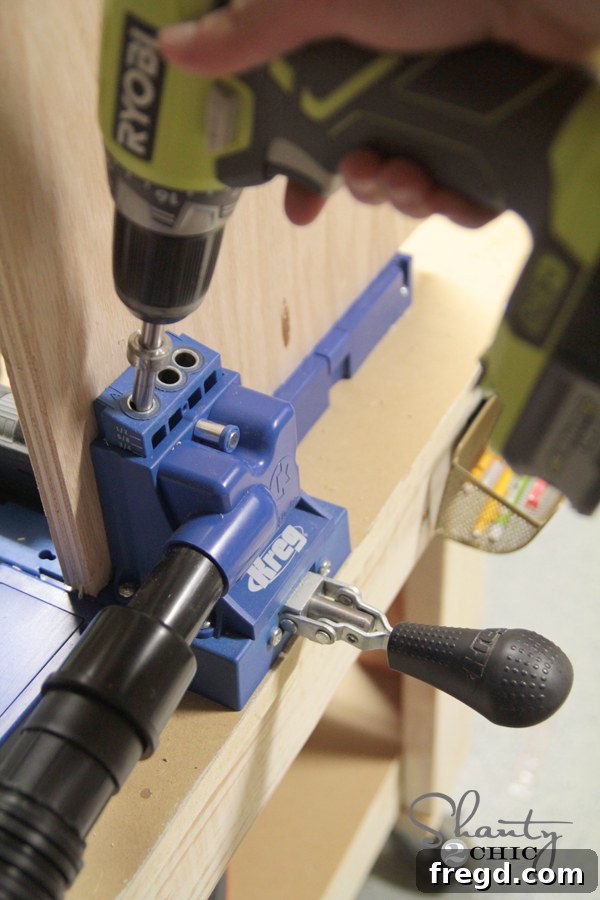
Next, you’ll focus on creating the robust side panels for your console. Begin by cutting your plywood and the prepared 2×4 legs according to the dimensions specified in your free plans (refer to “Cut List Page 2” in the detailed plans). Once cut, utilize your Kreg Jig to drill 3/4-inch pocket holes into each side of the plywood pieces. Pocket holes are fantastic for creating strong, concealed joints, perfect for furniture construction. If you’re new to Kreg Jigs, you can explore our favorite model HERE to understand its capabilities.
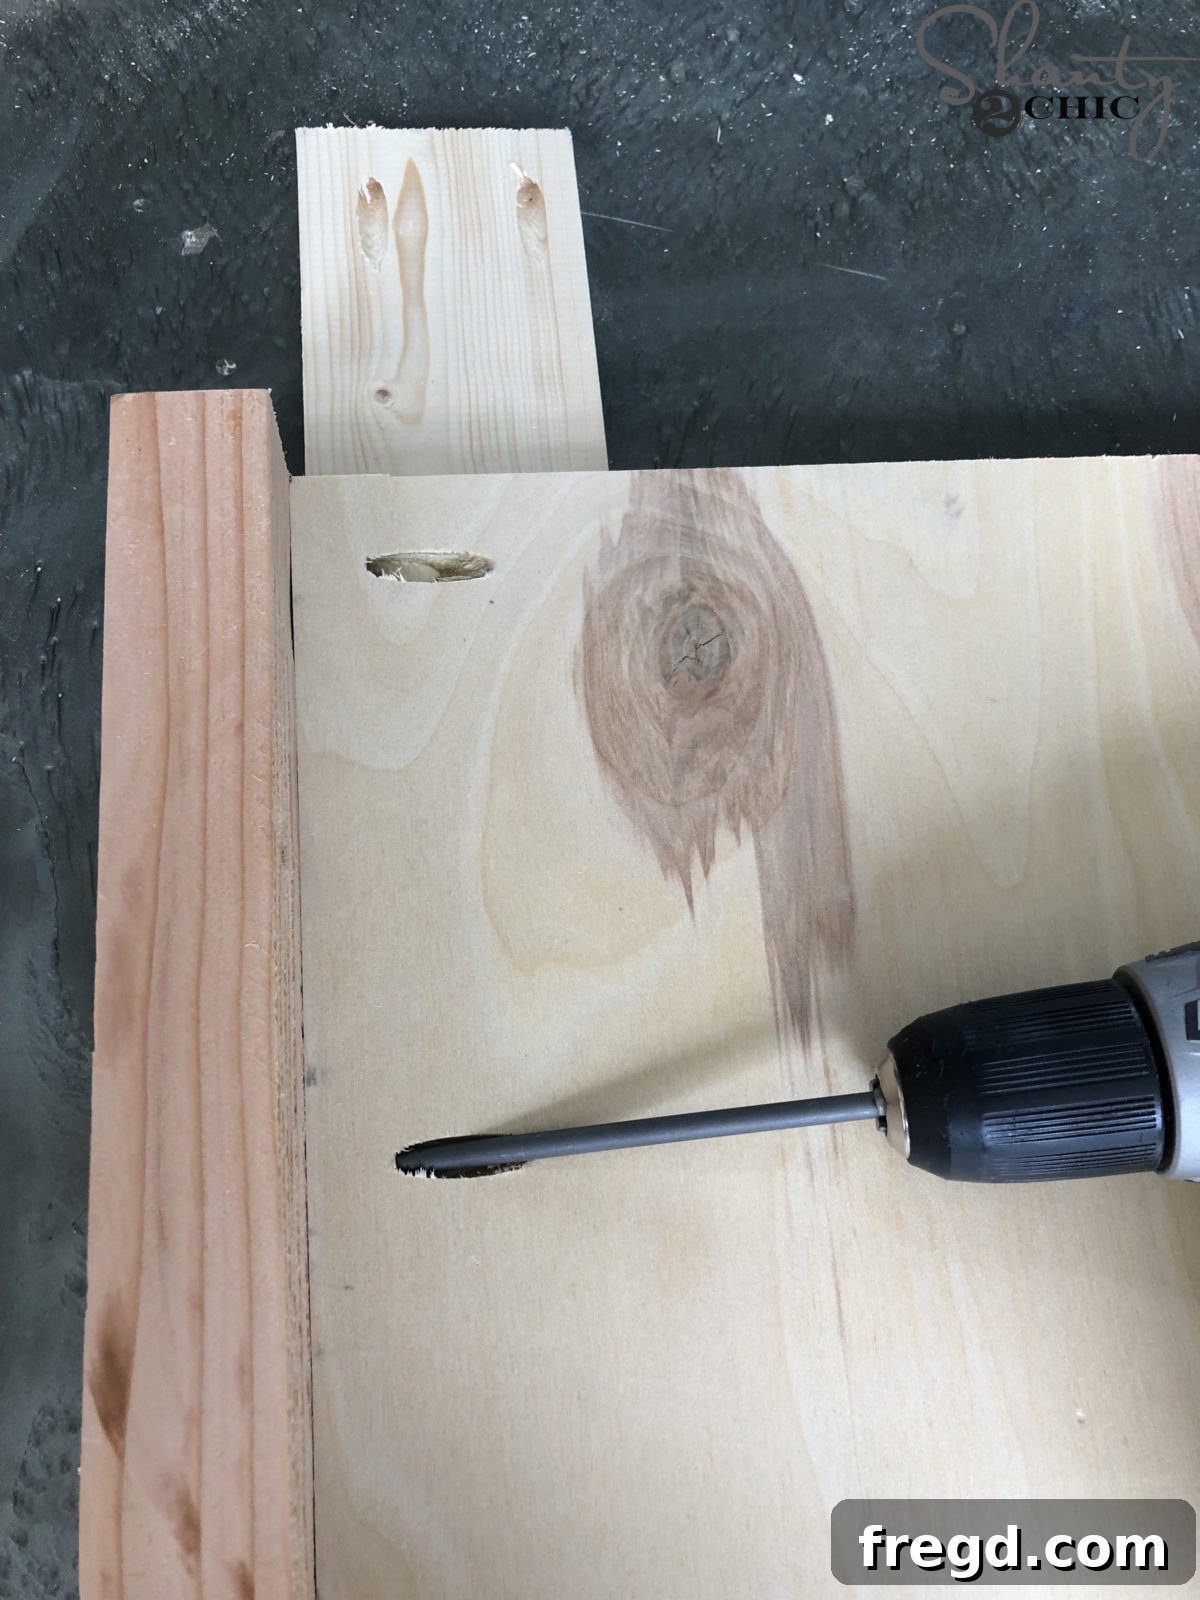
With the pocket holes drilled, attach one leg to each side of the plywood using 1 1/4-inch pocket hole screws and a generous amount of wood glue. Precision is key here: ensure the top edge of the legs is perfectly flush with the top edge of the plywood. You’ll also need to create specific gaps: a 3/4-inch gap on the front of the panels and a 1 1/2-inch gap on the back. A helpful tip for achieving the correct front gap is to place a scrap 1x board directly under each plywood panel before fastening, providing that exact 3/4-inch offset. Repeat this process to build two identical side panel assemblies.
Step 3: Add Side Panel Trim
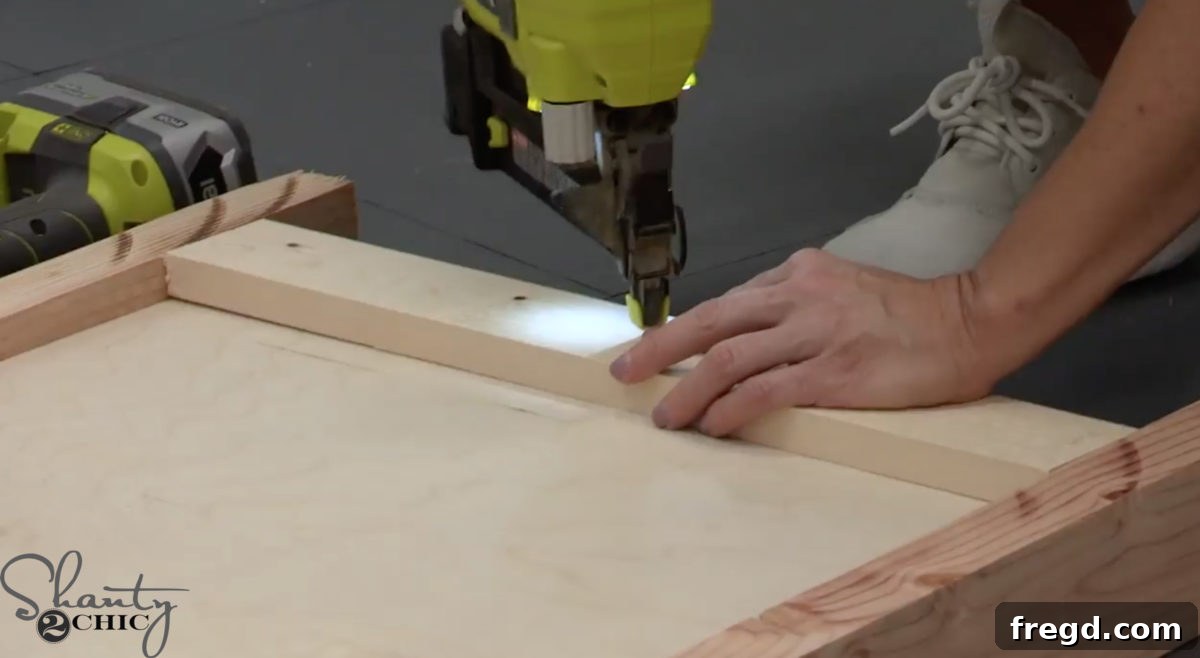
Once your side panel assemblies are complete, it’s time to add the decorative and structural trim. Measure and cut the top and bottom side panel trim pieces to their specified sizes. Carefully flip your side panels right-side-up. Apply wood glue to the trim pieces, then align and attach them to the front of the side panels. For secure fastening, use your preferred brad nailer (we recommend the Ryobi 18-Volt, 18 gauge brad nailer) with 1 1/4-inch brad nails. This step gives the side panels a clean, finished look and adds to the console’s overall stability. If you’re in the market for a reliable brad nailer, you can find our favorite model HERE.
Step 4: Connect the Side Panels with Aprons
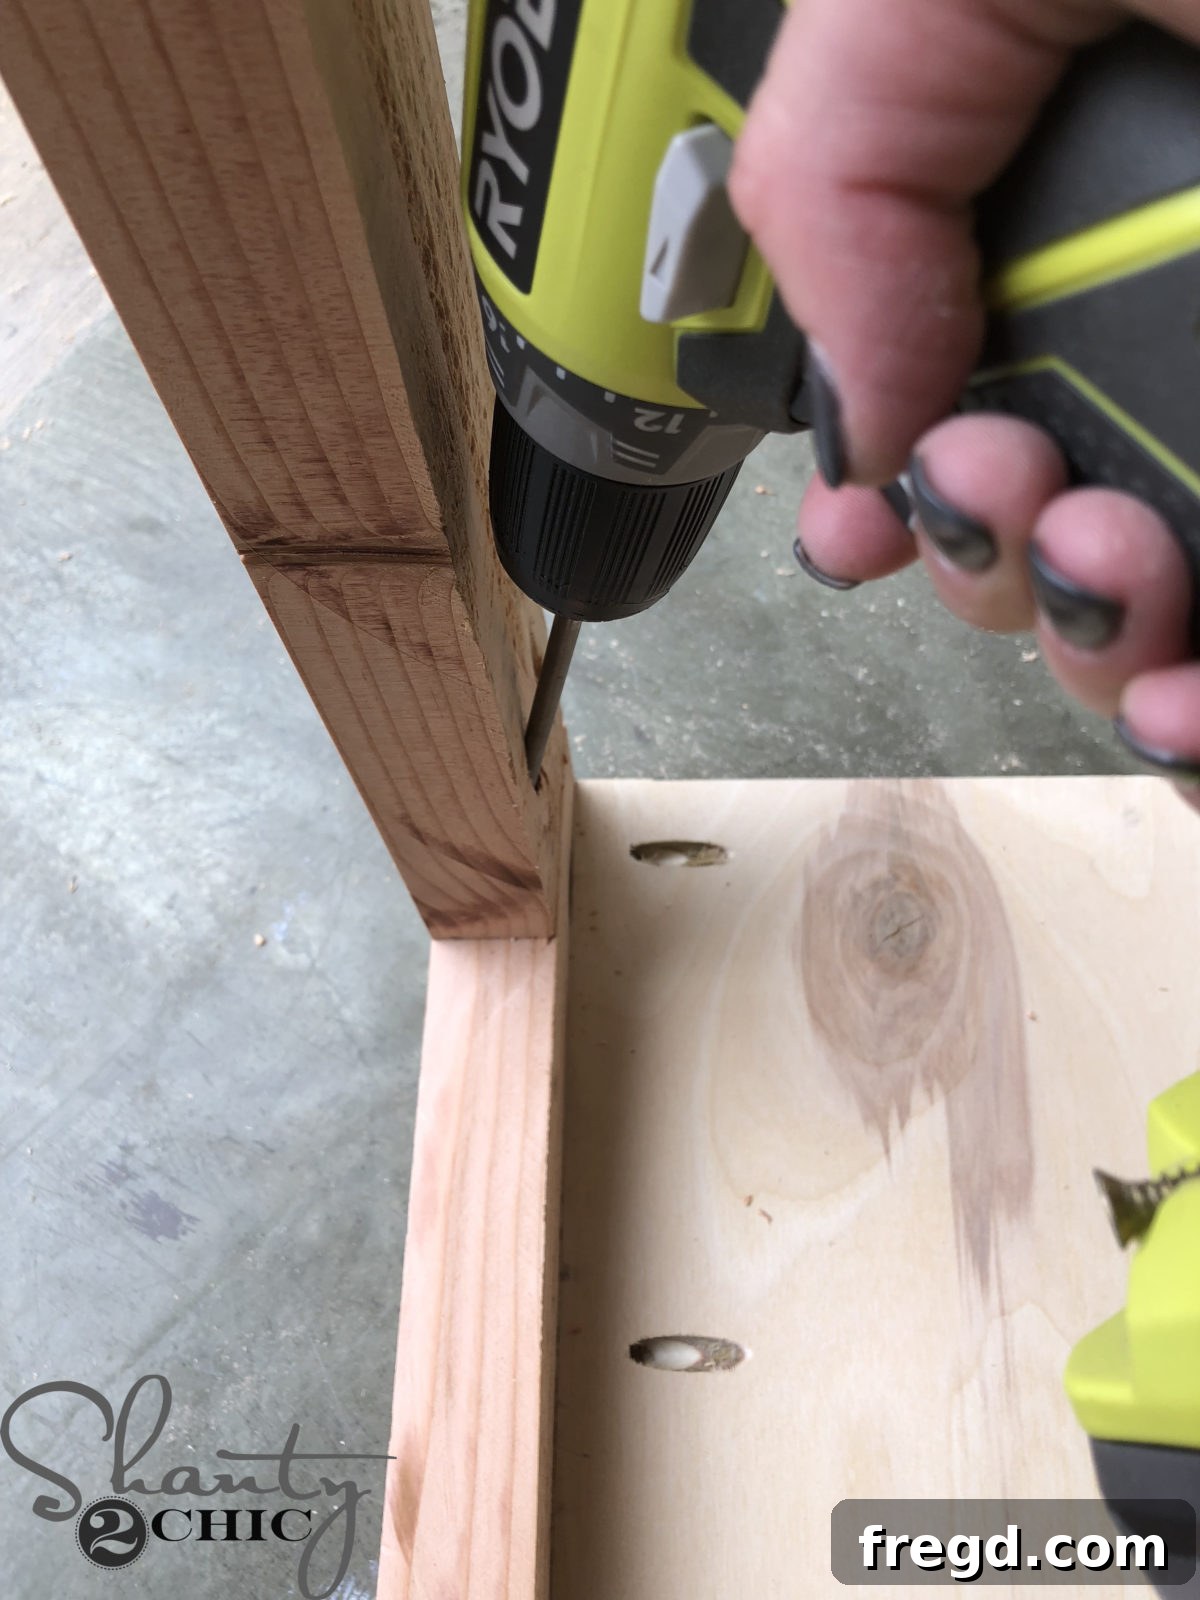
With both side panels fully assembled, the next stage involves connecting them to form the main frame of the console. Begin by cutting the front and back apron pieces to the precise sizes indicated in your plans (refer to “Cut List Page 1″). For the back aprons, drill 3/4-inch pocket holes into both ends. For the front aprons, drill 1 1/2-inch pocket holes into each end. This difference in hole depth accommodates the varying thickness of the connections. Then, using wood glue and the appropriate pocket hole screws (1 1/4-inch for back aprons, 2 1/2-inch for front aprons), securely attach the aprons to the legs. Pay close attention to the plans for the exact placement and flush alignment of each apron on the legs to ensure a sturdy and square structure. The bottom back apron should be 2″ from the bottom of the legs, and the top back apron flush with the top. For the front, the top apron should be flush, and the bottom apron 2 1/2” from the bottom.
Step 5: Install Bottom Support Pieces
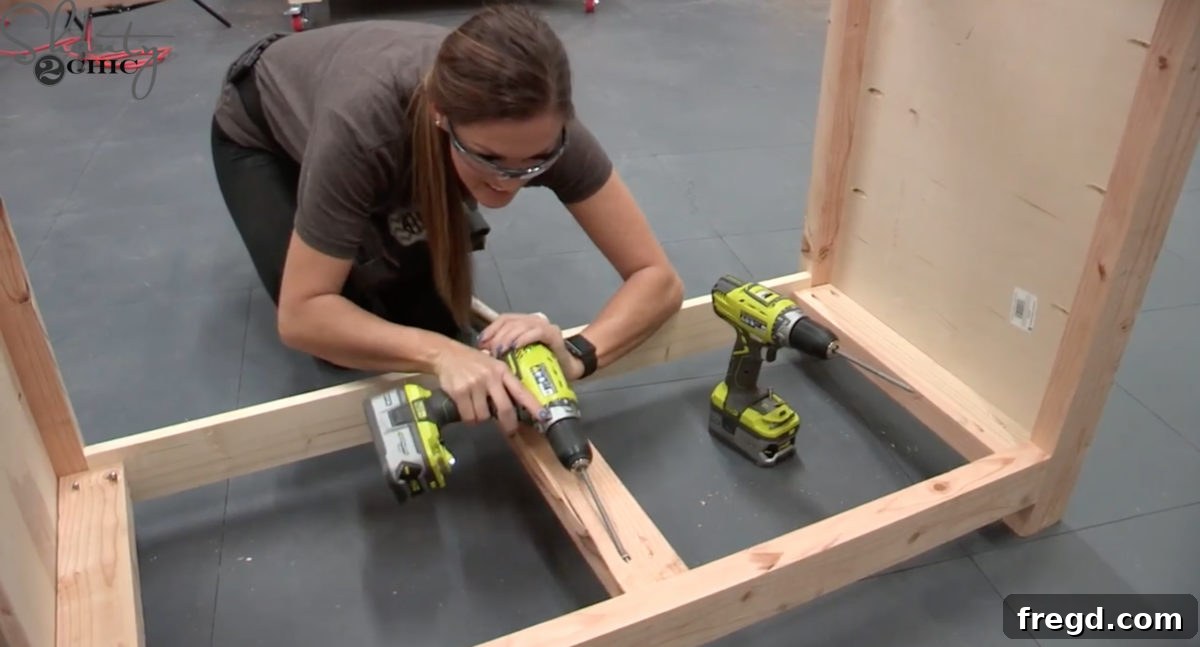
Now, let’s reinforce the base of your console. Cut the bottom support pieces to the required dimensions. Drill 1 1/2-inch pocket holes into the ends of these supports that will connect to the front apron. For the other ends, which connect to the back apron, drill 3/4-inch pocket holes. Apply wood glue, then attach these supports to the aprons using a combination of 1 1/4-inch and 2 1/2-inch pocket hole screws. This creates a strong internal structure that will support the bottom shelf of your console. Refer to your plans for accurate positioning of these supports.
Step 6: Attach the Console Bottom Plywood
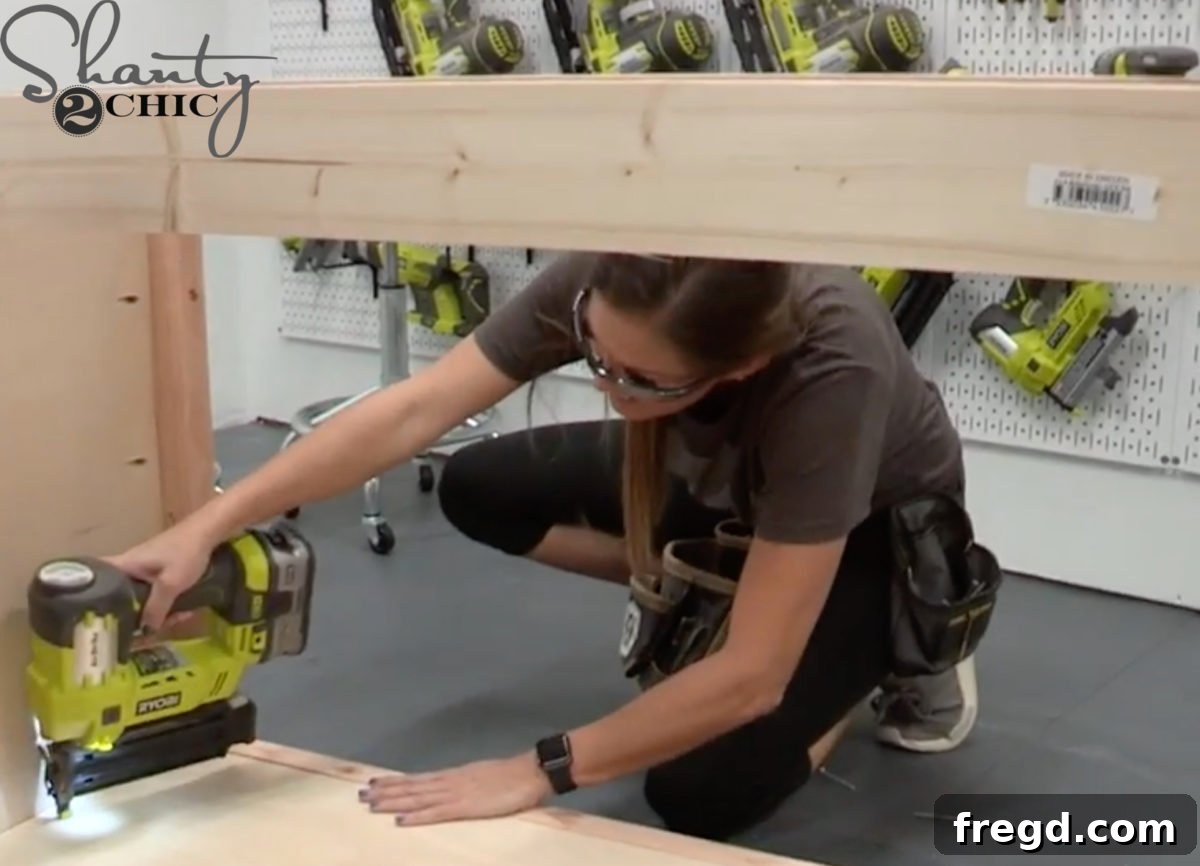
With the framework of your console taking shape, it’s time to install the bottom panel. Cut your 3/4-inch hardwood plywood to the precise size needed for the bottom of the console (refer to “Cut List Page 2”). Once cut, apply a continuous bead of wood glue along the top edges of all the bottom support pieces you just installed. Carefully lay the plywood panel onto these supports, ensuring it sits flush and square within the frame. Secure the plywood by fastening it to the supports using your 18-gauge brad nailer and 1 1/4-inch brad nails. This step creates a solid and level base for your console’s storage compartments.
Step 7: Install Middle Support Pieces
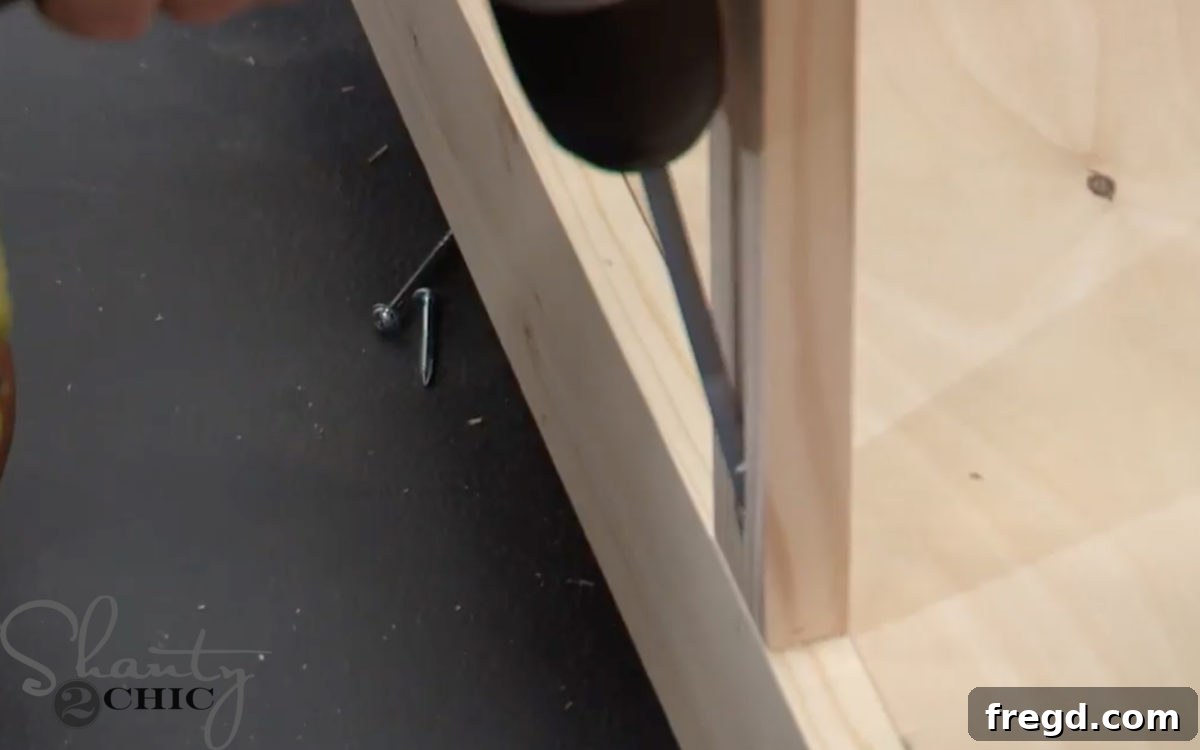
To further compartmentalize your console and add internal stability, you’ll now install the middle support pieces. Cut these pieces to size as per your plans. Drill 3/4-inch pocket holes into both ends of each middle support. Apply wood glue to the connecting surfaces, then center these supports on the aprons (front and back) and attach them using 1 1/4-inch pocket hole screws. The plans will guide you on the exact placement, ensuring even spacing for your storage areas. This also includes installing a “back support piece” and a “front divider” as specified in your detailed plans, using appropriate pocket holes and screws for secure attachment and proper alignment.
Step 8: Adding the Back Panel (Optional)
At this point, you have the option to add a back panel to your console. If you choose to include one, cut the 1/4-inch plywood to size. Apply wood glue to the back aprons and any internal back dividers. Secure the plywood to these surfaces using 3/8-inch staples. We opted not to add a solid back to our console due to existing pipe configurations in our game room, allowing for easier access and ventilation. If your design requires a back and you have obstacles like pipes or outlets, use a jigsaw to cut out the necessary openings in the plywood before attachment. This customization ensures your console fits perfectly in its intended space.
Step 9: Crafting the Doors
Prepare Barn Wood Planks
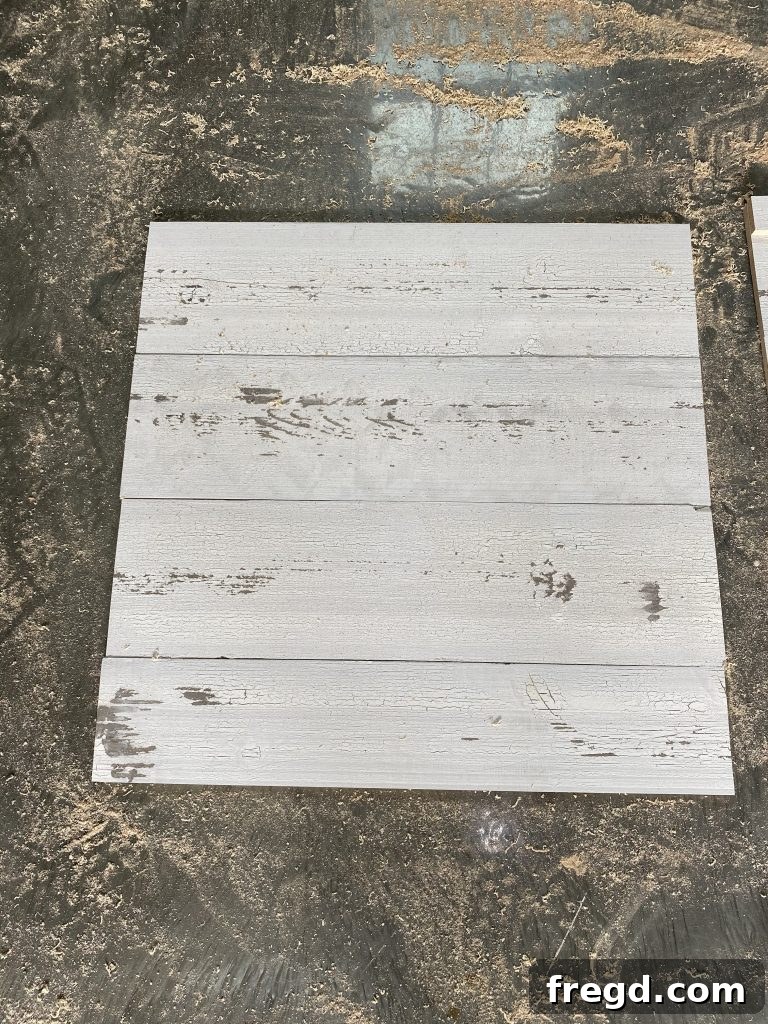
Now for the console’s most distinctive feature: the barn wood doors! Begin by cutting your barn wood planks to the precise sizes for your doors. Once cut, lay them out side-by-side on a flat, clean surface. Arrange them to create the desired aesthetic, ensuring any natural variations in the wood contribute to the rustic charm.
Attach Door Trim Pieces
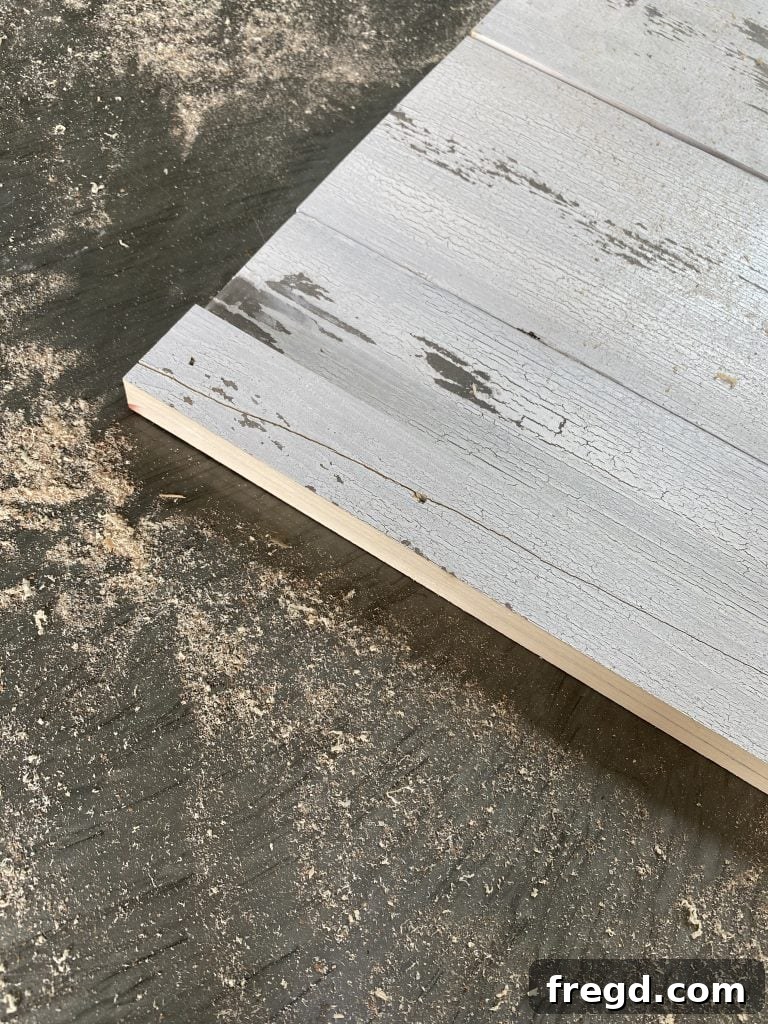
Next, cut the door trim pieces to size. These trim pieces will frame the barn wood planks, providing structure and a finished edge. Apply wood glue to the back of the trim pieces, then carefully attach them to the front of the barn wood planks using 3/4-inch pin nails. Pin nails are ideal here as they leave minimal holes, maintaining the clean look of your rustic doors. Build two complete door assemblies.
Step 10: Assemble the Top Planks
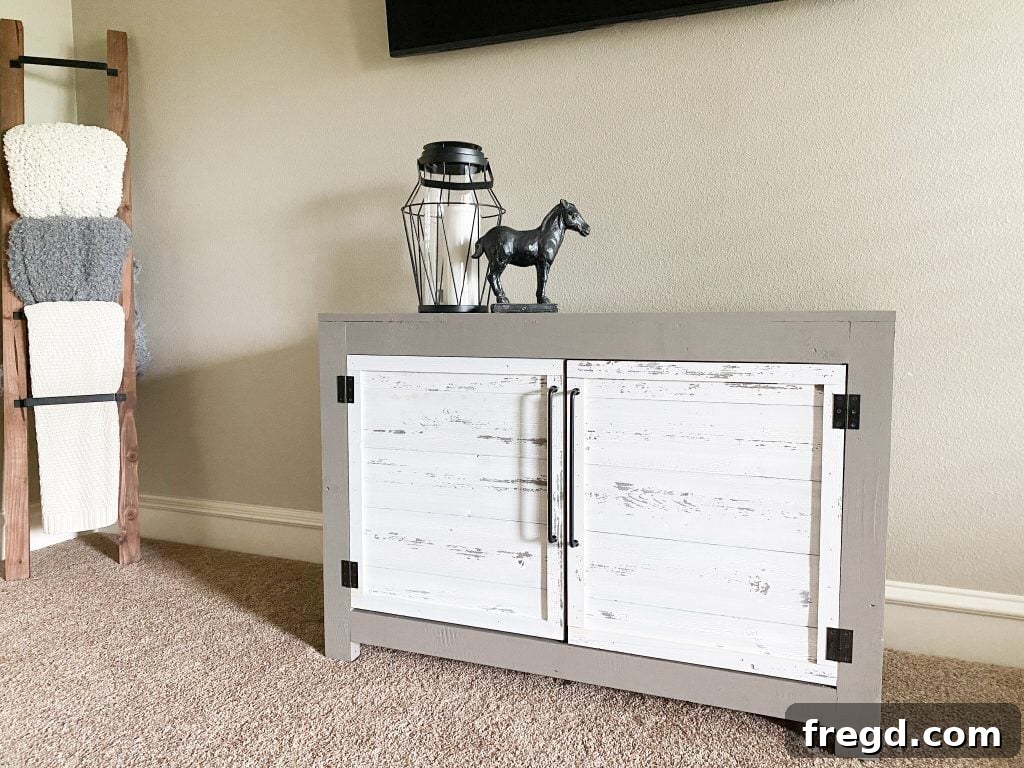
The console’s top surface will also be constructed from planks, providing a cohesive look. Cut the individual top planks to size. For three of these planks, drill 3/4-inch pocket holes along one long edge. This will allow for strong, hidden joinery. Apply wood glue along the edges to be joined, then connect the planks together using 1 1/4-inch pocket hole screws. This creates a wide, solid top panel that will sit atop your console frame. Let the glue dry thoroughly before handling.
Step 11: Final Assembly and Finishing Touches
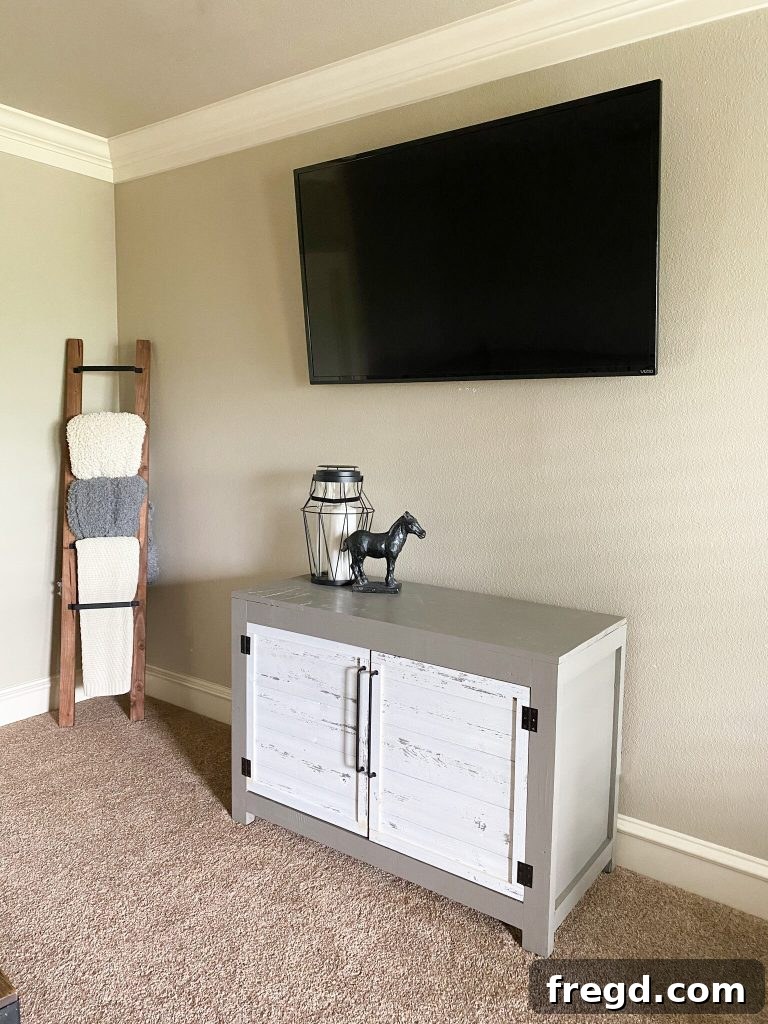
You’re almost there! It’s time to bring all the components together for the grand finale. First, apply wood glue to the top edges of your console frame and carefully position the planked top onto it. Secure the top to the frame using 1 1/4-inch brad nails, ensuring a strong and seamless connection. Next, attach the barn wood doors to the console using the 3-inch hinges. Take your time to align them perfectly for smooth opening and closing. Finally, install your decorative pulls or handles on the doors. This is where you truly personalize your piece!
With the structure complete, it’s time for the finishing touches. This is where your chosen paint (like our elegant gray) and distressing techniques (to highlight the white barn wood) will really make your console shine. Consider sanding, staining, painting, and applying a protective topcoat to ensure durability and enhance its aesthetic appeal. The combination of painted wood and distressed barn wood creates a beautiful modern farmhouse style that is both stylish and timeless.
That was it – an easy-to-build, incredibly functional, and undeniably cute console! Our kids now have a designated, stylish place to store all their game room essentials, keeping the space tidy and organized. The joy of creating a custom piece that perfectly fits their needs is immense.
This project has been such a success that it has completely revitalized my inspiration to finish decorating the rest of the game room. It just goes to show how one perfect piece can truly transform a space and spark creativity!
Customize Your Console
While we’ve provided a specific design, the beauty of DIY is customization! Feel free to adapt the plans to your needs. Consider different paint colors, stains, or types of wood to match your home’s decor. You could also adjust the dimensions to fit a specific wall or TV size, or add features like adjustable shelves, more compartments, or integrated cable management solutions. Let your creativity guide you!
Share Your Build!
We absolutely love seeing your creations! Once you’ve completed your DIY TV Console, be sure to share photos of your finished project on social media. Tag us and use the hashtag #shanty2chic so we can celebrate your hard work and share your amazing builds with our community. Happy building, and enjoy your beautiful new entertainment center!