
Mastering DIY: Build Your Own Space-Saving Pantry Door Spice Rack
Hey fellow DIY enthusiasts! We’re absolutely thrilled to share an exciting project that we’ve taught at the Haven Conference and continue to champion on our blog: building your very own Shanty Spice Rack. Our mission, whether in person or online, is always to demystify the building process and empower you to create functional, beautiful pieces for your home. This particular project, a fantastic space-saving spice rack, is perfect for anyone looking to organize their kitchen with a custom touch. We’ve even partnered with our amazing building guru, Miss Ana White, to guide you through following professional-grade plans with ease.
Introducing the Shanty Spice Rack: Your Kitchen’s New Best Friend
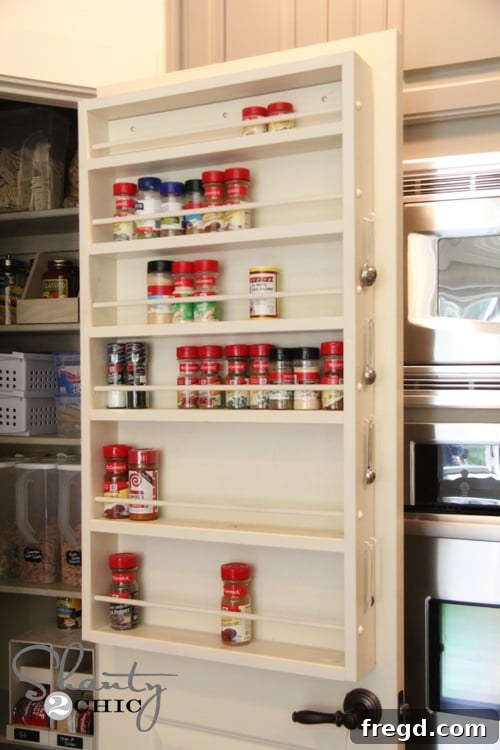
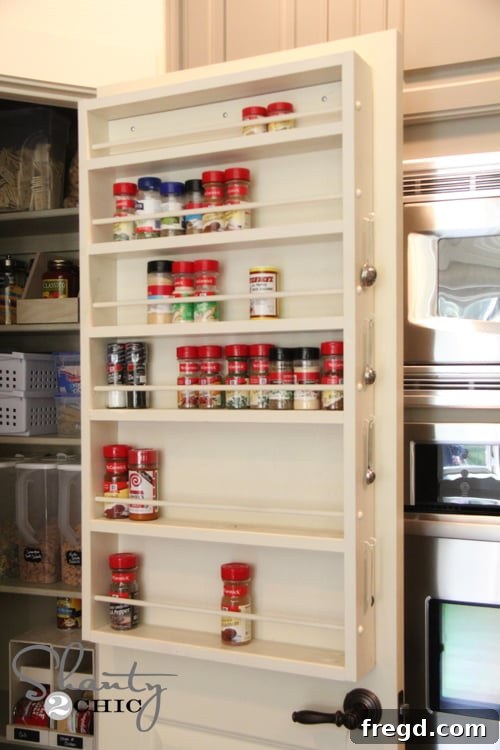
Take a look at the Shanty Spice Rack that we’ll be demonstrating how to build. It’s more than just a place to store spices; it’s a smart storage solution designed to reclaim valuable kitchen space and keep your culinary essentials neatly organized and readily accessible.
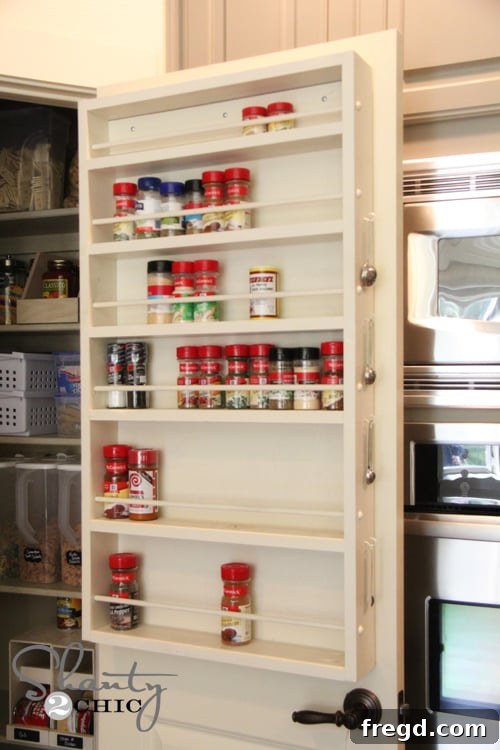
Isn’t it fantastic? We certainly think so! What makes this project truly special is how straightforward it is to construct. While it’s perfectly sized and designed for the inside of a pantry door, its versatile nature means it can just as easily be mounted on any kitchen wall. For families with young children, placing it on the upper half of a pantry door offers a brilliant way to keep curious little hands away from spices. This strategic placement also leaves the lower half of the door free for other handy organizers, like our popular DIY foil and baggie holder, maximizing every inch of your storage potential.
Essential Tools for Your DIY Spice Rack Project
For this project, we primarily utilized our trusty Kreg Jig®, a fantastic tool for creating strong, concealed pocket hole joints. However, don’t worry if you’re not yet a Kreg Jig owner! You can absolutely achieve excellent results using traditional finish nails paired with strong wood glue. We’ll share tips for both methods throughout this guide.
Before diving into the detailed steps, remember that a complete set of free plans and a detailed cut list are available on Ana White’s site. We highly recommend consulting those plans for precise measurements and material specifications to ensure a smooth build. Here, we’ll focus on practical tips and tricks that will make your building experience even more enjoyable and successful.
Preparing Your Wood: Cutting and Drilling Dowel Holes
Accuracy in your cuts is the foundation of any successful woodworking project. Once your wood pieces are cut to size according to Ana White’s plans, the next crucial step is drilling the holes for your dowels. We used a drill bit that was just one size larger than our 3/8-inch dowels. This slight difference ensures a snug fit when the dowels are inserted with glue, creating a strong and secure barrier for your spices. To save time and ensure perfect alignment, we clamped the two side boards together and drilled through both simultaneously. This technique guarantees that your dowel holes on opposing sides will be perfectly matched. If you don’t have clamps readily available, drilling each board individually is perfectly fine; just take your time to measure and mark carefully.
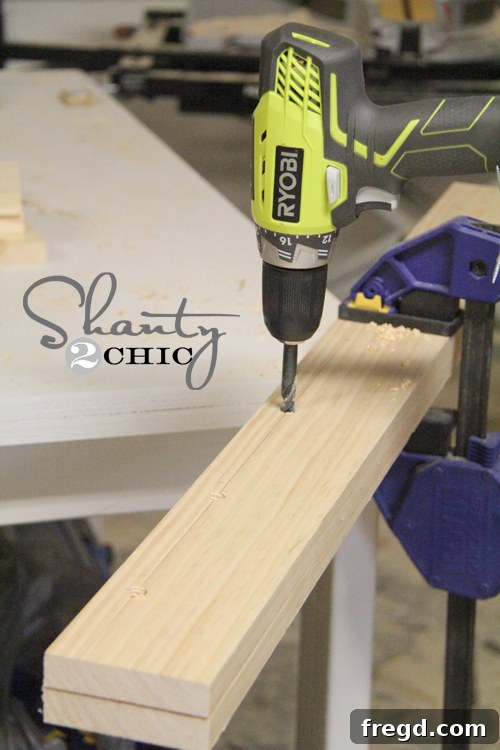
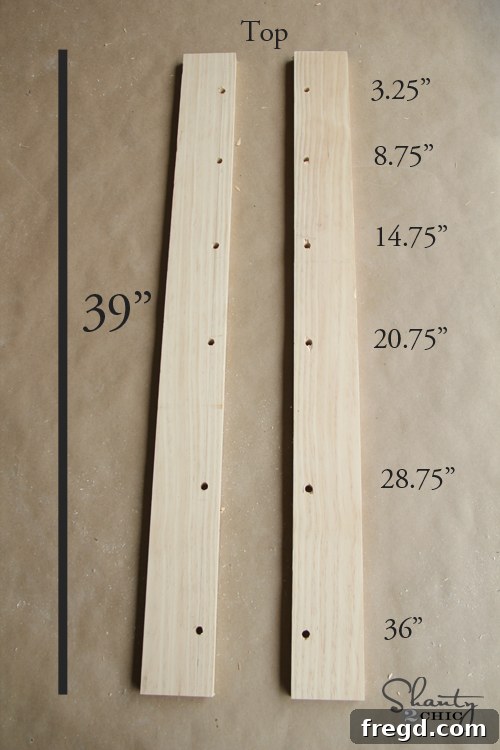
Precision is key when marking your dowel hole locations. For our design, all dowel holes are positioned 3/4 inch from the side edges of the boards. This consistent measurement ensures a uniform and aesthetically pleasing appearance once your dowels are installed. Always double-check your measurements before drilling!
Crafting Strong Joints: The Power of Pocket Holes (or Alternatives)
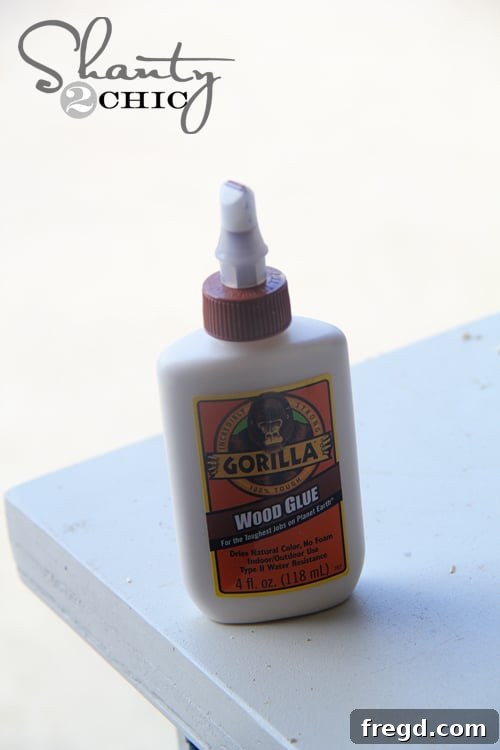
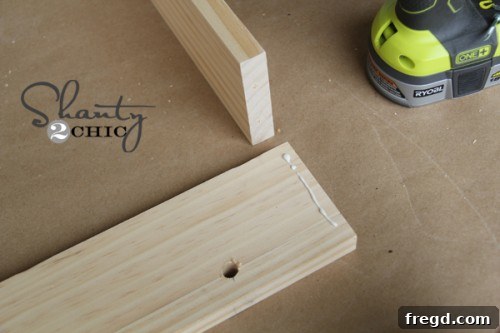
With your dowel holes drilled, it’s time to prepare the pieces for assembly. We used our Kreg Jig® to add pocket holes to the top, bottom, and all shelf pieces. Pocket holes create incredibly strong joints with a clean, concealed finish, which is ideal for a visible project like a spice rack. If you’re building without a Kreg Jig®, don’t fret! You can achieve robust connections by using Gorilla Wood Glue in conjunction with finish nails to secure your boards. The key is ensuring a tight bond that will withstand the weight of your spice jars.
For those using a Kreg Jig, we opted for 3/4-inch pocket holes and secured them with 1 1/4-inch pocket hole screws. These dimensions are suitable for most common lumber thicknesses used in projects like this, providing excellent holding power.
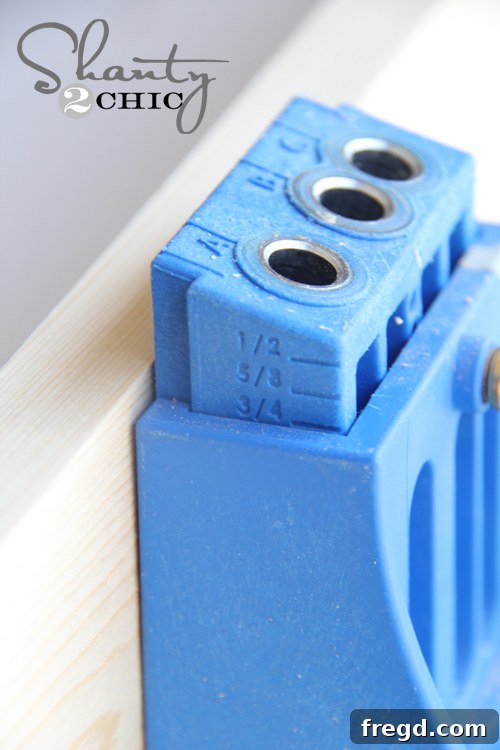
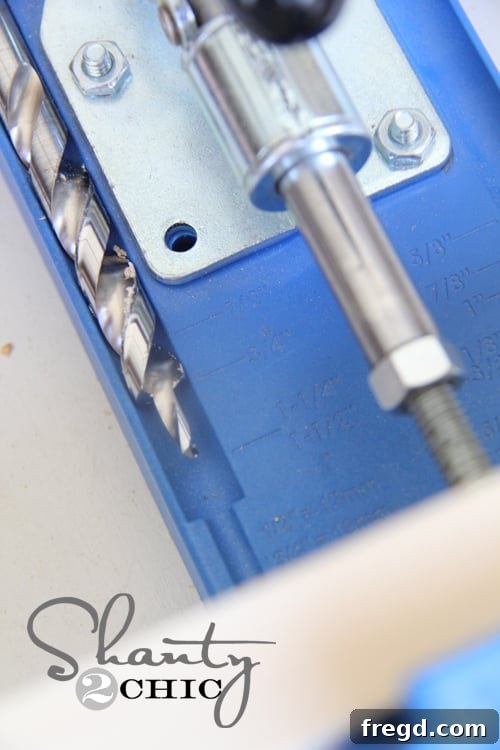
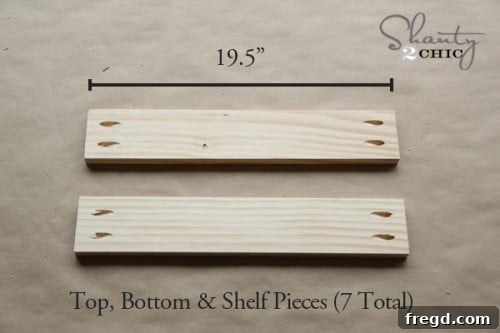
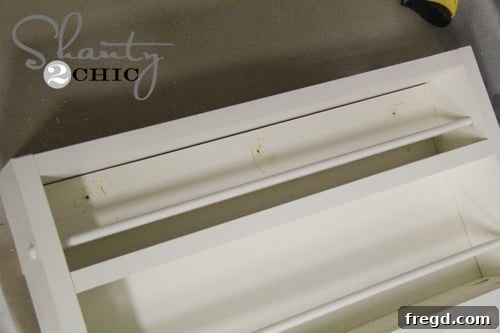
Once the pocket holes are drilled, your top, bottom, and shelf pieces should look similar to these, ready for assembly.
Assembling Your Spice Rack: Step-by-Step Construction
Building the Main Box Frame
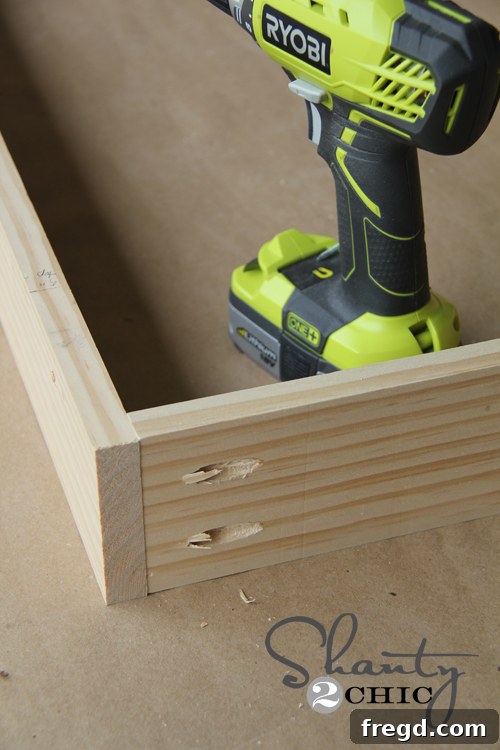
The core of your spice rack is the main box frame. Assemble this by attaching the top and bottom pieces to the side pieces. Throughout this process, we used Gorilla Wood Glue for all joints. Wood glue is an incredibly important component in woodworking, as it creates a bond that is often stronger than the wood itself, adding significant durability and longevity to your project. Apply a generous, even layer of glue to all mating surfaces before securing them with screws (if using a Kreg Jig) or finish nails. Ensure your corners are square as you assemble, using a speed square or framing square to check each joint for a professional finish.

Installing the Shelves and Hanging Board
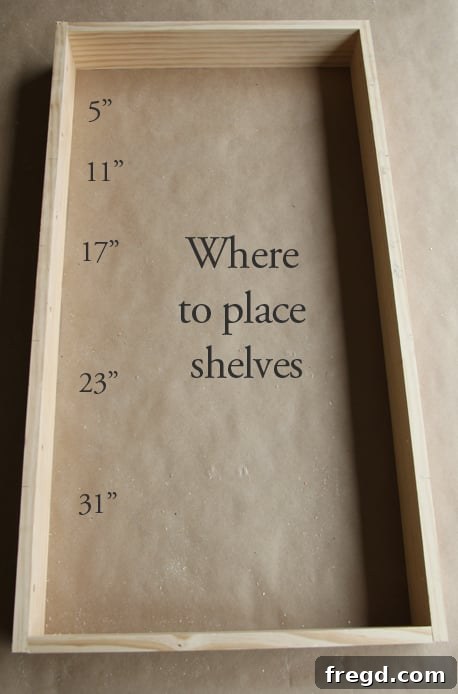
With the main box assembled, it’s time to add the shelves that will hold your spices. Careful placement here is crucial for both functionality and aesthetics. The measurements for shelf placement are taken from the top of the main box to the bottom edge of each shelf. Refer to Ana White’s plans for the exact spacing. Secure each shelf using your Kreg Jig and screws, or wood glue and finish nails, ensuring they are level and firmly attached.
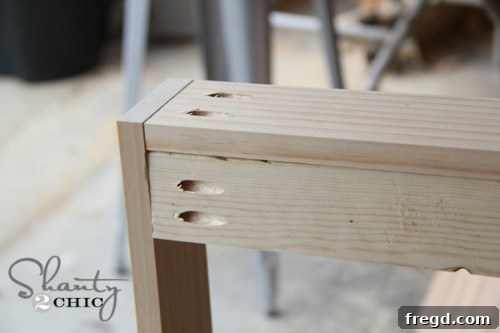
Next, attach a sturdy board to the top back side of your spice rack. This piece is essential as it will serve as the mounting point for hanging your rack securely on your pantry door or wall. Again, use your Kreg Jig® for strong pocket hole joints, or use finish nails and wood glue from the sides for a reliable attachment. This piece needs to be robust enough to support the full weight of your loaded spice rack.
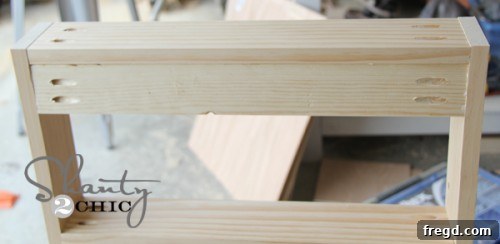
Adding the Dowels and Finishing Touches
Now for the dowels – these are what prevent your spices from tumbling off the shelves! Apply a dab of Gorilla Wood Glue to the inside of each pre-drilled dowel hole. This ensures a permanent and strong bond. Then, simply insert your dowels, pushing them firmly into place until they are flush with the outer edge of the sideboards.
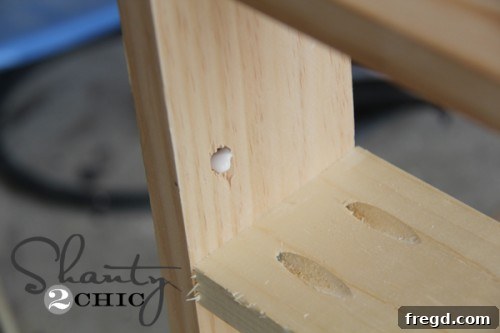
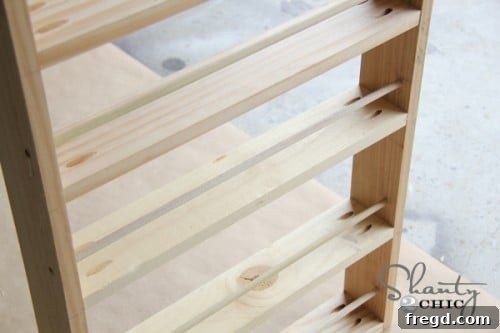
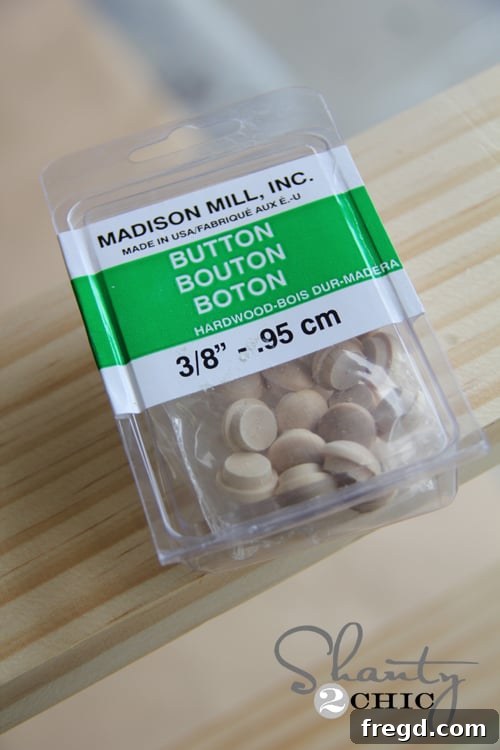
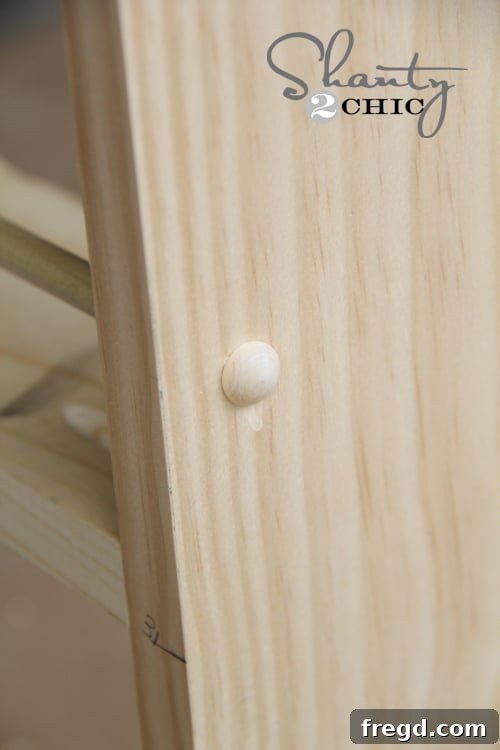
To give your spice rack a refined and professional look, use dowel buttons to cover the exposed dowel holes on the side panels. A small amount of wood glue is all you need to secure these decorative buttons, pushing them into the holes until they sit flush. This simple step elevates the overall aesthetic of your finished project.
Customization and Back Panel Installation
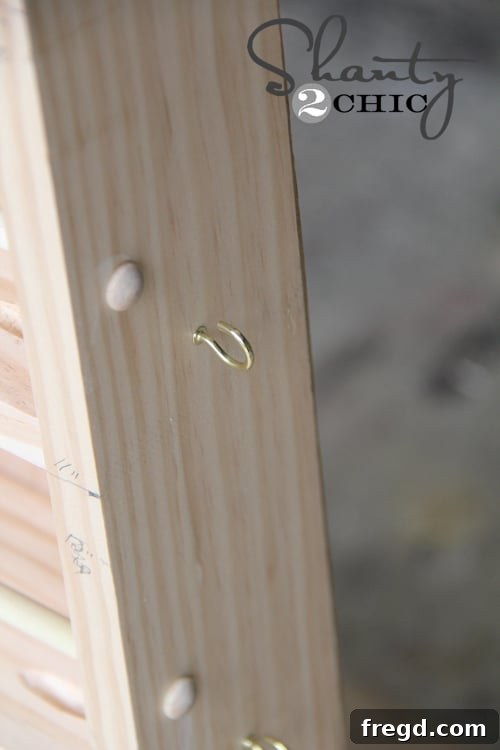
We love adding practical touches, so we decided to install a few cup hooks on the side of our spice rack. This clever addition provides a dedicated spot to hang measuring spoons, keeping them conveniently close at hand when you’re grabbing your spices. Spices and measuring spoons often go hand-in-hand, making this a truly integrated organizational solution.
Finally, attach a 1/4-inch plywood back panel to the entire structure. Apply a generous amount of Gorilla Wood Glue to the back edges of the main frame before carefully aligning and securing the plywood with finish nails. This back panel adds stability to the rack and provides a finished look. And with that, the primary construction of your spice rack is complete!
The Perfect Finish: Painting Your Spice Rack
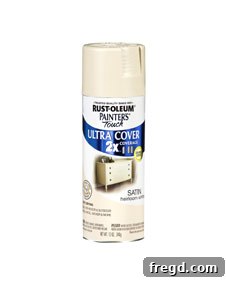
The very last step before hanging your beautiful new spice rack is to give it a protective and aesthetically pleasing finish. We opted for our absolute favorite: Rust-Oleum Painter’s Touch in Heirloom White. This color was an easy choice for us as it closely matches our existing door and trim color, creating a seamless, built-in look. You can typically find this popular spray paint at your local home improvement store, like Home Depot. Beyond aesthetics, painting or staining your spice rack will protect the wood from moisture and daily wear, ensuring it remains a staple in your kitchen for years to come. Remember to apply multiple thin coats for a smooth, durable finish, allowing adequate drying time between coats.
Securely Hanging Your Pantry Door Spice Rack
Now for the grand finale: hanging your completed spice rack! Like many homeowners, we have hollow core doors, which can present a unique challenge for securely mounting items. But fear not, we have an incredibly easy and effective solution!
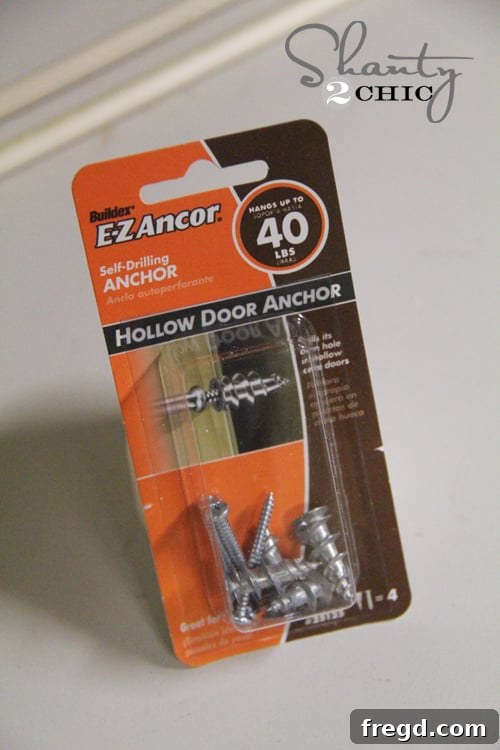
We used these fantastic Hollow Core Door Anchors to attach our spice rack. These anchors are specifically designed for hollow doors, providing a robust and stable mounting point where traditional screws would fail. They make the installation process surprisingly simple and secure.
The Hanging Process: Step-by-Step
-
Drill Pilot Holes in the Spice Rack: Begin by drilling small pilot holes into the top back hanging board of your spice rack, precisely where you intend to place your mounting screws. These pilot holes will guide your screws and prevent the wood from splitting.

-
Mark the Door: Next, enlist a helper (we called on hubby!) to hold the spice rack firmly in its desired position on the pantry door. Using a mechanical pencil with the lead extended quite far, carefully mark through the pilot holes onto your door. This might seem like a “shanty” method, but trust us, it’s incredibly effective for accurate marking!
-
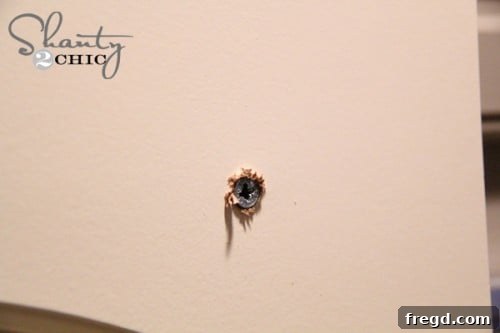
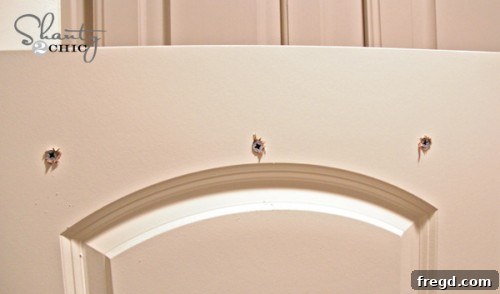
Install the Hollow Core Door Anchors: Now, using a drill, attach the self-drilling hollow core door anchors into the marks you just made on the door. These anchors are designed to drill directly into the door material, so all you need to do is drive them in until they are flush with the door surface. The flanges on the anchors will expand inside the hollow door, creating a strong attachment point.
-
Secure the Spice Rack: With the anchors in place, align your spice rack’s pilot holes with the installed anchors. Drive screws through your spice rack and into the anchors. This creates a remarkably secure and stable attachment. For added stability, especially at the bottom, we also added one small wood screw through the bottom of the rack directly into the door. No anchor is needed for this bottom screw; it simply prevents the bottom of the rack from swinging away from the door.
That’s it! It might seem like a detailed process when laid out step-by-step, but that’s because we aimed for super clarity to make it genuinely easy for you. From start to finish, building this project took us about one naptime, and hanging it only a few minutes. The result? Pure satisfaction and a beautifully organized kitchen space! We absolutely love our Shanty Spice Rack, and we’re confident you will too.
Enjoy Your Organized Kitchen!
Here are a few more glimpses of the finished spice rack in action, demonstrating its seamless integration into a functional kitchen environment.
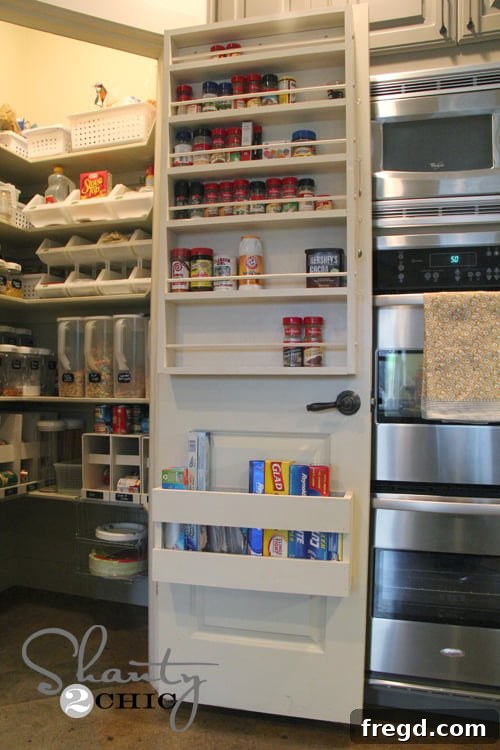
We truly hope you love this DIY spice rack project as much as we do! It’s a testament to how simple woodworking can make a huge impact on your home organization. Remember, for the full, detailed set of FREE plans, head over to Ana White’s fantastic site. Her plans are incredibly user-friendly and will guide you through every cut and measurement.
If you found this guide helpful and inspiring, we would be incredibly grateful if you would PIN this project and SHARE it with your friends and family on your favorite social media platforms. Your support helps us continue to bring you more exciting DIY content!
And for all of you who joined us at the Haven Conference, it was a pleasure building with you! We hope you’re enjoying your new skills and projects.
Happy Building!
~Whitney