
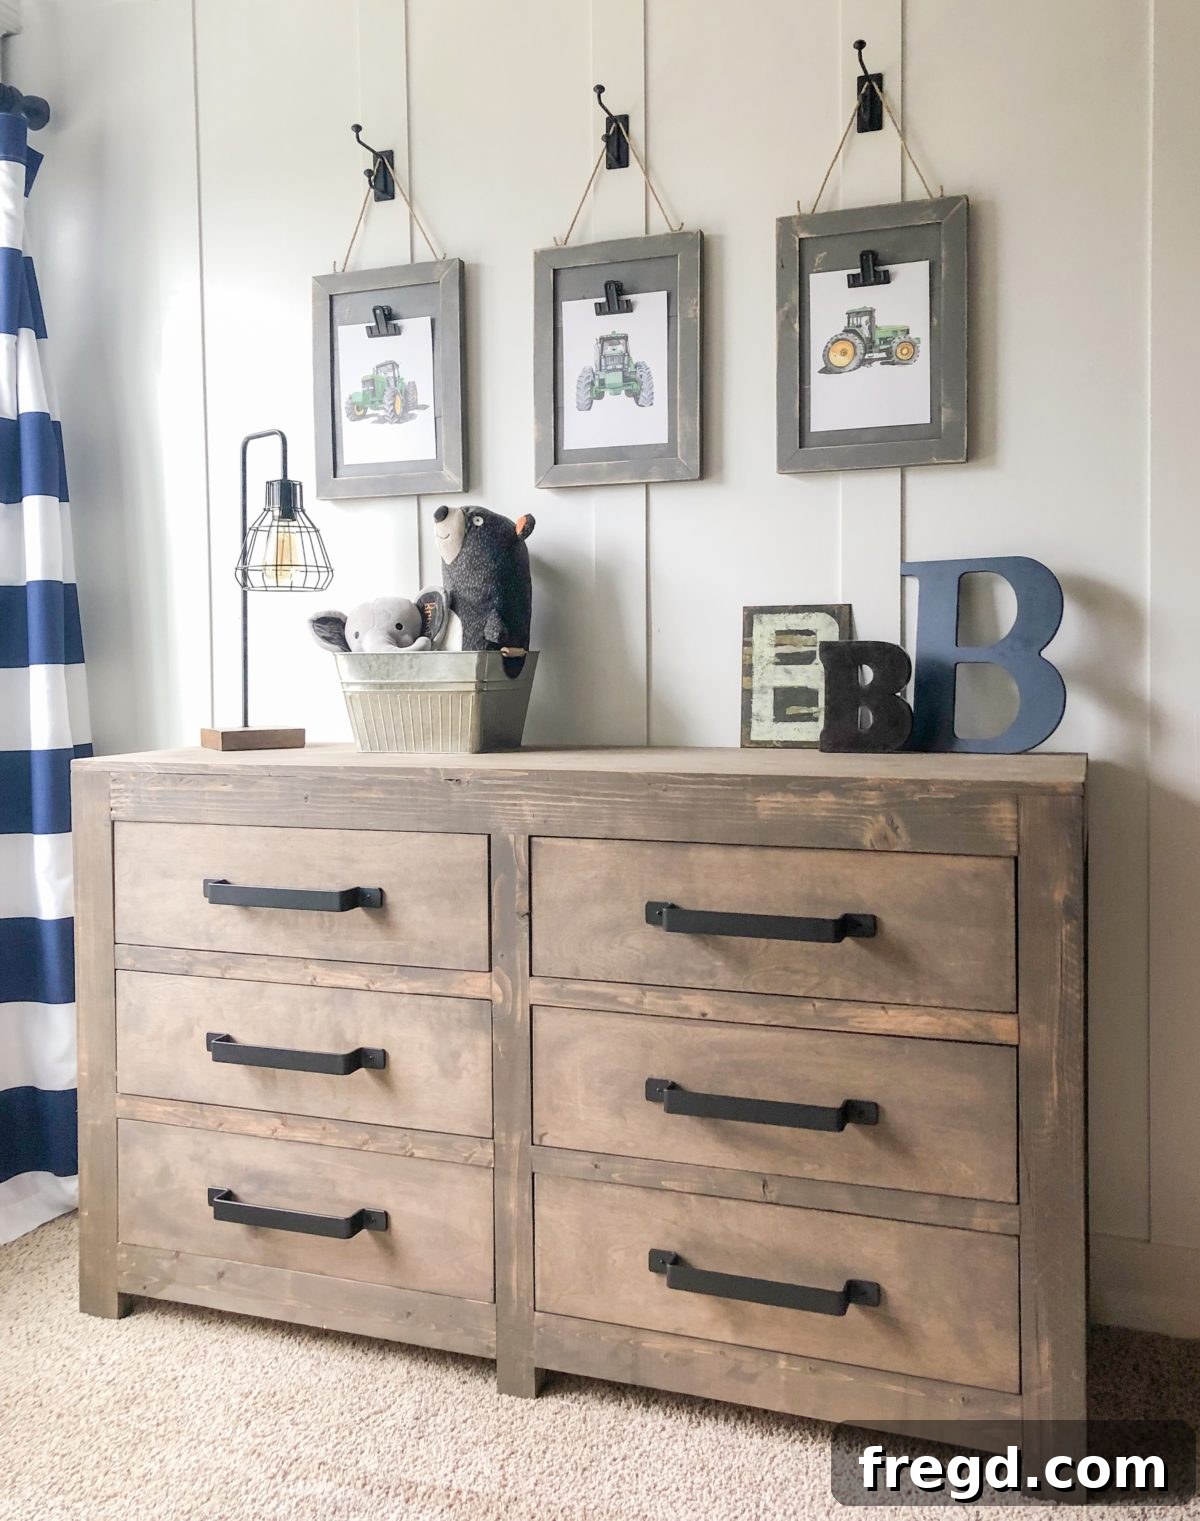
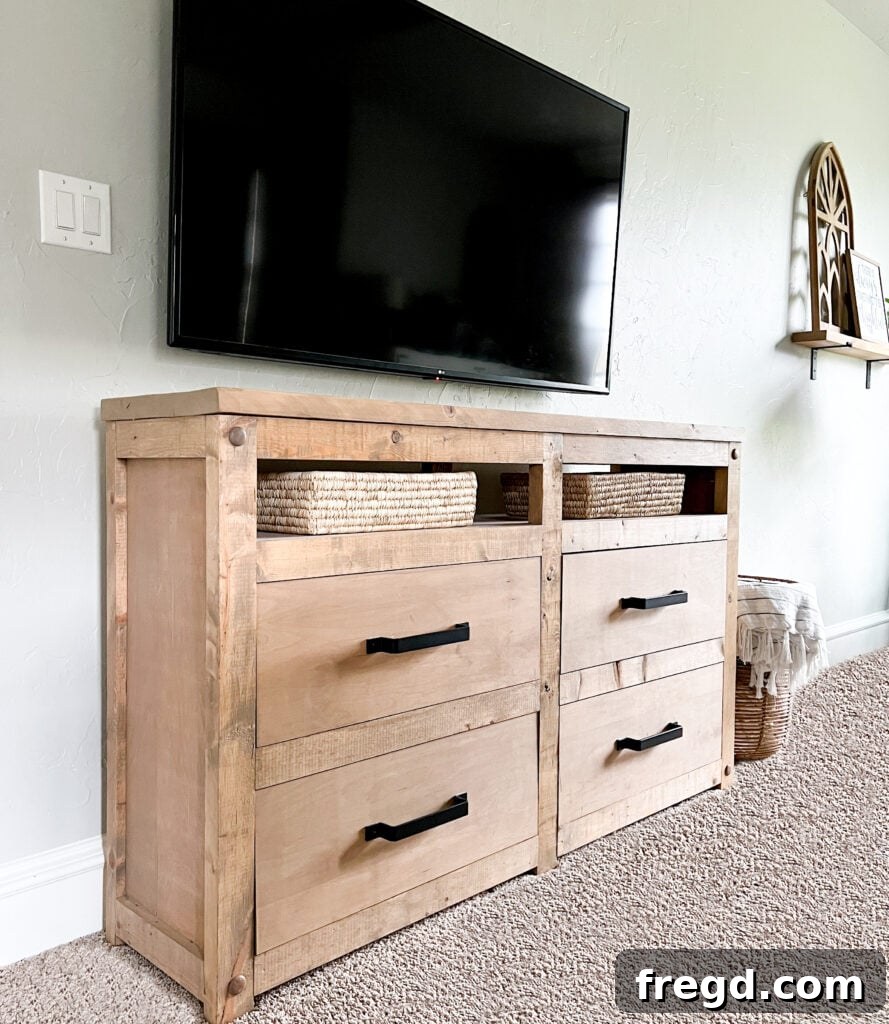
Unlock your woodworking potential and learn how to build a stunning DIY Modern Farmhouse 6 Drawer Dresser with these comprehensive free plans! This guide will walk you through every step, transforming raw materials into a beautiful, functional piece of furniture perfect for any room. Whether you’re a seasoned DIY enthusiast or just starting your journey, this project promises rewarding results and a dresser built to last.
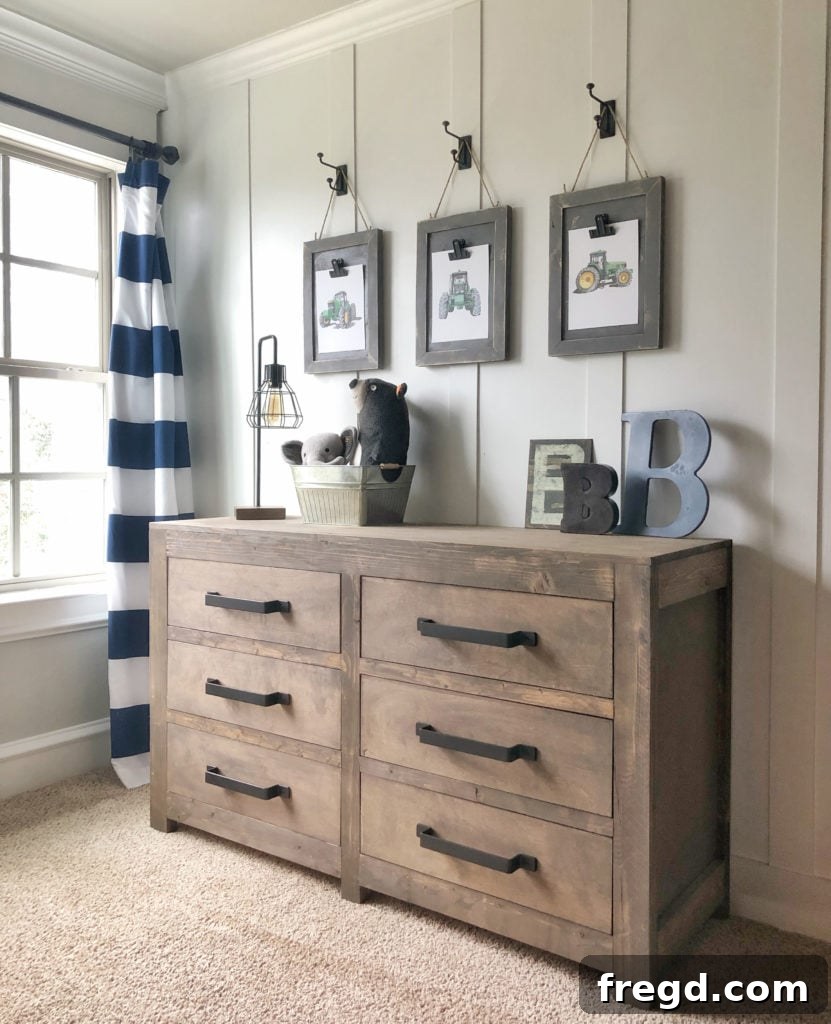
There’s an incredible satisfaction that comes from creating your own furniture. Recently, I embarked on a mission to build a dresser for my boys’ shared room. After dividing their space to give each son his own distinct area, I realized one side was missing essential storage. The solution? A custom-built dresser to neatly store clothes, socks, and personal items. The outcome was absolutely fantastic, and I’m thrilled to share how you can recreate this beautiful and practical DIY Modern Farmhouse 6 Drawer Dresser for your home.
Below, you’ll find a detailed, step-by-step guide to constructing this dresser. From cutting the first board to installing the final drawer pull, I’ve covered everything you need to know. Make sure to download the free printable plans at the end of this post to ensure you have all the measurements and diagrams.
Table of Contents
DIY Modern Farmhouse 6 Drawer Dresser: Build Your Own Statement Piece
Embark on an exciting journey to build a beautiful and highly functional 6-drawer dresser, perfect for adding a touch of modern farmhouse charm to any bedroom. This detailed guide, complete with free plans, will empower you to create a sturdy, stylish storage solution that perfectly complements your home décor. Whether you’re furnishing a child’s room, a guest room, or seeking a personalized touch for your master suite, this dresser offers ample space and a timeless aesthetic.
Essential Tools and Materials
Before diving into the build, gather your tools and materials. Having everything ready will make the process smoother and more efficient. For this project, you will primarily work with plywood and dimensional lumber, utilizing pocket hole joinery for strong, hidden connections. The free plans will provide a detailed cut list, but here’s a general overview of what you’ll need:
- Lumber: 2x4s (for ripping into 3″ and 2.25″ widths, and 2x2s), 1x4s, pine project panel for the top.
- Plywood: 3/4″ hardwood plywood (e.g., birch) for side frames, middle divider, and base; 1/2″ hardwood plywood for drawer boxes; 1/4″ hardwood plywood for drawer bottoms and dresser back.
- Adhesives: Wood glue (essential for strong joints).
- Fasteners: Kreg pocket hole screws (2.5″ and 1.5″), brad nails (1.25″), wood screws (3.5″), 1″ staples or brad nails.
- Tools:
- Miter saw or circular saw (for cross-cuts)
- Table saw (highly recommended for ripping boards to precise widths, especially for face frames and drawer parts)
- Kreg Pocket-Hole Jig (a must-have for this project!)
- Drill/driver
- Brad nailer (or hammer and finish nails)
- Tape measure and pencil
- Clamps (essential for holding pieces while glue dries and screws are driven)
- Sander and sandpaper (for preparation and finishing)
- Optional but highly recommended: Kreg Drawer Slide Jig for easy drawer slide installation.
- Finishing Supplies: Wood stain or paint, top coat, drawer pulls.
Step-by-Step Dresser Construction
Step 1: Building the Face Frames
The face frames are the structural and aesthetic foundation of your dresser. You will construct both a front and a back face frame. The front frame incorporates drawer dividers, while the back frame provides stability without dividers. This step requires precision, especially with board widths, to ensure proper drawer spacing later on.
For the front face frame, begin by ripping 2×4 boards to create specific dimensions. The top and bottom rails, as well as the two outer vertical legs, should be ripped to 3 inches wide. Crucially, the middle vertical leg needs to be ripped to 2.25 inches wide. This specific measurement is vital for maintaining the correct spacing for your drawer slides. A word of caution: if you choose not to rip your boards to these precise widths, the entire plan will need to be adjusted, and you will have to recalculate all drawer and divider dimensions.
The horizontal drawer dividers within the front face frame are made from 2×2 boards. A clever and cost-effective trick is to rip down 2×4 boards to create these 2×2 pieces. This not only saves money but often results in straighter, more consistent edges compared to off-the-shelf 2x2s. Attach all components of the face frame using a generous amount of wood glue and 2.5-inch Kreg pocket hole screws. Ensure all joints are tight and square before the glue sets.
Once the front face frame is complete, construct the back face frame. This frame is identical in overall dimensions to the front, using the same 2×4 boards ripped to 3 inches wide for the top, bottom, and side legs. The key difference is that the back face frame will not include any drawer dividers. Attach all boards with wood glue and 2.5-inch pocket hole screws through 1.5-inch pocket holes, ensuring a strong and square assembly.
Step 2: Assembling the Side Frames
Next, you will build the two side frames that enclose the dresser’s structure. These frames are constructed using 3/4-inch hardwood plywood, such as birch, which offers excellent durability and a smooth finish for staining or painting. Cut your plywood panels to the dimensions specified in the free plans.
Once your plywood panels are cut, prepare them for attachment. Using your Kreg Jig, drill 3/4-inch pocket holes along both long sides of each plywood panel. These pocket holes will be used to secure the side frames to the front and back face frames later in the build. The next step involves adding decorative trim pieces made from 1×4 boards. Cut these trim pieces to the appropriate size to frame the plywood panels. Attach the trim pieces using wood glue and 1.25-inch brad nails, driving the nails through the back of the plywood into the trim for a clean finish on the exterior. Ensure the trim is flush with the edges of the plywood panels.
Step 3: Connecting the Side Frames to the Back Frame
With your side frames prepared, it’s time to begin assembling the main carcass of the dresser. Attach the two side frames to the back face frame using a generous amount of wood glue and 1.5-inch Kreg pocket hole screws. This step forms a strong, rigid connection that will define the back portion of your dresser.
When attaching, ensure that the top edges of the side frames are perfectly flush with the top edge of the back face frame. This alignment is critical for a level top surface later. This careful alignment will create a 2.5-inch gap below the bottom of the side frames, which will be filled by the dresser’s base. Also, make sure the outside edges of the side frame trim boards are flush with the outside edges of the back face frame for a seamless exterior appearance.
Step 4: Attaching the Dresser Base
The base provides stability and forms the bottom of your dresser. This piece is also made from 3/4-inch hardwood plywood. Cut it to the precise dimensions provided in your plans. Before attaching, drill 3/4-inch pocket holes along all four sides of this plywood piece using your Kreg Jig. These holes will allow you to securely fasten the base to the surrounding frame.
Apply wood glue generously to the edges where the base will meet the back face frame and the side frames. Then, carefully position the base and attach it using 1.5-inch Kreg pocket hole screws. Ensure that the base is square and flush with the bottom edges of the side frames and secured firmly to the back face frame. This step significantly enhances the dresser’s structural integrity.
Step 5: Installing the Middle Divider
The middle divider provides crucial support for the drawer slides and separates the left and right stacks of drawers. This piece is also made from 3/4-inch hardwood plywood, cut slightly shorter than the side frames to allow for proper alignment with the front face frame. Before installation, prepare the middle divider by drilling pocket holes down both long sides and along the bottom edge of one side of the board. These pocket holes will facilitate hidden, strong connections.
Apply wood glue to the edges that will make contact with the dresser’s base and the middle leg of the front face frame. Position the divider carefully, ensuring it is perfectly centered. Attach it to the base of the dresser using 1.25-inch pocket hole screws for the bottom connection, and 1.5-inch pocket hole screws for the longer side connections, securing it to the middle leg of what will become the front face frame. Don’t forget the wood glue to maximize the strength of these joints.
Step 6: Creating Drawer Slide Supports
This step involves adding the essential support boards for your drawer slides. Accurate placement here is key for smooth-operating drawers. The support boards come in two types based on their location: the outer boards that attach to the side face frames are 2×2 boards, while the inner boards that attach to the center divider are 1×3 boards. This distinction in board size helps accommodate the different thicknesses of the side panels versus the central divider and provides optimal mounting surfaces for your drawer slides.
First, cut all support boards to the specified lengths. Then, attach the 2×2 boards to the inside of the outer side frames using wood glue and 2-inch nails or screws. For the 1×3 boards, attach them to the middle divider using wood glue and 1.25-inch screws or brad nails. Ensure these supports are level and perfectly spaced according to your drawer slide requirements and the dresser plans. Precise placement now will save you a lot of headache during drawer installation.
Step 7: Securing the Front Face Frame
With the internal supports in place, it’s time to install the front face frame, the part of the dresser that will be most visible and defines its style. This is the face frame you built in Step 1, complete with its precisely ripped boards and drawer dividers. Apply wood glue generously to all contact points along the edges of the side frames and the center divider. Carefully position the front face frame.
Attach it using 1.5-inch Kreg pocket hole screws, driving them through the pre-drilled pocket holes in the side frames and center divider and into the front face frame. Just as with the back face frame, it’s critical to ensure that the outer edges and the top of the front face frame are perfectly flush with the corresponding outer edges of the side frames. This ensures a clean, professional finish and proper alignment for the dresser top and drawers.
Step 8: Adding the Dresser Top
The dresser top is often a focal point and needs to be perfectly flat and securely attached. For this project, a pine project panel offers a beautiful, sturdy surface. I typically start with a panel around 24 inches by 72 inches and then cut it to the exact dimensions specified in the plans using a table saw. If you don’t have a table saw, most hardware stores offer cutting services, so you can have them cut it to size for you.
Once your top panel is cut, apply wood glue generously to the top edges of the face frames and side frames. Carefully place the pine panel on top, ensuring it is perfectly aligned and flush, or with a slight overhang if that is your design preference. Clamp the panel down securely while the glue sets. For additional strength and stability, attach the panel using 3.5-inch wood screws driven up through the top boards of the face frames and into the underside of the panel. Alternatively, you can use nails and then fill the holes for a seamless look. The choice is yours, but ensure a strong connection.
Crafting and Installing the Drawers
The drawers are arguably the most crucial functional component of your dresser. Precision in measurement and assembly here will ensure smooth operation and a professional finish. Remember, you’ll be building six identical drawers for this project.
Step 9: Assembling the Drawer Frames
Before cutting any wood for your drawers, take the time to meticulously measure each of the six openings in your dresser. Even with careful construction, slight variations can occur, and tailoring each drawer to its specific opening will ensure the best possible fit and smooth operation. The frames of these drawers are constructed using 1/2-inch hardwood plywood. This thickness provides a good balance of strength and lightness for the drawer boxes.
Once you have your precise measurements, rip the 1/2-inch plywood into 6-inch wide strips. Then, make your cross-cuts to create the front, back, and side pieces for each drawer box. Attach these pieces together at the corners using wood glue and 1.25-inch brad nails. Ensure each corner is square before the glue dries to prevent wobbly or ill-fitting drawers. Build all six drawer frames in this manner.
Step 10: Attaching the Drawer Bottoms
The bottoms of your drawers will be made from 1/4-inch hardwood plywood. This thinner material is ideal for drawer bottoms, providing sufficient strength without adding excessive weight. For each drawer, measure and cut a plywood piece to precisely fit the inside dimensions of its corresponding drawer frame. Accuracy here prevents sagging or ill-fitting bottoms.
Apply wood glue along the bottom edges of the drawer frame where the plywood bottom will rest. Then, secure the 1/4-inch plywood to the frame using 1-inch staples or 1.25-inch brad nails. Staples are particularly effective for this thinner material as they offer excellent holding power and reduce the risk of splitting the wood. Ensure the bottom is flush with the frame’s edges and securely fastened all around. Repeat for all six drawers.
Step 11: Installing the Drawer Slides and Boxes
Installing drawer slides can often be the trickiest part of building a dresser, but with the right tools, it becomes incredibly straightforward. For this dresser, I highly recommend using a Kreg Drawer Slide Jig. This tool is a true game-changer, ensuring perfect alignment and spacing every time, and will significantly reduce frustration.
To begin, mount the jig on the inside of the dresser’s compartments. The jig features specific settings that allow you to set the perfect offset. Position it against the front face frame to hold it firmly in place. Then, rest the cabinet portion of your drawer slide on top of the jig. I used these smooth-operating drawer slides, and I absolutely love them. Line up the front end of the drawer slide 1 inch back from the front edge of the face frame. Extend the slide and attach the inside piece securely to the dresser’s internal structure.
Once the cabinet slides are attached, flip the Kreg Drawer Slide Jig around so it faces outwards. In this position, it acts as a stable surface to hold your drawer box perfectly level while you attach the drawer extensions. This ingenious design eliminates guesswork and keeps your hands free. Line up the front end of the drawer slide extension 1/4 inch from the front edge of your drawer box (where the drawer face will eventually attach). Securely screw the extension to the drawer box. Repeat this process for all six drawers, ensuring consistent alignment and smooth movement for each one.
Step 12: Applying the Drawer Faces
The drawer faces are the decorative front panels that give your dresser its finished look and farmhouse charm. While the plans are designed to allow for the use of 1×8 boards for this part, I personally prefer using hardwood plywood again for the drawer faces. Its superior straightness and excellent staining properties make it an ideal choice, especially when striving for a high-quality, consistent finish on your drawers. Cut each drawer face to the exact size specified for its respective opening.
To achieve perfectly even spacing between each drawer face, use playing cards or other thin spacers (such as paint stir sticks or shims). Apply a thin bead of wood glue to the front of the drawer box where the face will attach. Carefully position each drawer face, using your spacers to ensure uniform gaps around all sides. Once positioned, temporarily secure the drawer face by nailing it in place twice from the front. Then, open the drawer and drive screws from the inside of the drawer box into the back of the drawer face, ensuring a strong, permanent connection. The initial nails hold it in place while the screws (and glue) provide long-lasting stability. Remember to use wood glue for maximum adhesion!
The Finishing Touches
With all the major structural components and drawers assembled, your DIY Modern Farmhouse 6 Drawer Dresser is almost complete! The final steps involve adding the back panel, choosing and installing hardware, and applying your chosen finish.
The last structural piece to attach is the back of the dresser. This is simply a 1/4-inch hardwood plywood sheet cut to size. Apply wood glue along the back edges of the dresser frame and then attach the plywood using 1-inch staples or brad nails. This panel adds rigidity to the overall structure and prevents items from falling out the back of the drawers.
Now for the exciting part – hardware! The right drawer pulls can completely transform the look of your dresser, enhancing its modern farmhouse aesthetic. I used these incredible drawer pulls. They are not only stylish and perfectly sized but also surprisingly affordable, super strong, and incredibly easy to attach. These pulls truly make the dresser shine and contribute significantly to its overall appeal.
For the finish, I chose Briarsmoke stain to match other pieces I’ve built for my boys’ room. You can find this beautiful stain HERE on Amazon. Apply your chosen stain or paint according to the manufacturer’s instructions, ensuring an even coat and allowing proper drying time between coats. Once the stain or paint is dry, apply a protective topcoat for durability. This will protect your dresser from daily wear and tear and make it easier to clean.
And there you have it! Your magnificent DIY Modern Farmhouse 6 Drawer Dresser, all set up in its new home. The combination of functional storage and rustic elegance creates a piece that is both practical and stunning. This project is a testament to the joy and satisfaction of building furniture by hand.
Download Your Free Dresser Plans
Ready to start building your own Modern Farmhouse 6 Drawer Dresser? Don’t delay! These detailed, step-by-step plans are absolutely free and will guide you through every cut and assembly. They include a complete materials list, cut list, and helpful diagrams to make your project a success.
Be sure to save and print the FREE PLANS BY CLICKING HERE!
Explore More DIY Dresser Ideas
If you loved building this modern farmhouse dresser, or if you’re simply looking for more inspiration, check out these other fantastic DIY dresser projects. Each one offers a unique style and challenge, perfect for expanding your woodworking skills and customizing your home décor.
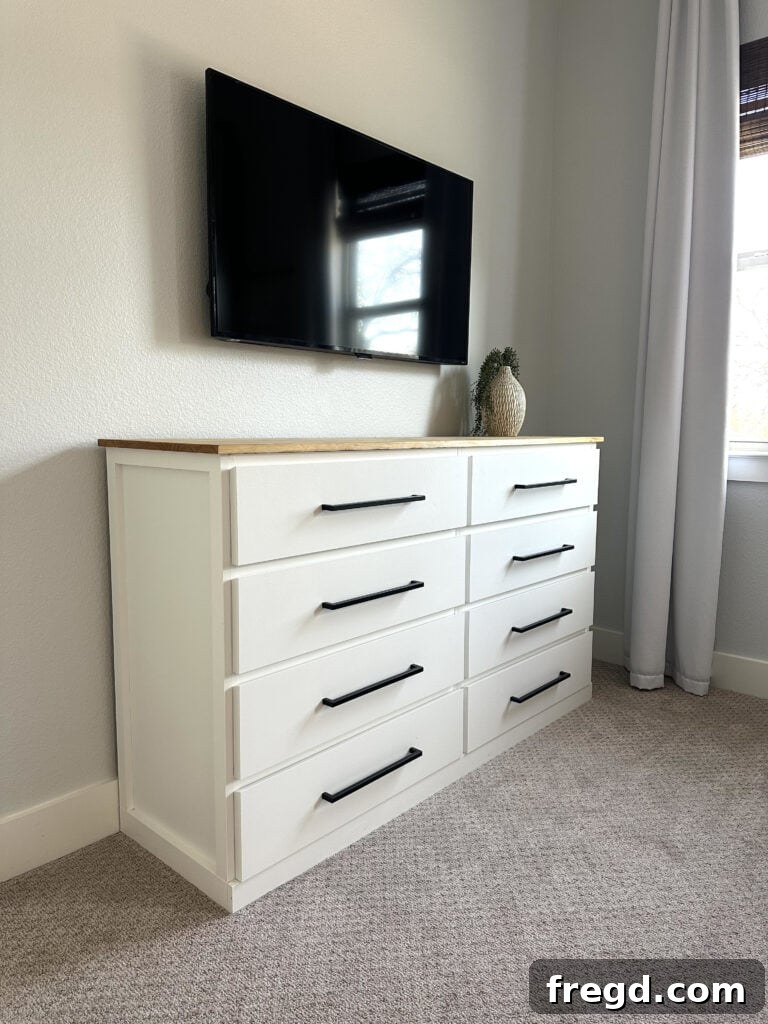
Ikea Malm Dresser Hack: Revamp an Affordable Classic
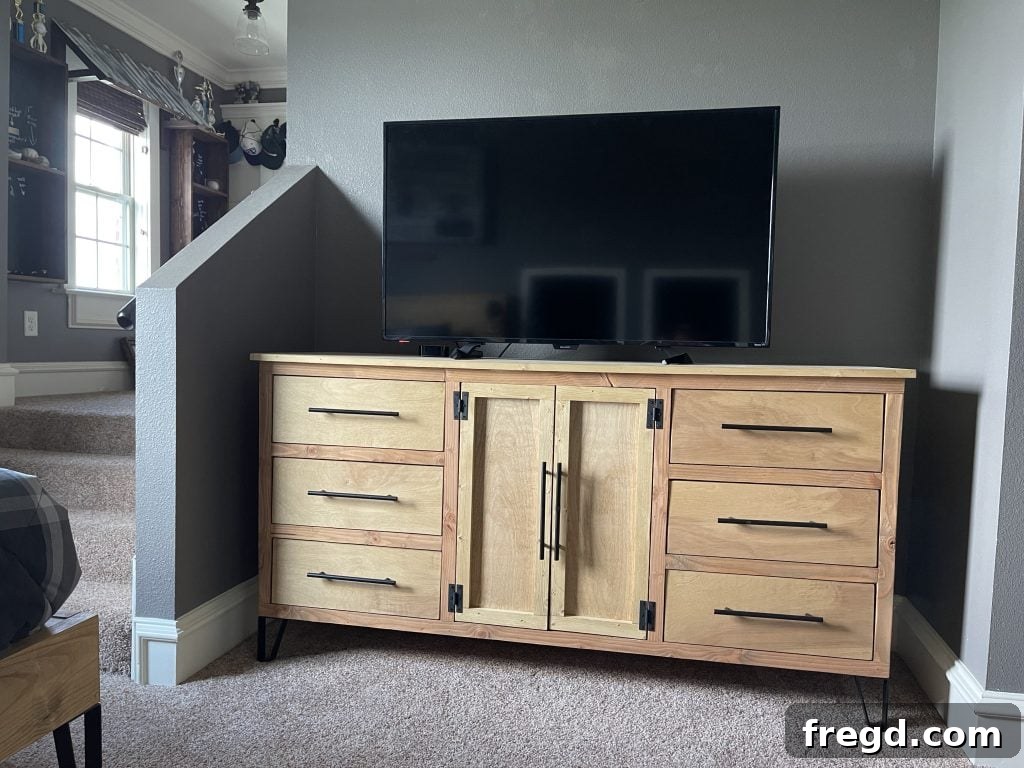
DIY Modern Dresser: Achieve Contemporary Style
DIY Modern Farmhouse Dresser: More Rustic Elegance