
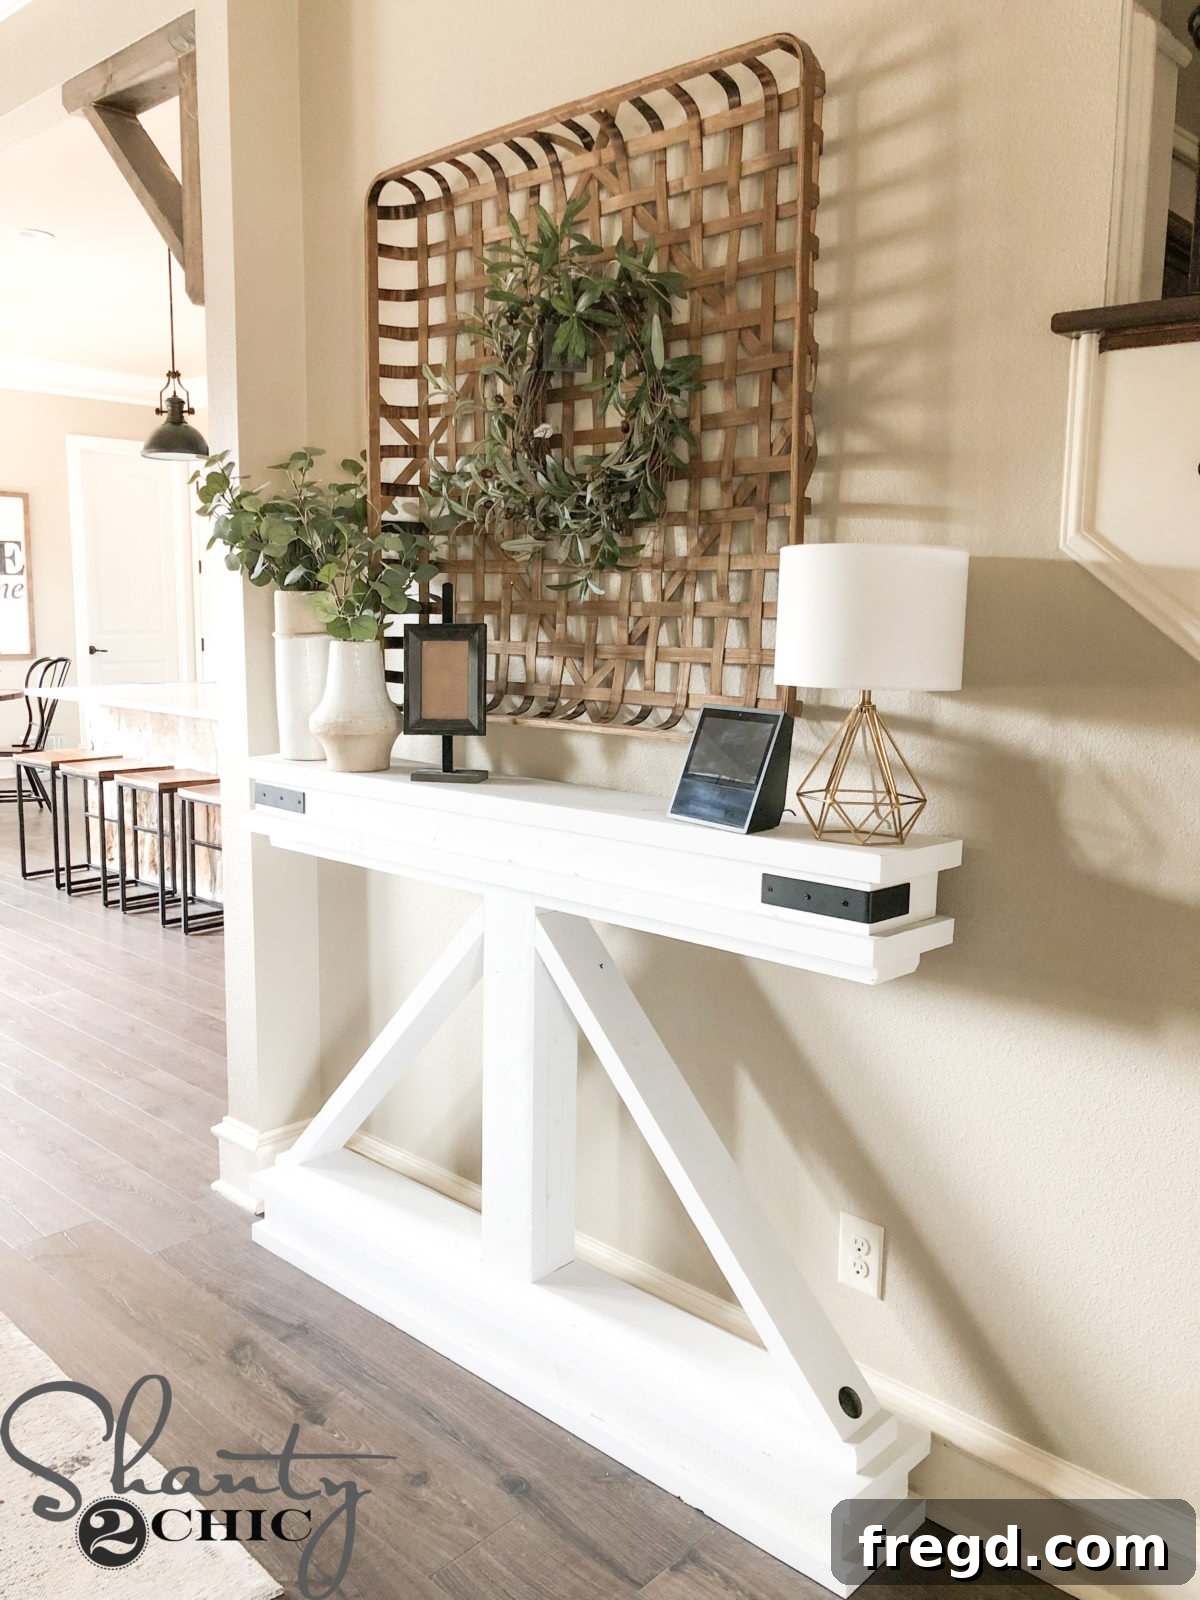
Over five years ago, I crafted my very first narrow console table for our living room, and I cherished it deeply. However, as my personal aesthetic has evolved towards a more refined Modern Farmhouse style, I found myself longing for a fresh, updated piece. My goal was to design something new that captured this contemporary farmhouse charm, all while retaining the essential narrow dimensions and functional design that made its predecessor so perfect for the space.
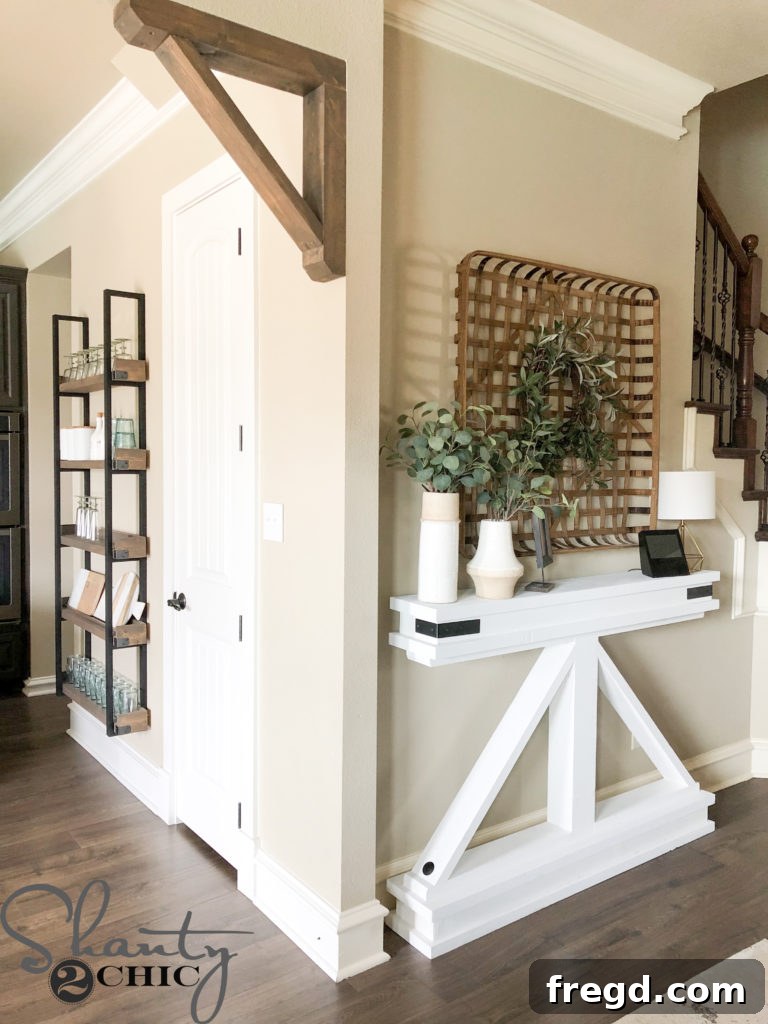
I genuinely didn’t think it was possible to love a piece of furniture more than my original creation, but I’m thrilled to say my new DIY Narrow Console Table has completely surpassed my expectations! It effortlessly combines rustic warmth with clean, modern lines, making it the ideal addition to our home. We’re incredibly excited to guide you through the process of building this stunning console table yourself. To see every detail of the construction, simply click the play button below to watch our comprehensive video tutorial!
For a visual walkthrough of the entire project, from cutting the first piece of lumber to the final decorative touches,
Click here to watch our detailed DIY Narrow Console Table video!
Ready to get started? We’ve made it even easier for you with our complimentary, easy-to-follow plans. These printable instructions provide all the measurements and details you’ll need for a successful build.
CLICK HERE TO JUMP TO THE FREE PRINTABLE PLANS
Table of Contents
Crafting Your Own Modern Farmhouse Narrow Console Table
The quest for the perfect piece of furniture often leads to the most rewarding journey: building it yourself. My initial narrow console table served its purpose admirably for half a decade, fitting perfectly into the tight space of my living room. However, design tastes evolve, and my recent inclination towards the Modern Farmhouse aesthetic spurred a desire for an upgrade. This style, known for its blend of rustic warmth and clean, contemporary lines, offered the ideal inspiration for a new console table – one that would offer the same functionality in a refreshed, on-trend package. This project was not just about replacing an old table; it was about embracing a new chapter in home decor and proving that beloved designs can always be reinvented.
The satisfaction of crafting a piece that perfectly matches your vision and complements your home’s evolving style is unparalleled. This new DIY Narrow Console Table isn’t just a functional item; it’s a statement piece that truly elevates the Modern Farmhouse feel of our space. Its slender design ensures it fits beautifully in hallways, entryways, or behind sofas without overwhelming the room, while the truss details add a touch of classic, robust character. If you’re ready to add a custom touch to your home and embark on a fulfilling woodworking project, you’ve come to the right place. Follow along as we break down each step of creating this stunning and incredibly affordable piece of furniture.
Why Build a DIY Narrow Console Table?
Opting for a DIY approach to furniture building, especially for a specific piece like a narrow console table, offers a multitude of benefits beyond mere cost savings. Firstly, it allows for unparalleled customization. You get to choose the exact dimensions to fit that awkward nook or slender hallway, select the perfect wood species, and apply a finish that precisely matches your existing decor. This level of personalization is often impossible to find in mass-produced furniture. Secondly, building something with your own hands instills a profound sense of accomplishment and pride. Every time you walk past your console table, you’ll be reminded of your craftsmanship and the effort you put into enhancing your home. Lastly, it’s an incredibly budget-friendly alternative. While store-bought console tables can range from hundreds to thousands of dollars, this project demonstrates that you can achieve a high-end look for a fraction of the price, using readily available lumber and basic tools. It’s an investment in your home and your skills.
Essential Tools & Materials for Your Project
Before diving into the build, it’s crucial to gather all the necessary tools and materials. Having everything ready will ensure a smooth and efficient construction process, minimizing interruptions and maximizing your building enjoyment. Safety should always be your top priority, so remember to wear appropriate safety gear, such as safety glasses, throughout the project.
Tools You’ll Need:
- Miter Saw or Circular Saw: For making precise cuts to your lumber. A miter saw is ideal for repeatable angled cuts.
- Drill/Driver: Essential for drilling pilot holes and driving screws quickly and efficiently.
- Kreg Jig (Pocket Hole Jig): This specialized jig is key for creating strong, concealed joints, giving your console table a professional finish.
- Tape Measure & Pencil: For accurate measurements and marking your cuts.
- Safety Glasses: Non-negotiable protection for your eyes from wood dust and flying debris.
- Hearing Protection: Recommended when operating power tools for extended periods.
- Wood Clamps: Indispensable for holding pieces securely in place while glue dries or screws are driven.
Materials List:
Supply List
- 4 2x4x8 Framing Lumber: These versatile boards will form the core structural elements and legs.
- 2 2x6x8 Framing Lumber: Used for horizontal supports and decorative aprons, adding visual weight.
- 4 2x10x8 Framing Lumber: These wider boards will form the console table’s sturdy base and top surfaces.
- 2 1/2″ Pocket Hole Screws: For strong, hidden joints with the Kreg Jig.
- 3″ Wood Screws: For securing larger structural components where visible screws are acceptable or will be hidden.
- 2″ Wood Screws: For various connections throughout the build.
- 2 1/2″ Finish Nails: Used with a nail gun for securing trim and adding extra hold, especially where a less visible fastener is desired.
- Wood Glue: Essential for permanent, durable joints that reinforce screw and nail connections.
- Decorative Hardware: To add that personalized Modern Farmhouse touch (specific links provided in the finishing section).
Detailed Cut List and Free Printable Plans
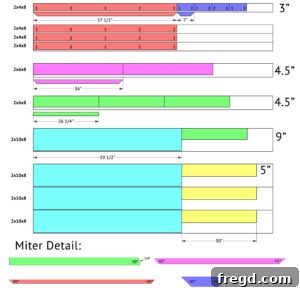
Achieving a professional-looking finish begins with accurate measurements and precise cuts. Our free printable plans are meticulously designed to guide you through every cut, ensuring that each piece of lumber is perfectly sized for assembly. This DIY Narrow Console Table offers a stunning, space-saving design perfect for any home and is surprisingly simple to build, even for those with moderate woodworking experience! Access your free printable plans and a comprehensive how-to video right here to start your project today. These plans include a complete cut list, diagrams, and detailed instructions to make your build as straightforward as possible.
Download the FREE Printable Plans Here (PDF)
Step-by-Step Assembly Guide: Building Your Console Table
Step 1: Preparing the Sturdy Leg Assemblies
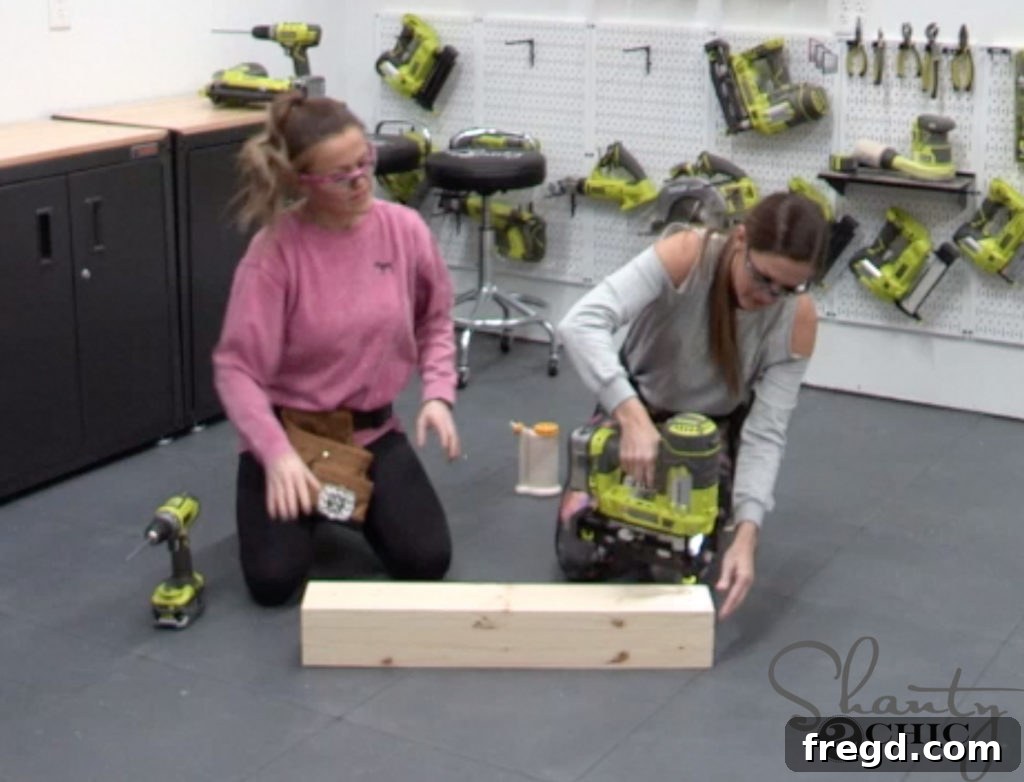
Begin by carefully cutting all the individual leg pieces to their specified sizes according to your printable plans. Precision here is key for a stable and aesthetically pleasing final product. Once cut, stack these pieces together, ensuring their edges are perfectly aligned. Apply a generous, even layer of wood glue between the stacked pieces to create a strong bond. To further reinforce this bond and provide immediate holding power, secure them with 2 1/2-inch finish nails. A pneumatic nail gun can make this process quick and effortless, driving the nails flush with the surface for a clean look.
Step 2: Attaching the Lower Base Plank
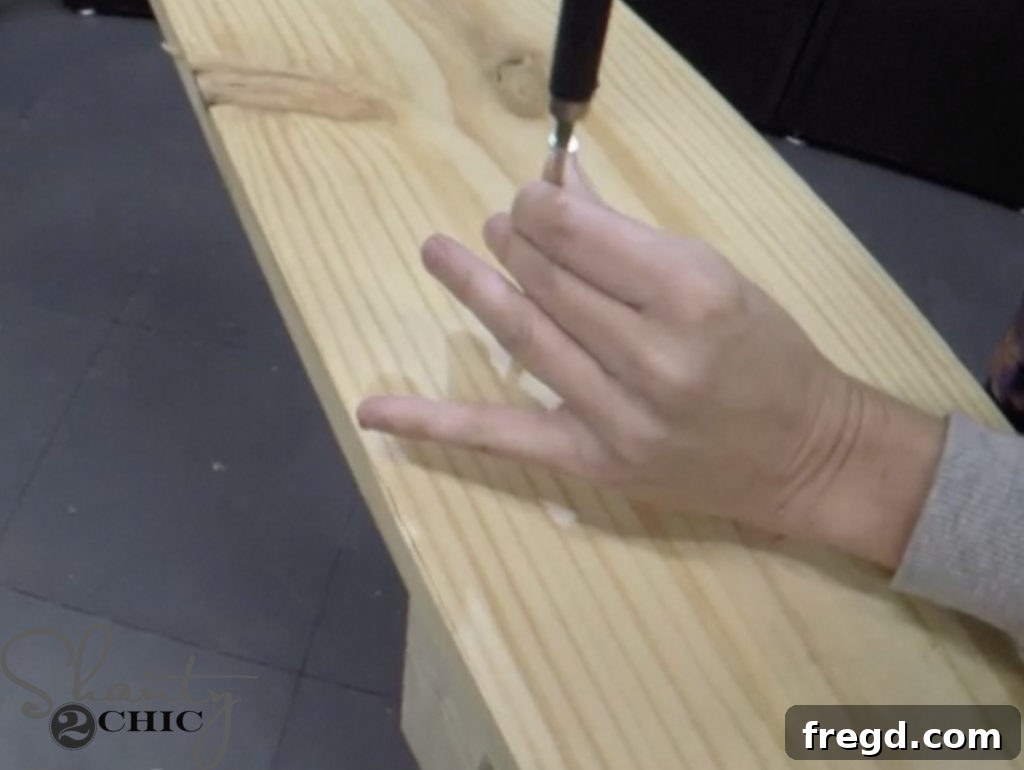
Next, prepare your horizontal base planks by cutting them to the correct dimensions. Take one of these planks and center it precisely on the bottom end of one of the leg assemblies you just created. This plank will form the stable base of one side of your console. Apply wood glue to the contact surfaces to ensure maximum adhesion. Then, from the bottom side of the plank, drive 3-inch wood screws upwards into the leg assembly. This method conceals the screw heads on the visible side of the table, contributing to a cleaner finish.
Step 3: Securing the Upper Base Plank
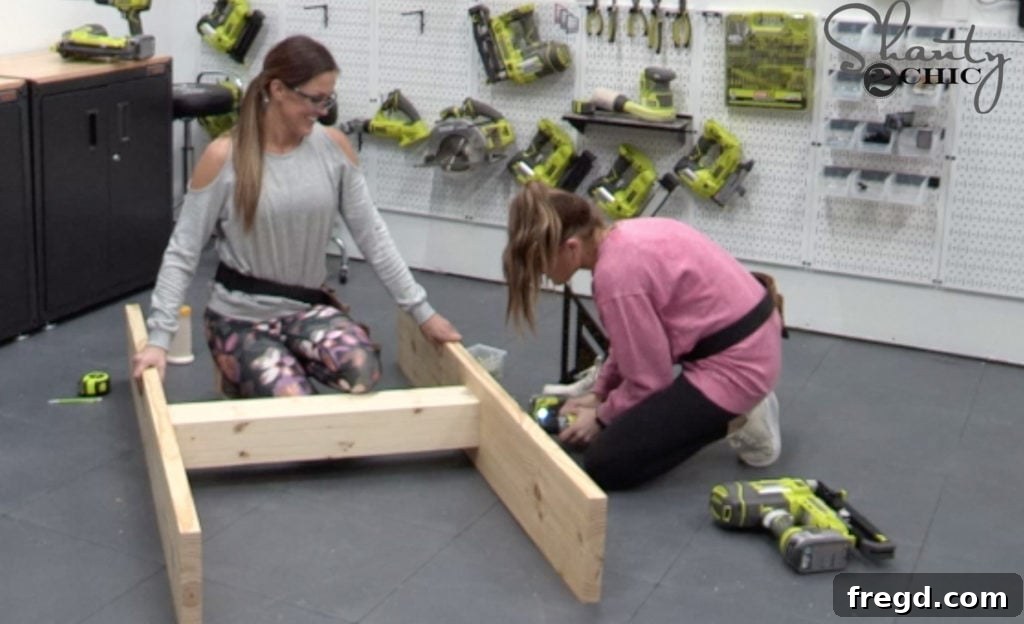
With the first base plank securely in place, it’s time to flip the console table over to work on the opposite end. Repeat the exact same process from Step 2: center the second horizontal base plank onto the other end of the leg assembly. Ensure it’s perfectly aligned before applying wood glue and then fastening it with 3-inch wood screws from the underside of the plank into the leg assembly. At this stage, you will have the basic leg and base structure for one side of your console table complete and sturdy.
Step 4: Constructing the Elegant Apron Frames
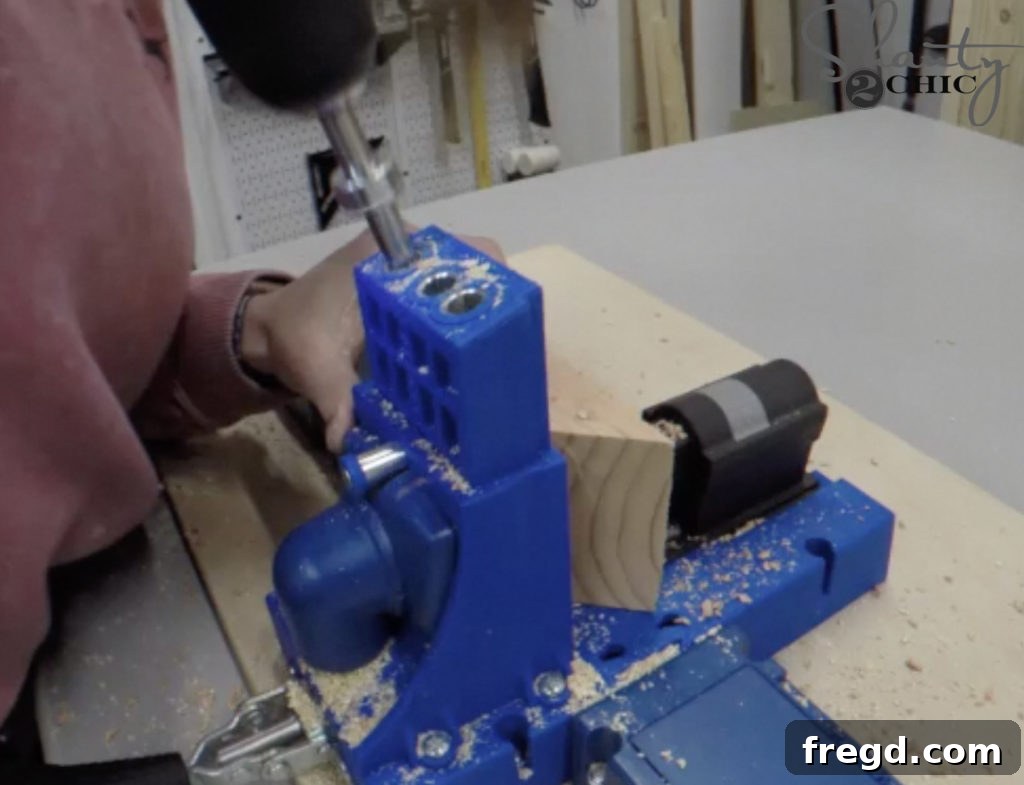
Now that the main base is taking shape, shift your focus to the apron frames, which add both structural integrity and a decorative touch. Cut your apron pieces to their specified lengths. Using your Kreg Jig, drill 1 1/2-inch pocket holes along one edge of each apron piece. These pocket holes are critical for creating strong, hidden joints. If you’re new to using a Kreg Jig, it’s a fantastic tool for beginner and experienced woodworkers alike, allowing for easy and robust joinery without visible screws on the exterior surfaces. Ensure your drill depth is set correctly for your material thickness.
- You can find our favorite Kreg Jig model HERE, a tool we highly recommend for its versatility and ease of use!
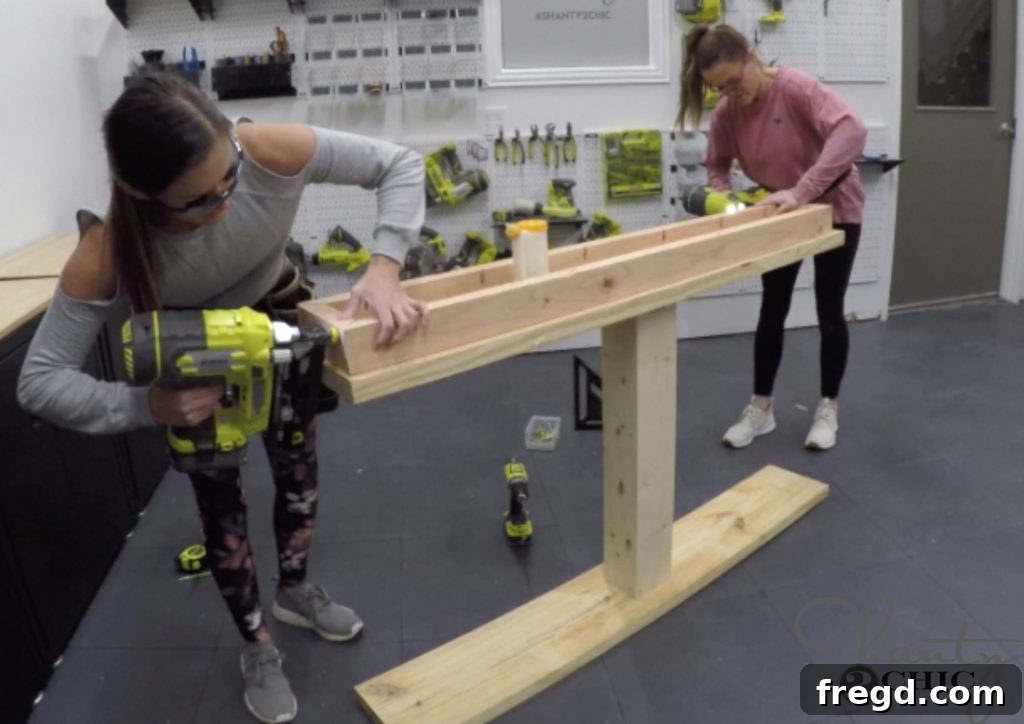
Once the pocket holes are drilled, assemble the individual apron pieces. Apply wood glue to the mating surfaces, then use 2 1/2-inch finish nails to secure them together. A crucial tip for a seamless look: make sure all the pocket holes you just drilled are facing the same direction, preferably towards the interior of the table where they won’t be seen. You will need to build two identical apron assemblies for your console table.
Step 5: Attaching the Bottom Apron to the Console
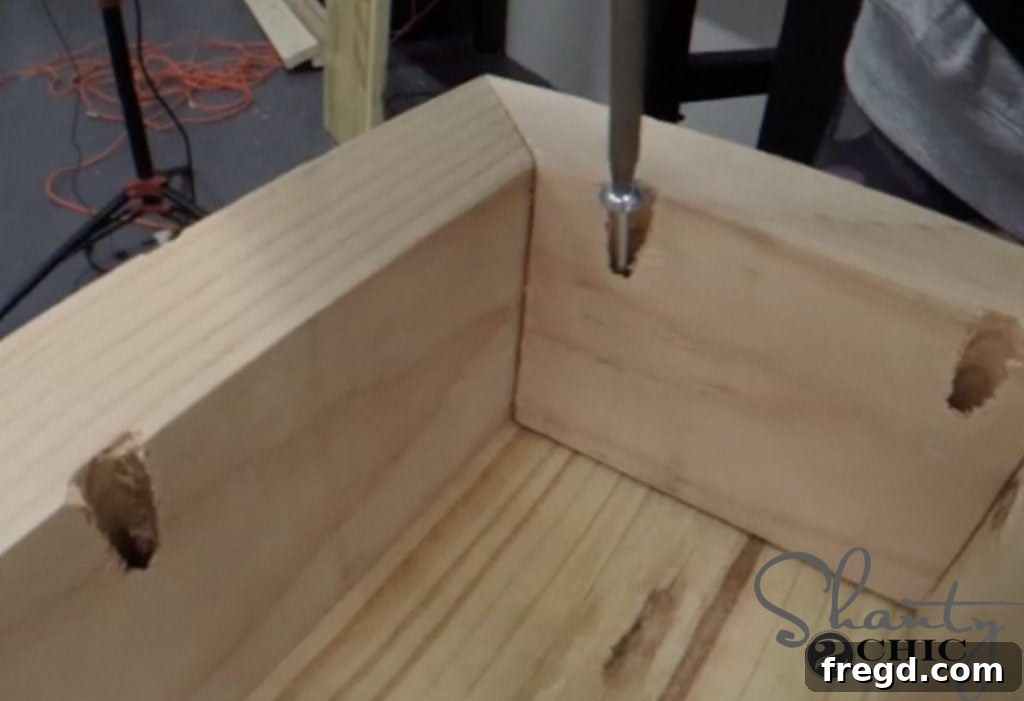
With the apron frames ready, it’s time to integrate them into the main structure. For easier access and assembly, flip your console table frame upside down. Carefully center one of the apron assemblies onto the bottom of the lower base plank you installed in Step 2. Apply a bead of wood glue along the contact edges for a strong, lasting bond. Then, using 2 1/2-inch pocket hole screws, secure the apron to the plank through the pre-drilled pocket holes. Ensure the apron is flush with the edges of the plank for a clean, professional finish.
Step 6: Adding the Mid-Level Support Plank
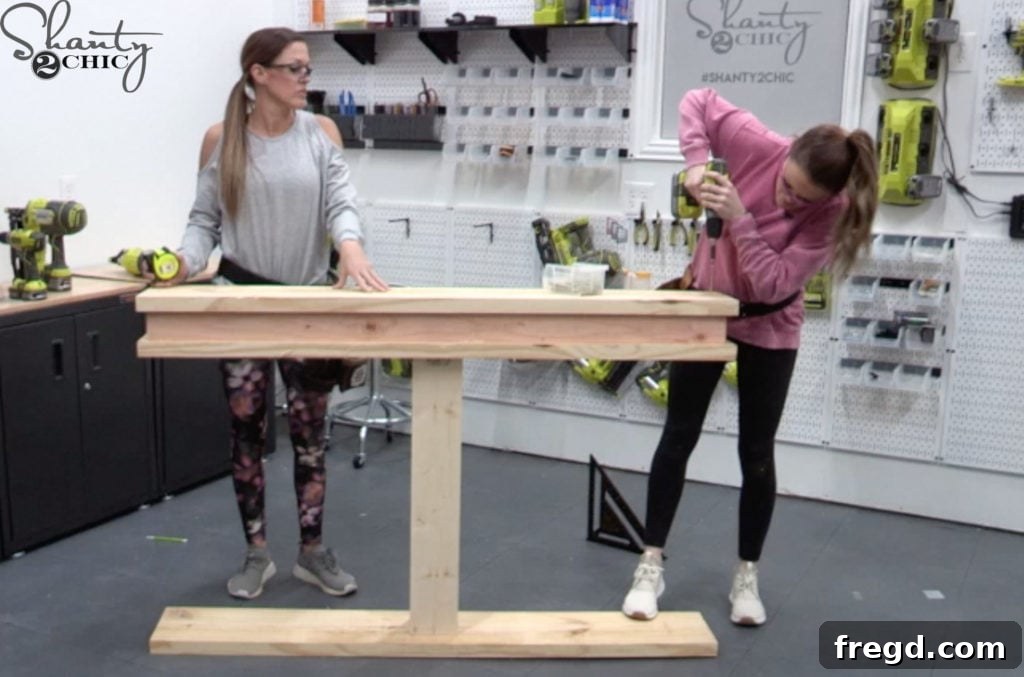
Continuing the assembly, take another horizontal plank (as specified in your cut list) and center it directly on top of the bottom apron that you just attached. This plank serves to further strengthen the console’s structure and provides an additional surface for decoration or storage. Apply wood glue to the top edge of the apron where the new plank will rest. Then, drive 2-inch wood screws from the top surface of this plank down into the apron. This method creates a robust connection, ensuring the console table is incredibly stable and durable.
Step 7: Installing the Upper Apron
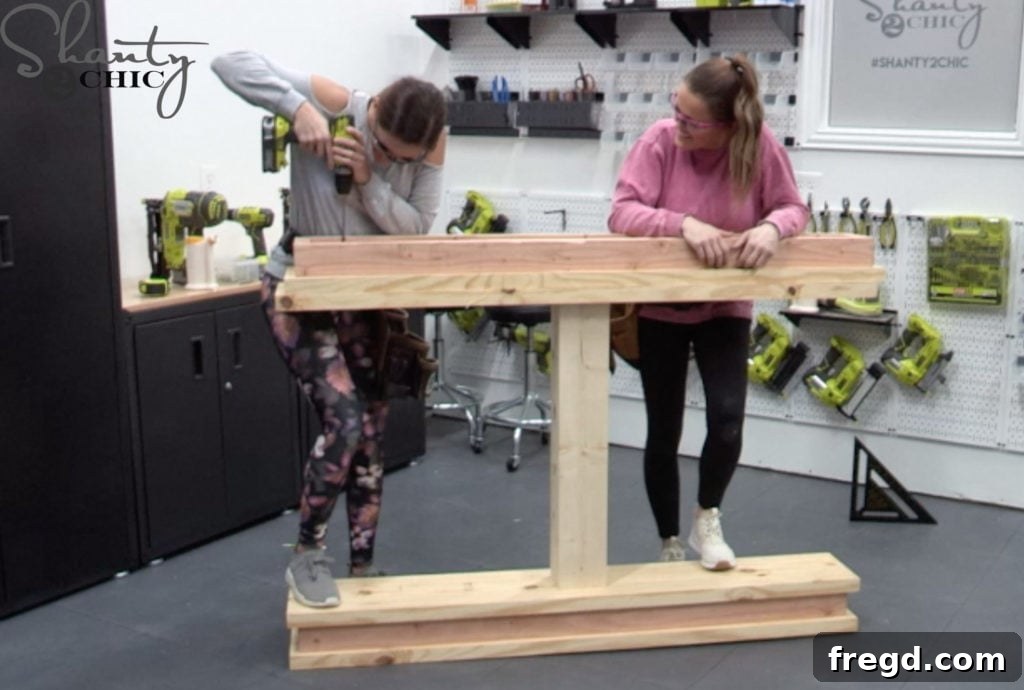
Now turn your attention to the other side of the console table. This step mirrors the process in Step 5, but for the upper section. Take your second apron assembly and center it onto the remaining plank (the one that will form the top section of your console). Just as before, apply wood glue for a strong, enduring bond. Then, use 2 1/2-inch pocket hole screws to attach the apron securely to the plank through the pre-drilled holes. Double-check that all edges are perfectly aligned and flush before tightening the screws.
Step 8: Finalizing the Top Apron Assembly
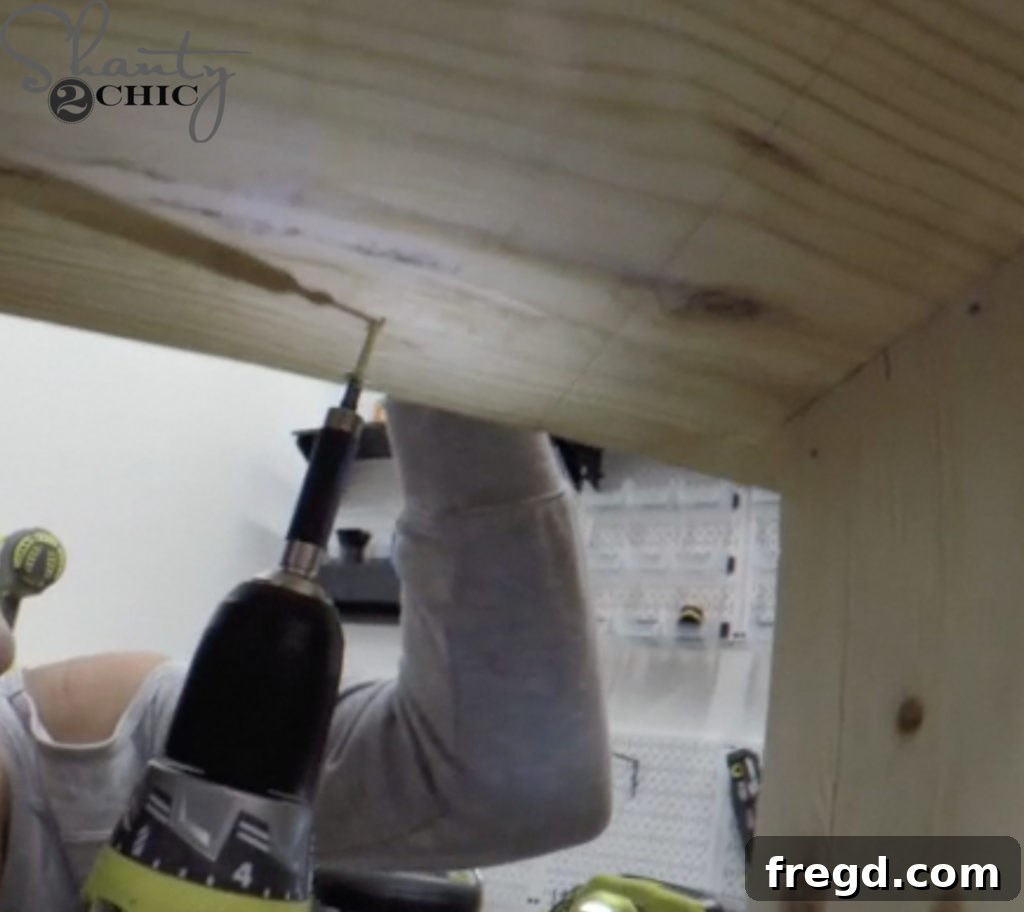
With the upper apron now attached to its plank, it’s time to secure this complete assembly to the top of your console table. Carefully center this apron/plank unit onto the main console frame, ensuring it aligns perfectly with the leg structures. Apply wood glue to the contact points for a permanent bond. To attach this assembly, drive 2-inch wood screws from the bottom of the top plank upwards into the apron. This technique ensures that the screws are hidden from the primary visible surfaces, maintaining the clean lines and aesthetic integrity of your Modern Farmhouse console table.
Step 9: Incorporating Horizontal Truss Details
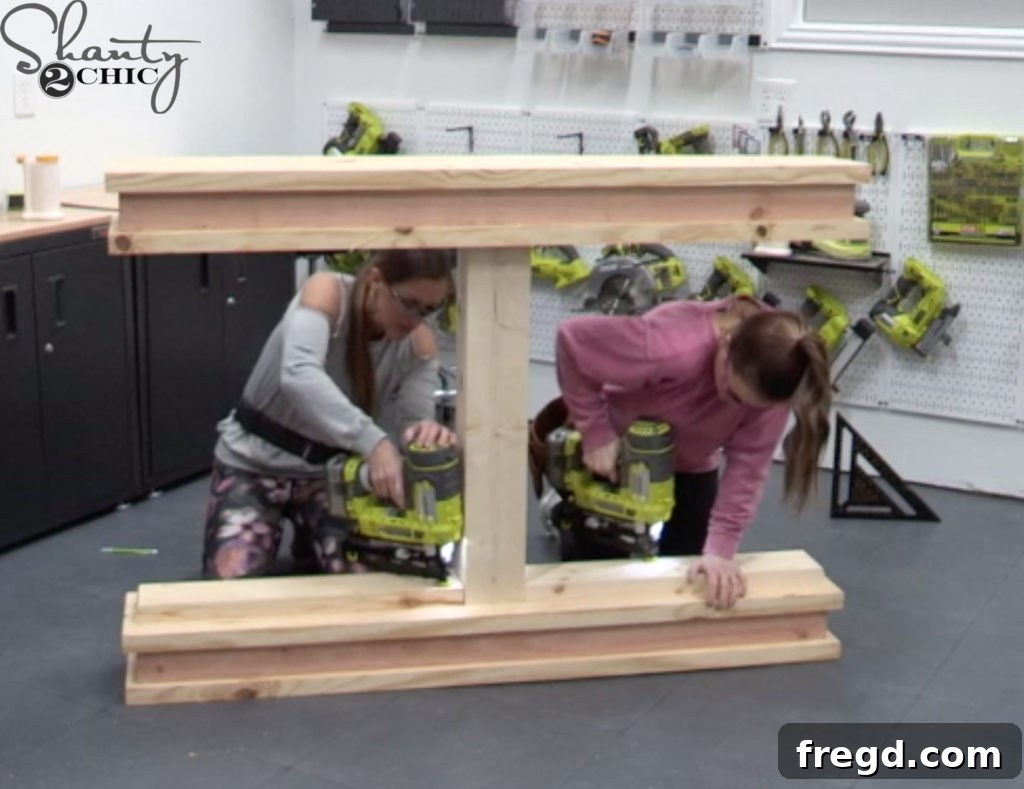
The main structure of your console table is now complete, and it’s time to add the distinctive truss details that give it its unique Modern Farmhouse character. Begin by cutting the horizontal truss pieces to their precise lengths according to your plans. These pieces will run across the top and bottom bases, creating visual interest and depth. Apply wood glue along the edges where they will meet the console frame. Then, using 2 1/2-inch finish nails, secure these horizontal pieces. It’s important to ensure that these truss pieces are perfectly flush with the exterior of the leg base for a seamless and polished appearance.
Step 10: Completing the Angled Truss Accents
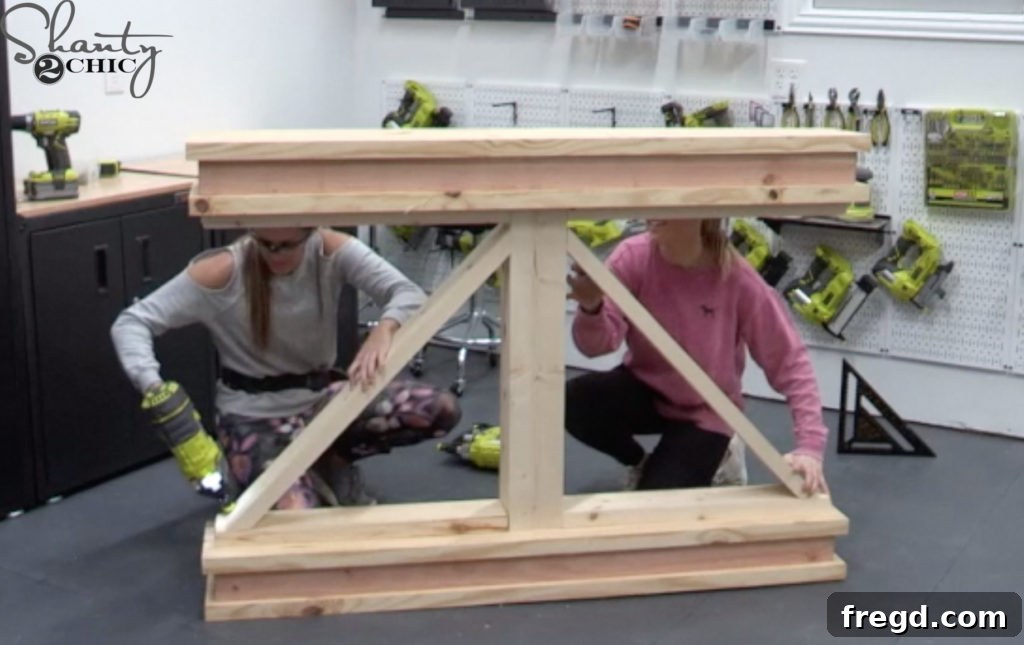
The final structural step involves adding the angled truss pieces, which complete the signature Modern Farmhouse look. Carefully measure and cut these angled pieces to size. This may require precise miter cuts to ensure they fit snugly between the horizontal truss pieces and the main leg structure. Once cut, apply wood glue to the contact surfaces. Then, firmly attach them to the table base using 2 1/2-inch finish nails. Take your time with this step to ensure all angles are crisp and the pieces fit together beautifully, as these details significantly contribute to the console table’s charm and authenticity.
The Perfect Finish: Painting, Staining & Personalization
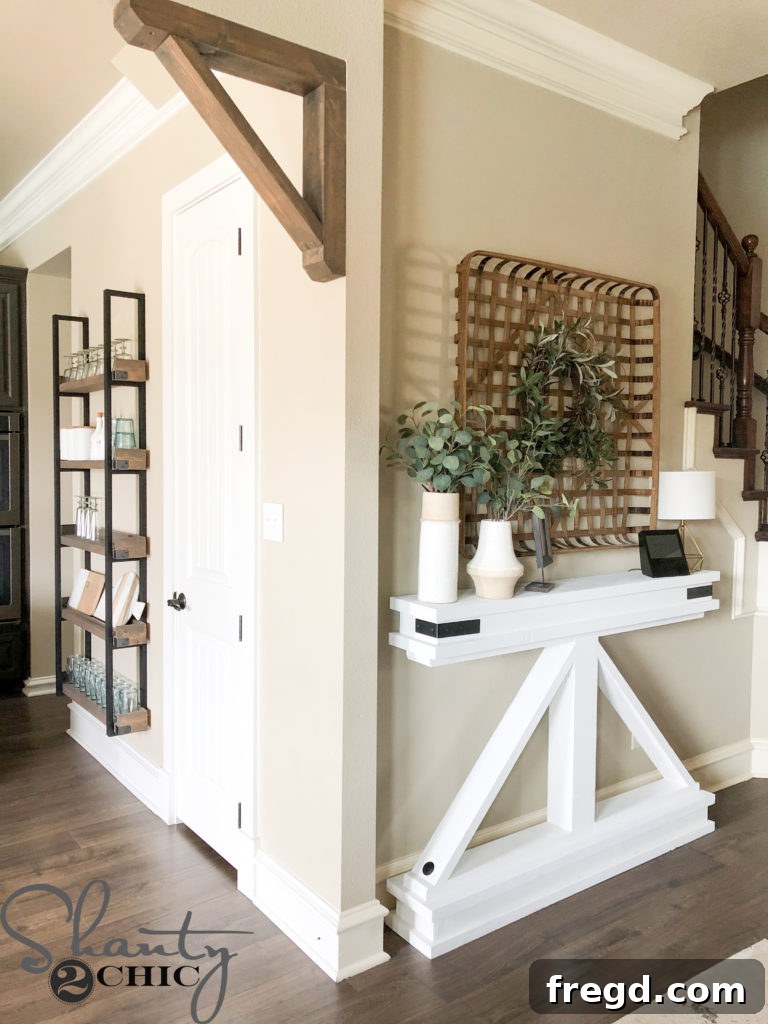
With the construction complete, it’s time for the truly transformative part: the finish! This is where you infuse your personal style into the piece. Start by carefully inspecting your console table for any nail holes, gaps, or imperfections. Fill all nail holes with a high-quality wood filler, allowing it to dry completely. Once dry, sand the entire table thoroughly, starting with a coarser grit (e.g., 120-grit) to smooth out any rough spots, and finishing with a finer grit (e.g., 220-grit) for a silky-smooth surface. A well-sanded piece is crucial for a professional paint or stain finish.
After sanding, wipe down the table to remove all dust. Now, you can apply your chosen finish. For our Modern Farmhouse look, we opted for a coat of paint, which gives it a crisp, clean appearance. However, you could choose a wood stain to highlight the natural grain, or even apply a distressed technique for a more aged, rustic charm. Don’t forget the details! To further customize our console, we added beautiful metal hardware – corner brackets and decorative nail heads – that perfectly complement the Modern Farmhouse aesthetic and add a touch of industrial elegance.
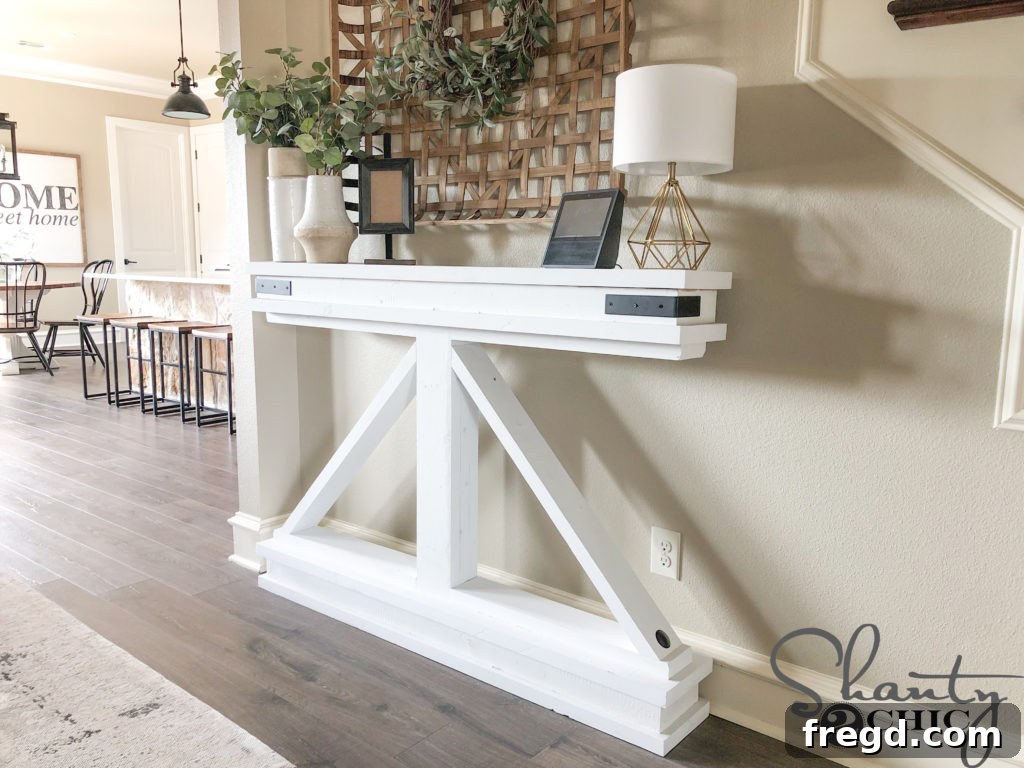
To help you achieve a similar look, here are the materials we used for our finishing touches:
- You can find our favorite wood filler HERE! It provides a smooth, durable fill that’s easy to sand and paint over.
- You can find the corner hardware that we used HERE! These metal accents add a touch of rugged charm.
- You can find the nail heads that we used HERE! These small but impactful details tie the whole look together.
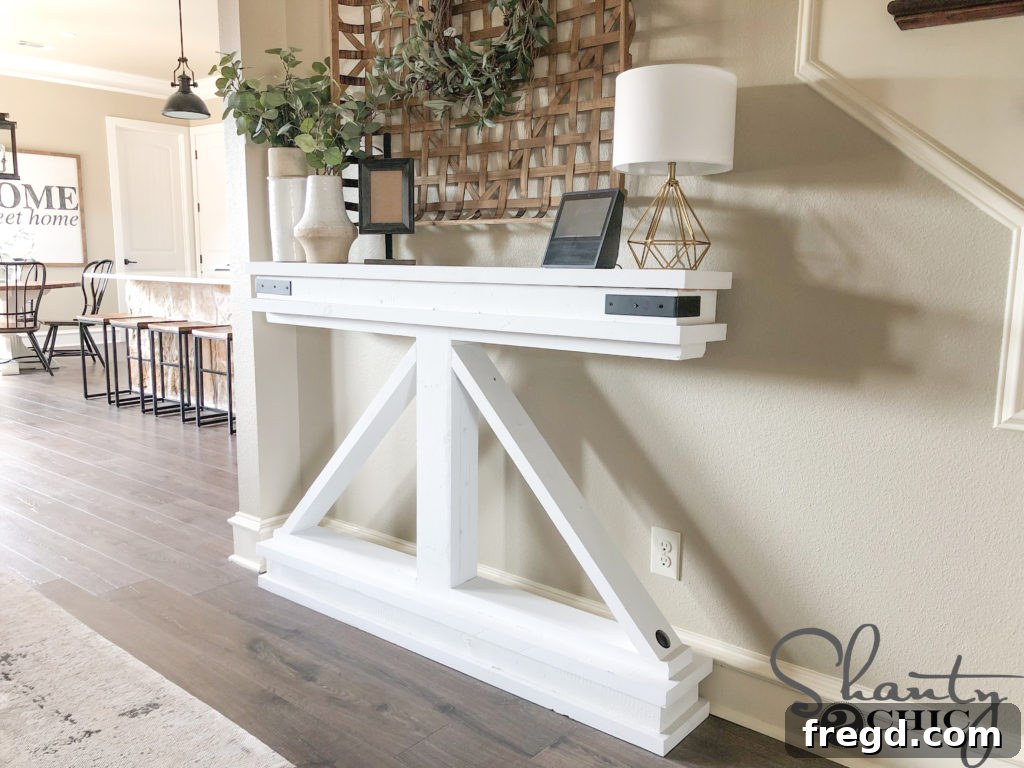
We are absolutely delighted with how this Narrow Console Table turned out! It’s not just a beautiful piece; it’s an incredibly cost-effective project, a true “bang for your buck.” We were able to complete this entire build for approximately $60 in lumber and a mere 60 minutes of active assembly time, excluding drying and finishing. Imagine getting a custom, high-quality piece of furniture for such an economical price! This project truly proves that DIY can be both stylish and affordable.
Styling Your New Modern Farmhouse Console Table
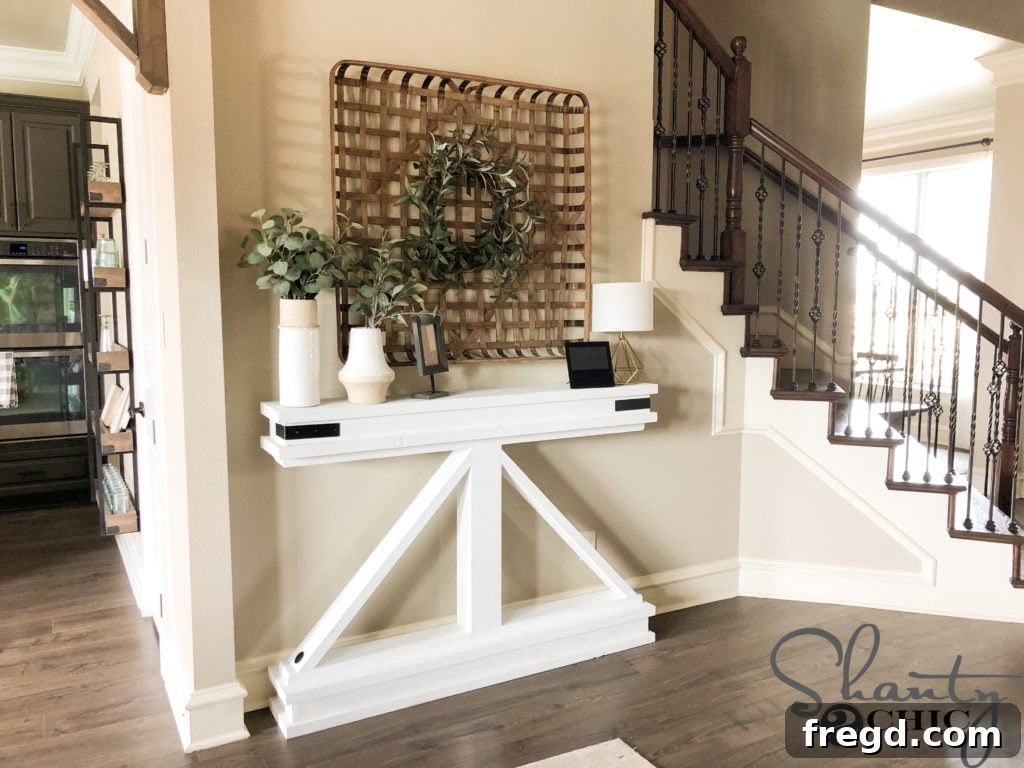
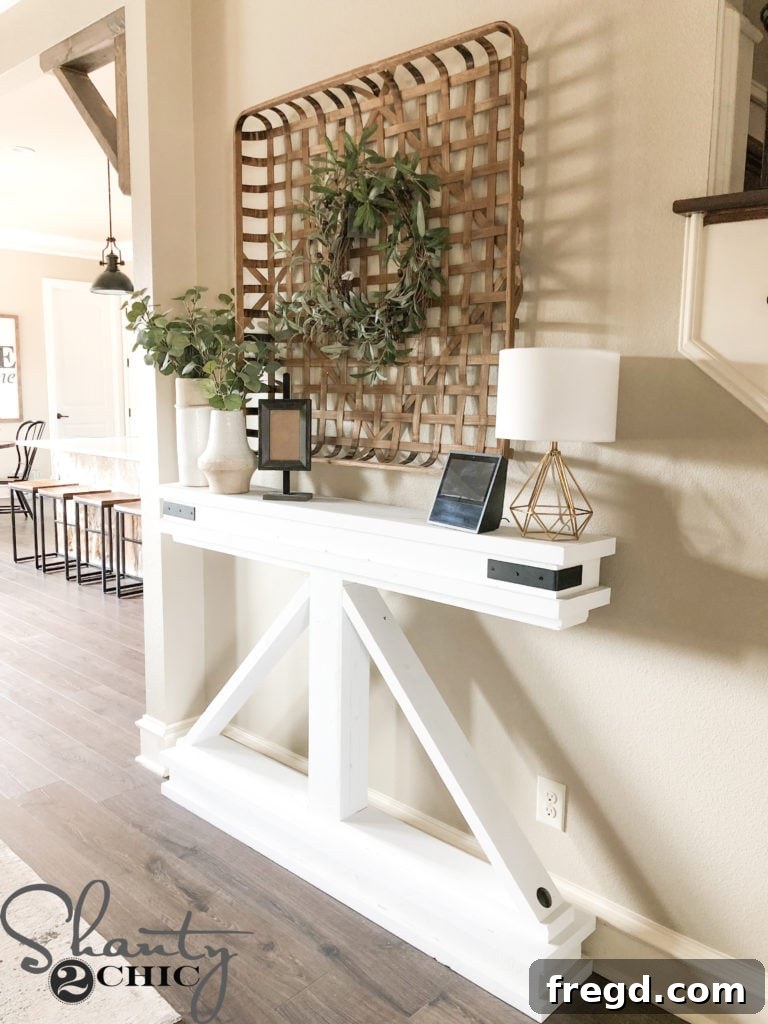
Once your console table is built and beautifully finished, the fun of styling begins! A narrow console table is incredibly versatile, perfect for entryways, hallways, or behind a sofa. Consider layering decor elements to create visual interest. For a Modern Farmhouse vibe, think about pairing natural textures with metallic accents. A large tobacco basket placed underneath offers both storage and rustic charm, while a handcrafted sign above adds a personalized touch. Don’t be afraid to mix and match elements to reflect your unique personality and home’s character. Here are some of the decorative items featured with our table:
- You can find the Tobacco Basket HERE. Please note: the larger size is currently out of stock, but this is the size down and still works beautifully!
- You can find the how-to for the Hand Painted Sign HERE! This customizable sign is a perfect complementary DIY project.
Share Your Creation with Our Community!
We encourage you to have fun with this project, experiment with different finishes, and truly make it your own. The beauty of DIY lies in the ability to create something that perfectly fits your personal taste and home decor. Once you’ve completed your stunning DIY Narrow Console Table, we would absolutely love to see your finished work! Be sure to share your builds with us on social media. Tag us and use the hashtag #shanty2chic so we can easily find and share your amazing creations with our wider community of builders and DIY enthusiasts. Happy building, and we can’t wait to see what you create!
Happy Building!