
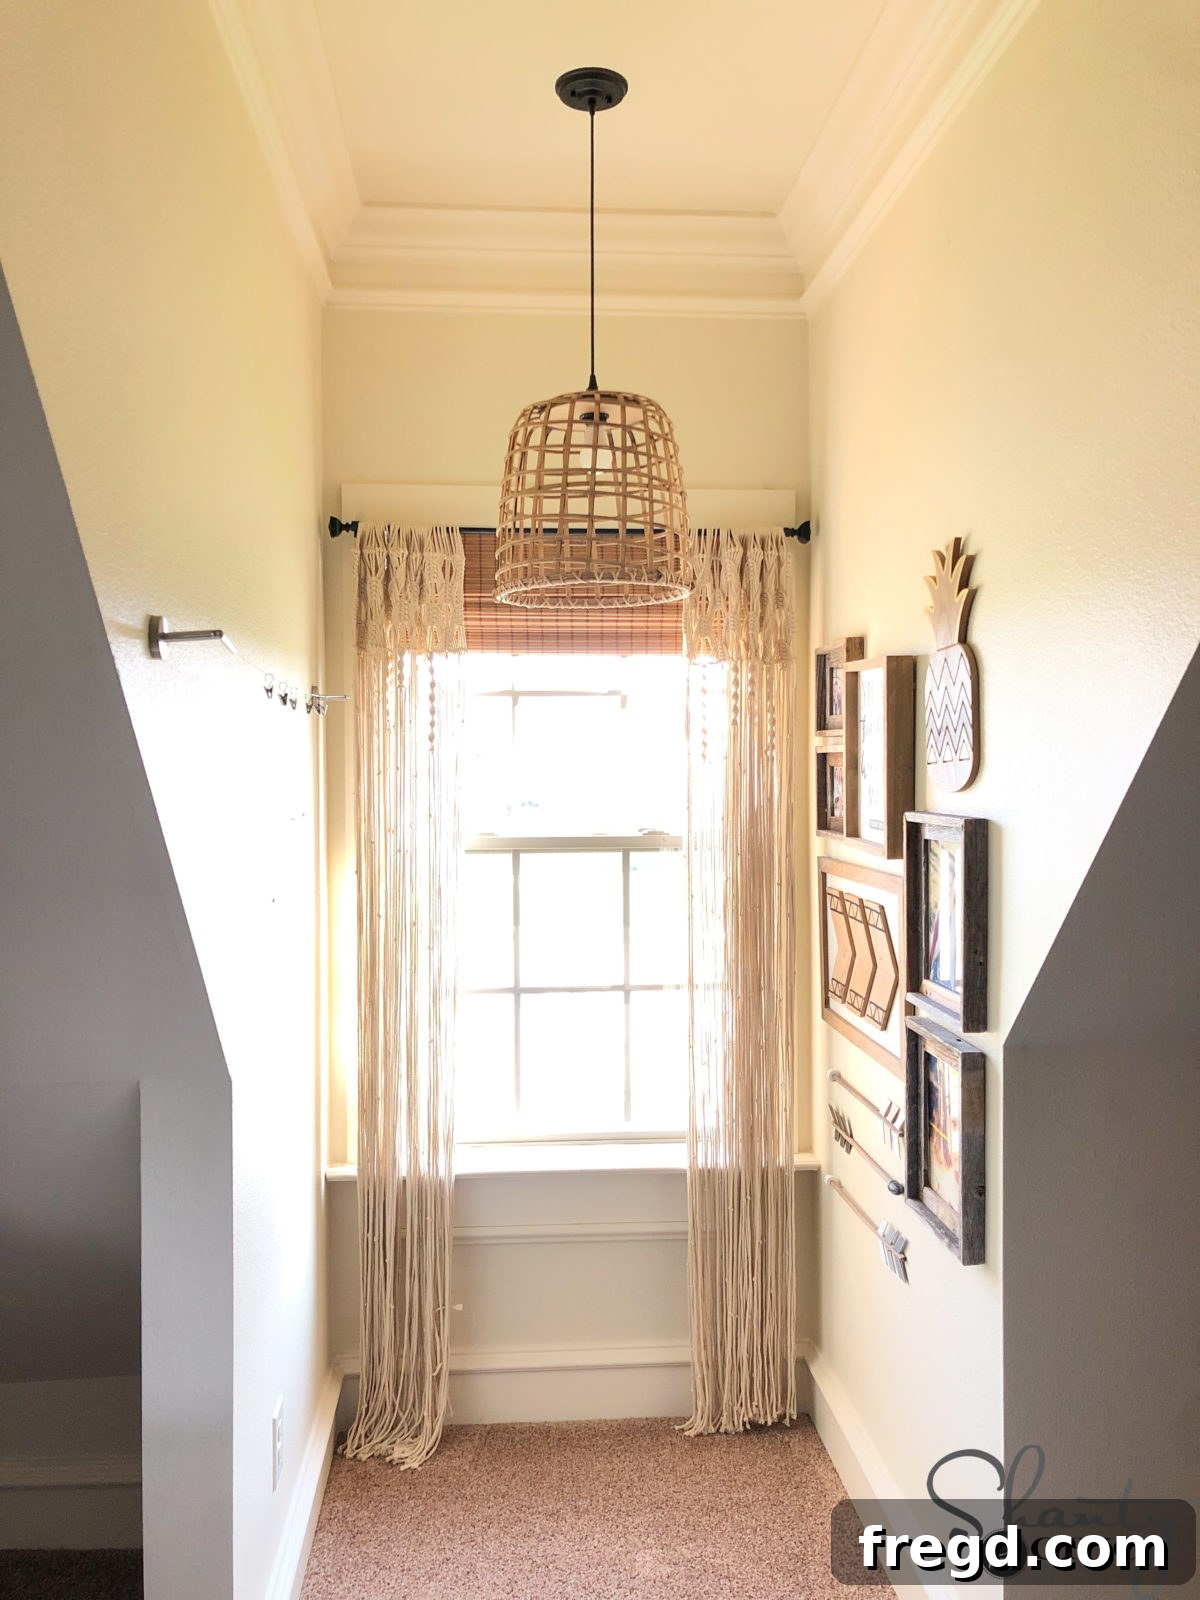
Transforming an ordinary, inexpensive basket into a stunning, custom chandelier is easier than you might think. This comprehensive guide provides step-by-step instructions to create a beautiful light fixture that perfectly complements your home décor without breaking the bank. Say goodbye to endless searching and overpriced retail options; with a little creativity and a few basic tools, you can craft a unique piece that radiates personal style and charm.
The inspiration for this DIY project often strikes when searching for that perfect design element that simply doesn’t exist at an affordable price point. Imagine a chic rattan-style shade casting a warm glow in your daughter’s room, or a rustic yet modern centerpiece for your living space. When traditional retail stores present options that are either too costly or lack the desired aesthetic, the DIY route becomes an incredibly appealing solution. This particular project began with a quest for a specific rattan look, leading to the discovery of a $29 basket at Hobby Lobby – the perfect blank canvas for a custom chandelier. Follow along to discover how this humble basket was elevated into a bespoke lighting masterpiece.
How to Craft a Custom Basket Chandelier: A DIY Guide
Creating your own basket chandelier is a rewarding project that offers incredible value, both aesthetically and financially. Beyond the significant cost savings compared to store-bought alternatives, a DIY chandelier allows for complete customization. You can select the perfect basket to match your desired style – be it bohemian, farmhouse, coastal, or minimalist modern. This guide will walk you through the process, from selecting your materials to the final installation, ensuring you achieve a professional-looking result.
Why DIY Your Chandelier?
The decision to build your own chandelier goes beyond just saving money. It’s about personalizing your space, expressing your unique style, and gaining immense satisfaction from a handmade creation. Mass-produced lighting fixtures often come with hefty price tags and limited design options. By repurposing an affordable basket, you unlock a world of creative possibilities. You control the size, shape, color, and even the texture of your fixture, ensuring it perfectly complements your existing decor. Moreover, this project promotes sustainability by giving new life to an item that might otherwise be overlooked, transforming it into a functional piece of art.
Choosing the Perfect Basket and Light Kit
The foundation of your basket chandelier is, naturally, the basket itself. When browsing for the ideal basket, consider the overall aesthetic you’re aiming for. Rattan, wicker, seagrass, or even sturdy woven fabric baskets can all work beautifully. Pay attention to the weave – a looser weave will allow more light to filter through, creating a diffused, ambient glow, while a tighter weave will direct light more downwards. The size and shape of the basket are also crucial. A wider, shallower basket might create a more contemporary feel, whereas a deeper, more rounded basket could lean towards a cozy, bohemian vibe. Ensure the basket is structurally sound and can accommodate the weight of your light kit.
For the light kit, a simple corded pendant light socket is usually the best choice. These kits typically include a socket, a cord (often with an on/off switch or designed for hardwiring), and sometimes a ceiling canopy. When selecting, consider the cord length needed for your desired hanging height. Always opt for a light kit that is UL-listed or certified by a recognized safety standard to ensure it meets electrical safety requirements.
Tools for Your Chandelier Project
Having the right tools makes any DIY project smoother and safer. For this basket chandelier hack, you’ll need a few essential items:
- Drill: Essential for creating pilot holes and securing the mounting bracket to the electrical box.
- Jigsaw: This tool will be used to cut a precise circular opening in the bottom of your basket for the light socket. Its narrow blade allows for curved cuts.
- Electrical Crimpers: While the original guide mentions crimpers, standard wire strippers and connectors (like wire nuts) are usually what’s needed for household wiring. If you’re new to electrical work, ensuring secure connections is paramount.
- Nippers: Also known as side cutters or flush cutters, these are perfect for cleanly removing any basket handles or stray fibers.
- Forstner Bit: This specialized drill bit creates clean, flat-bottomed holes and is ideal for starting the pilot hole for your jigsaw, especially on materials like wood or dense basket weaving.
Supplies You’ll Need
Once you have your tools, gather the following supplies:
- Corded Light Kit: This typically includes the light socket, electrical cord, and often a ceiling canopy or cover plate.
- Basket: The star of your chandelier! Choose one that fits your aesthetic and size requirements.
- Wire Nuts (Twist-on Connectors): For safely connecting electrical wires.
- Mounting Screws: To secure the ceiling plate to the electrical box. (Usually comes with the light kit).
CLICK HERE TO PRINT THE FREE PLANS
The Build: Crafting Your Basket Chandelier Shade
Step 1 – Prepare Your Basket: Remove the Handles
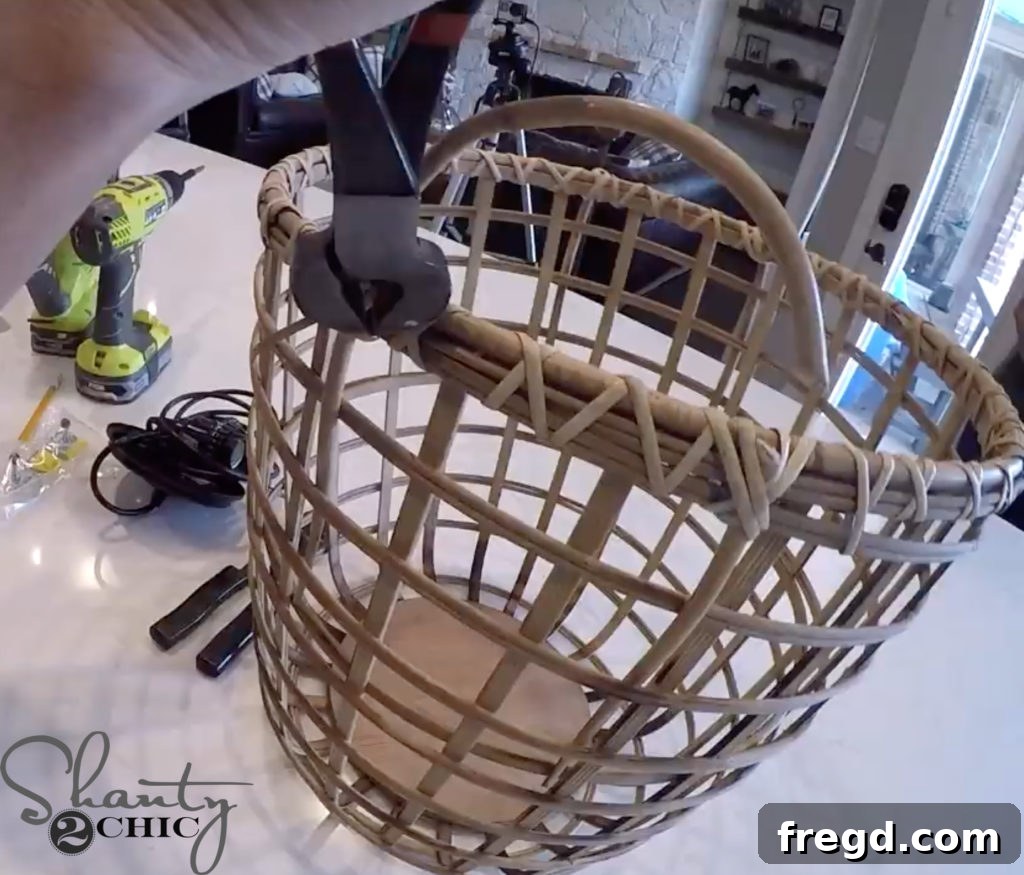
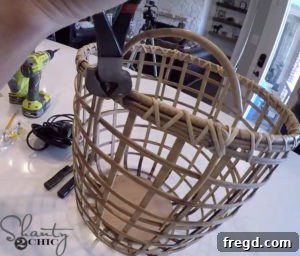
Begin by preparing your chosen basket. Many baskets come with handles, which will need to be removed for a clean chandelier look. Using a sharp pair of nippers or sturdy scissors, carefully cut the handles off as close to the basket’s body as possible. Aim for a smooth finish that won’t snag or interfere with the light fixture once installed. Take your time to snip any stray fibers or rough edges, ensuring the basket’s exterior is pristine.
Step 2 – Create the Opening for the Light Socket
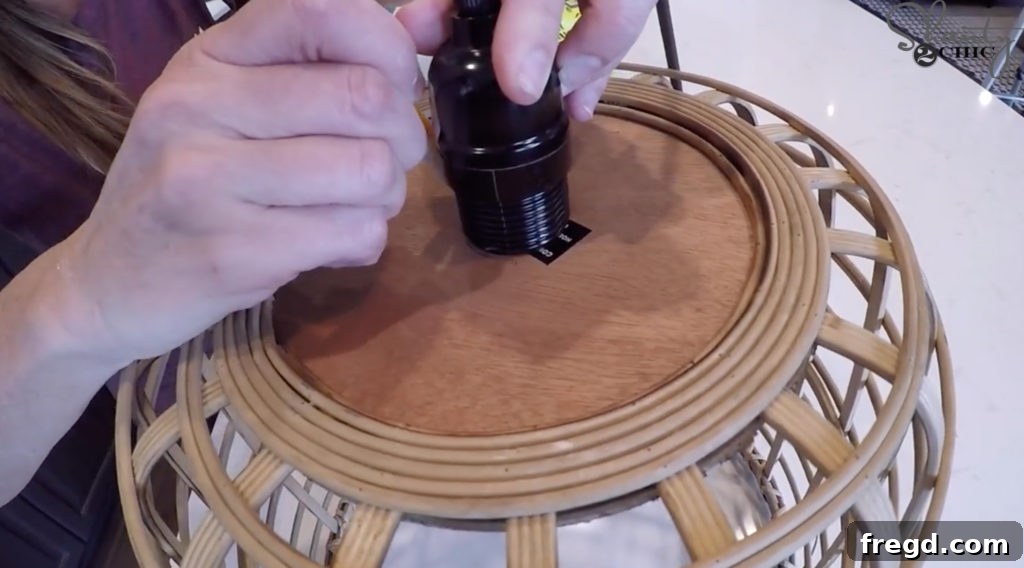
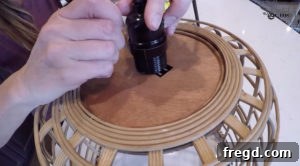
This step requires precision. Take the light socket from your corded light kit and remove the threaded bottom piece (often a ring or nut) that screws onto the socket. This piece will be used to secure the basket to the light fixture. Center this bottom piece on the *bottom* of your basket, which will become the top of your chandelier. Carefully trace around its outer edge with a pencil. This traced circle marks where you will cut the opening for your light socket.
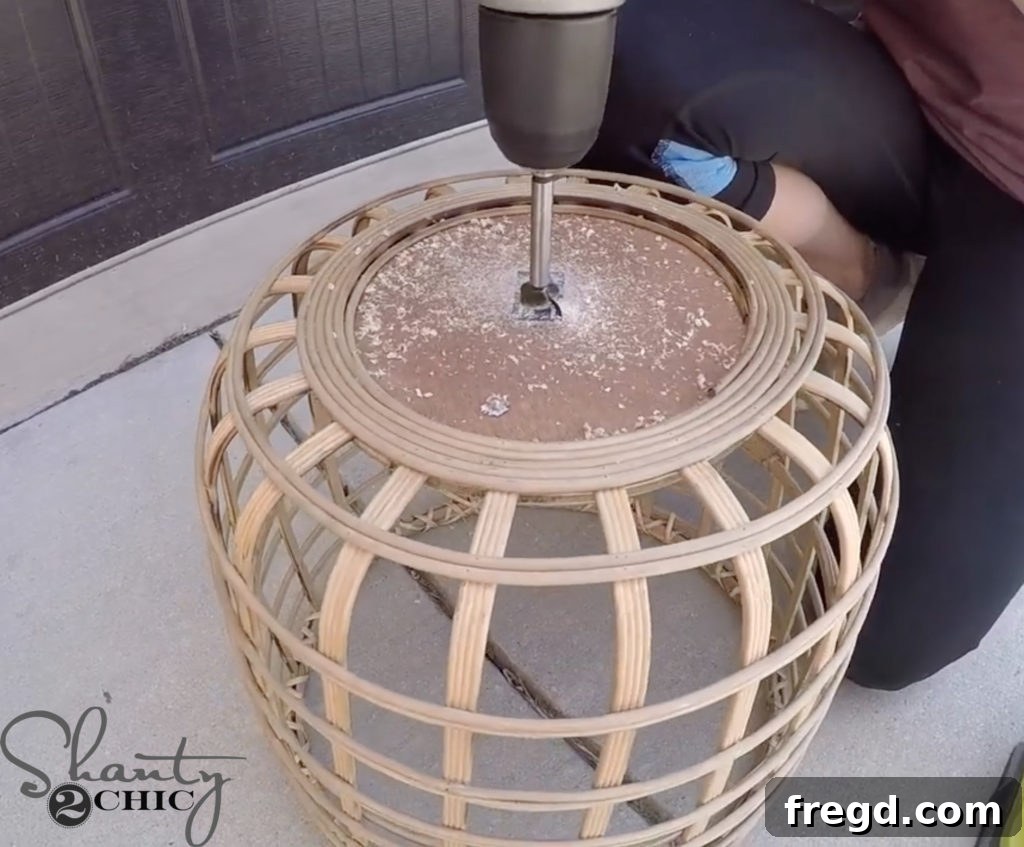
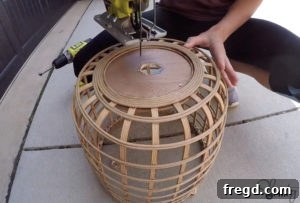
To start your cut, you’ll need a pilot hole. Using a drill fitted with a Forstner bit, drill a hole *just inside* your traced circle. The pilot hole should be large enough to comfortably insert your jigsaw blade. The Forstner bit ensures a clean entry point, minimizing splintering of the basket material.
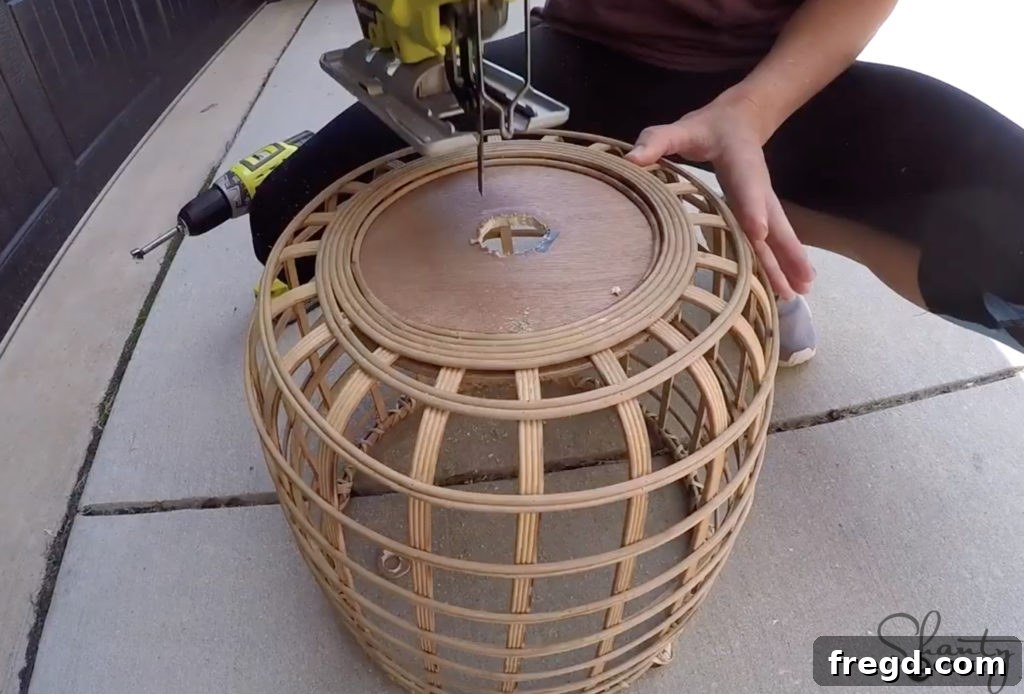
Once your pilot hole is drilled, carefully insert the jigsaw blade into the hole. Slowly and steadily, begin cutting along your traced line. Take your time, guiding the saw to follow the curve as accurately as possible. While a perfect circle is ideal, a slight imperfection here is forgiving, as the light socket’s bottom piece will cover the edges. The goal is to create an opening that allows the light socket to pass through while providing a sturdy base for the securing ring.
Hang the Chandelier: Electrical Installation and Mounting
NOTE: Handling electrical wiring can be dangerous. This guide focuses on the assembly of the basket and the mechanical attachment of the fixture. If you are not familiar with household electrical wiring, or if you feel uncomfortable at any point, we strongly suggest hiring a qualified professional electrician to perform the electrical connections. Safety is paramount. Always ensure the circuit breaker to the room is turned OFF before attempting any electrical work.
Step 1 – Secure the Mounting Bracket
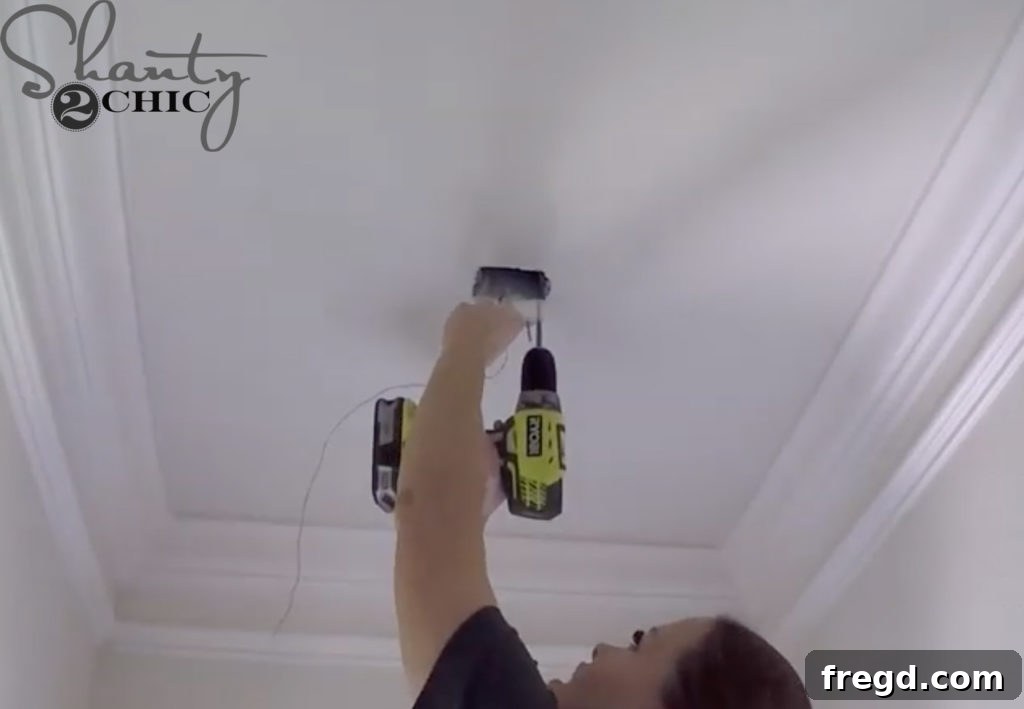
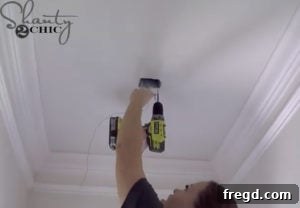
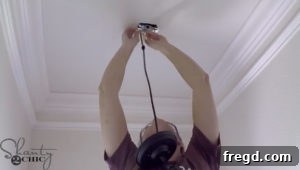
With the power to the electrical box turned off at the breaker, you can begin the installation. The light kit should come with a mounting bracket, which is a small metal plate designed to attach to your ceiling electrical box. Align the bracket with the screw holes in your electrical box and secure it tightly using the screws provided. This bracket will serve as the foundation for holding your entire chandelier securely to the ceiling.
Step 2 – Make the Electrical Connections
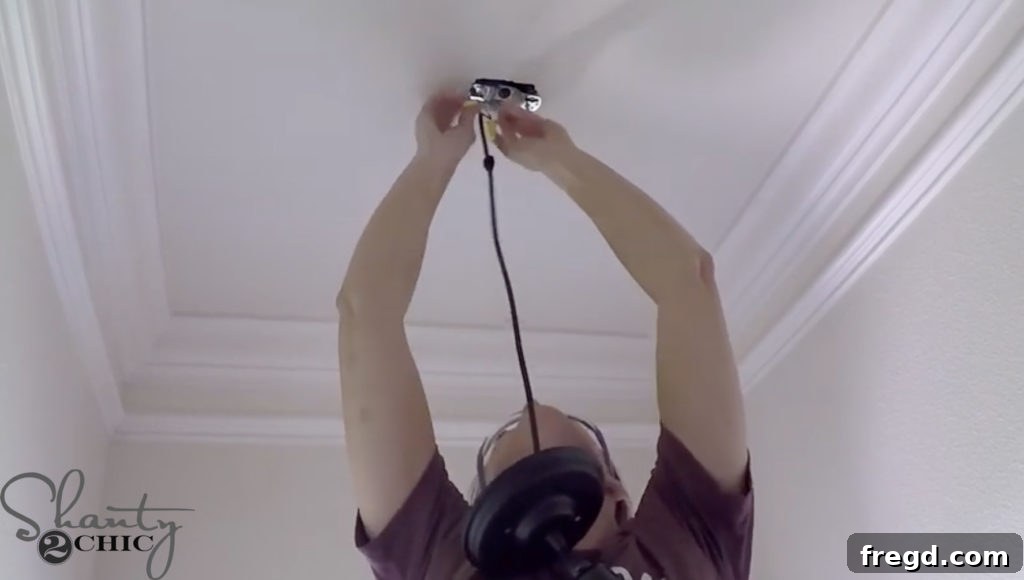
This is the most critical part of the installation. Connect the wires from your light fixture to the corresponding wires from the ceiling electrical box. Typically, you will connect: white to white (neutral), black to black (hot), and the bare copper or green wire to the ground wire (or ground screw on the mounting bracket). Use appropriate wire nuts (twist-on connectors) to ensure secure and insulated connections. Double-check all connections to ensure they are tight and properly insulated. Again, if uncertain, consult a professional.
Step 3 – Attach the Ceiling Plate
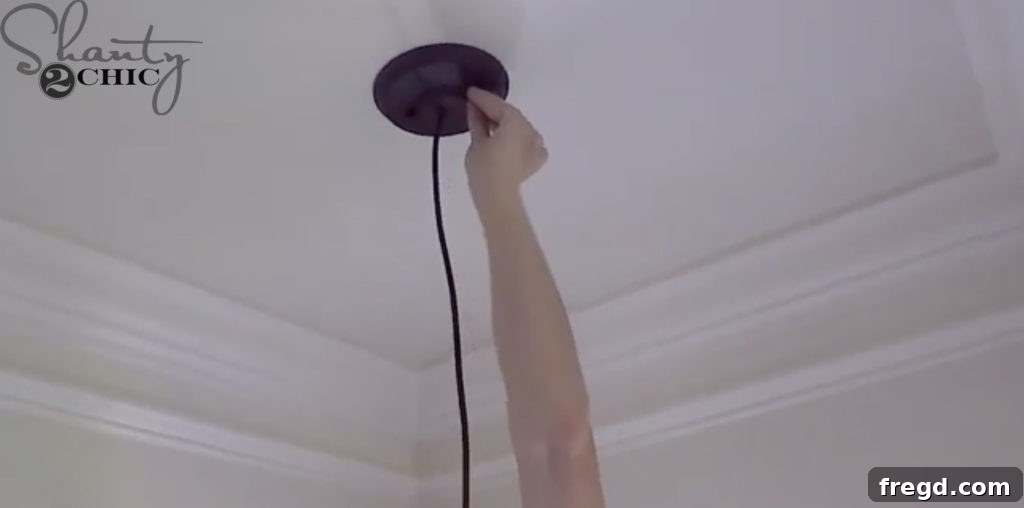
Once all electrical connections are made and secured, carefully tuck the wires inside the electrical box. Then, take the ceiling plate (or canopy) from your light kit. This plate covers the wiring and provides a finished look. Align the ceiling plate with the mounting bracket and secure it in place, usually with decorative nuts or screws that thread onto the bracket.
Step 4 – Integrate the Basket Shade with the Light Fixture
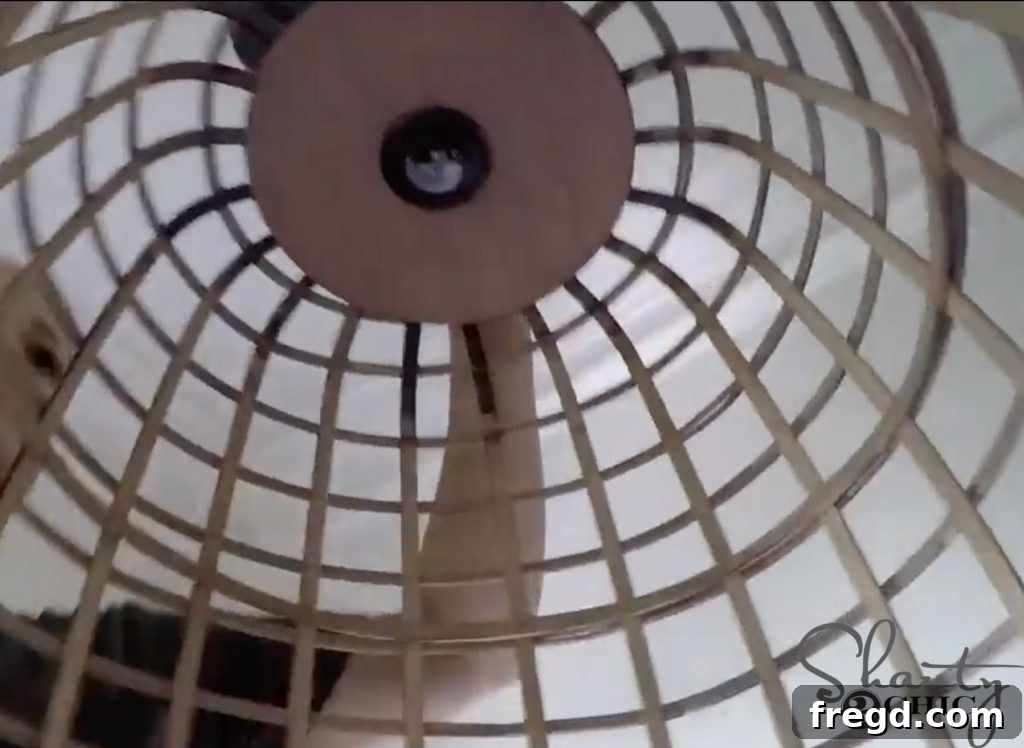
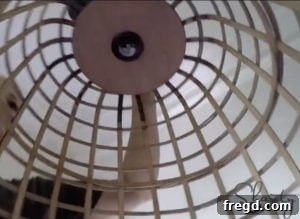
With the ceiling plate firmly attached, it’s time to add your custom basket shade. Carefully thread the light socket through the hole you cut in the bottom of the basket. Once the socket passes through, re-attach the threaded bottom piece (the ring or nut) that you removed in Step 2 of “The Build.” Screw this piece tightly onto the light socket from beneath the basket. This action will securely sandwich the basket between the light socket and its retaining ring, holding your new chandelier shade firmly in place.
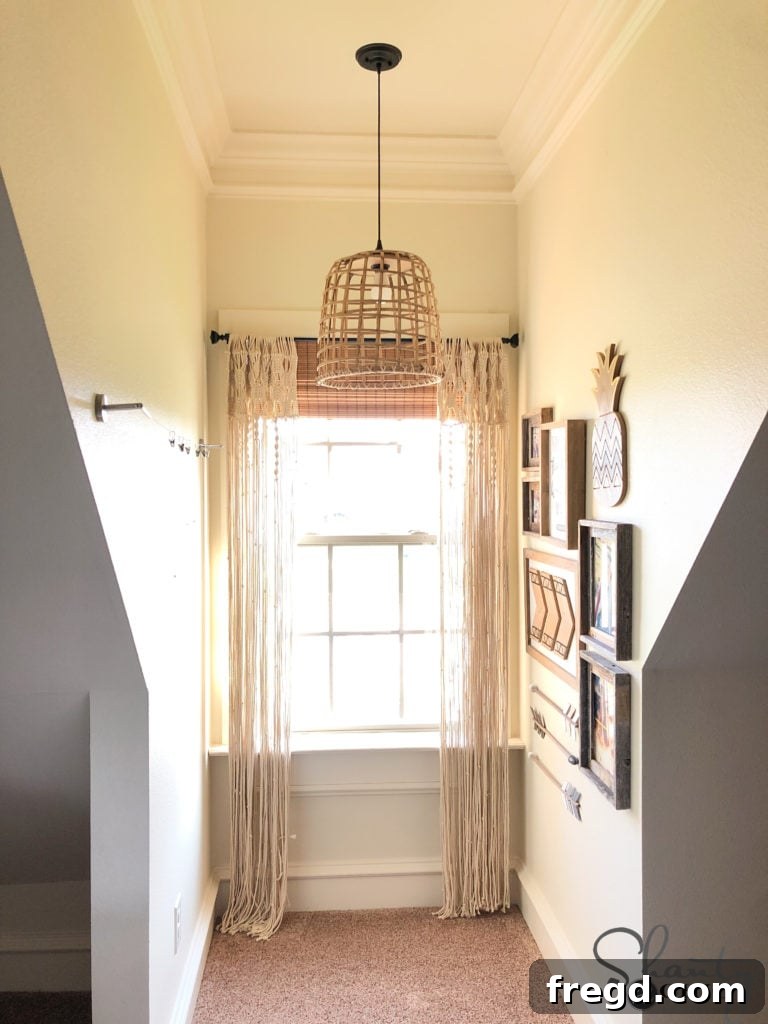
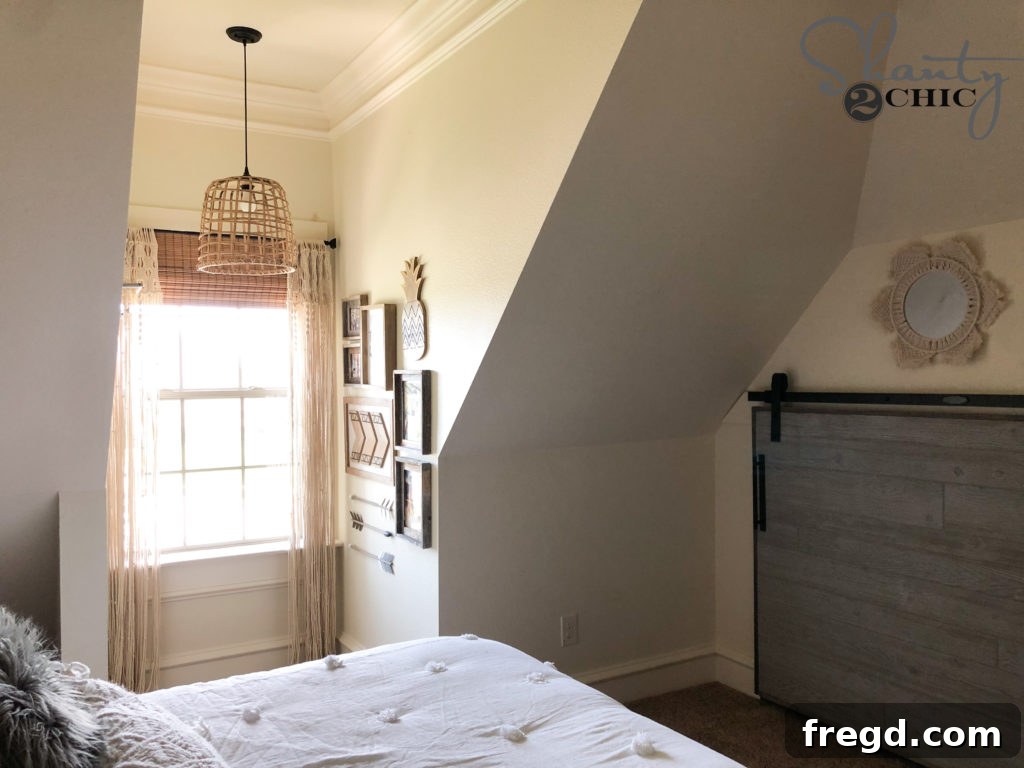
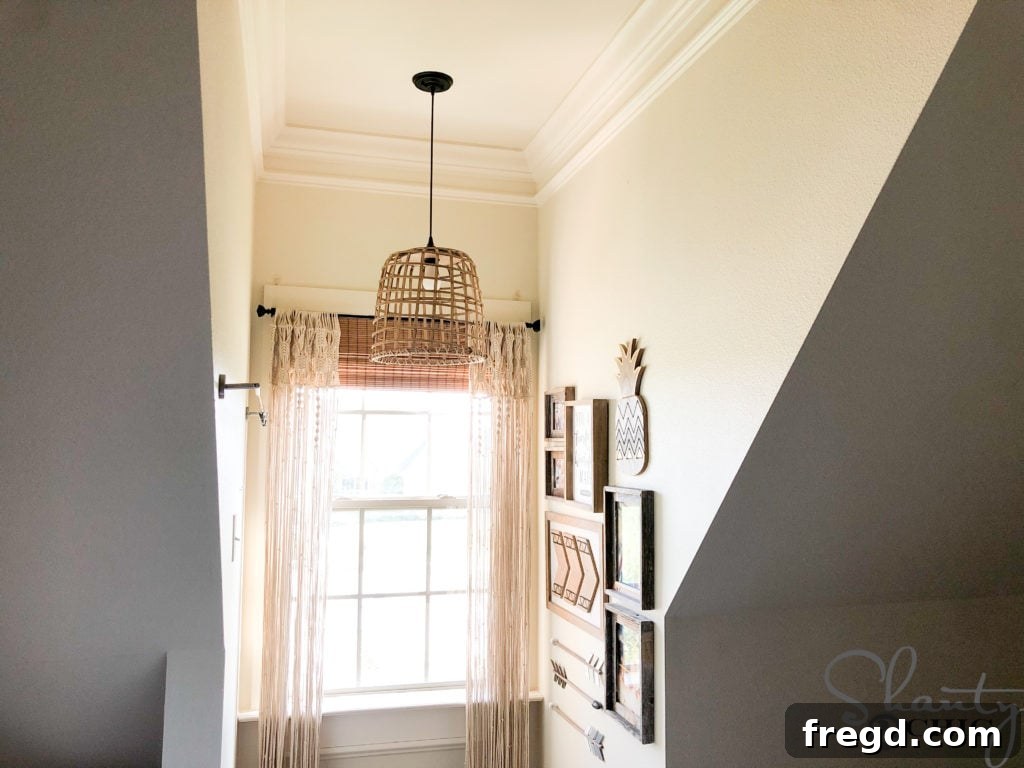
That’s it! Your custom basket chandelier is now complete. This seemingly simple project transforms an inexpensive item into a striking, personalized light fixture, proving that beautiful design doesn’t have to come with a high price tag. The visual impact and the satisfaction of creating something truly unique are immensely rewarding.
Personalize Your Chandelier: Beyond the Basket
While a simple basket provides a stunning raw aesthetic, you can take your customization a step further. Consider painting your basket in a color that complements your room’s palette – perhaps a soft white for a Scandinavian look, a bold black for modern contrast, or a distressed finish for a rustic farmhouse charm. You could also add decorative elements such as fringe, tassels, or wooden beads along the bottom rim of the basket for extra texture and personality. For a truly unique touch, incorporate fabric liners or subtle LED strip lights inside the basket to enhance the glow and create interesting shadow patterns. This flexibility allows you to evolve the design as your tastes change, ensuring your chandelier remains a timeless piece in your home.
The joy of creating a custom piece like this DIY basket chandelier is unparalleled. Not only have you saved a significant amount of money compared to retail options, but you’ve also brought a truly personal touch to your living space. The satisfaction of seeing your vision come to life, from a simple $29 basket to a focal point in your home, is incredibly rewarding. This project is a testament to how accessible and impactful DIY home decor can be. Embrace your inner designer and enjoy the unique beauty of your handmade creation!

How to Turn a Basket into a Chandelier
Tools
-
Drill
-
Jigsaw
-
Nippers
-
Electrical Crimpers
-
Forstner Bit
Supply List
- 1 Basket
- 1 Corded Light Socket
Instructions
The Build
-
Use a pair of nippers to cut the handles off the basket.

-
Remove the bottom piece that screws onto the socket. Center it on the bottom of the basket and trace around the socket.
-
Use a forstner bit to drill a pilot hole large enough to fit a jigsaw blade in. After drilling the pilot hole, use a jigsaw to cut the circle out. This part does not have to be perfect.
Hang the Chandelier (Note: This is not a how-to for wiring a light. If you are not familiar with electrical wiring, we suggest hiring a professional. Before hanging the chandelier make sure the breaker is turned off.
-
Once the breaker was turned off, attach the light bracket to the electrical box.
-
Then, attach the white, black and ground wires to each other with wire nuts.
-
Tuck the wires inside the electrical box and attach the ceiling plate to the bracket.
-
Once the ceiling plate was attached, put the light socket through the hole on the bottom of the basket and screw the bottom piece on, to hold the basket in place.

Thanks so much for exploring this creative lighting solution! We’d love to hear about your own basket chandelier hack projects. Feel free to share your experiences and finished designs in the comments.
Happy Building!