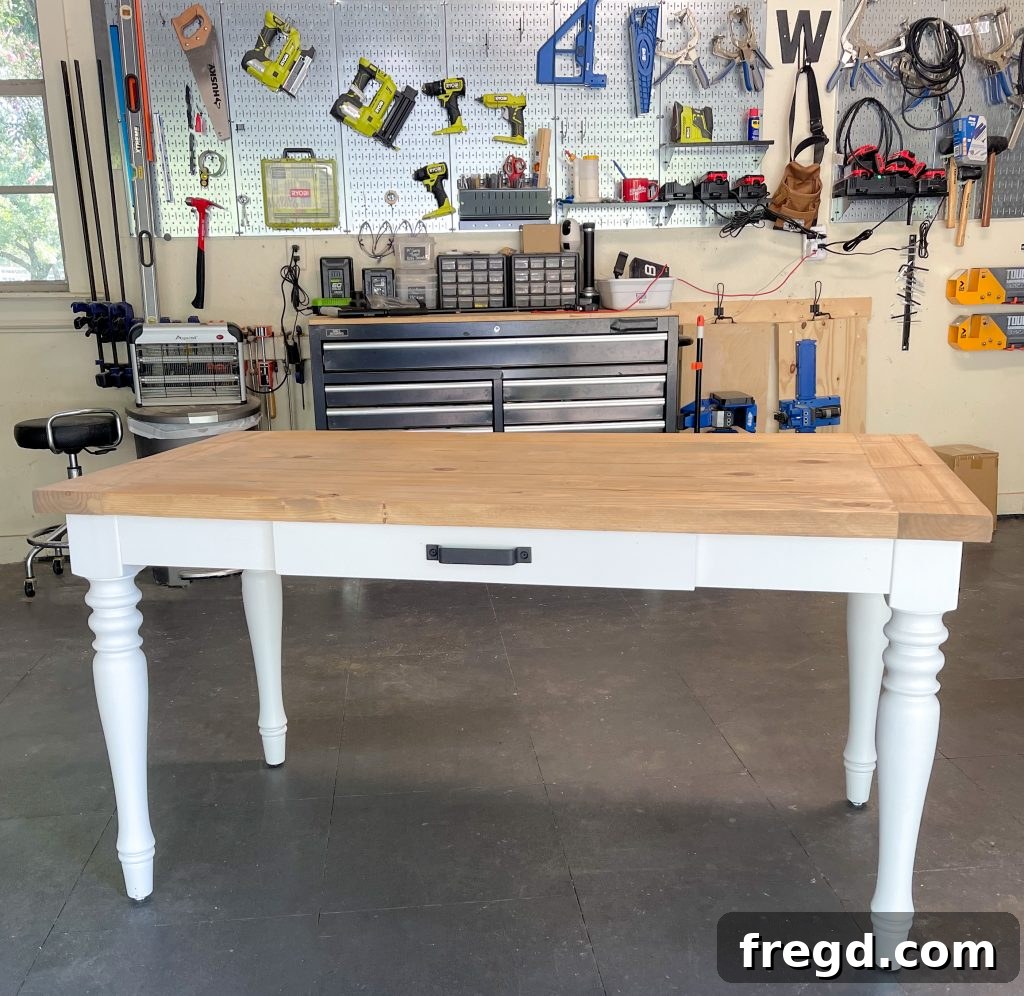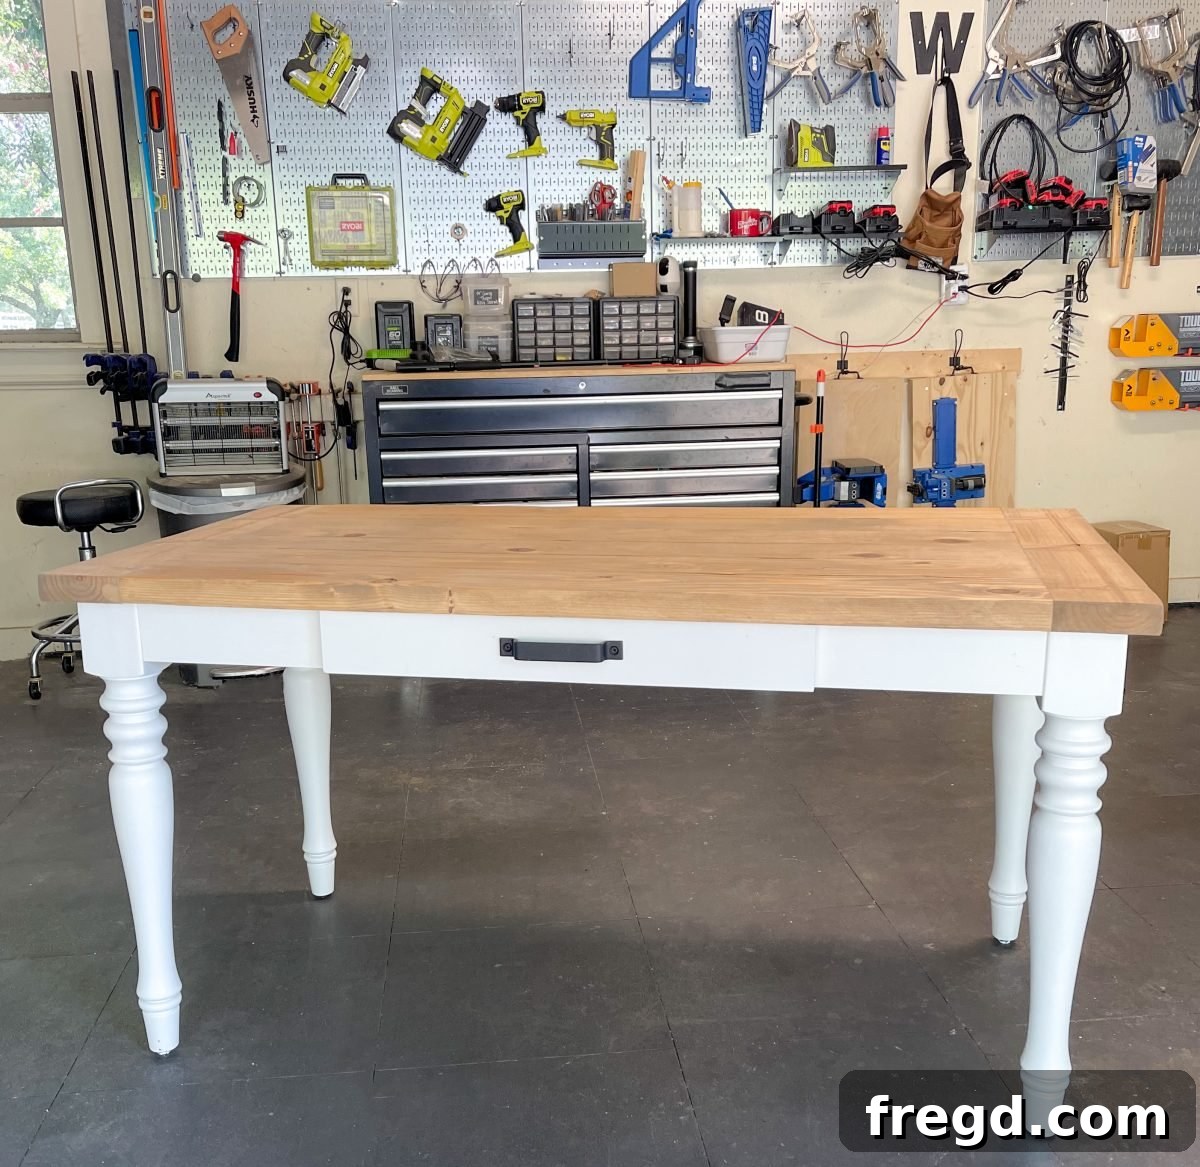
Hello fellow DIY enthusiasts and home decor lovers! Today, I’m thrilled to share a recent project that truly captures the essence of personalized home design: a stunning Modern Farmhouse Desk. This endeavor was particularly special as I had the opportunity to assist my children’s school with their ongoing renovations, helping to furnish the new director’s office. The goal was to create a functional yet stylish workspace that felt welcoming and unique, all while adhering to a budget-friendly approach. Embracing the spirit of repurposing, I transformed some existing pieces into a beautiful, custom desk that perfectly blends rustic charm with contemporary clean lines.
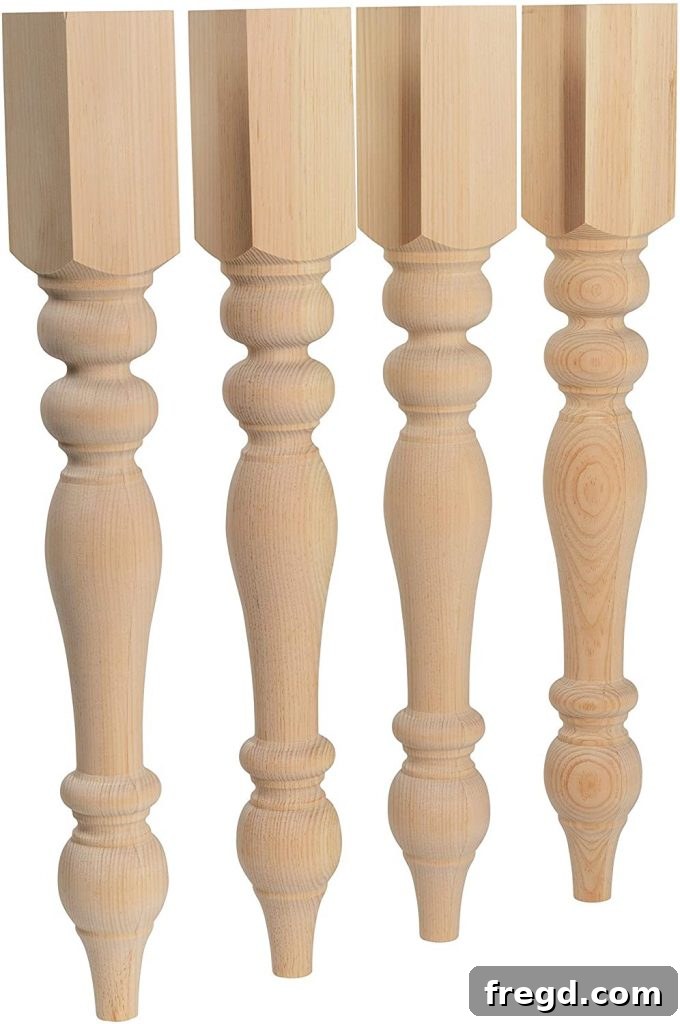
The satisfaction of crafting something beautiful and practical from scratch, especially for a meaningful cause, is immeasurable. This desk not only serves its purpose but also tells a story of creativity and resourcefulness. What makes this project even more exciting is that I found readily available, similar desk legs for just $25 each on Amazon, making this custom build surprisingly affordable for anyone looking to recreate it. You can find these versatile legs and kickstart your own desk project by clicking HERE!
Before we dive into the detailed plans and step-by-step instructions, I highly recommend watching the accompanying video tutorial. It provides invaluable visual guidance, demonstrating each stage of the build with clarity and practical tips. Simply click the video player below to watch the full DIY process unfold:
I believe the finished desk exudes a charm and sophistication that will perfectly complement the new office space. The blend of classic farmhouse aesthetics with a modern finish truly creates a piece that is both inviting and functional. I can’t wait to reveal the entire office makeover as more progress is made, so stay tuned for future updates!
Crafting Your Own Modern Farmhouse Desk: A Step-by-Step Guide
Ready to roll up your sleeves and build your own custom Modern Farmhouse Desk? This comprehensive guide, complete with free downloadable plans, will walk you through every stage of the construction process. From selecting your materials to applying the final finish, we’ll ensure you have all the information you need to create a durable and beautiful desk. You can access and print the detailed FREE PLANS by clicking HERE!
Materials You’ll Need:
- (6) 2×6 boards (for desktop planks and breadboards)
- (2) 1×4 boards (for apron and drawer supports)
- (1) 24″x24″ 1/2″ thick plywood panel (for drawer box)
- (4) Desk legs (metal hairpin, tapered wood, or similar modern farmhouse style) – Similar Legs on Amazon
- Wood glue
- 2.5″ pocket hole screws
- 1.25″ pocket hole screws
- 1.25″ brad nails
- Drawer slides (appropriate length for your drawer)
- Wood filler (optional)
- Sandpaper (various grits)
- Primer (if painting)
- Paint (for base and legs, e.g., Sherwin-Williams Pure White)
- Wood Stain (for desktop, e.g., Varathane custom mix)
- Protective topcoat (polyurethane or similar)
Tools You’ll Need:
- Table Saw (essential for precise cuts and ripping planks)
- Kreg Jig (I used the Kreg Jig 720 PRO for its efficiency and ease of use, highly recommended!)
- Drill/Driver (for pocket hole screws)
- Brad Nailer (for drawer assembly)
- Measuring Tape
- Pencil
- Square
- Safety Glasses and Ear Protection
- Clamps (especially Kreg Face Clamps for holding boards flush)
- Orbital Sander (for smooth finishes)
Step 1: Building the Desktop Foundation
The desktop is the centerpiece of your desk, and achieving a strong, beautiful surface begins with careful preparation. Take your 2×6 boards and, using your table saw, rip them down to a consistent 5 inches each. This step not only creates uniform planks but also removes the rounded edges typically found on dimensional lumber, giving your desktop a cleaner, more refined appearance that is characteristic of modern farmhouse furniture.
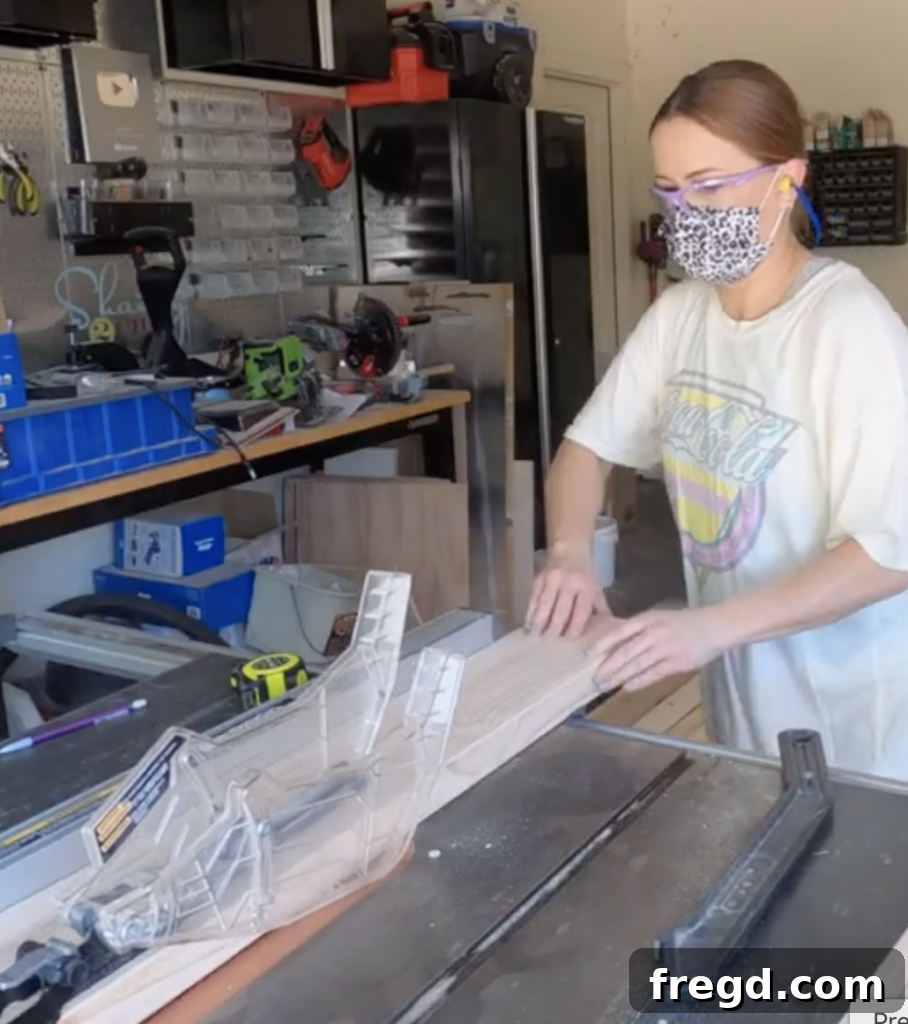
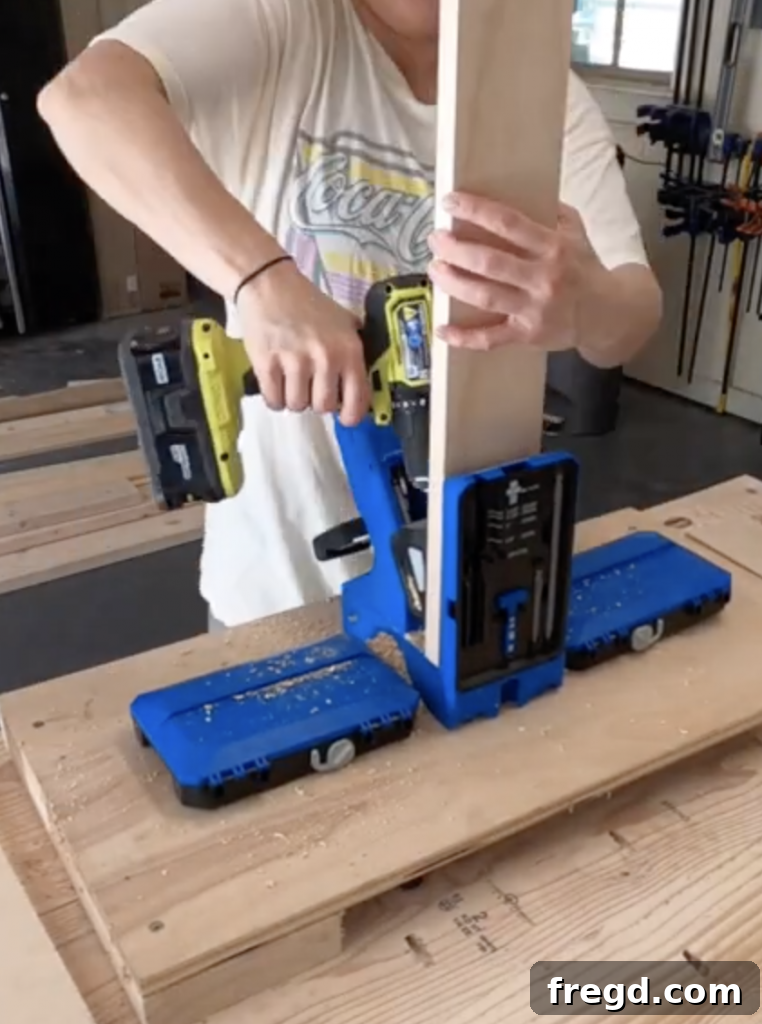
Next, it’s time to add pocket holes, which are crucial for creating strong, concealed joints. Using your Kreg Jig, drill 1.5-inch pocket holes along one long side of five of your plank boards. Additionally, add 1.5-inch pocket holes to each short end of all six plank boards. For this project, I utilized my new Kreg Jig 720 PRO, and I can confidently say it’s my favorite model to date for its speed and precision. Its ease of adjustment and robust clamping mechanism significantly streamline the process. You can explore its features and purchase it HERE on Amazon.
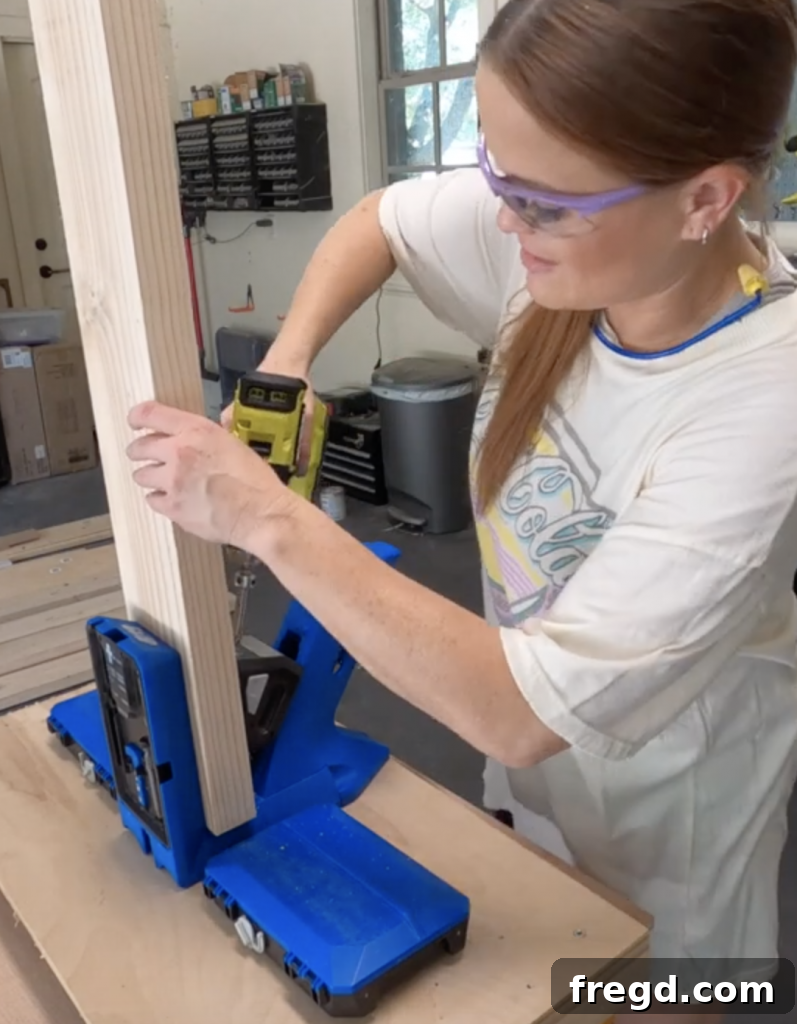
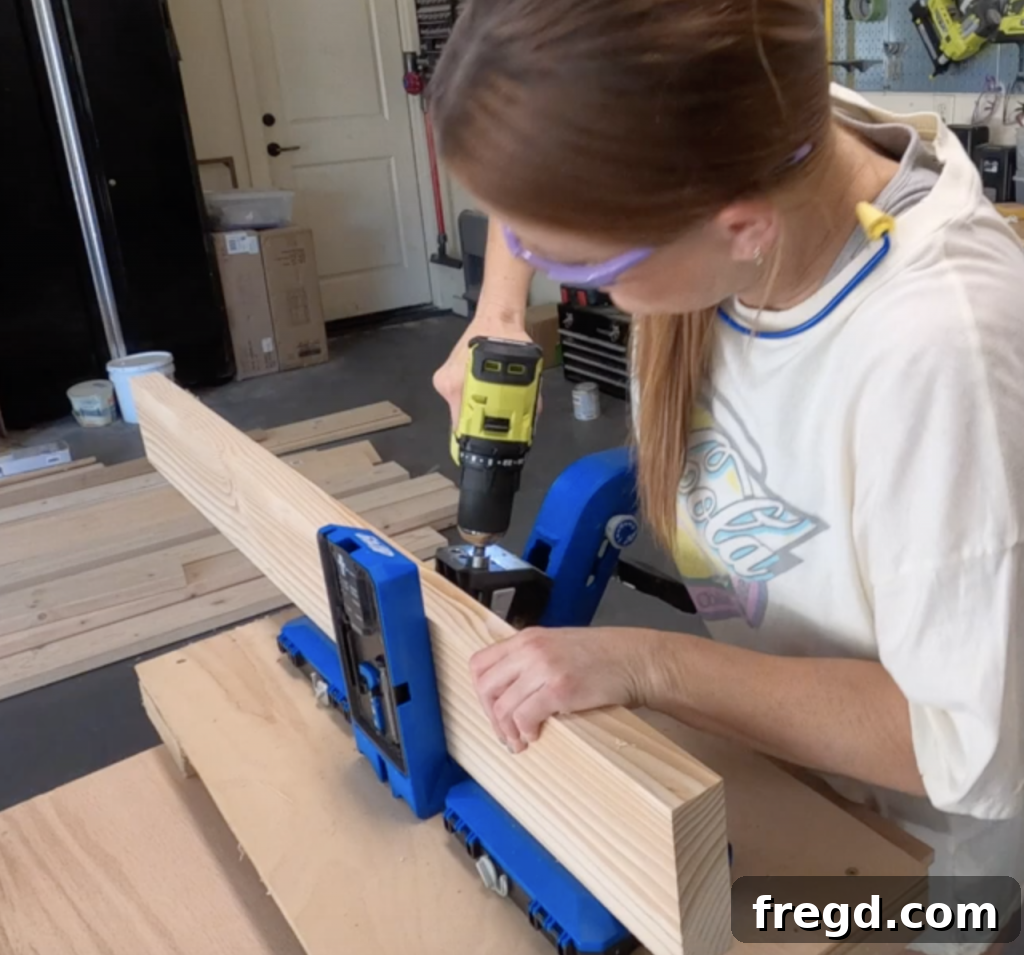
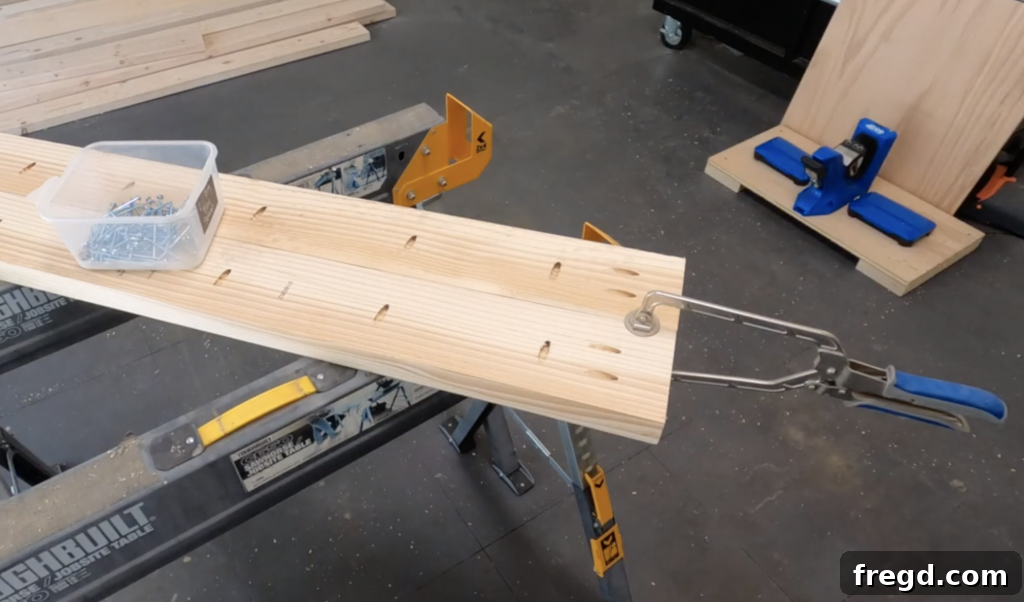
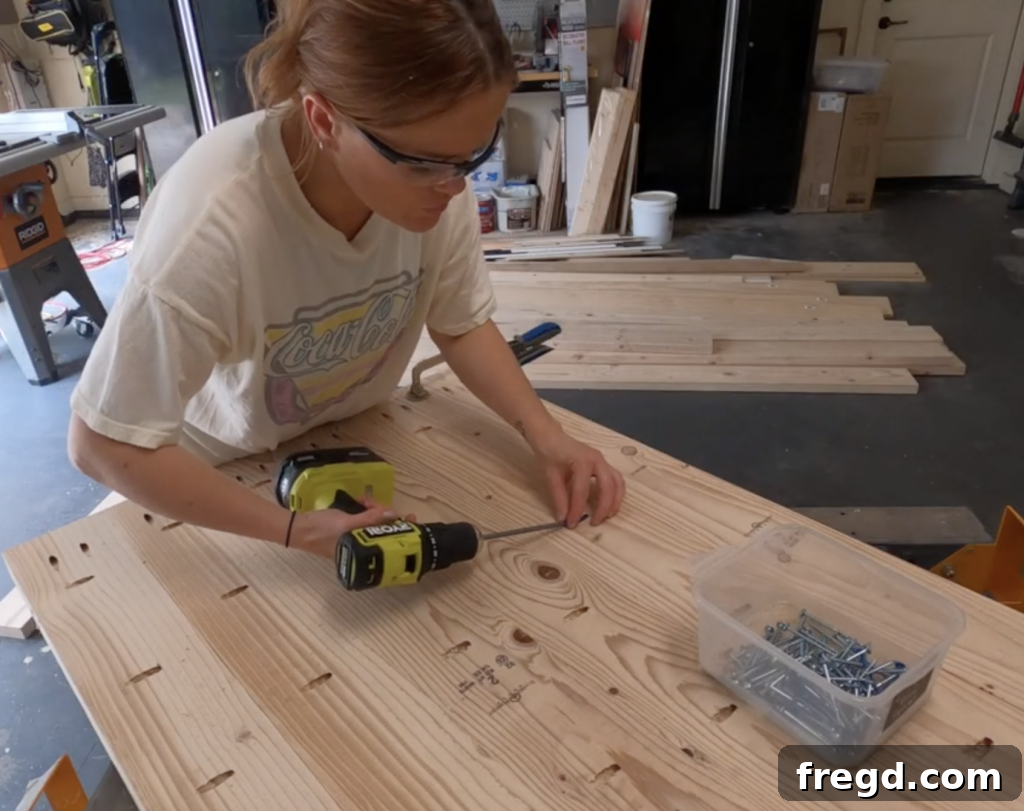
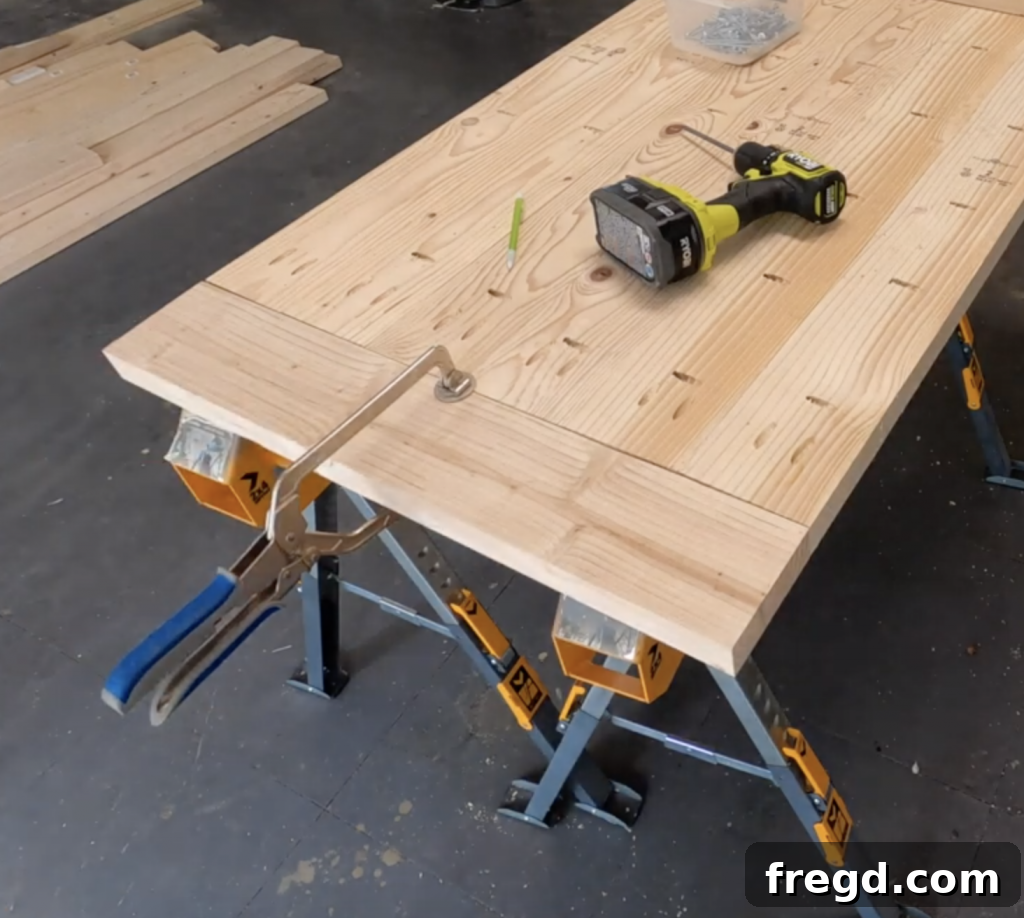
With the pocket holes drilled, you can now begin assembling the main desktop planks. Apply a generous amount of wood glue along the long edges of the boards where they will join. Then, attach the planks together using 2.5-inch pocket hole screws through the pre-drilled holes. It’s crucial to ensure that each board is perfectly flush on both the ends and the sides to create a seamless surface. For this critical step, I highly recommend using Kreg Face Clamps. These clamps are incredibly handy for holding boards perfectly aligned while you drive in the screws, preventing any shifting or misalignment. You can find the exact clamps I used HERE on Amazon.
Step 2: Adding the Breadboards
Once all the main planks are securely joined, it’s time to add the breadboards. Breadboards are not just an aesthetic feature, adding a classic farmhouse touch; they also help prevent the main desktop from warping over time due to wood movement. To ensure a perfect fit, I always recommend holding the breadboard piece directly against the assembled planks and marking the exact length required. This method accounts for any minor variations in your plank assembly, guaranteeing a precise and snug fit.
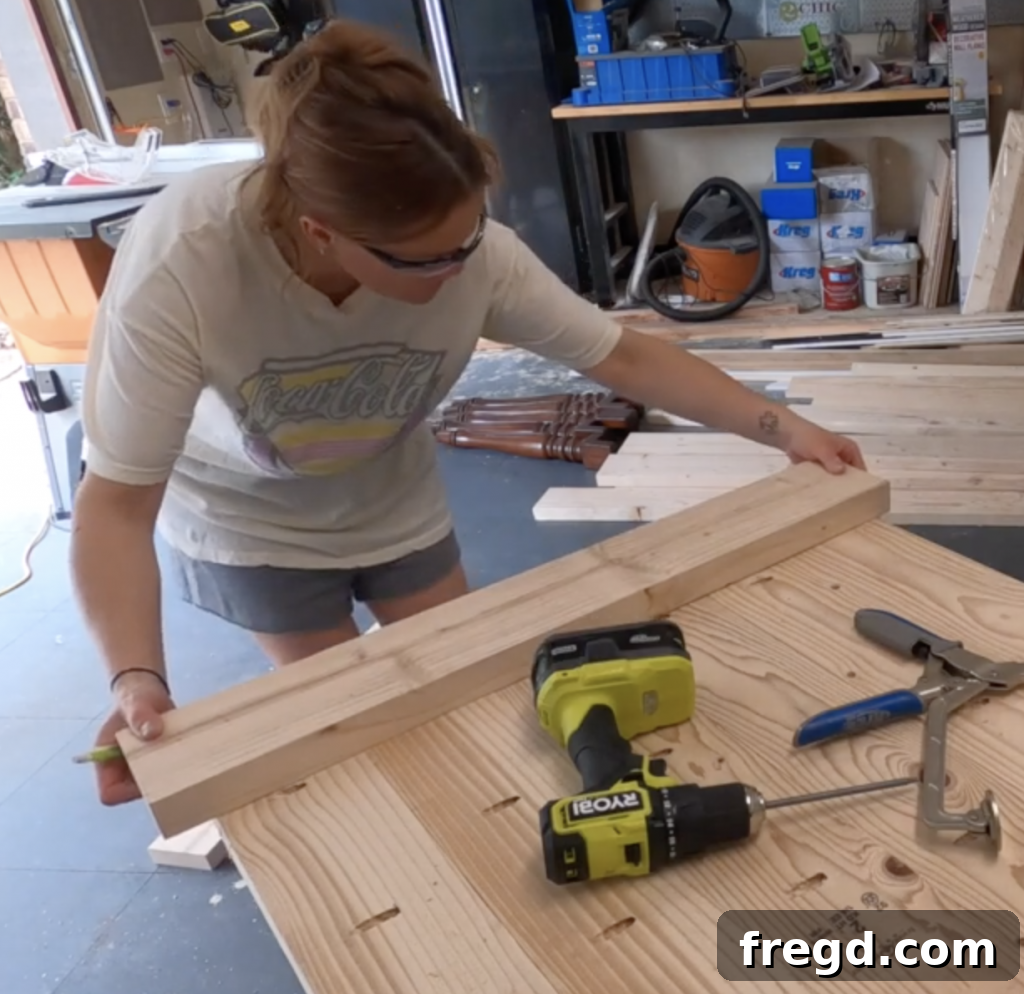
Attach the breadboards to the desktop planks using 2.5-inch pocket hole screws through the pocket holes previously drilled on the ends of each plank board. Again, your Kreg Face Clamps will be invaluable here, holding the breadboard firmly in place and perfectly flush with the desktop surface while you drive the screws. This ensures a clean joint and a strong, stable desktop.
Step 3: Constructing the Apron
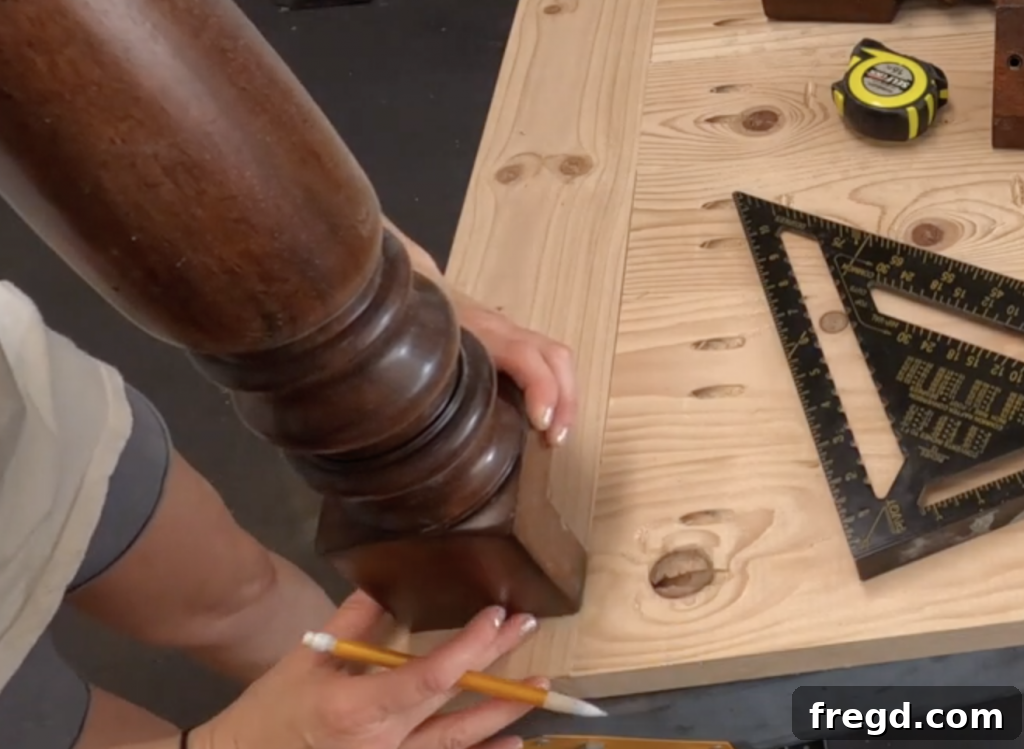
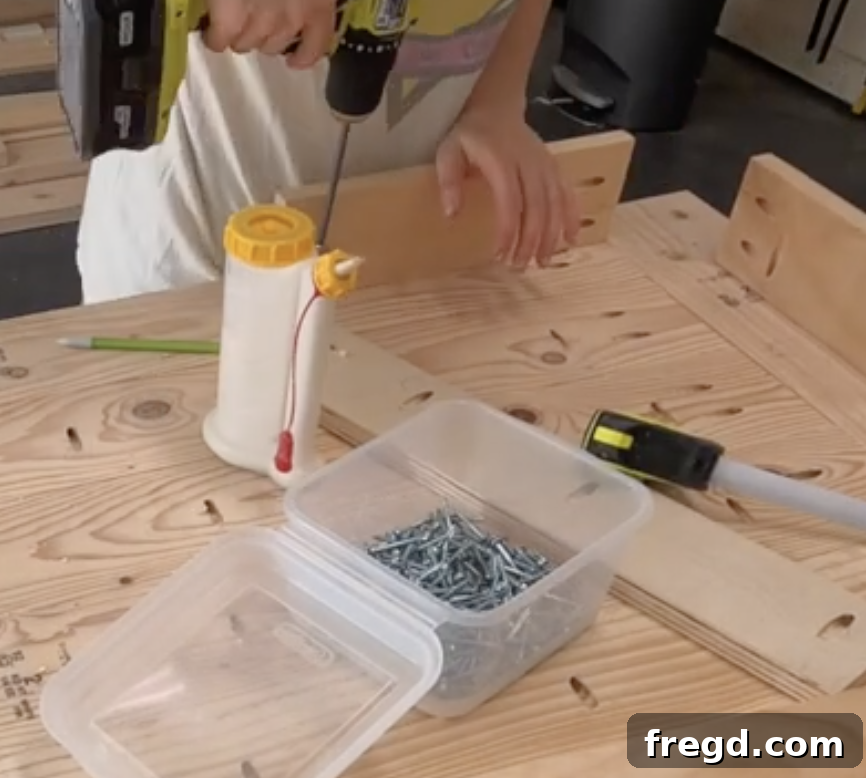
The apron serves as both a structural component, connecting the legs and providing stability, and an aesthetic element, adding visual weight and defining the desk’s profile. To begin, place your chosen desk legs onto the desktop in their desired final positions. Using a pencil, lightly mark where each leg will align with the desktop. This step helps visualize the leg placement and ensures that the apron pieces will be cut and installed to perfectly frame the legs.
The apron pieces are crafted from 1×4 boards. Measure and cut each board to the appropriate size, referring to your free plans for precise dimensions. Once cut, add 3/4-inch pocket holes to these boards. The exact placement of these pocket holes is critical for attaching the apron to both the desktop and the legs, so consult your plans carefully to ensure correct positioning. This smaller pocket hole size is ideal for 3/4″ thick material, ensuring a strong connection without compromising the integrity of the wood.
Once all your pocket holes are drilled, apply wood glue to the top edges of the apron pieces and align them with the marked positions on the desktop. Securely attach each apron piece to the table top using 1.25-inch pocket hole screws. The combination of wood glue and screws creates a robust joint, essential for the desk’s overall stability and longevity. Ensure a tight fit and clean joints for a professional finish.
Step 4: Installing Drawer Supports
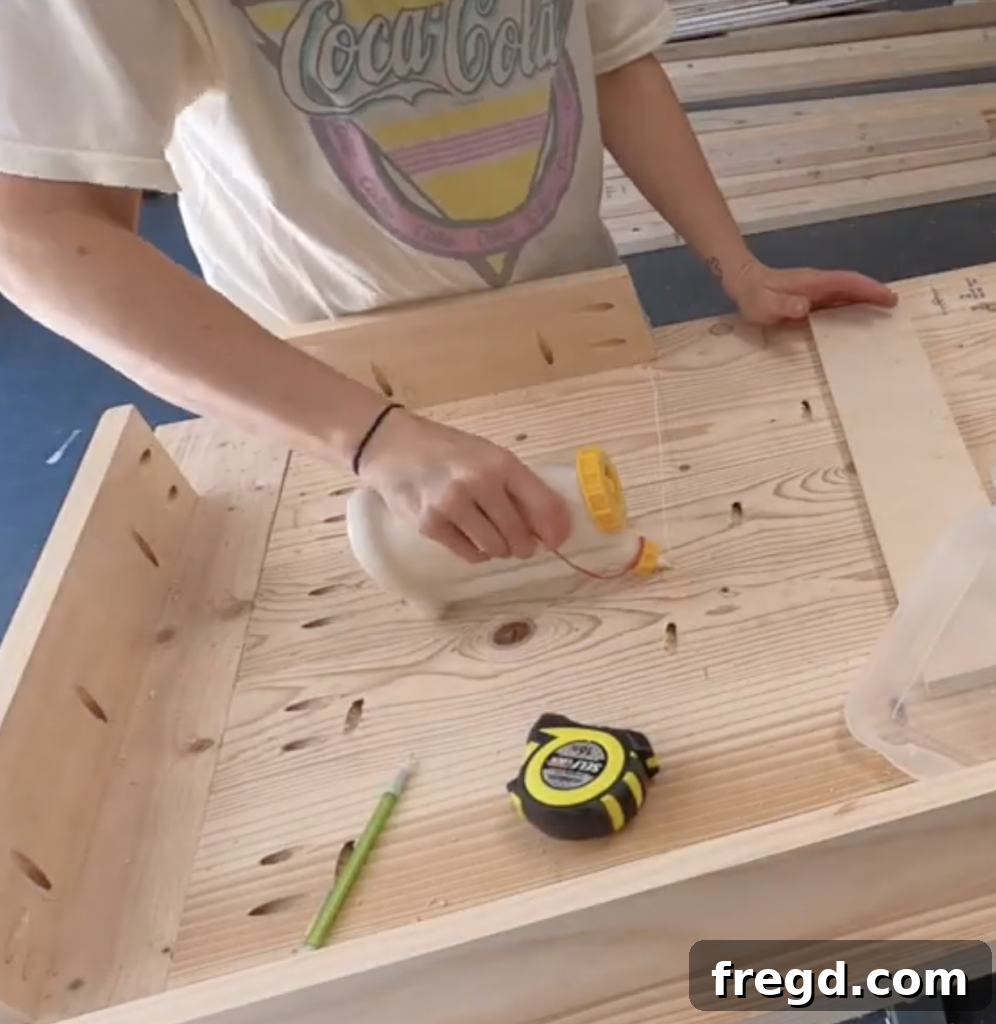
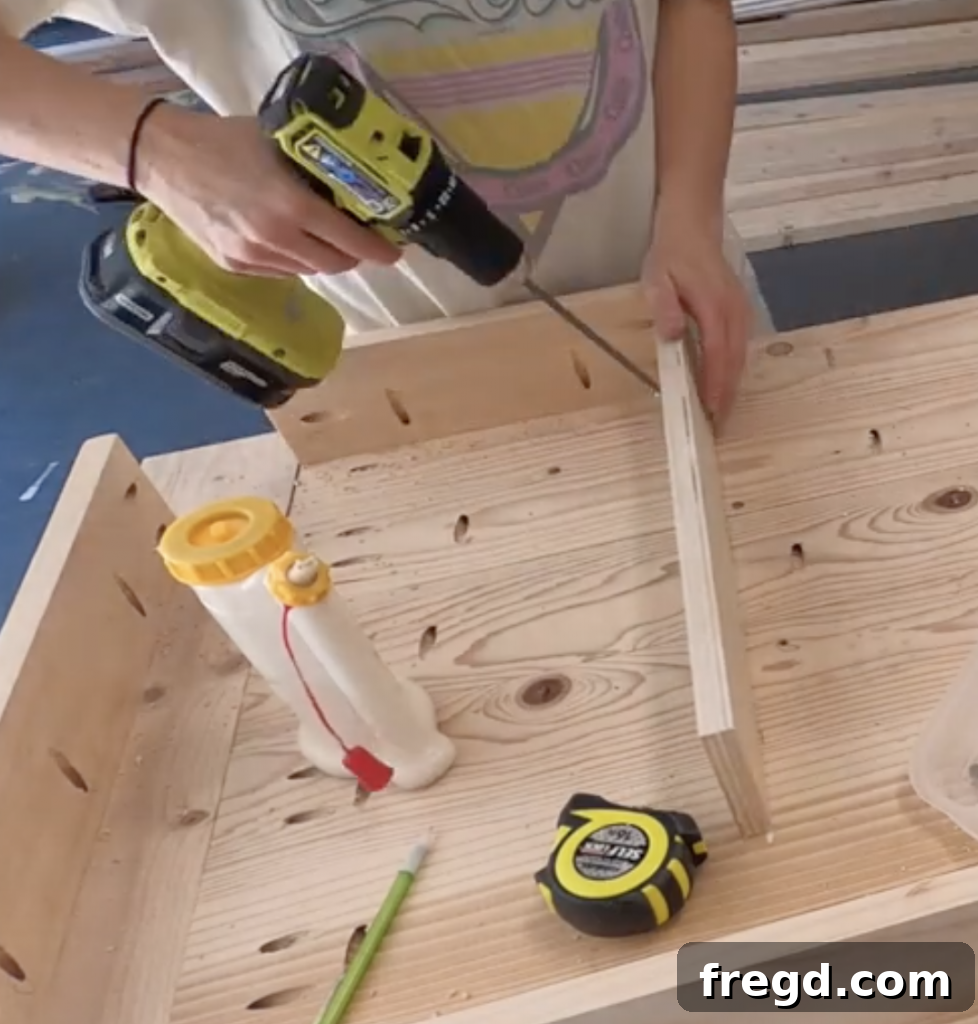
With the main apron in place, it’s time to add the drawer support boards. These pieces will provide the necessary structure for mounting your drawer slides and ensuring your drawer operates smoothly. For my desk, I used leftover 3/4-inch scrap plywood, which is a great way to utilize materials and reduce waste. However, the free plans specify using 1×4 boards, as you will likely have enough leftover from your apron pieces, making it convenient and cost-effective.
Add 3/4-inch pocket holes to these support boards using your Kreg Jig. Then, apply wood glue to the edges where they will meet the desktop and the front apron pieces. Carefully position and attach these supports using 1.25-inch pocket hole screws, ensuring they are perfectly square and level. Accurate installation here is key for a well-functioning drawer.
Step 5: Building the Drawer
A functional drawer adds immense utility to any desk, and building this one is surprisingly straightforward. To keep costs down, I constructed the entire drawer from a single 24×24 inch, 1/2-inch thick plywood panel. Using your table saw, carefully cut the plywood into the required sides for your drawer box, referring to the detailed dimensions in your plans.
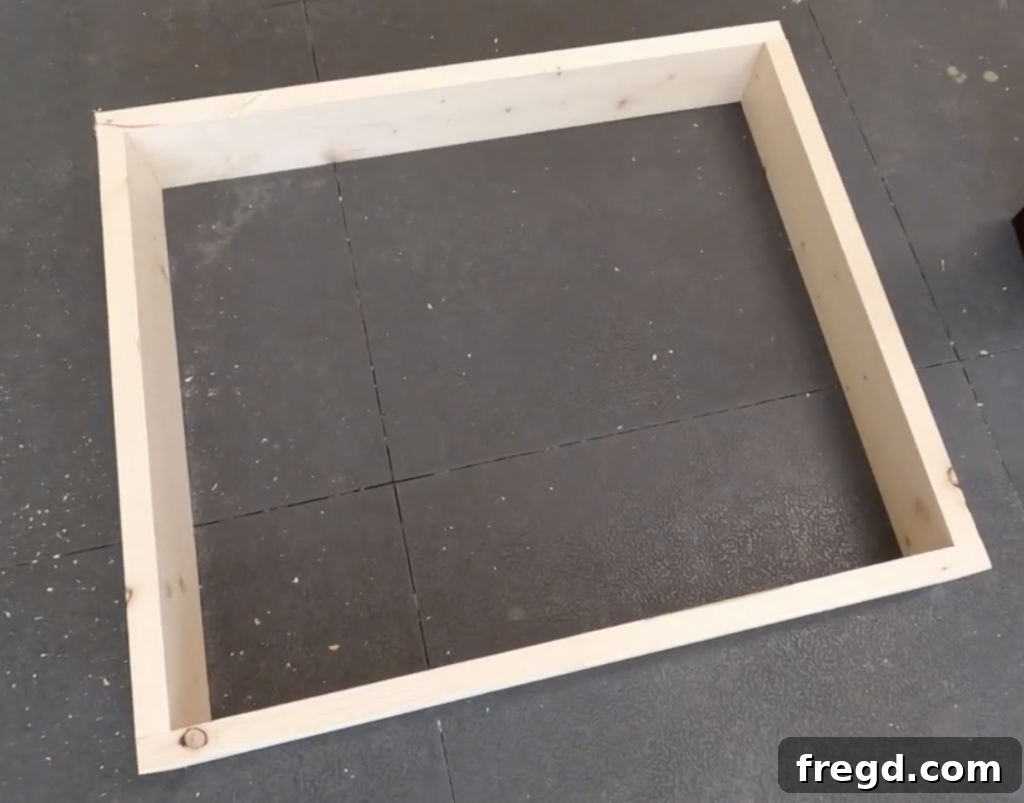
Begin by assembling the drawer box itself. Apply wood glue to the edges where the sides meet and then secure the corners using 1.25-inch brad nails. Brad nails are perfect for this step as they hold the pieces firmly in place while the wood glue dries, creating a strong and lasting bond. Ensure your corners are square for a smoothly operating drawer.
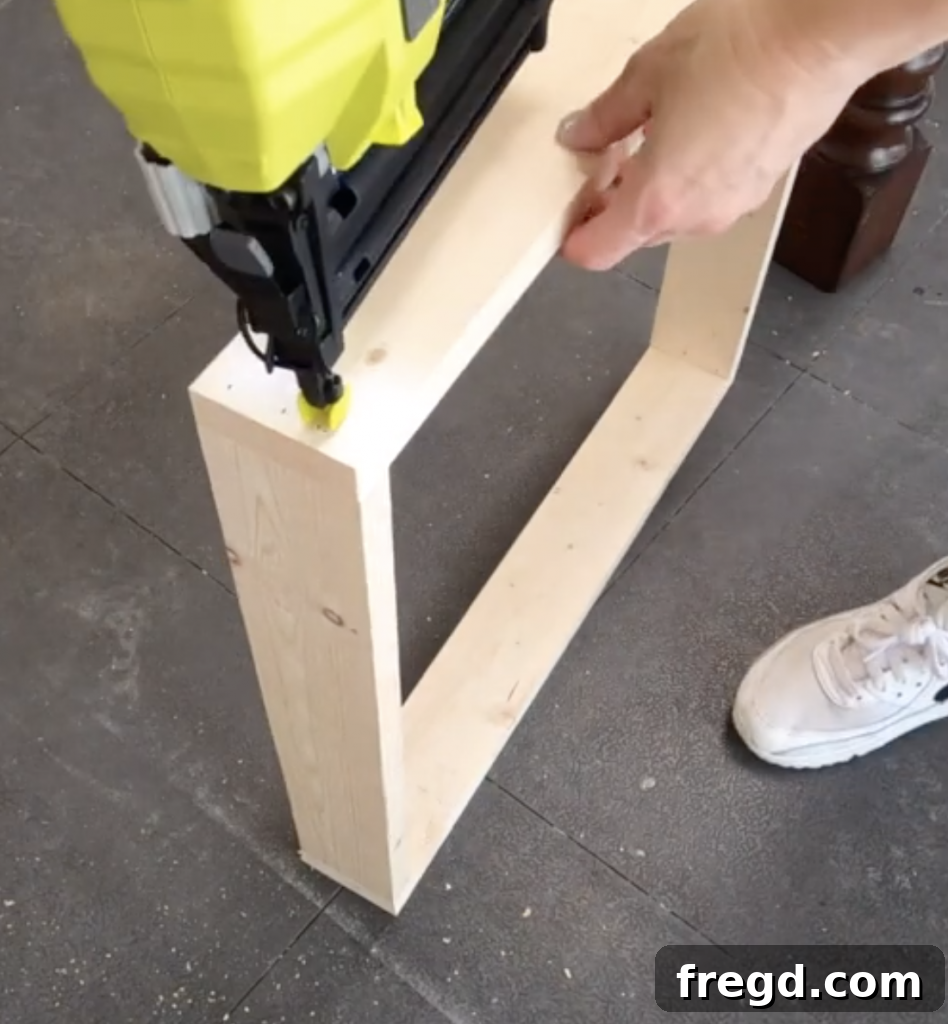
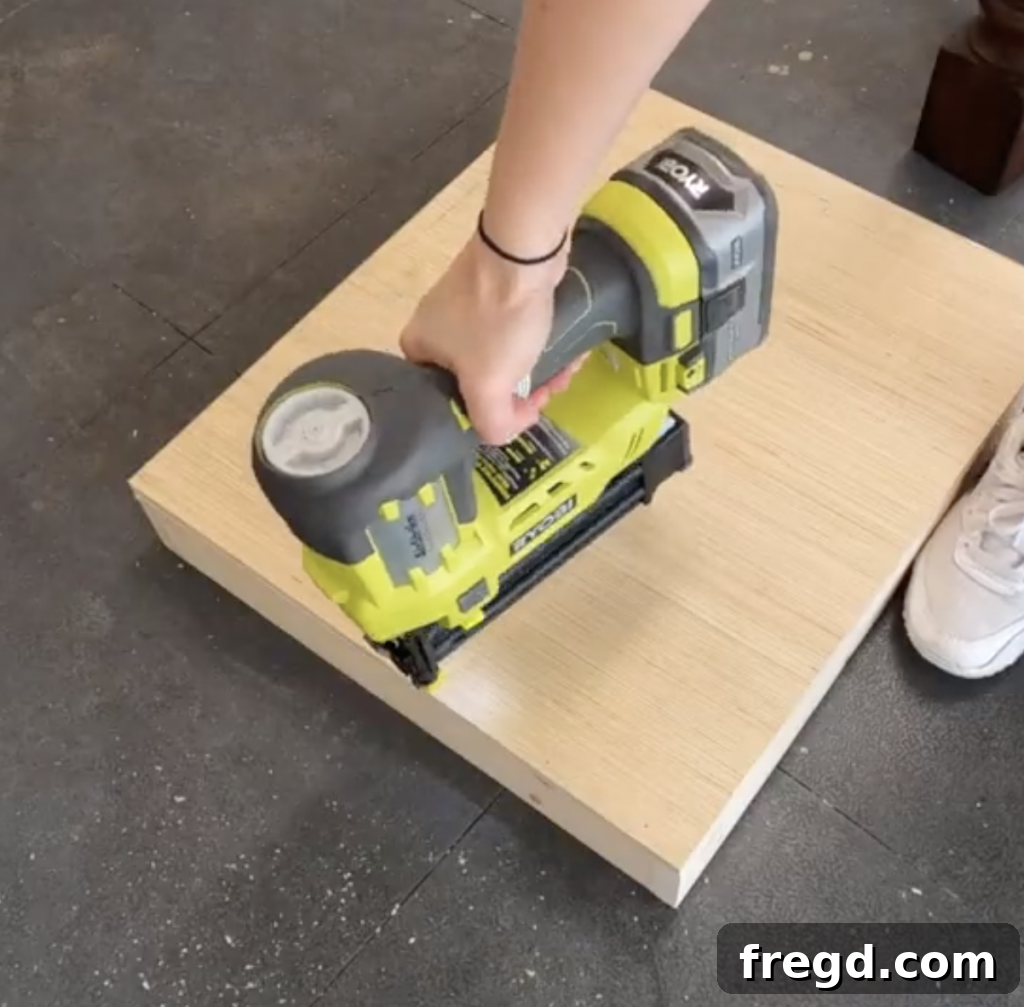
Next, attach the base of the drawer. Apply wood glue to the bottom edges of the drawer box and place the plywood base firmly in position. Secure it with 1.25-inch brad nails, ensuring the base is flush with the sides and provides a solid foundation for your drawer’s contents.
At this point, it’s ideal to install your drawer slides. The precise installation of drawer slides can sometimes be tricky, but it’s essential for a smooth-gliding drawer. If you’re unsure, please refer back to the instructional video. It offers a clear demonstration of how I installed mine, making the process much easier to follow and ensuring perfect alignment.
Step 6: Attaching the Desk Legs
Now for an exciting moment – attaching the legs and seeing your desk truly take shape! The legs I used were perfectly suited for the modern farmhouse aesthetic, and as mentioned earlier, you can find very similar options that integrate seamlessly with these plans for only $25 per leg. These affordable yet stylish legs are available HERE ON AMAZON!
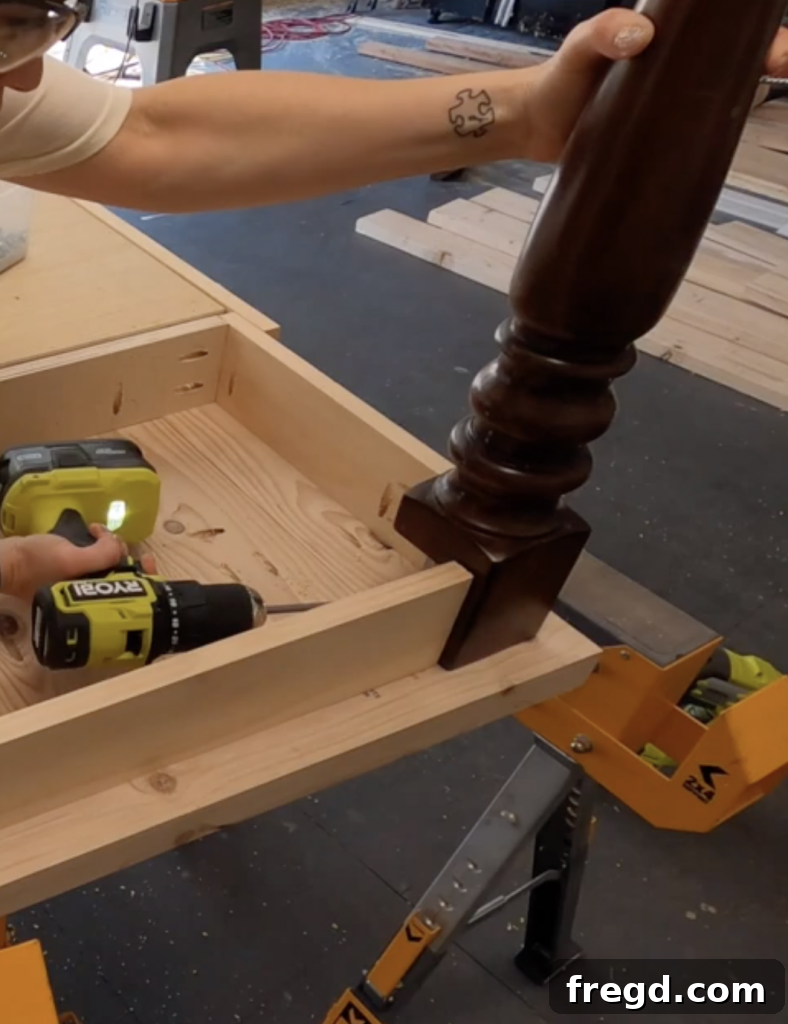
I attached the legs using a combination of wood glue for a permanent bond and 2-inch pocket hole screws driven through the apron’s pre-drilled pocket holes and into each leg. This method creates an incredibly strong and stable connection, ensuring your desk stands firm for years to come. Take your time to align each leg perfectly before tightening the screws.
Step 7: Installing the Drawer Face
The final structural piece is the drawer face, which gives your drawer its finished look. I prefer to attach the drawer face at this stage as it allows for precise alignment with the desk’s opening. First, lightly nail the drawer face into place from the outside with a couple of brad nails. This temporary hold allows you to adjust its position for a perfect fit, ensuring even gaps around all sides.
Once you’re satisfied with the alignment, open the drawer and reinforce the drawer face by driving screws from the inside of the drawer box directly into the back of the drawer face. This method provides a much stronger, more permanent attachment than just brad nails and ensures the drawer face won’t detach with use. Use screws appropriate for the thickness of your drawer box and face to prevent blow-through.
Step 8: The Finishing Touches – Paint and Stain
Now comes the truly transformative part: applying paint and stain to bring your Modern Farmhouse Desk to life! The choice of finish can drastically alter the desk’s character, and for this project, I opted for a classic combination.
For the desk’s base and legs, I used Sherwin-Williams Pure White. This bright, crisp white provides a beautiful contrast to the wood top and enhances the clean, modern aspect of the farmhouse style. When painting, ensure you properly prep the wood by sanding smooth, wiping away dust, and applying a good primer, especially on pine, to prevent knots from bleeding through over time. Apply multiple thin coats of paint for a durable, professional-looking finish.
For the tabletop, I created a custom-mixed Varathane stain. Achieving the perfect wood tone often requires a bit of experimentation. I combined two different Varathane stains to get a rich, warm hue that complemented the white base and brought out the natural beauty of the wood grain. Always test your stain mixture on a scrap piece of wood that matches your desktop material to ensure you achieve your desired color before applying it to the main surface. Once stained, protect your beautiful tabletop with several coats of a durable clear topcoat, such as polyurethane, to guard against scratches, spills, and daily wear.

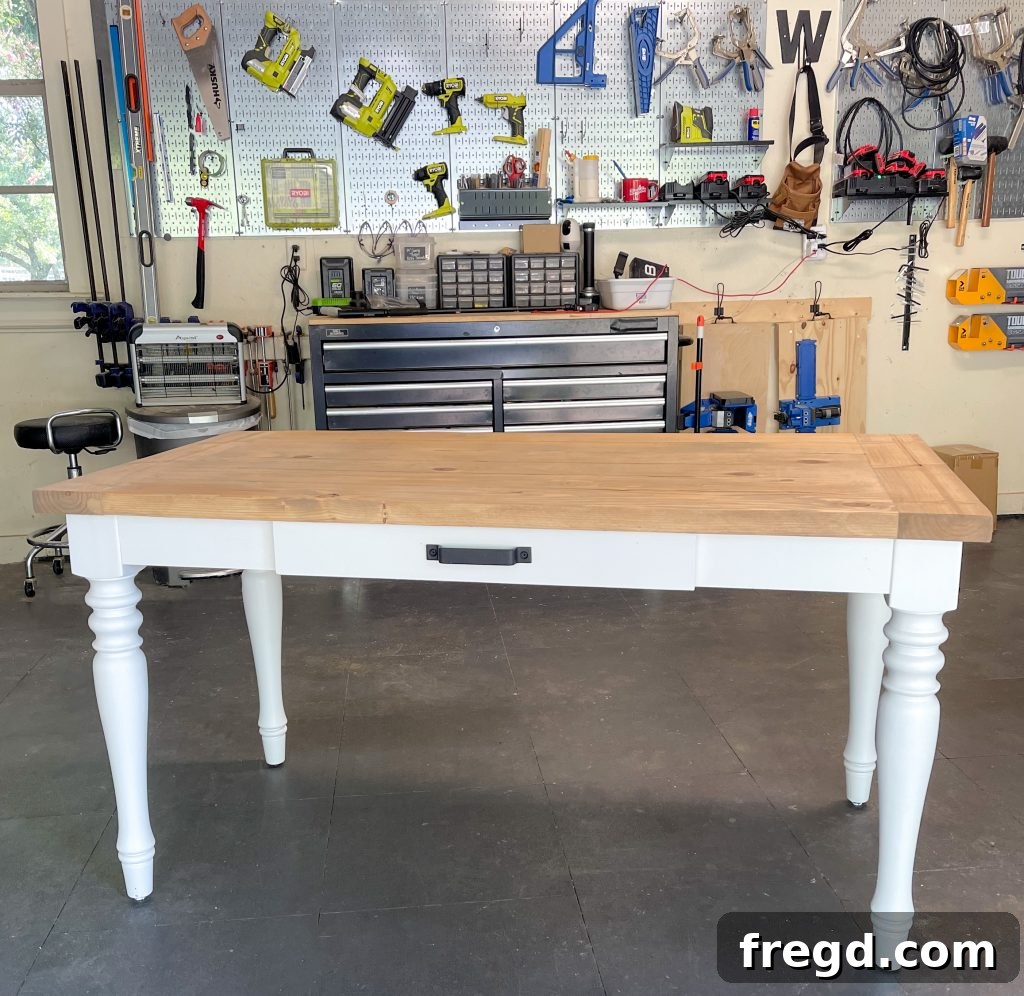
I am absolutely delighted with how this desk turned out. It perfectly blends functionality with a charming aesthetic, and I know it will be a wonderful addition to the new director’s office. Here it is pictured in my workshop, but I truly can’t wait to share photos of it fully set up and integrated into the finished office space. This project is a testament to what can be achieved with a little creativity, repurposing, and a dedication to DIY. I hope this guide inspires you to create your own custom pieces!